247-gallon plywood aquarium Build
I priced out a large aquarium and found out they start around $6,000. I did the research and figured I could build one for under $2,000. I took my ideas from several great videos and based off of the build I did for Drogon, though that I could handle it. Due to the increased pain I've been in, I decided to take my time and took 7 months to complete the project.
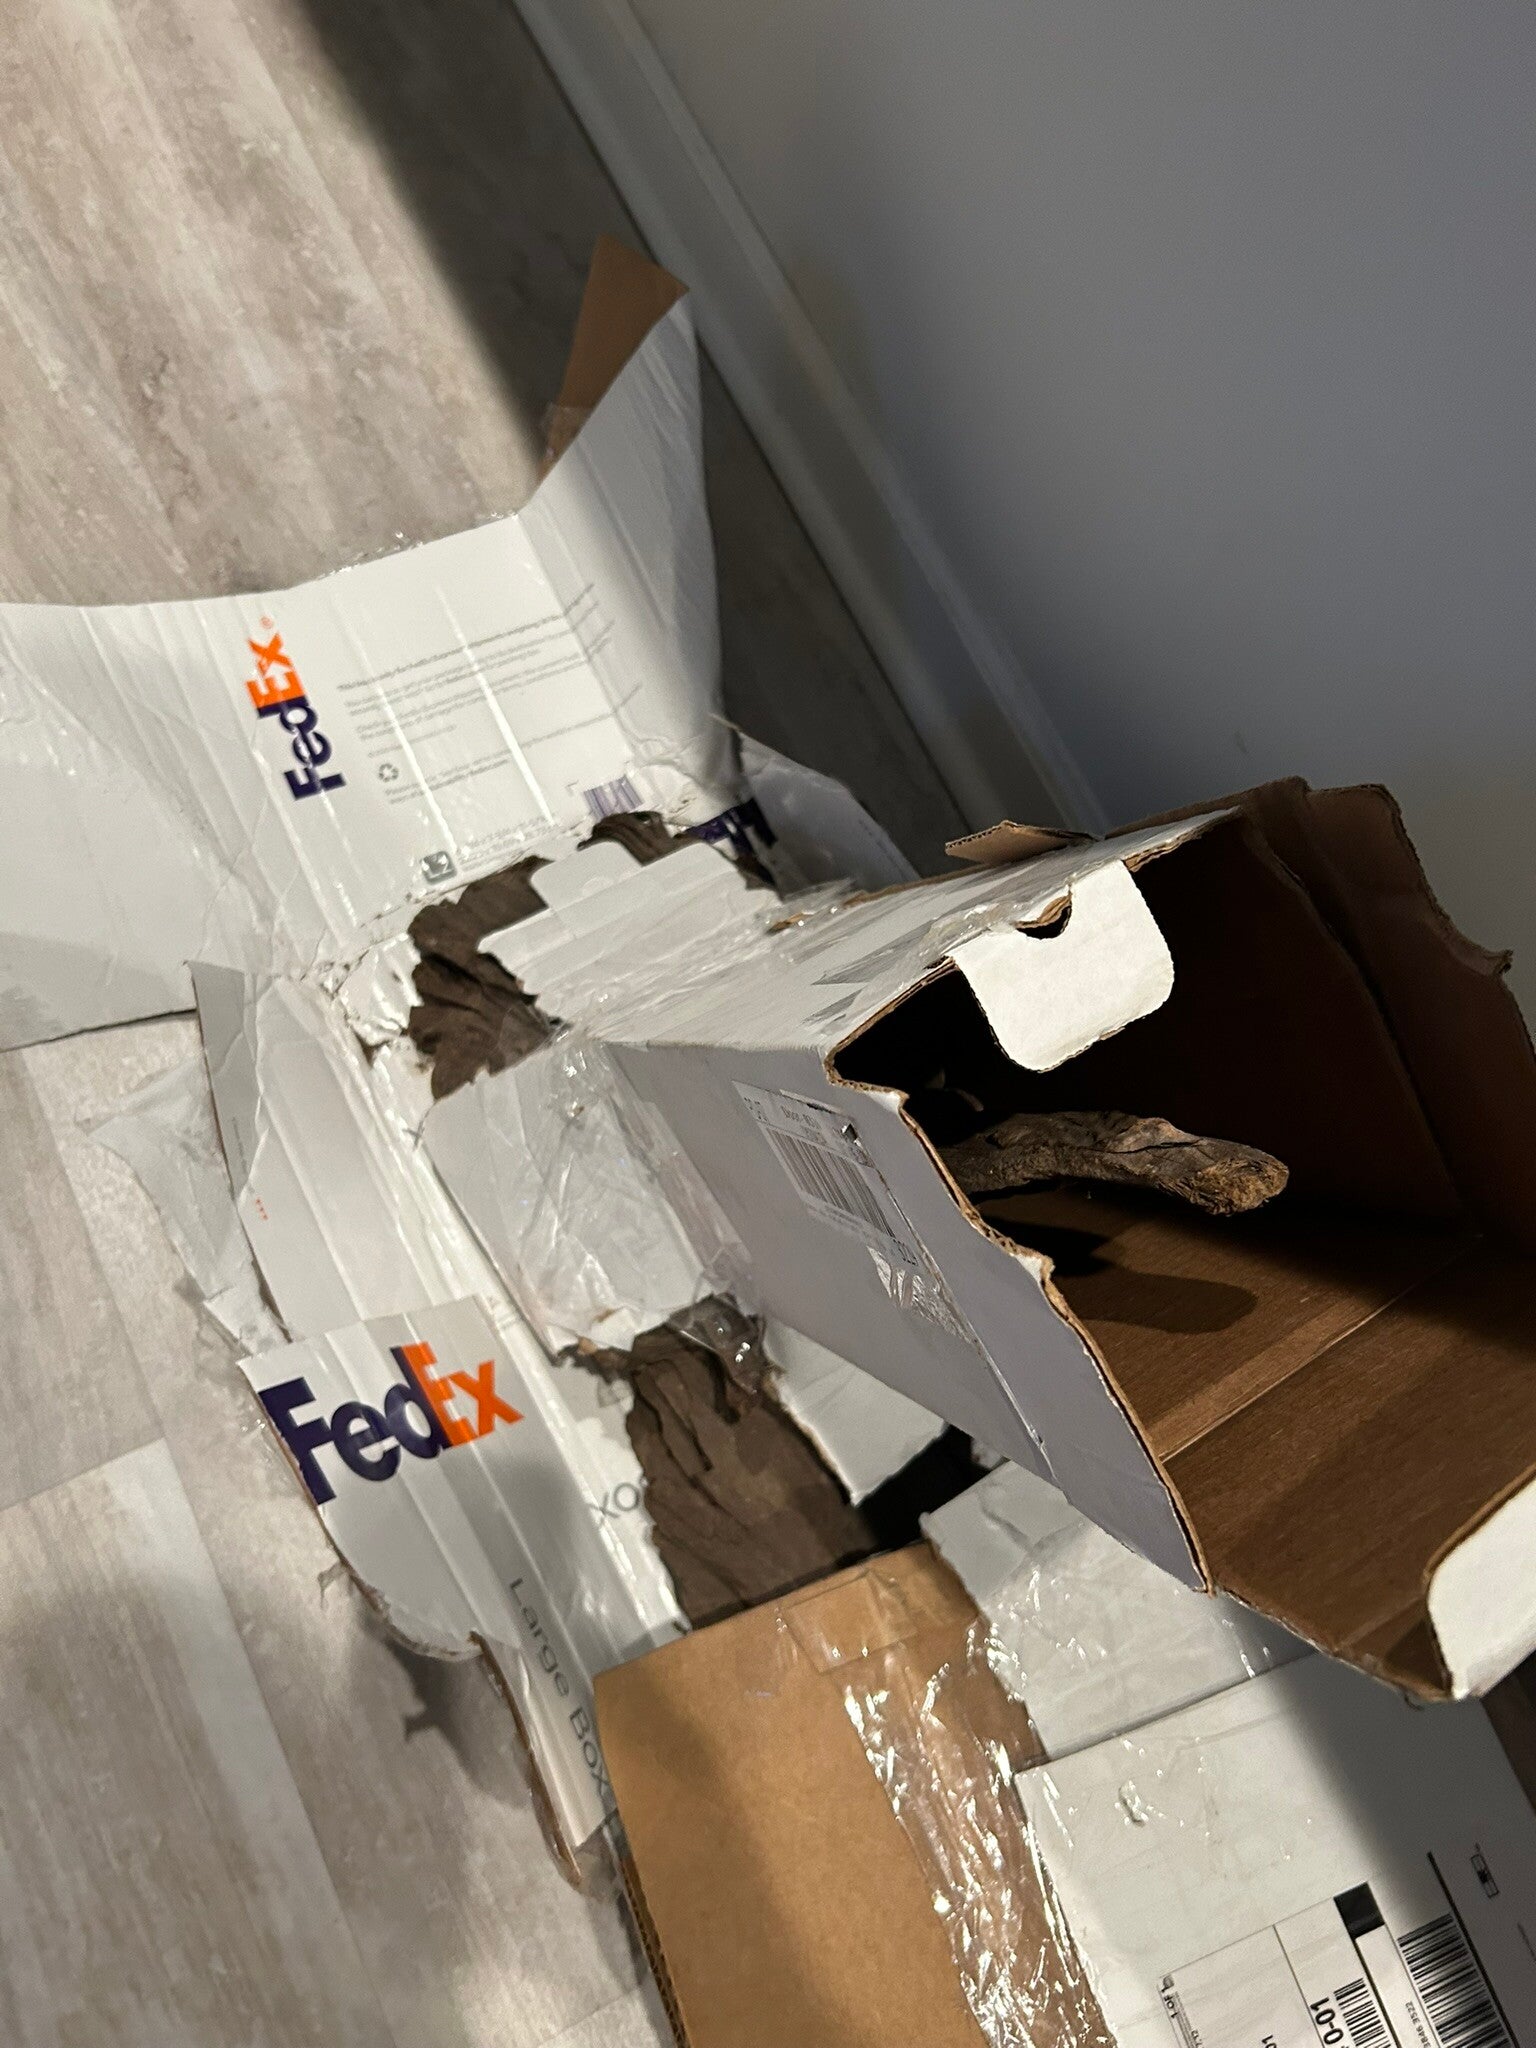
Ordered this 3-foot piece of Mapani driftwood online for the tank. Perfect for a Plecostomus.
7 Nov 23
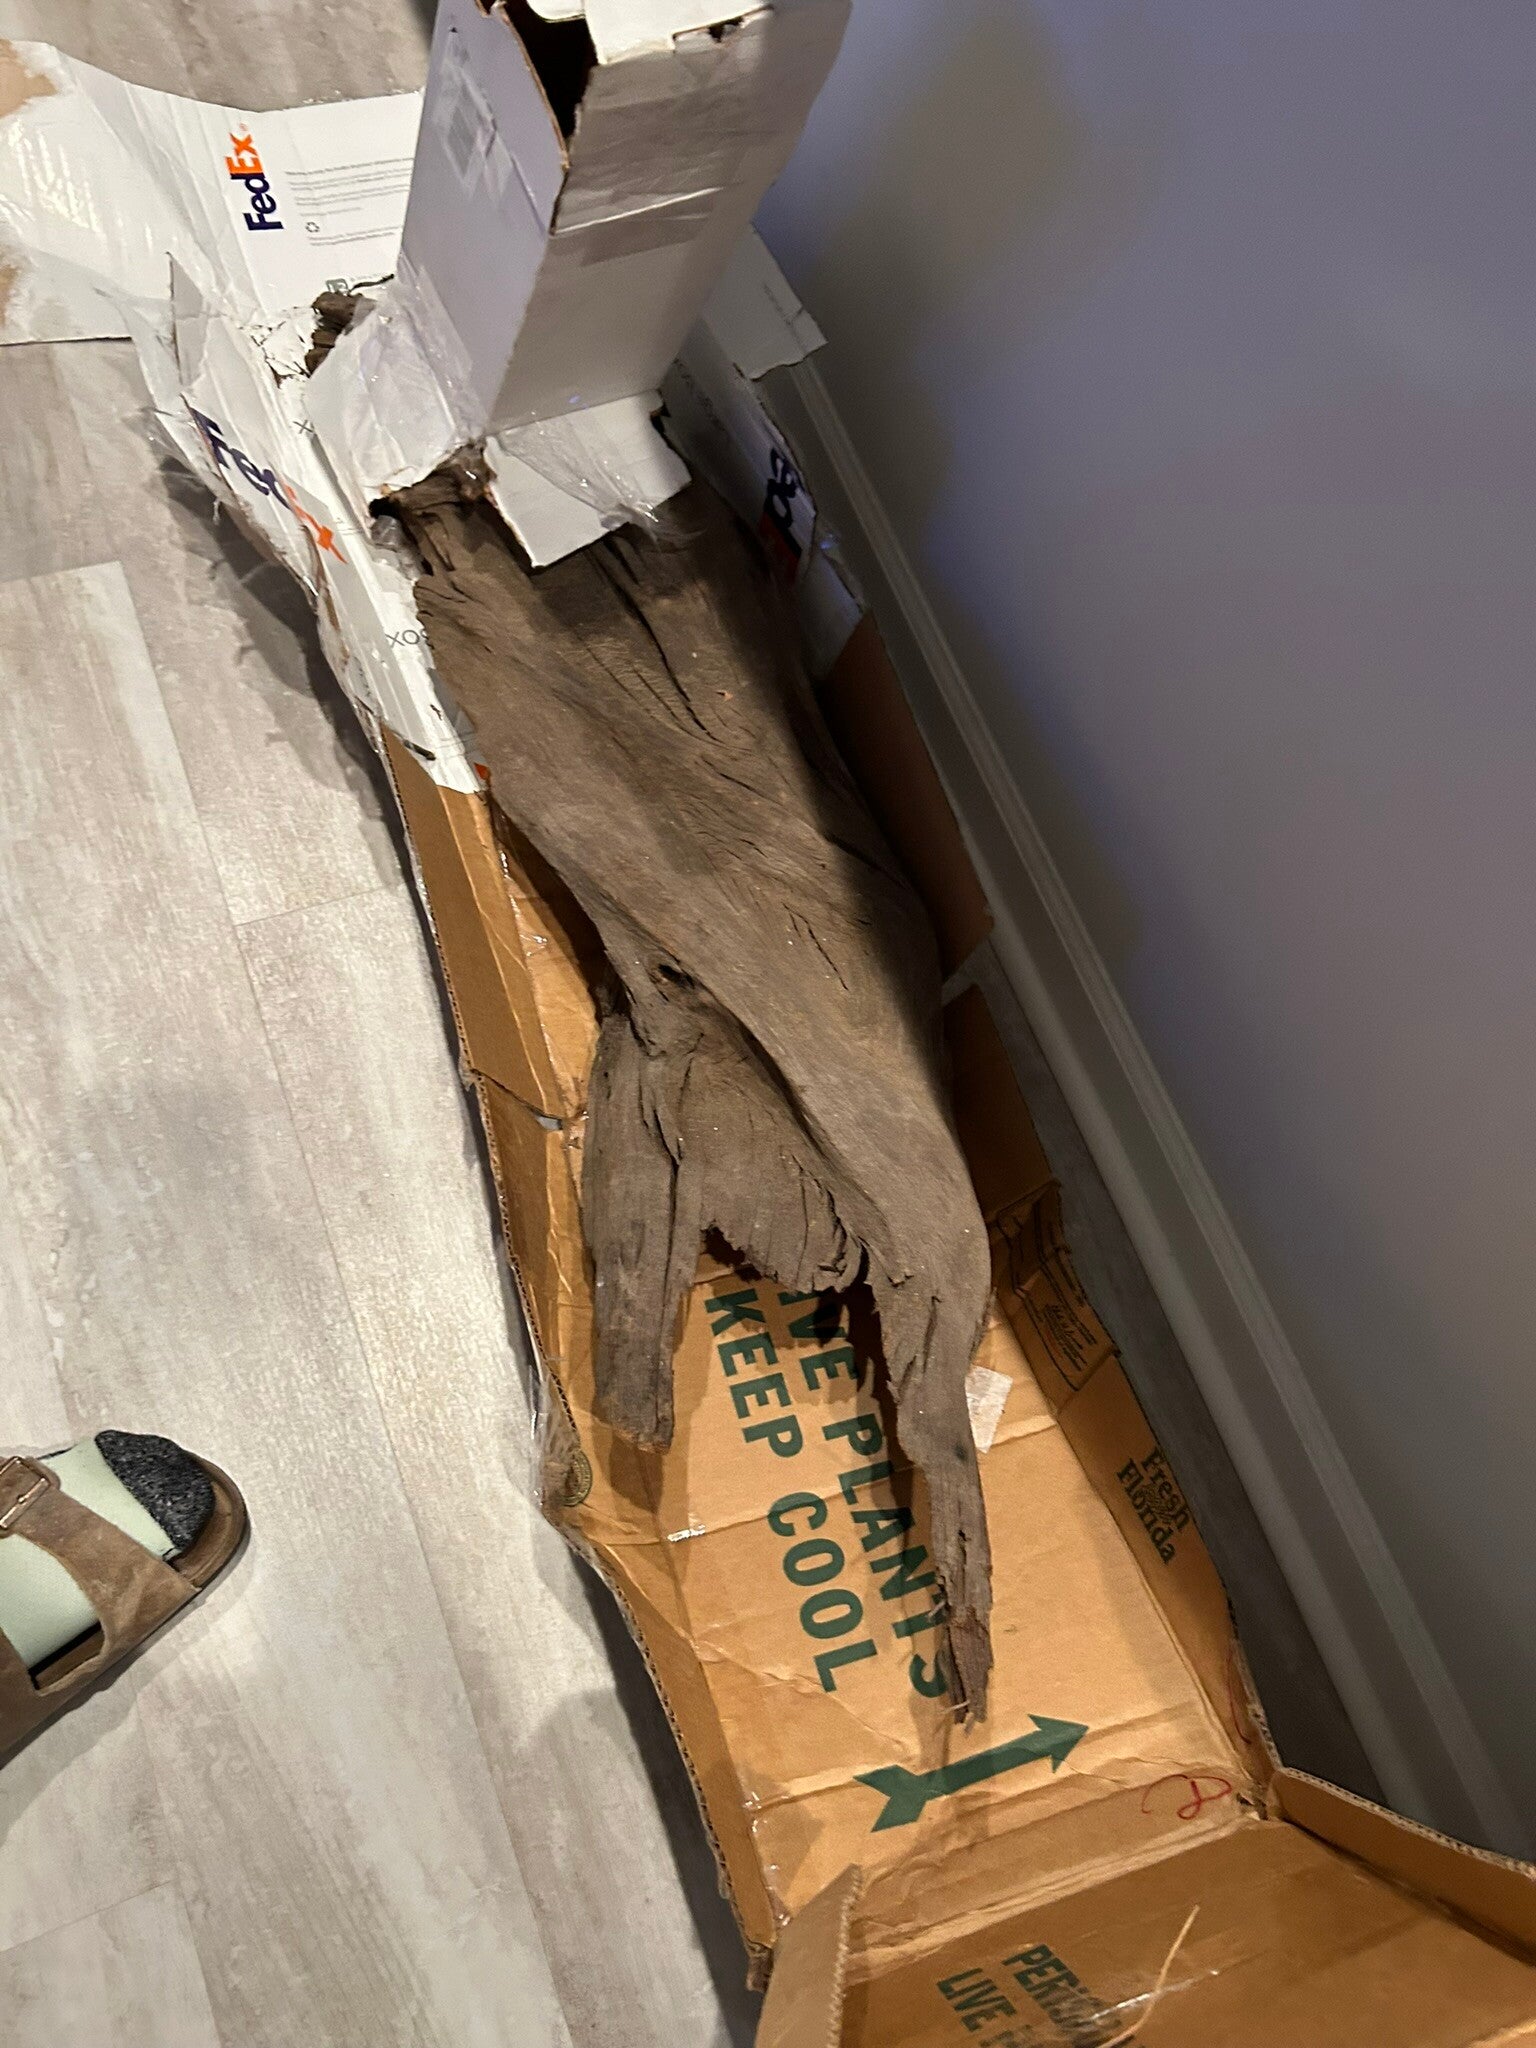
Yes, this is how they shipped it.
7 Nov 2023
Picked up these Seiryu rocks. Getting an idea of how I want them setup in the tank.
21 Dec 2023
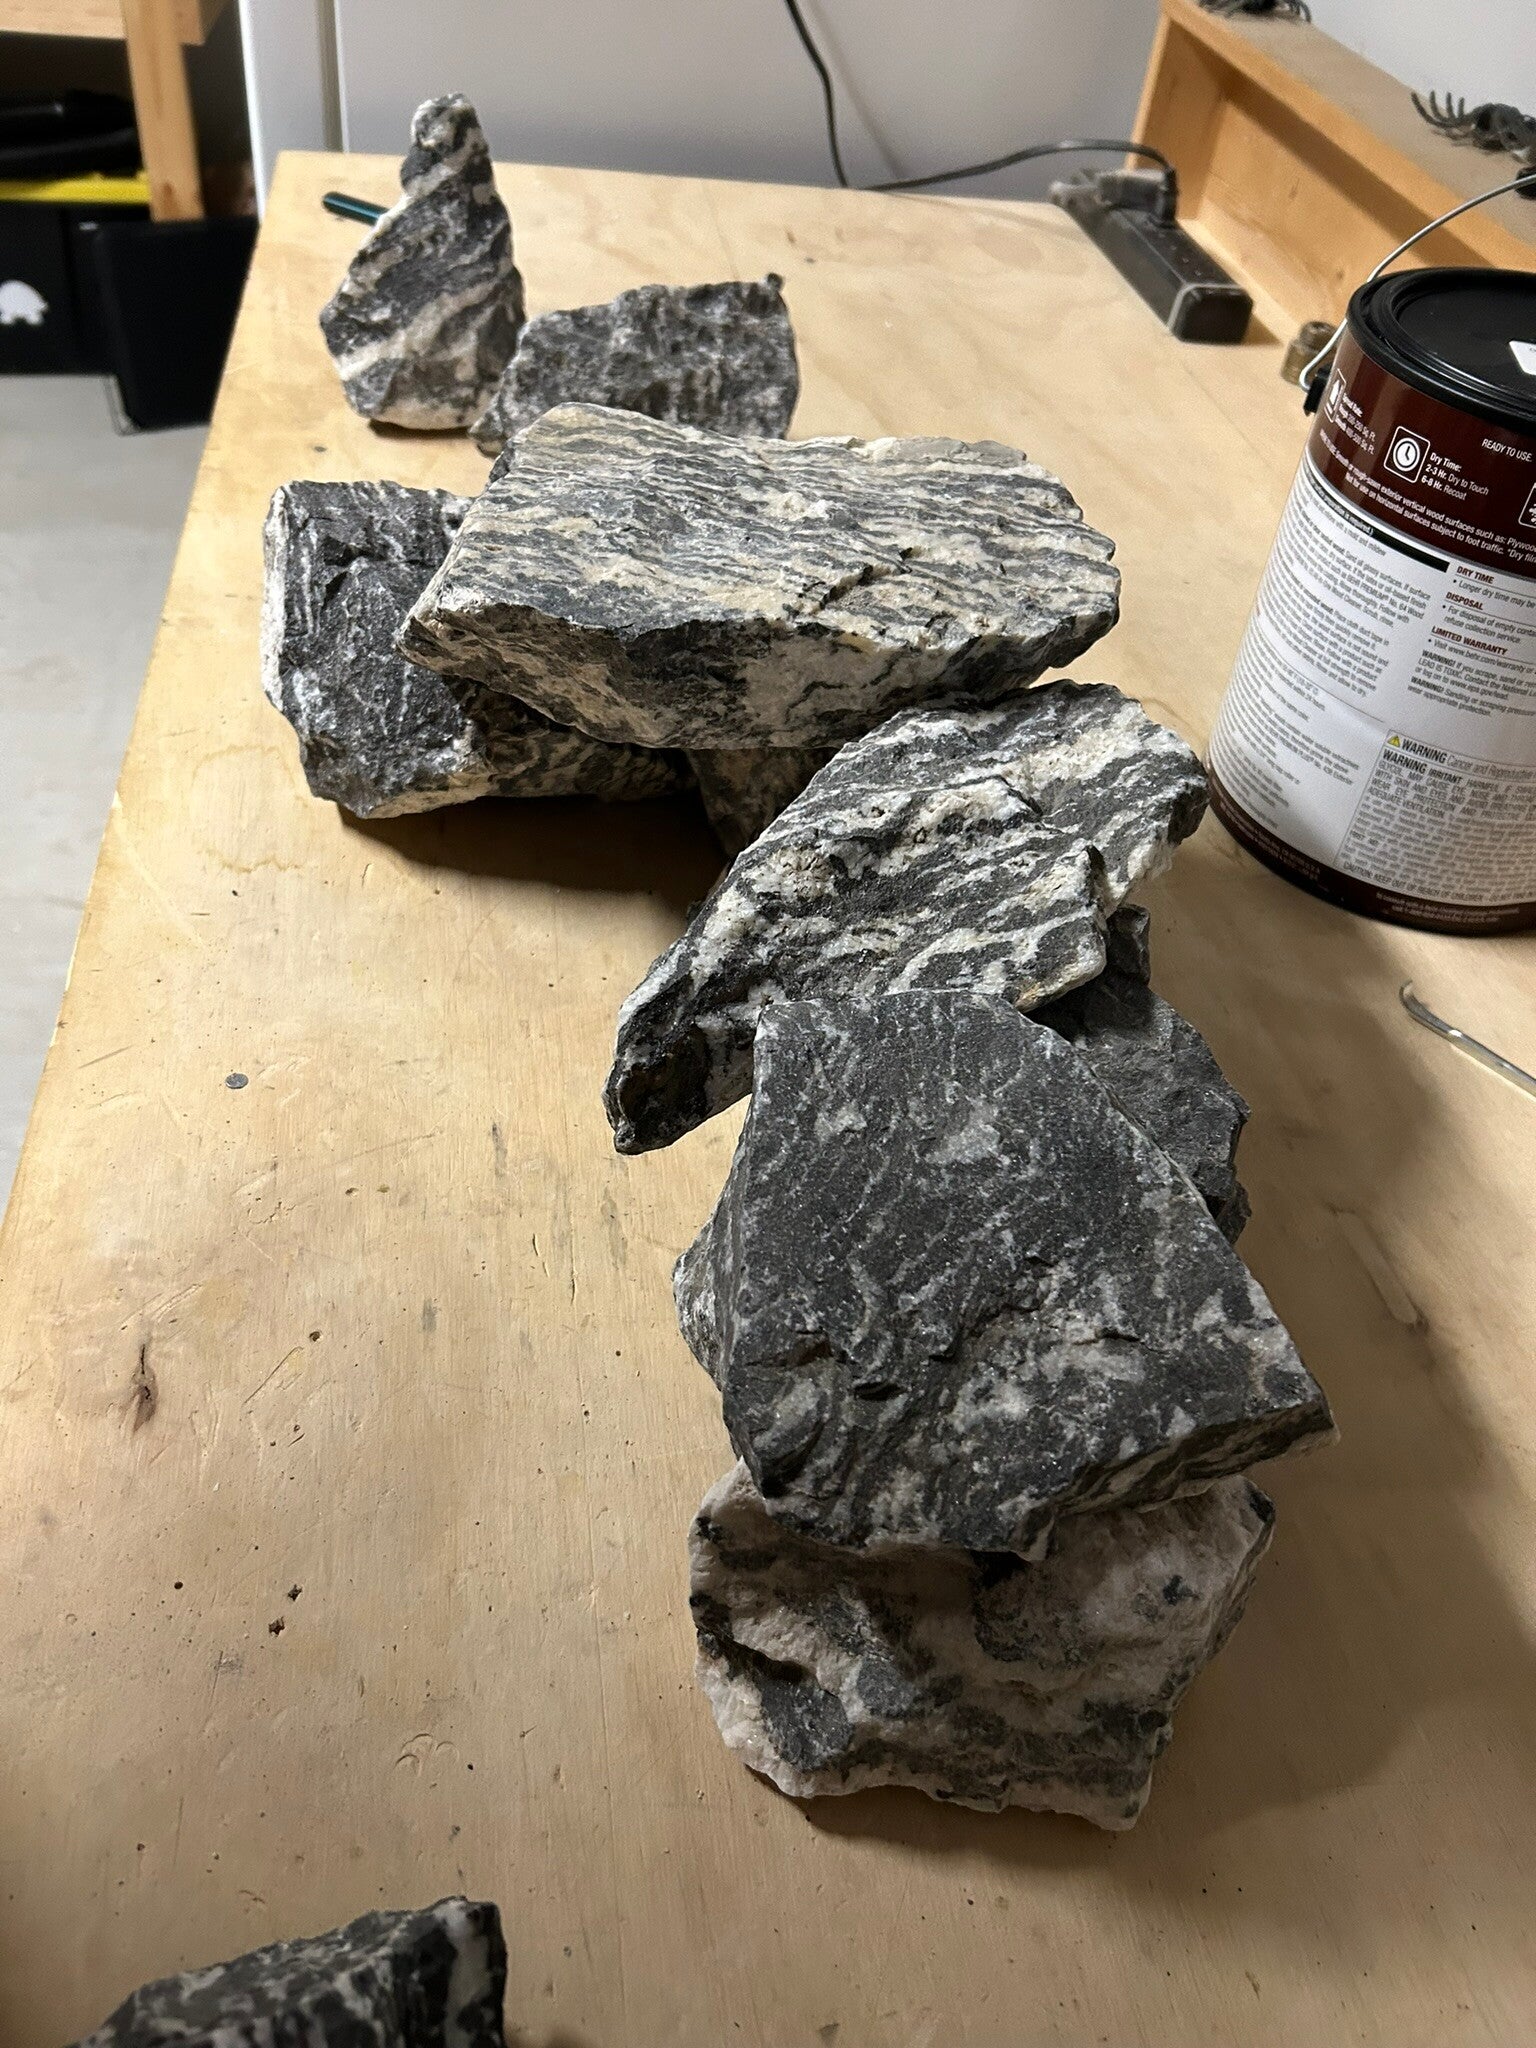
Seiryu rocks
21 Dec 23
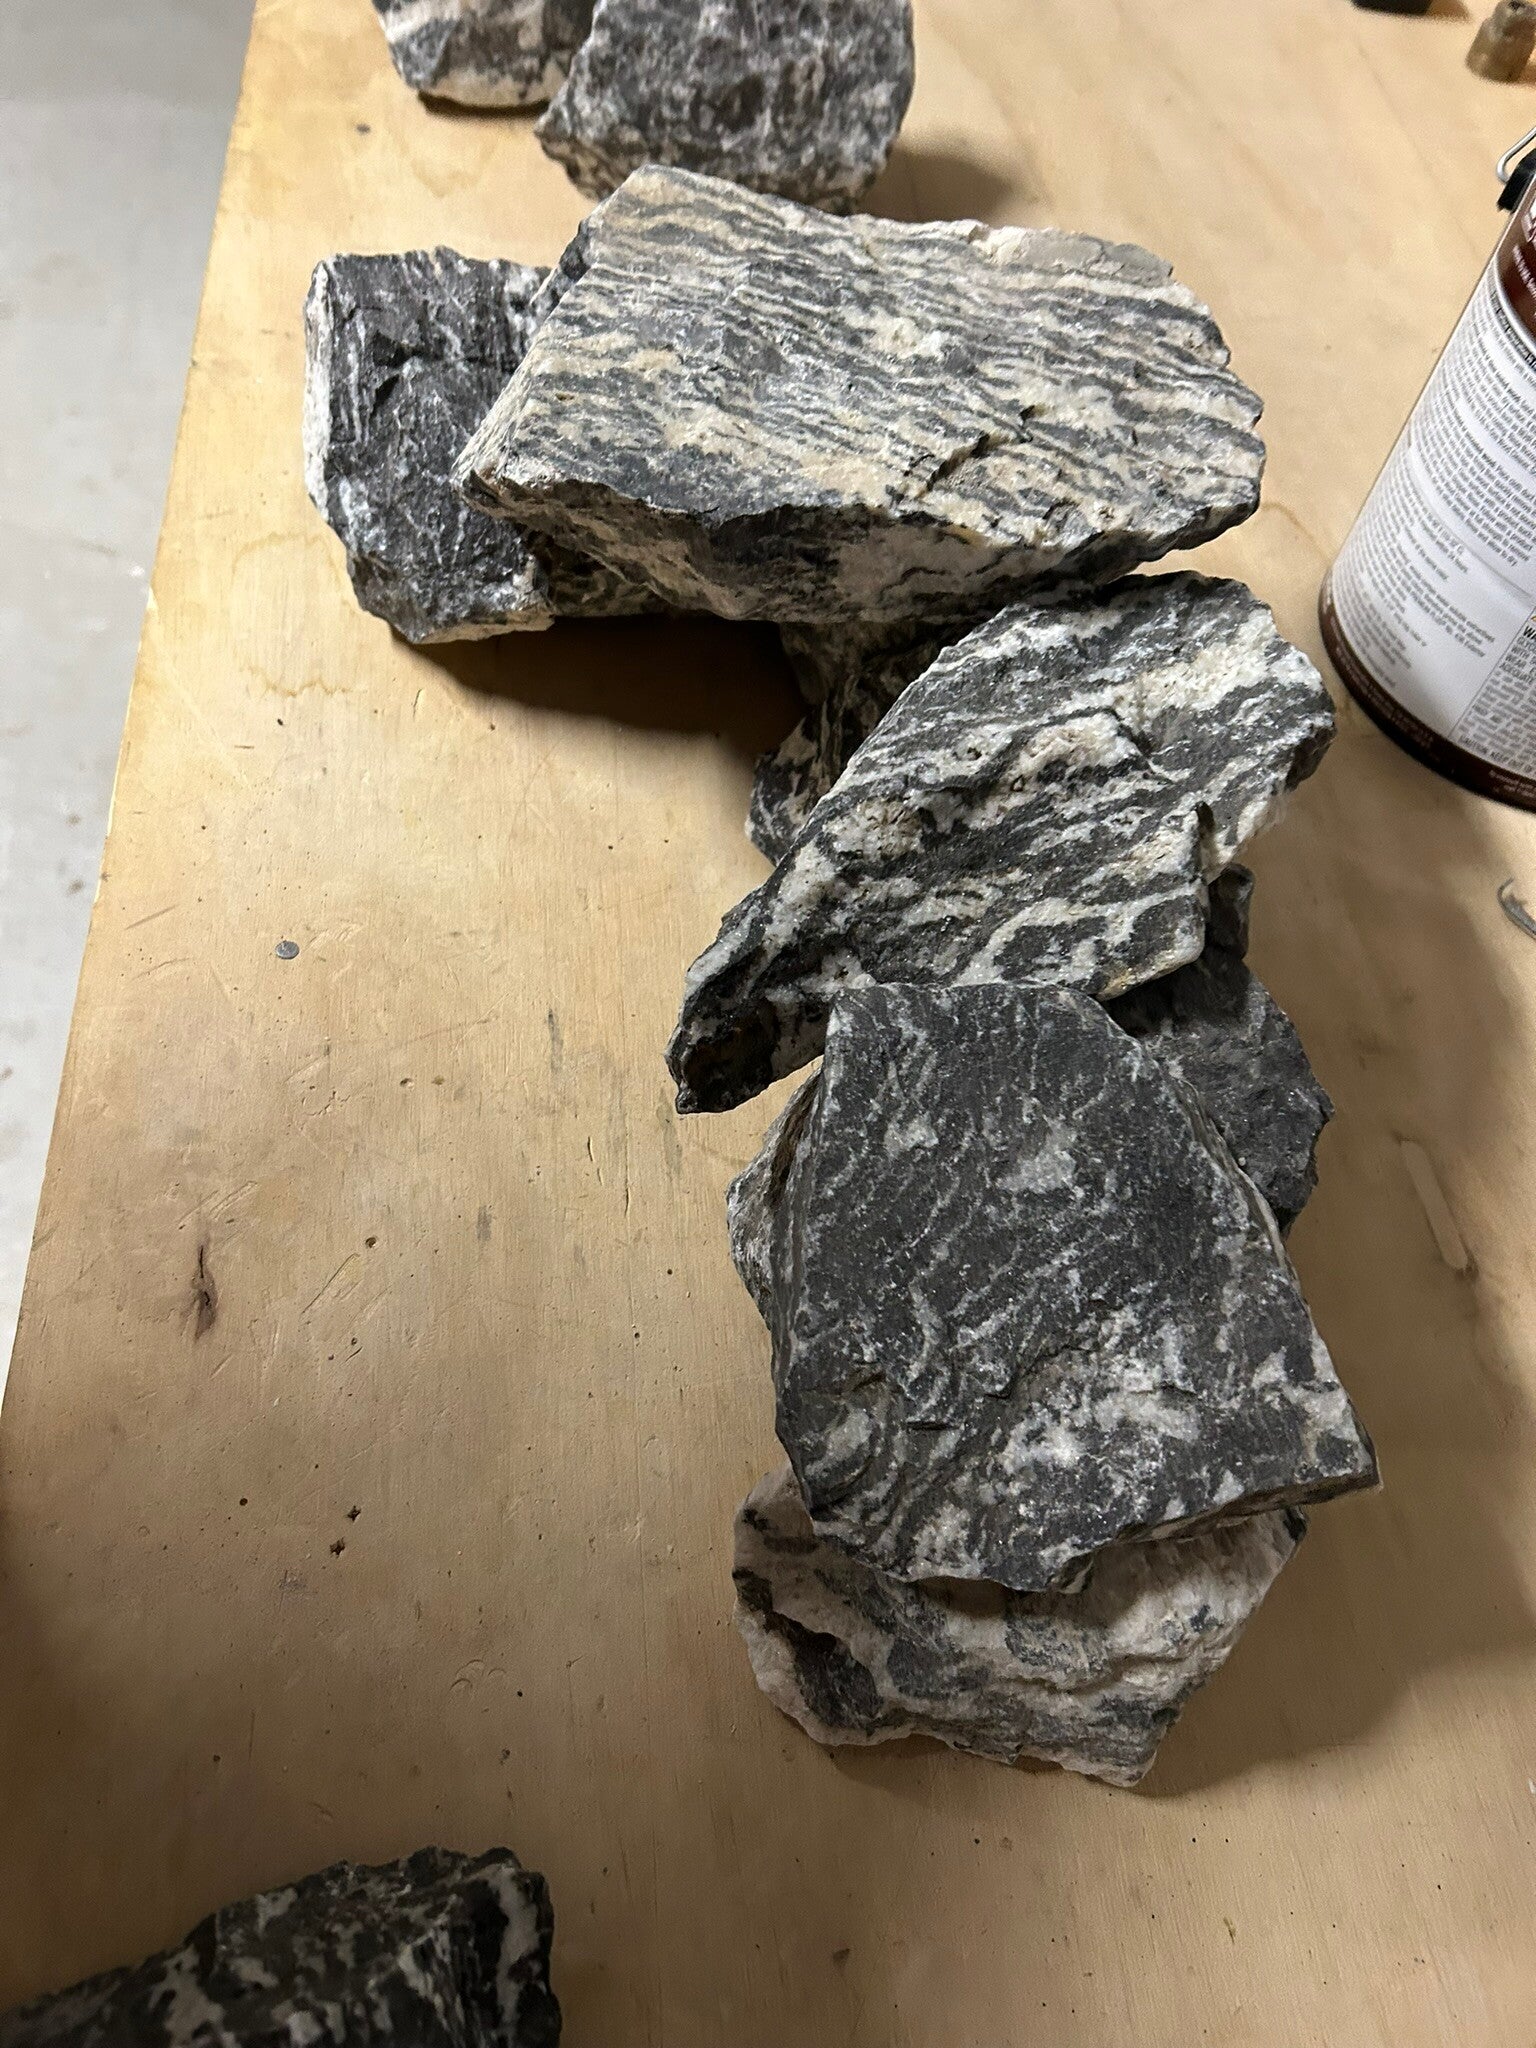
Seiryu rocks
21 Dec 23
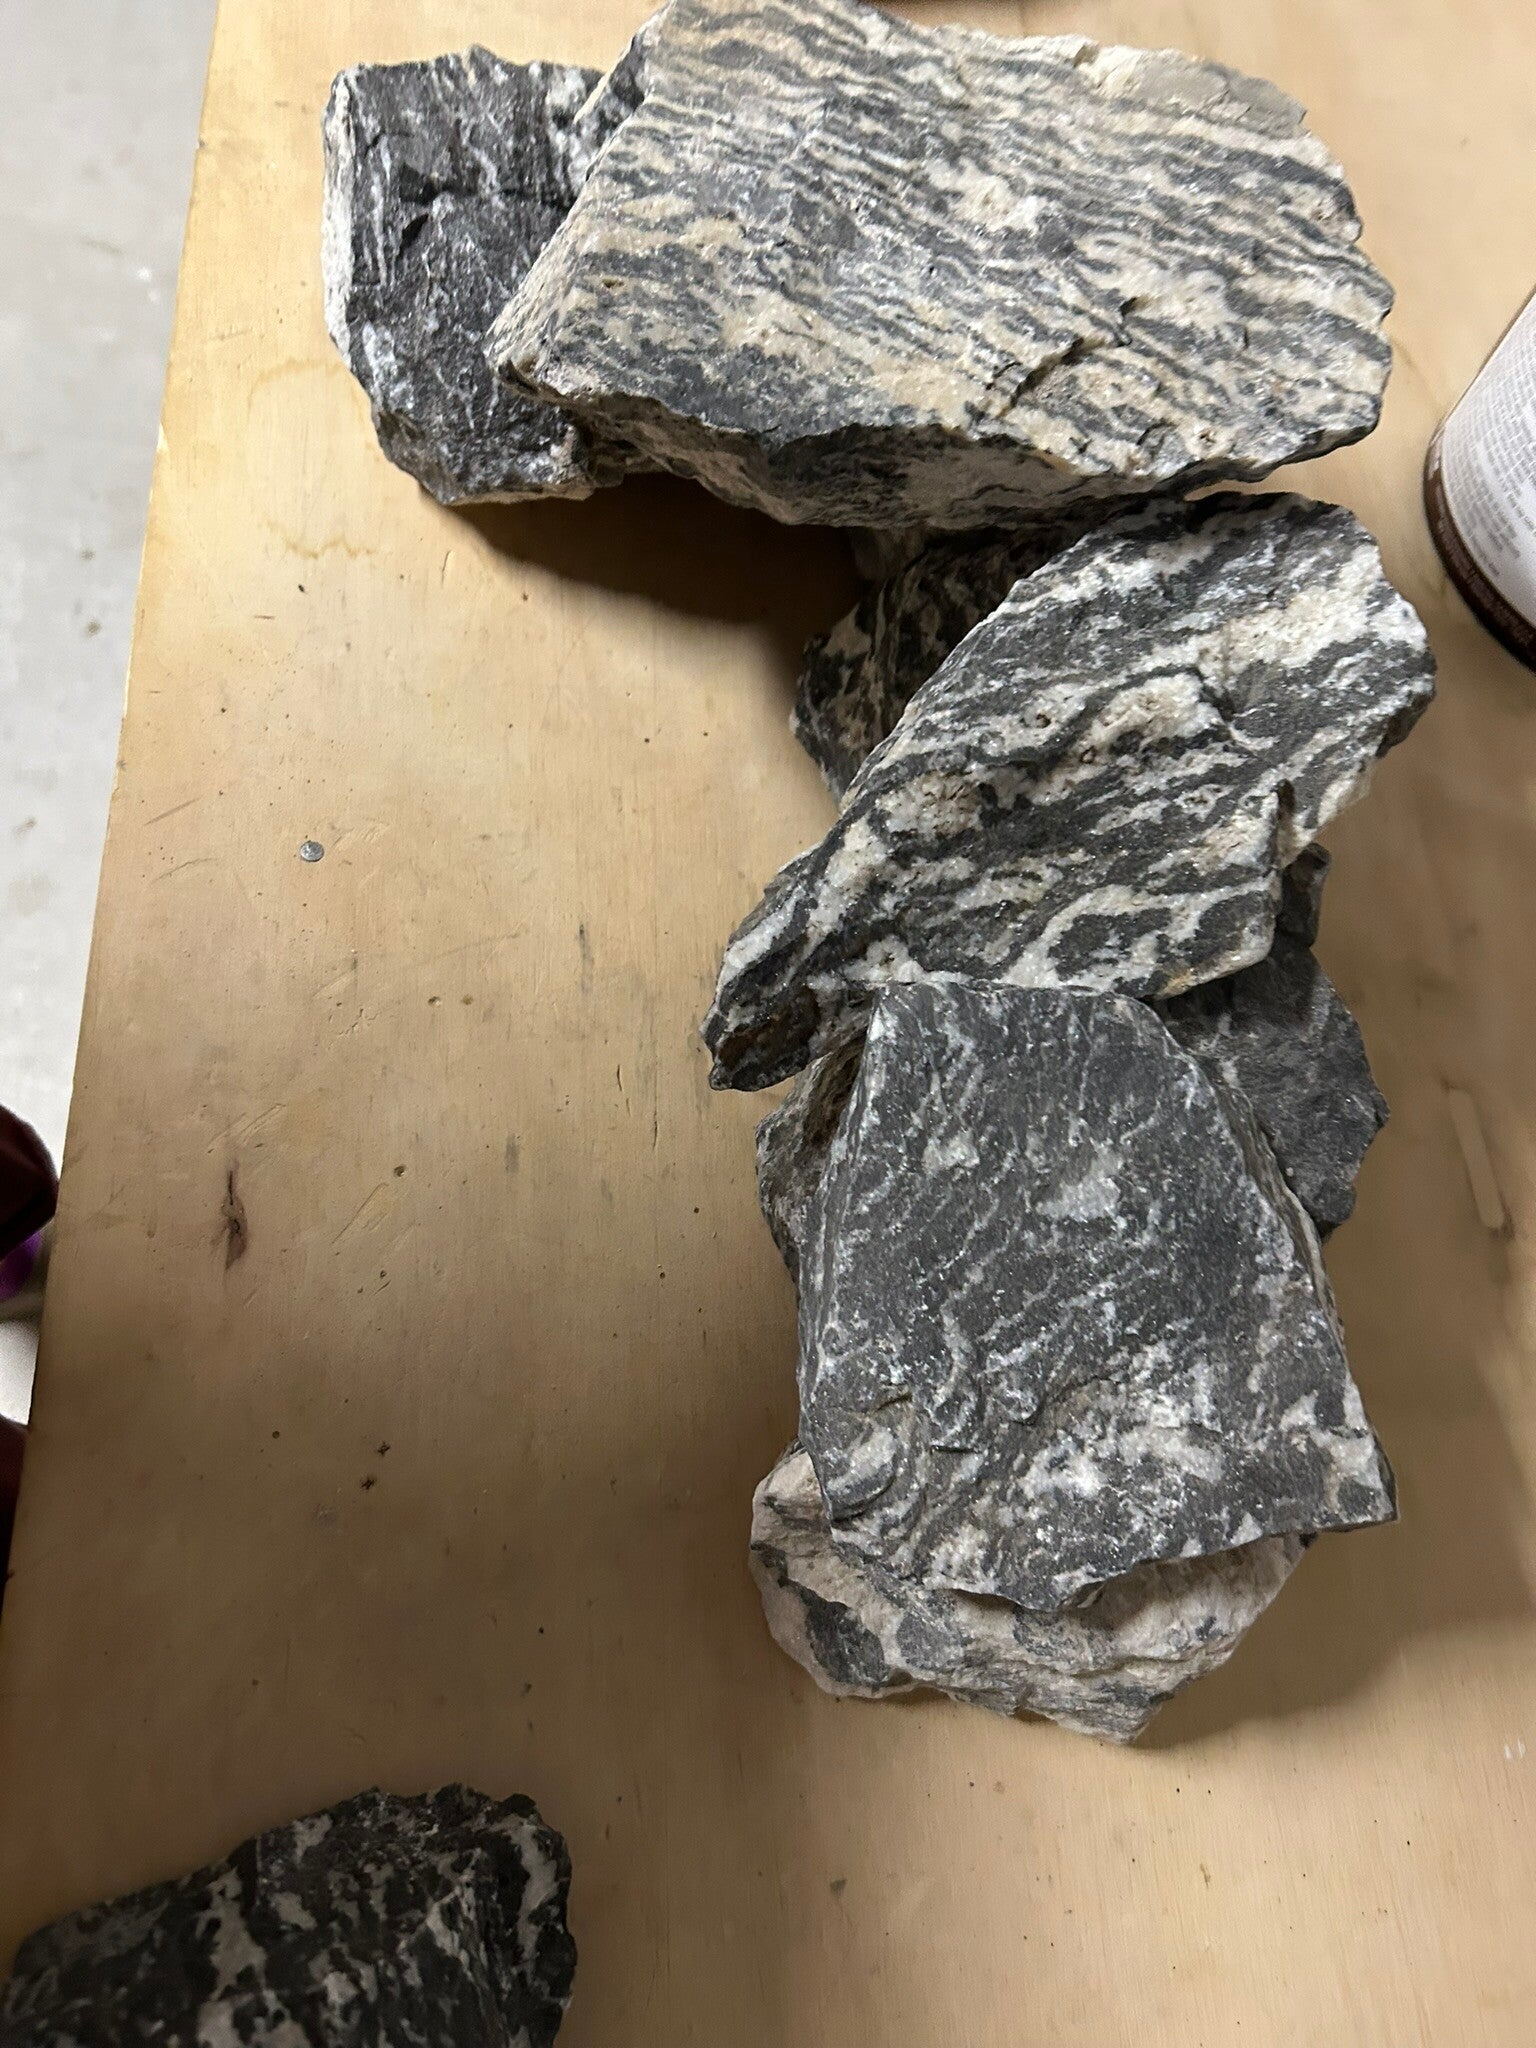
Seiryu rocks
21 Dec 23
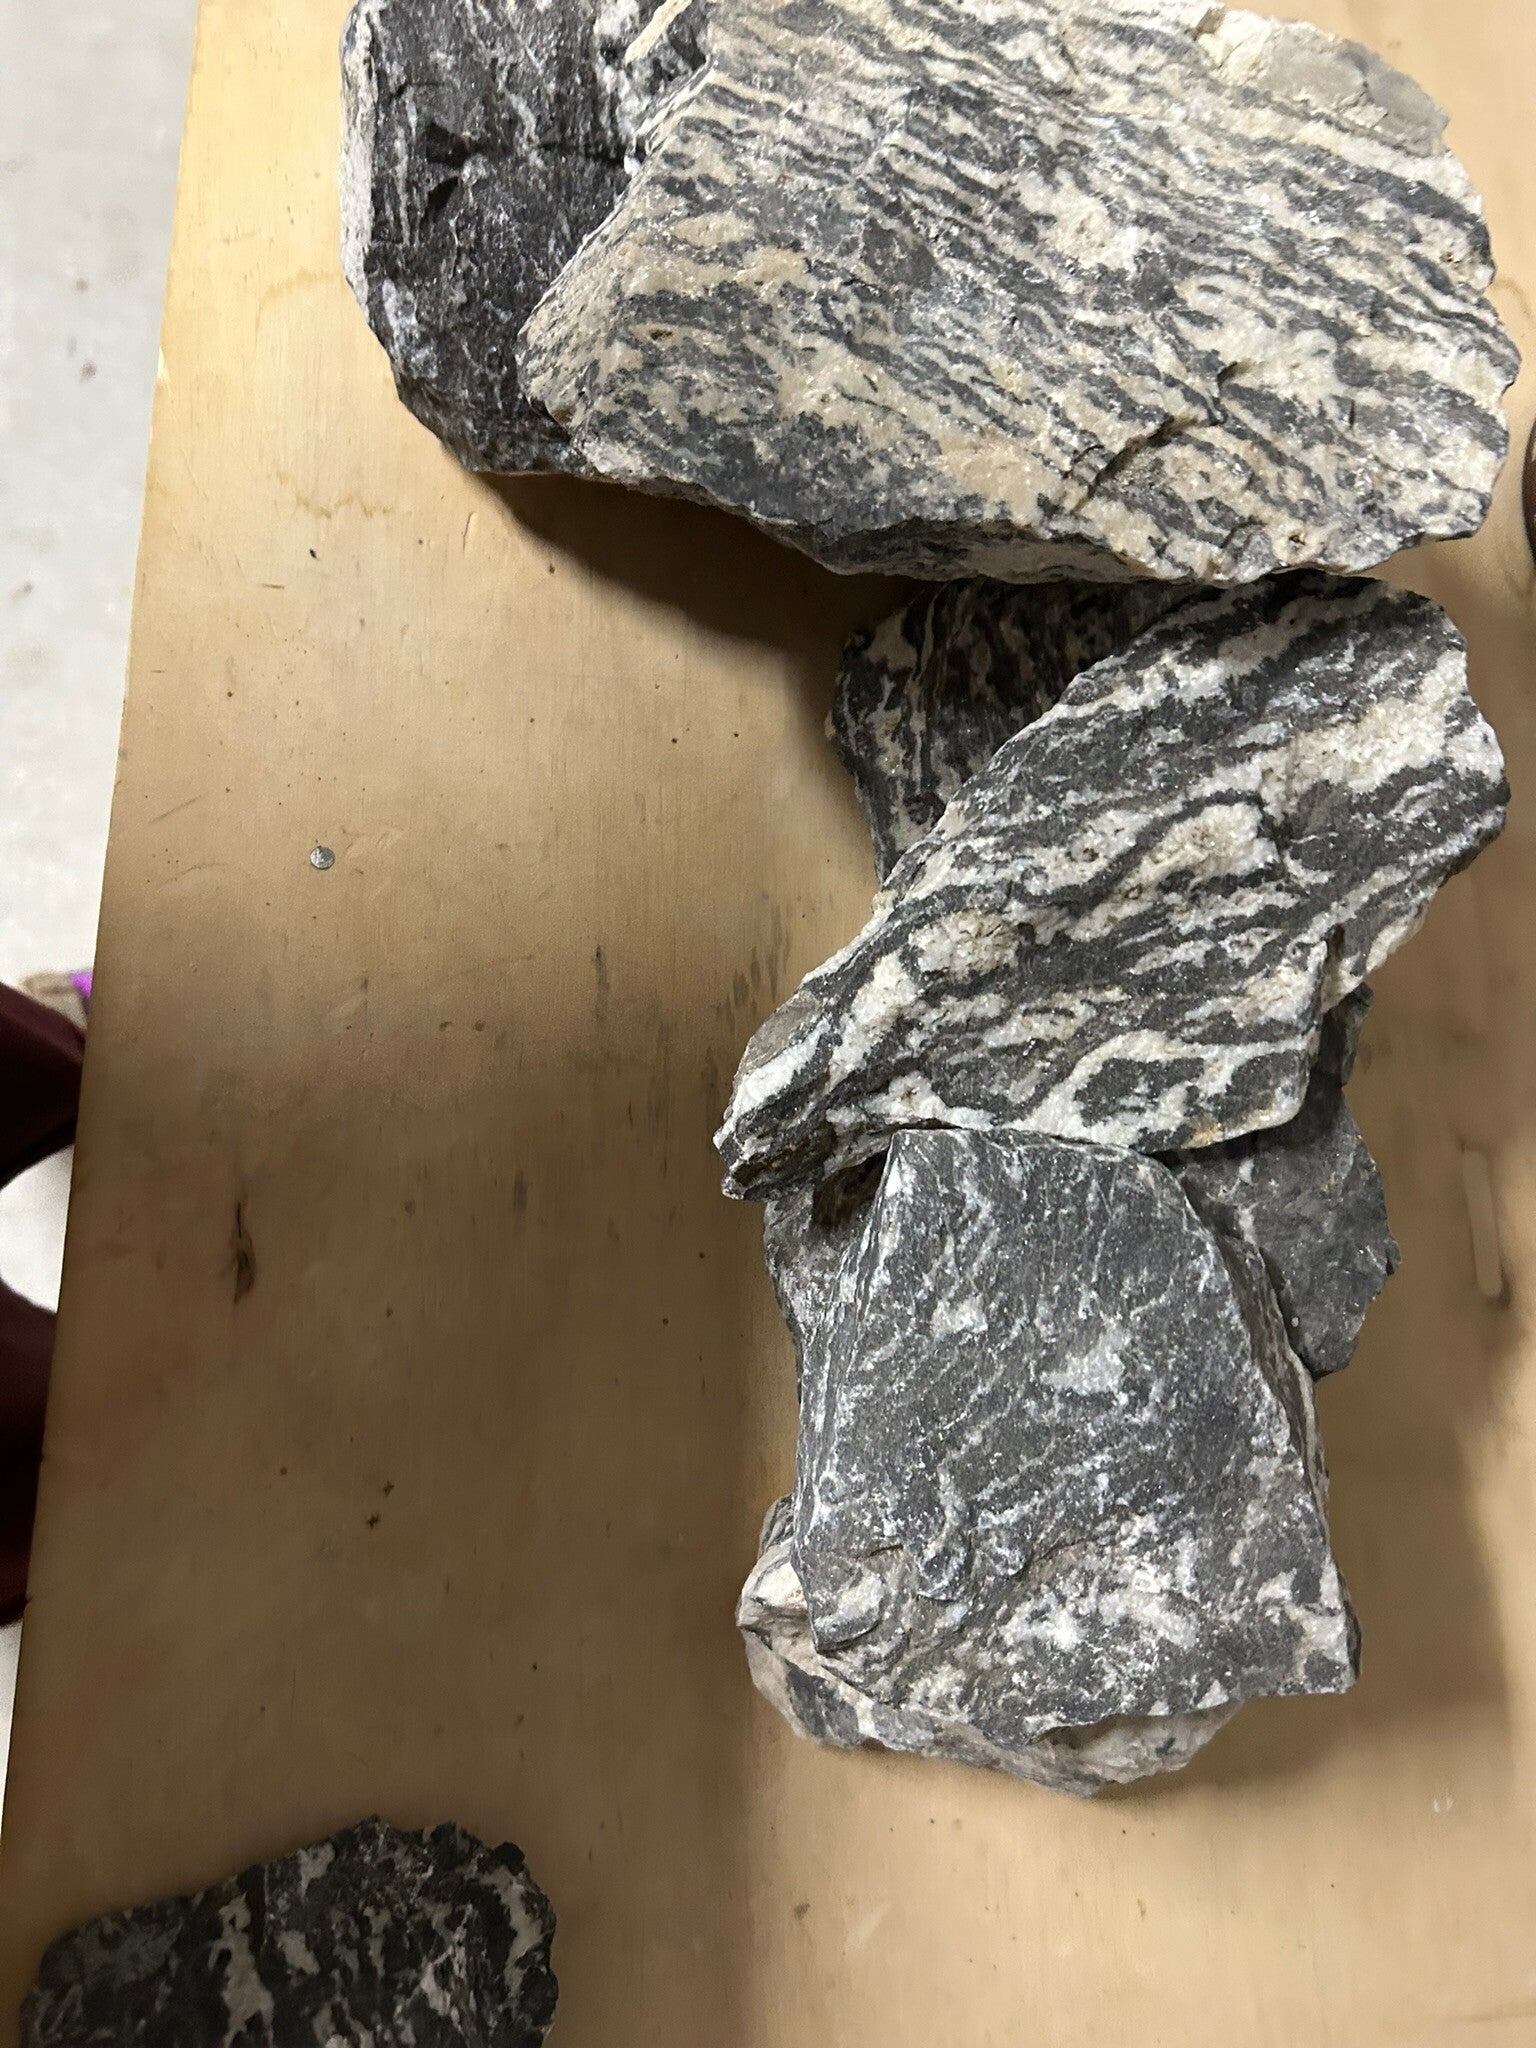
Seiryu rocks
21 Dec 23
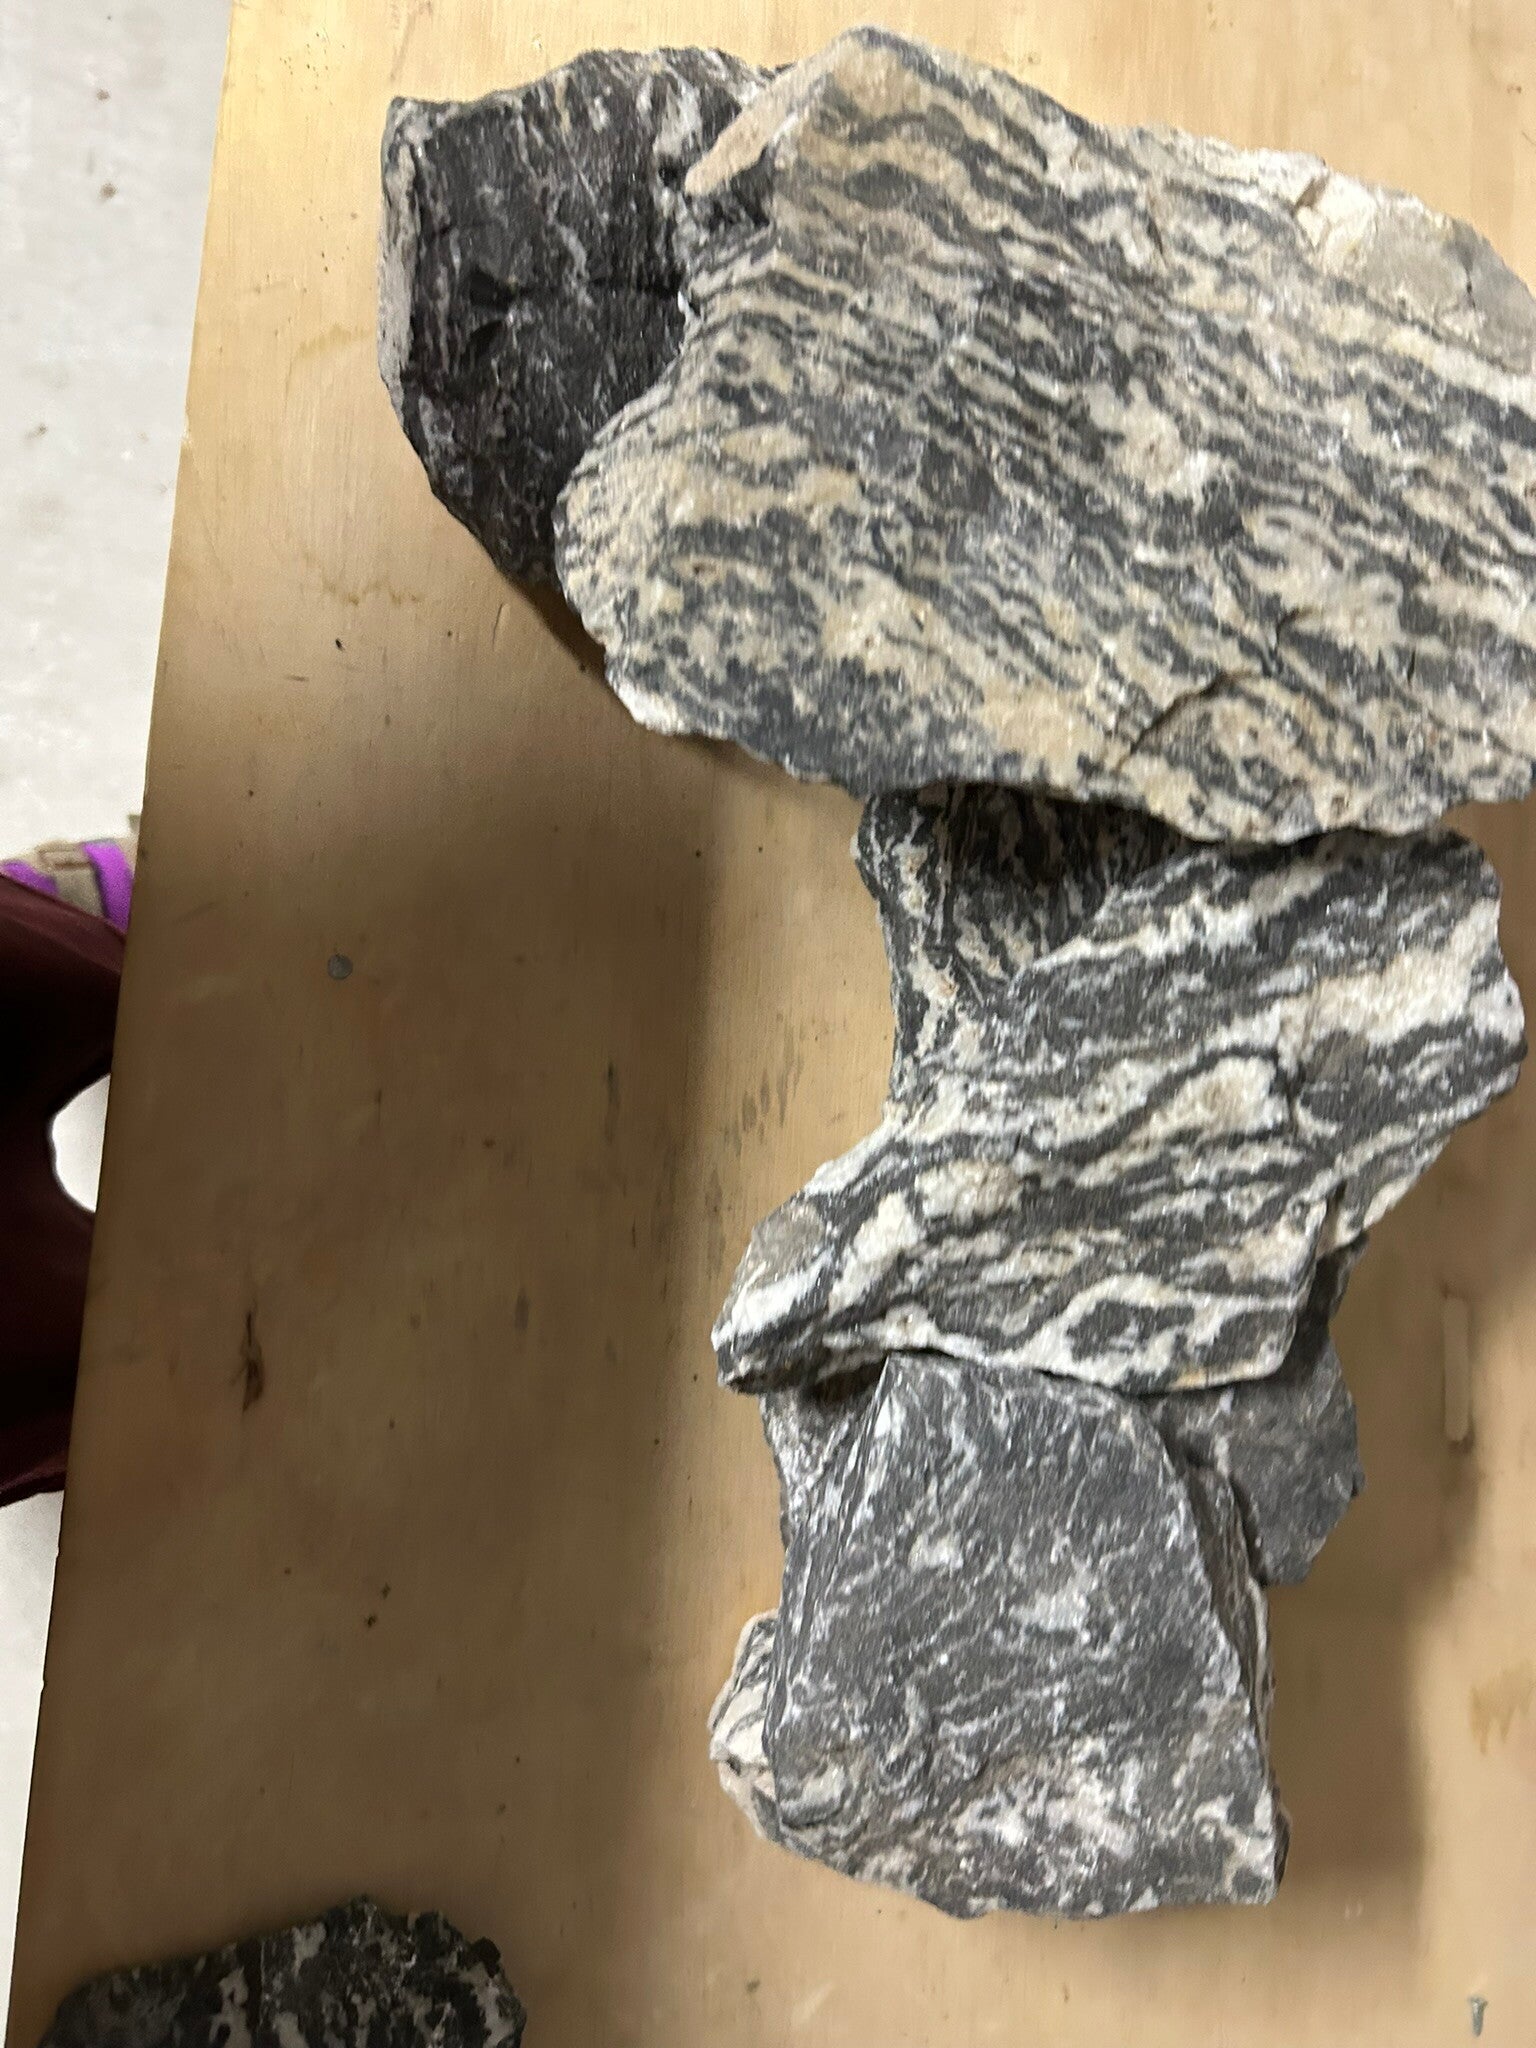
Seiryu rocks
21 Dec 23
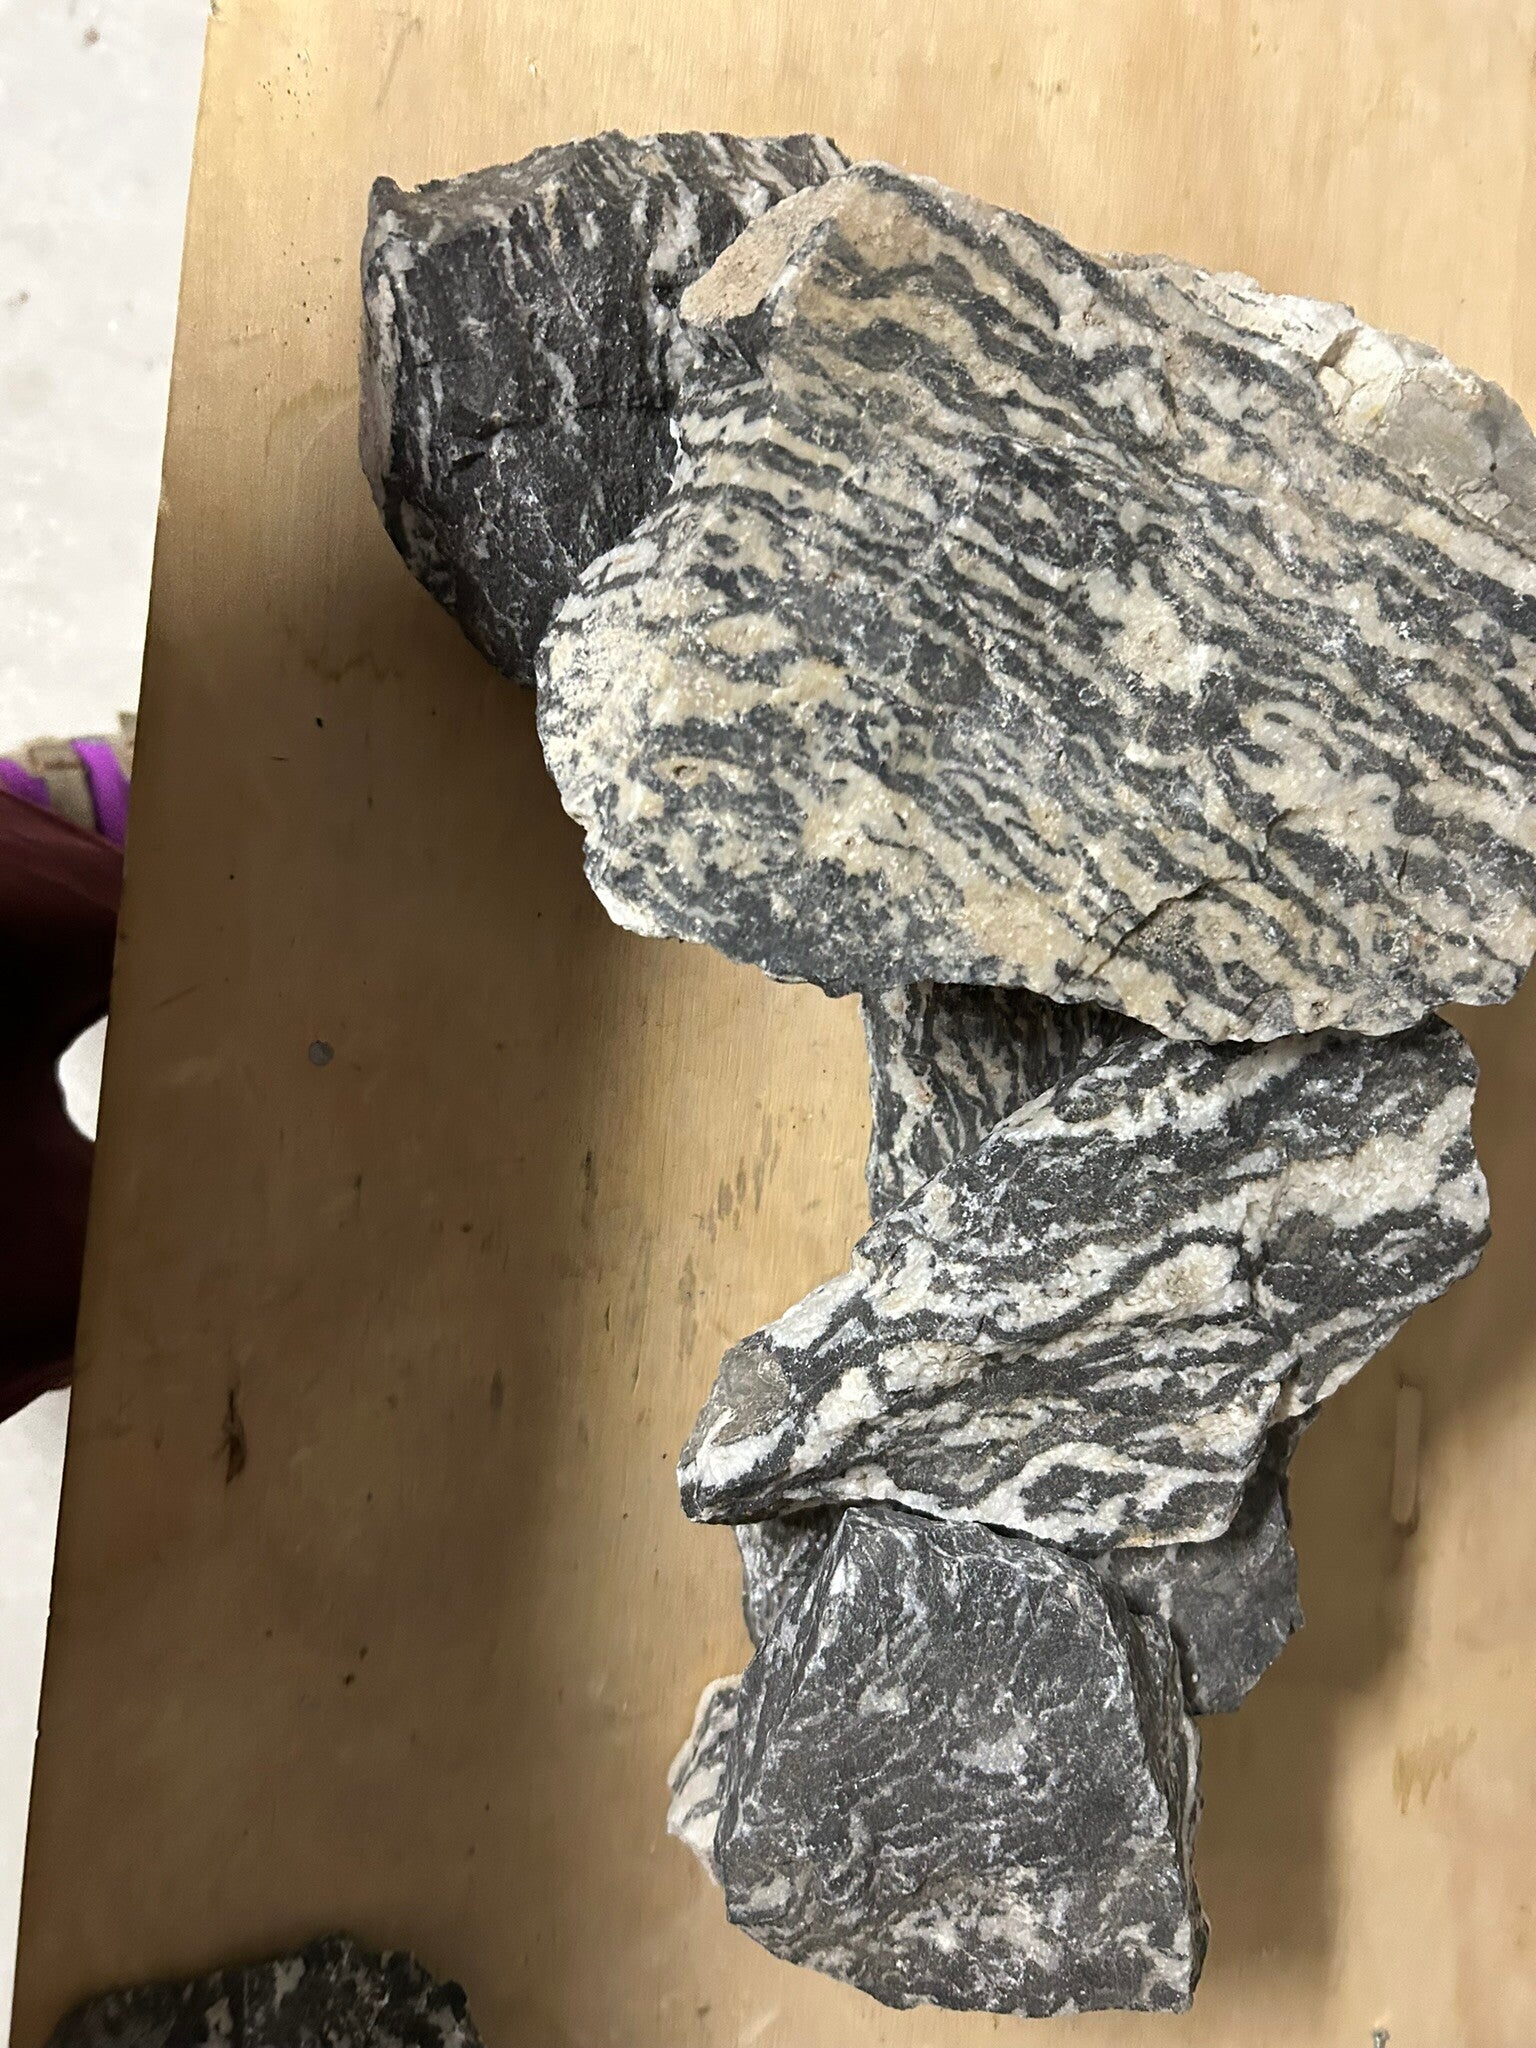
Seiryu rocks
21 Dec 23
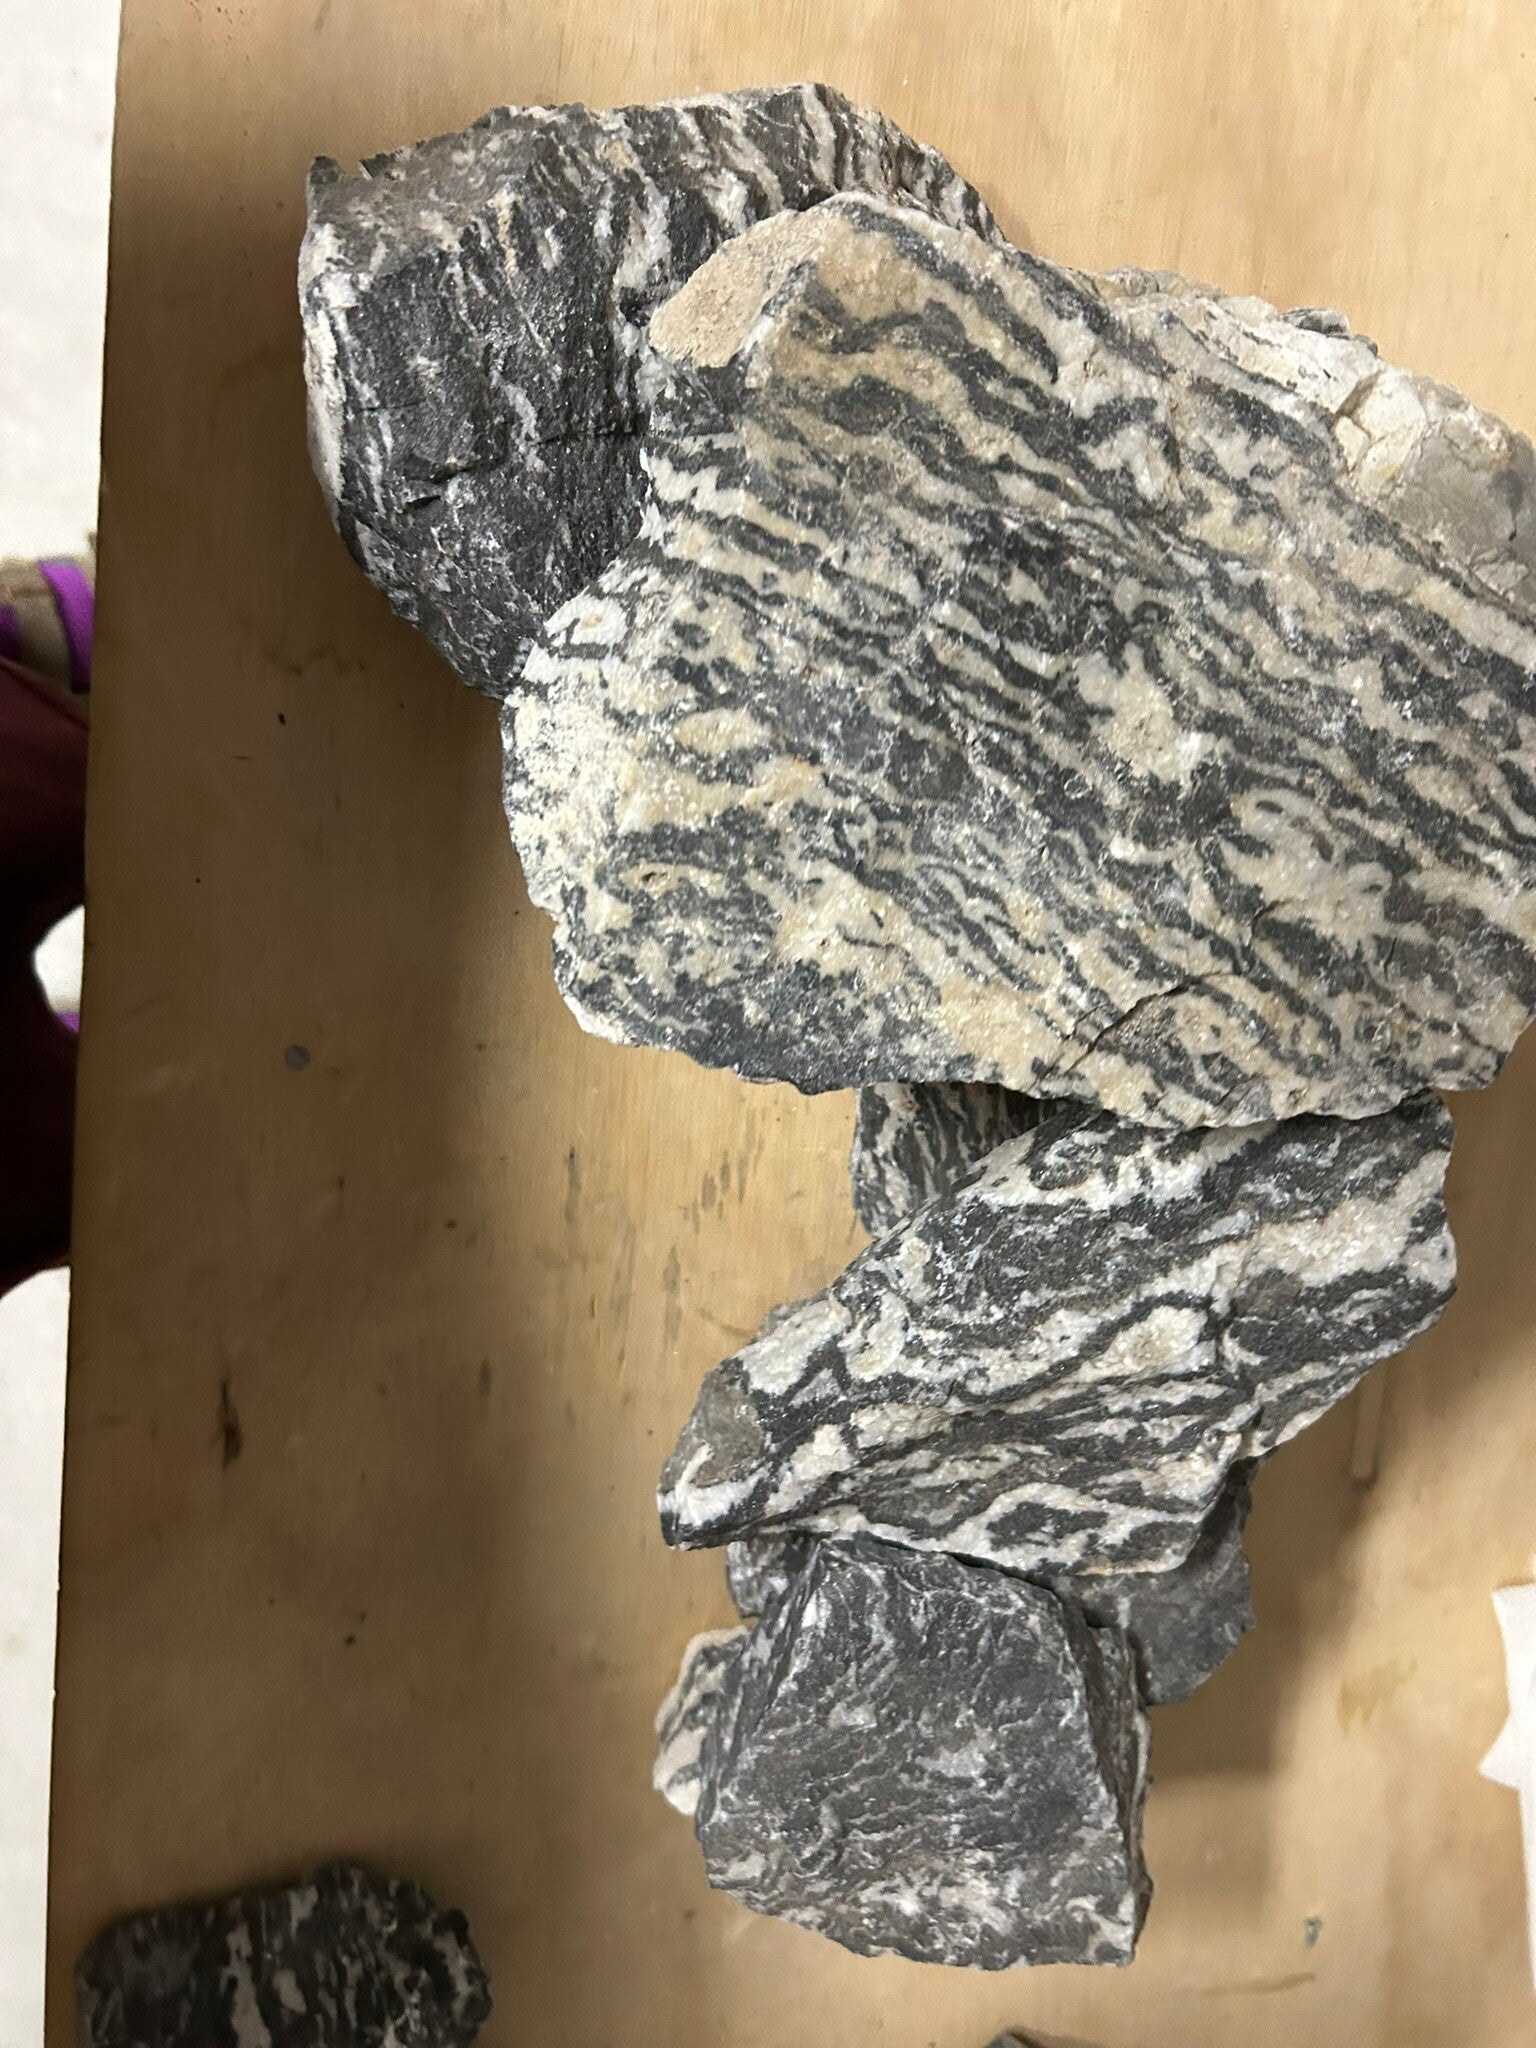
Seiryu rocks
21 Dec 23
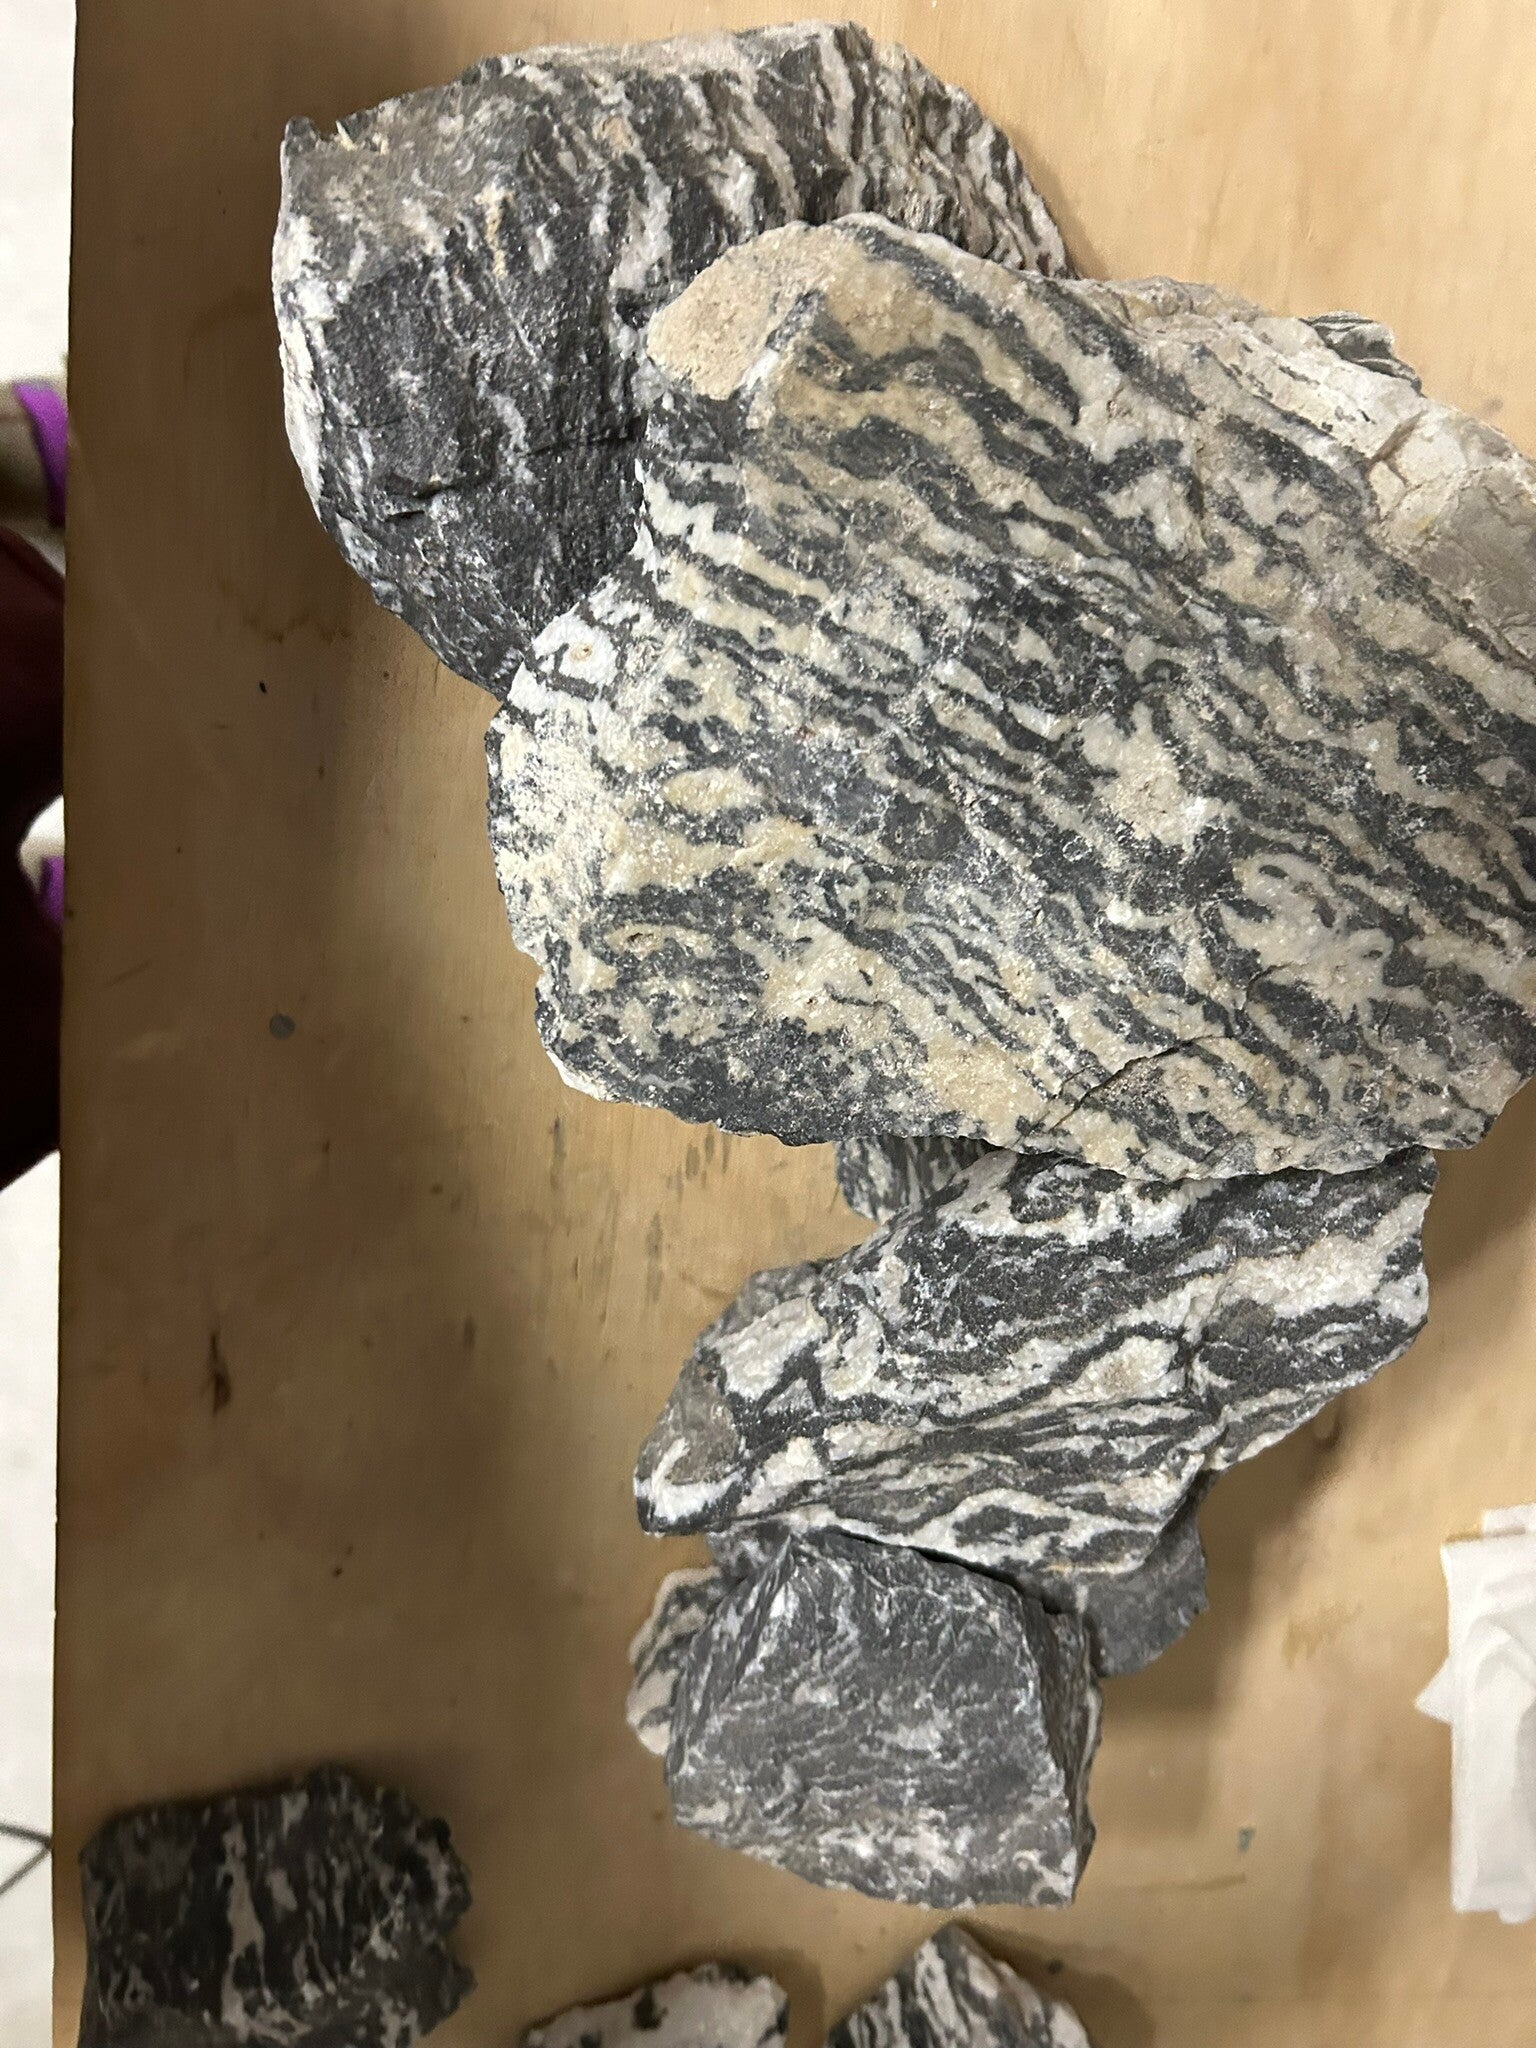
Seiryu rocks
21 Dec 23
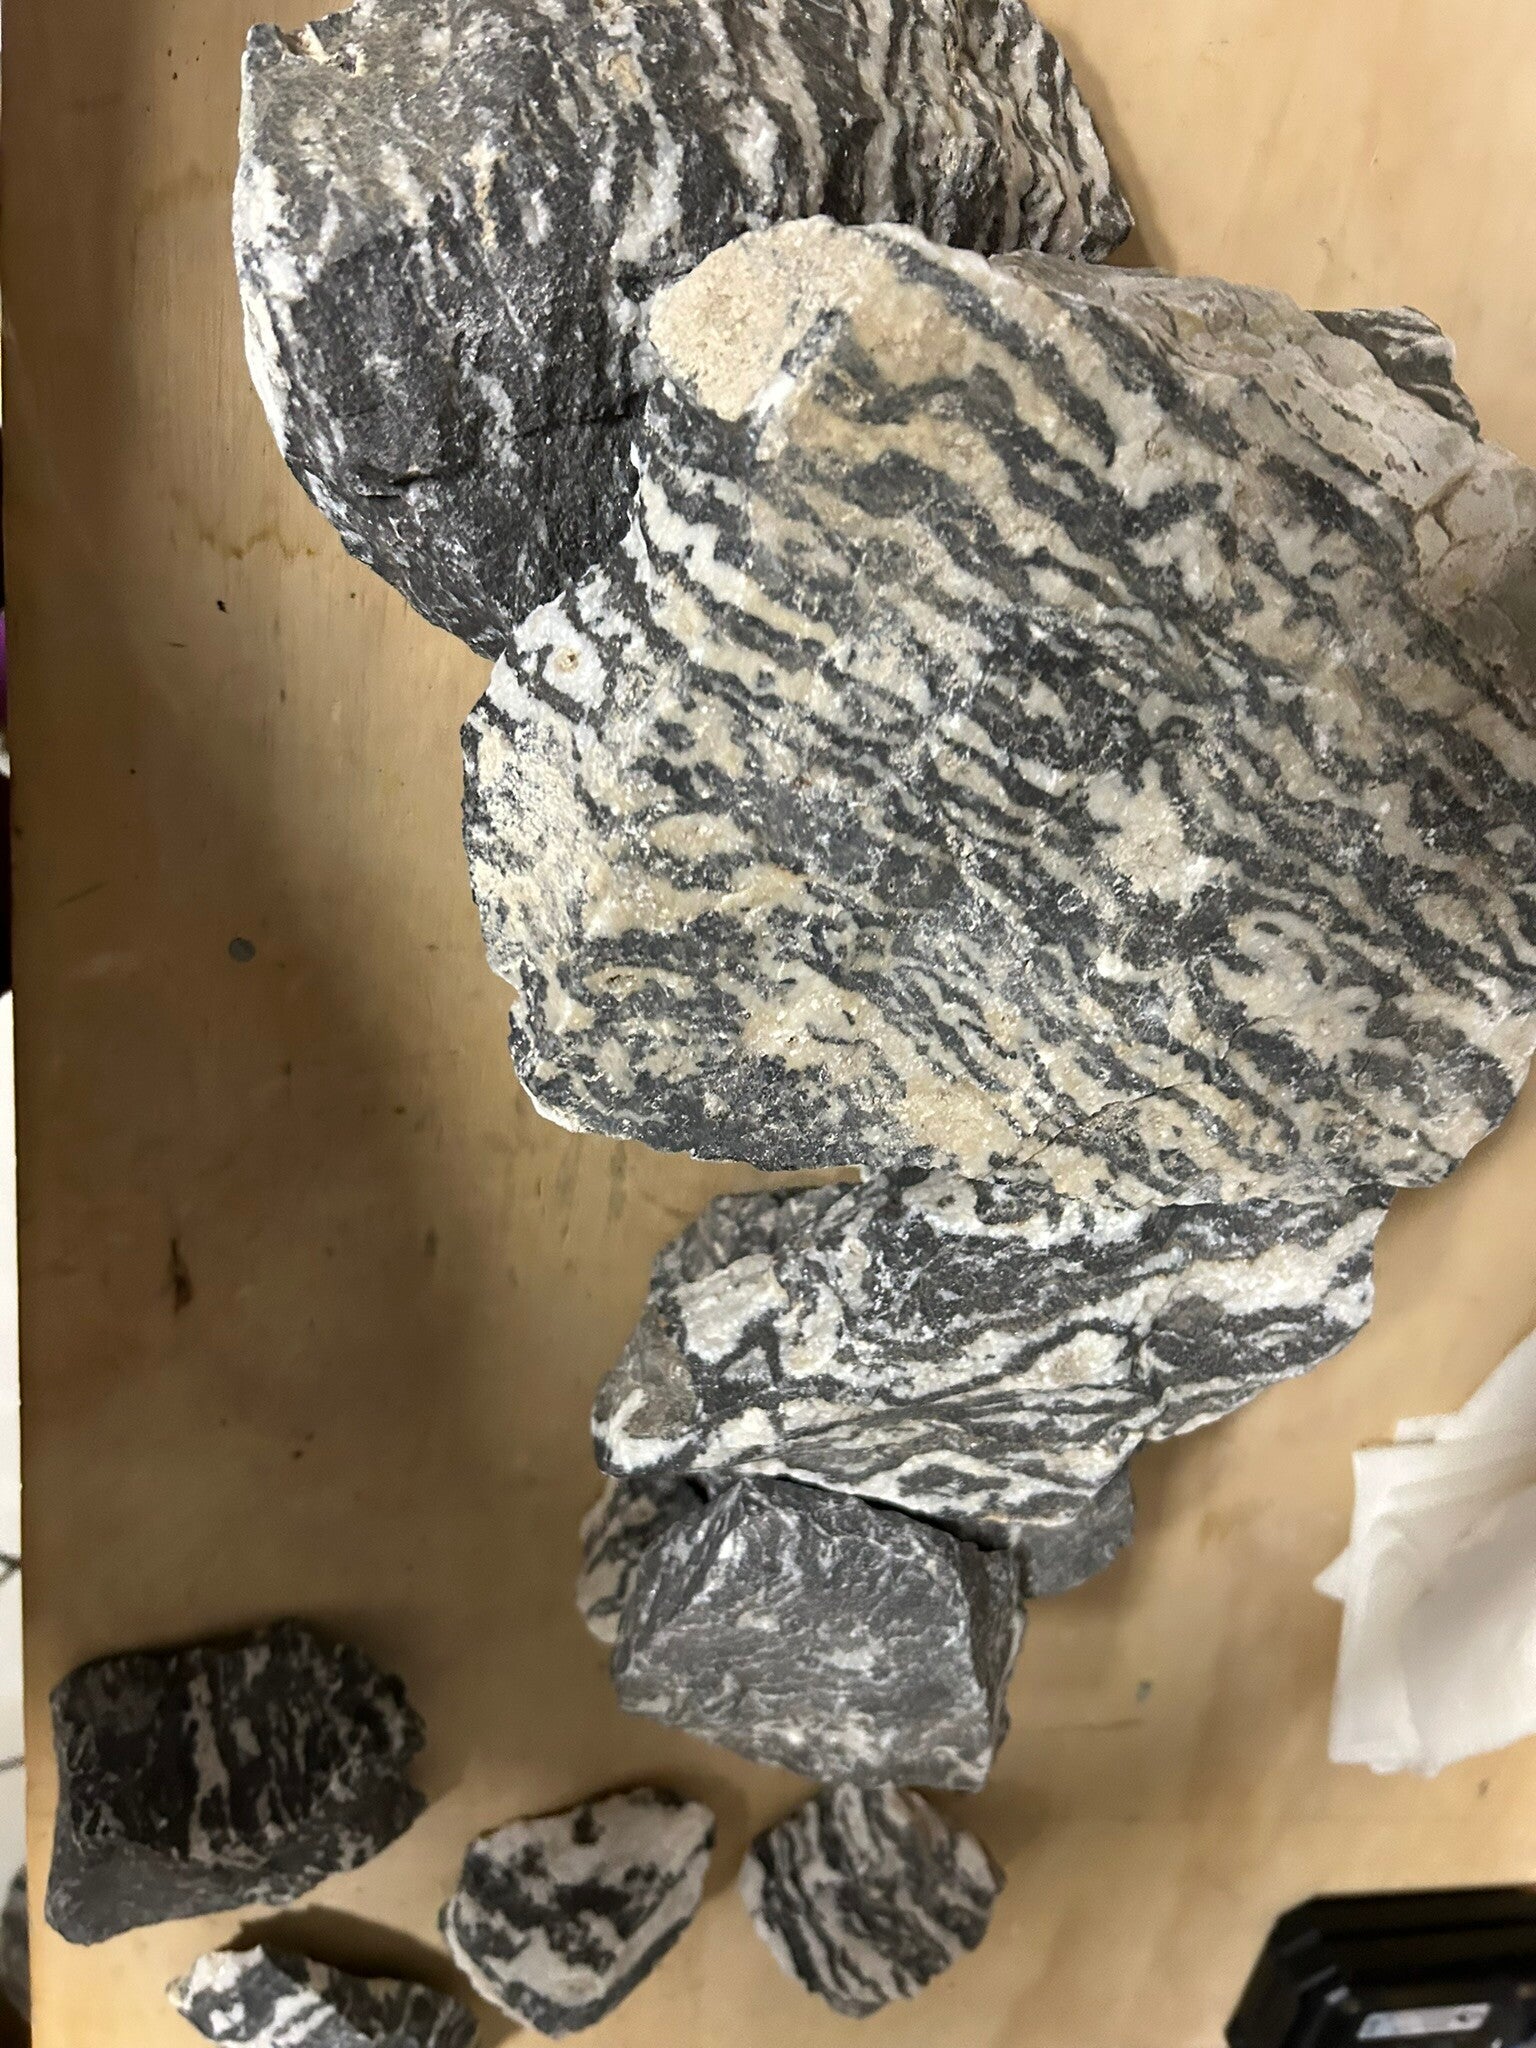
Seiryu rocks
21 Dec 23
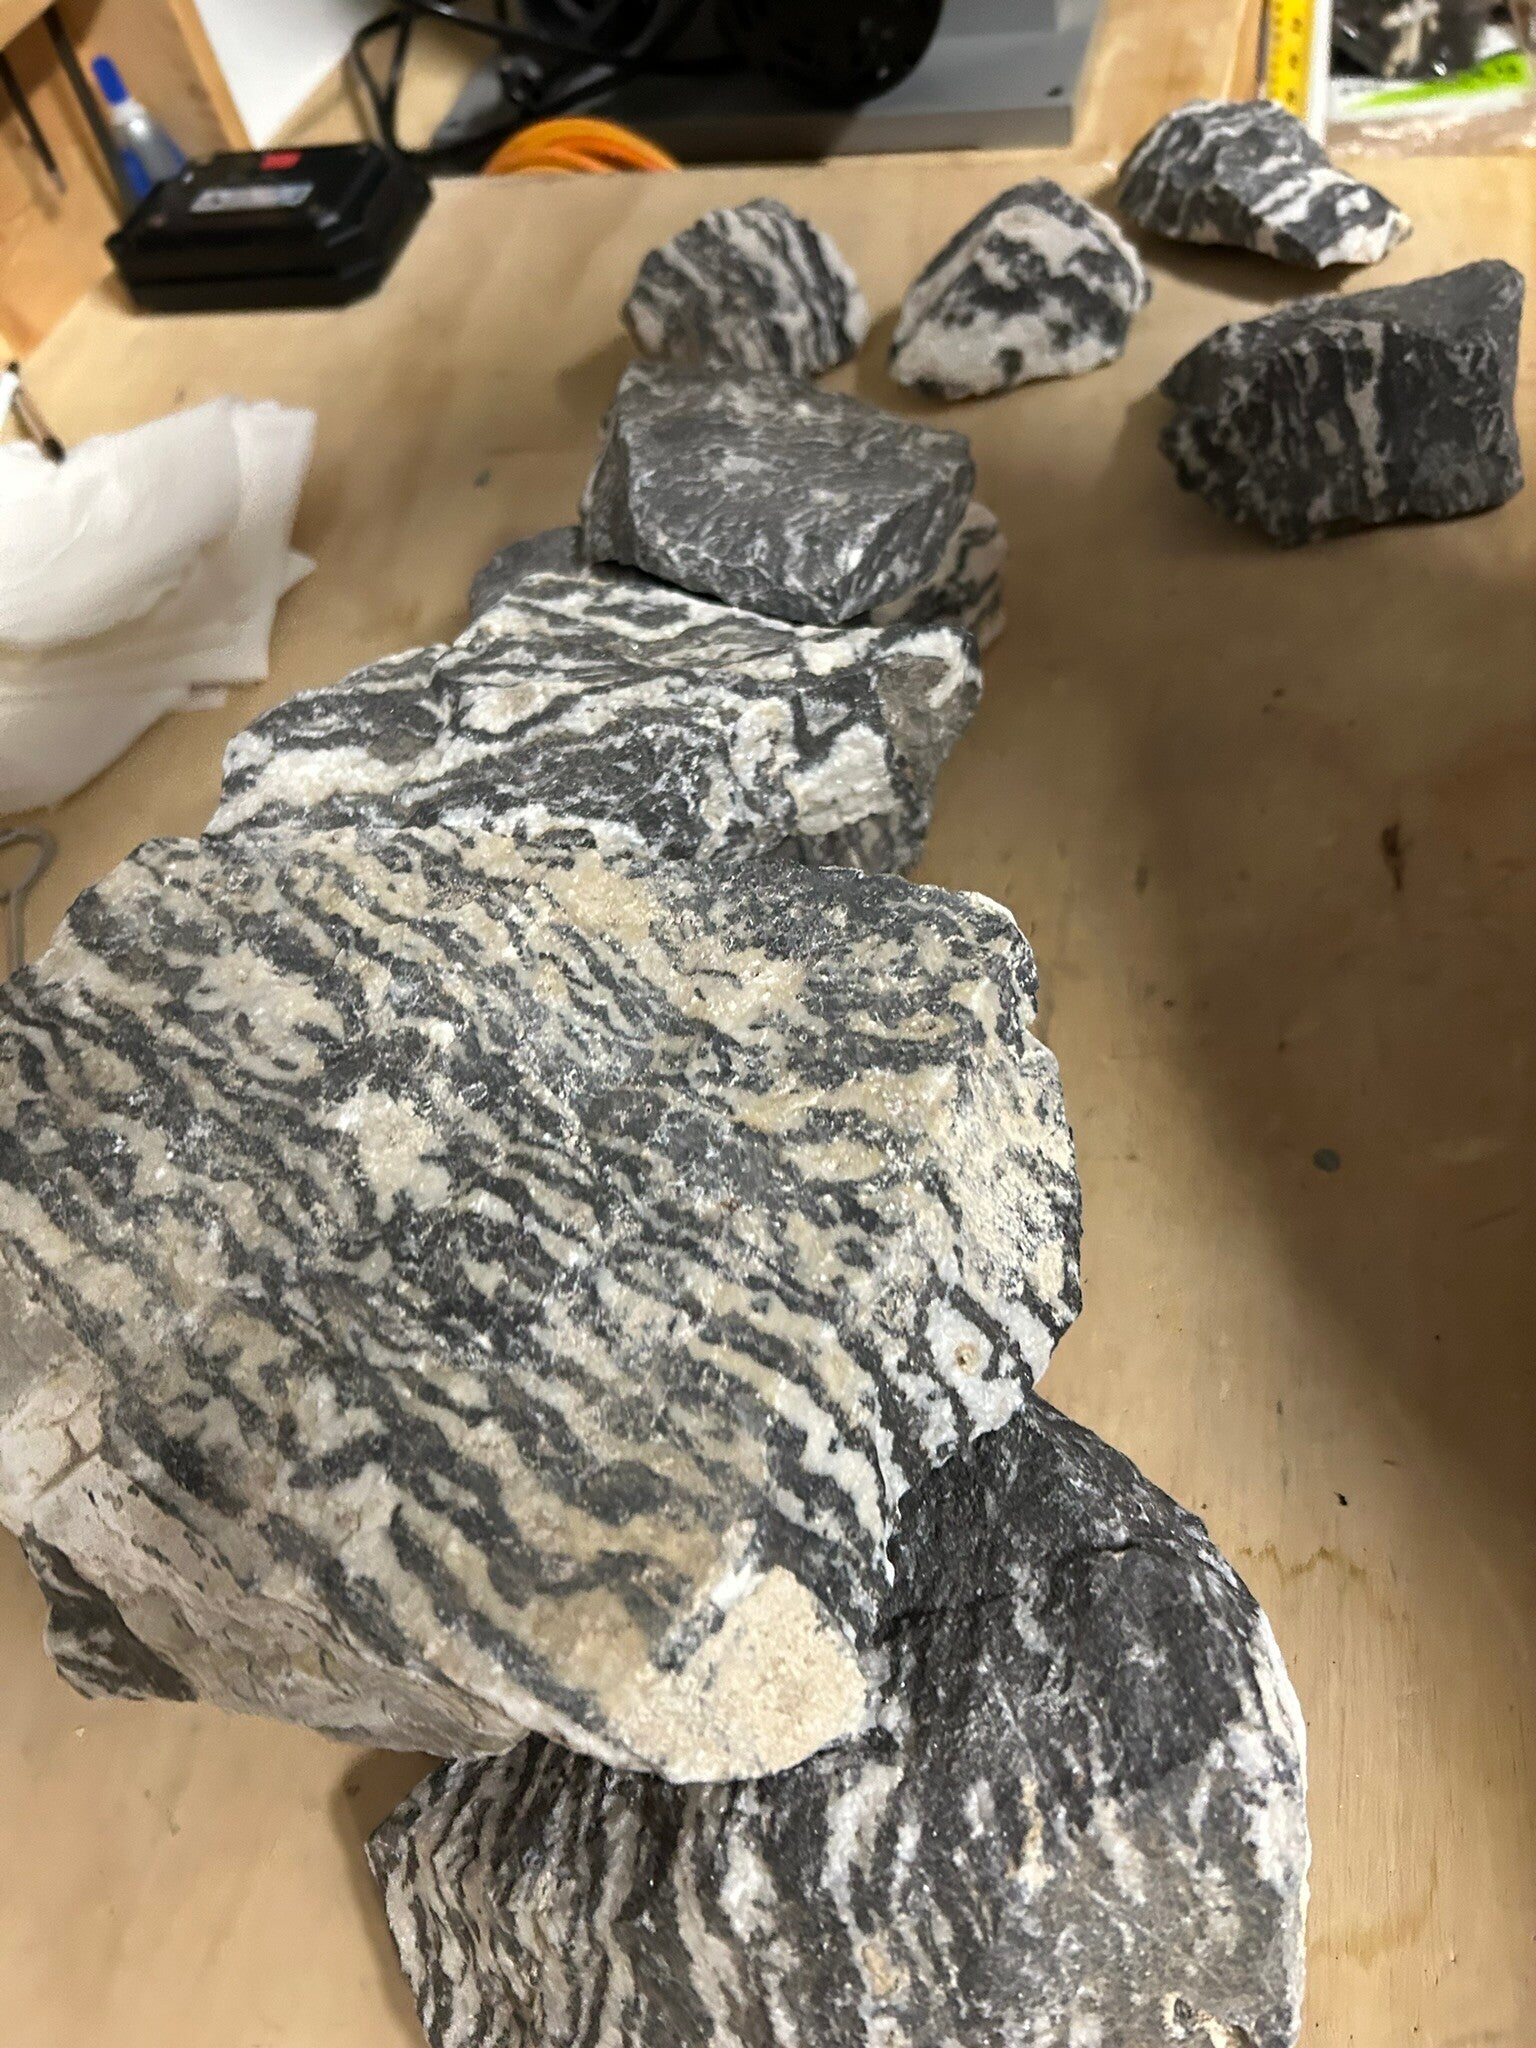
Seiryu rocks
21 Dec 23
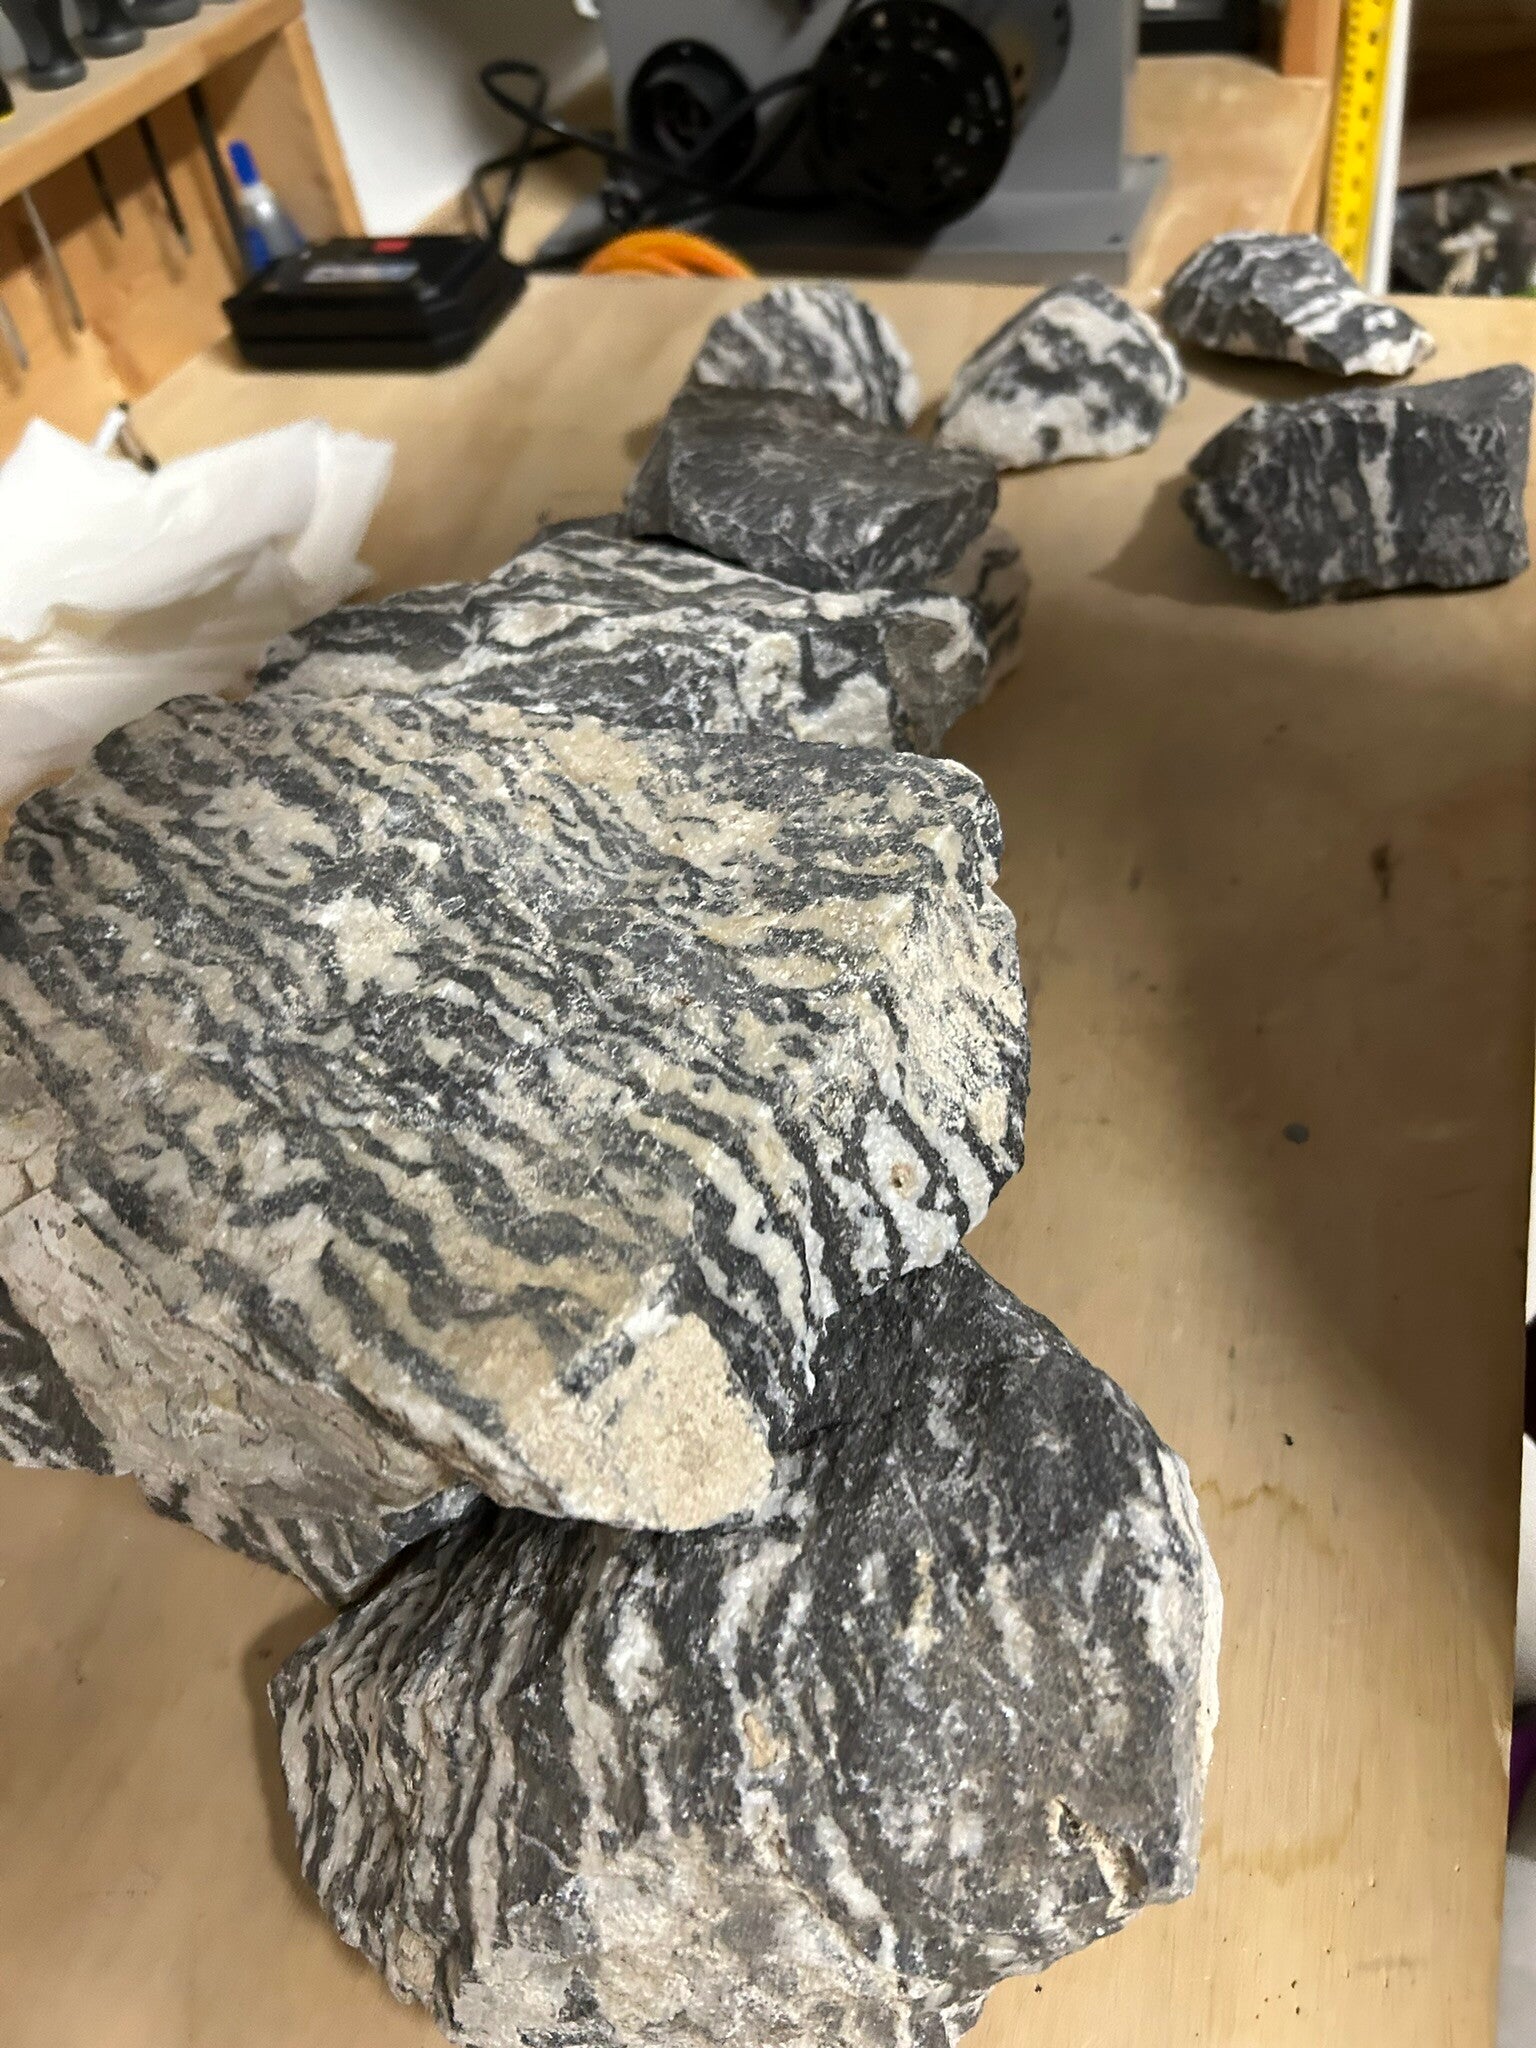
Seiryu rocks
21 Dec 23
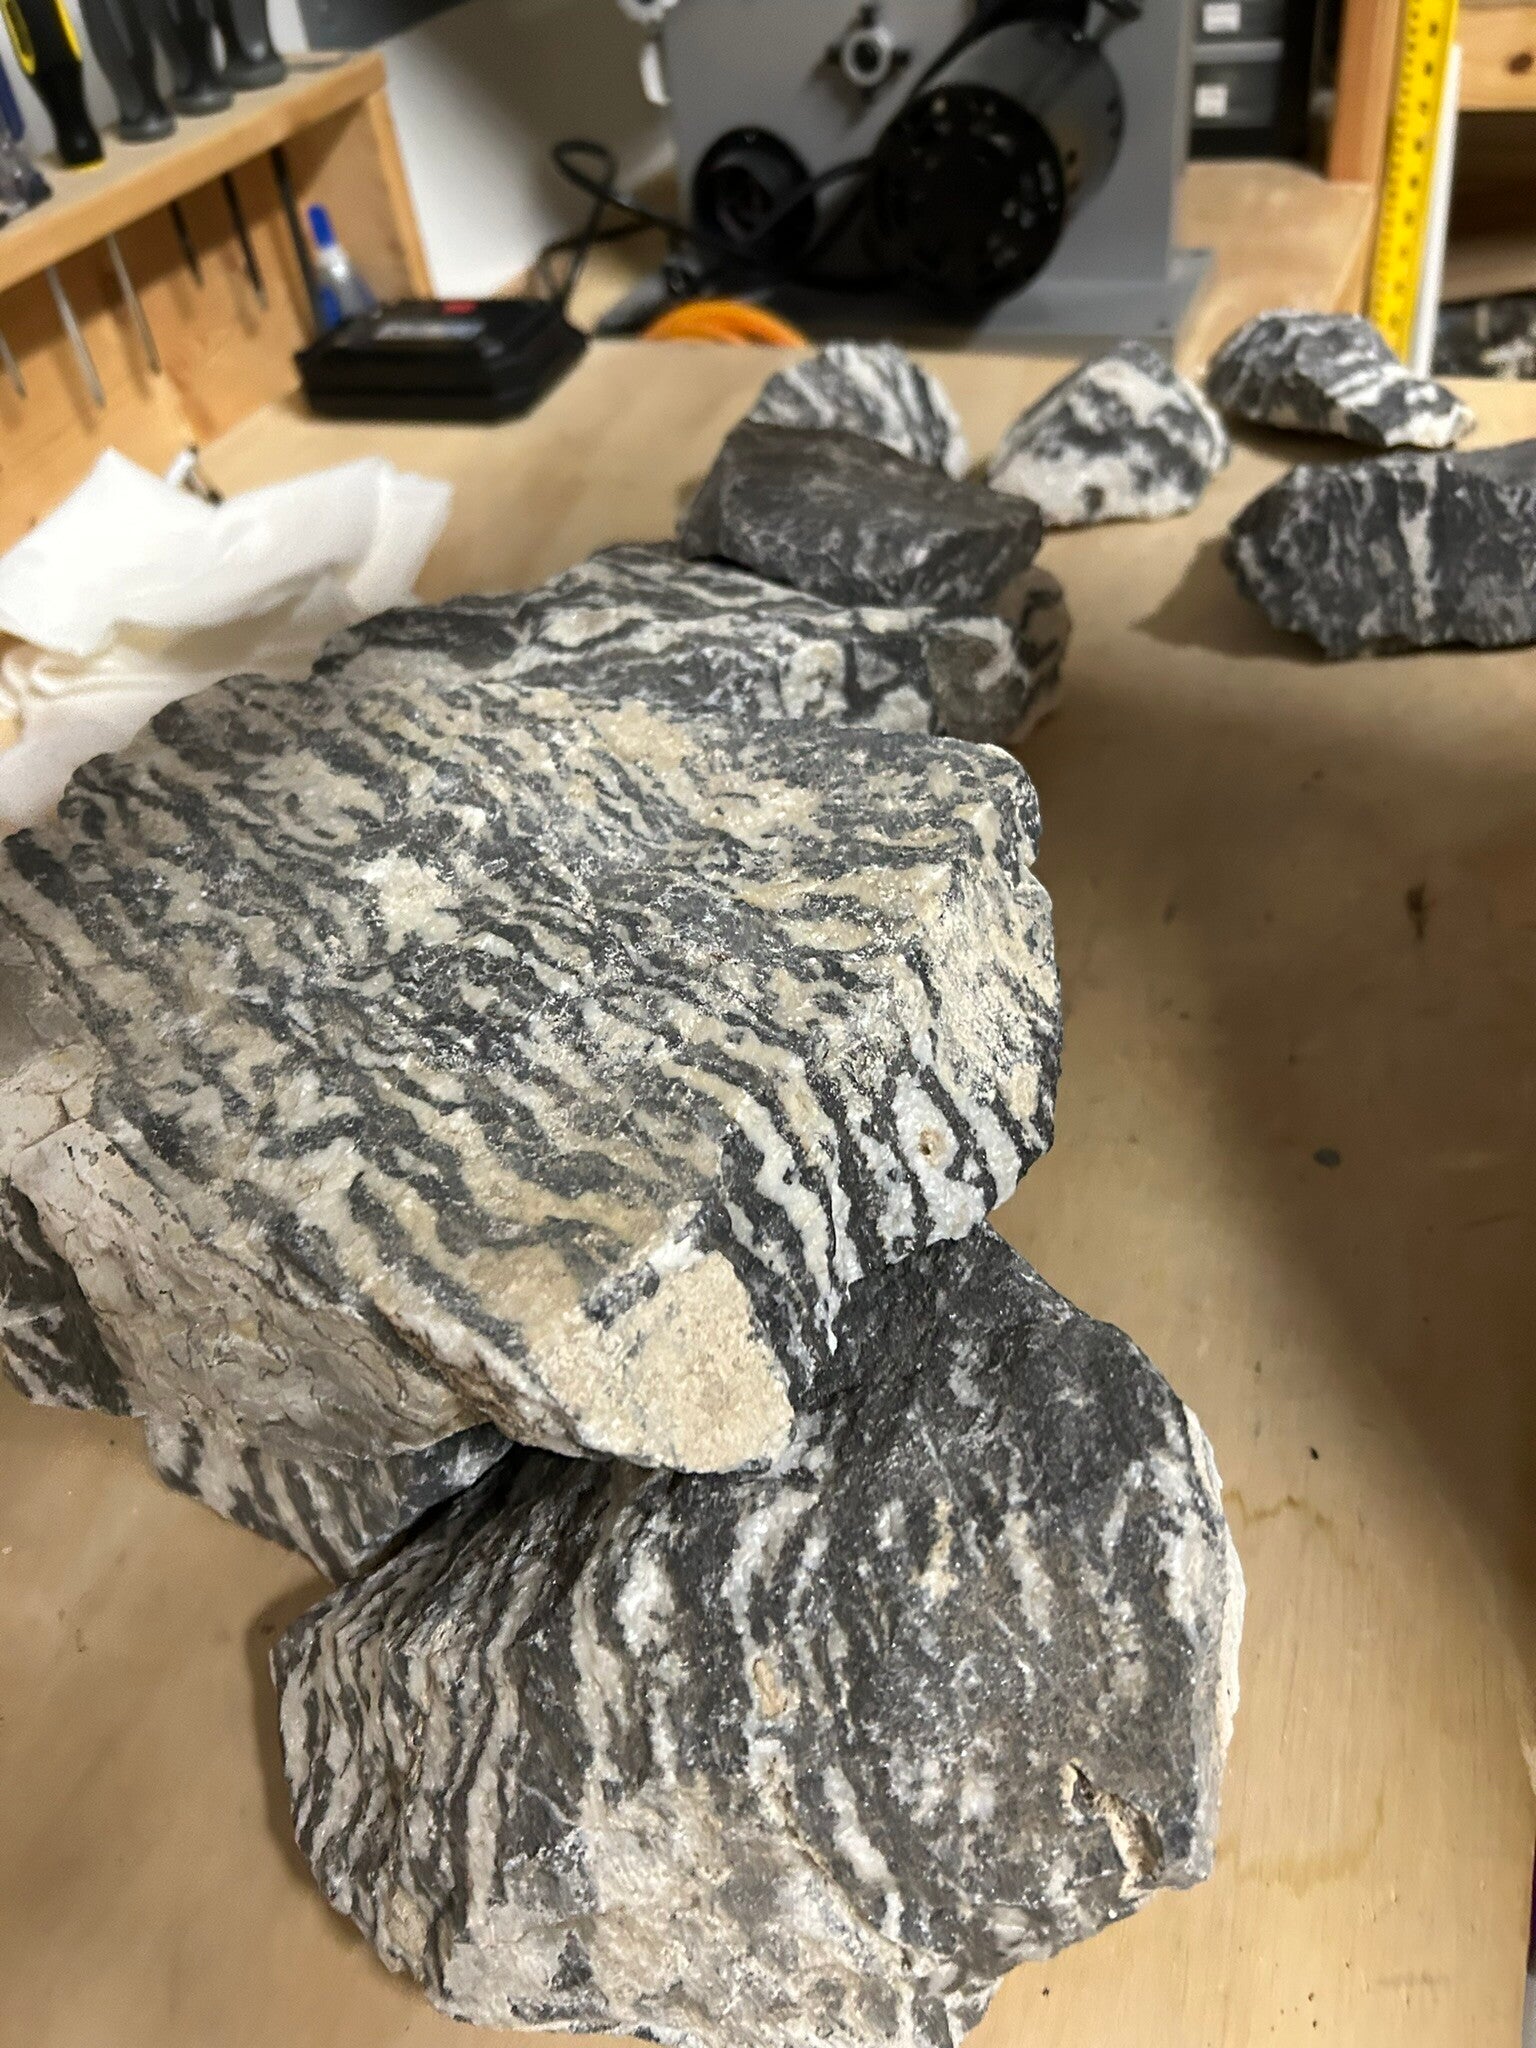
Seiryu rocks
21 Dec 23
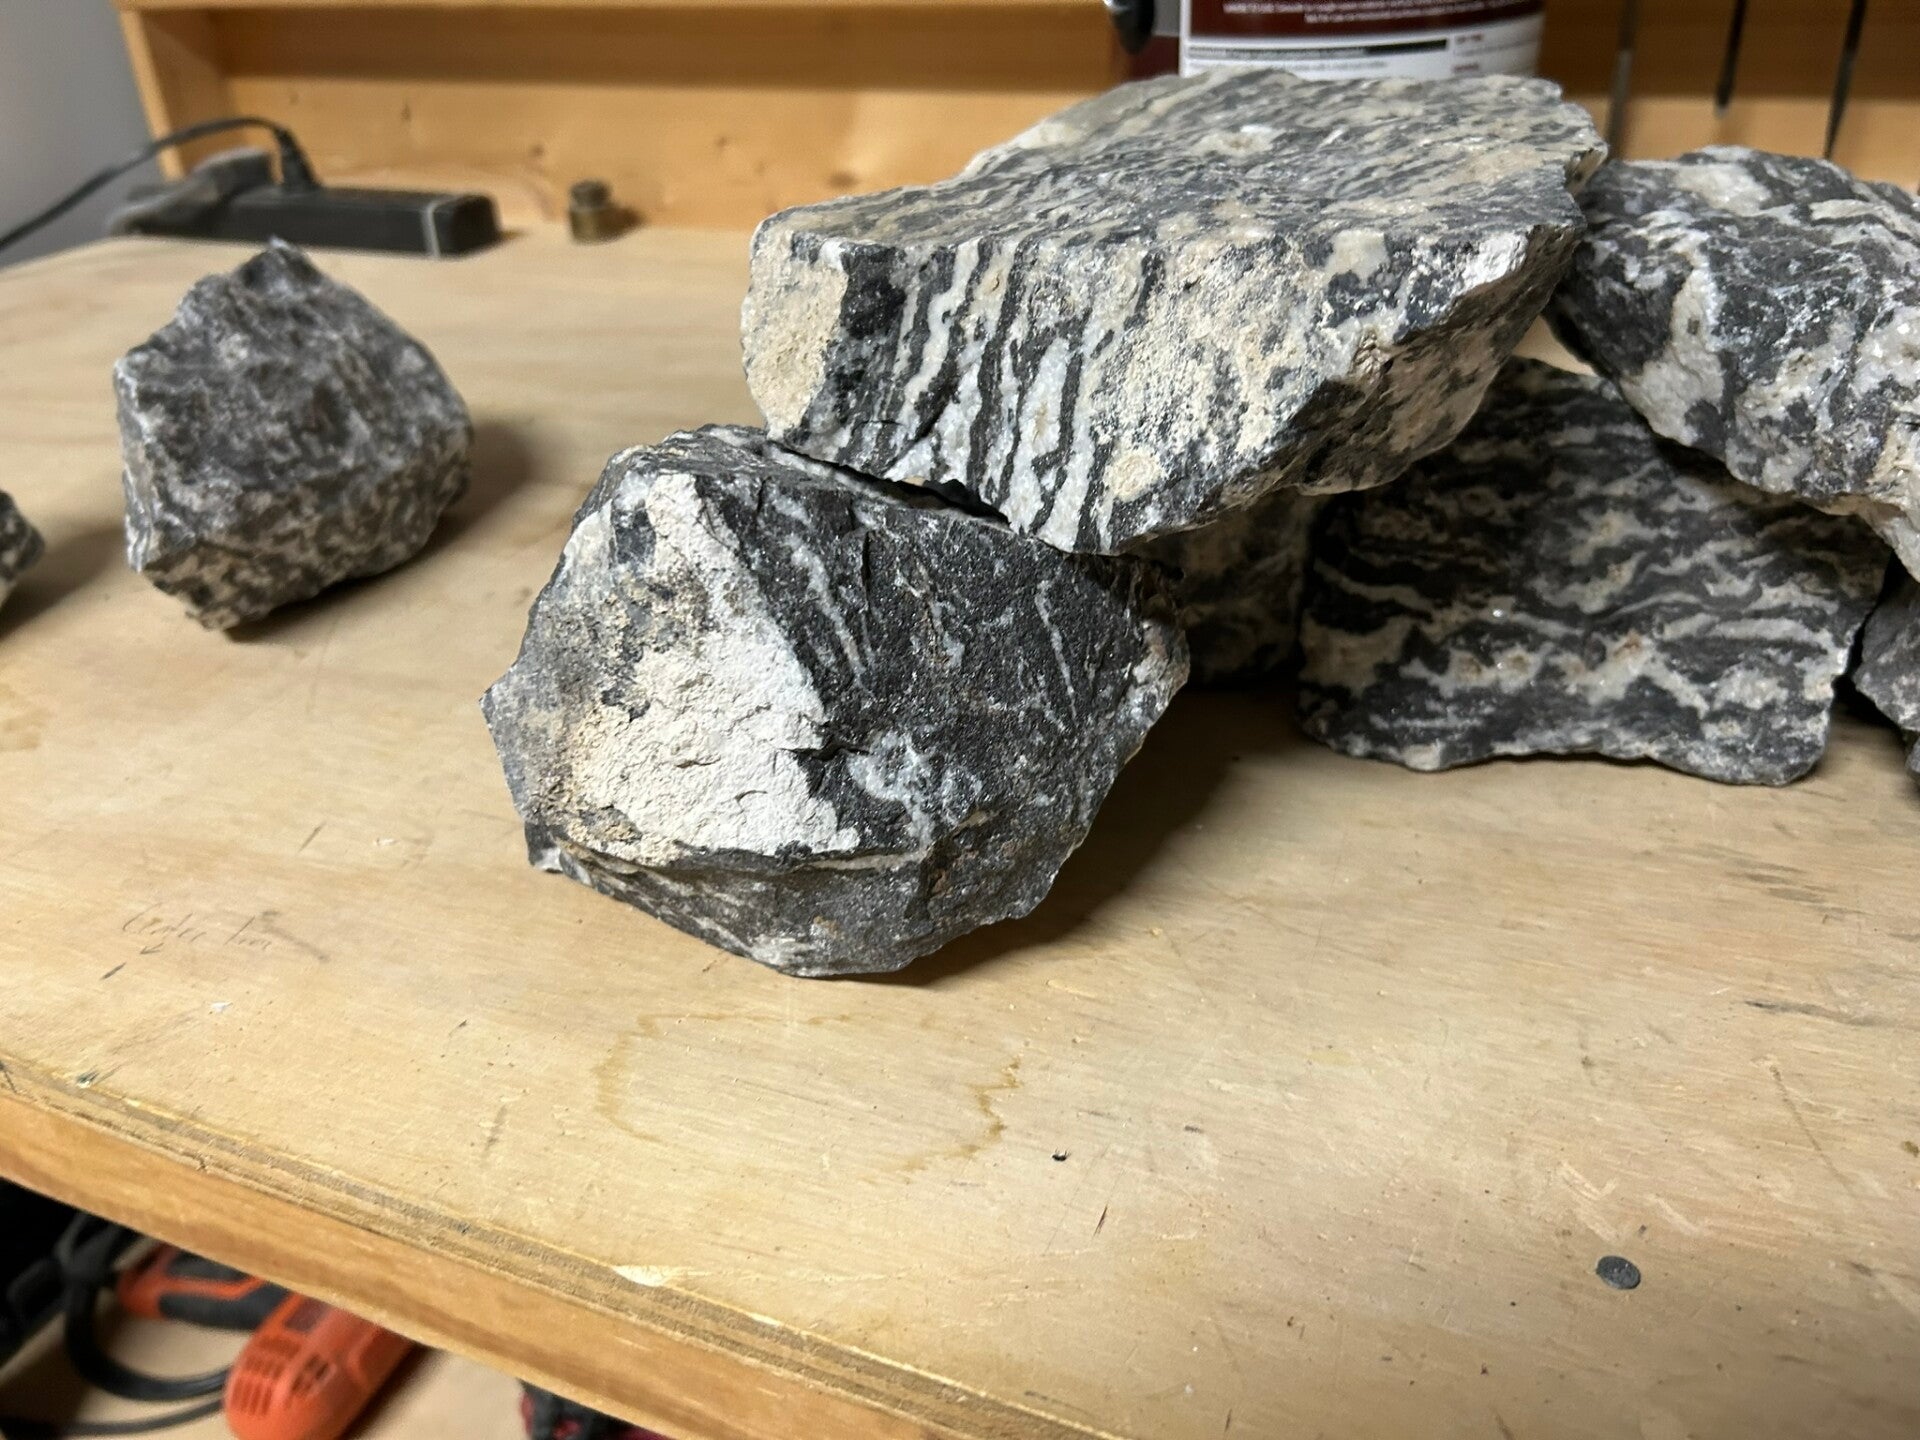
Seiryu rocks
21 Dec 23
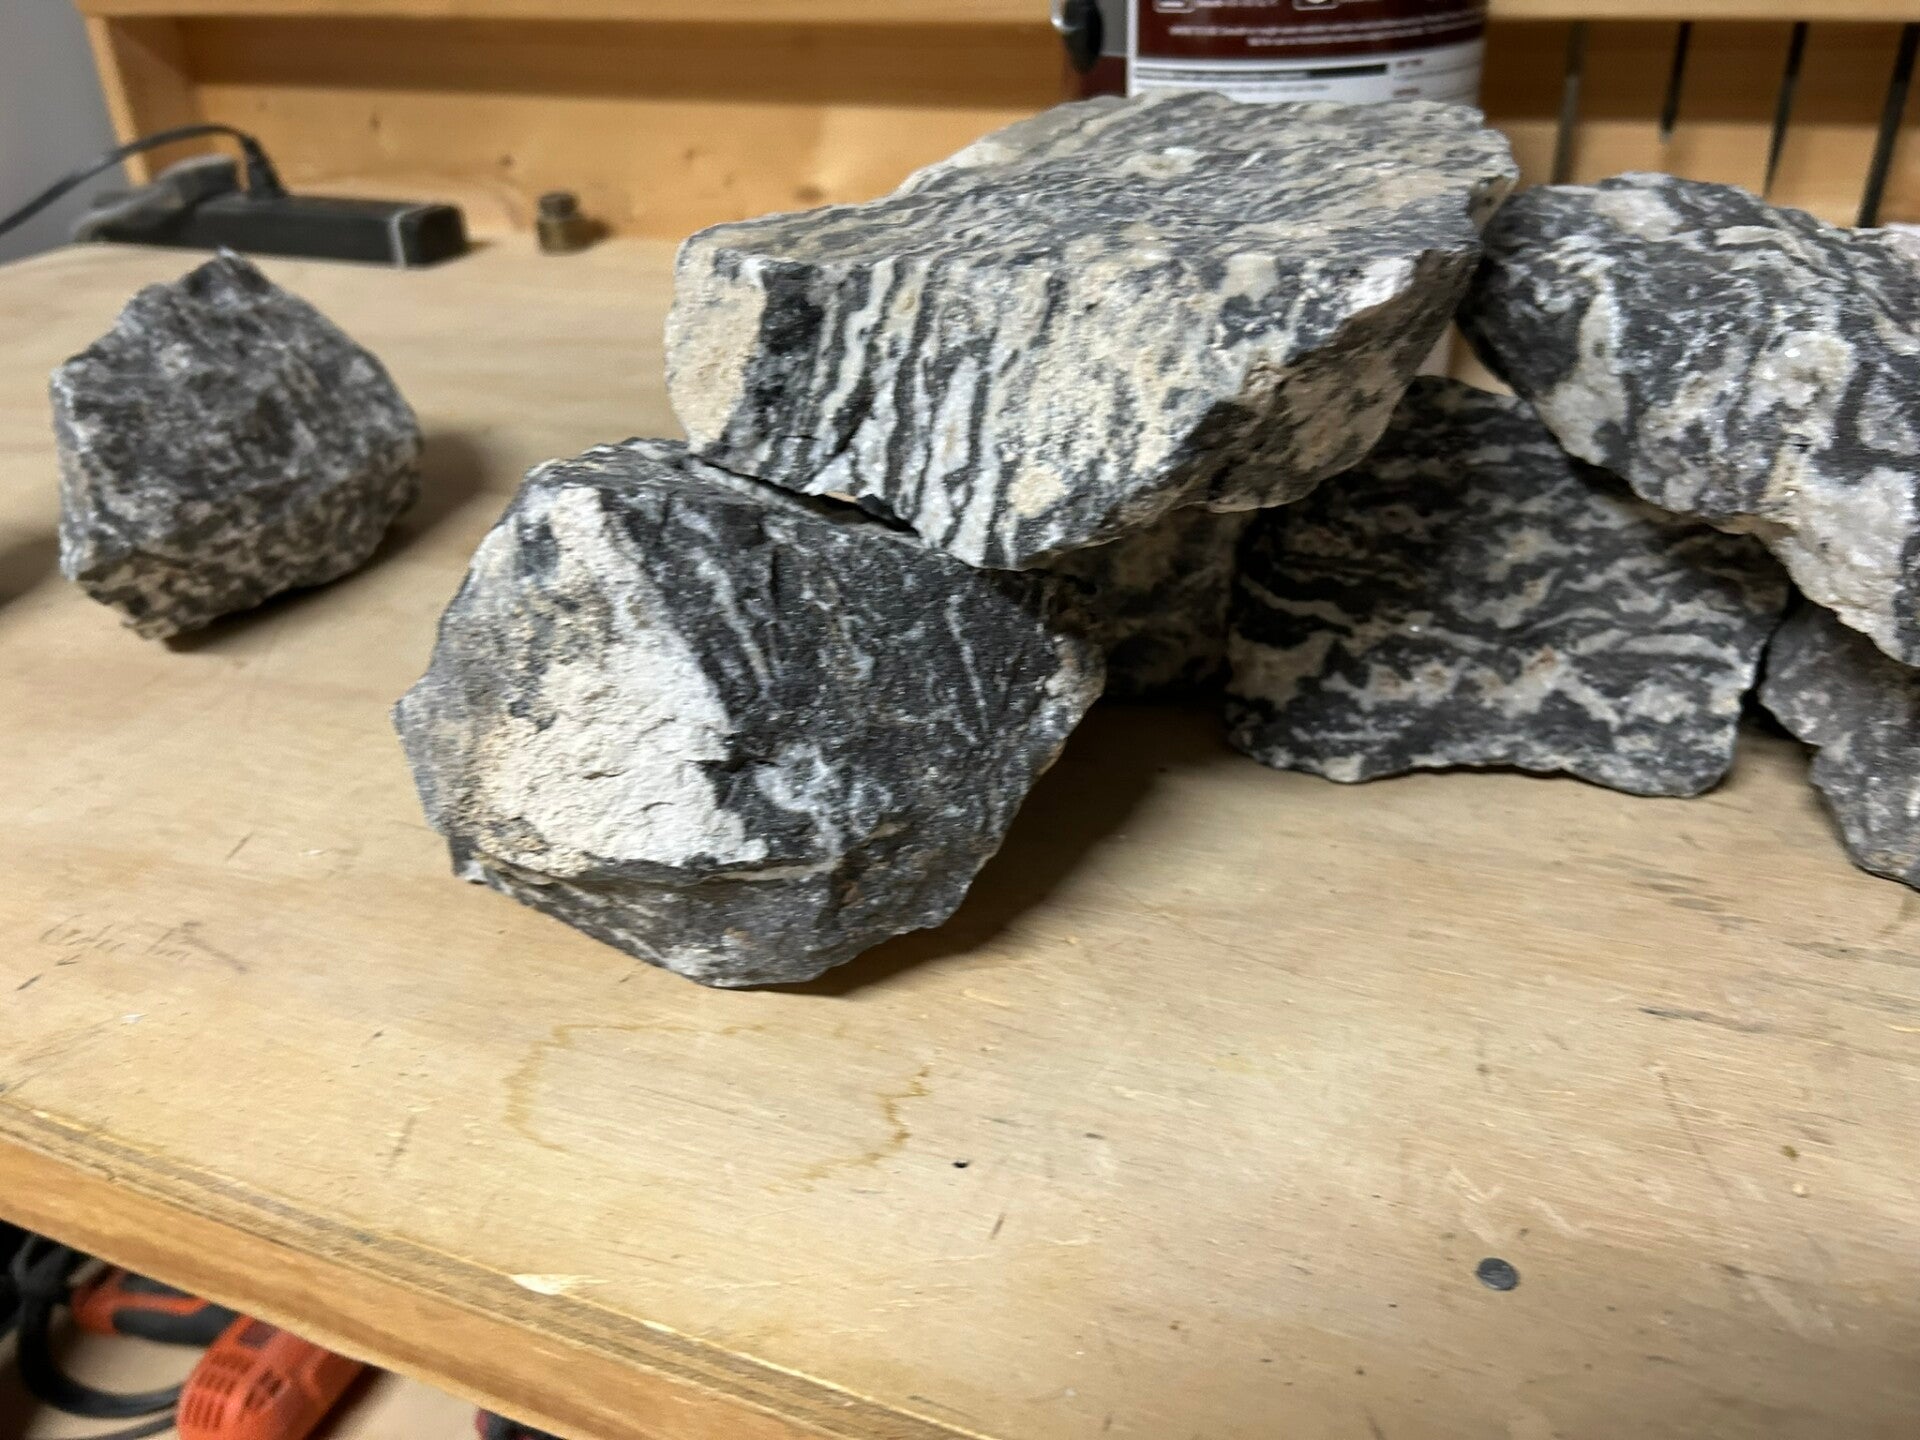
Seiryu rocks
21 Dec 23
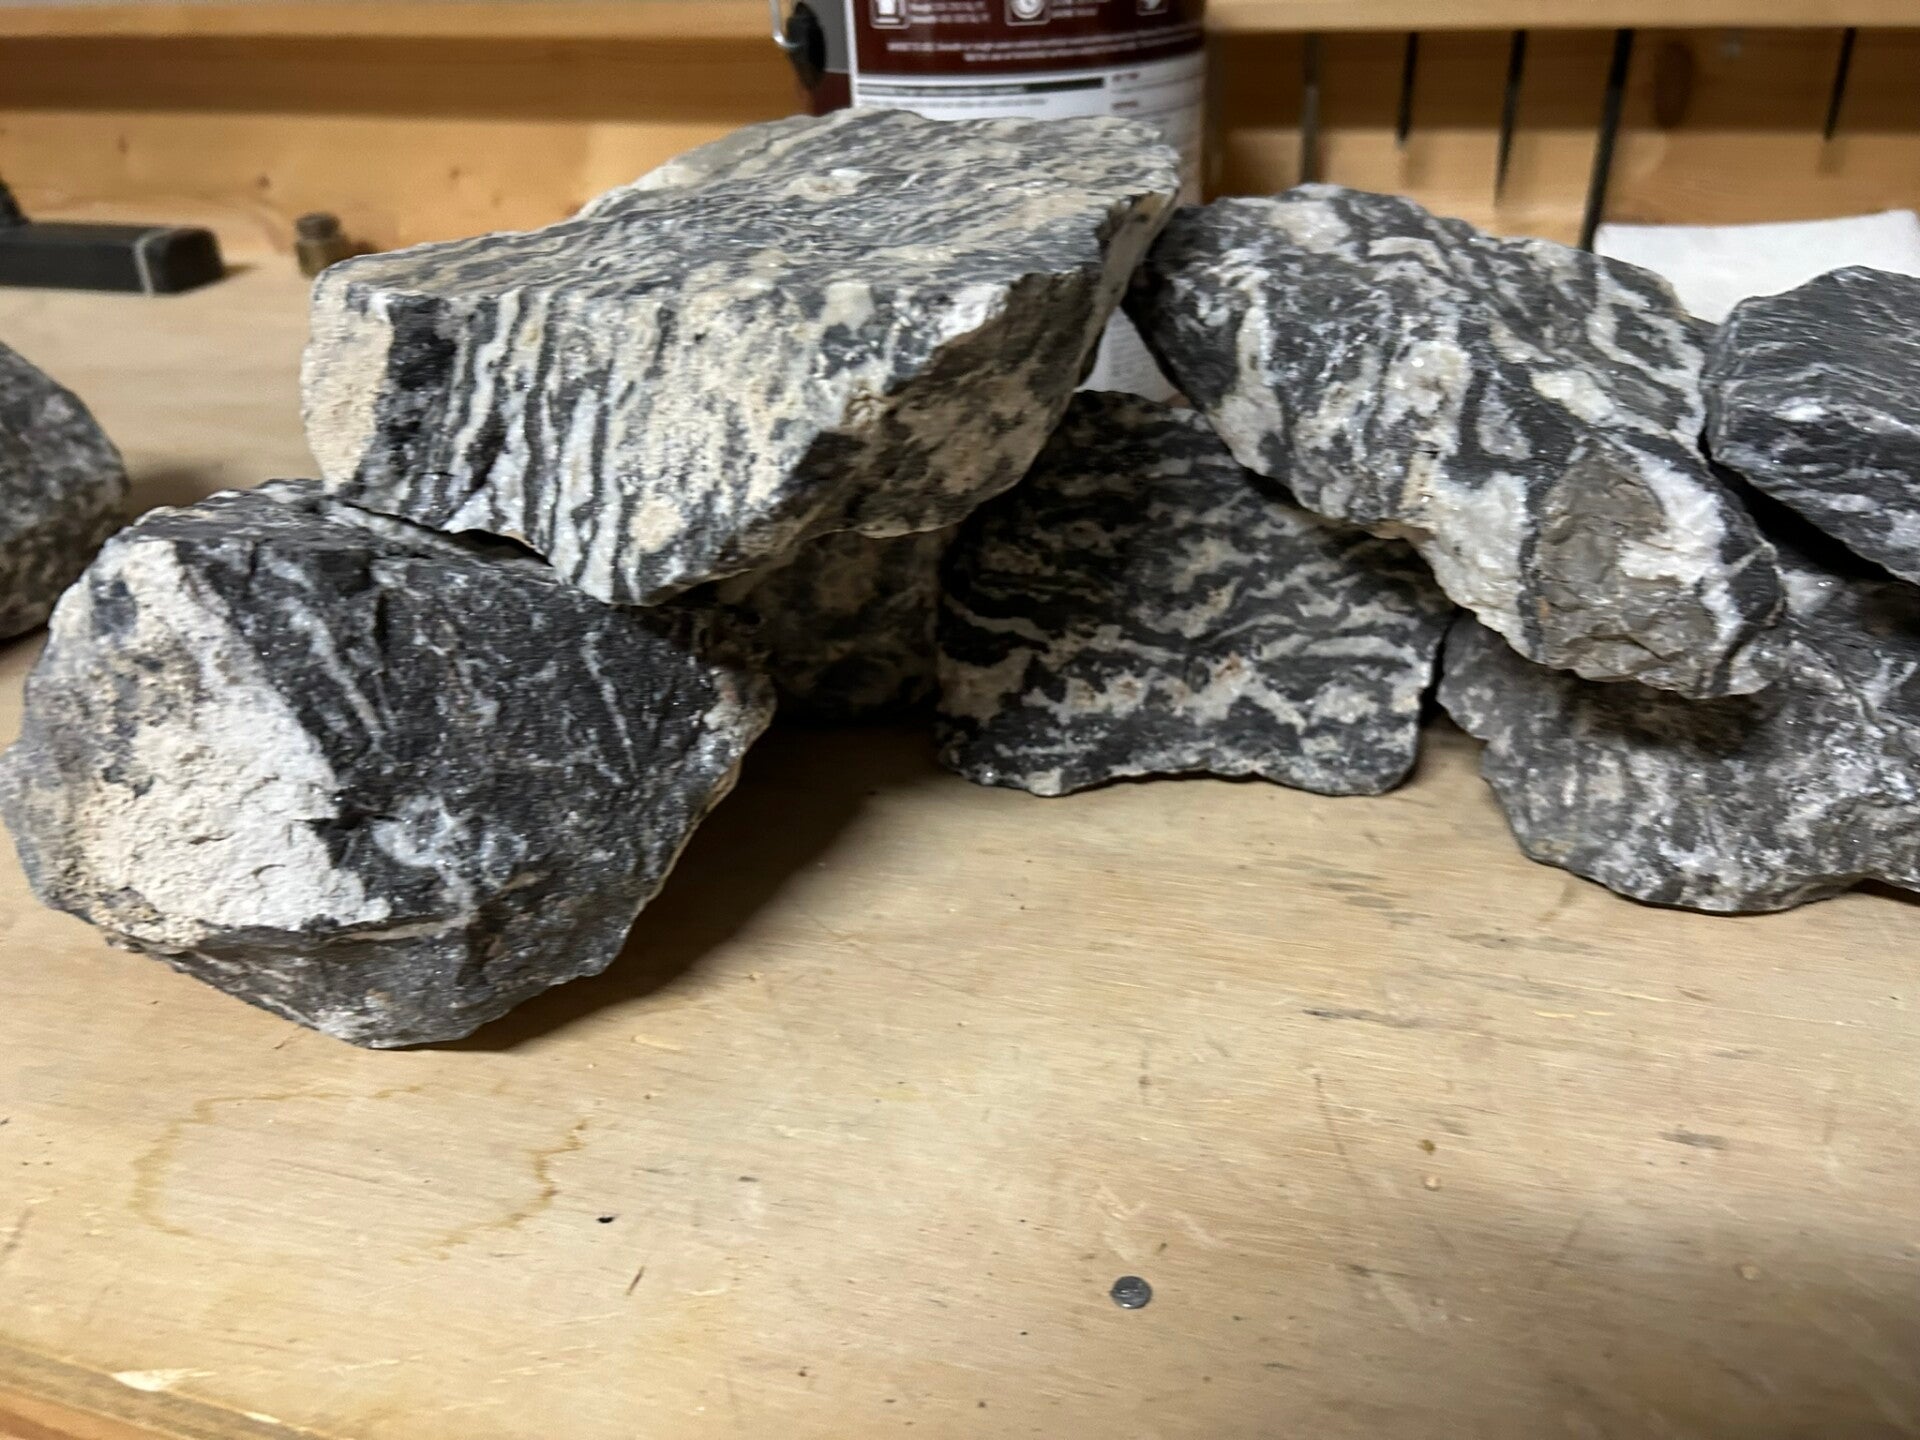
Seiryu rocks
21 Dec 23
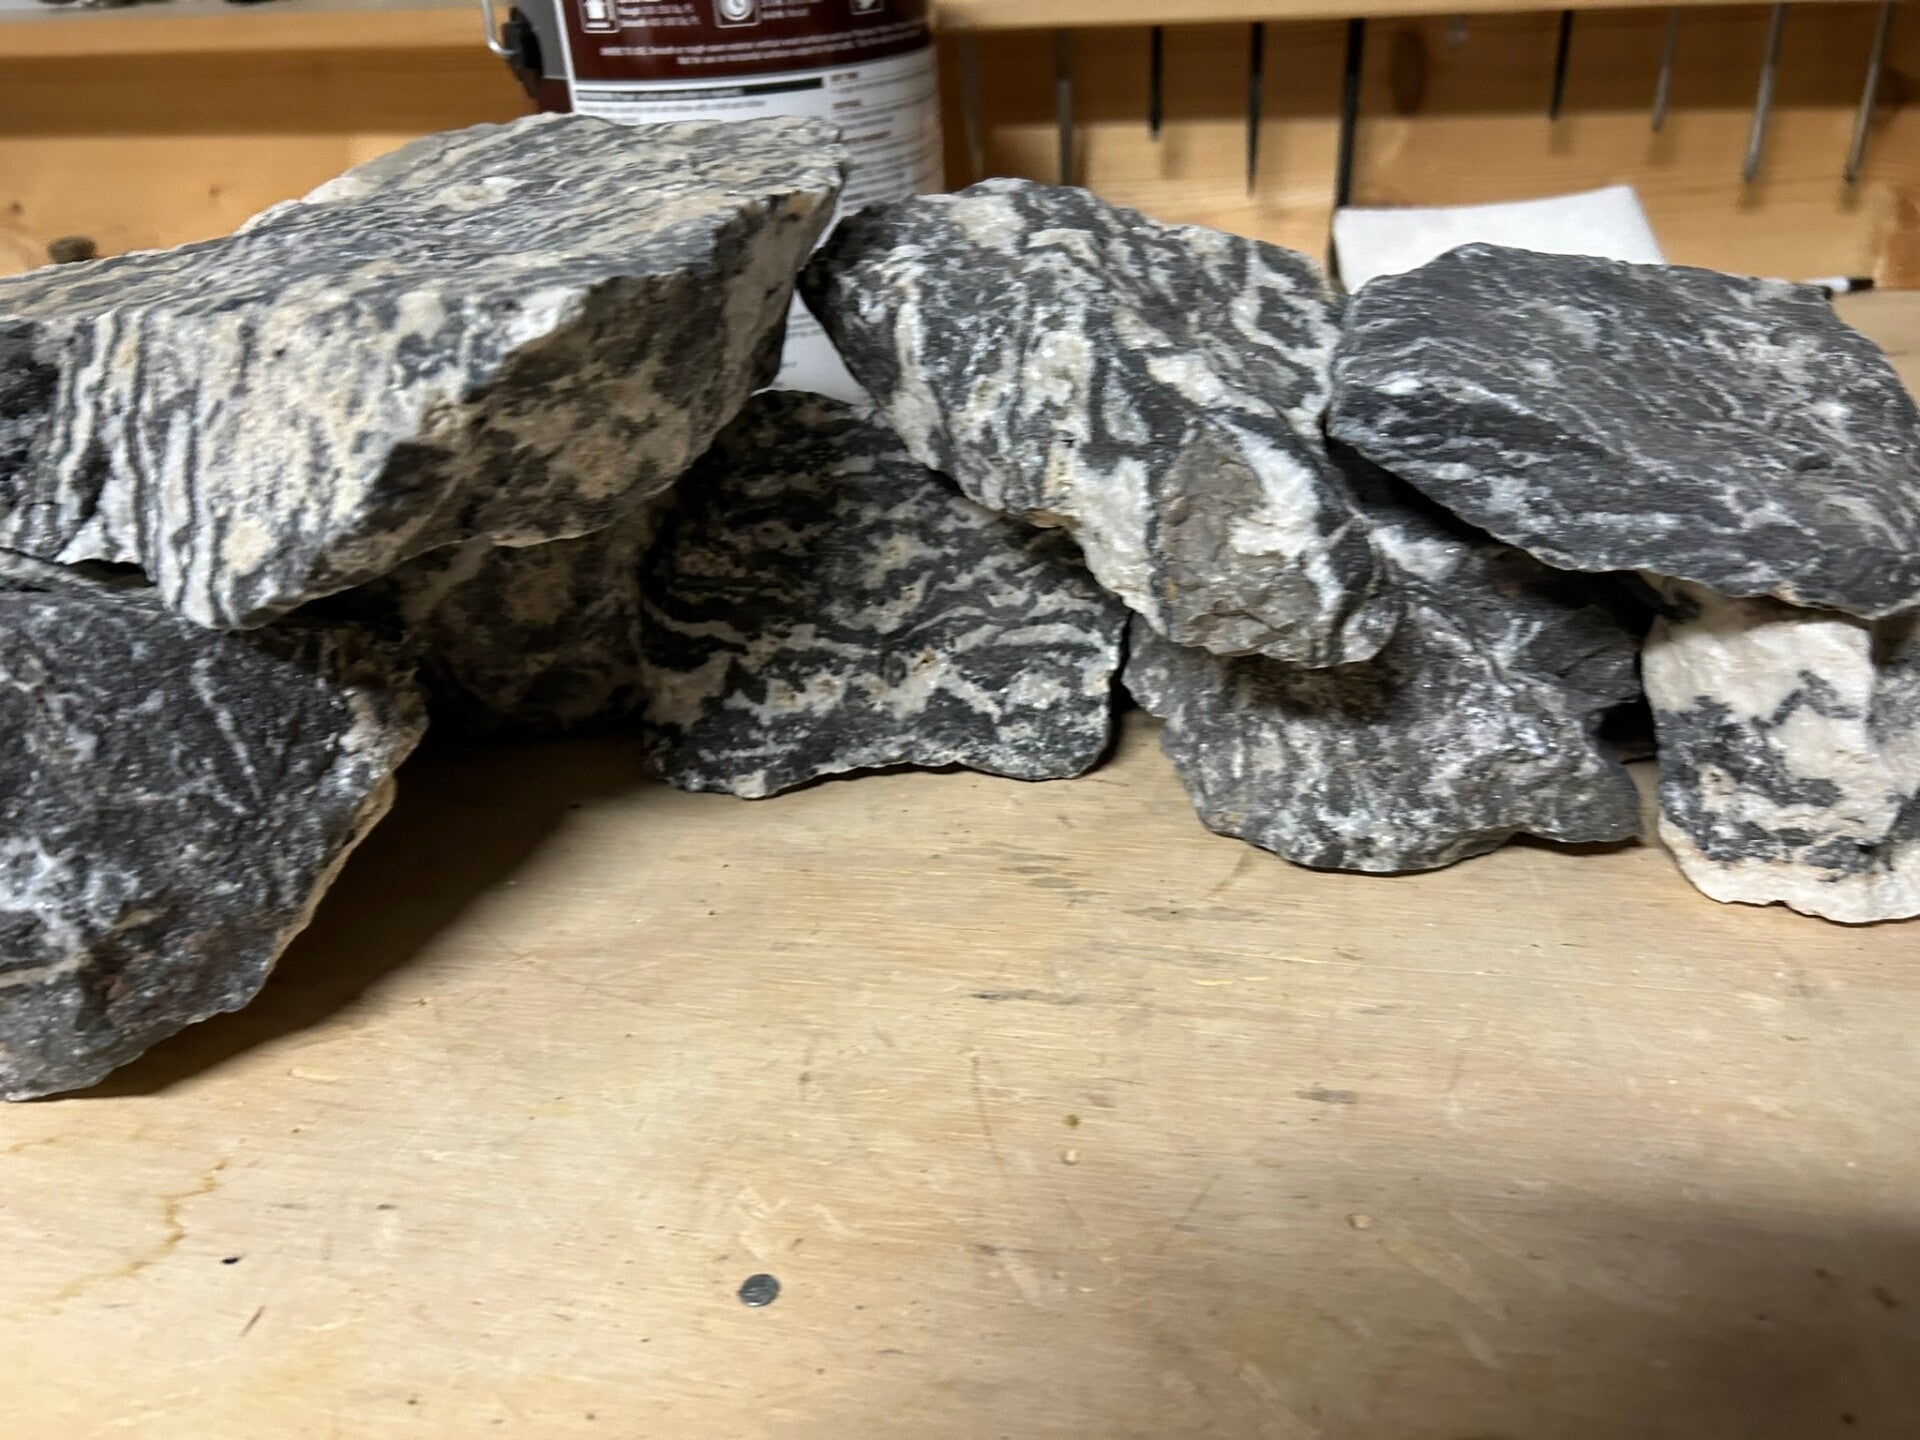
Seiryu rocks
21 Dec 23
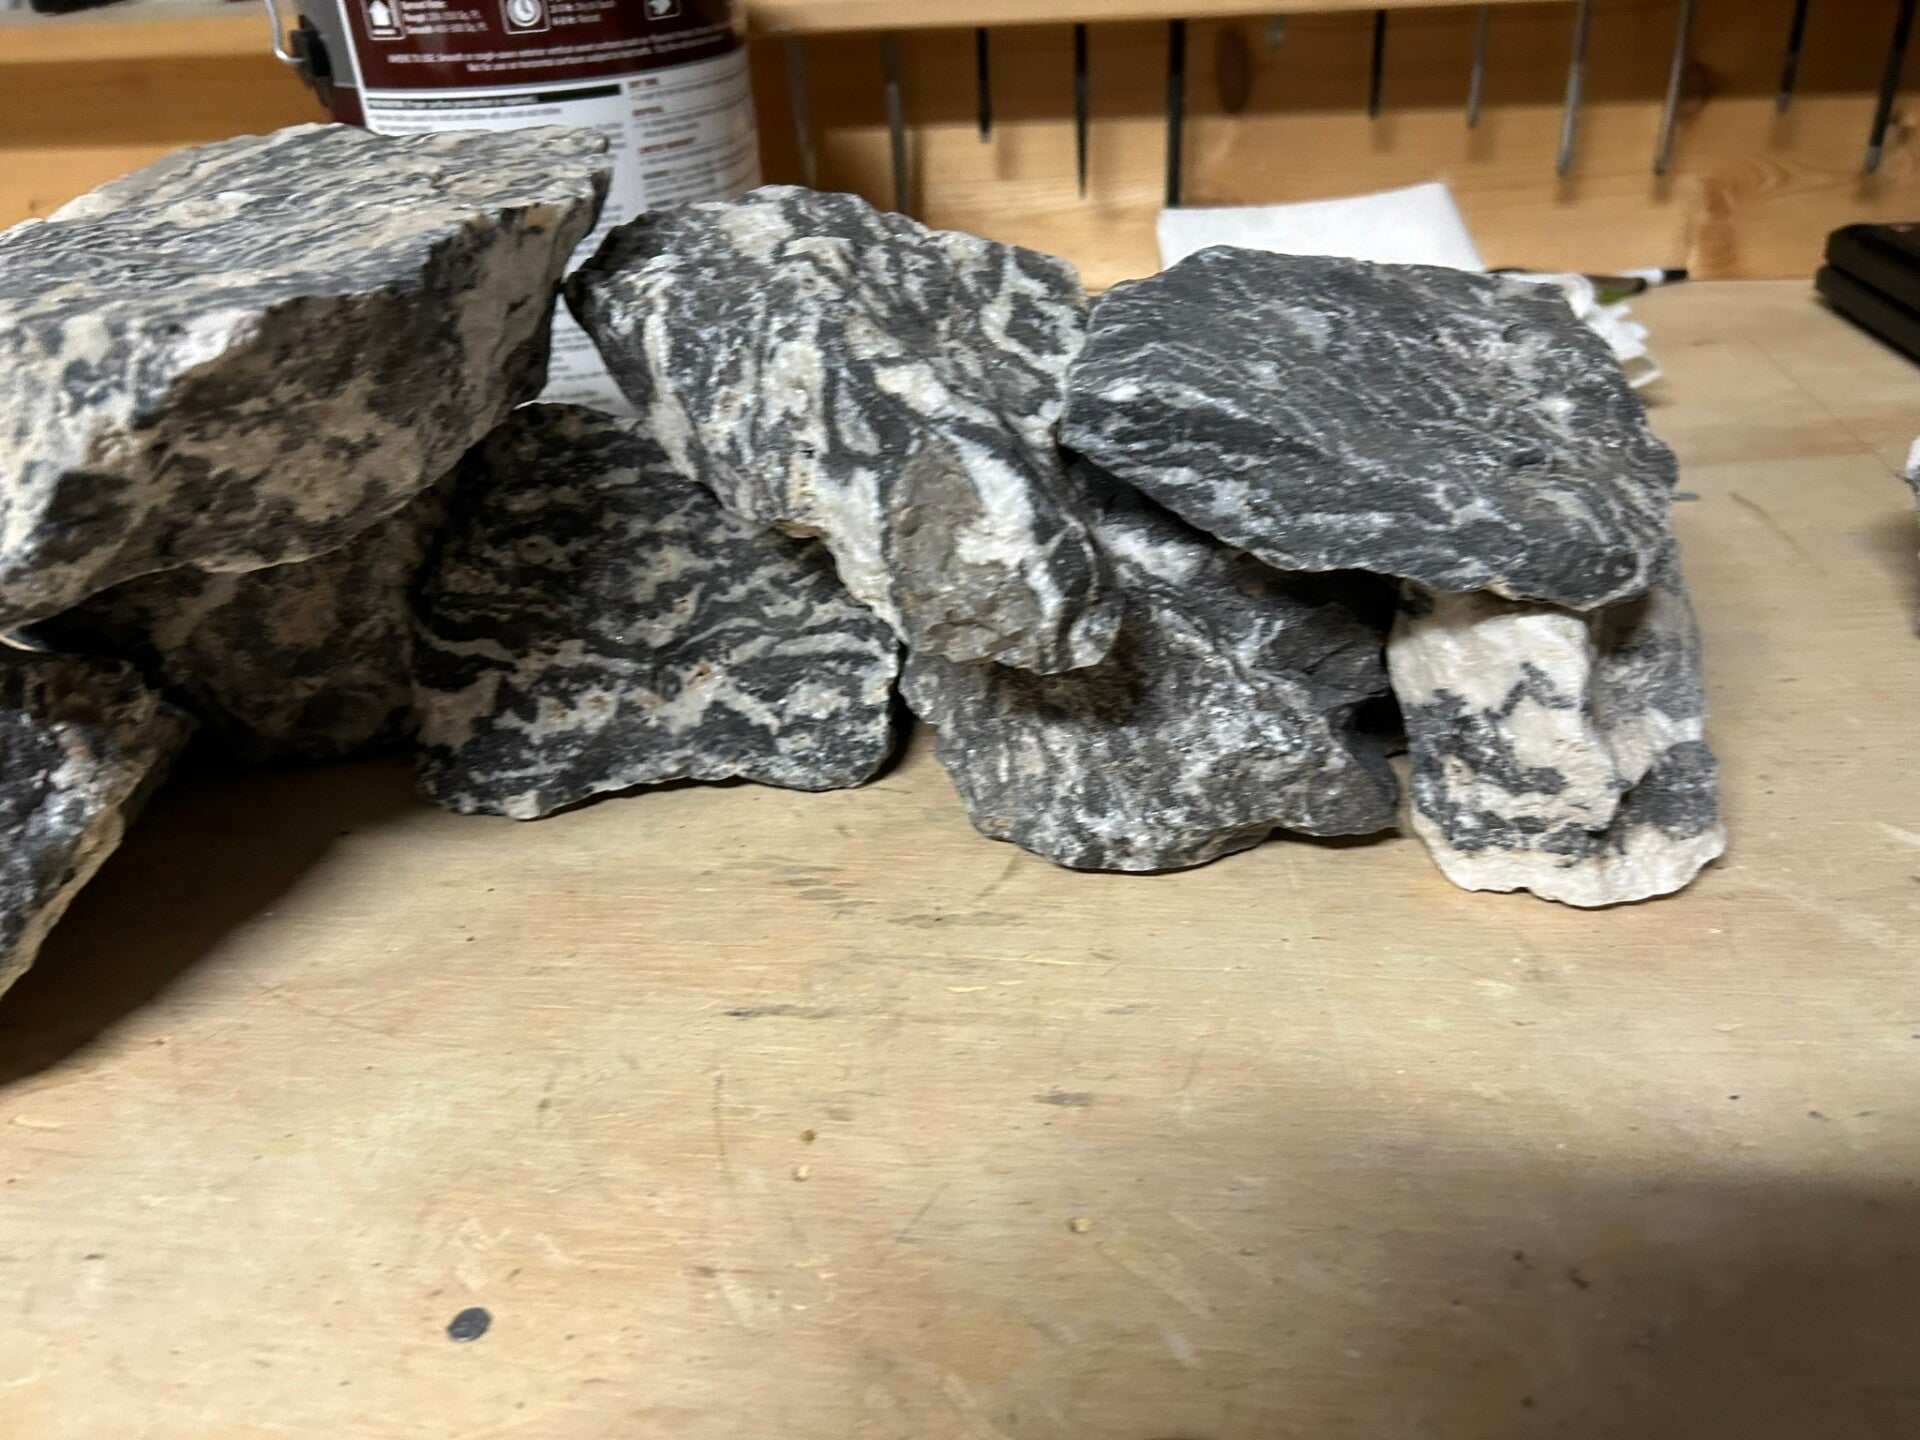
Seiryu rocks
21 Dec 23
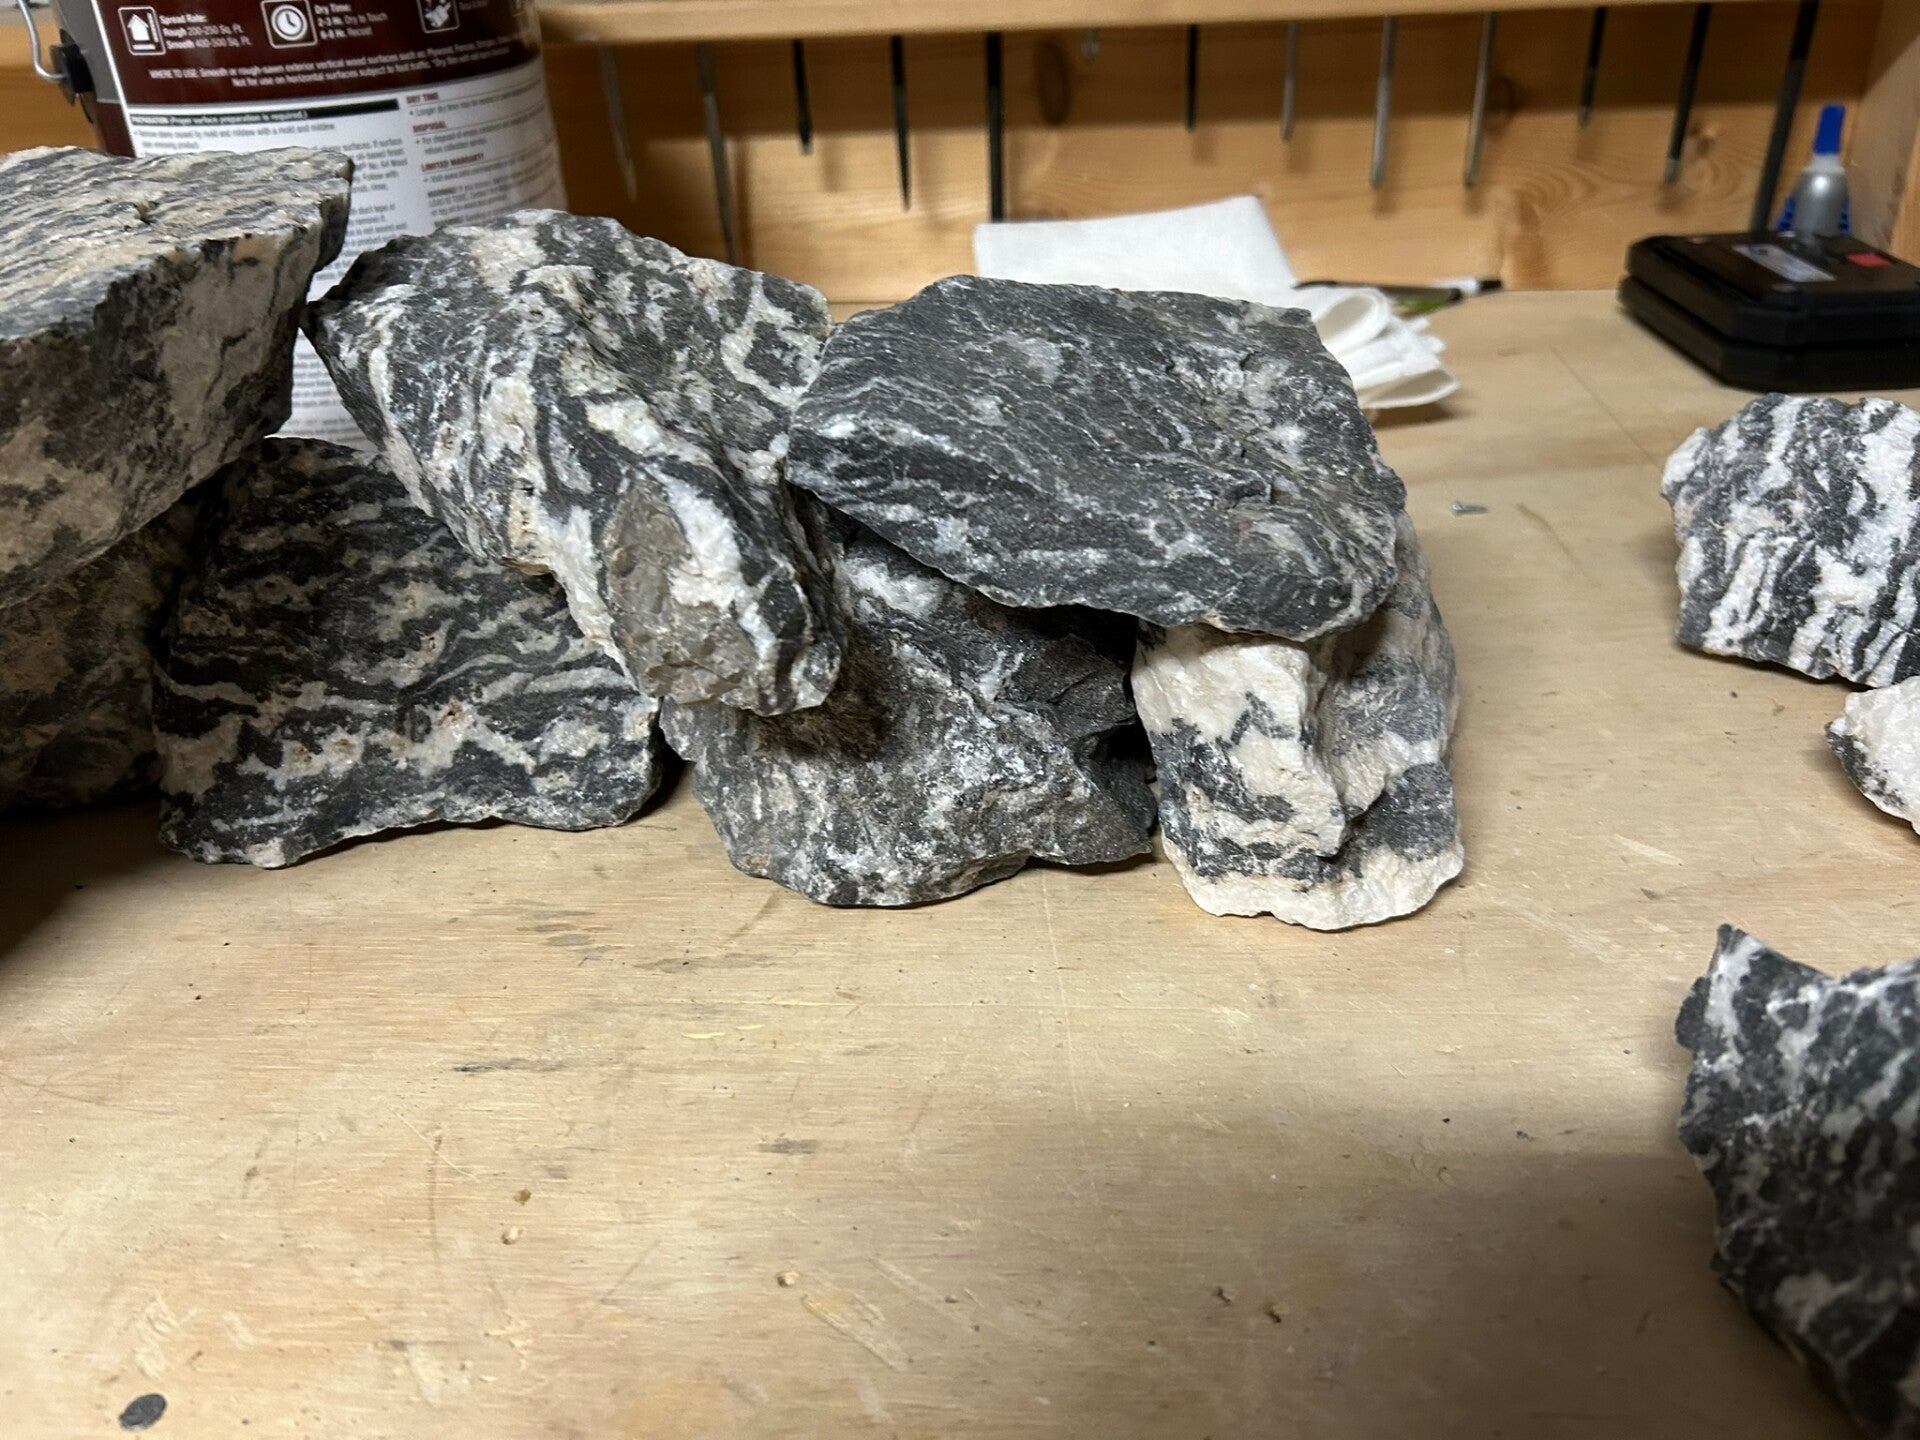
Seiryu rocks
21 Dec 23
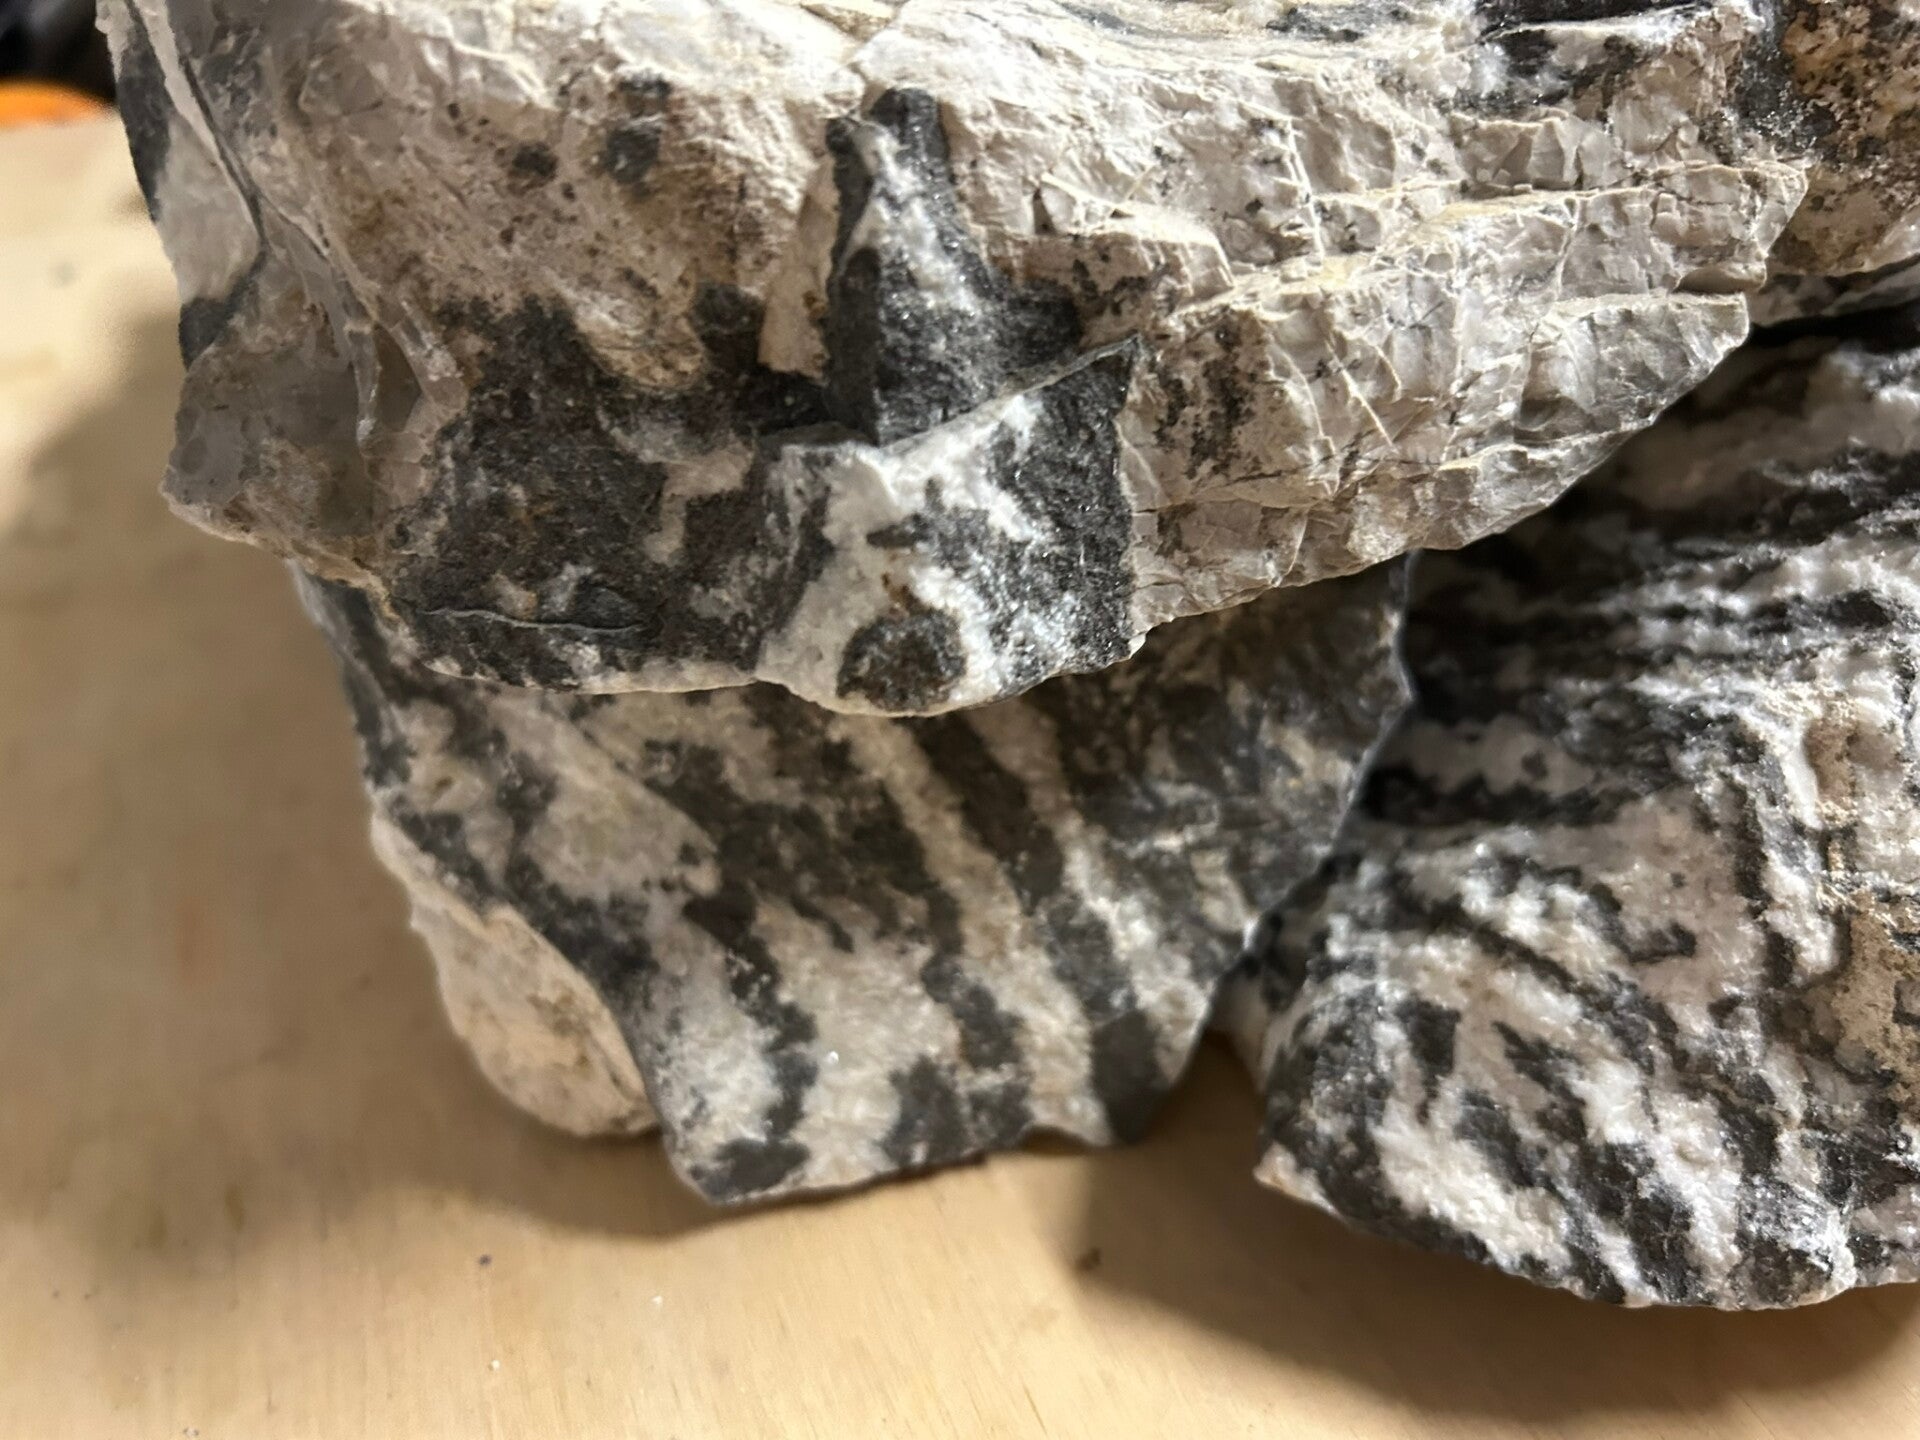
Seiryu rocks
21 Dec 23
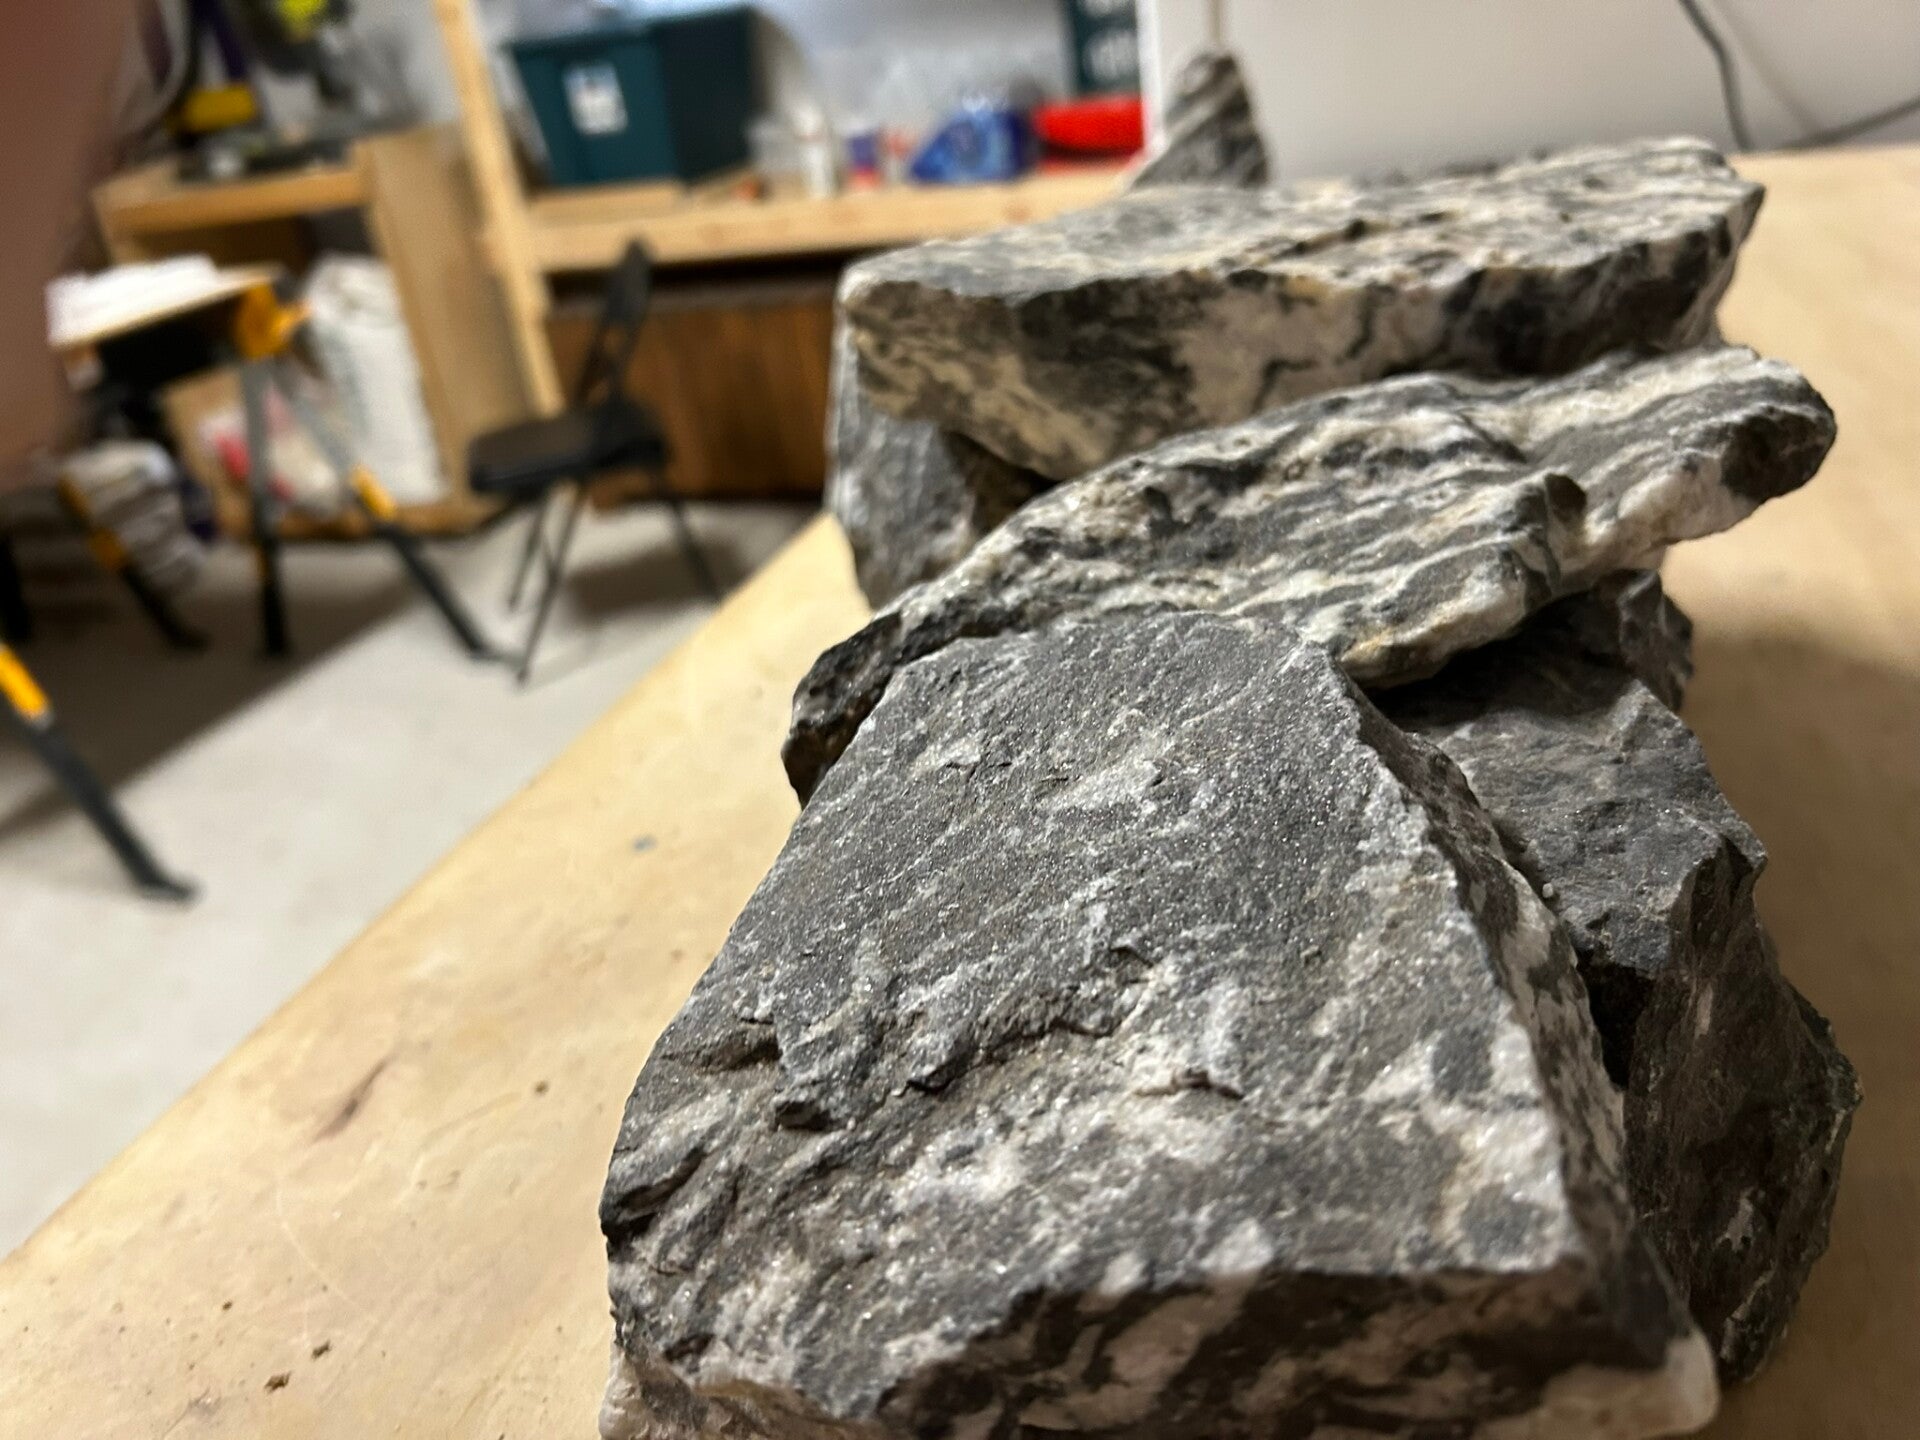
Seiryu rocks
21 Dec 23
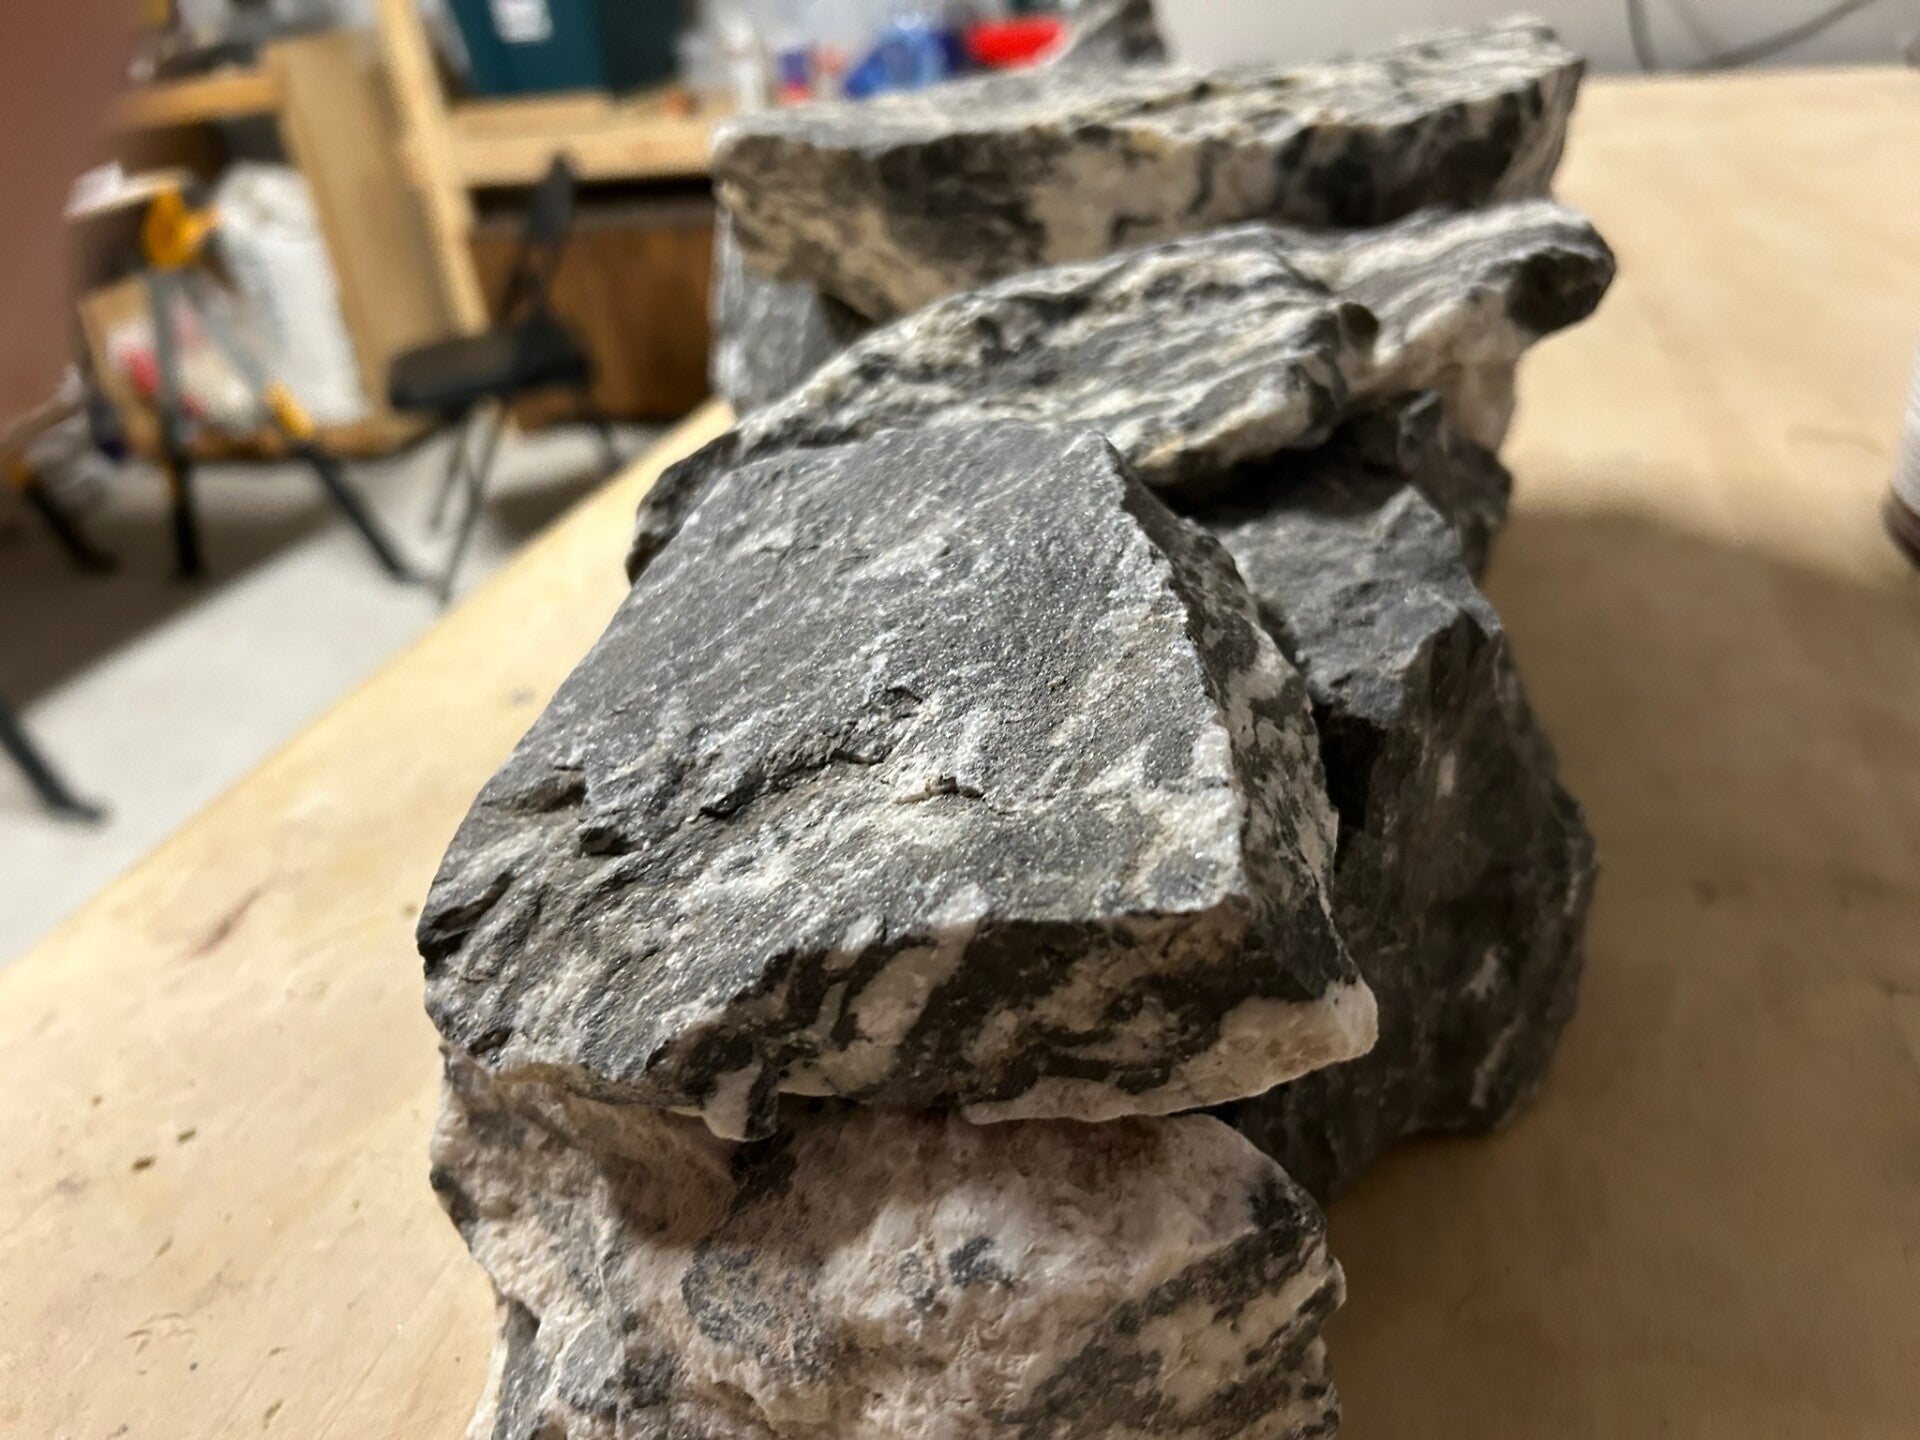
Seiryu rocks
21 Dec 23
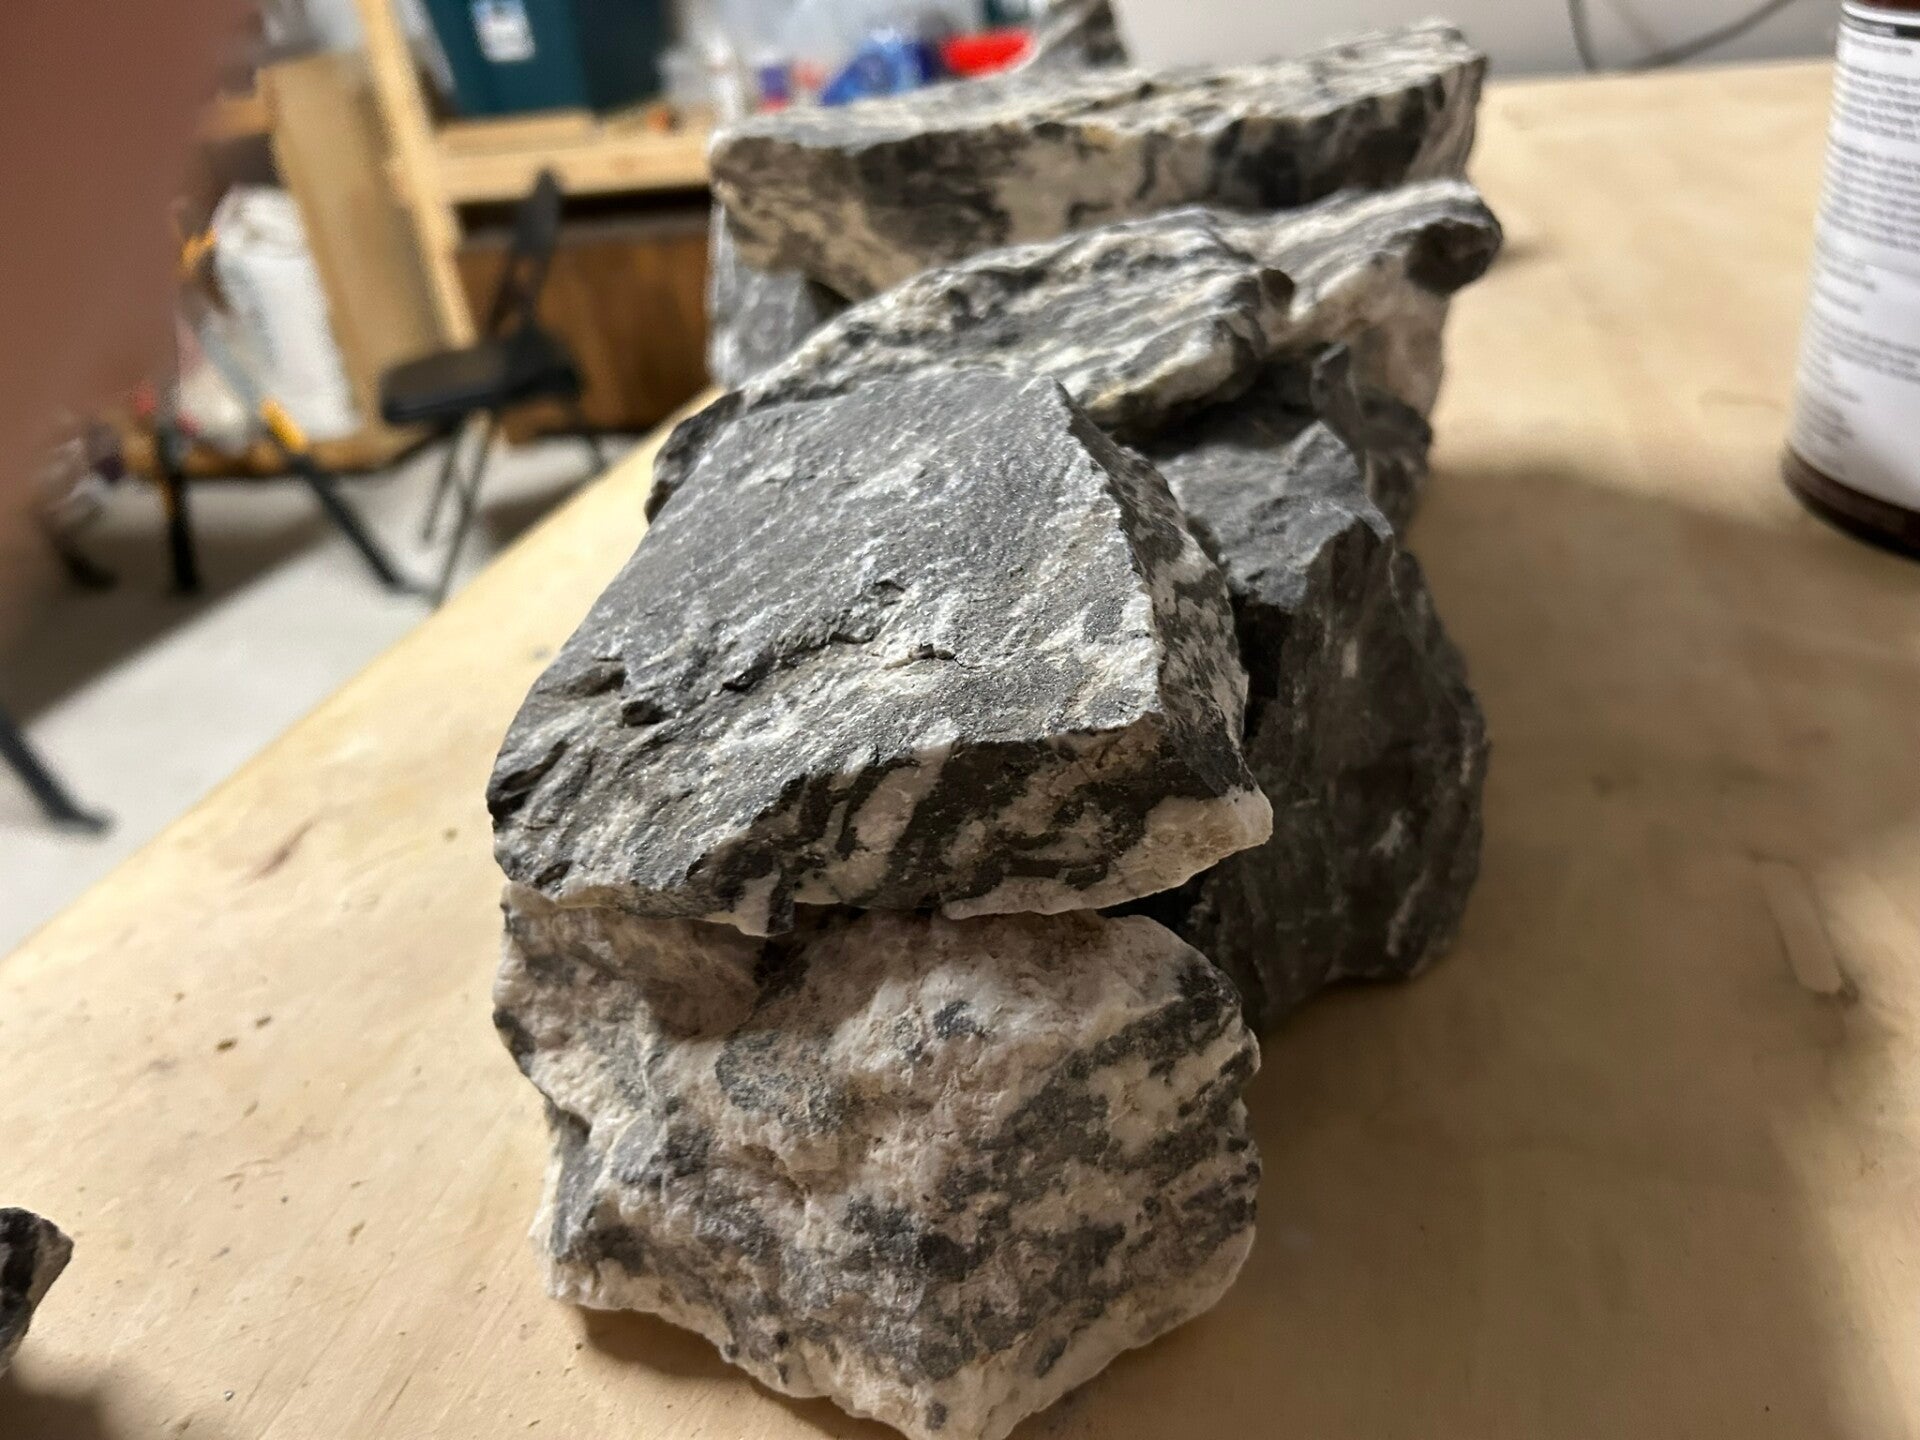
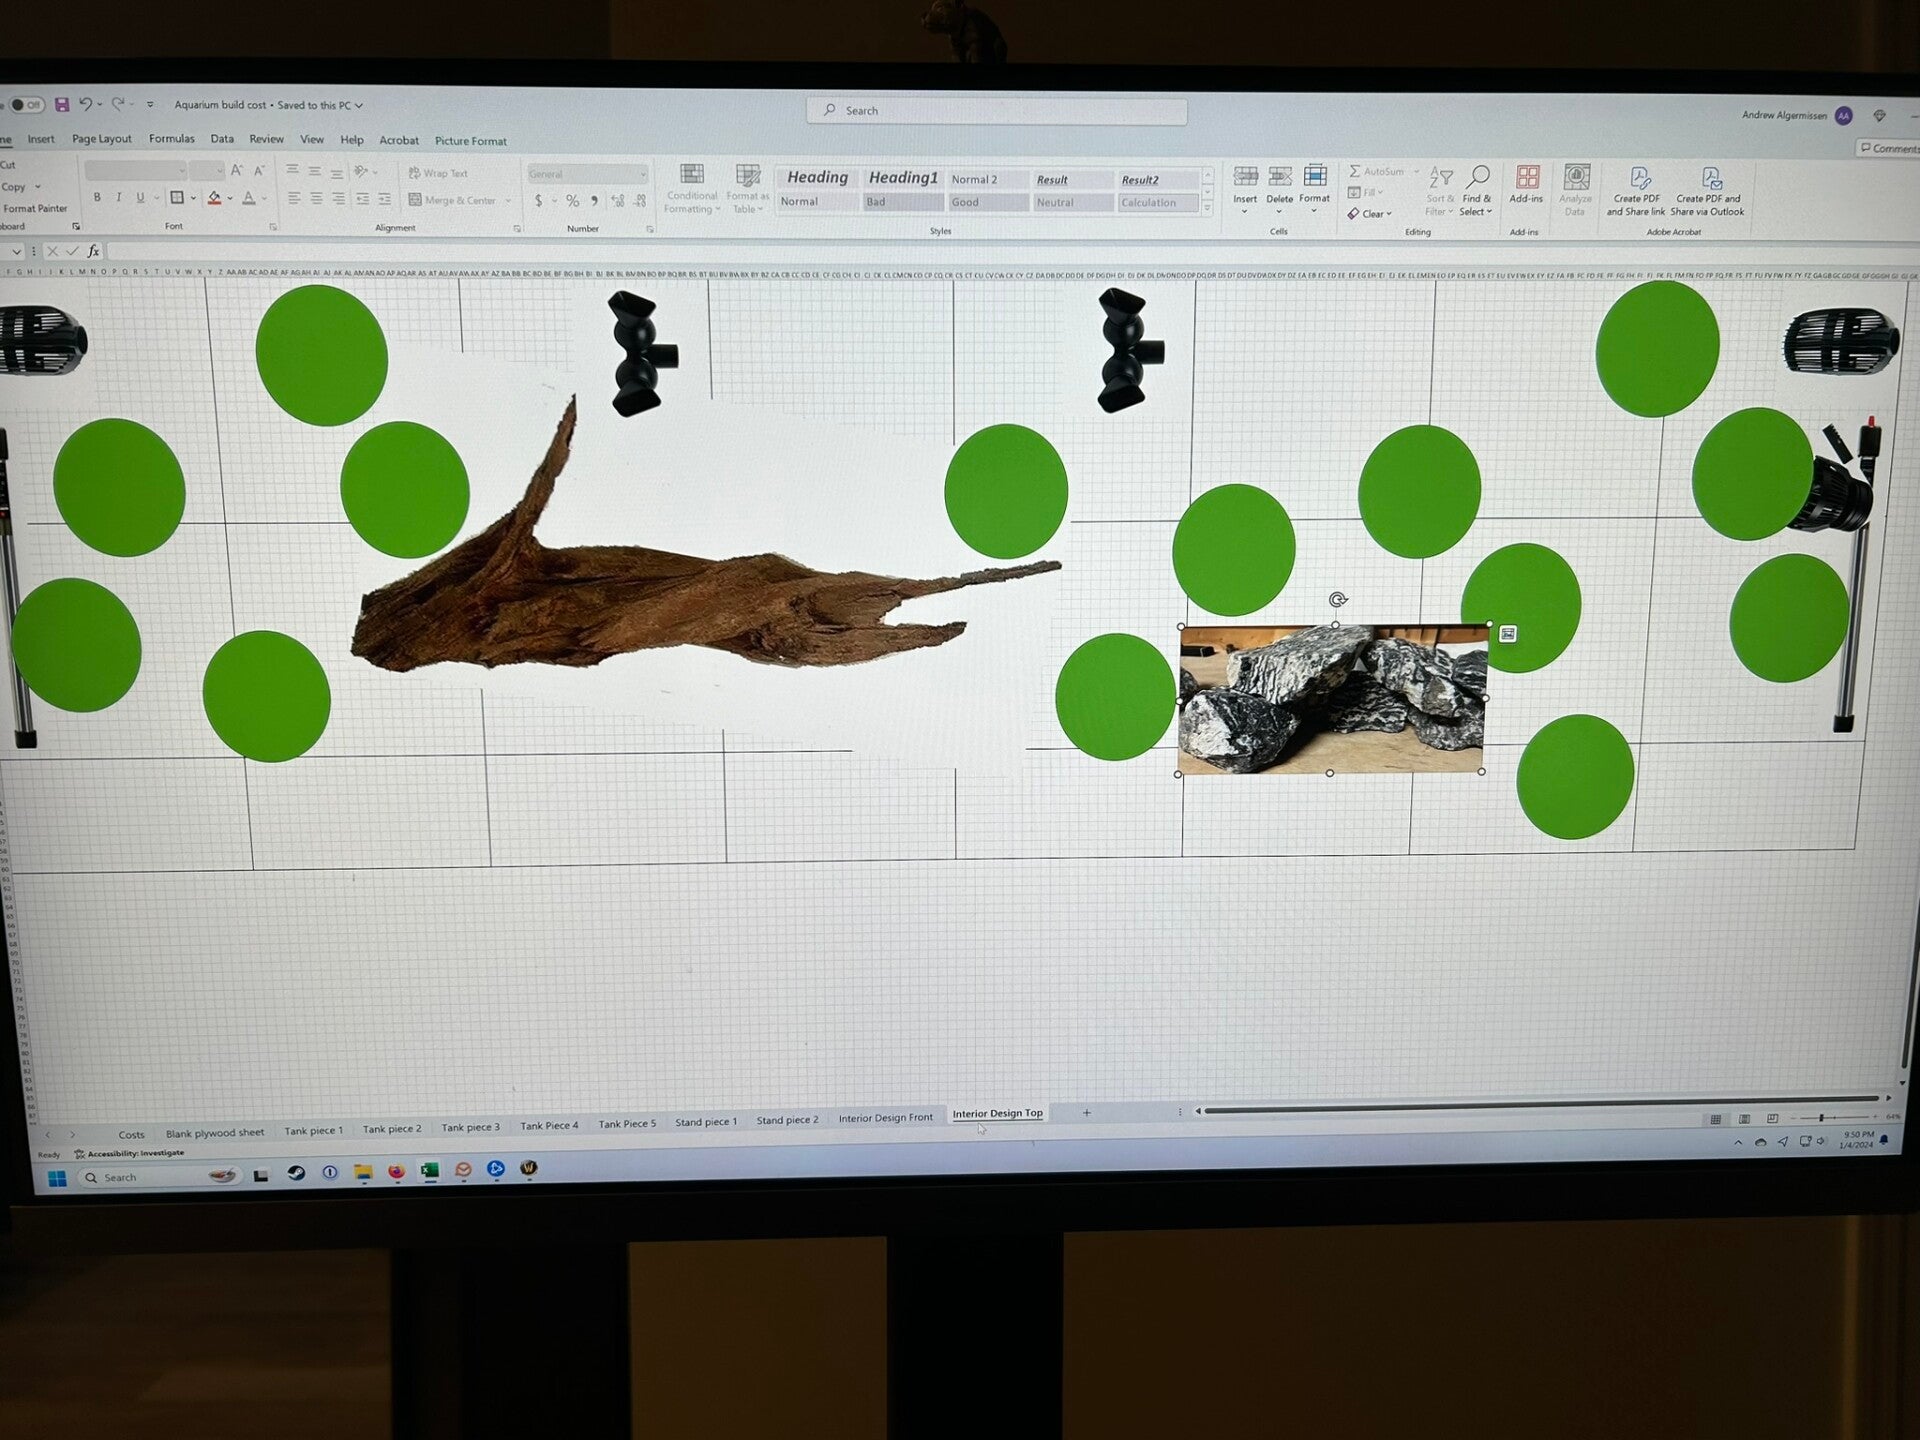
Put together a basic layout oof where I wanted everything to go in the tank.
4 Jan 24
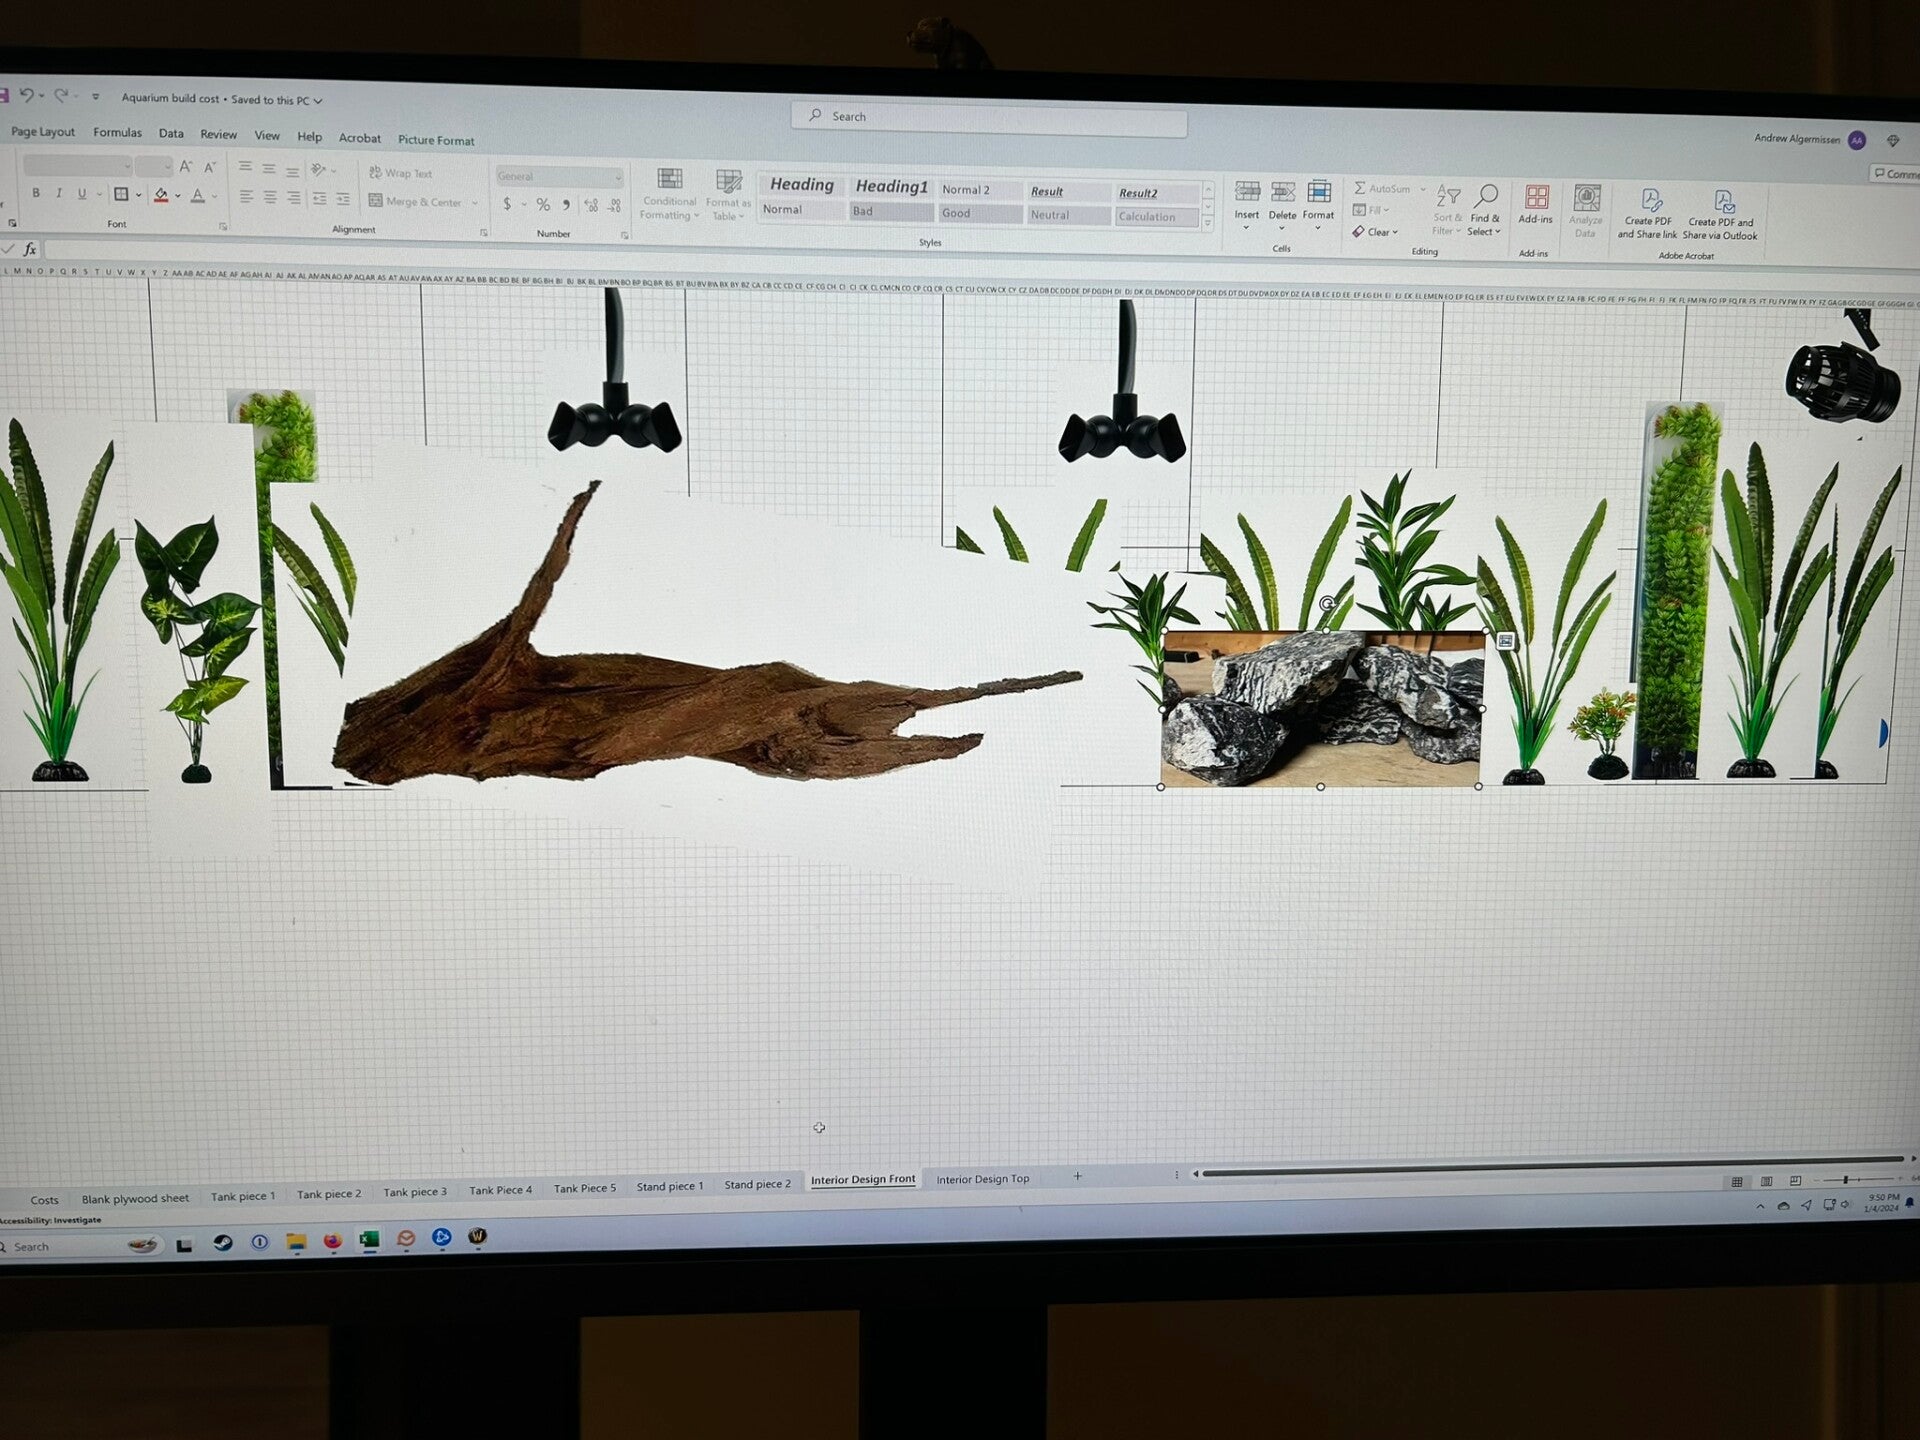
Top view of layout.
21 Dec 23
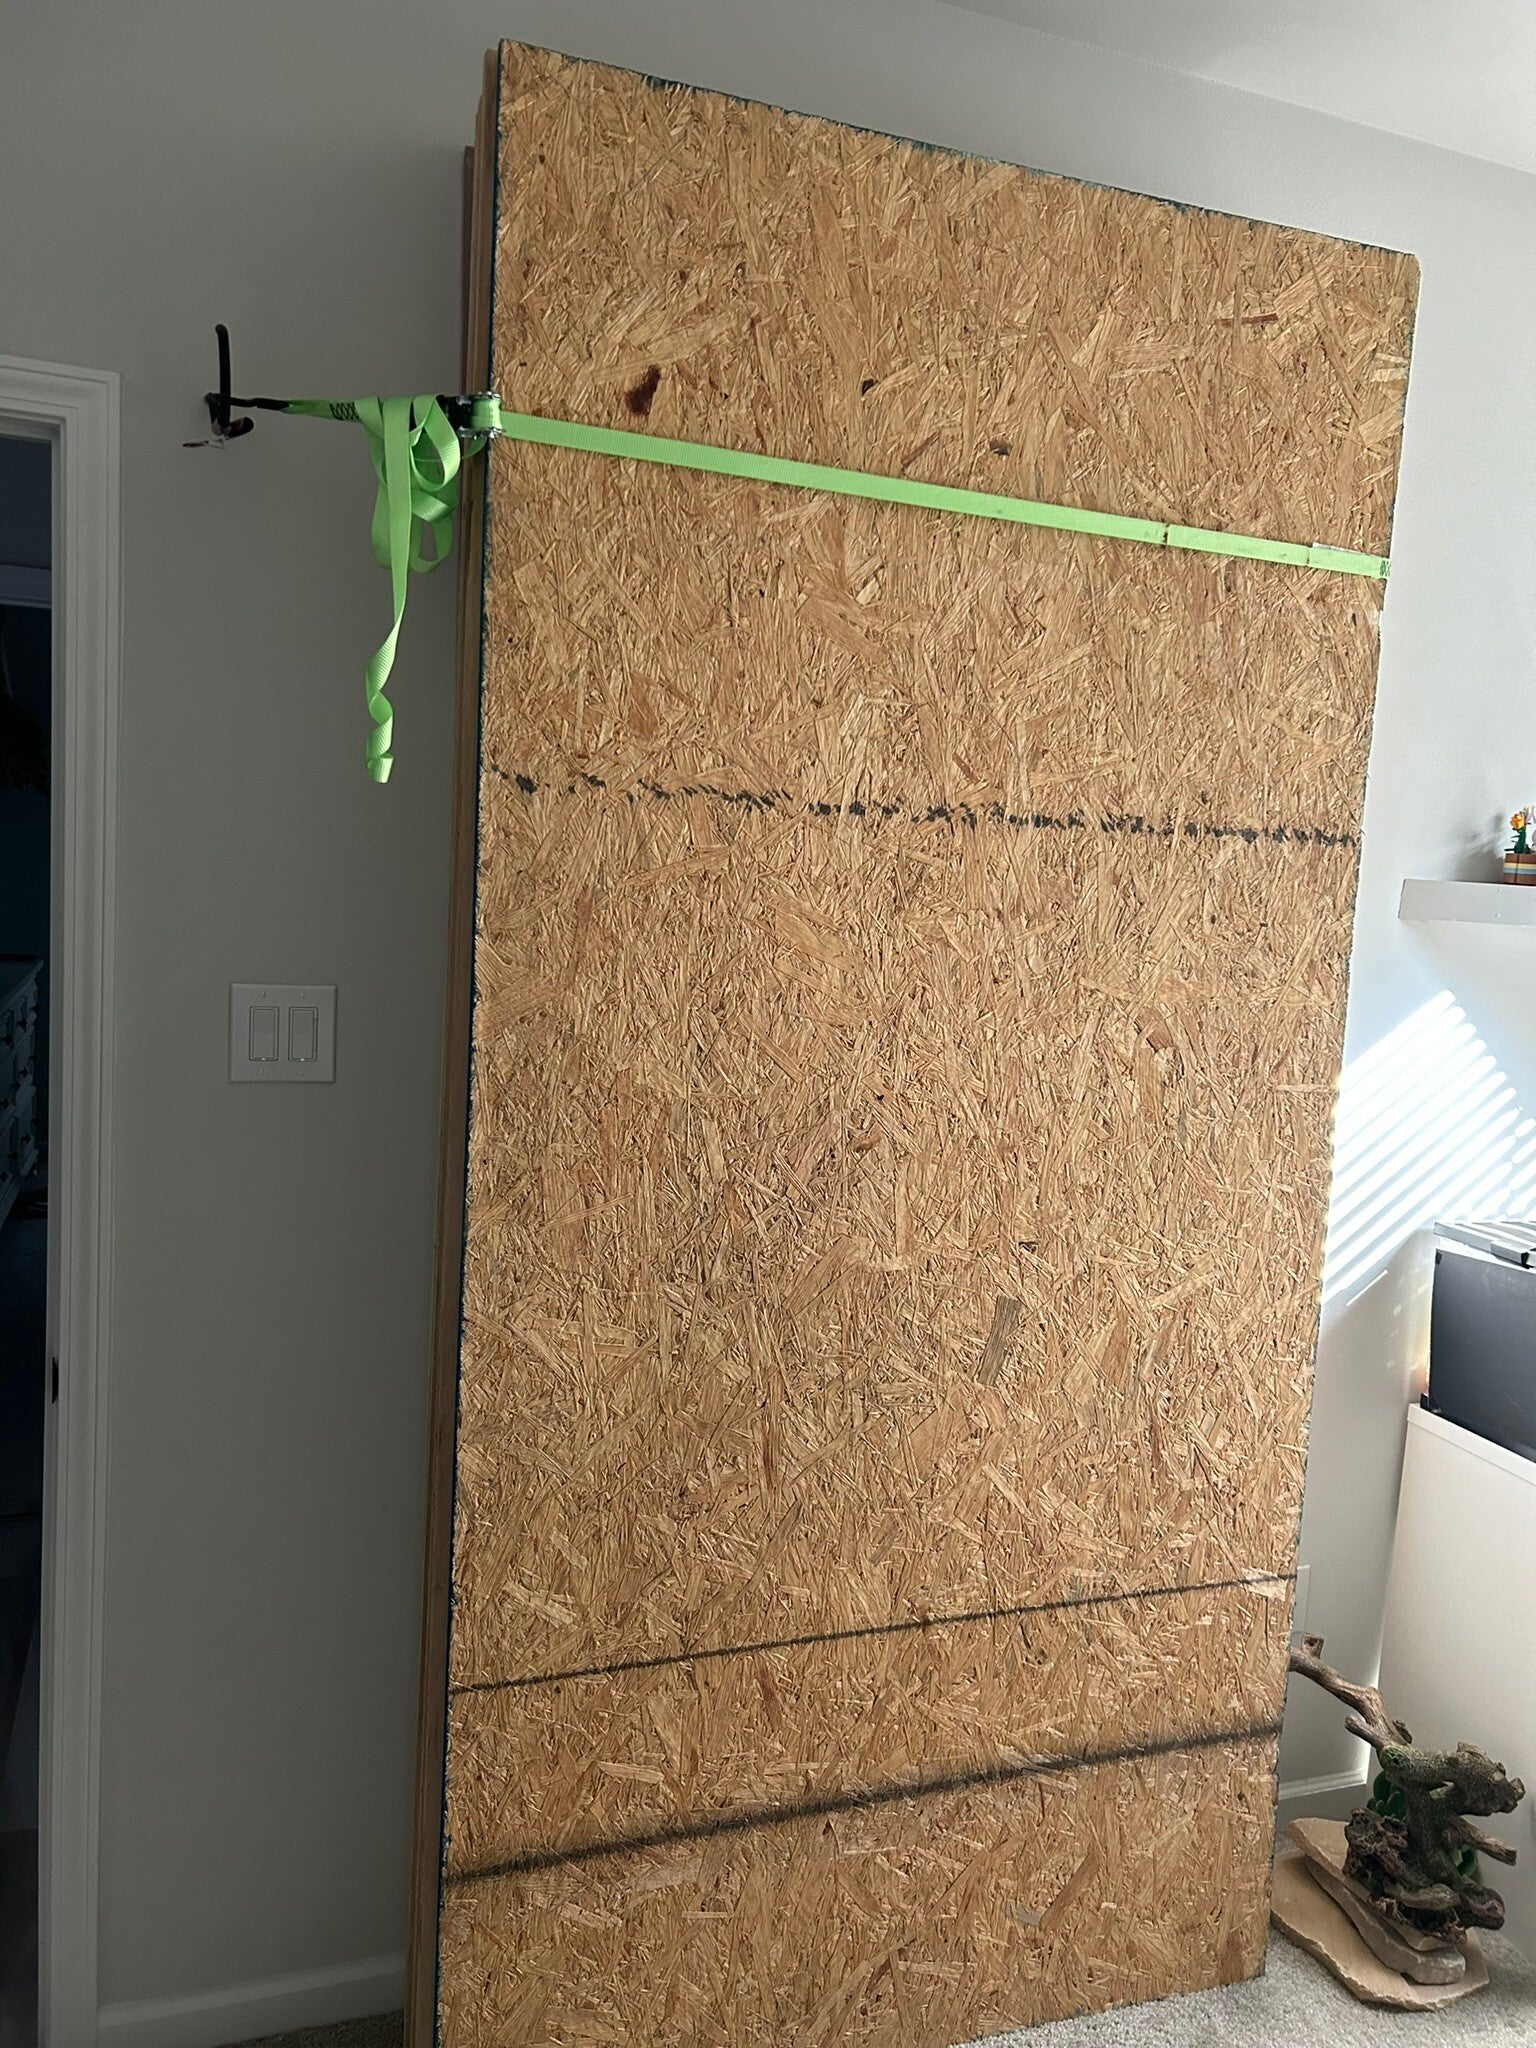
Had lots of plywood and didn't want to store it in the garage. Set it all against the wall and then mounted bike hooks into studs and used ratchet straps to hold it all up.
30 Jan 24
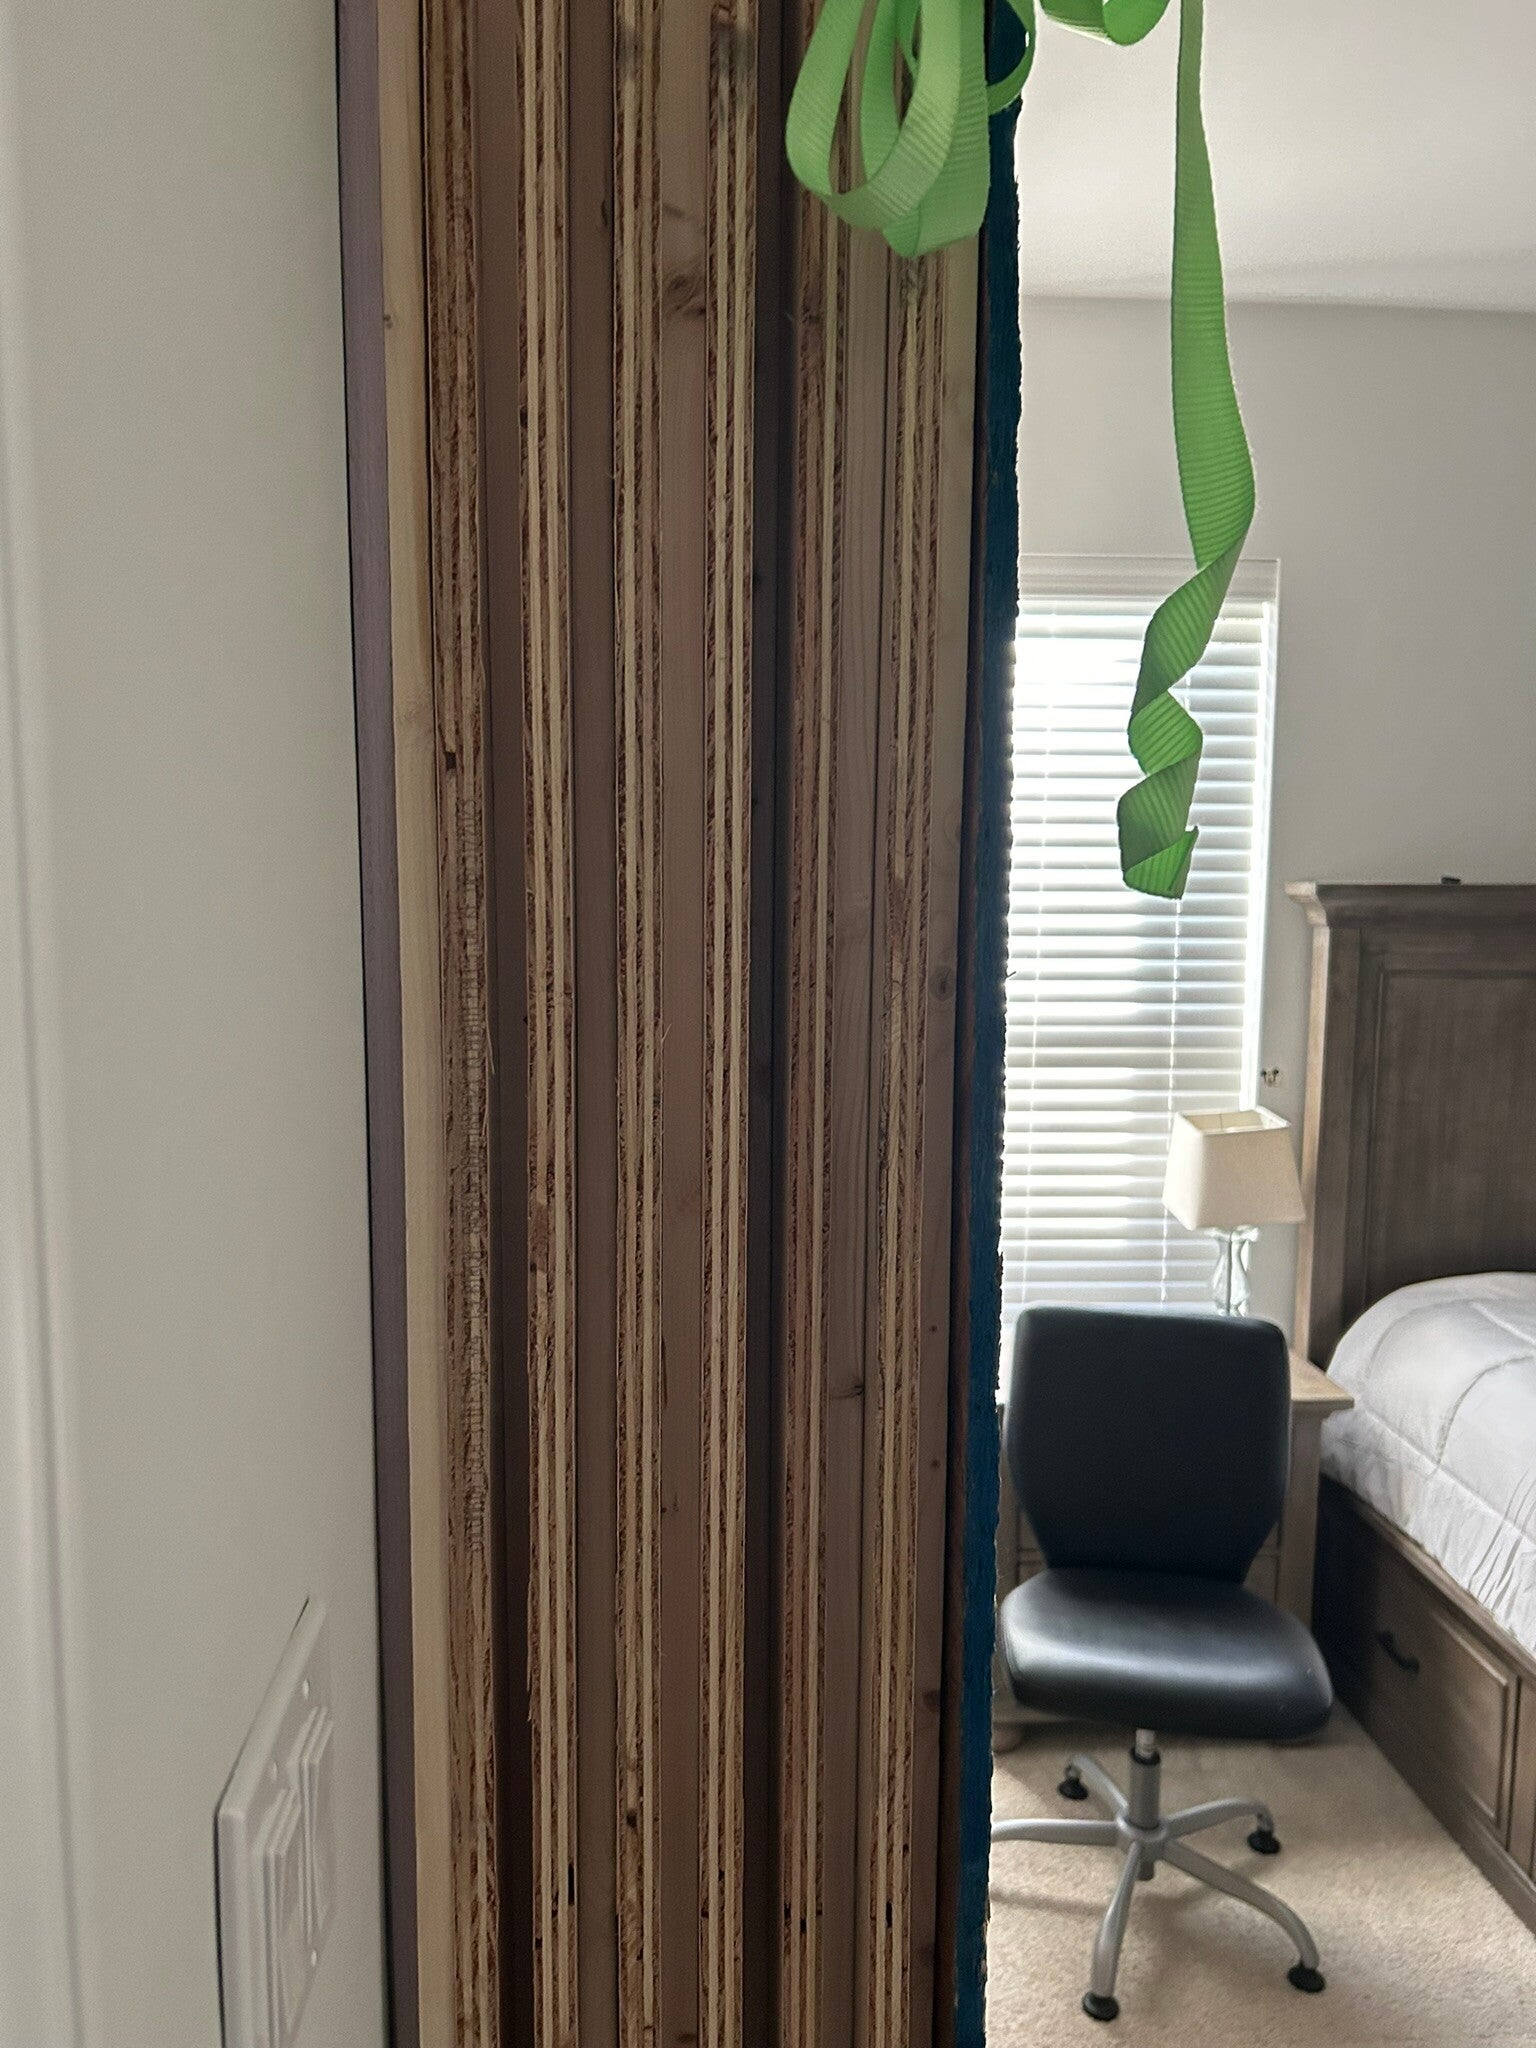
Side view of the plywood storage.
30 Jan 24
The actual build begins. Stand frame. Used 2x4's glued to each other instead of 4x4's because it is stronger structurally.
19 Apr 24
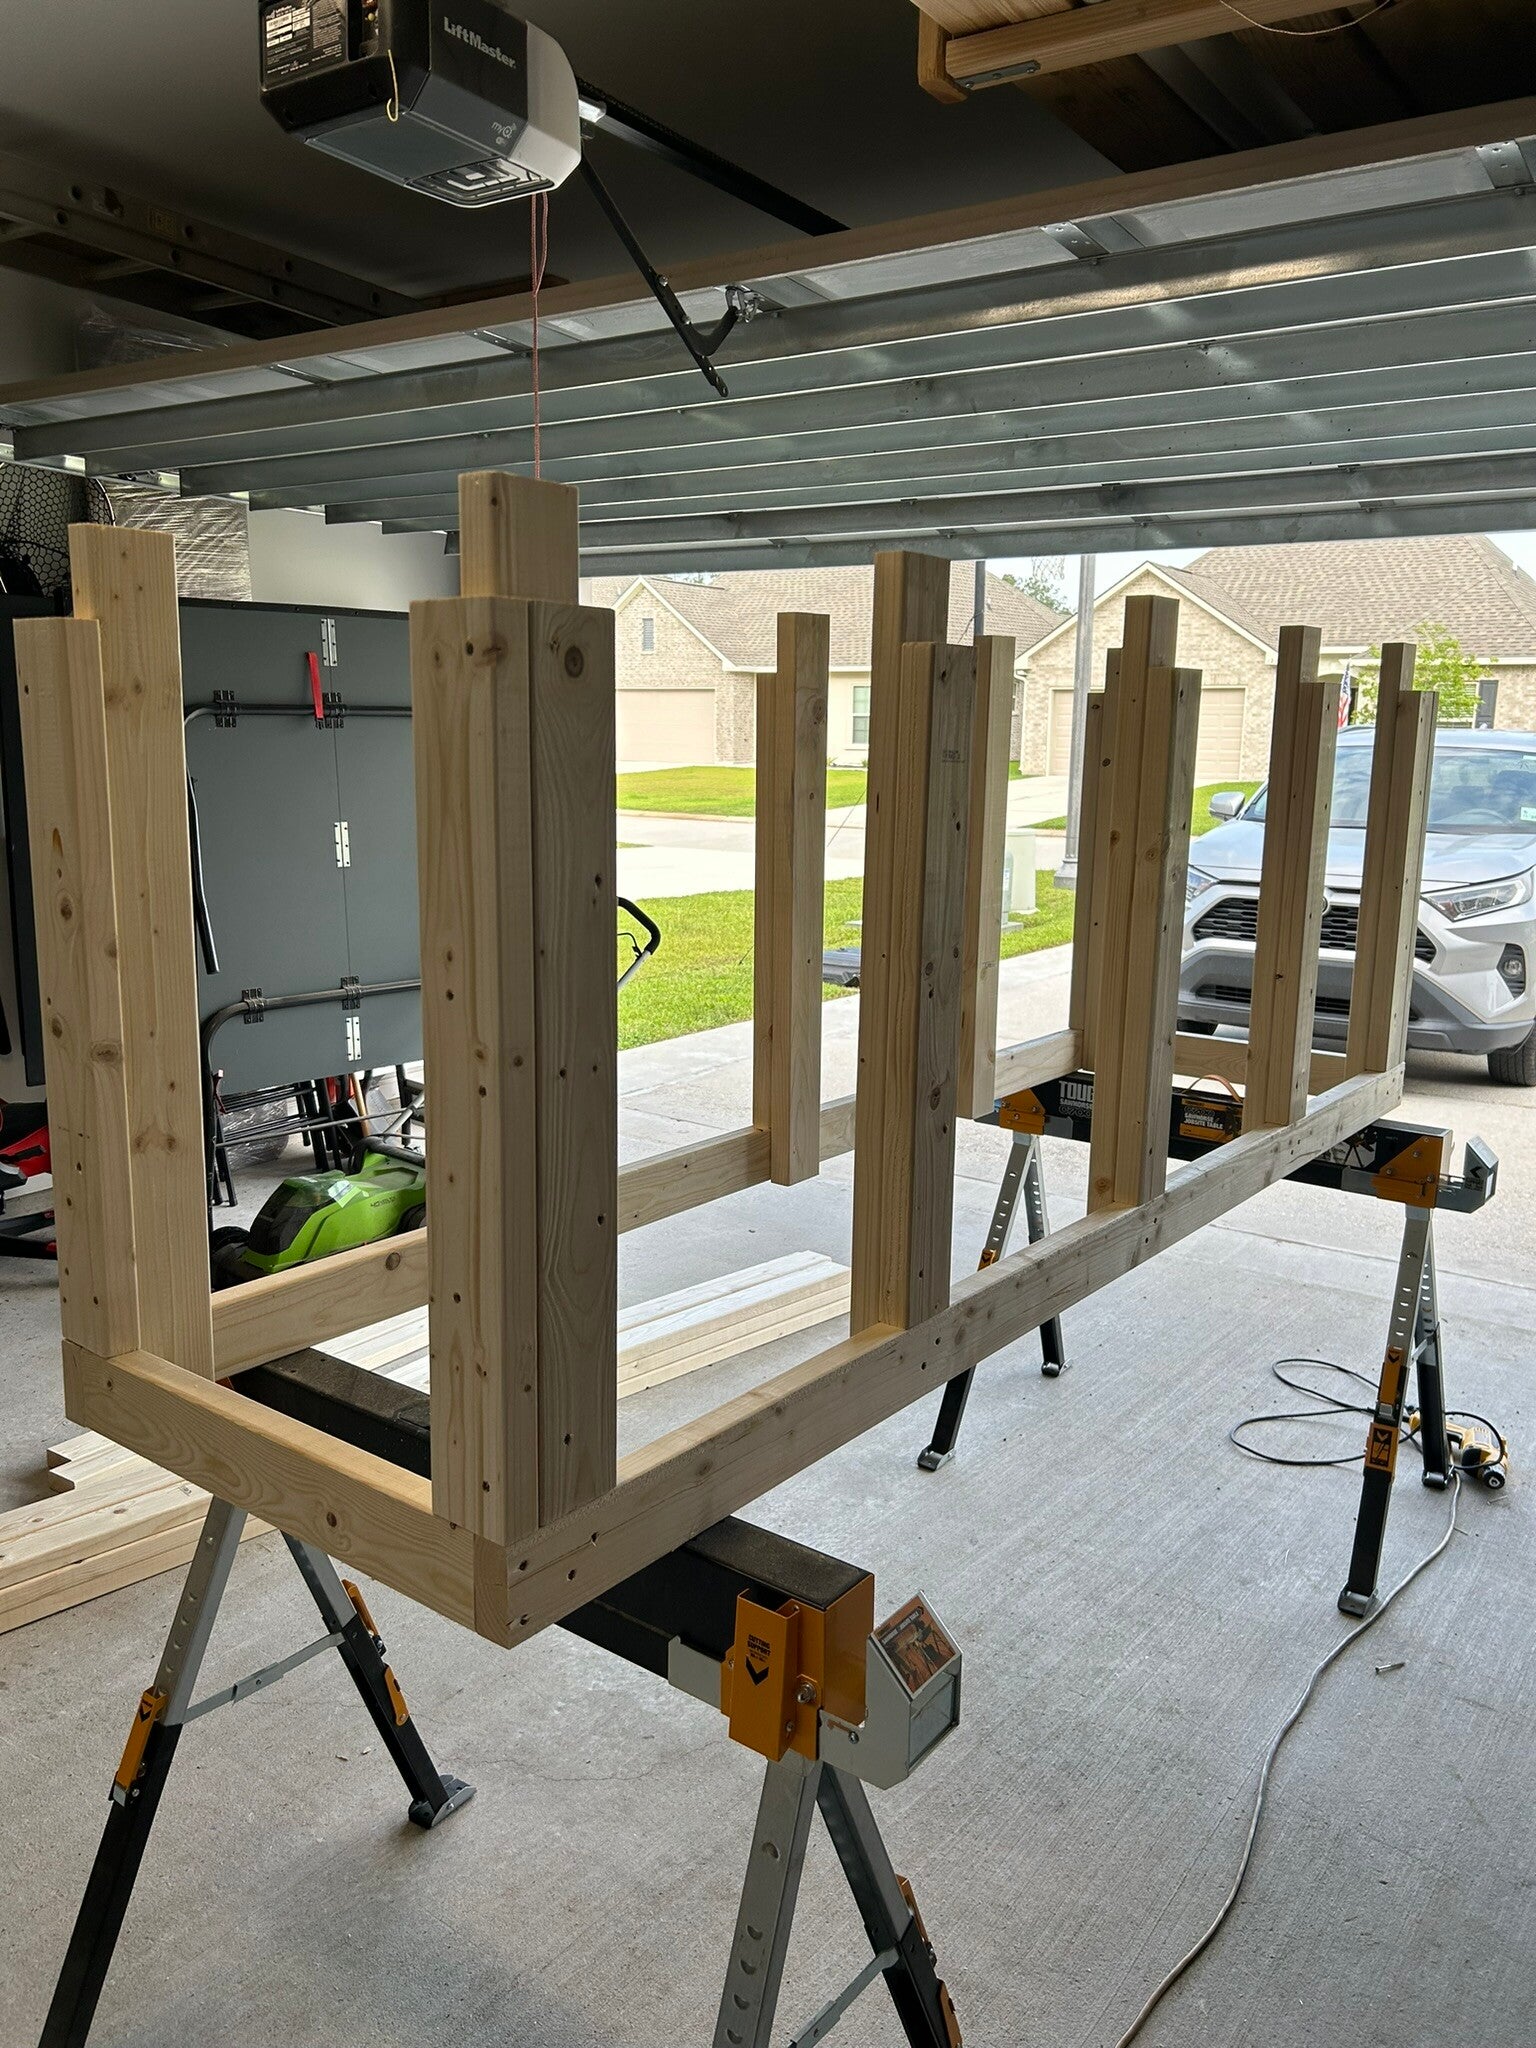
Building most of this on these sawhorses as it's easier to work with it. Being tall isn't always a good thing. In case you were curious, I painted that tiger eye on the wall.
19 Apr 24
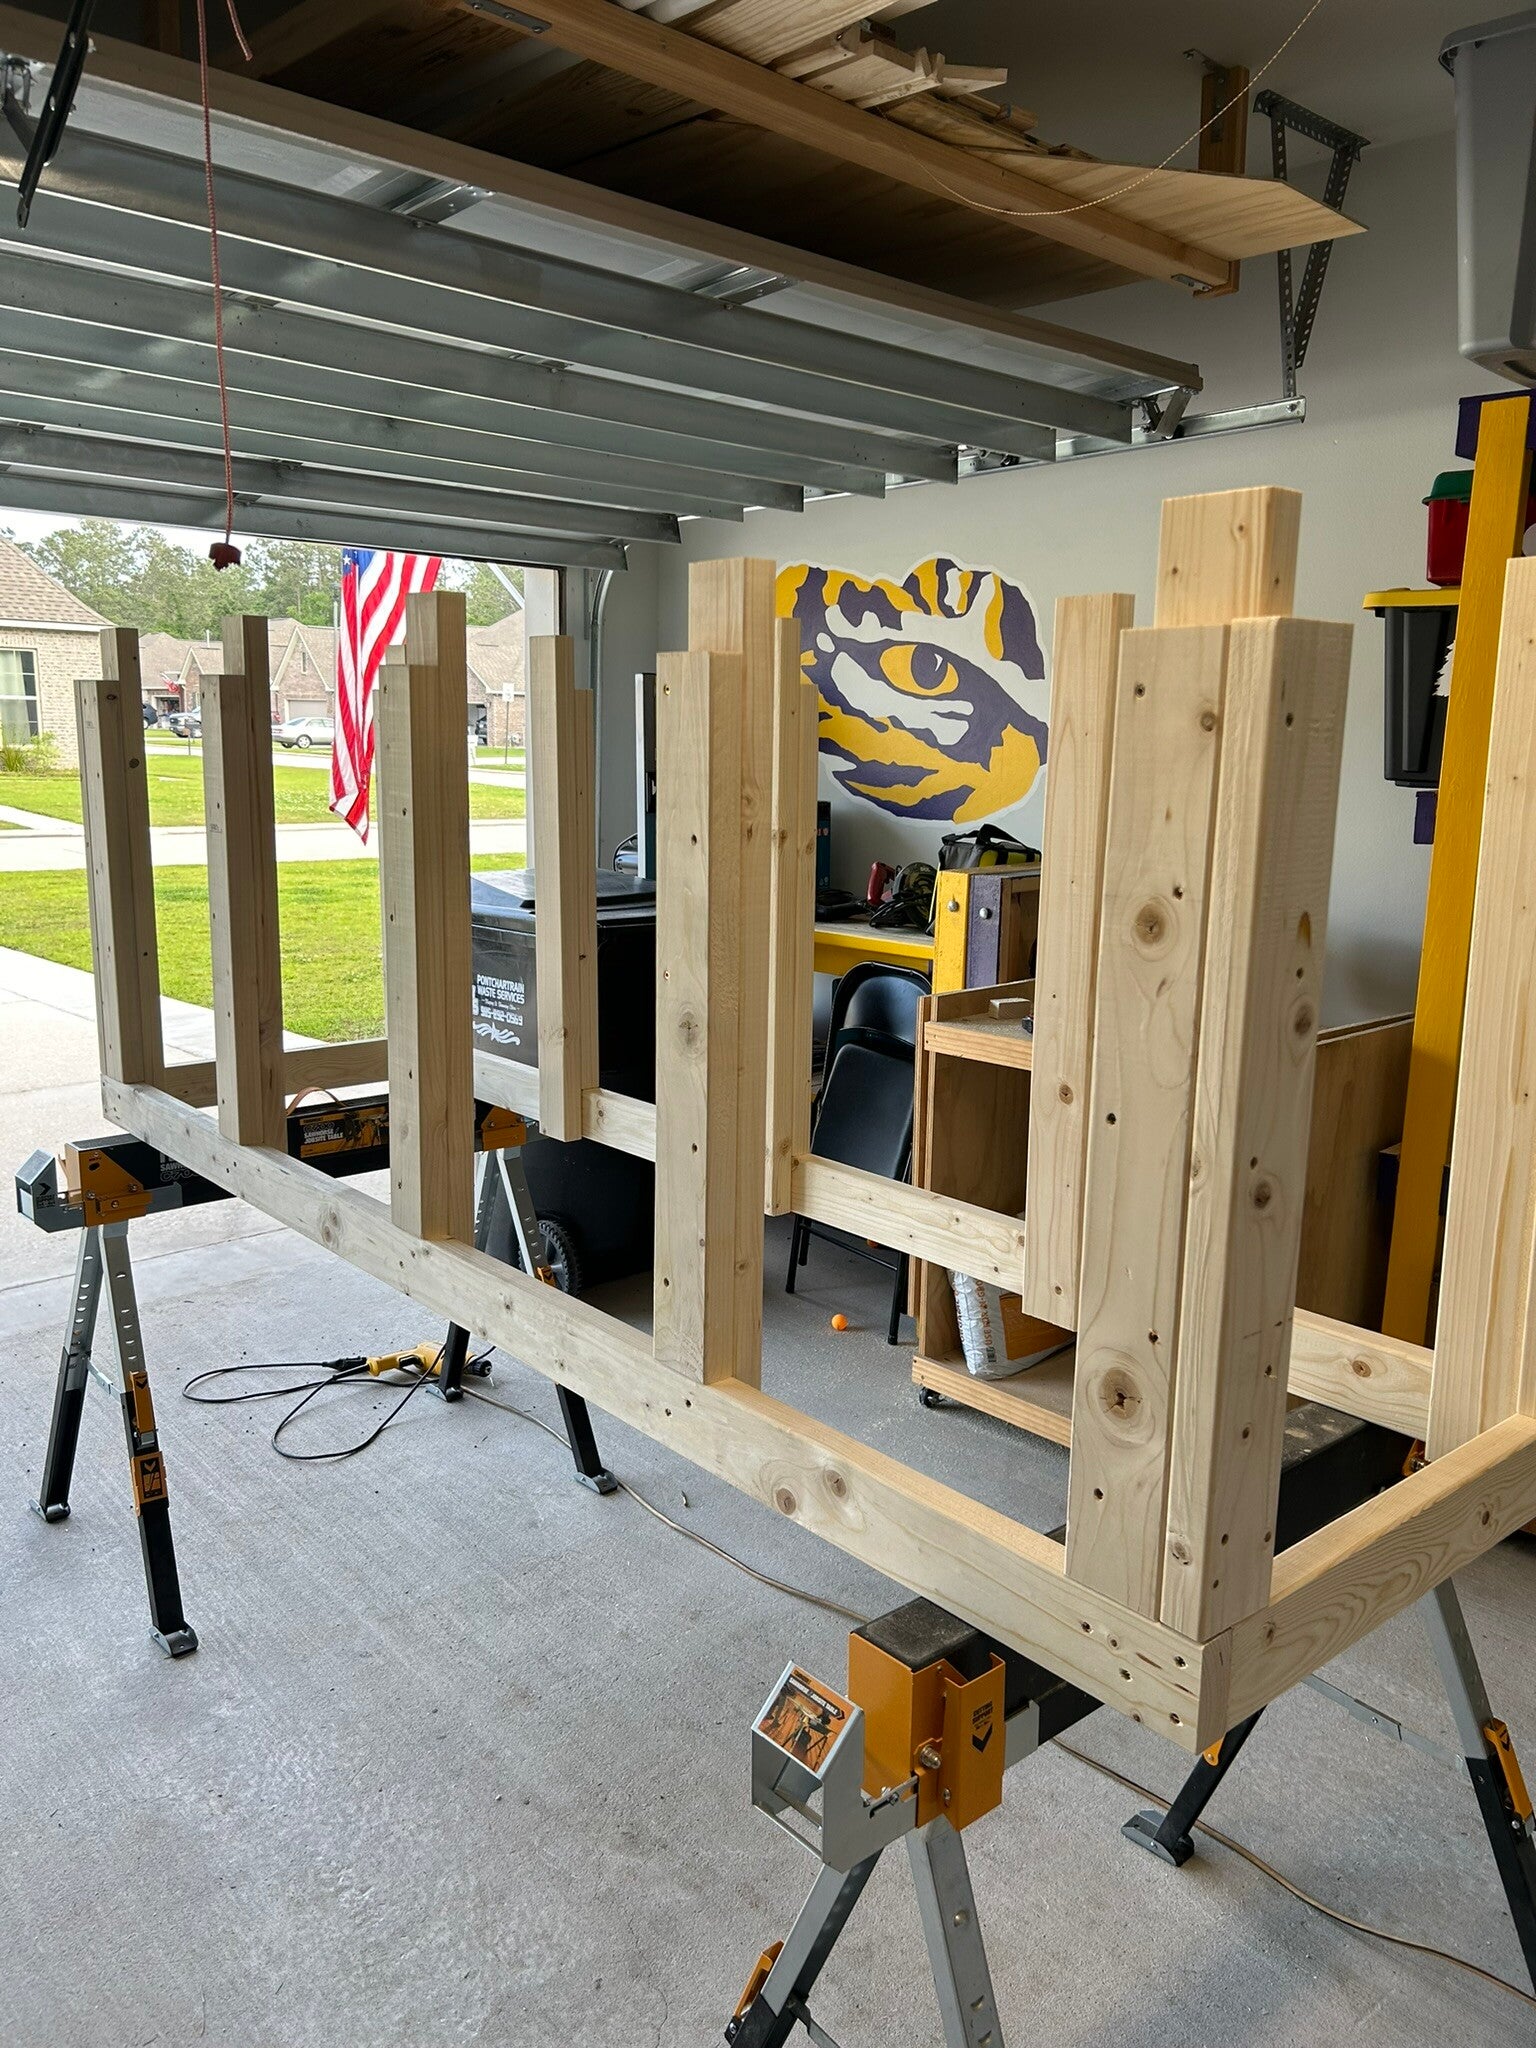
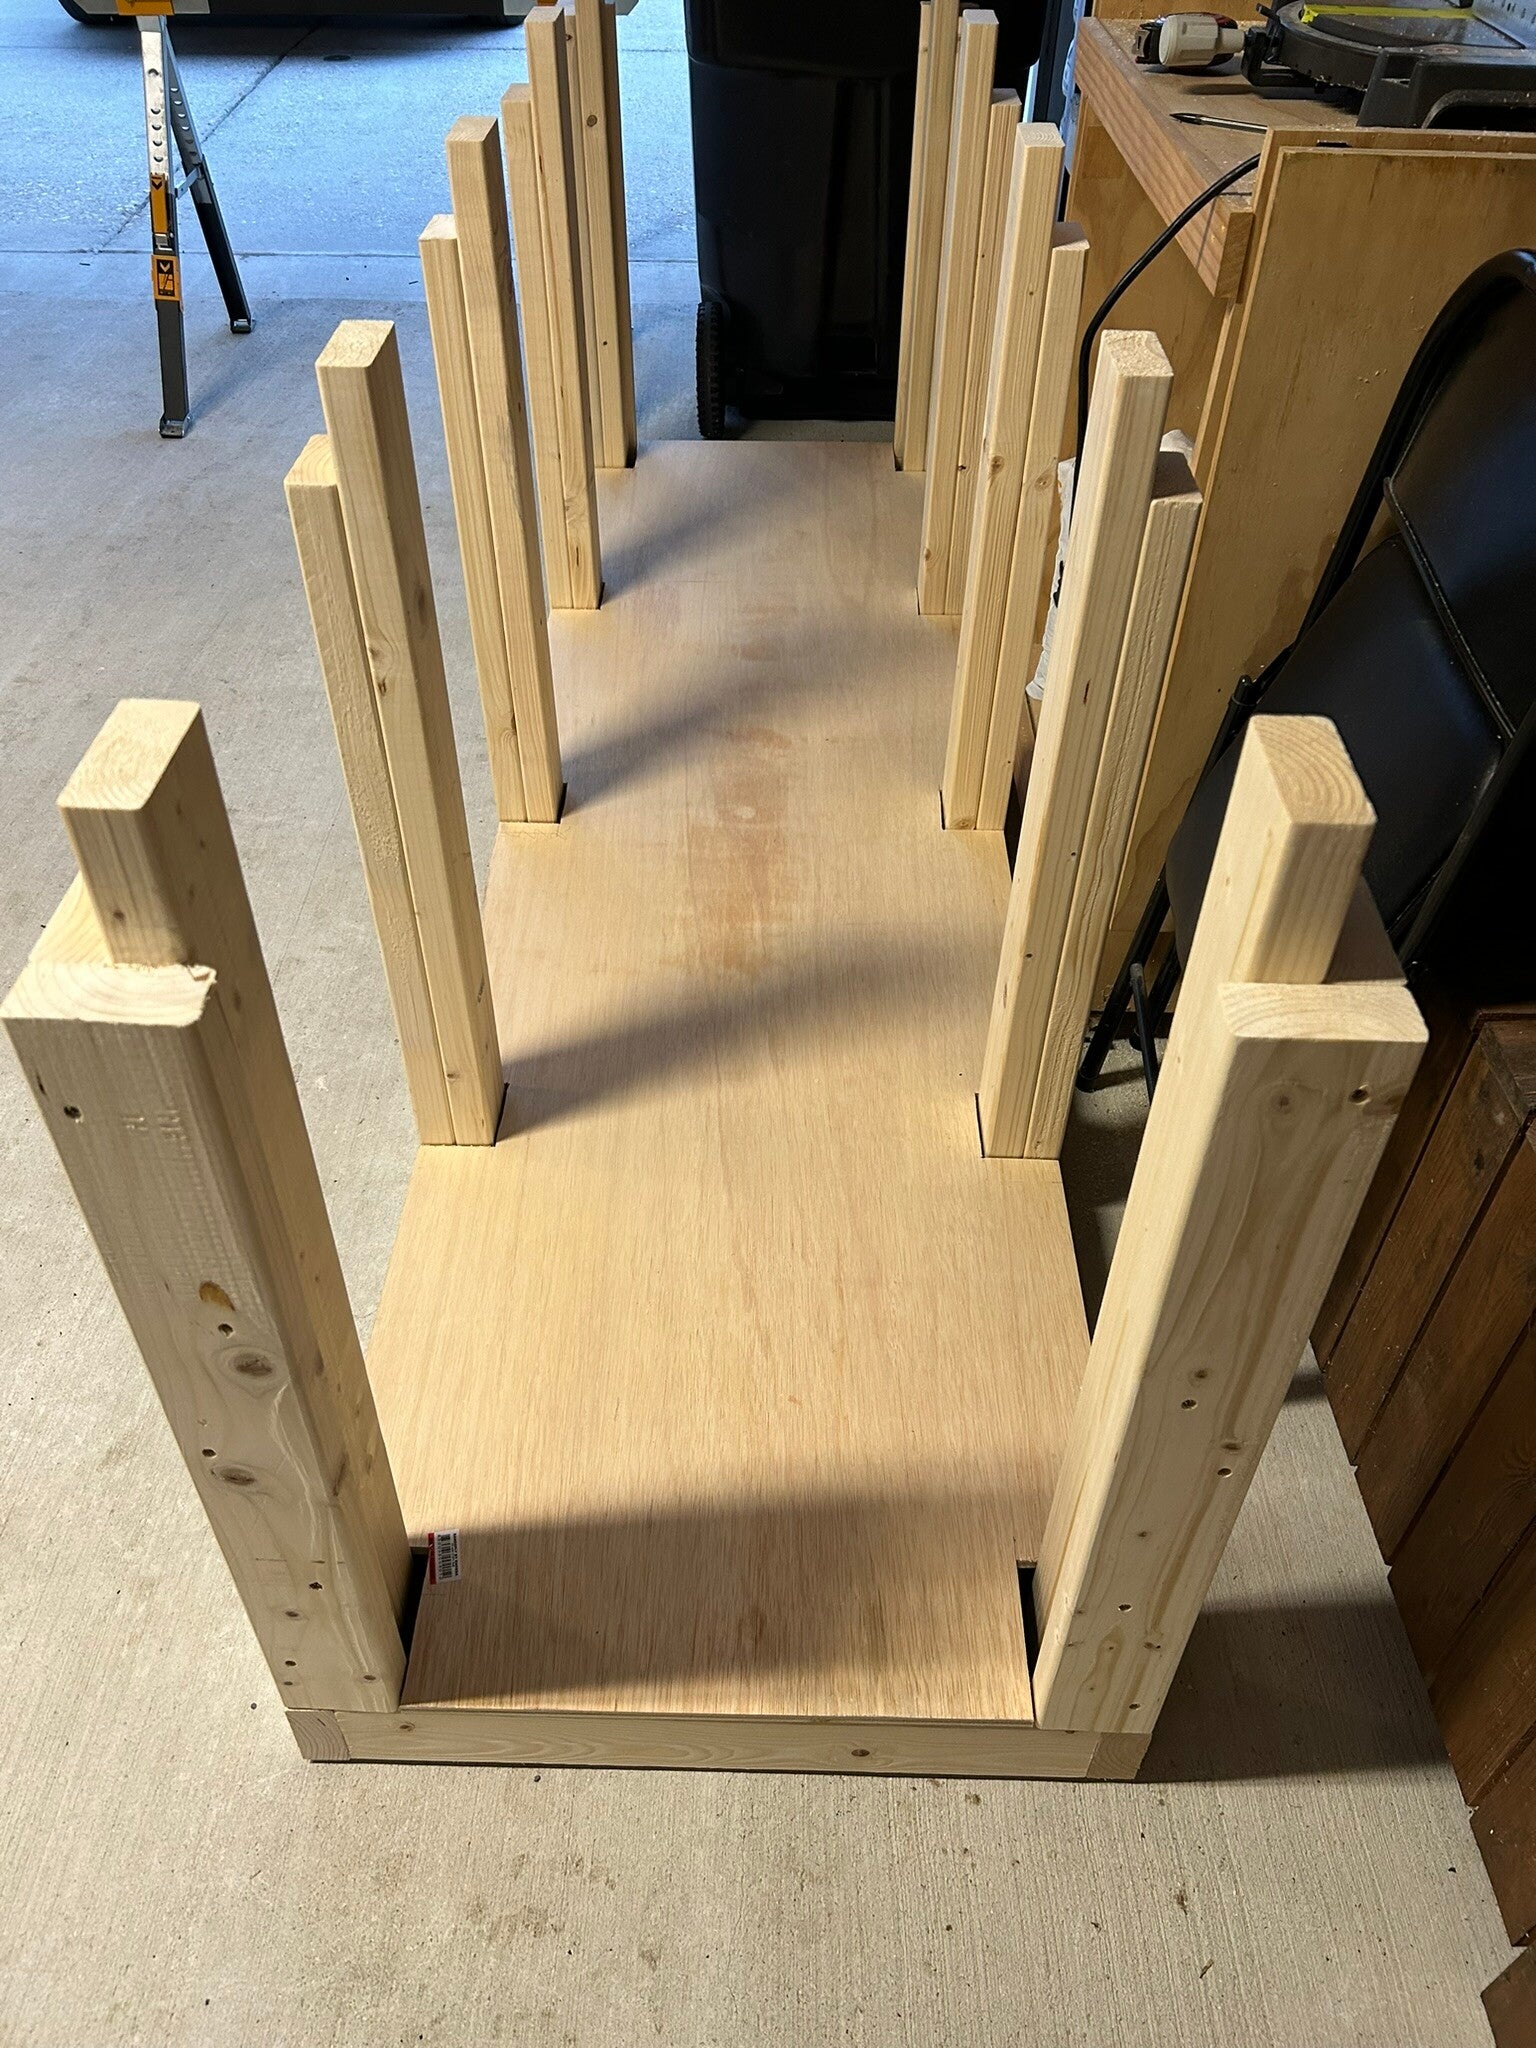
Bottom shelf in place.
20 Apr 24
Top of frame complete.
21 Apr 24
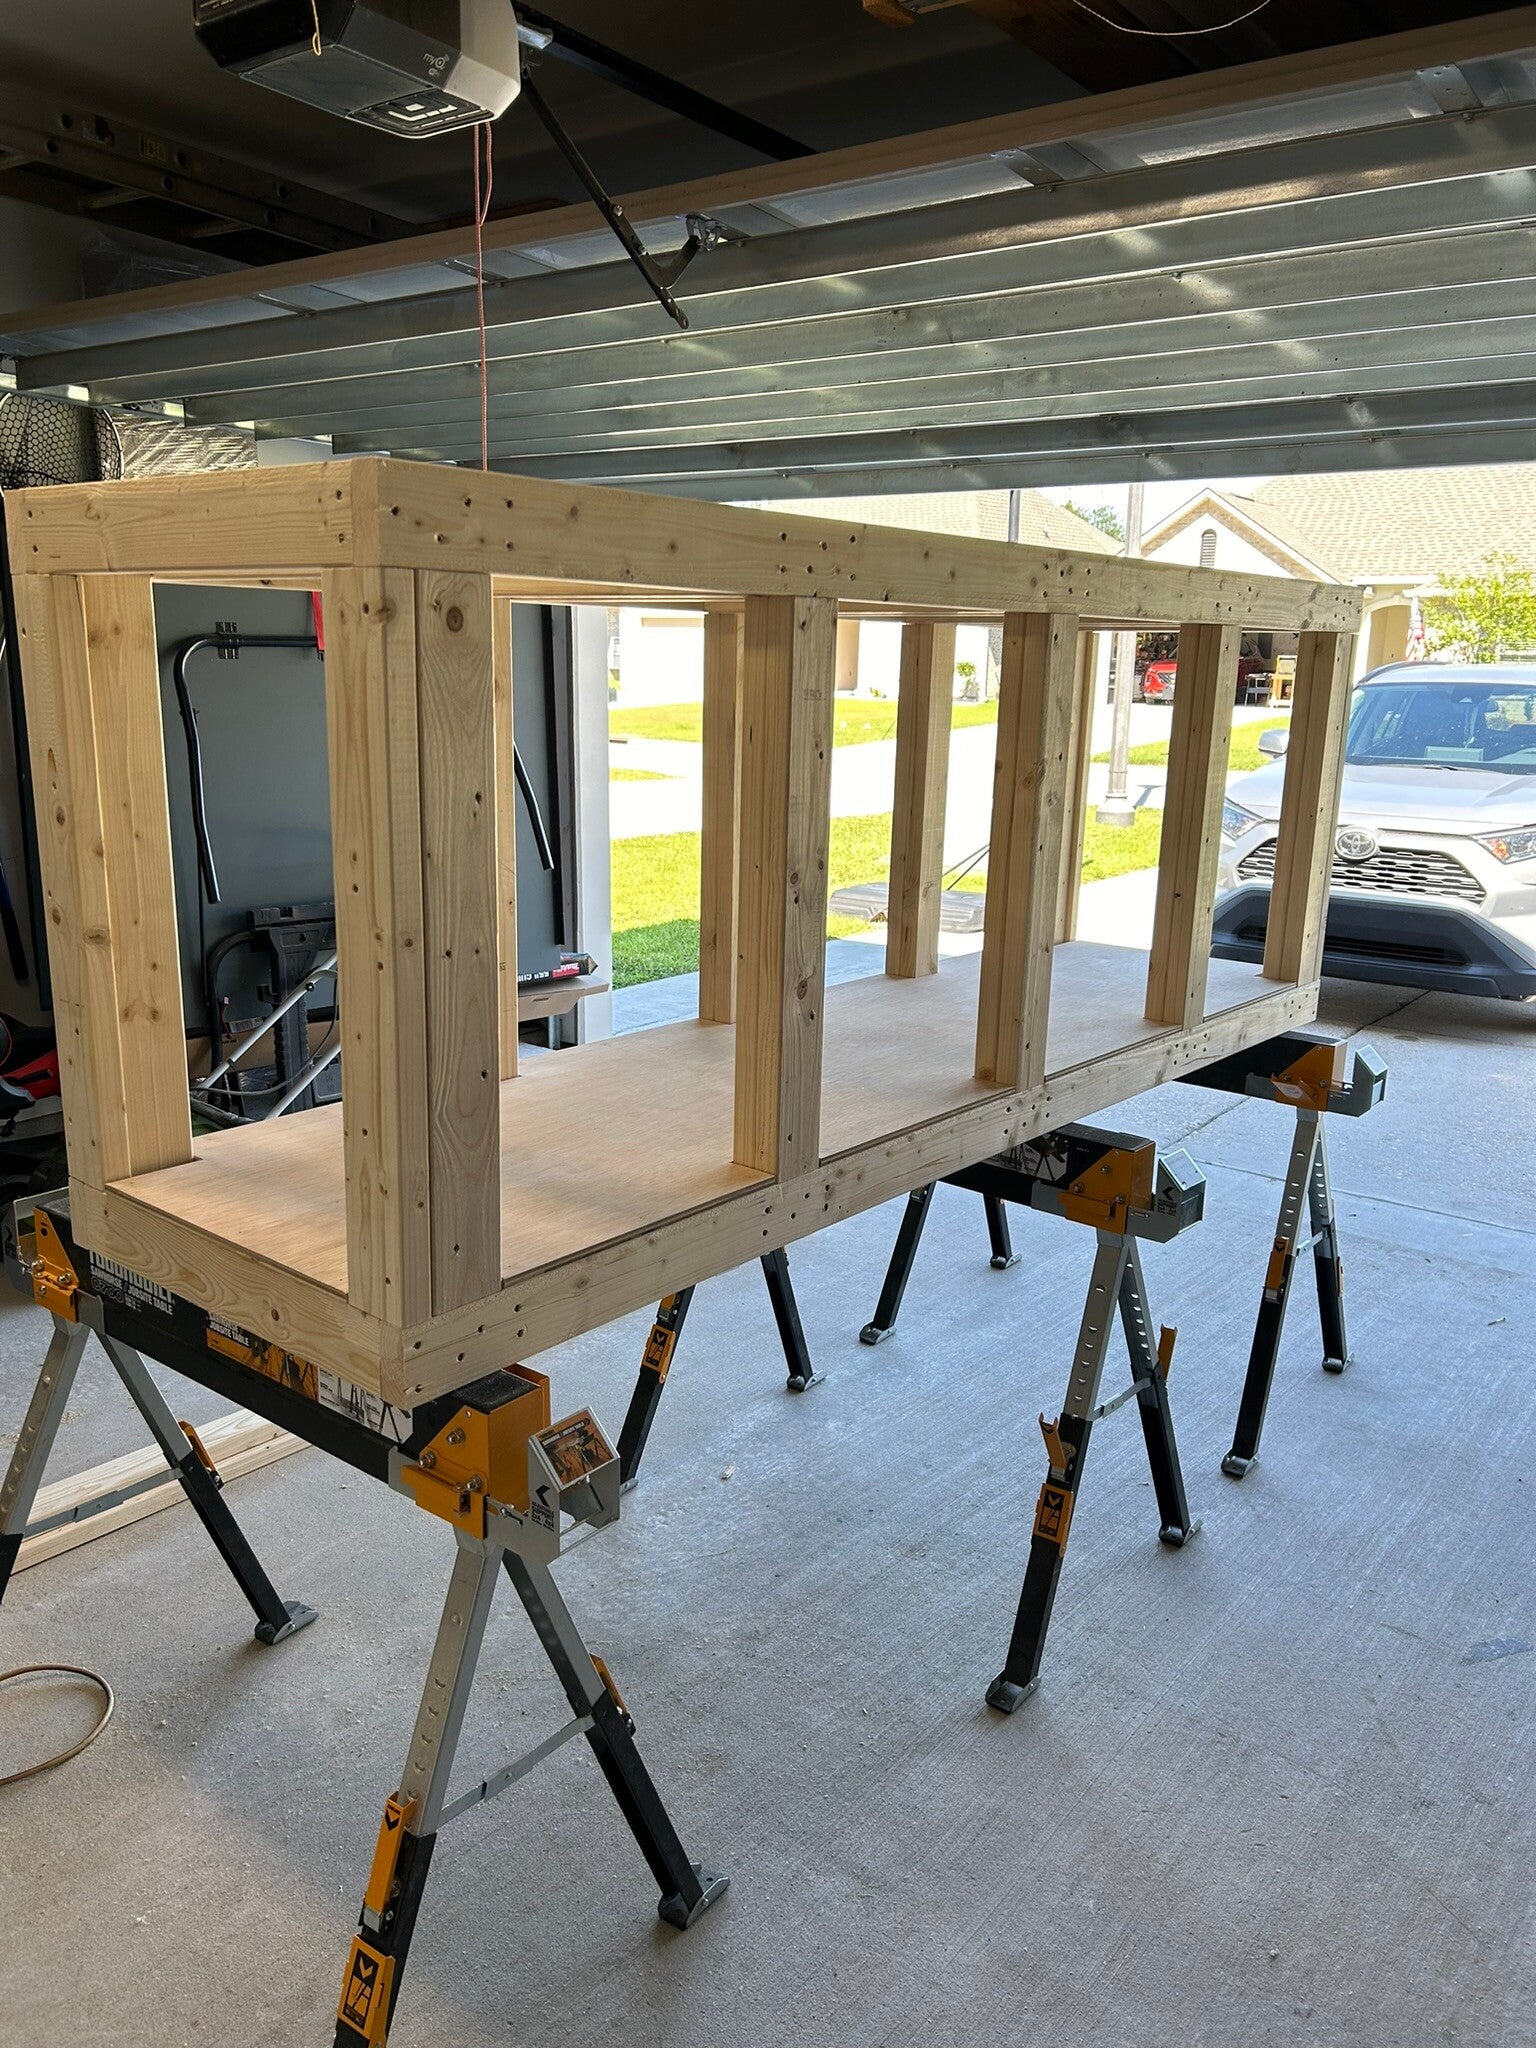
21 Apr 24
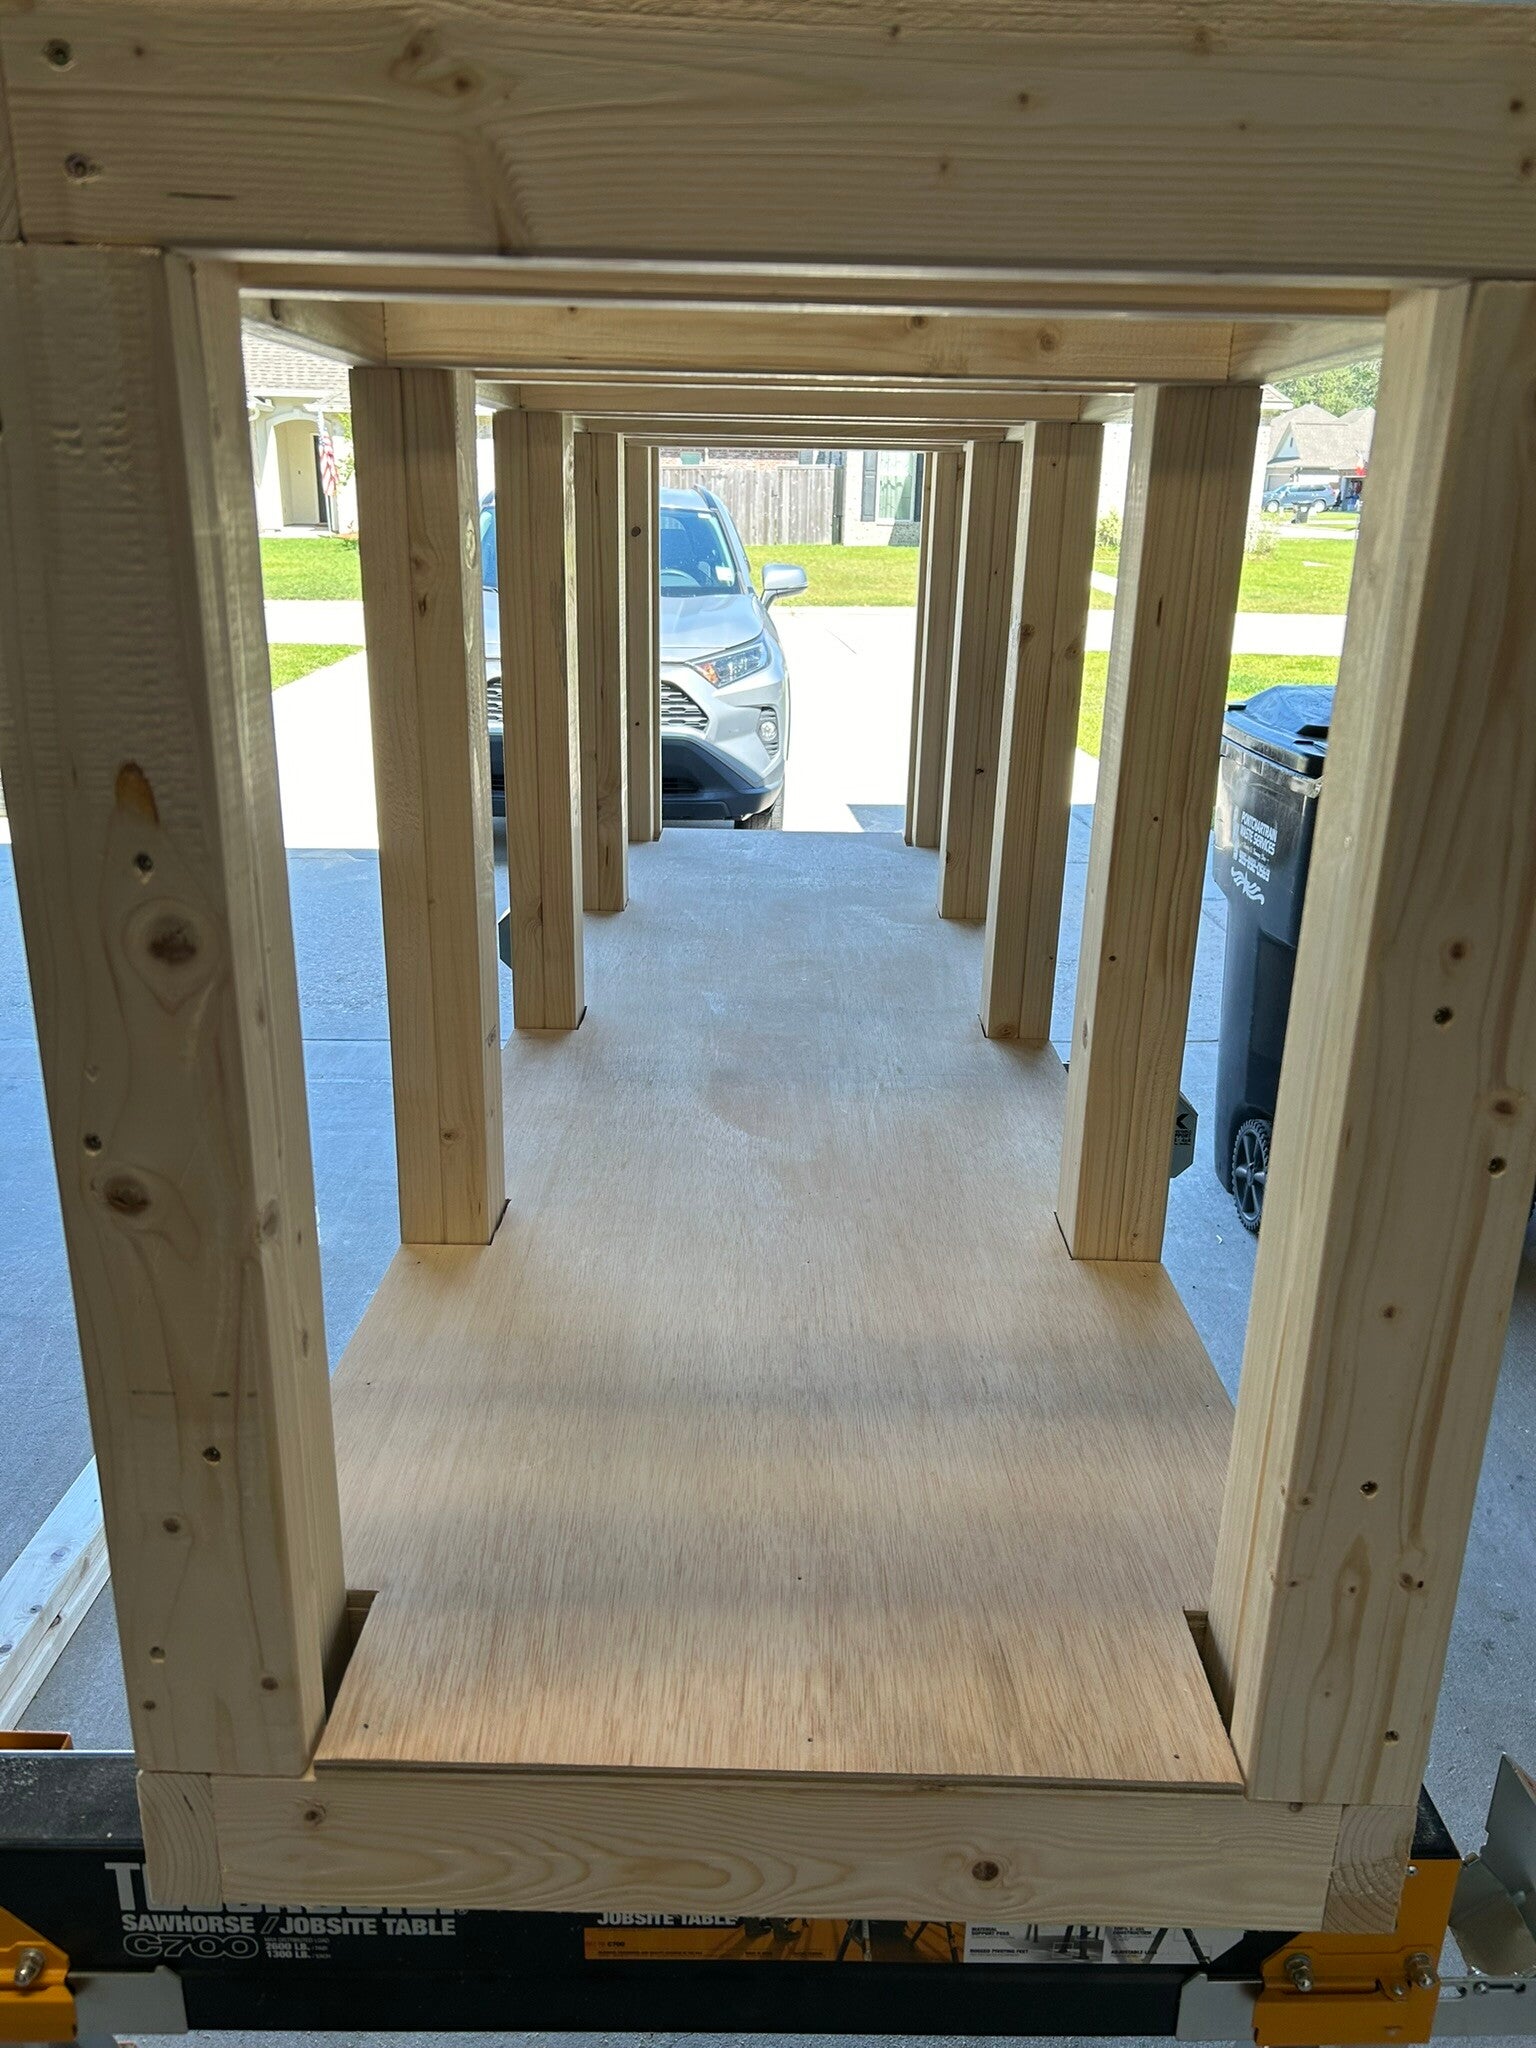
More cross beams added for strength and help hold the top piece of plywood.
21 Apr 24
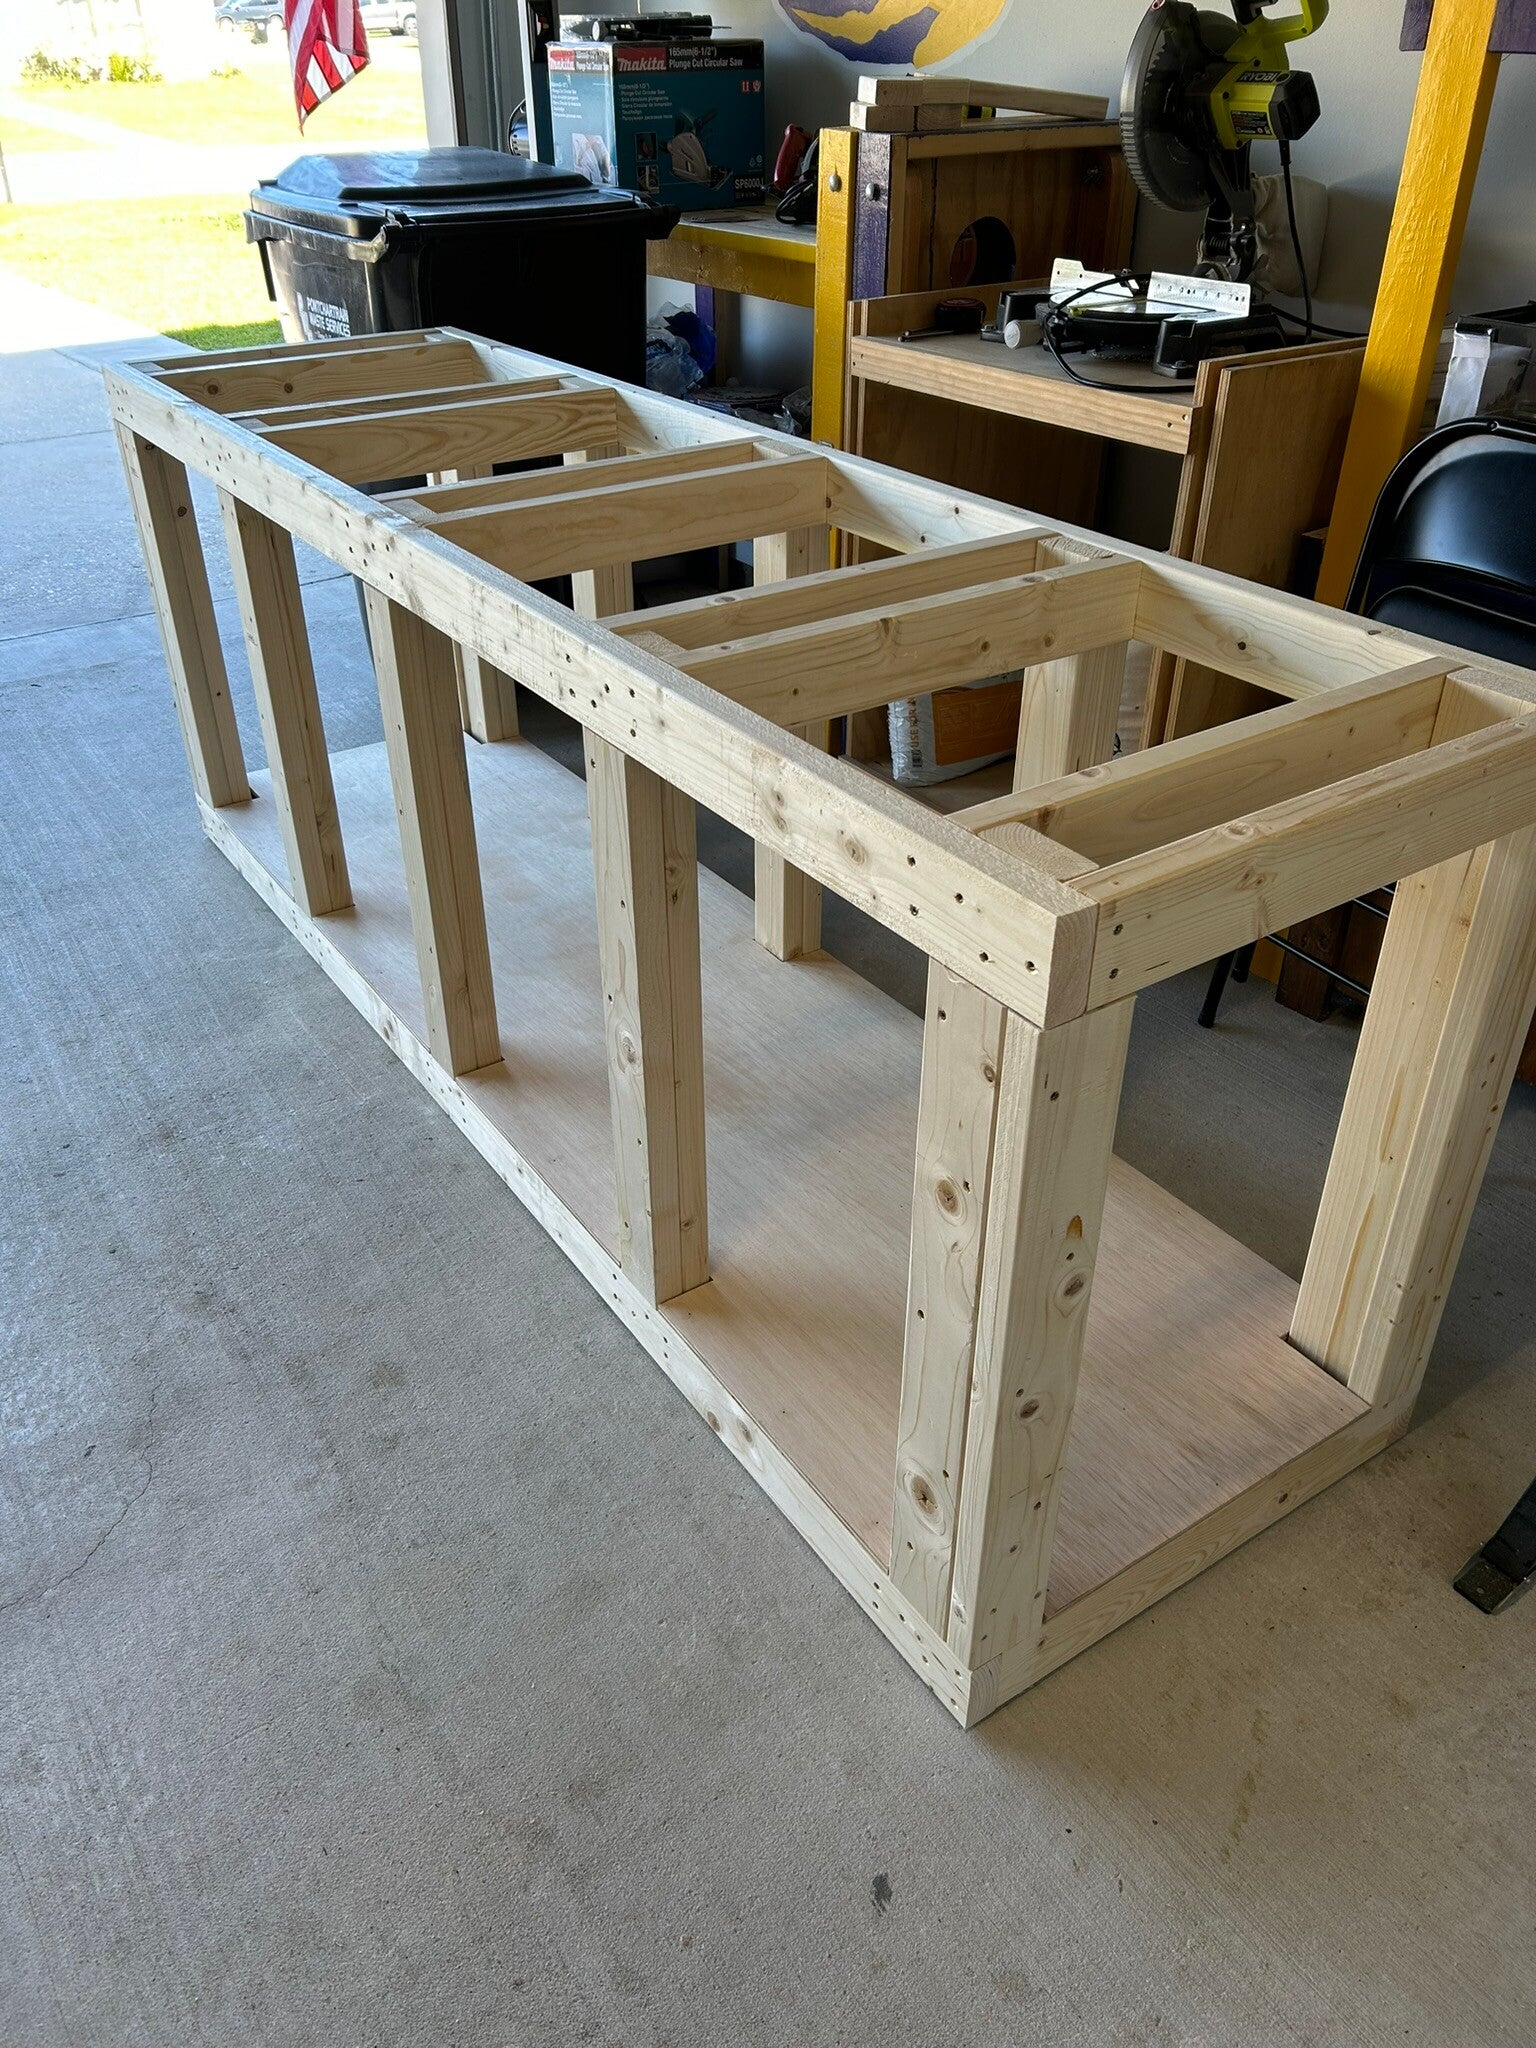
Getting an idea of how I want the glass installed. This version would have been 2 pieces. Easier to install but would have beam in the middle disrupting the view.
23 Apr 24
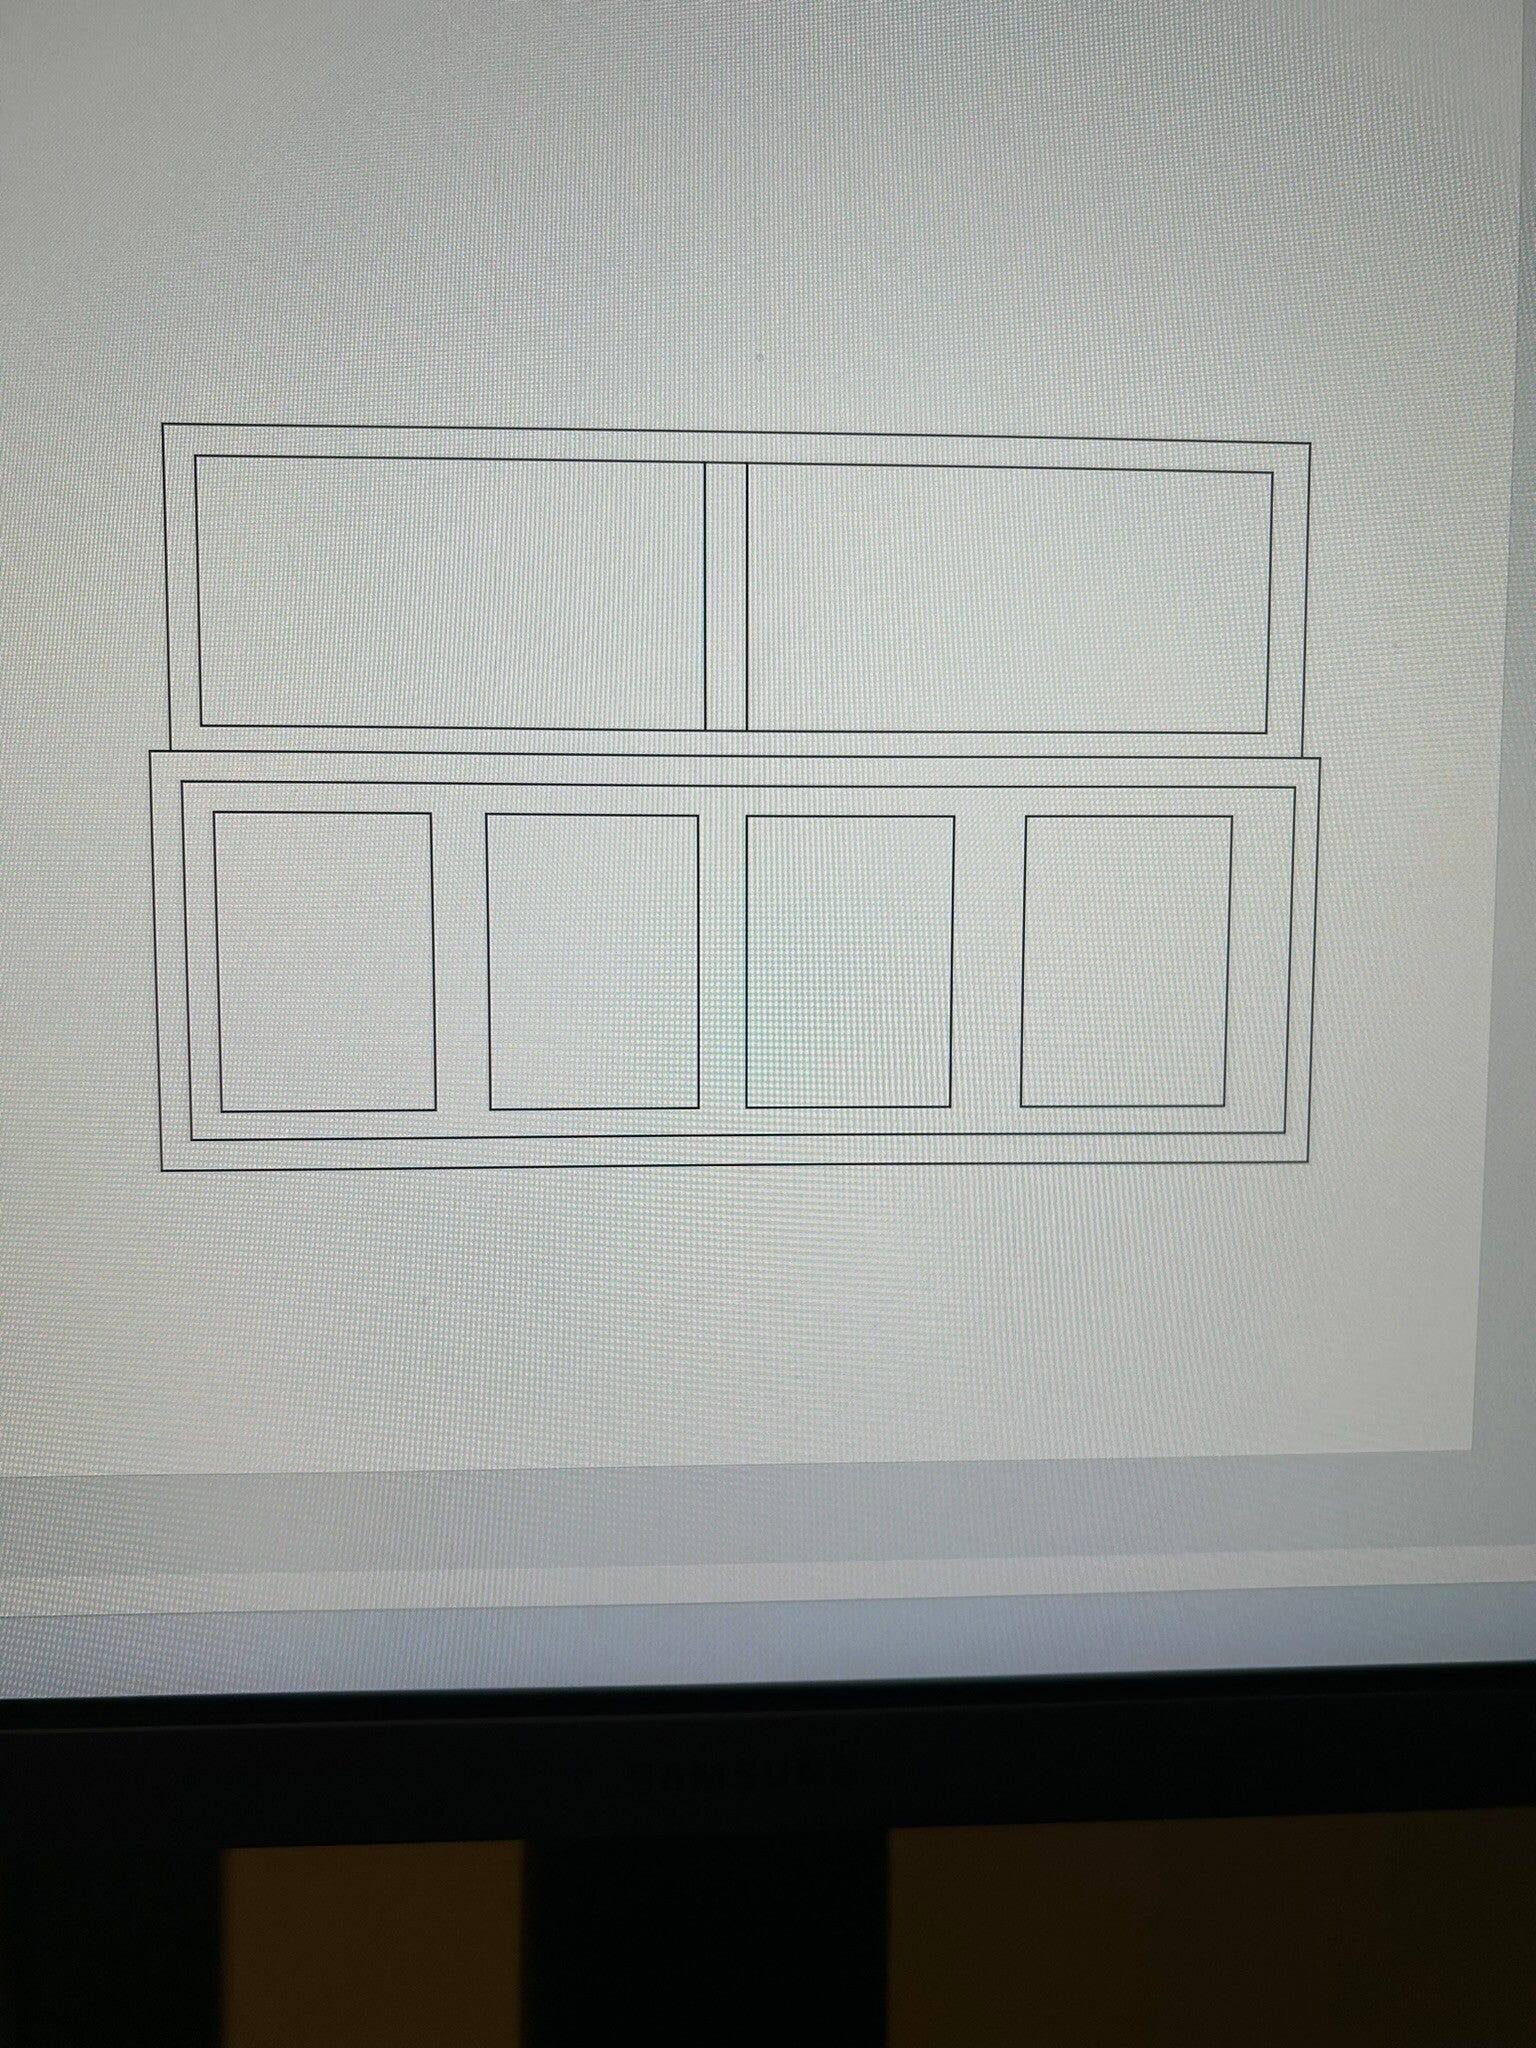
2 pieces of glass with different center beam and outer edges to match.
23 Apr 24
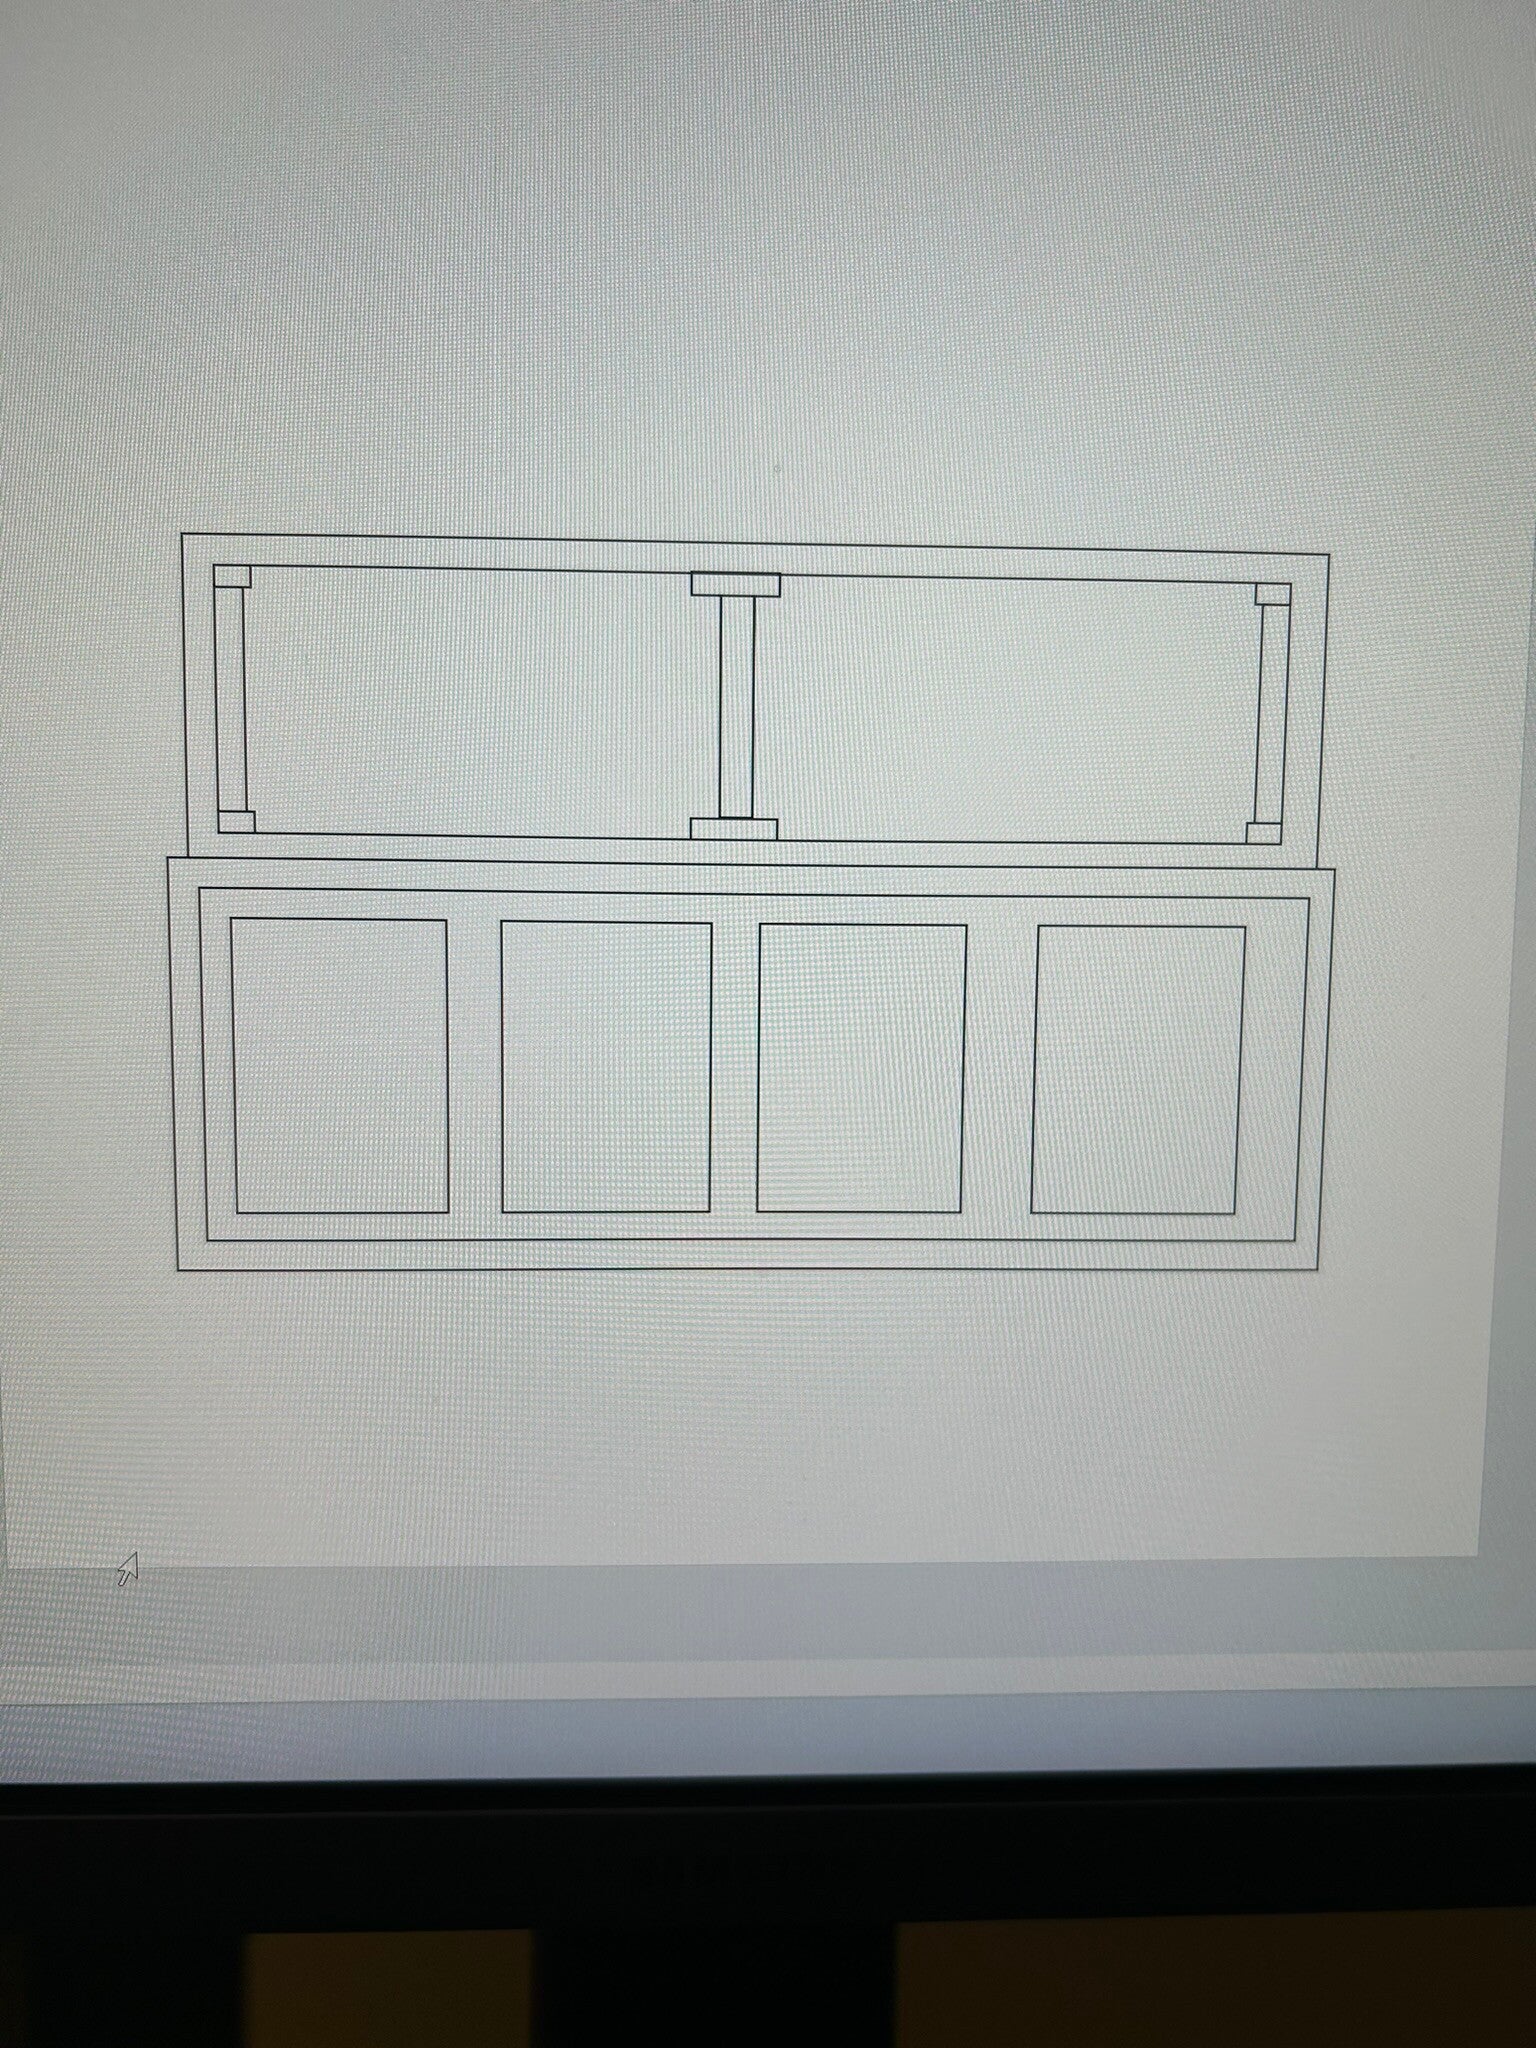
2 pieces of glass with different center beam and plain outer edges.
23 Apr 24
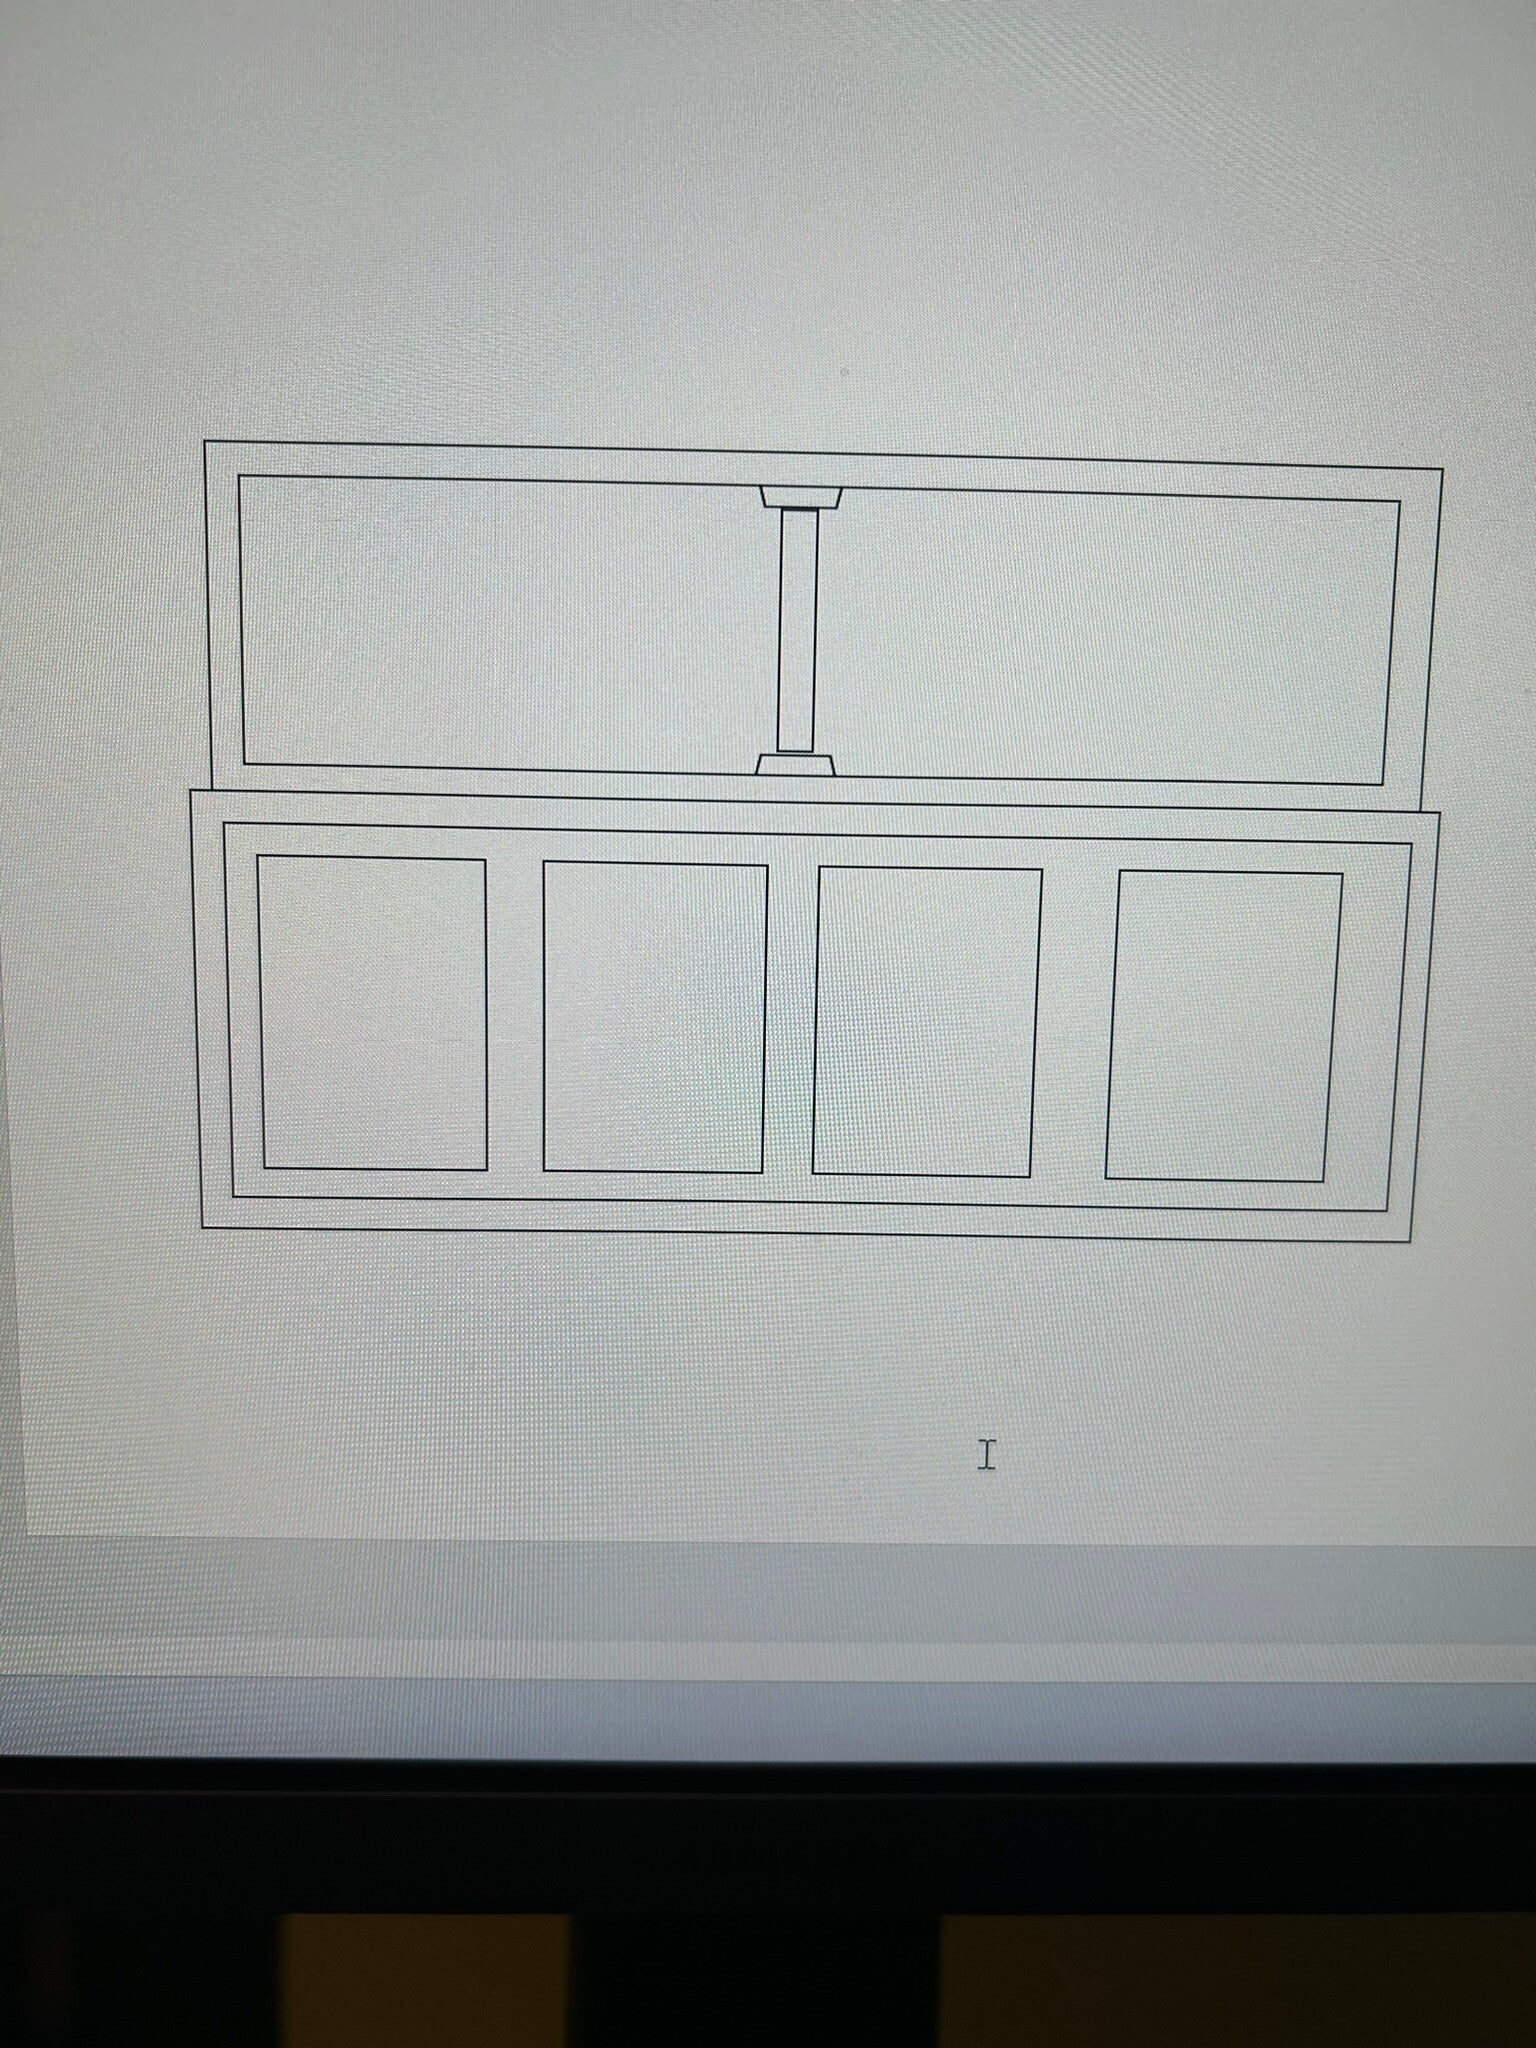
Added colors to plans to get better idea. Maizy picked the dark green cabinet color, and Mason picked the light blue tank interior. Wasn't until later that I realized I had Tulane colors.
24 Apr 24
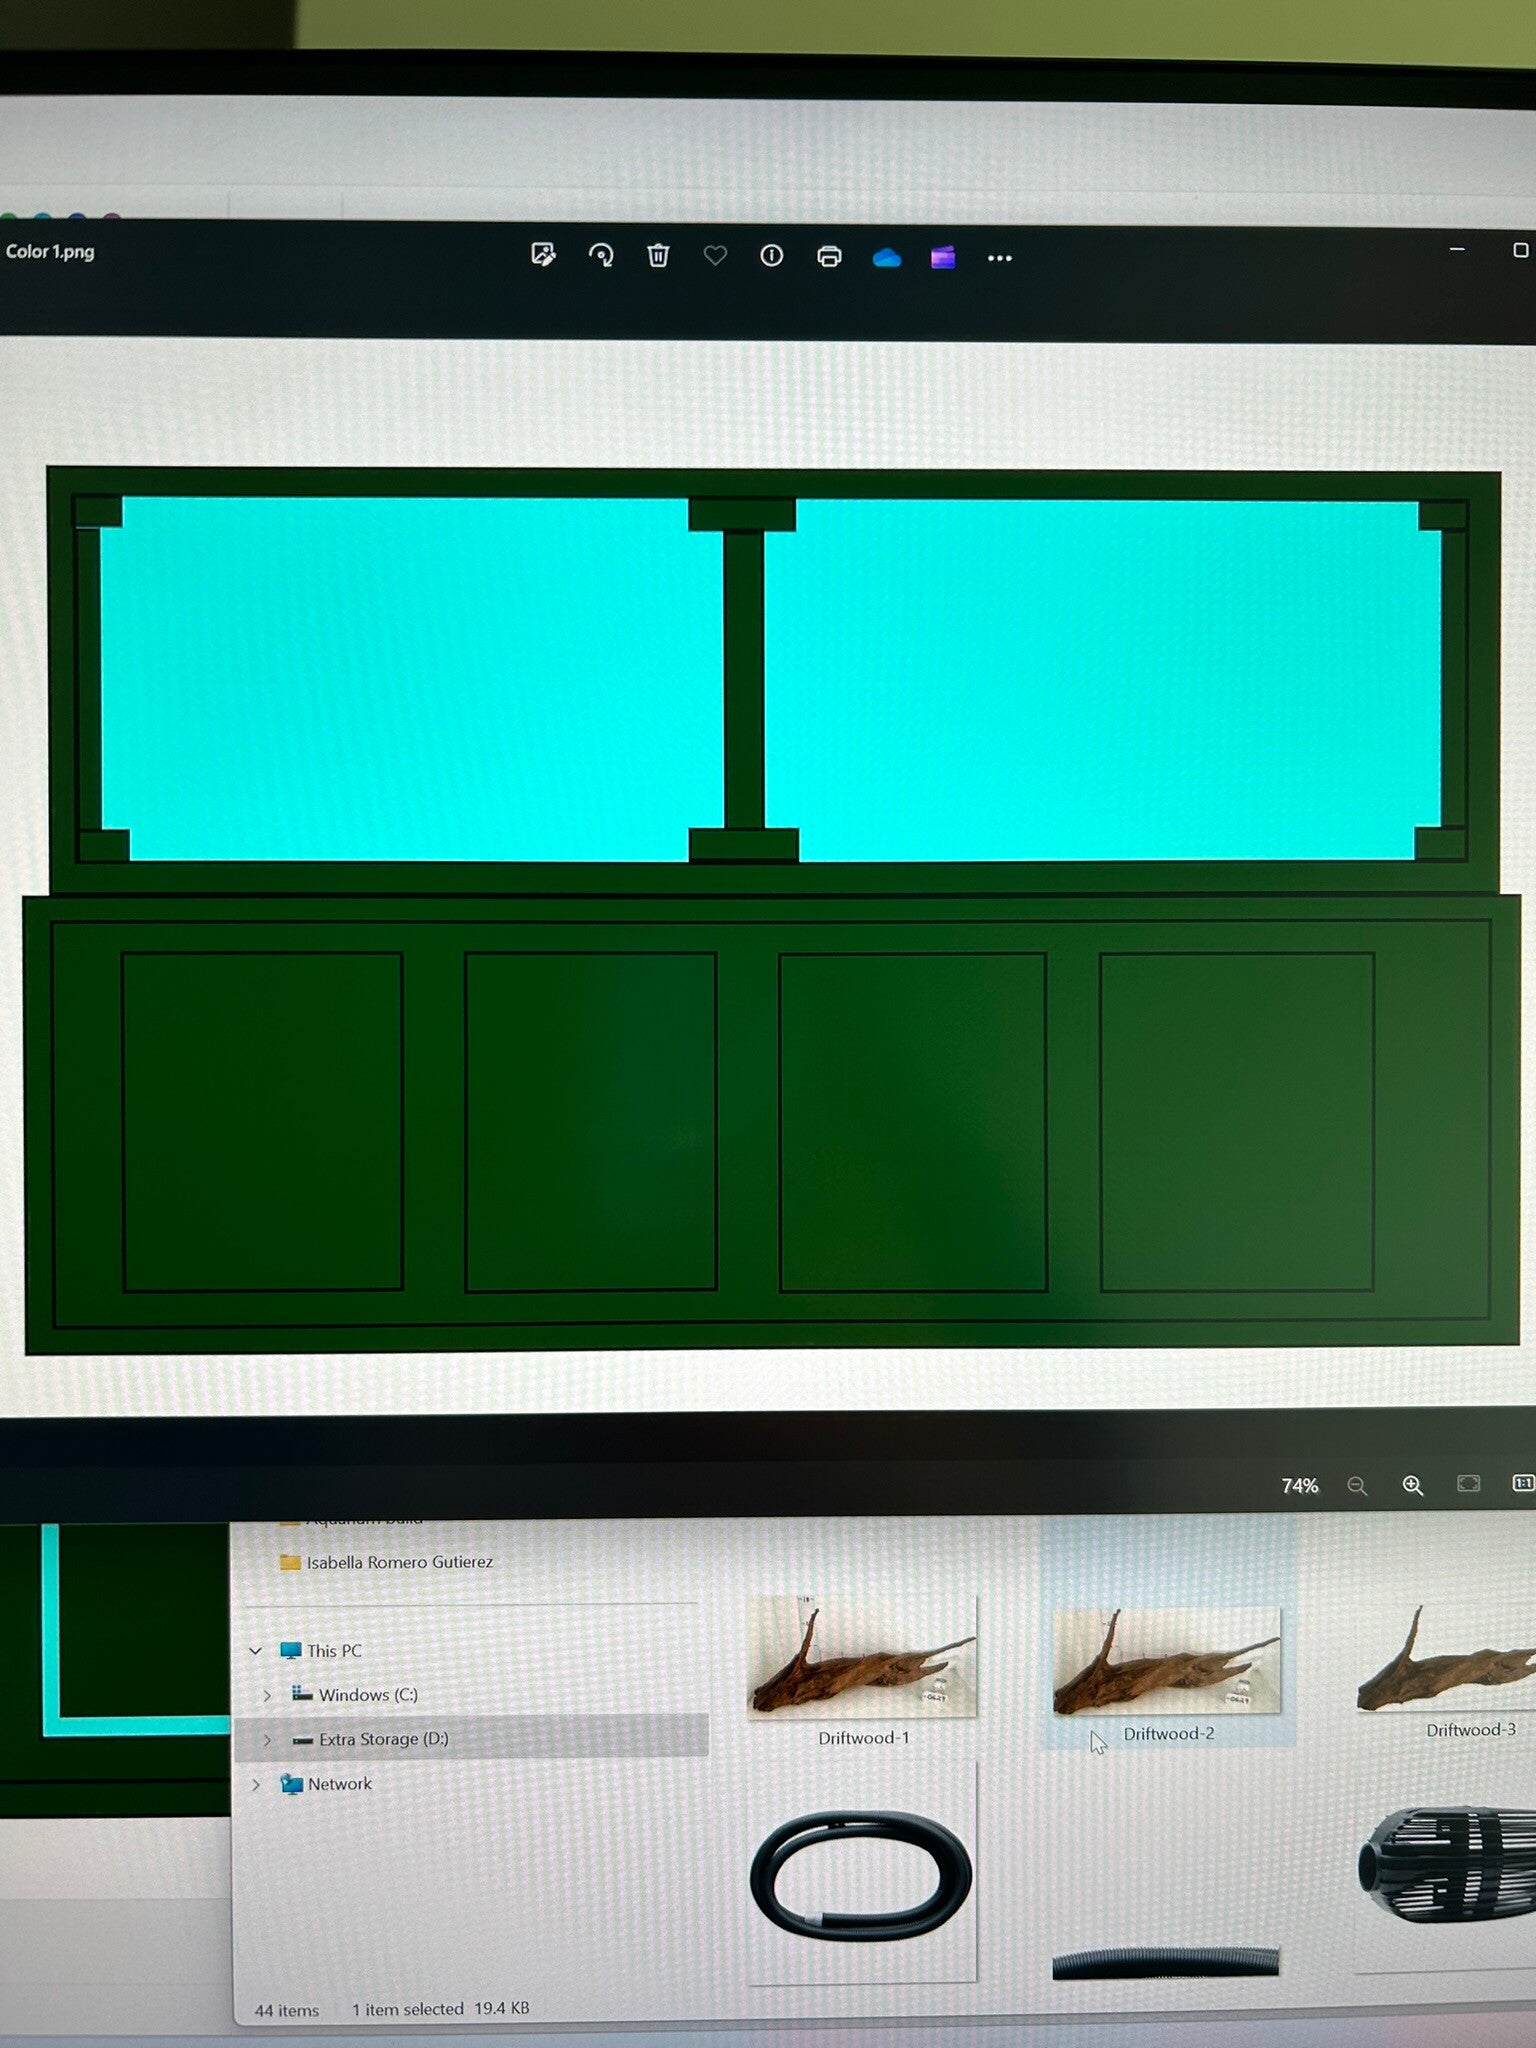
Trying different variations of what color each area would be.
24 Apr 24
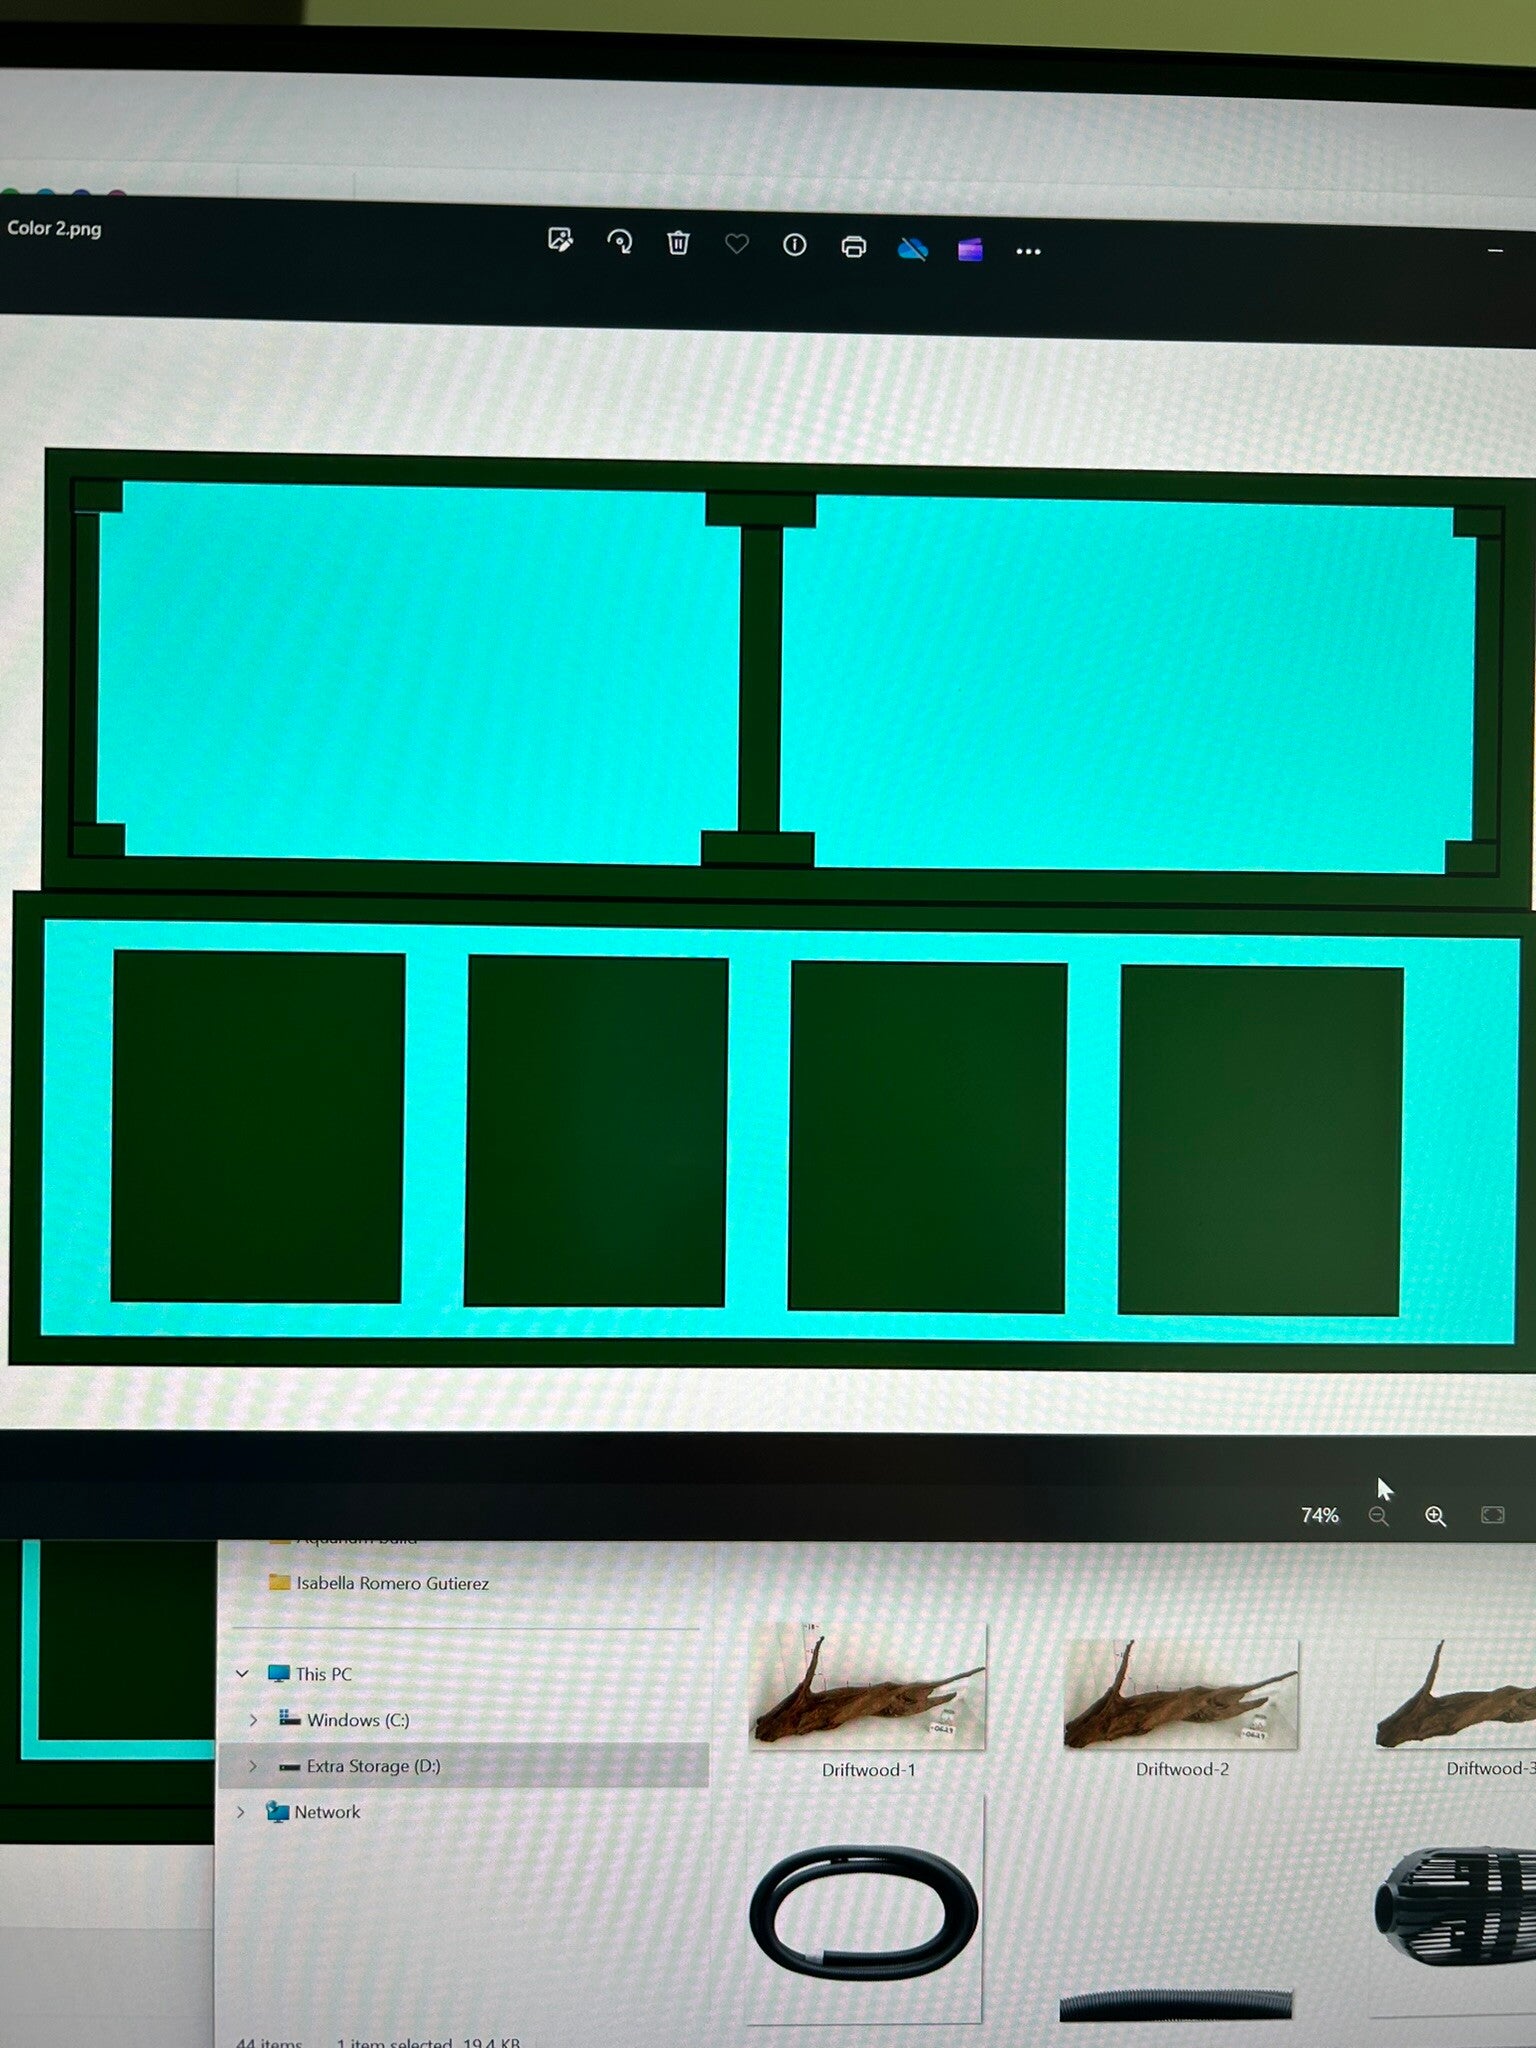
More color variations.
24 Apr 24
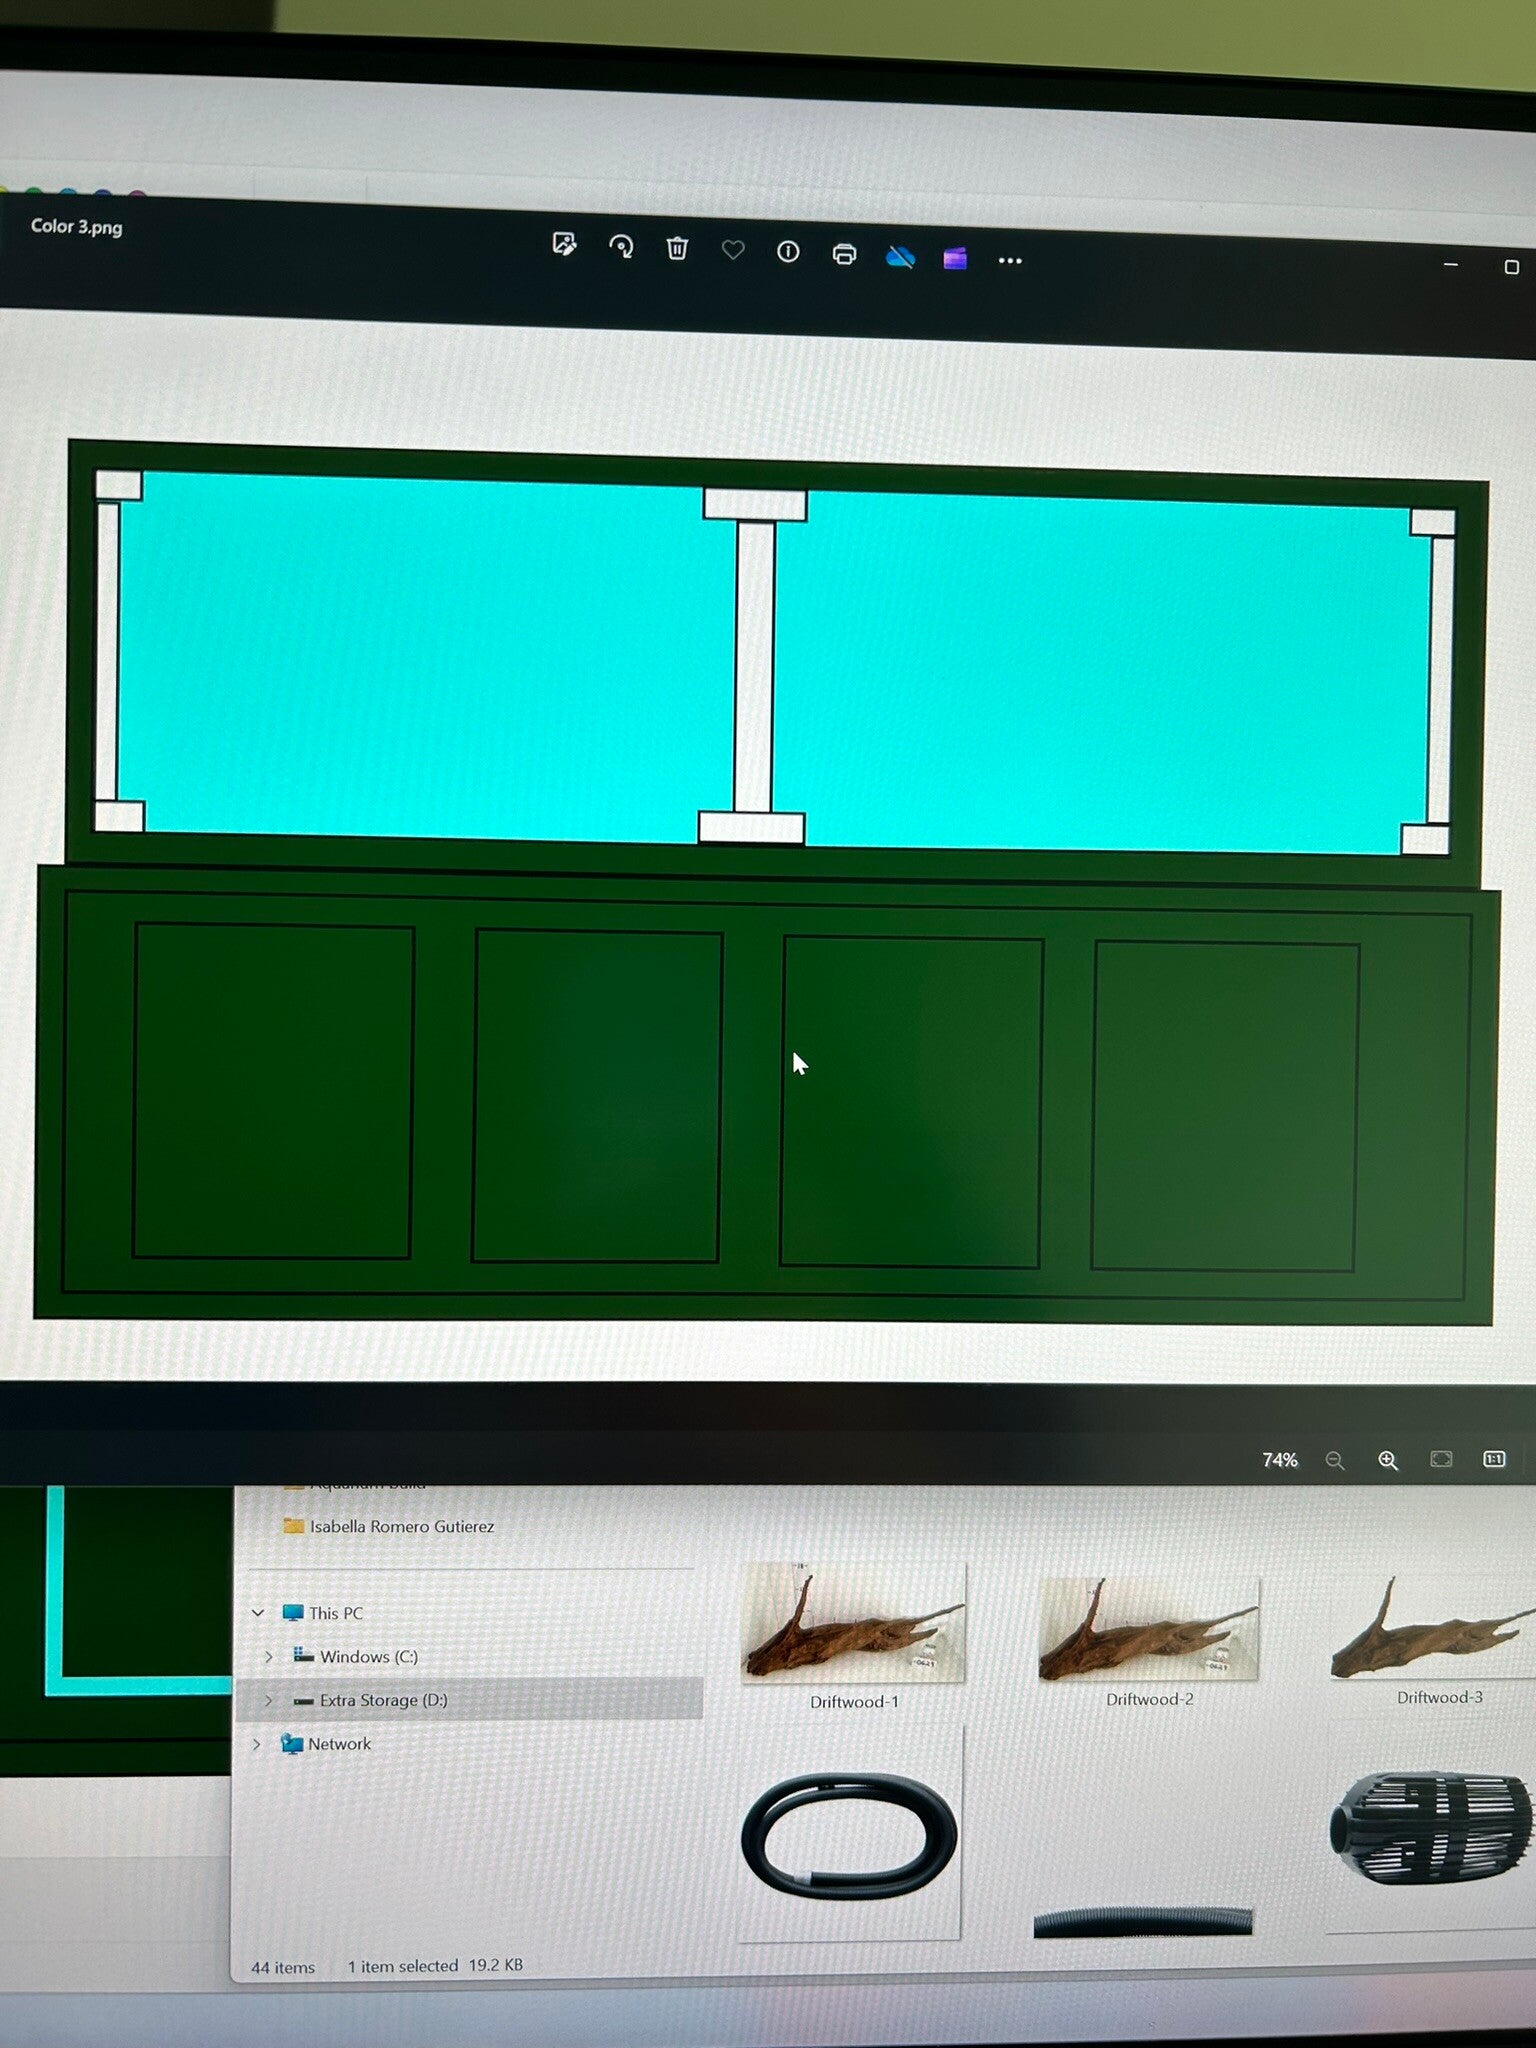
More color variations.
24 Apr 24
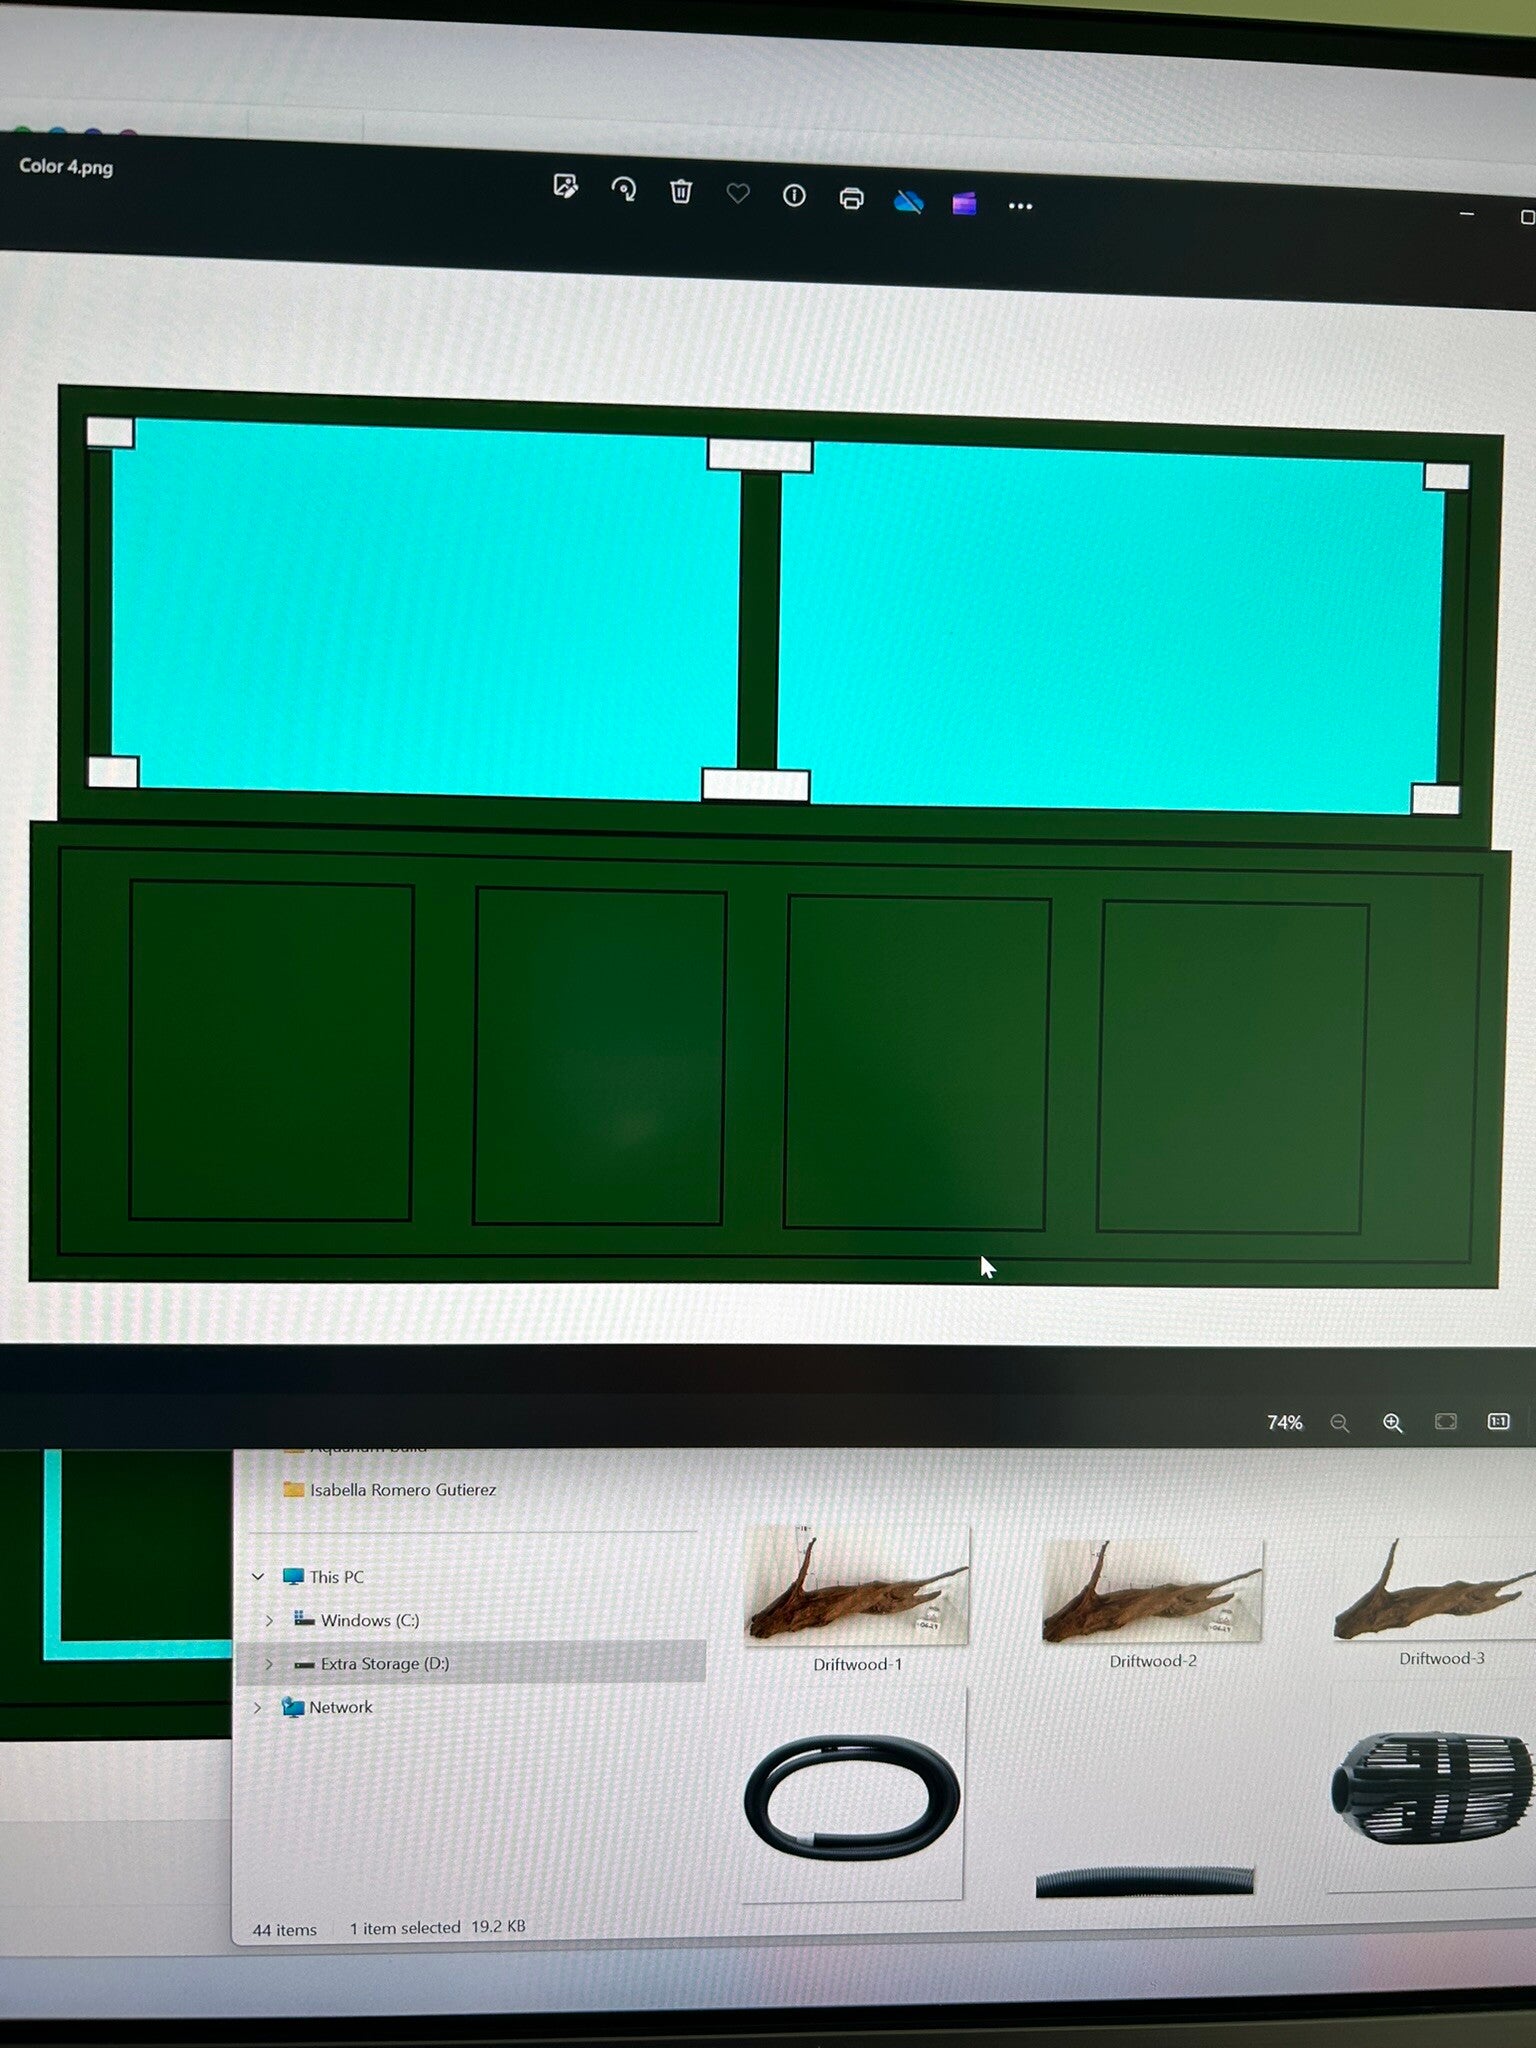
More color variations.
24 Apr 24
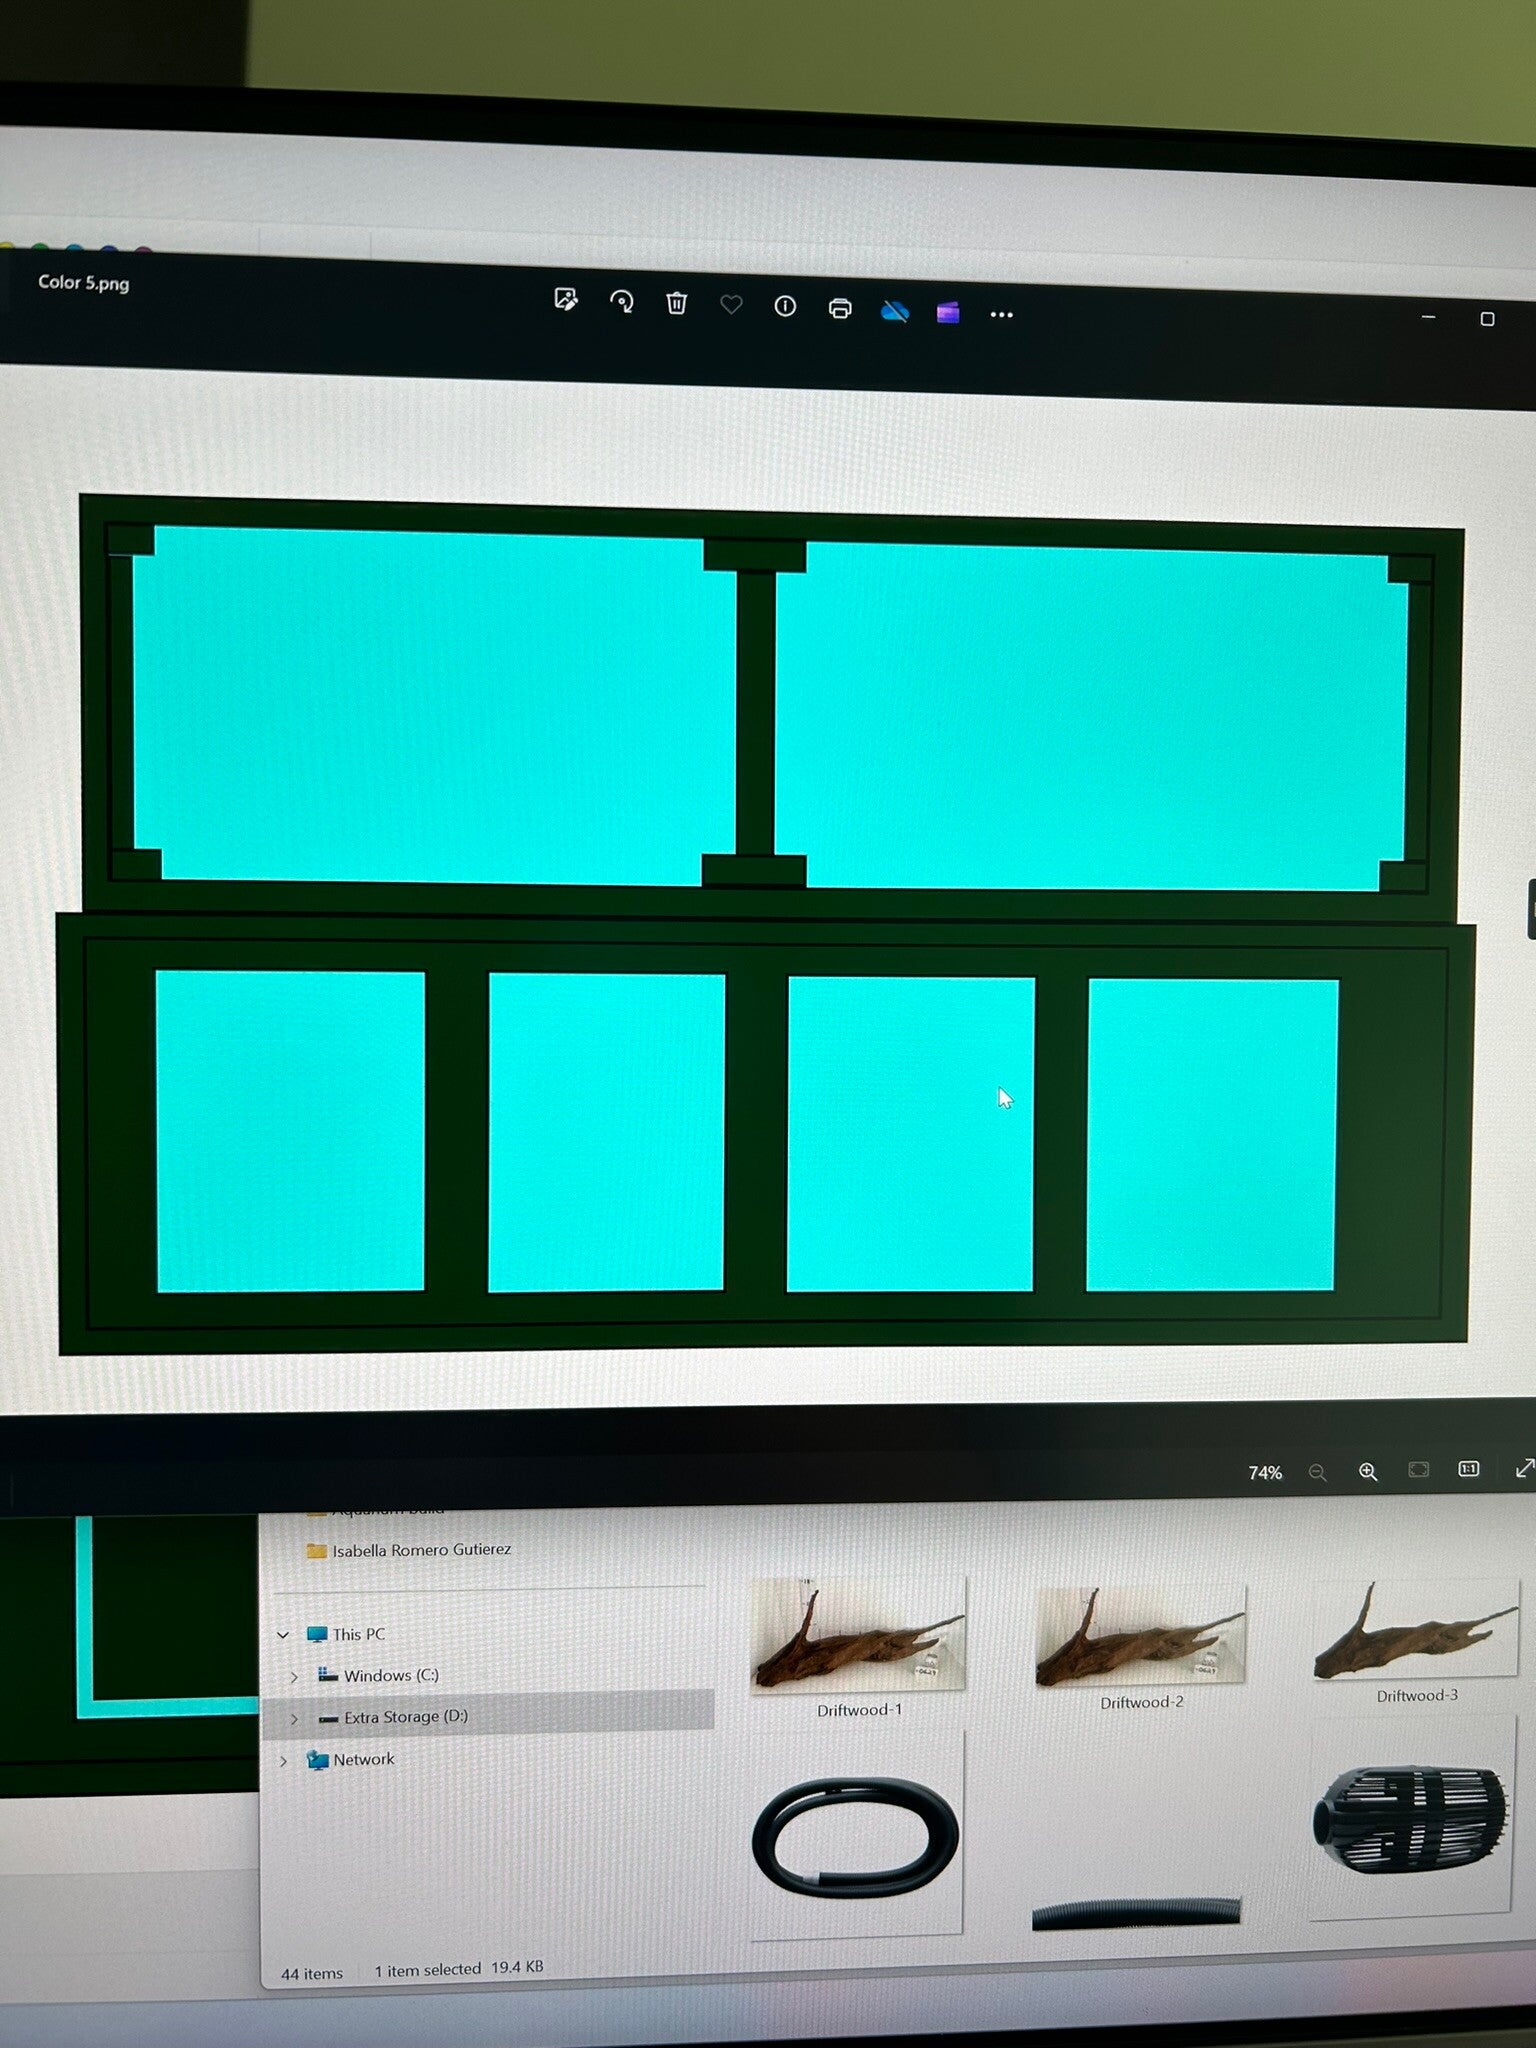
This was the closest to what I finally went with. And I completely got rid of the center beam idea and got one solid piece of glass for the front.
24 Apr 24
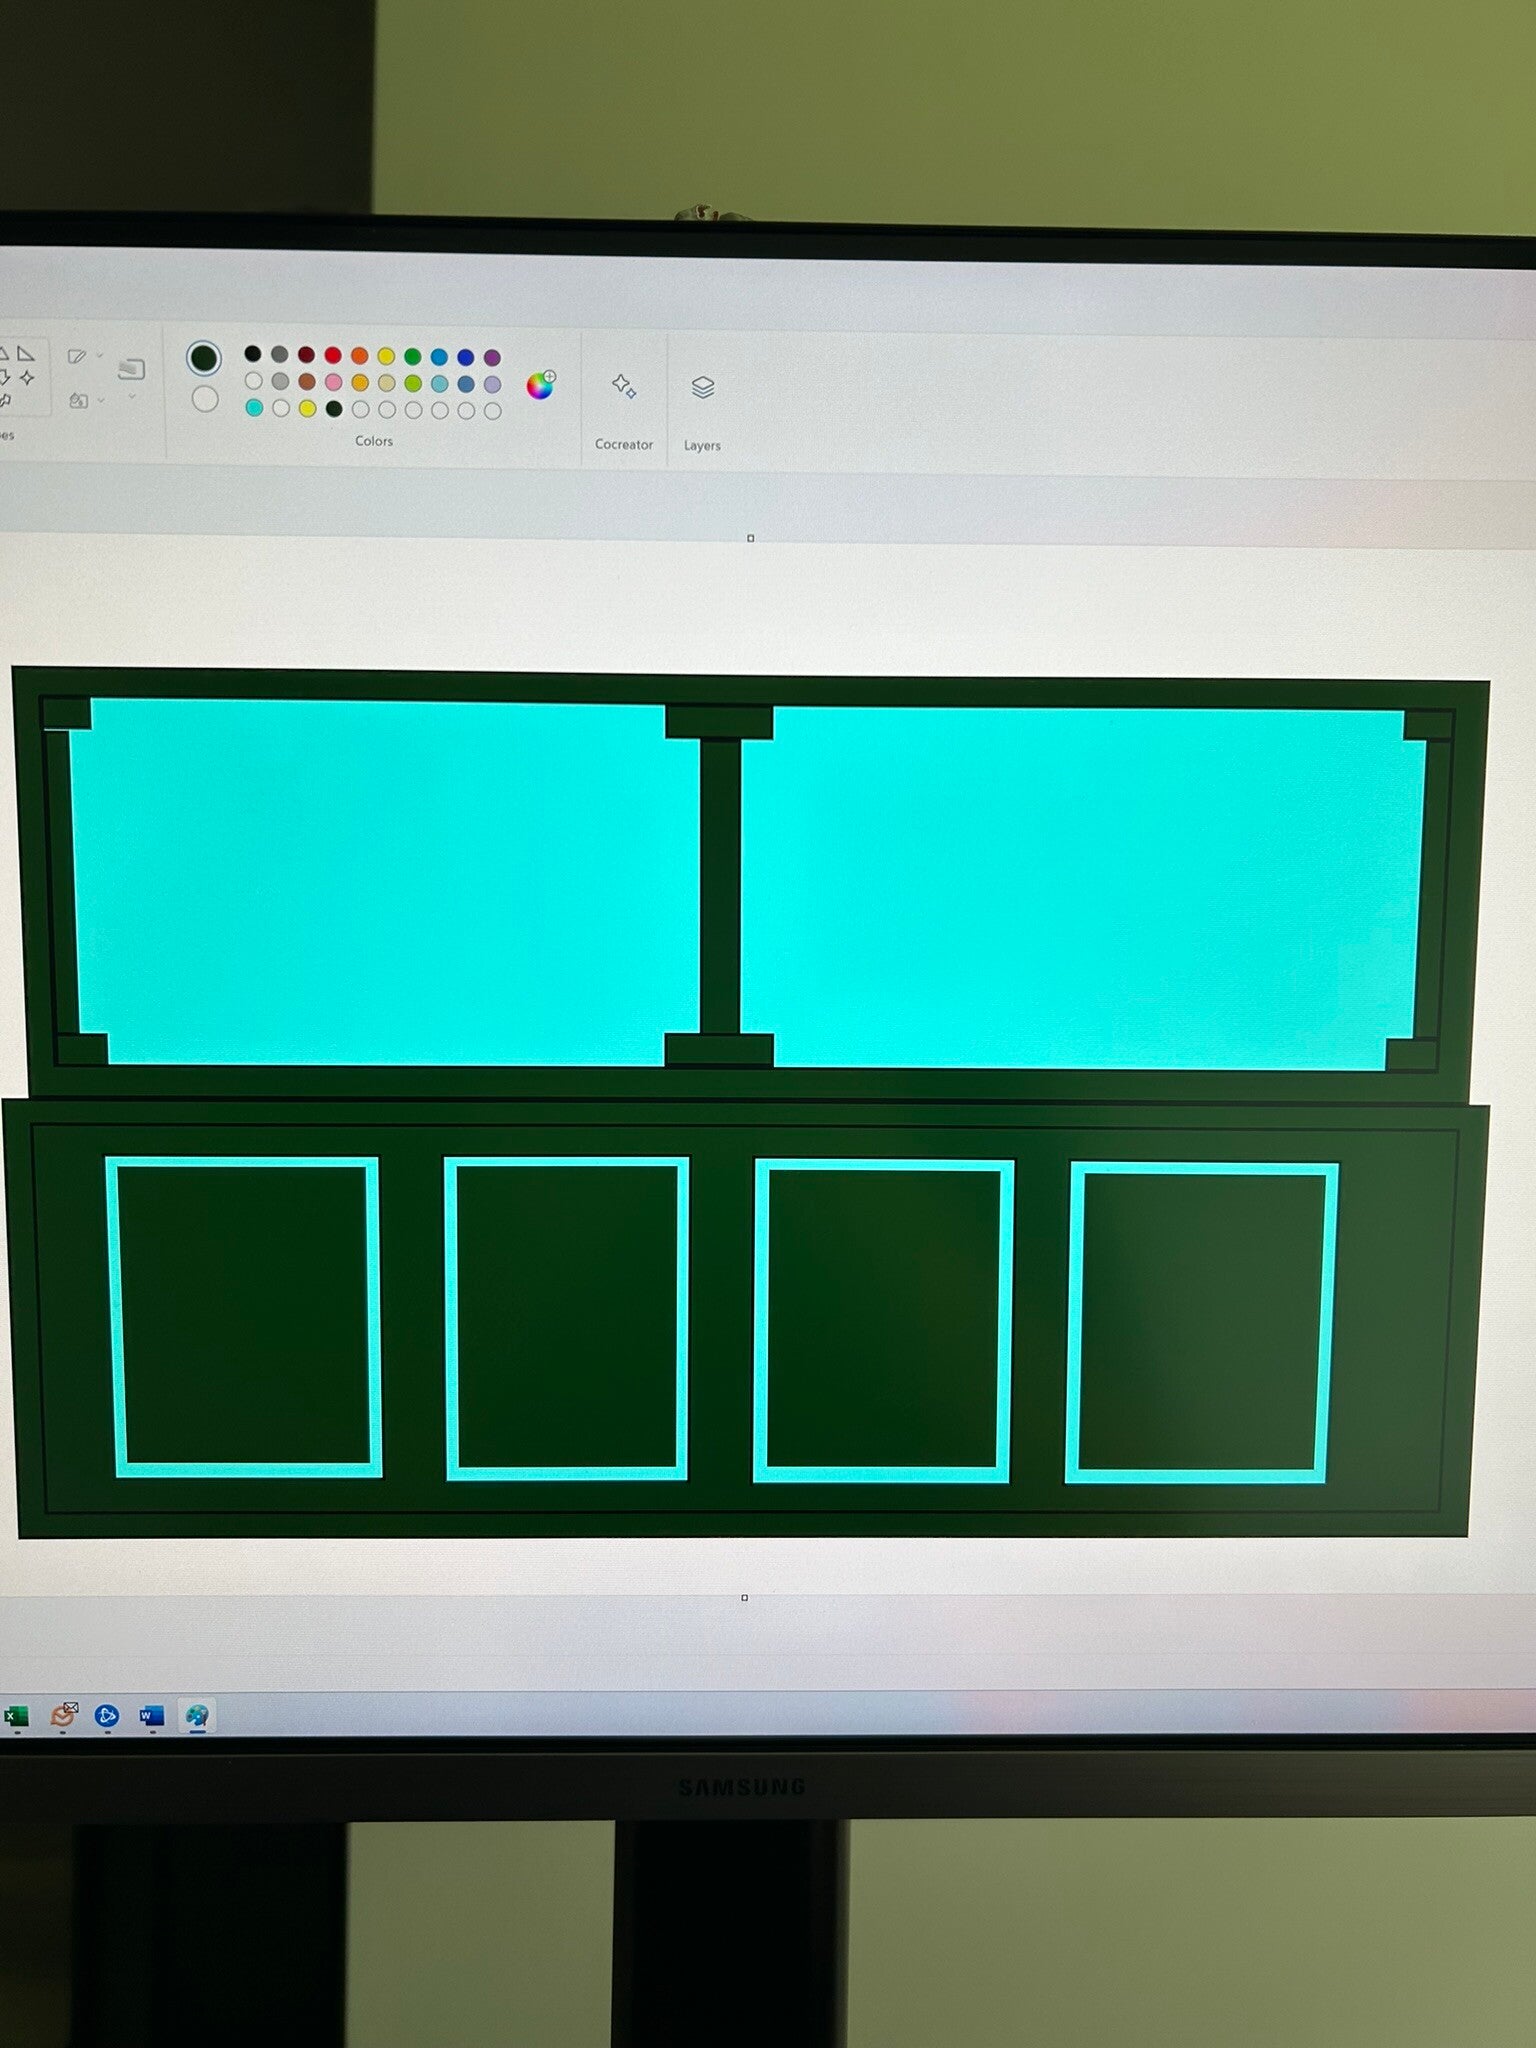
Front piece of the stand in place. Used a plunge saw with rails to make cutting the holes in a straight-line way easier
24 Apr 24
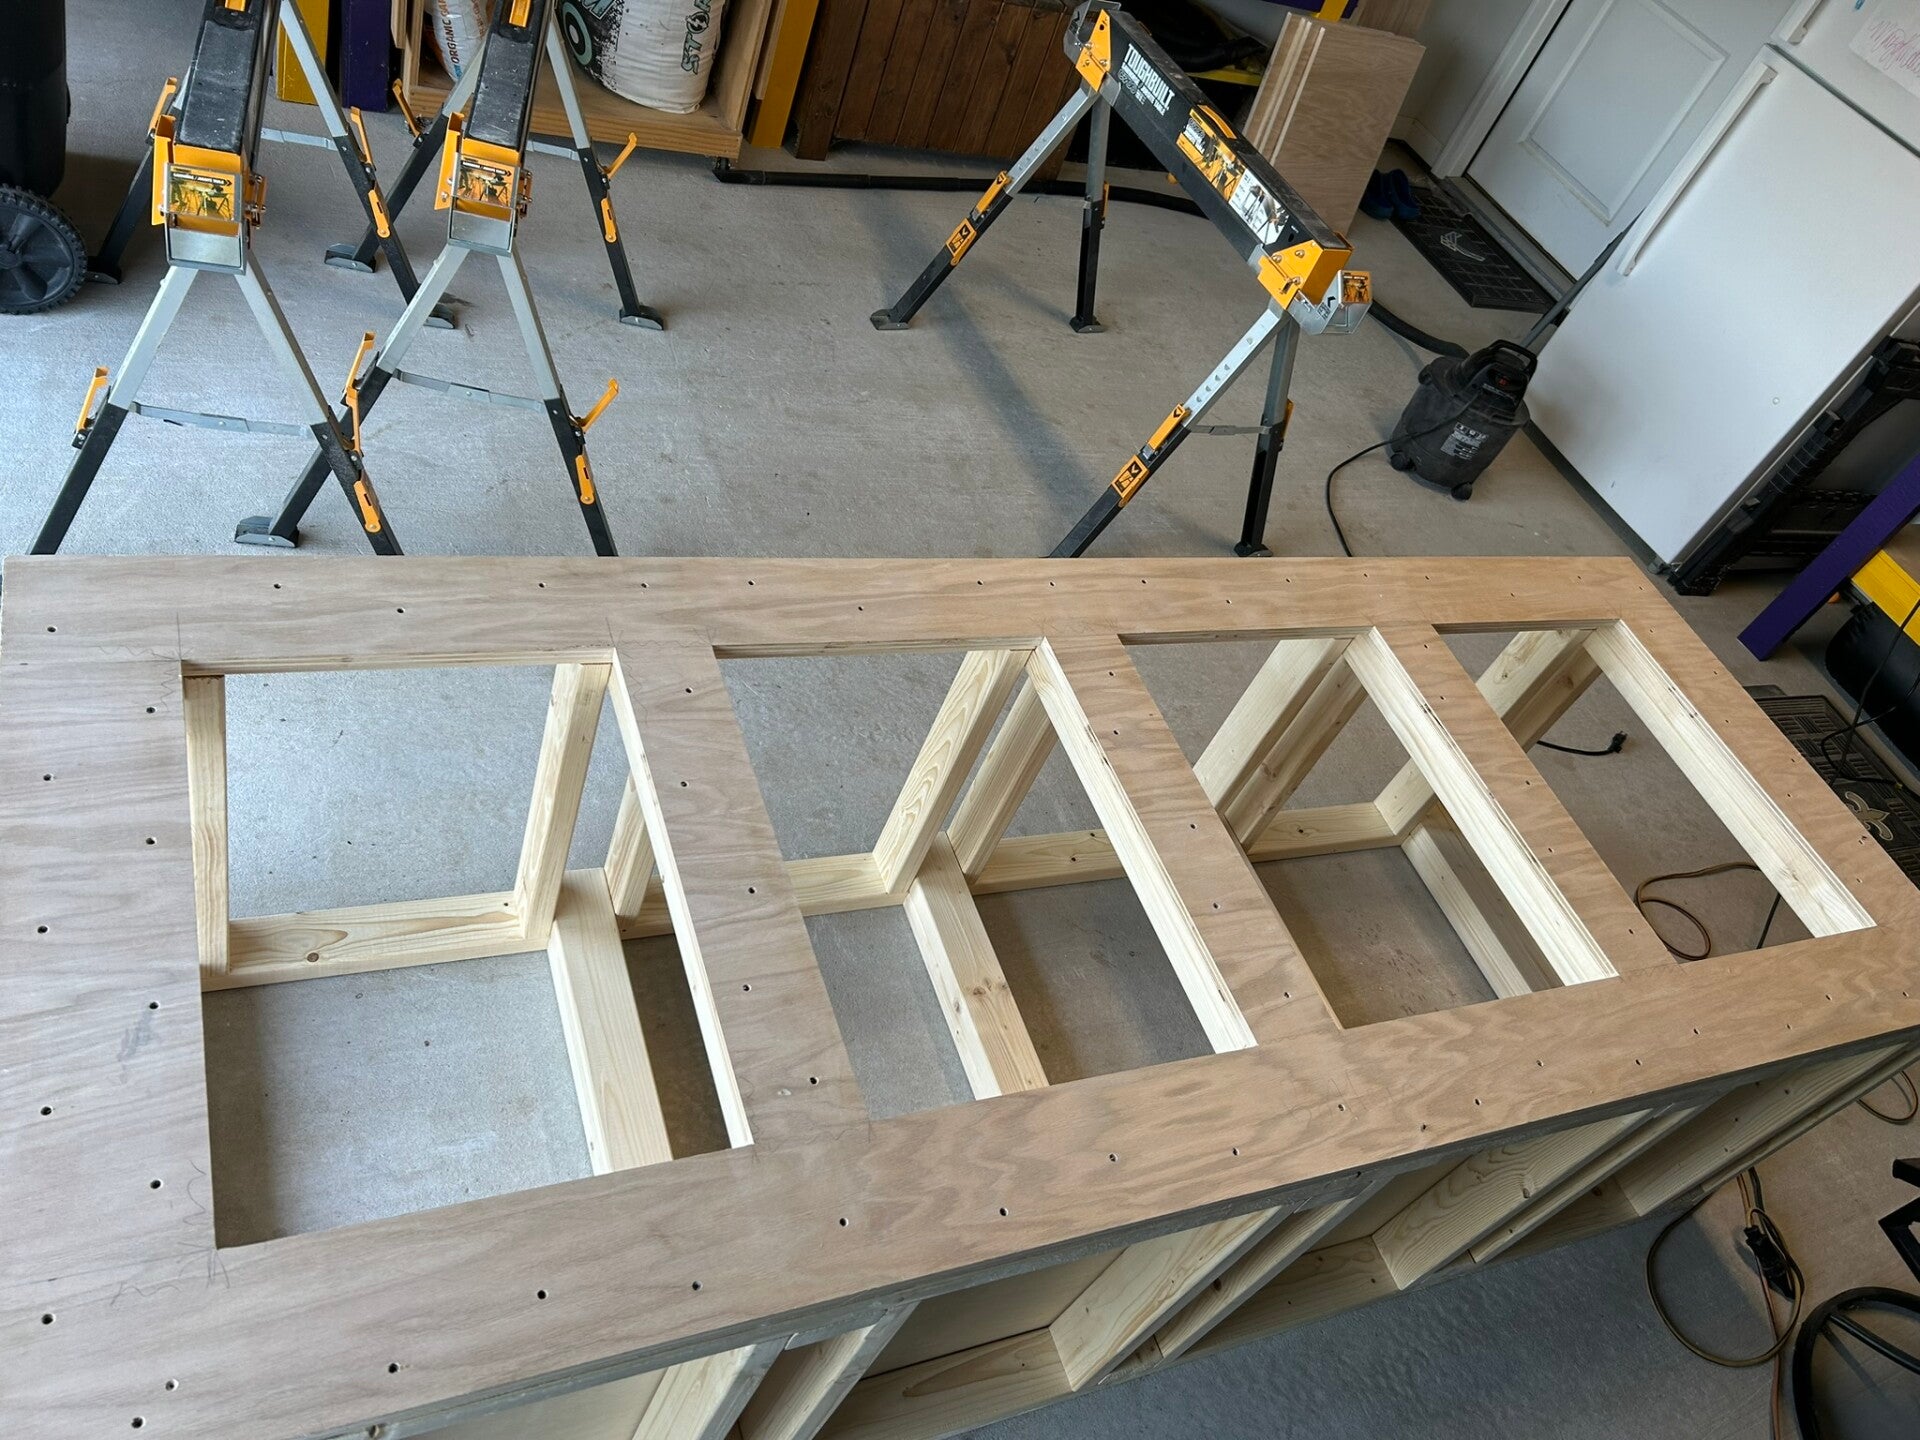
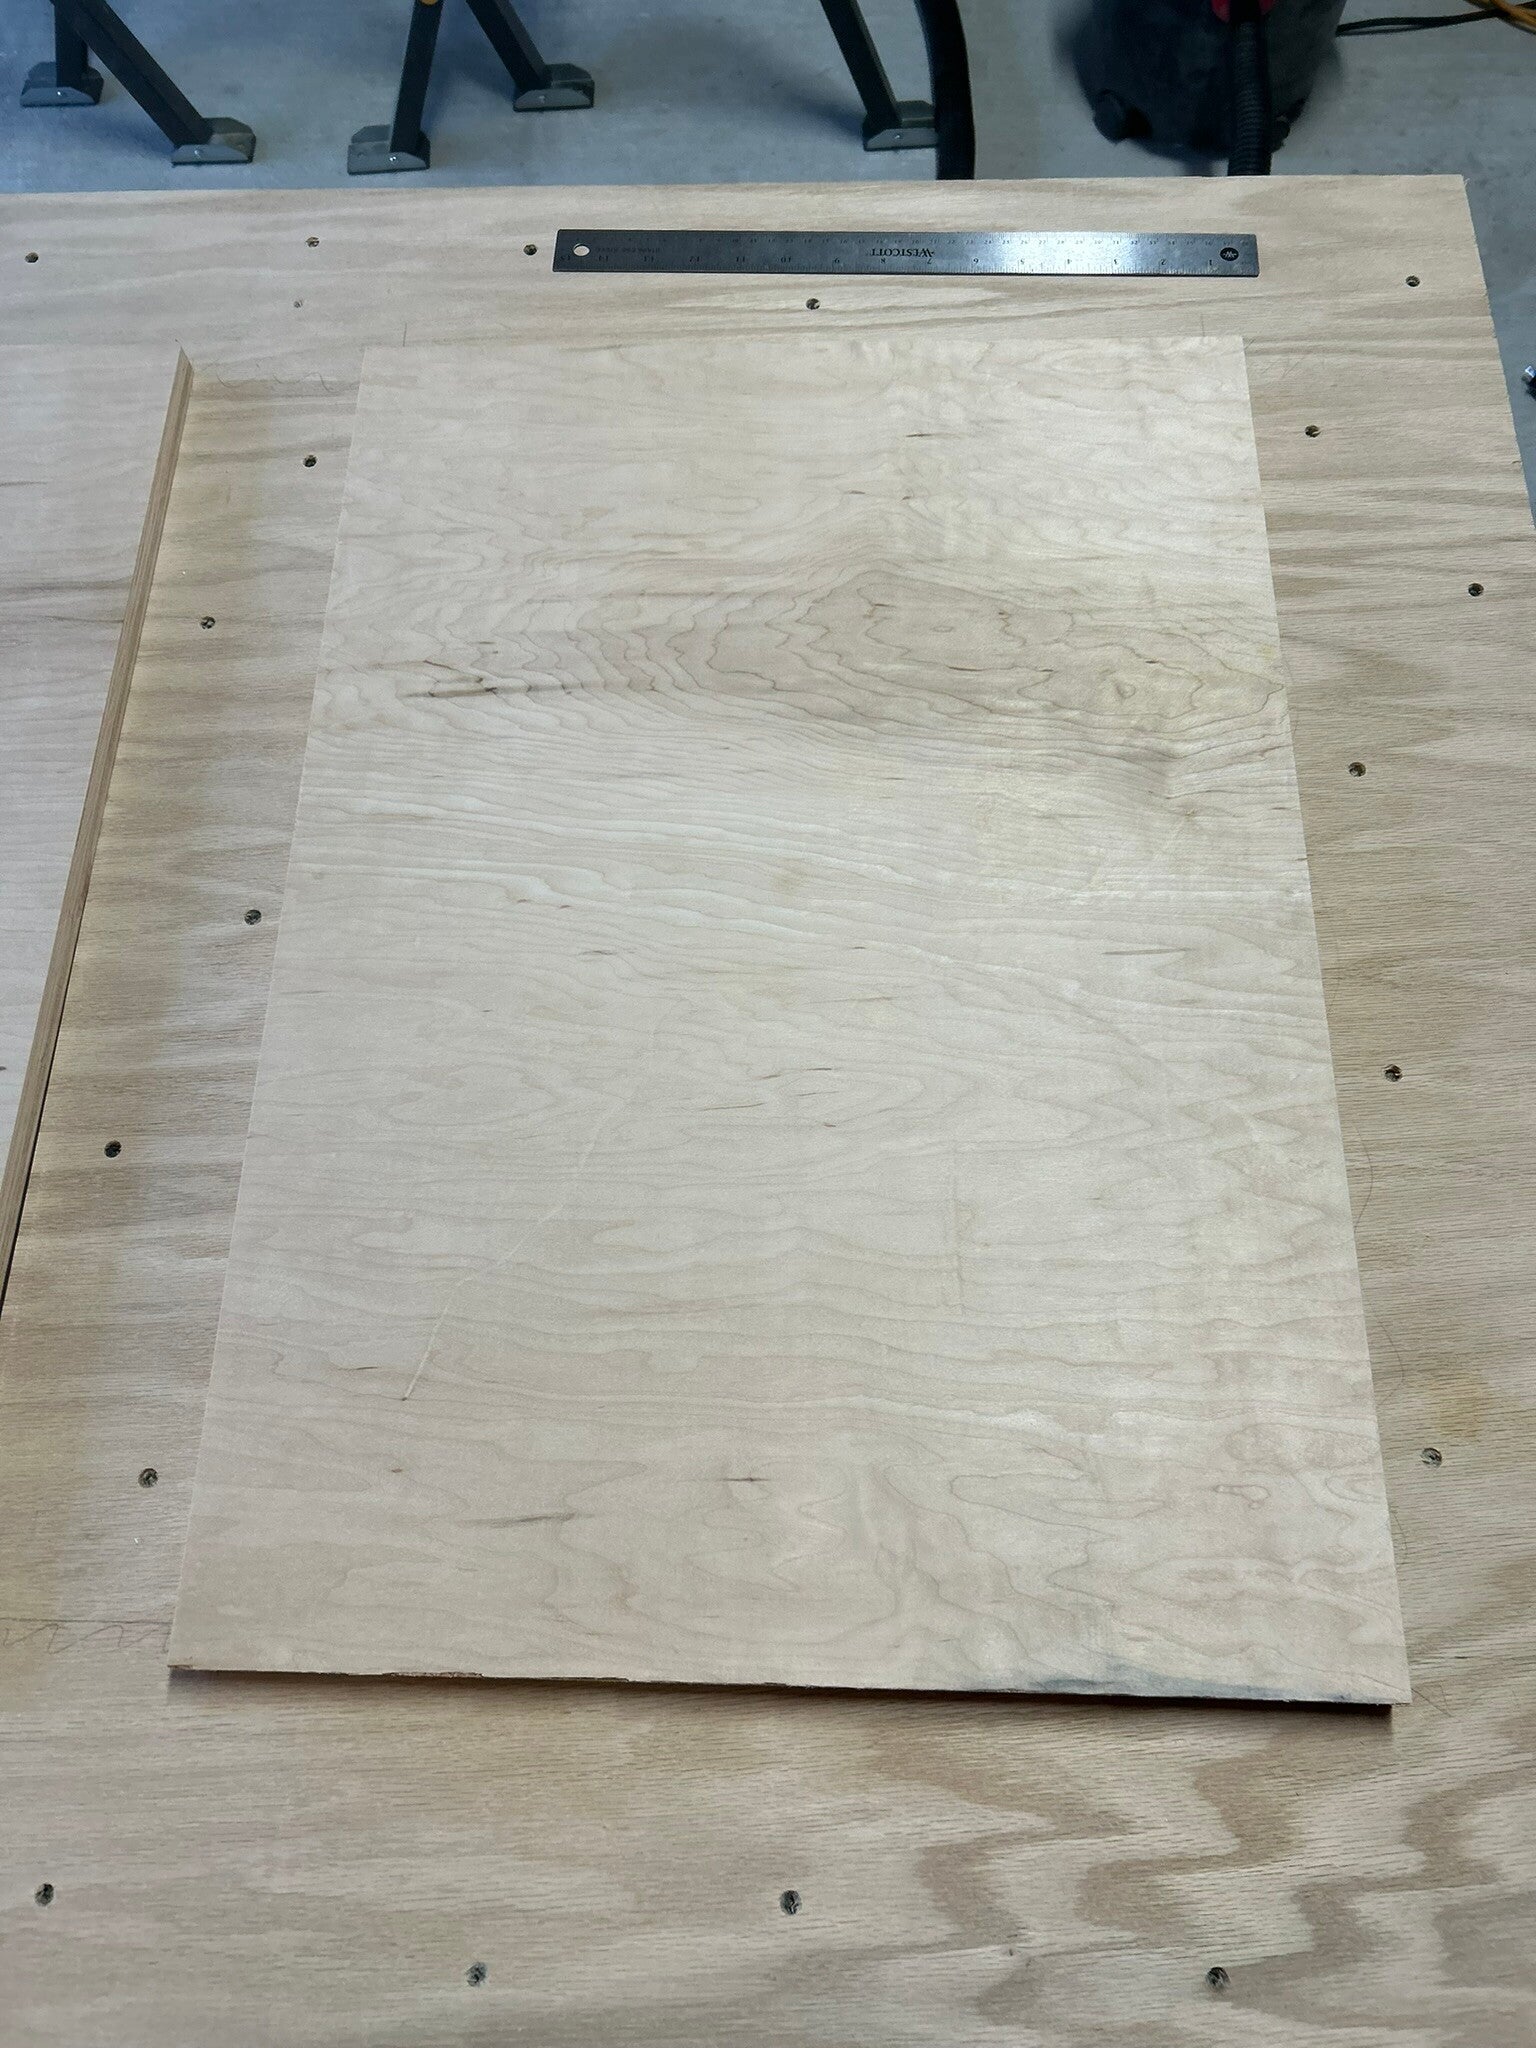
Cabinet doors cut and laid out.
26 Apr 24
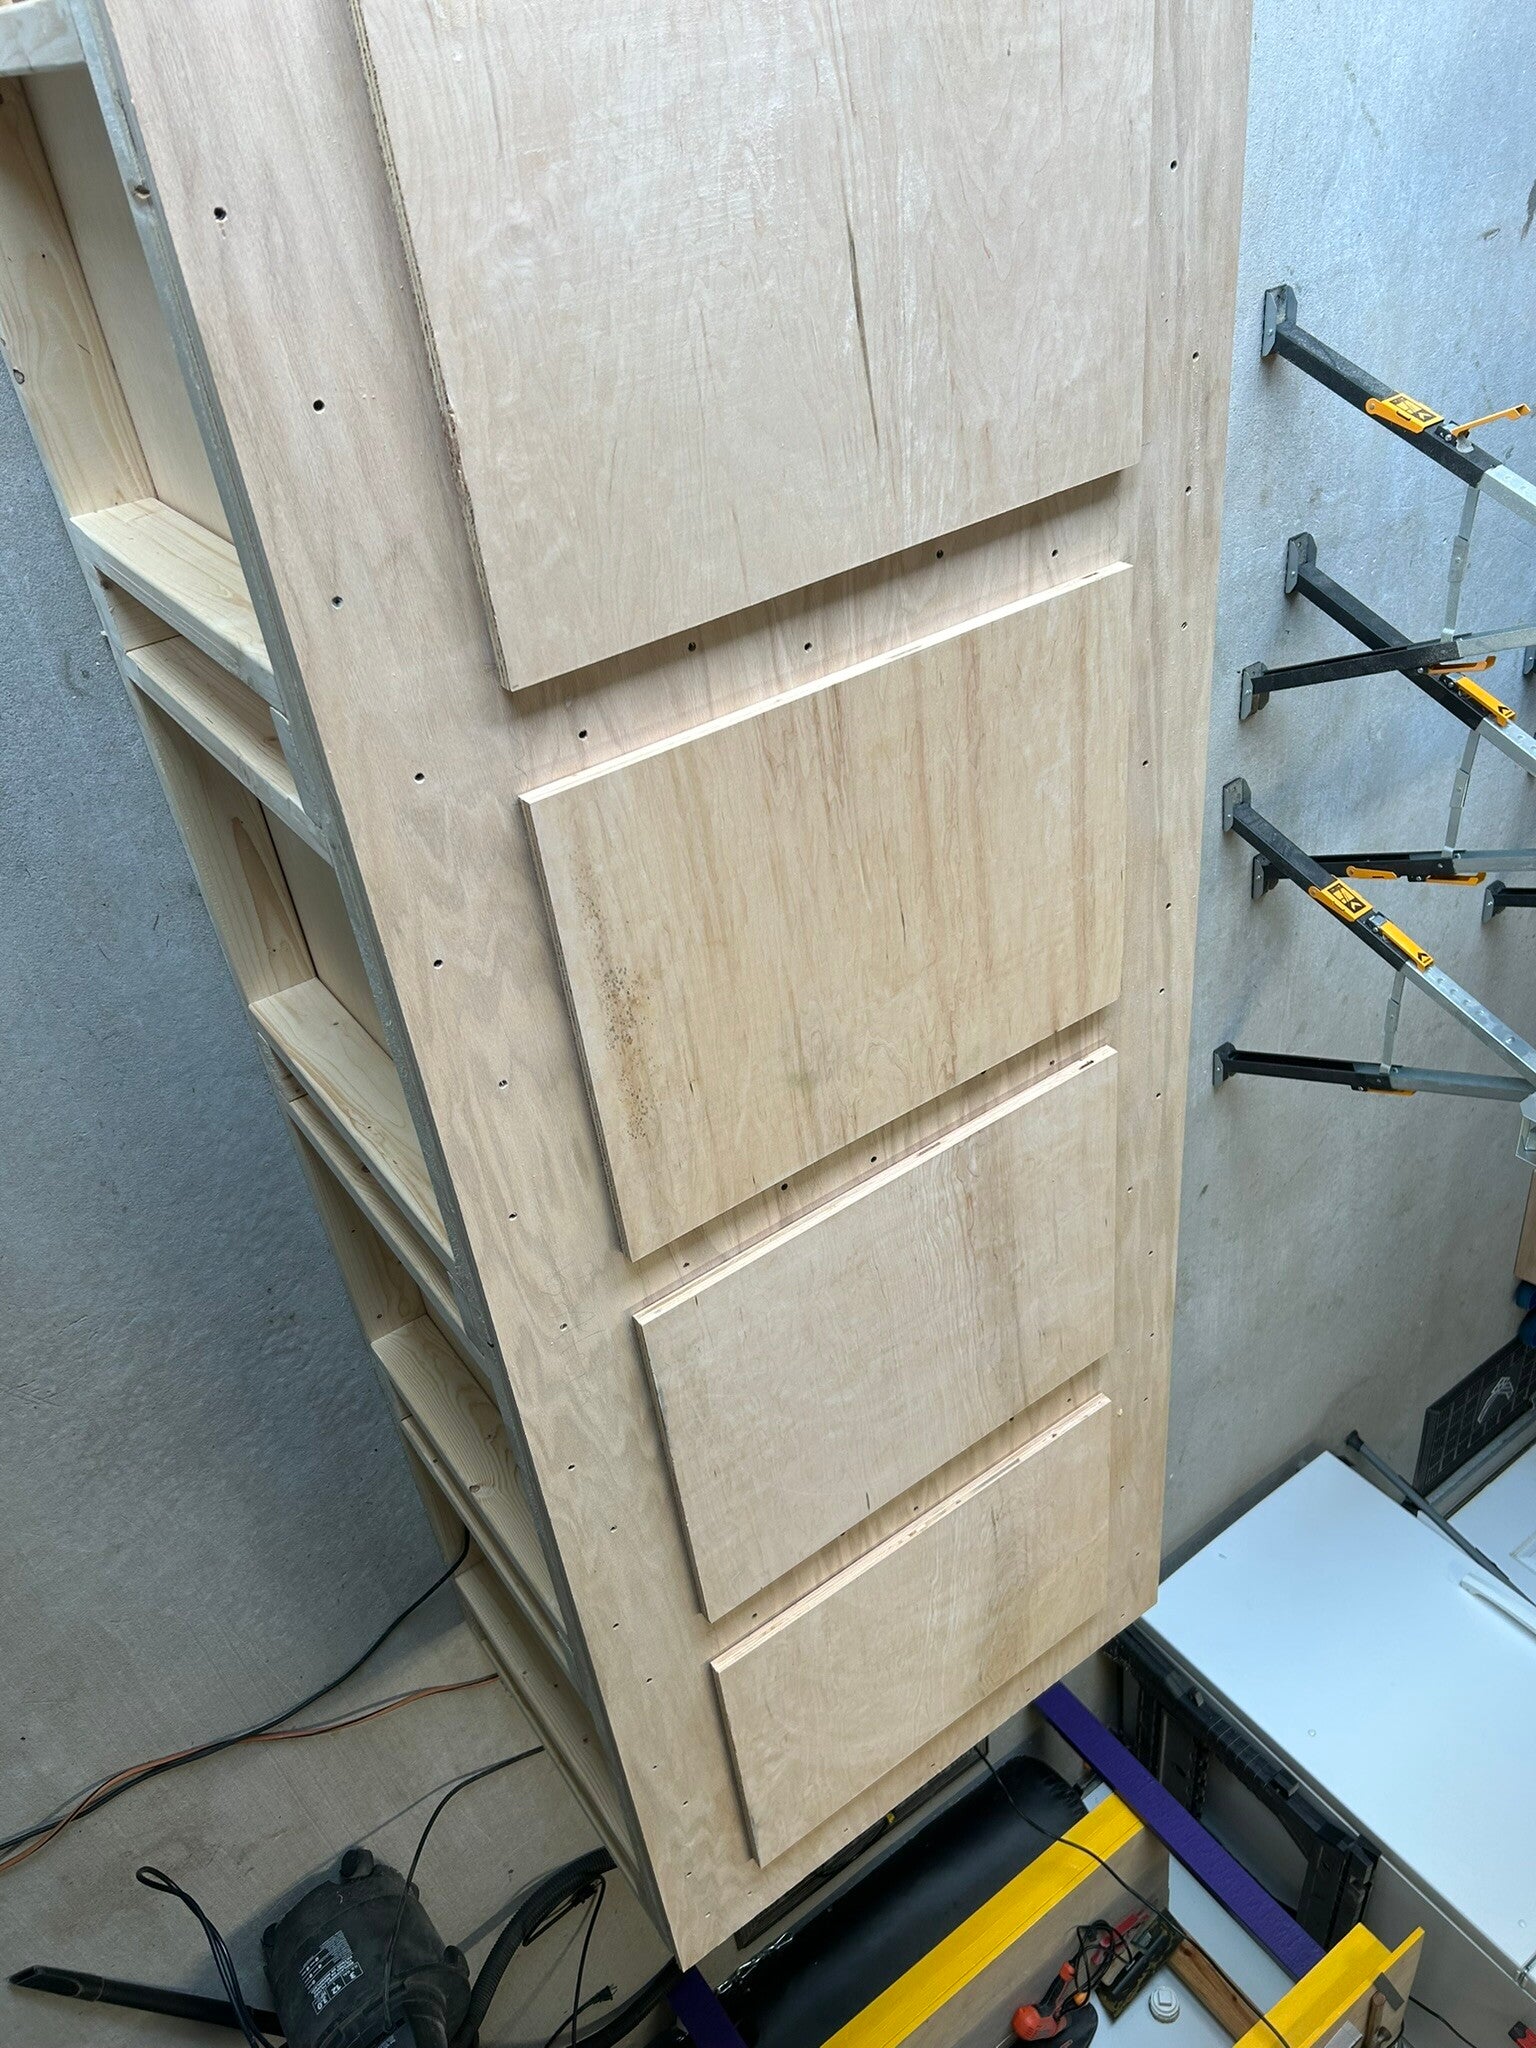
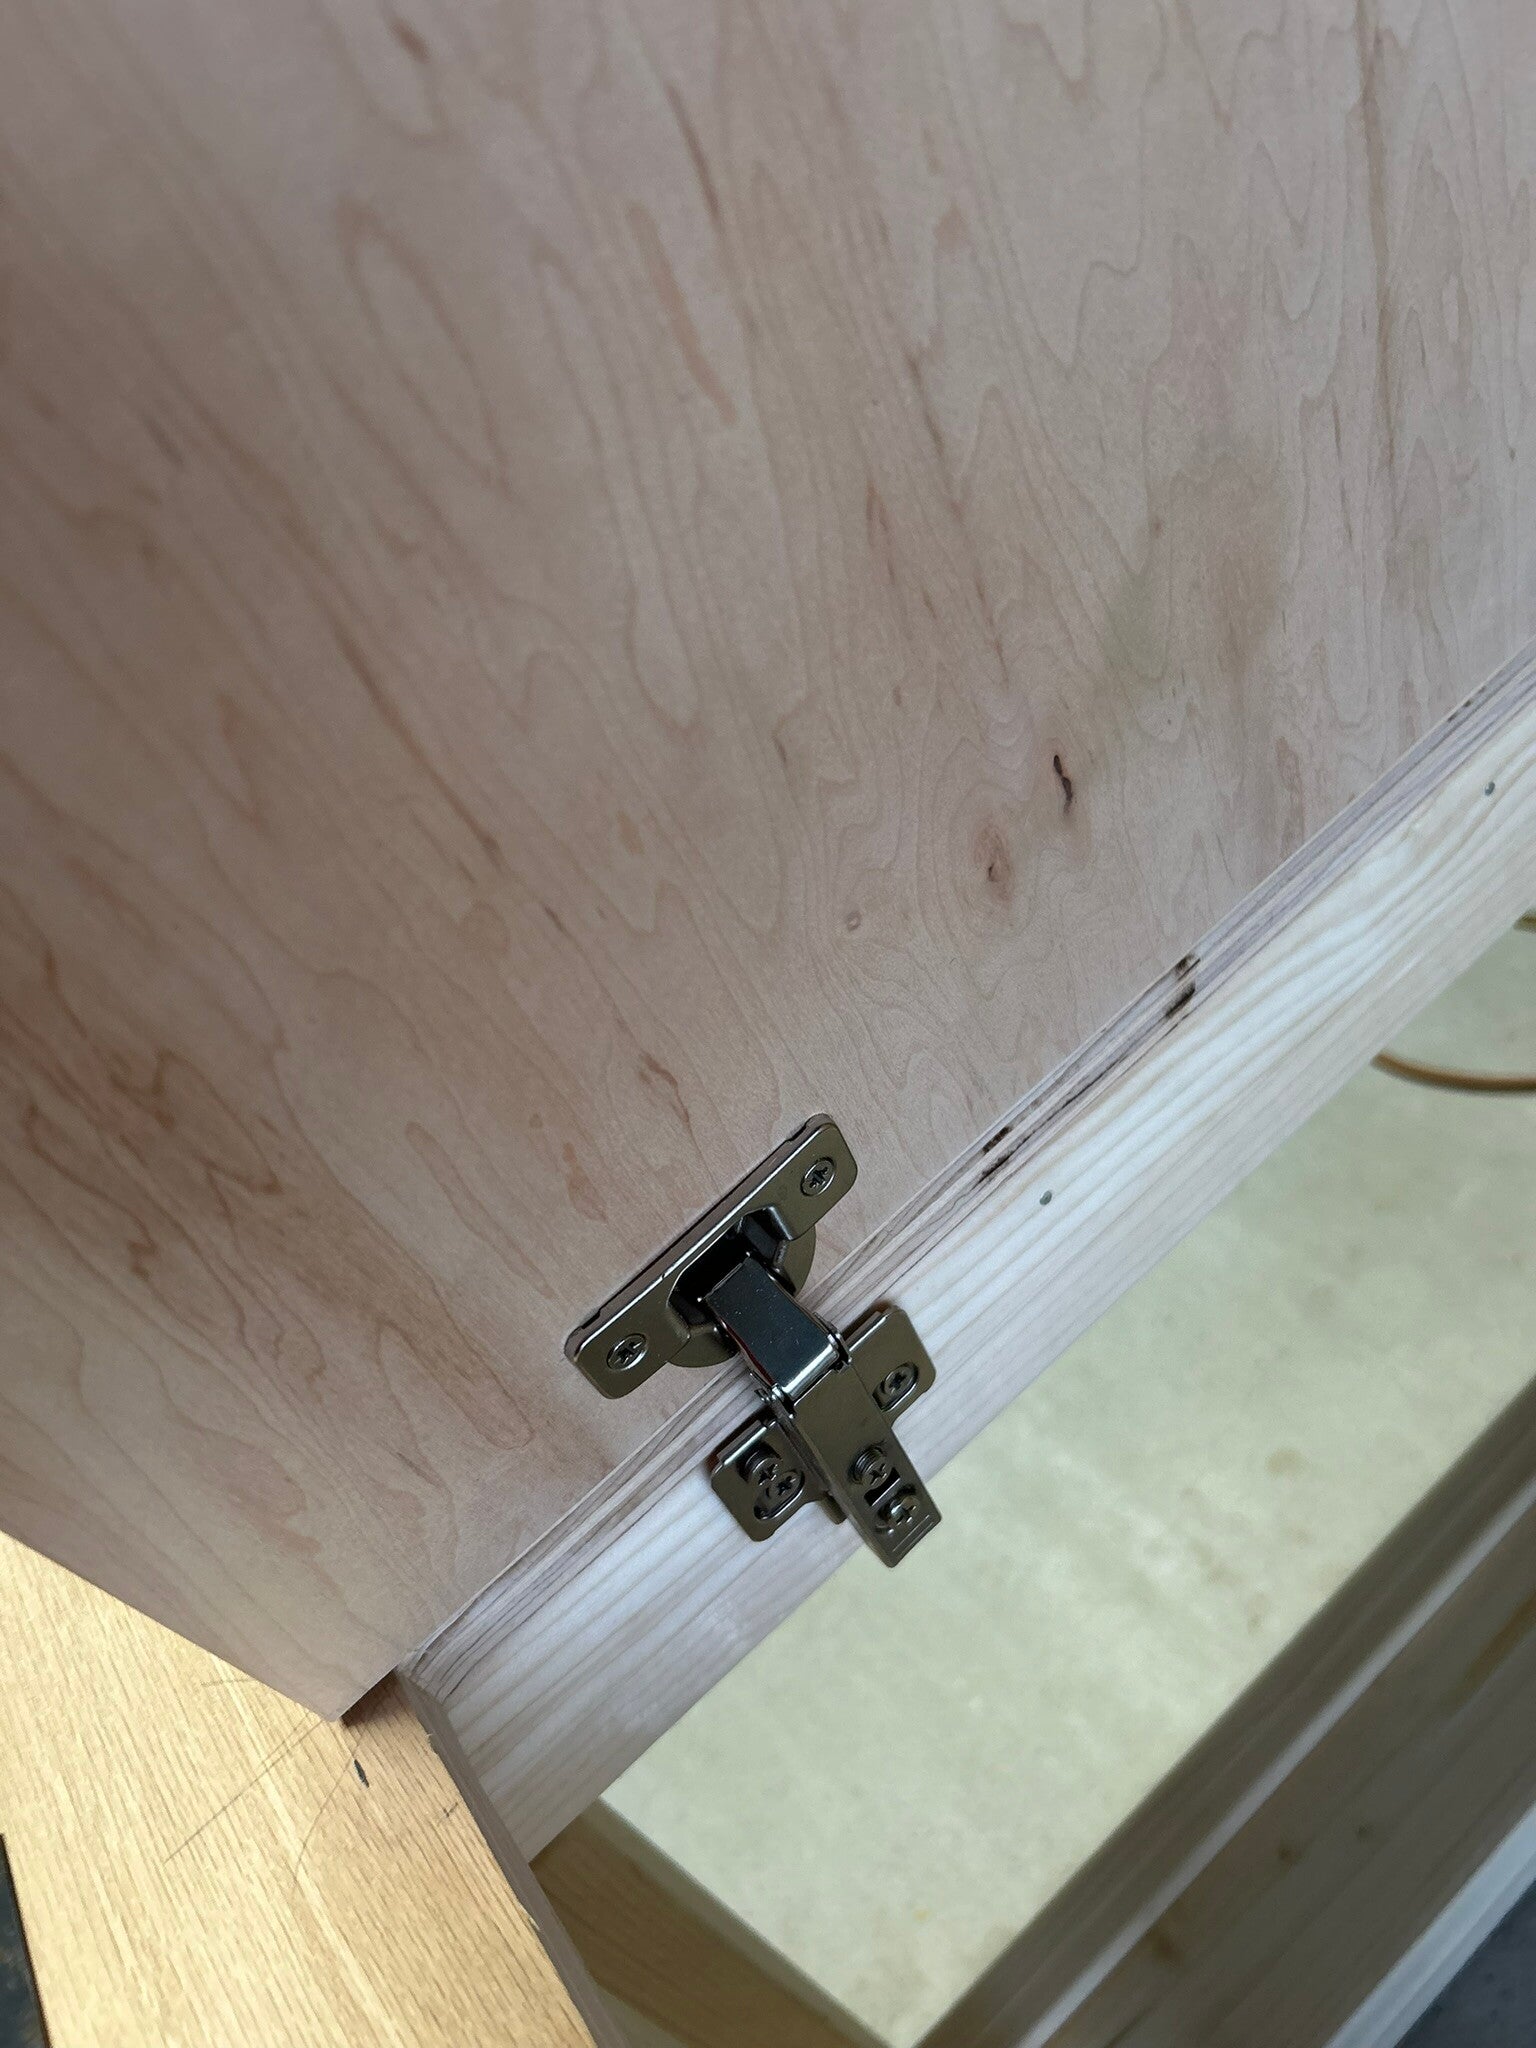
Cabinet door hardware installed.
27 Apr 24
Checking final placement of doors.
27 Apr 24
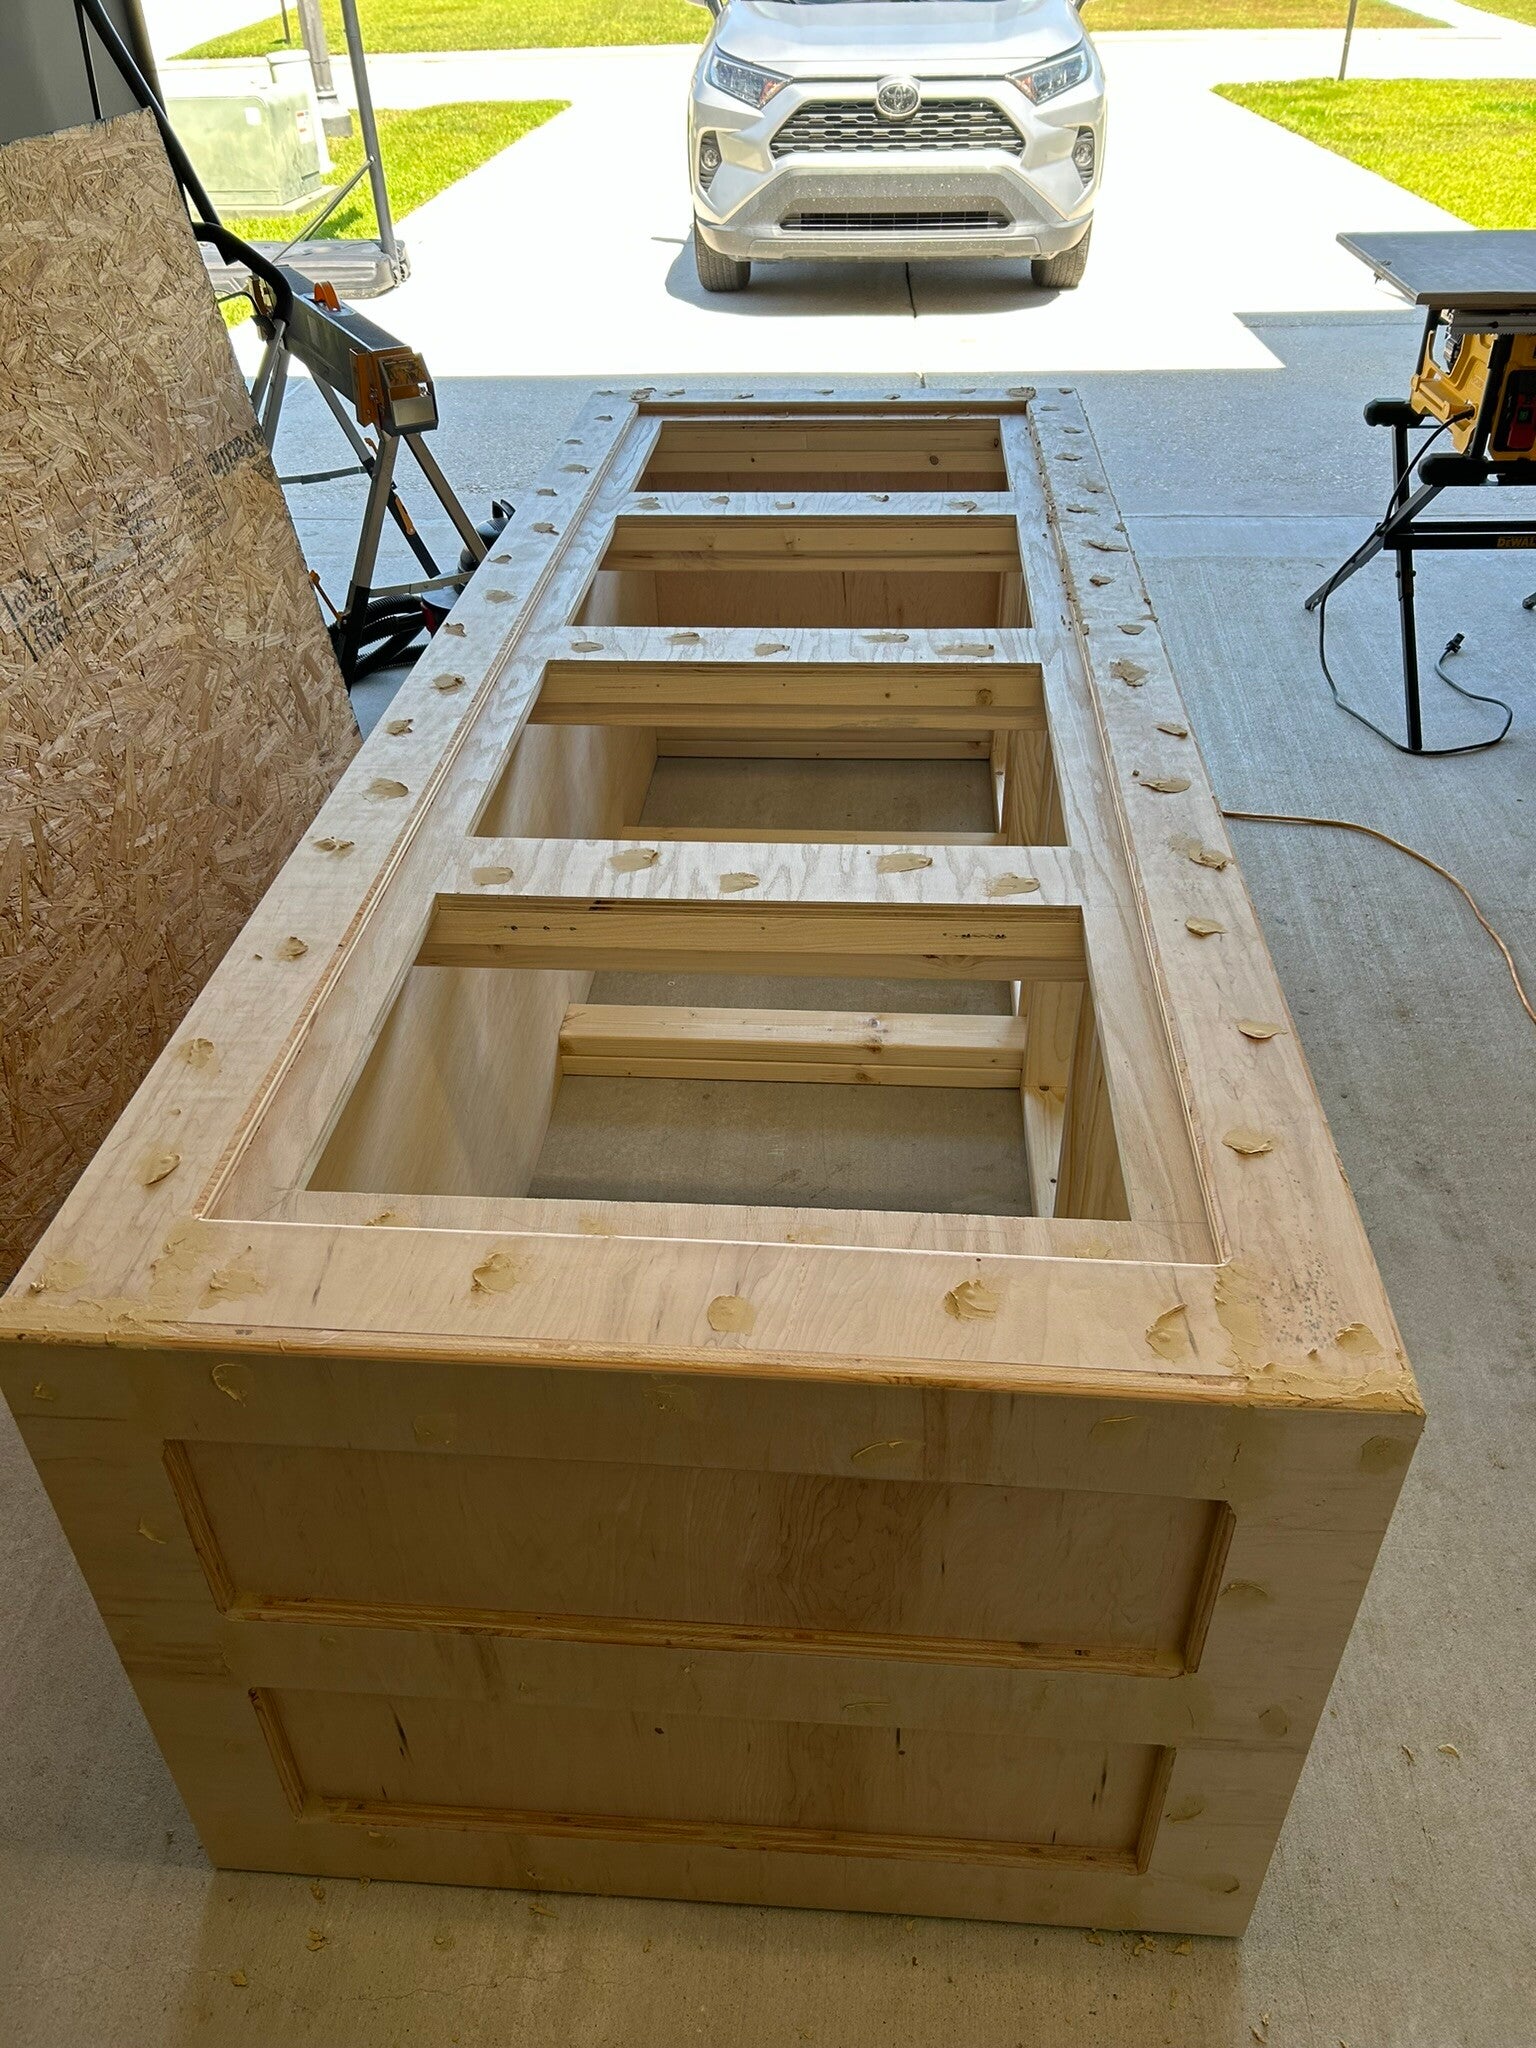
Outer frame added to make the stand match the tank visually. Filled all the screw holes and routed the edges.
1 May 24
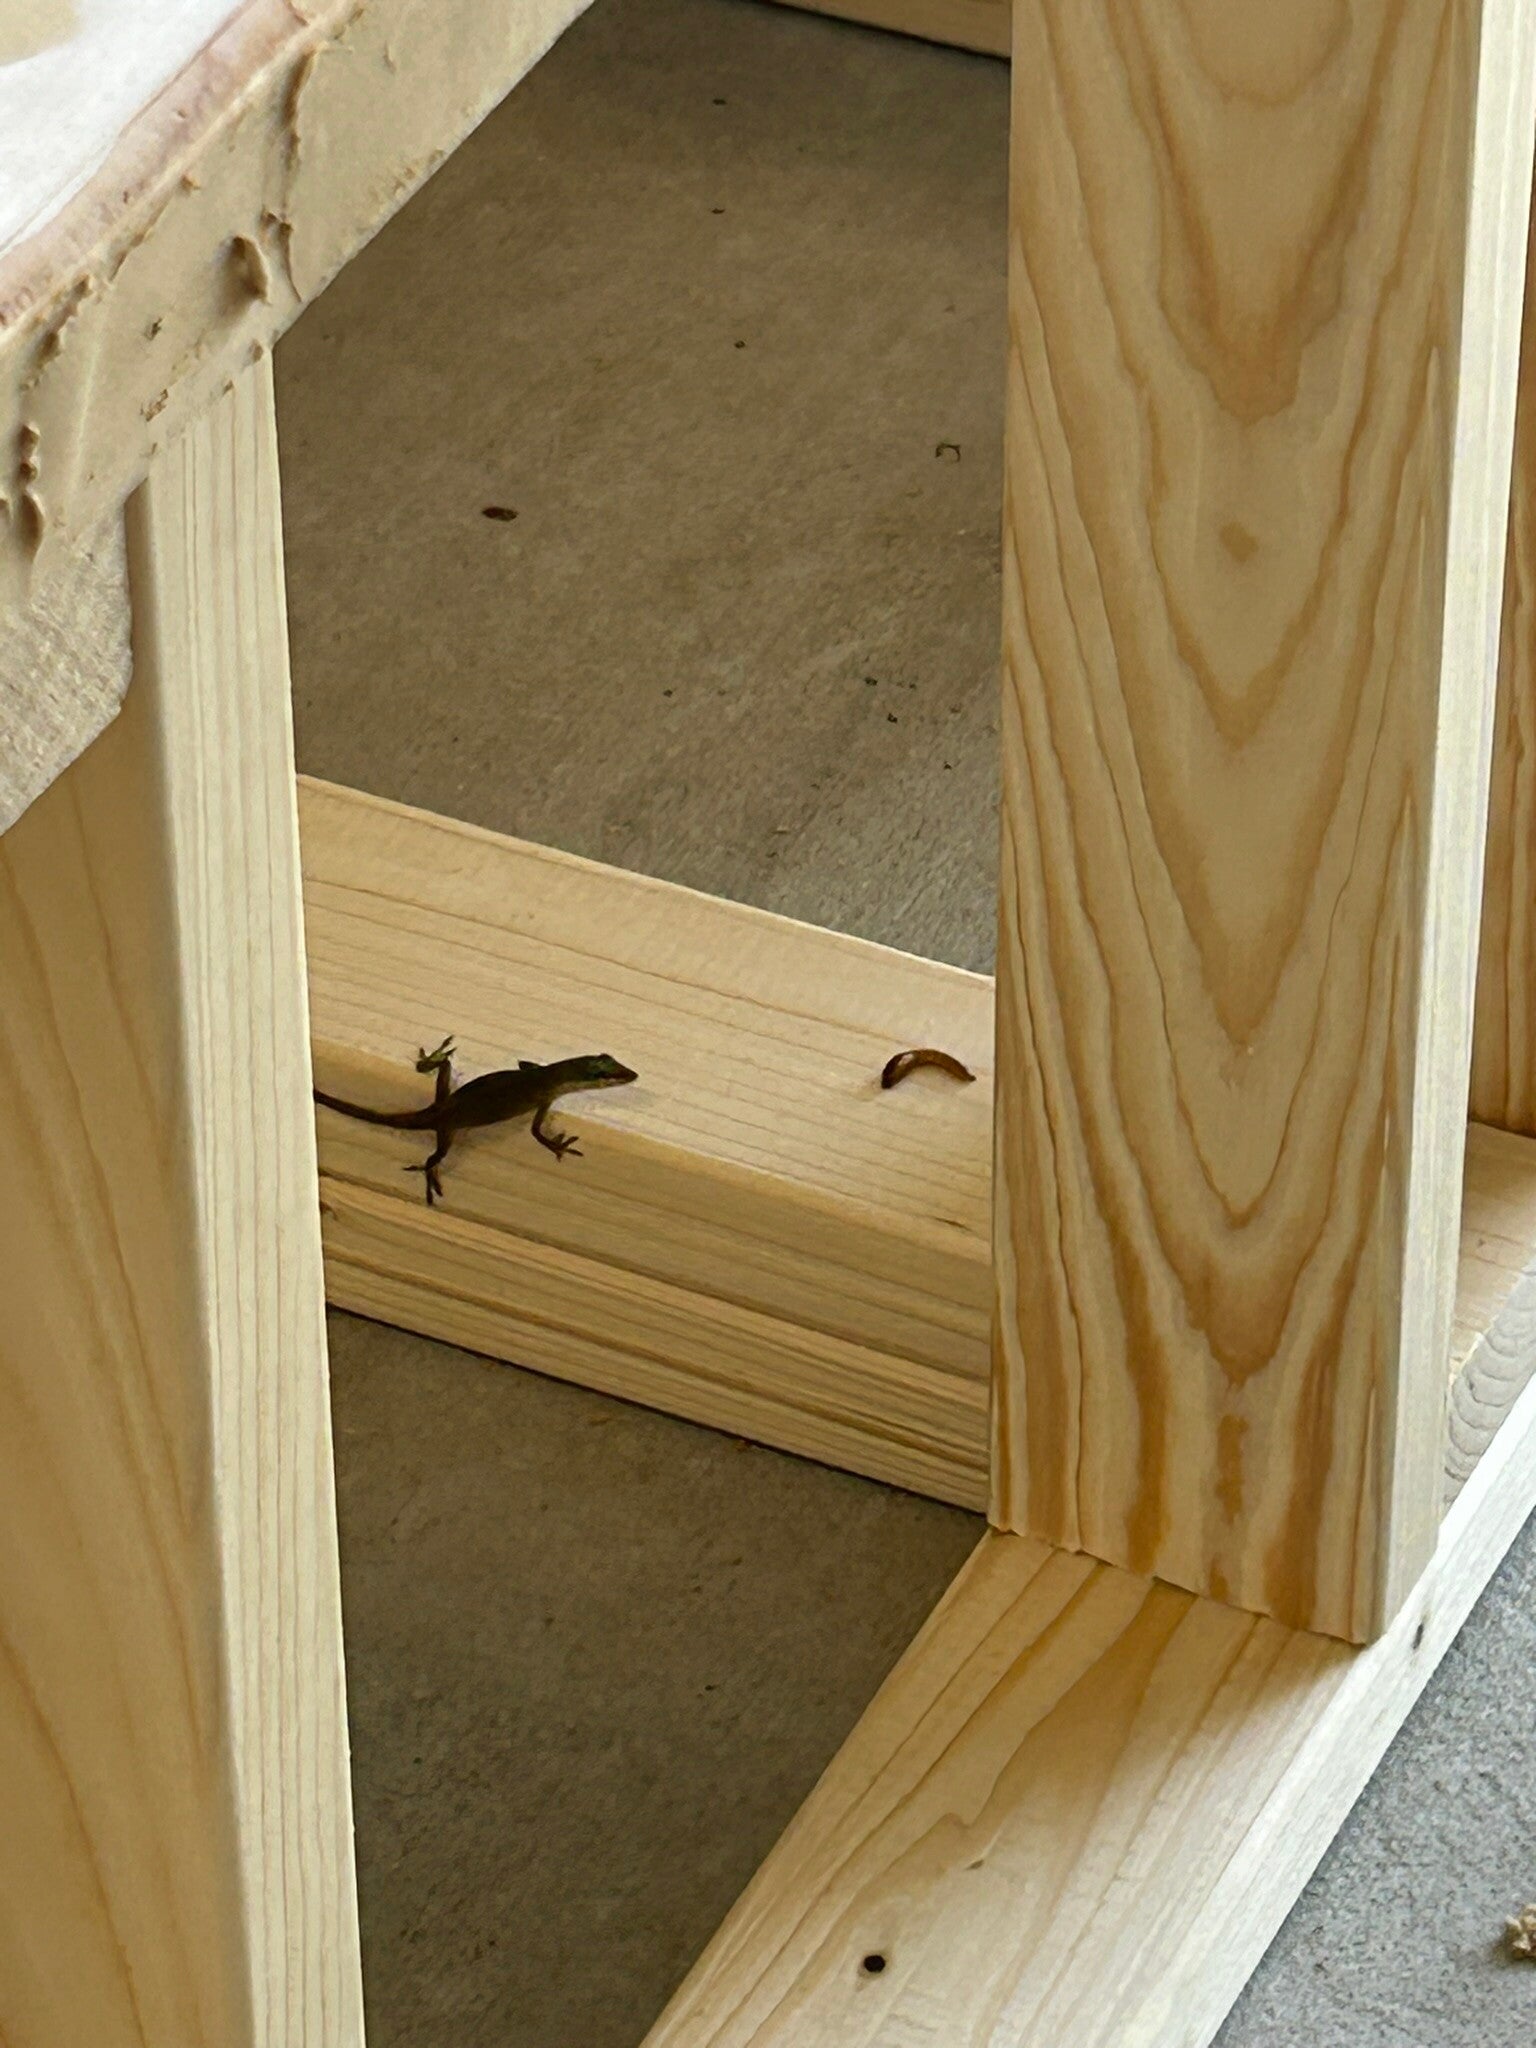
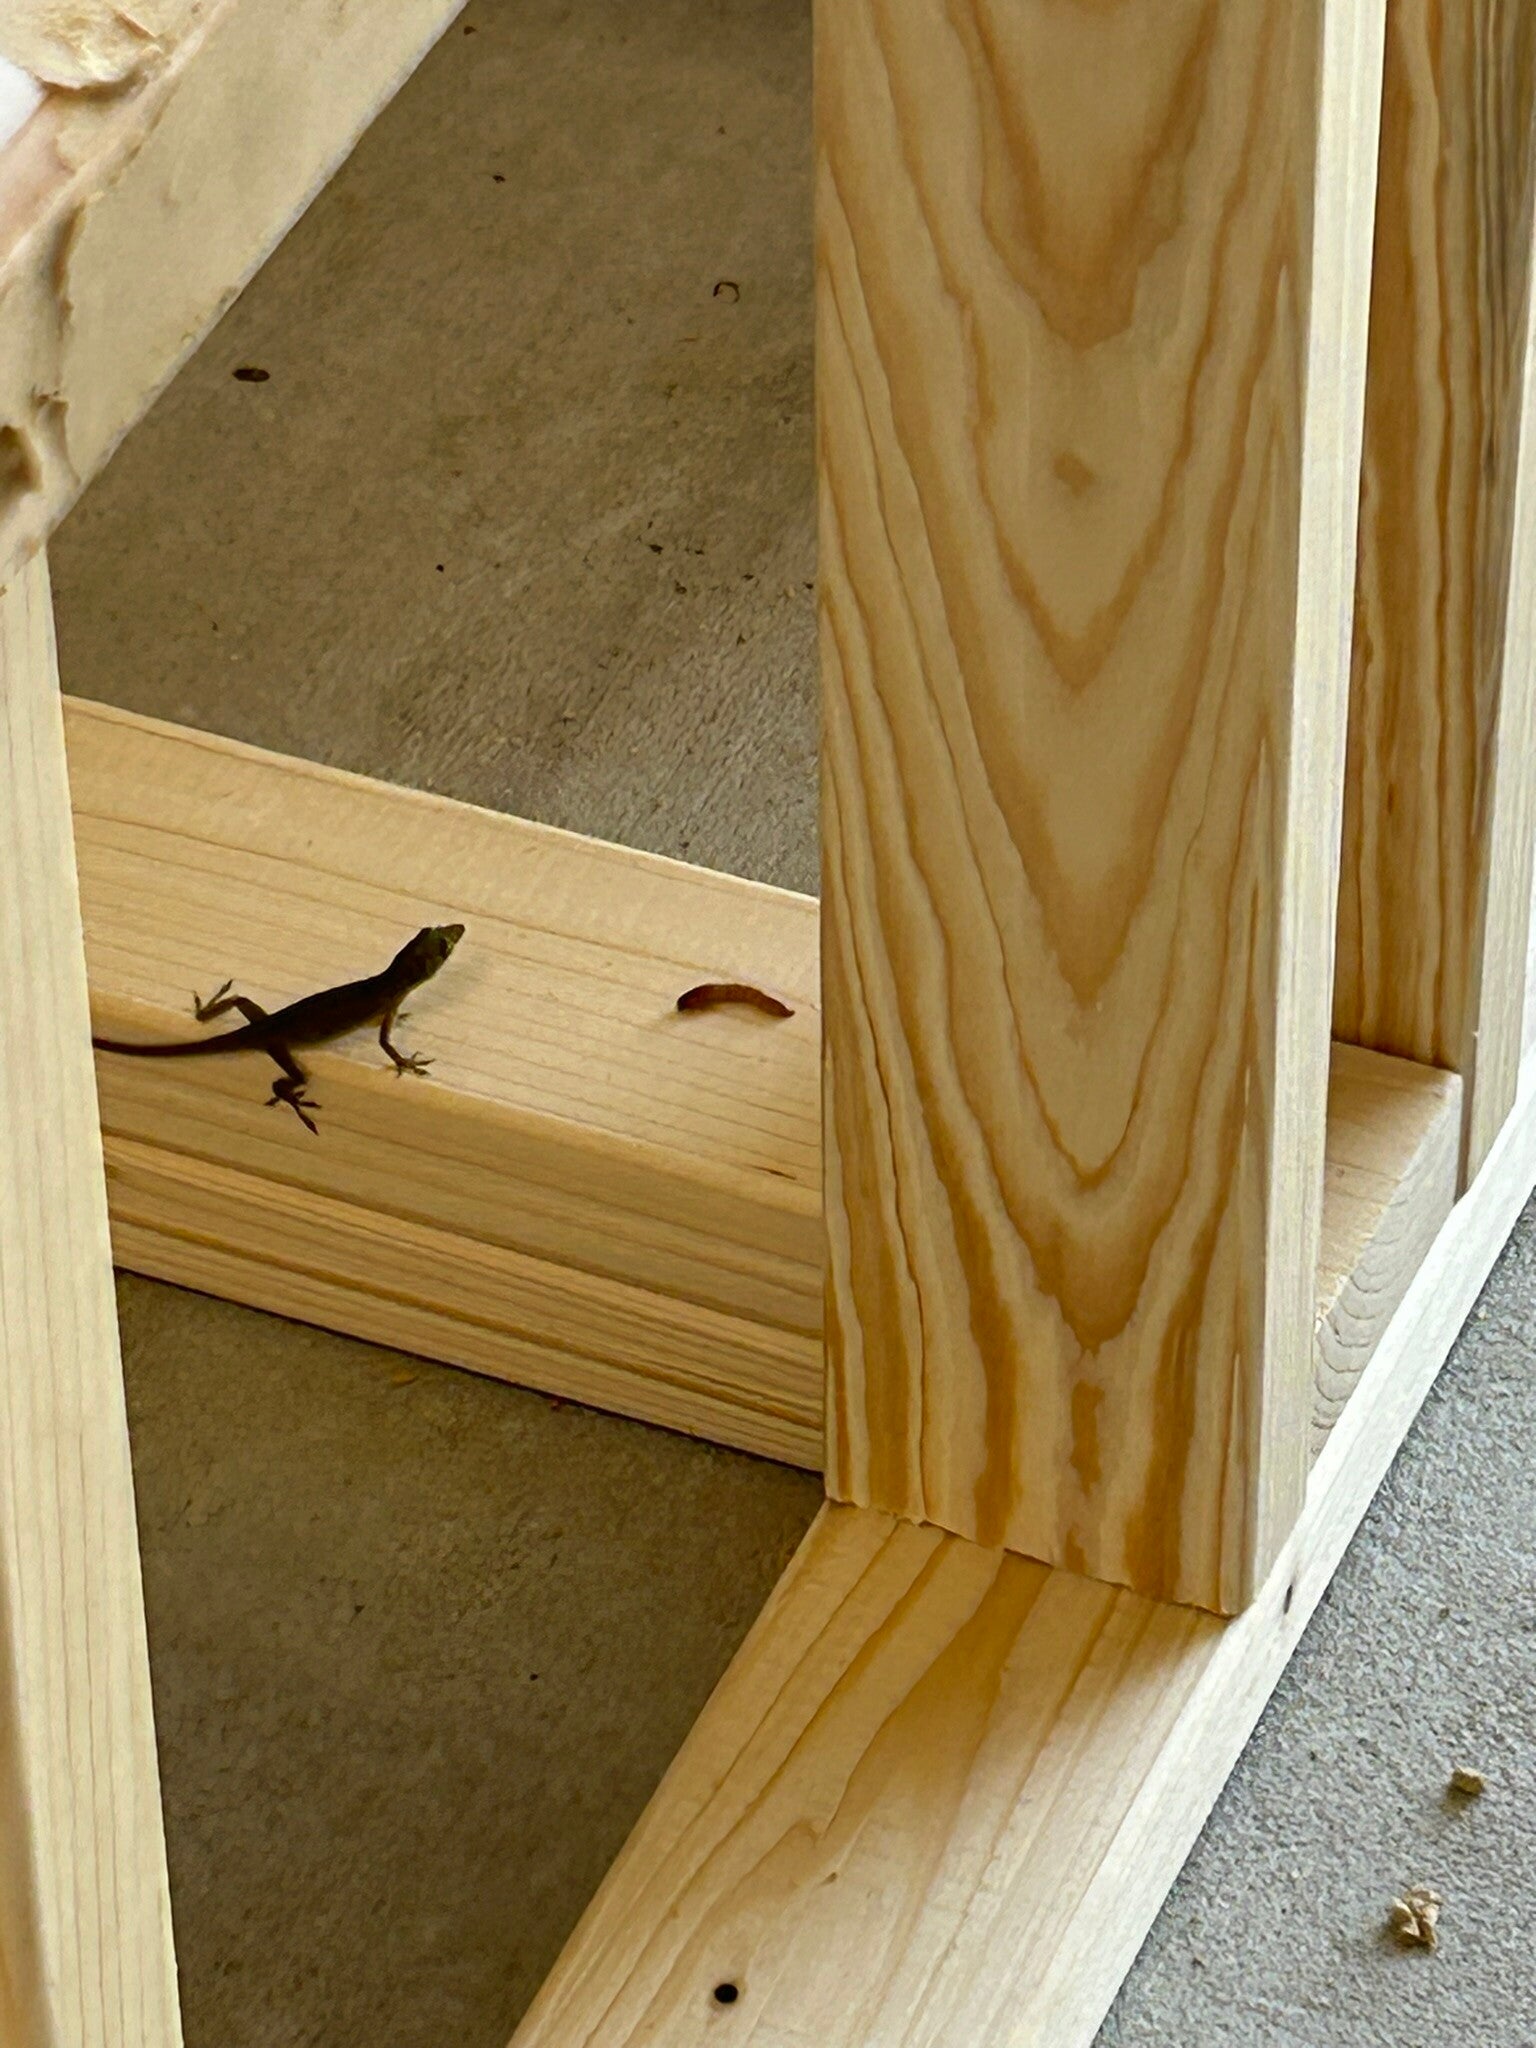
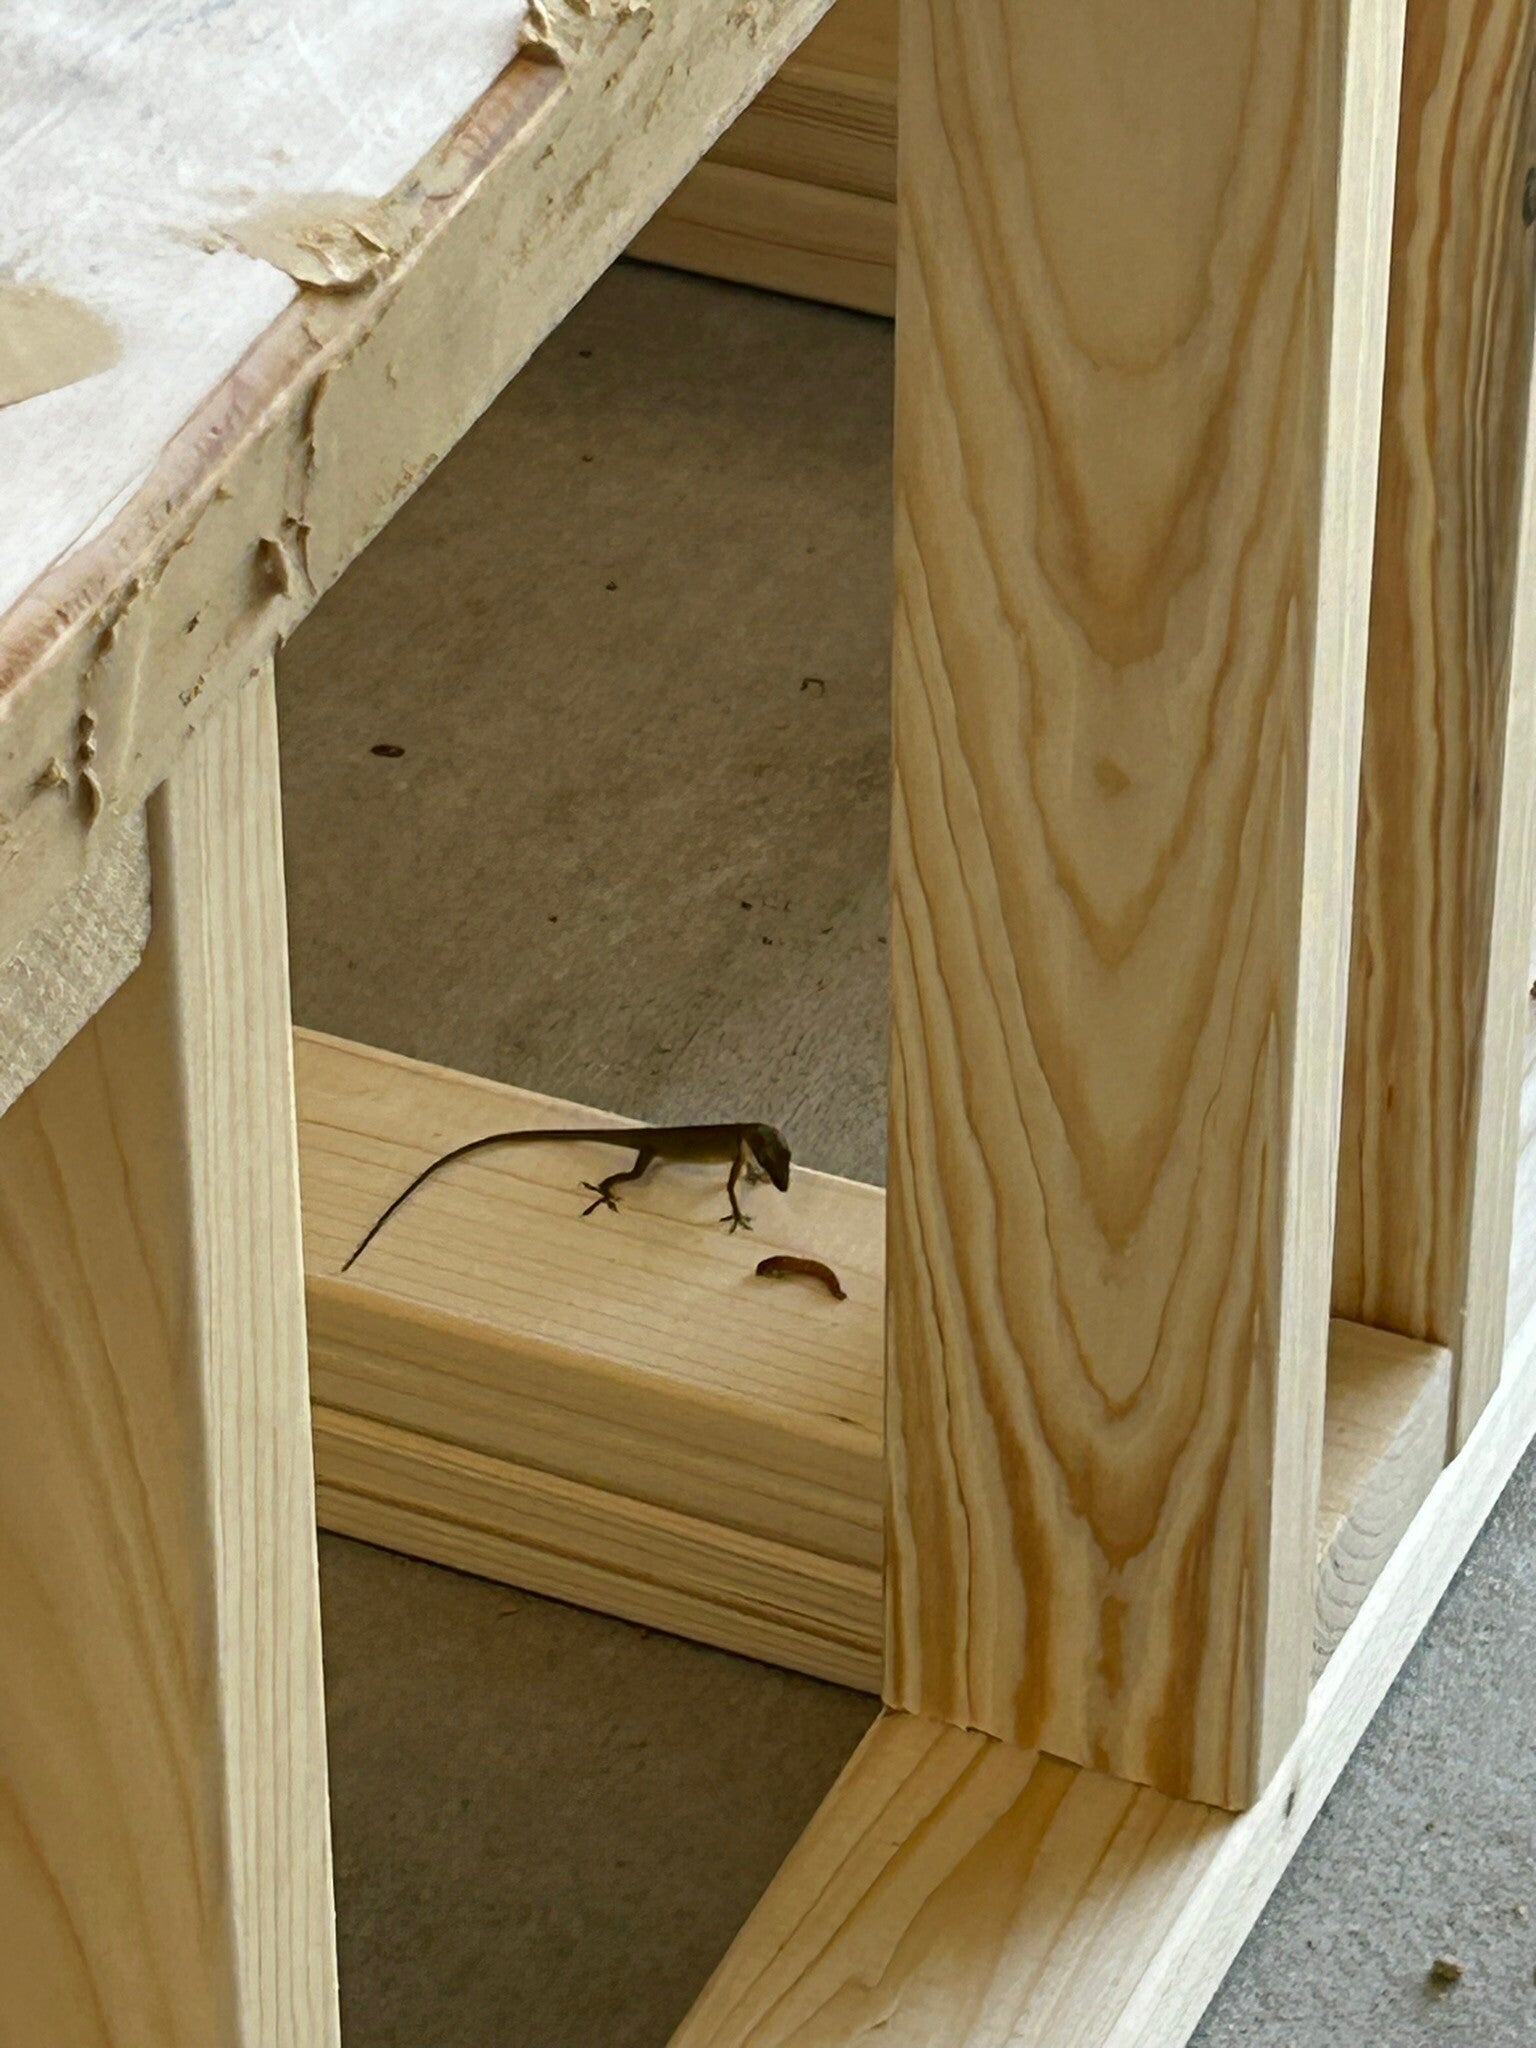
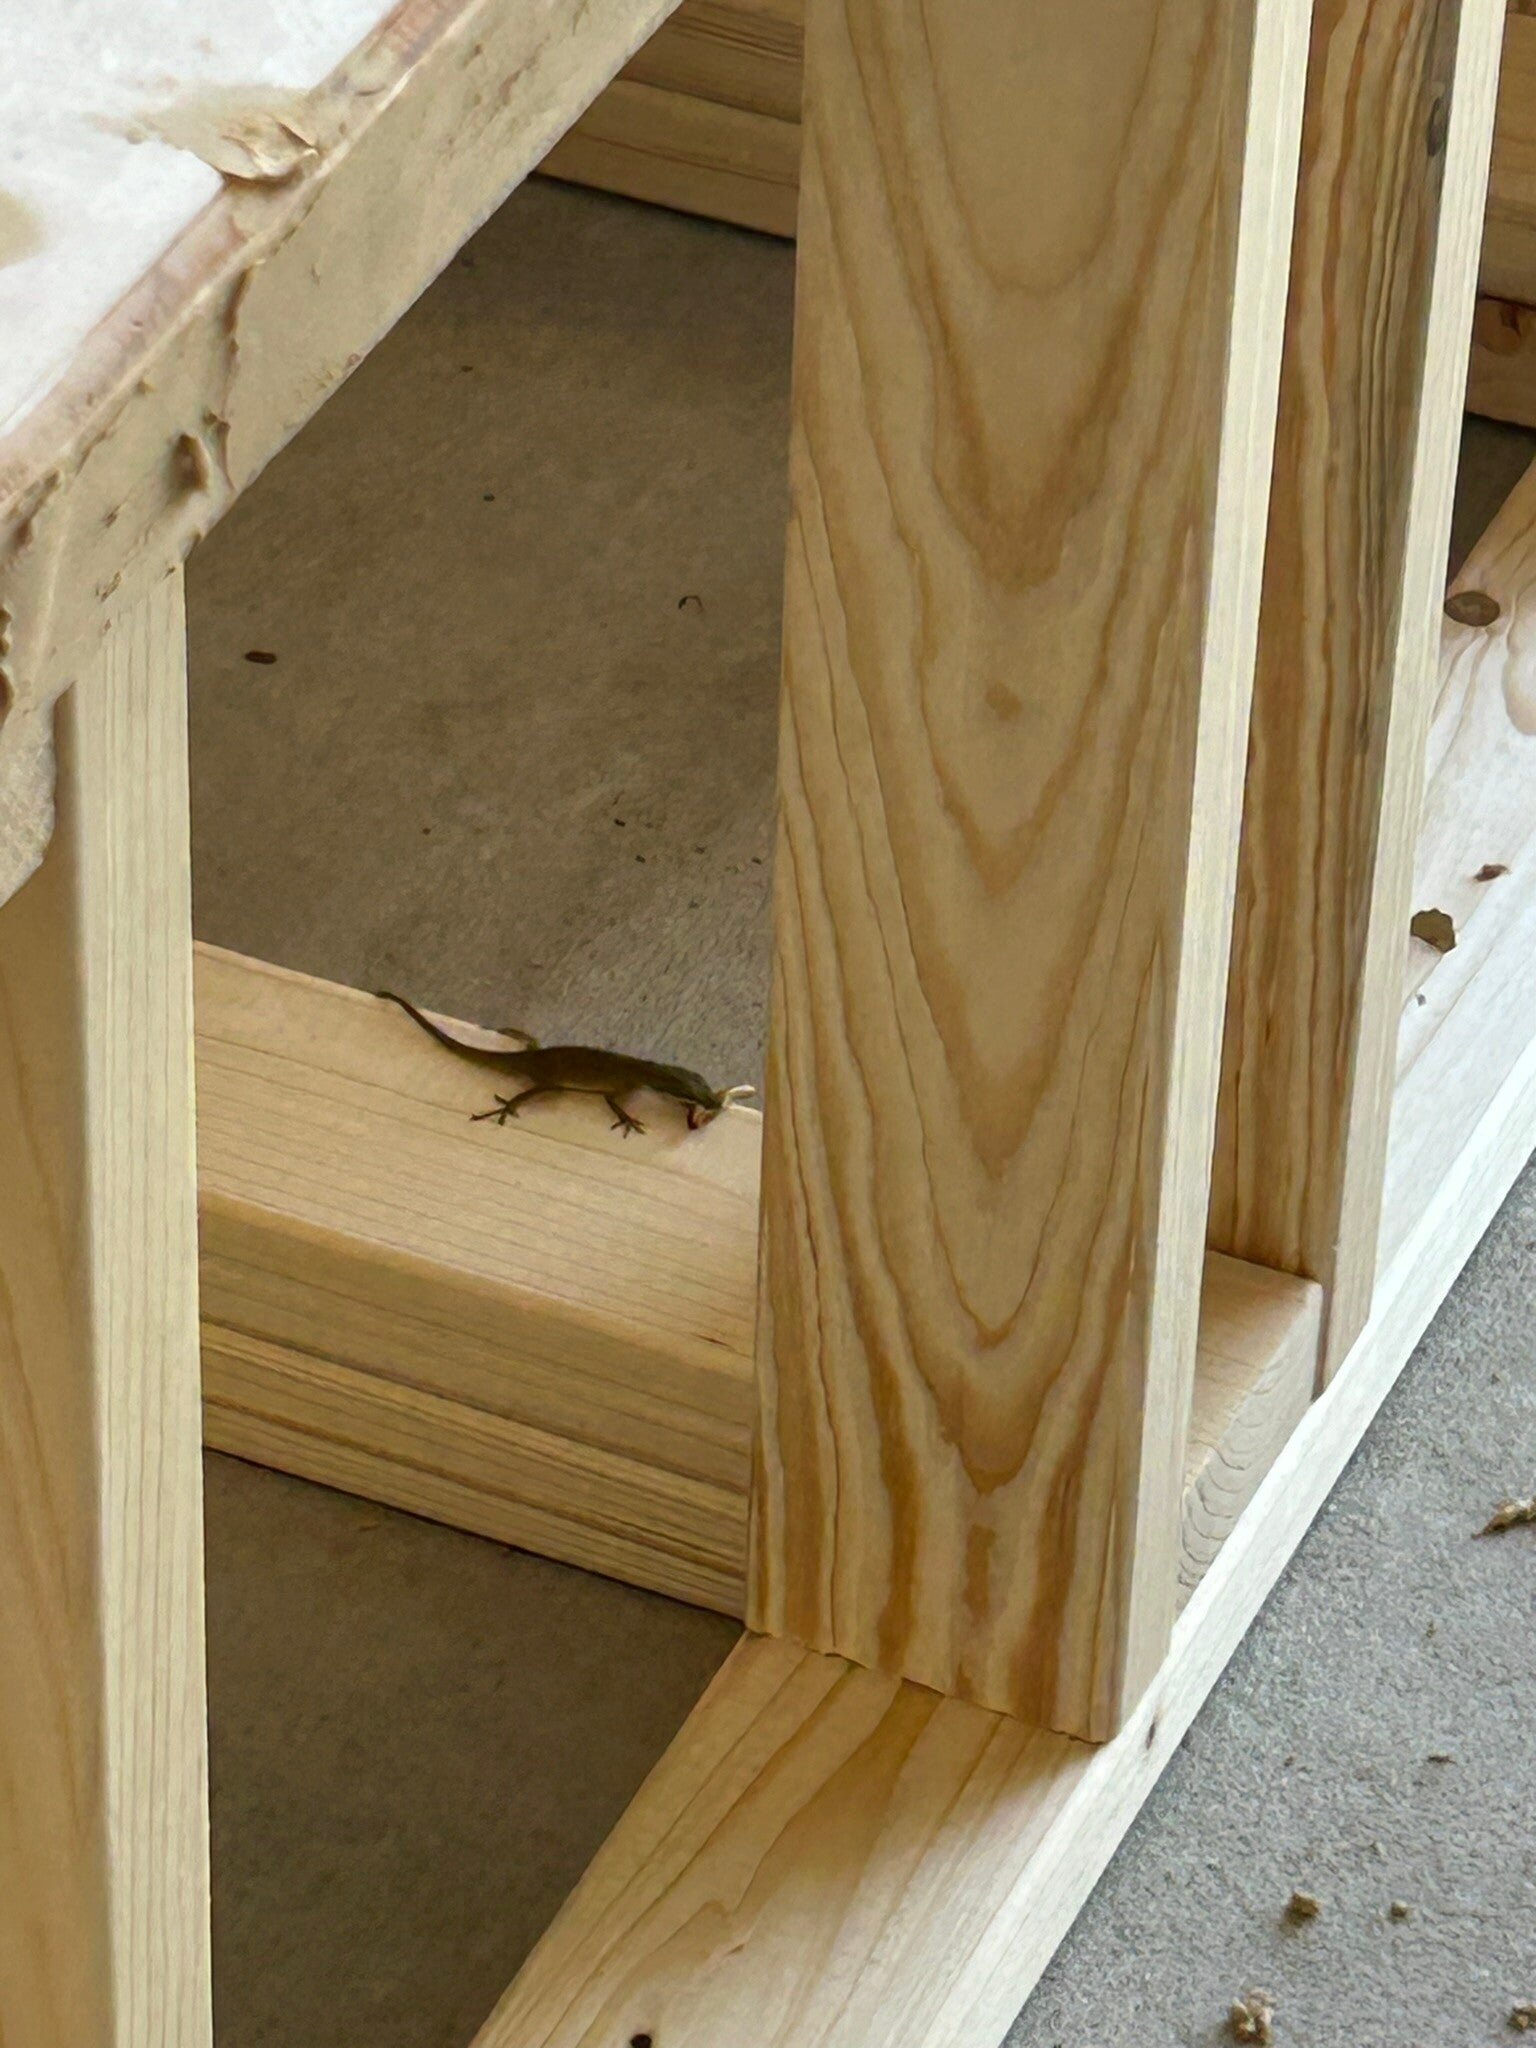
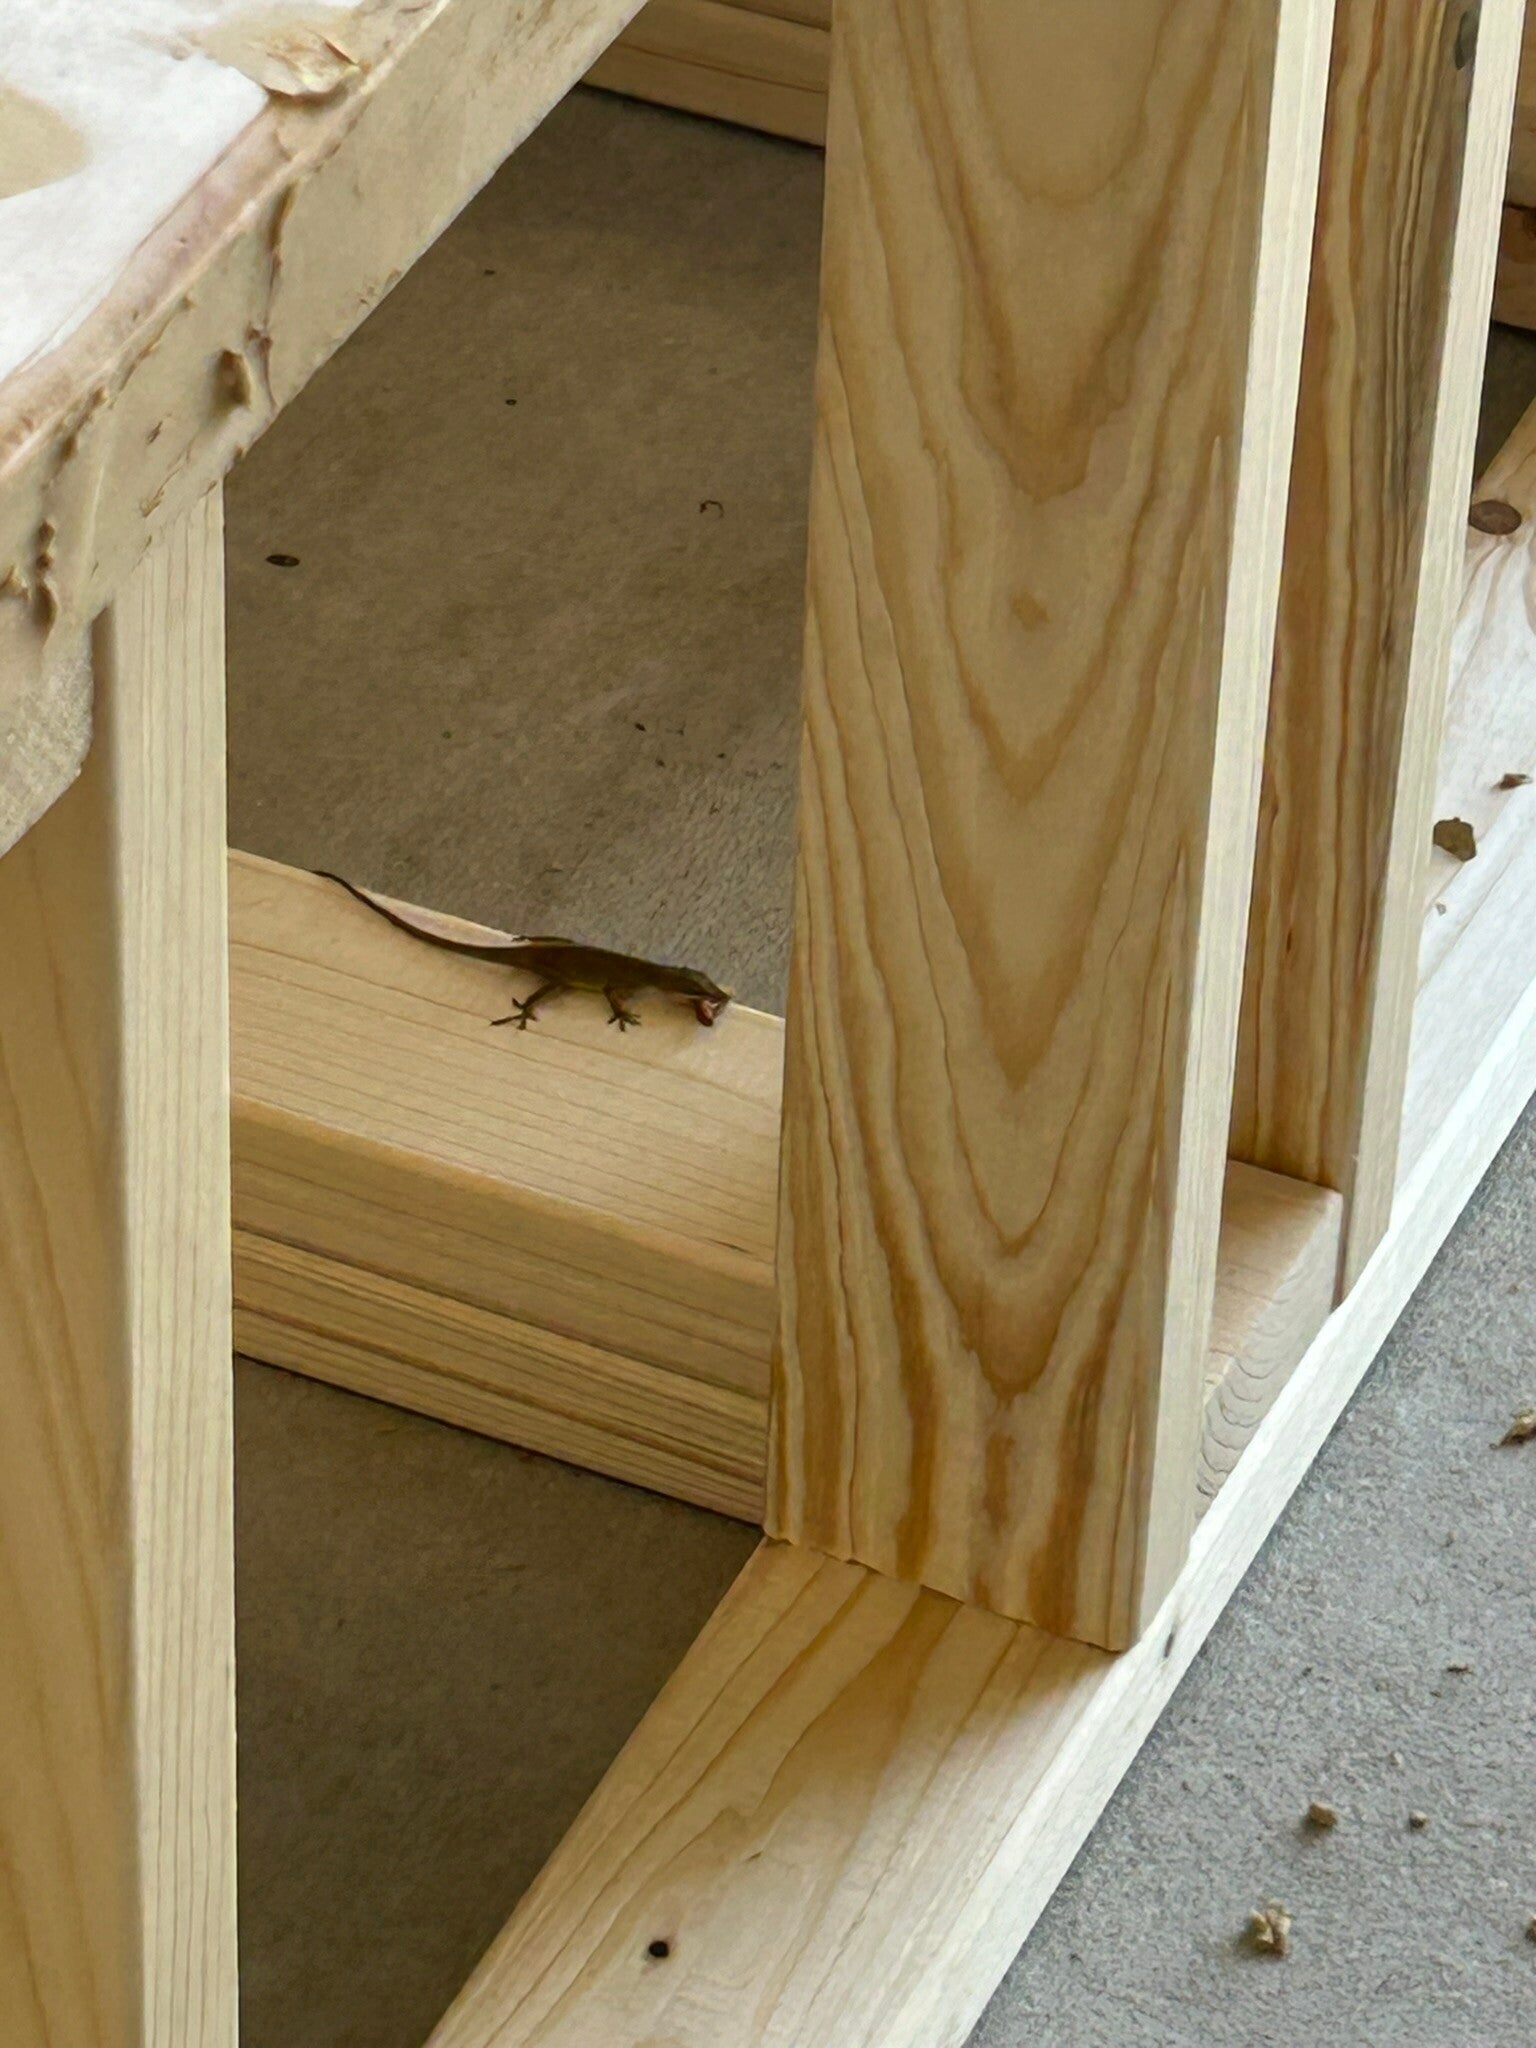
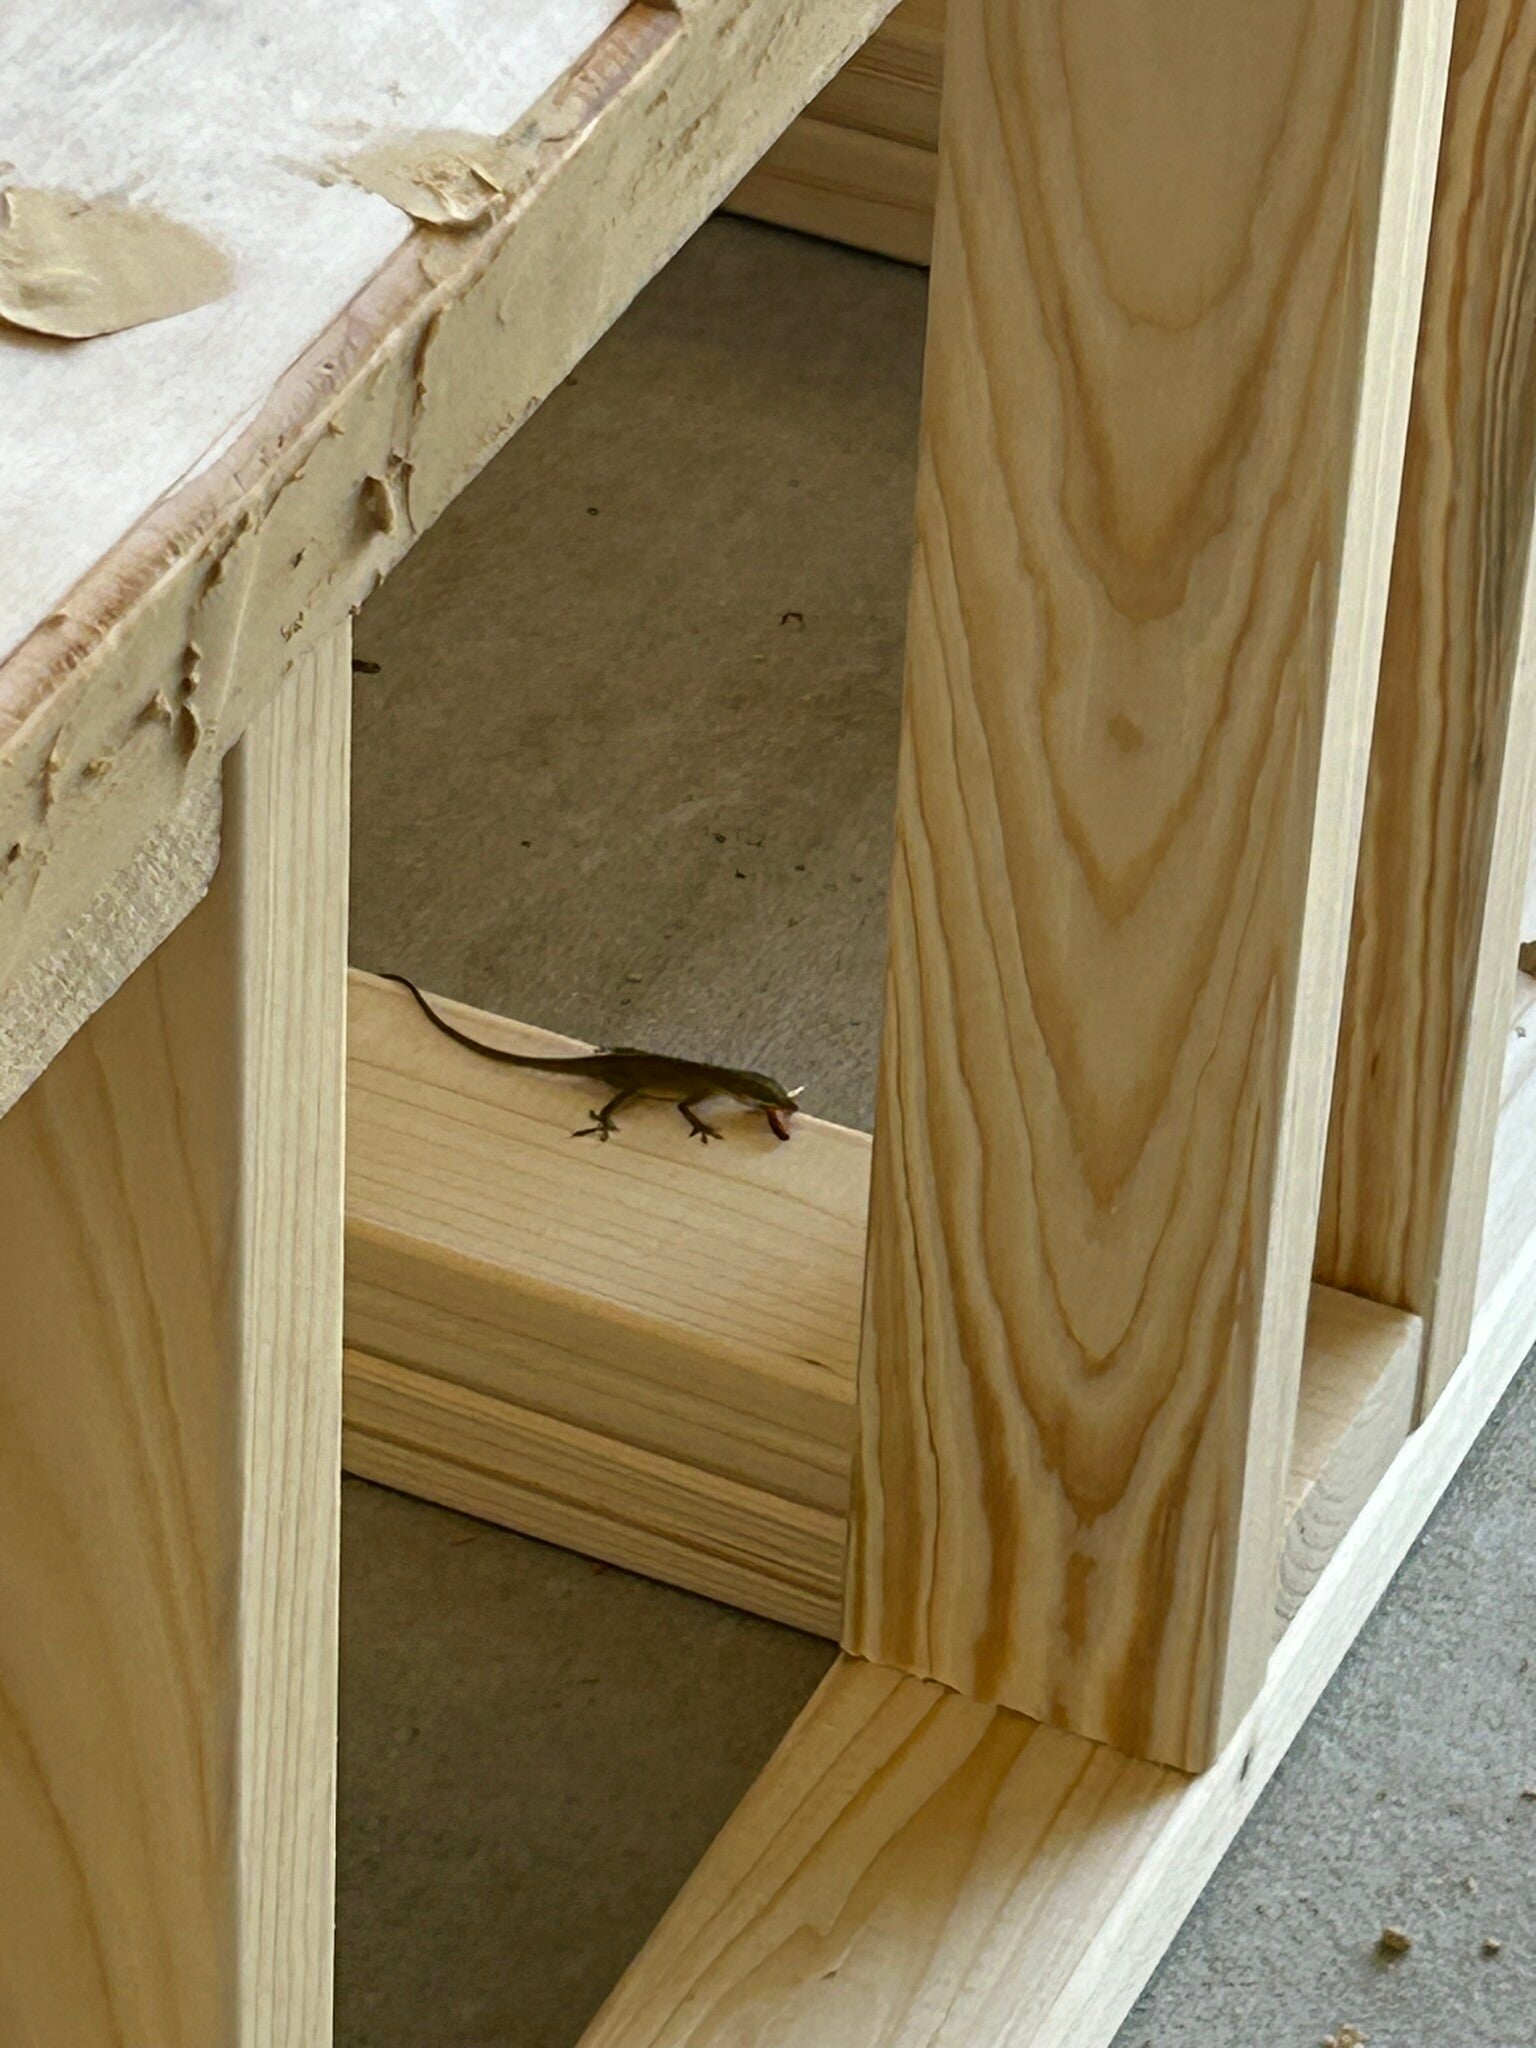
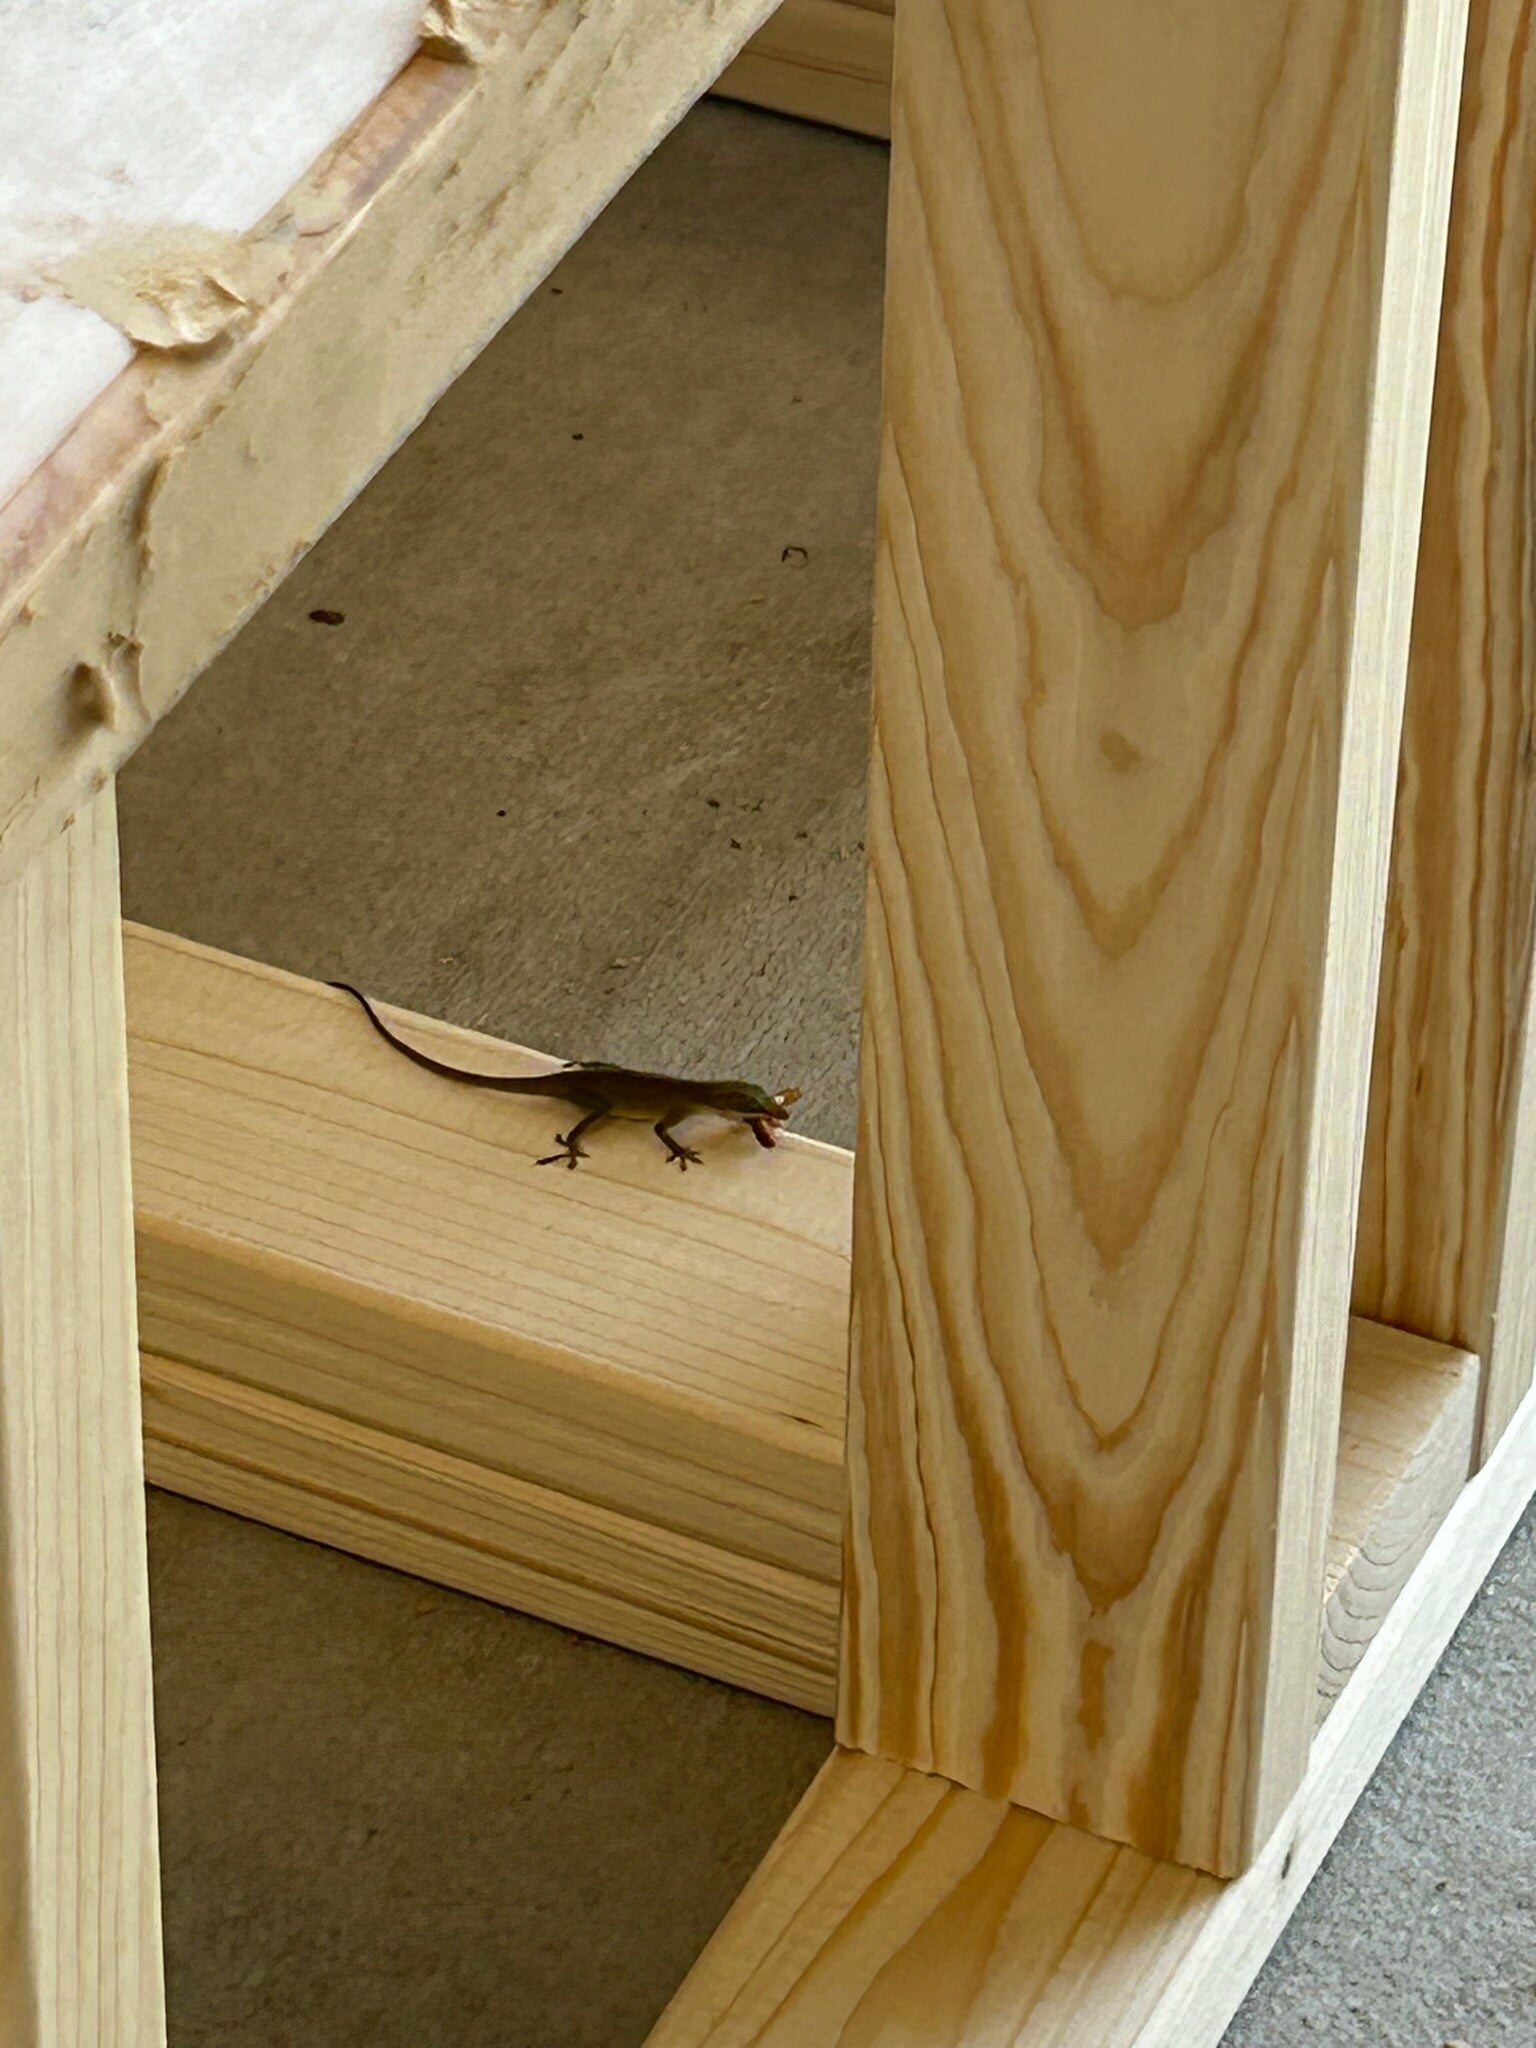
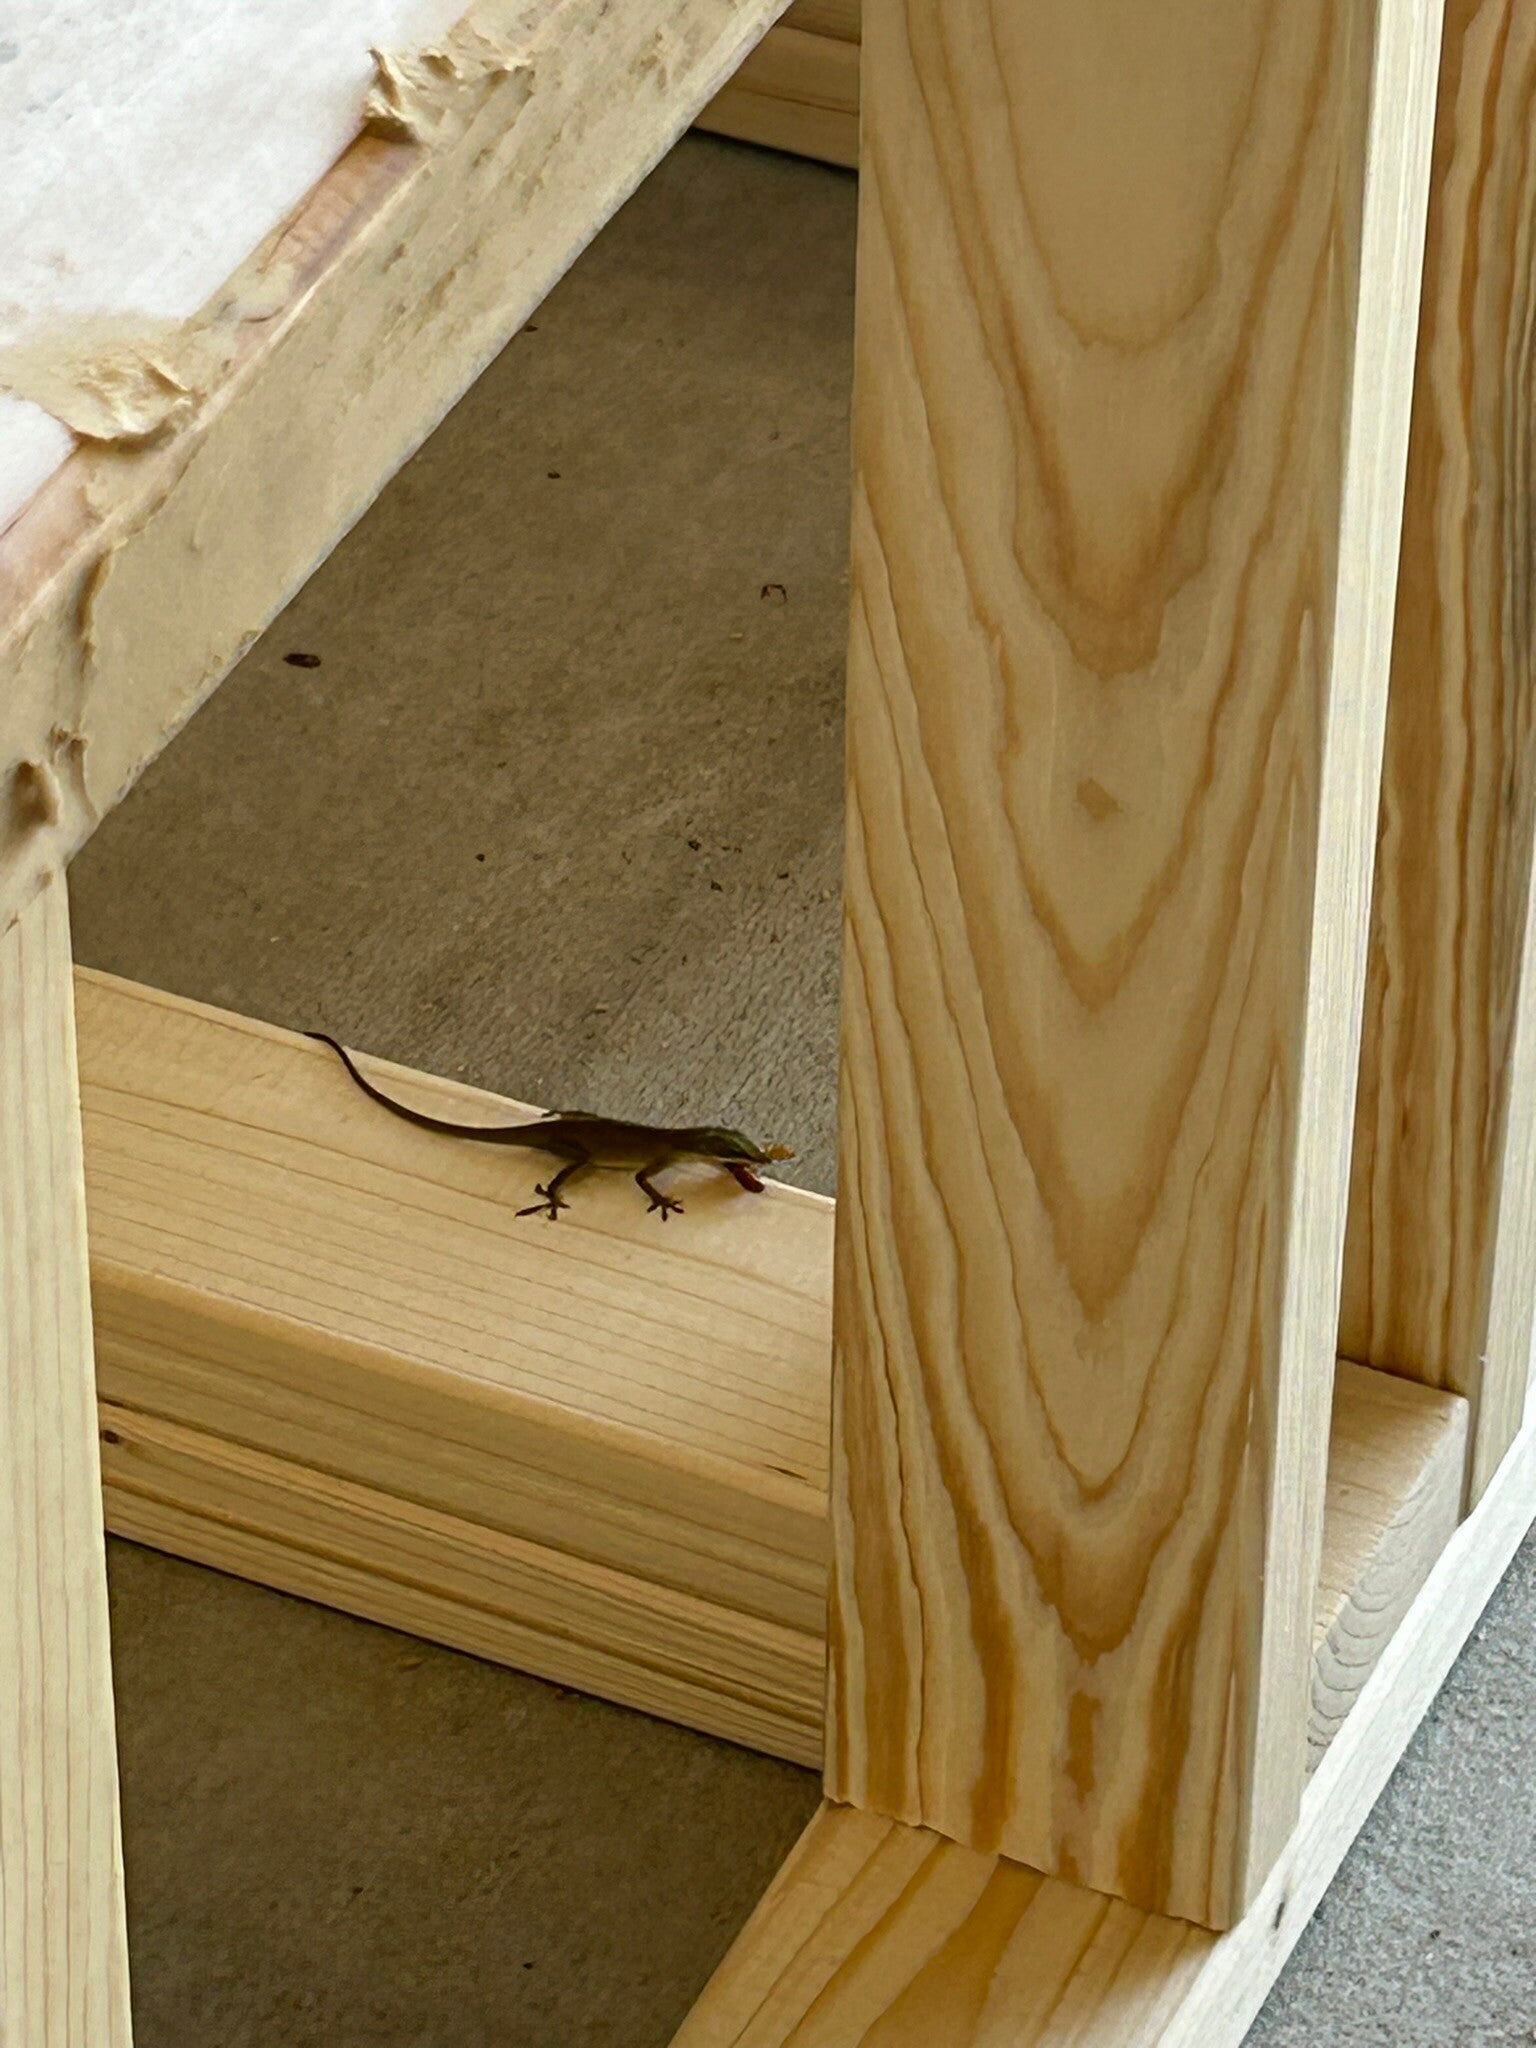
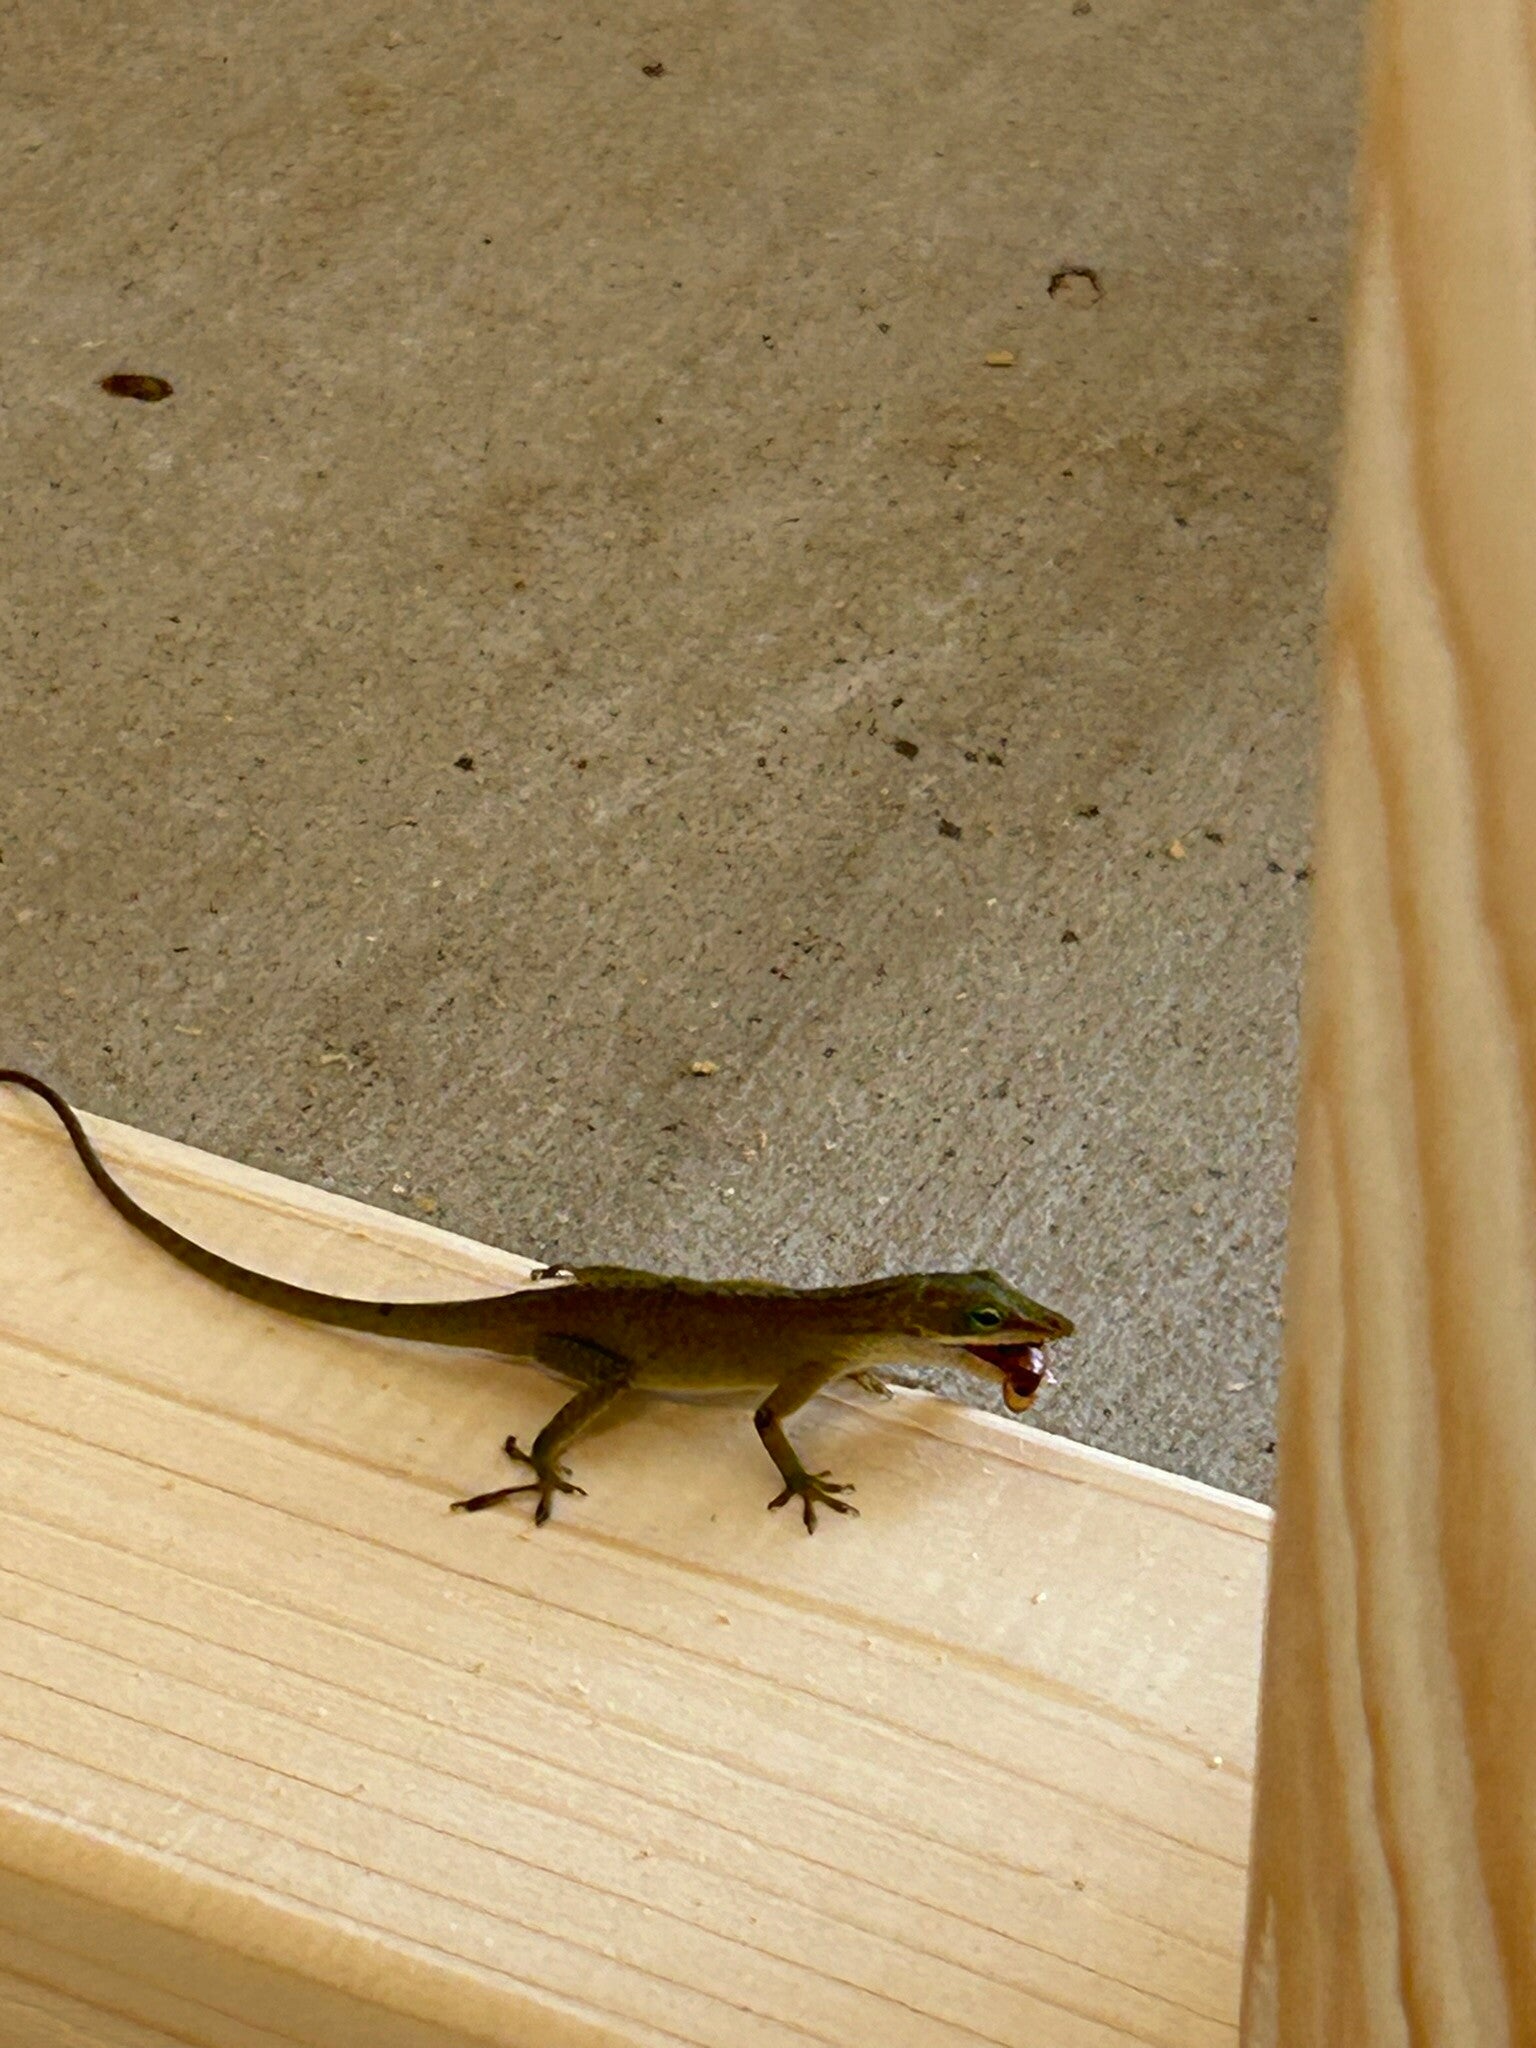
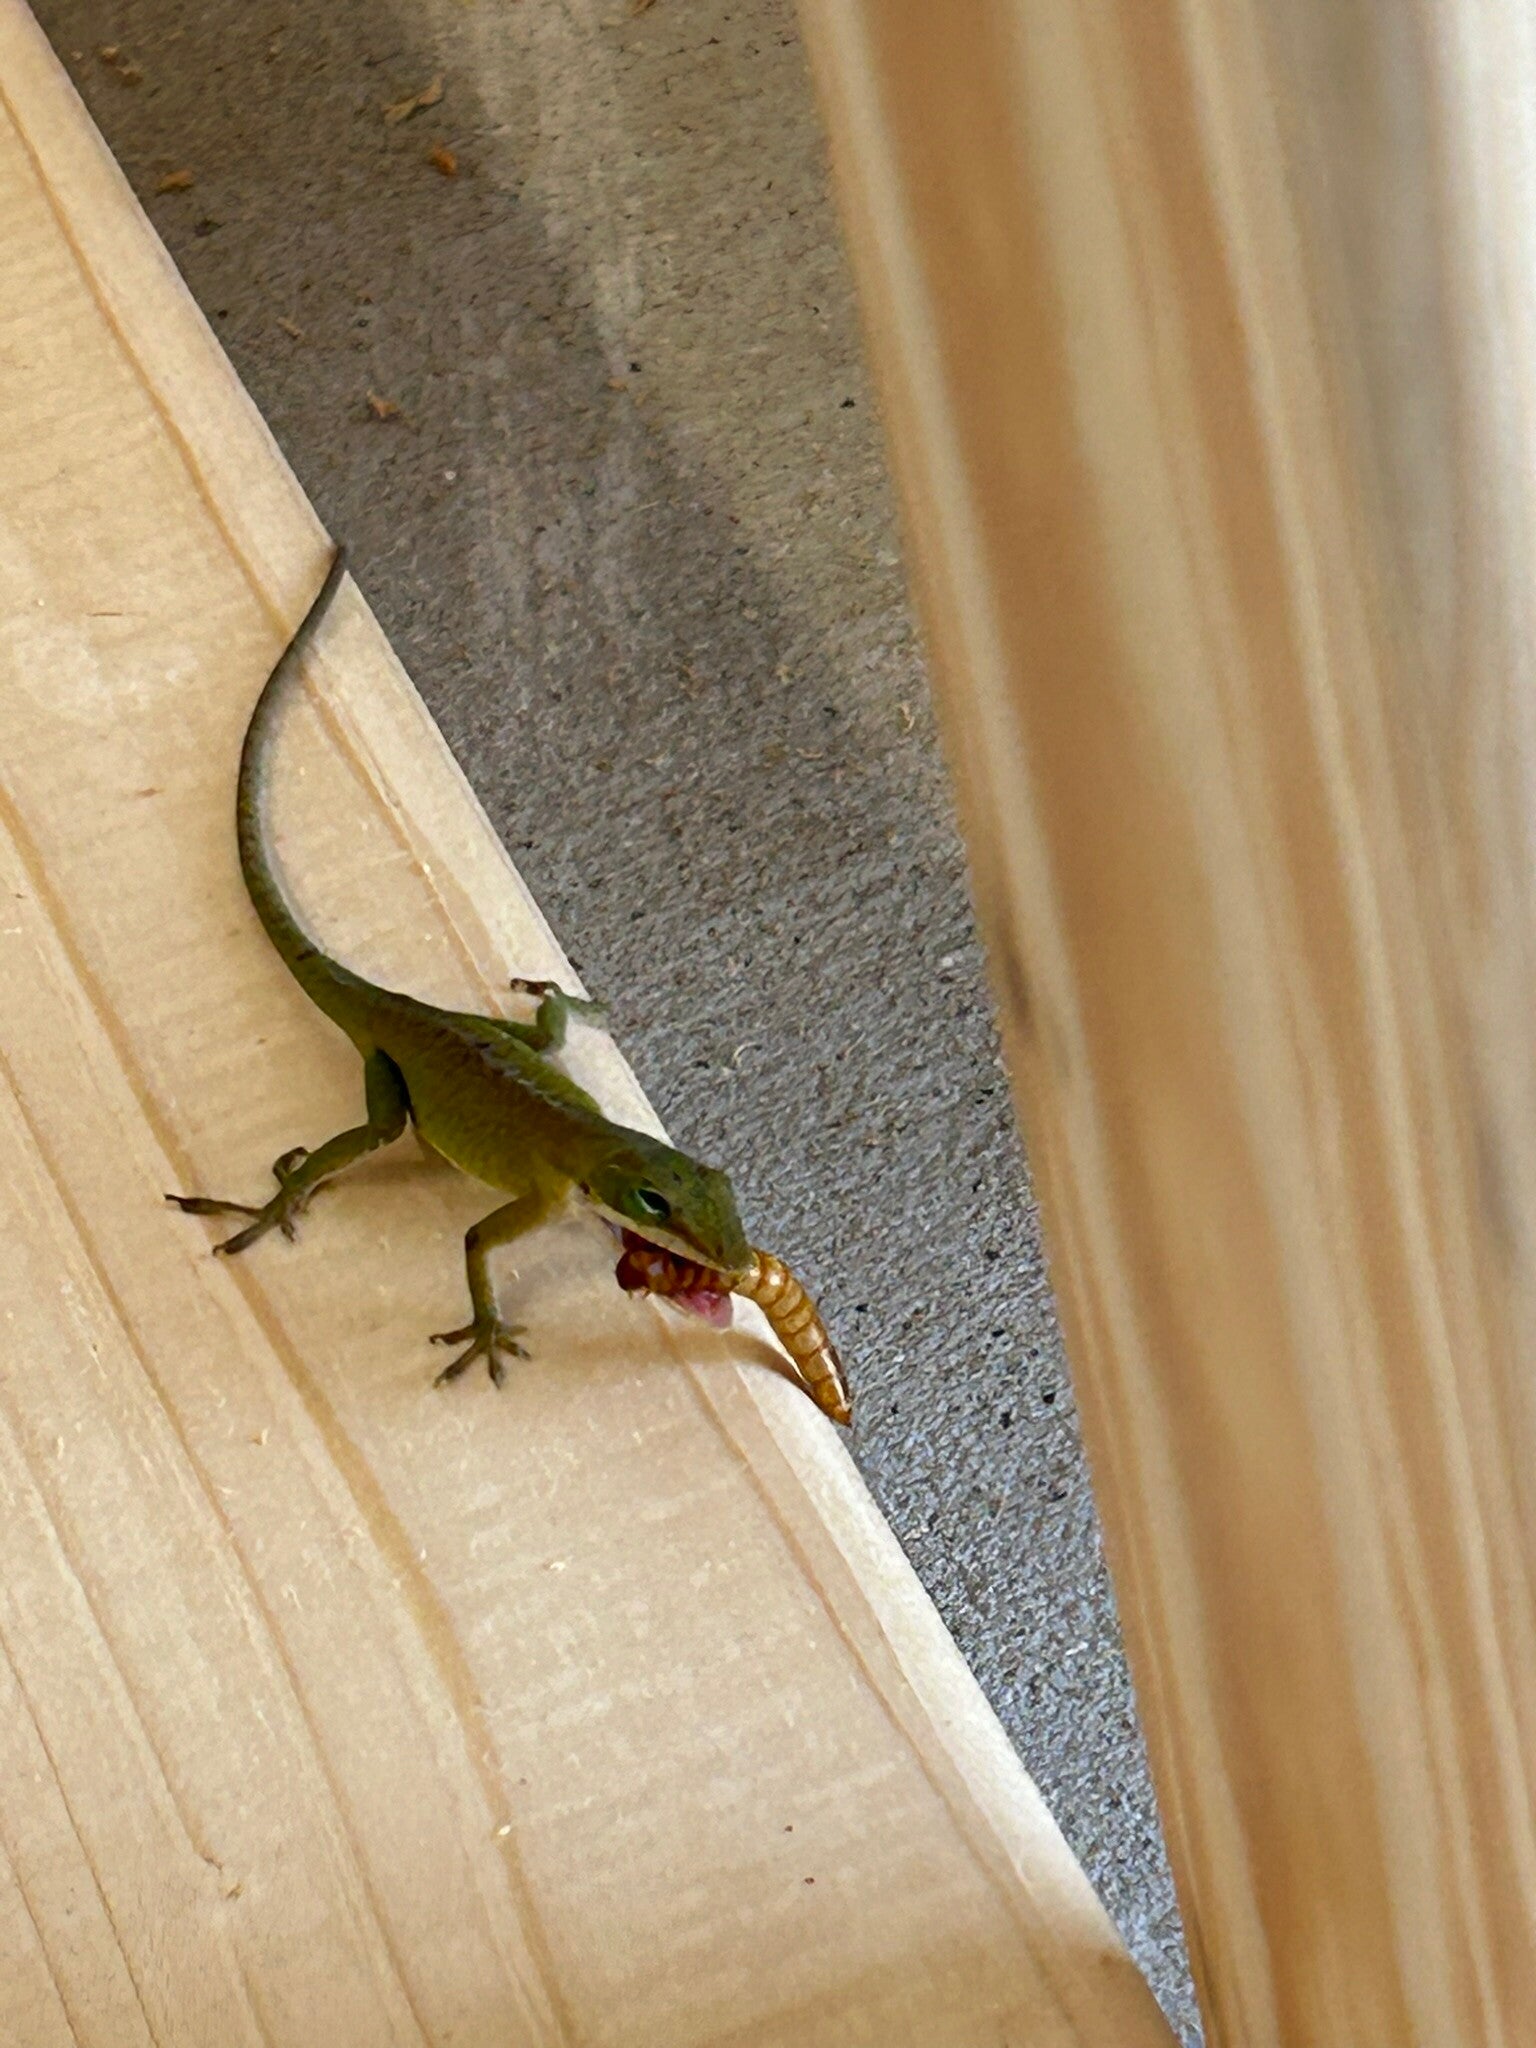
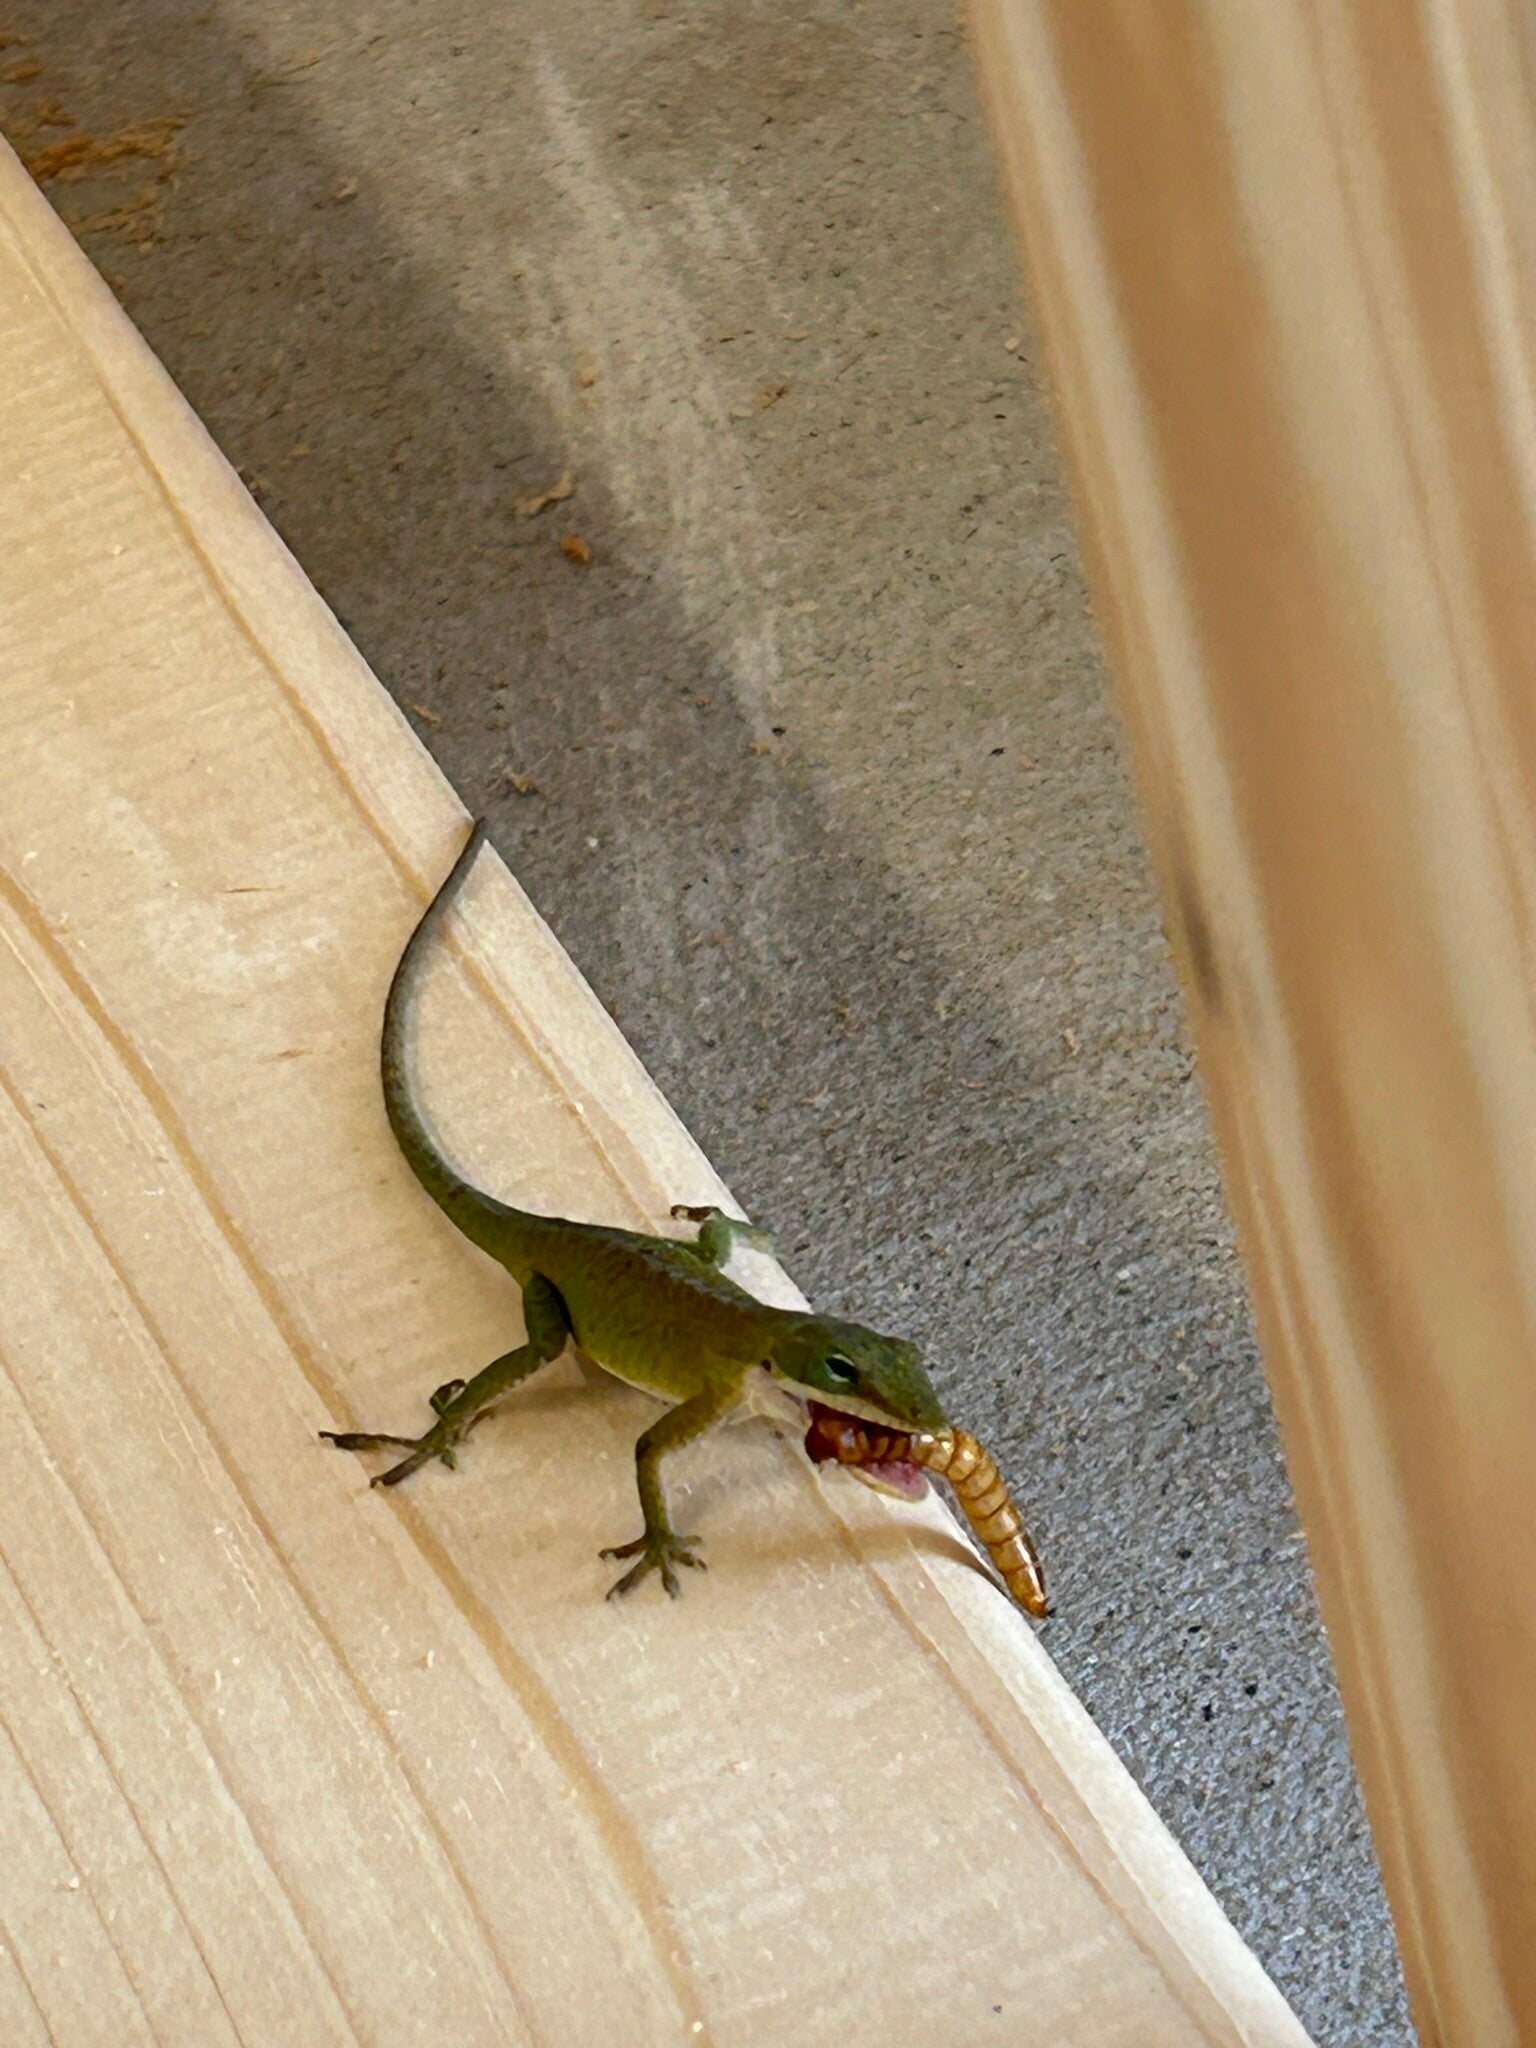
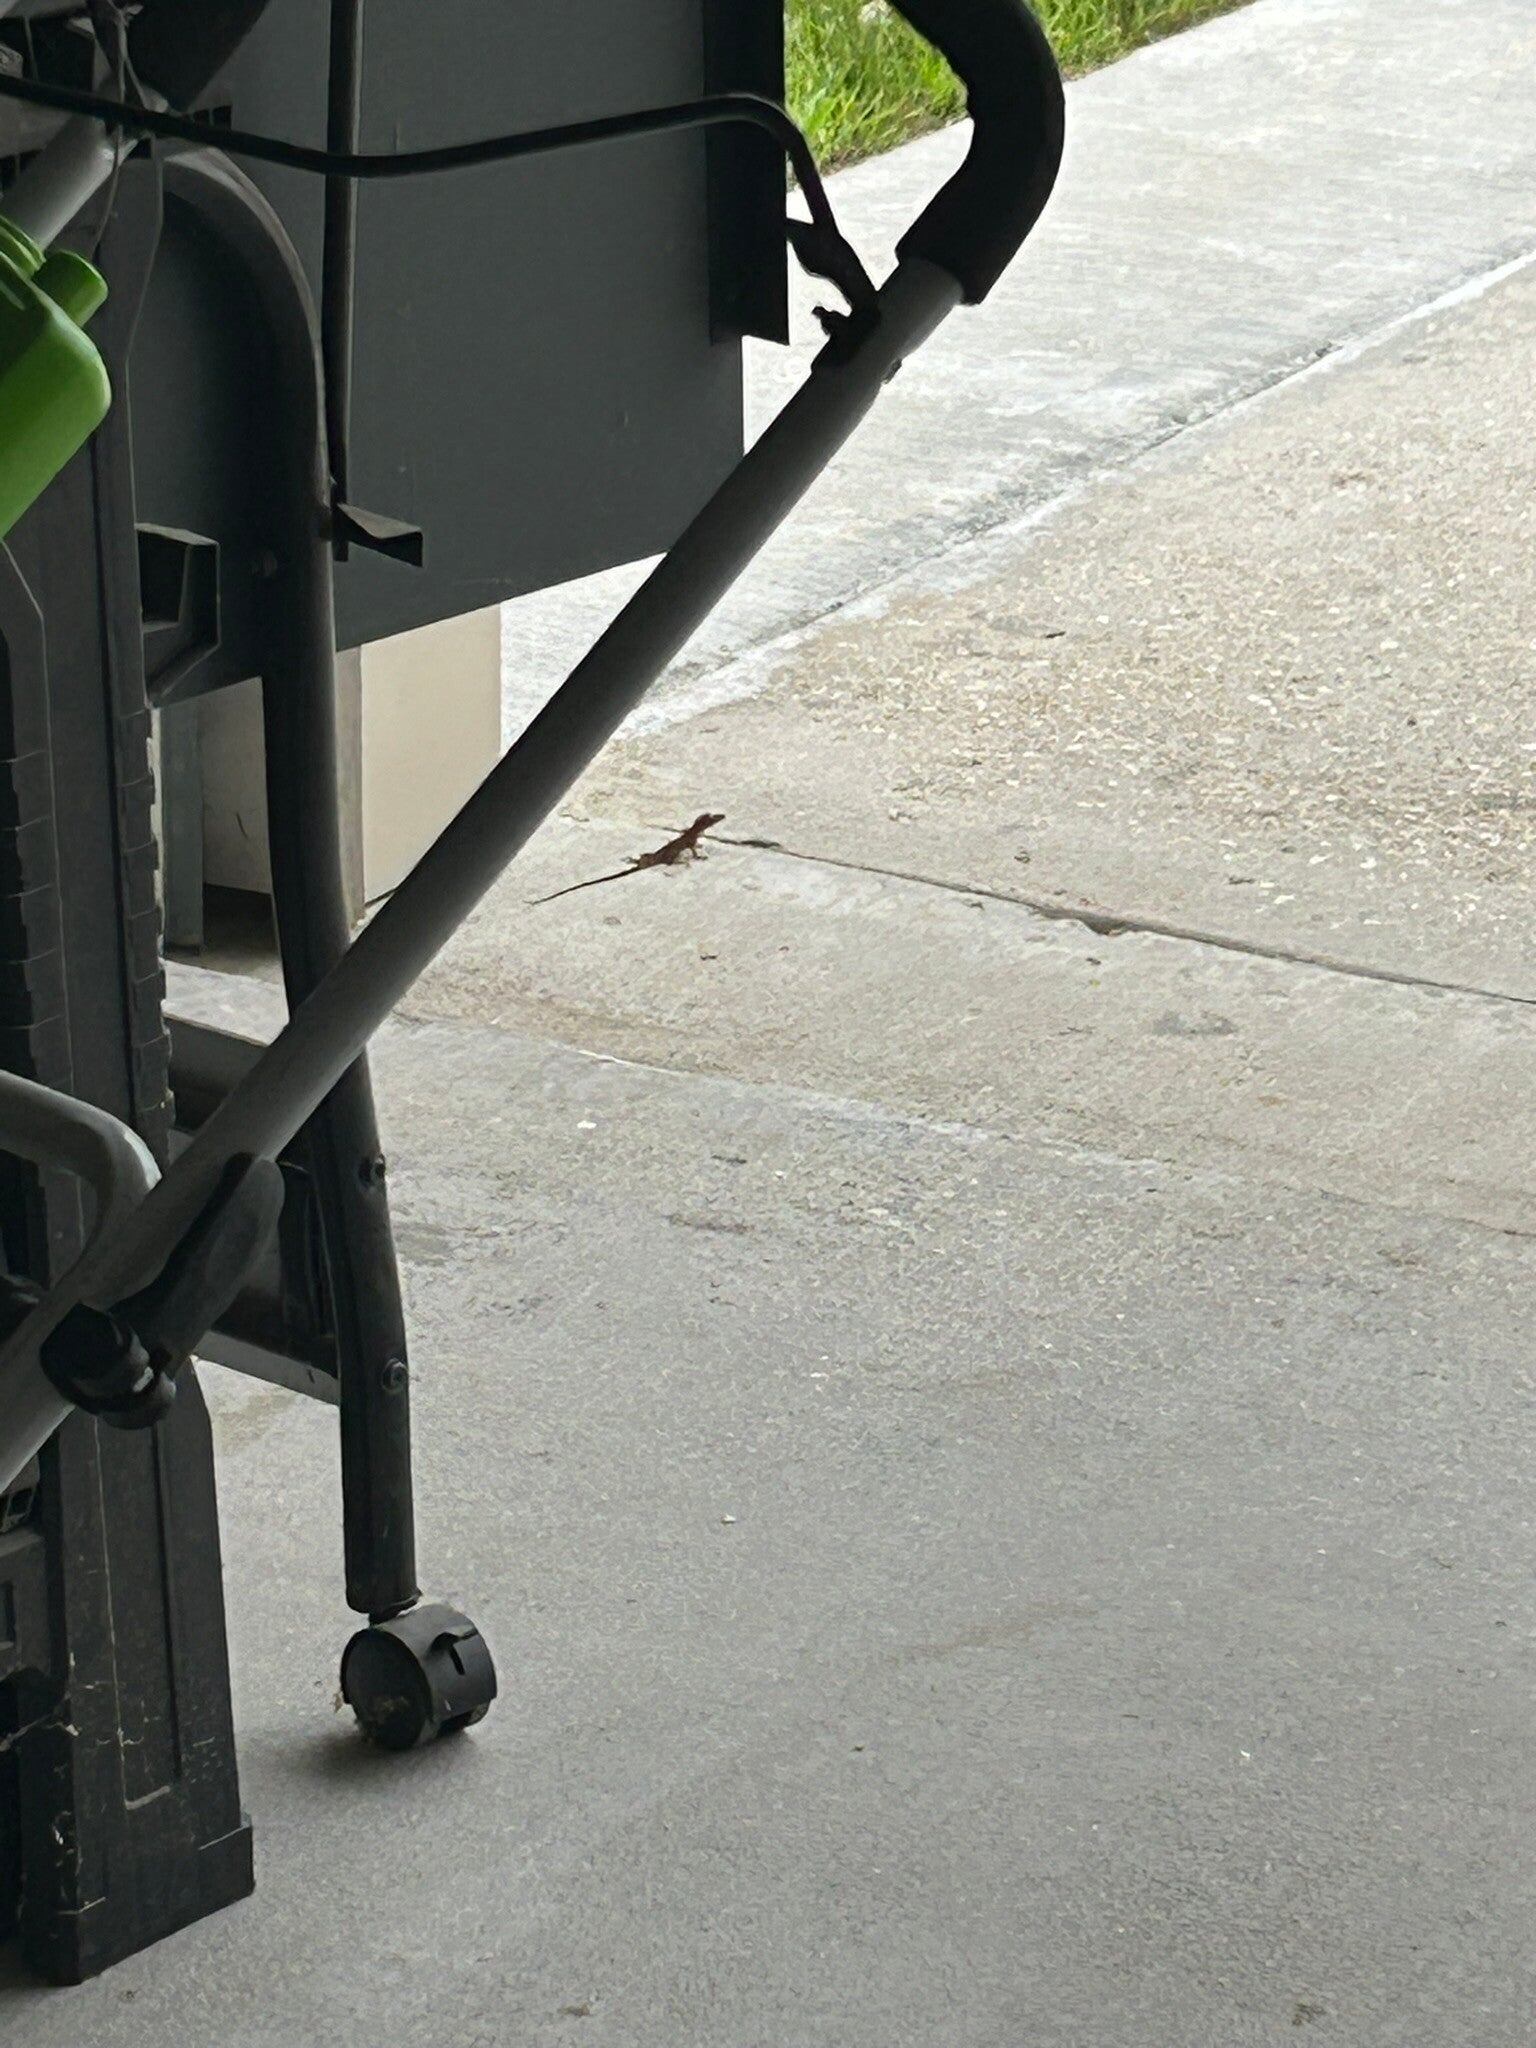
Supervisor stopped by to inspect my work, so I gave him a mealworm.
1 May 24
1 May 24
Figured out what it was.
1 May 24
1 May 24
1 May 24
1 May 24
1 May 24
1 May 24
1 May 24
1 May 24
1 May 24
All sanded and ready to go.
2 May 24
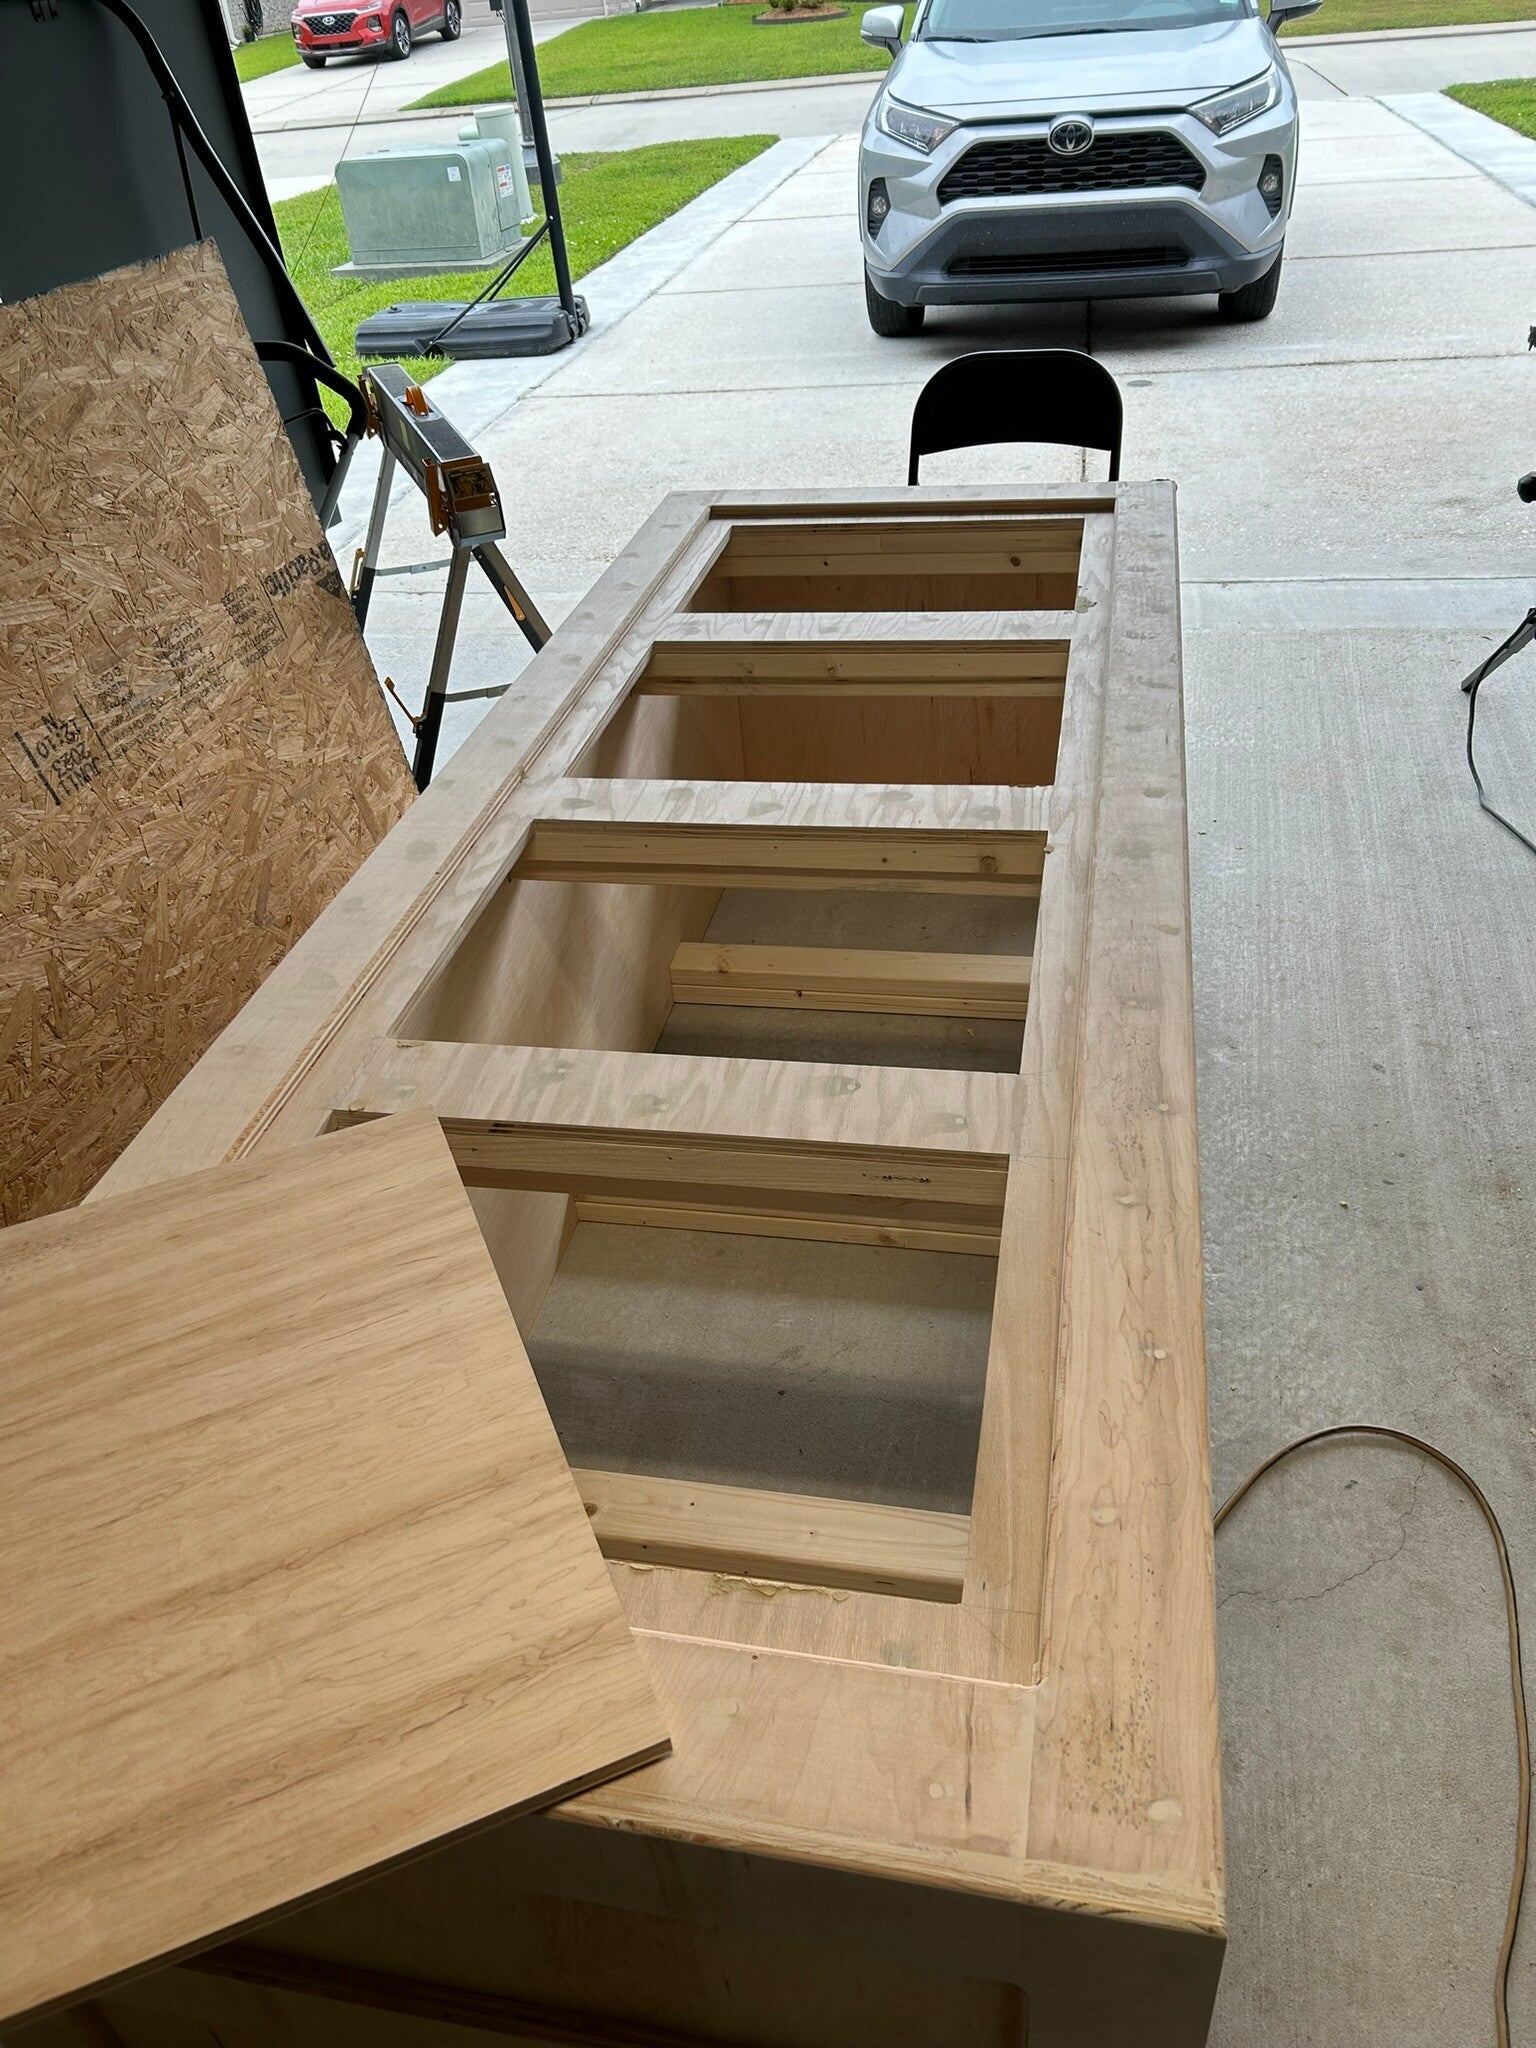
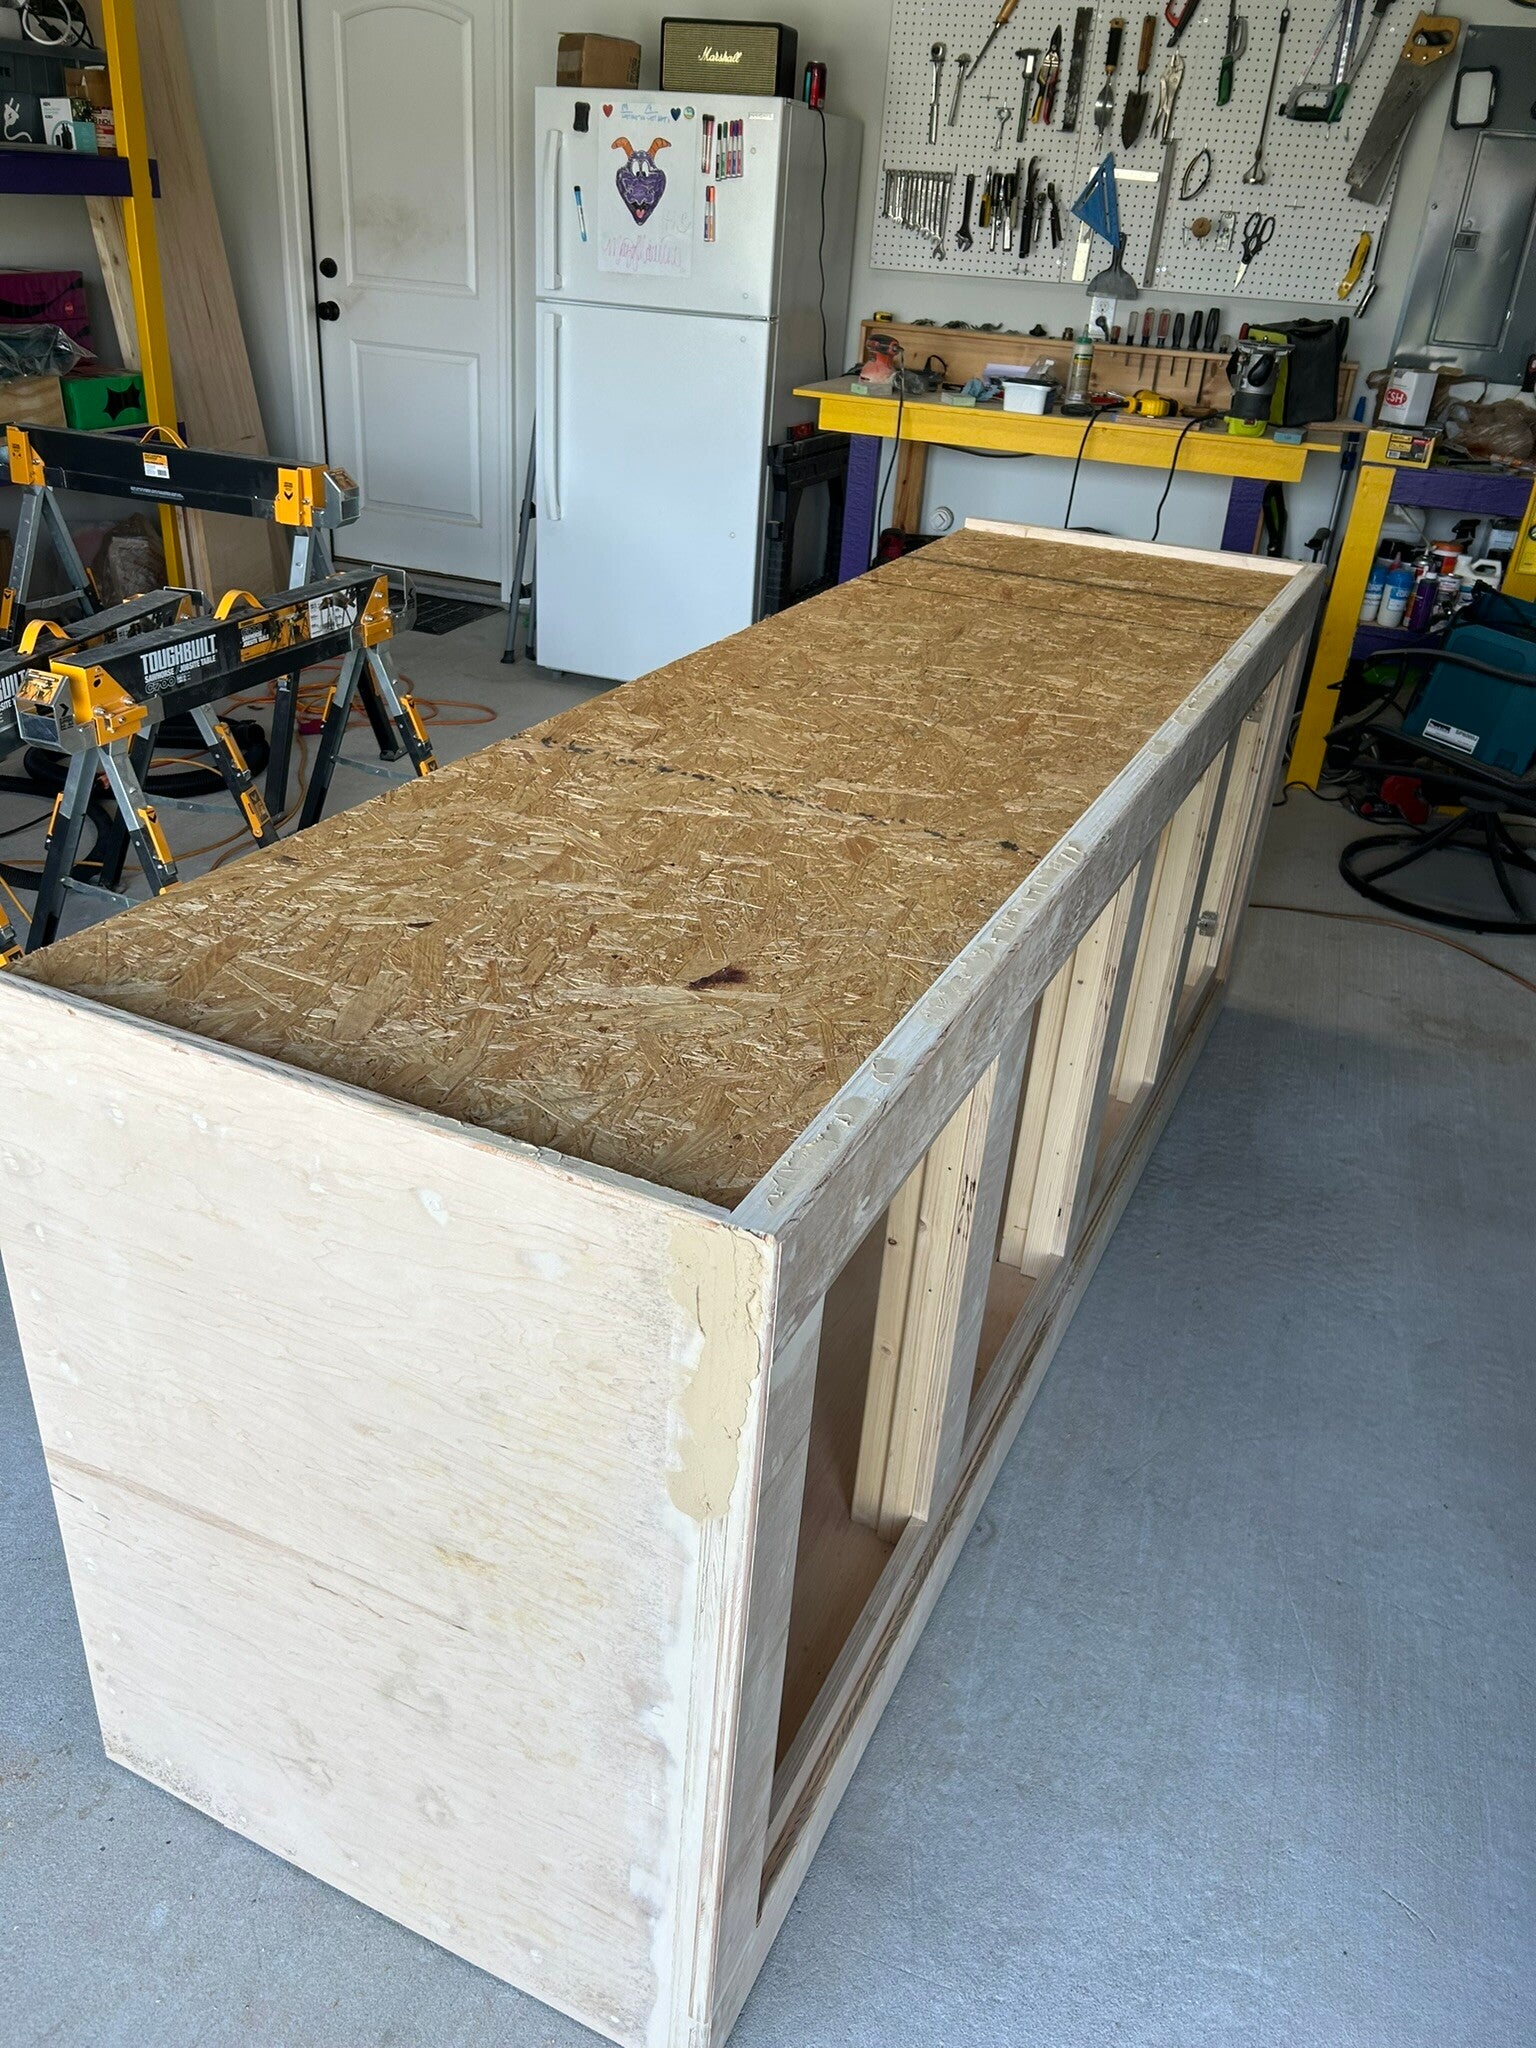
OSB plywood attached to the top to give it horizontal stability.
3 May 24
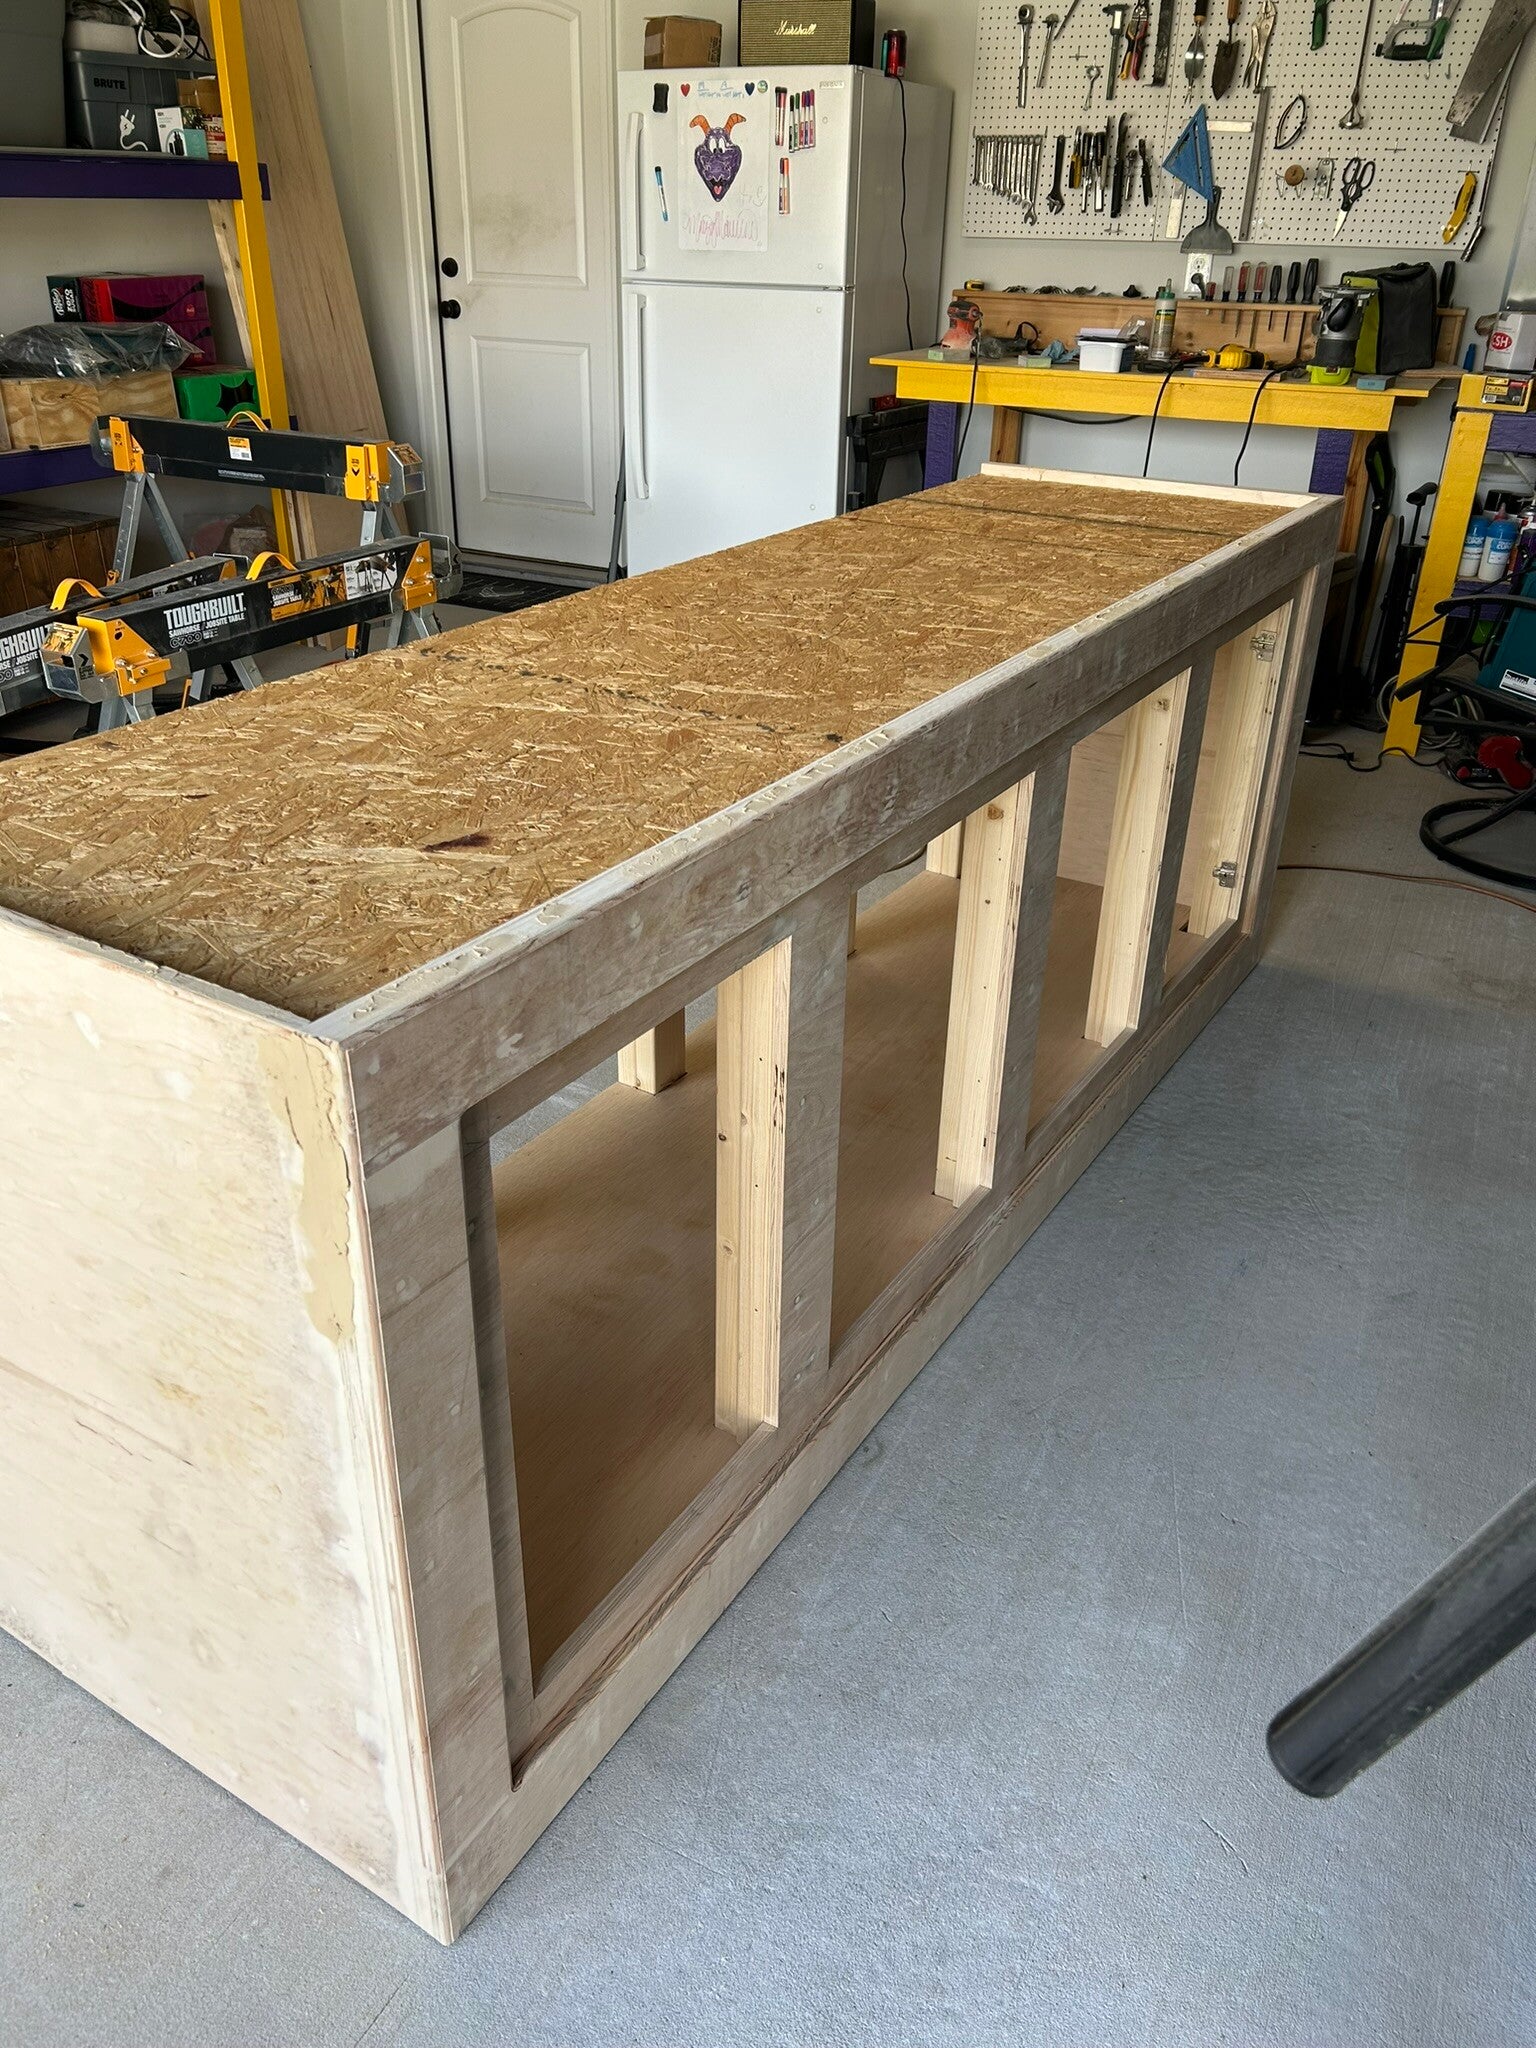
Front and sides have little edges to hold the aquarium in place. Back was not necessary as it won't be visible.
3 May 24
3 May 24
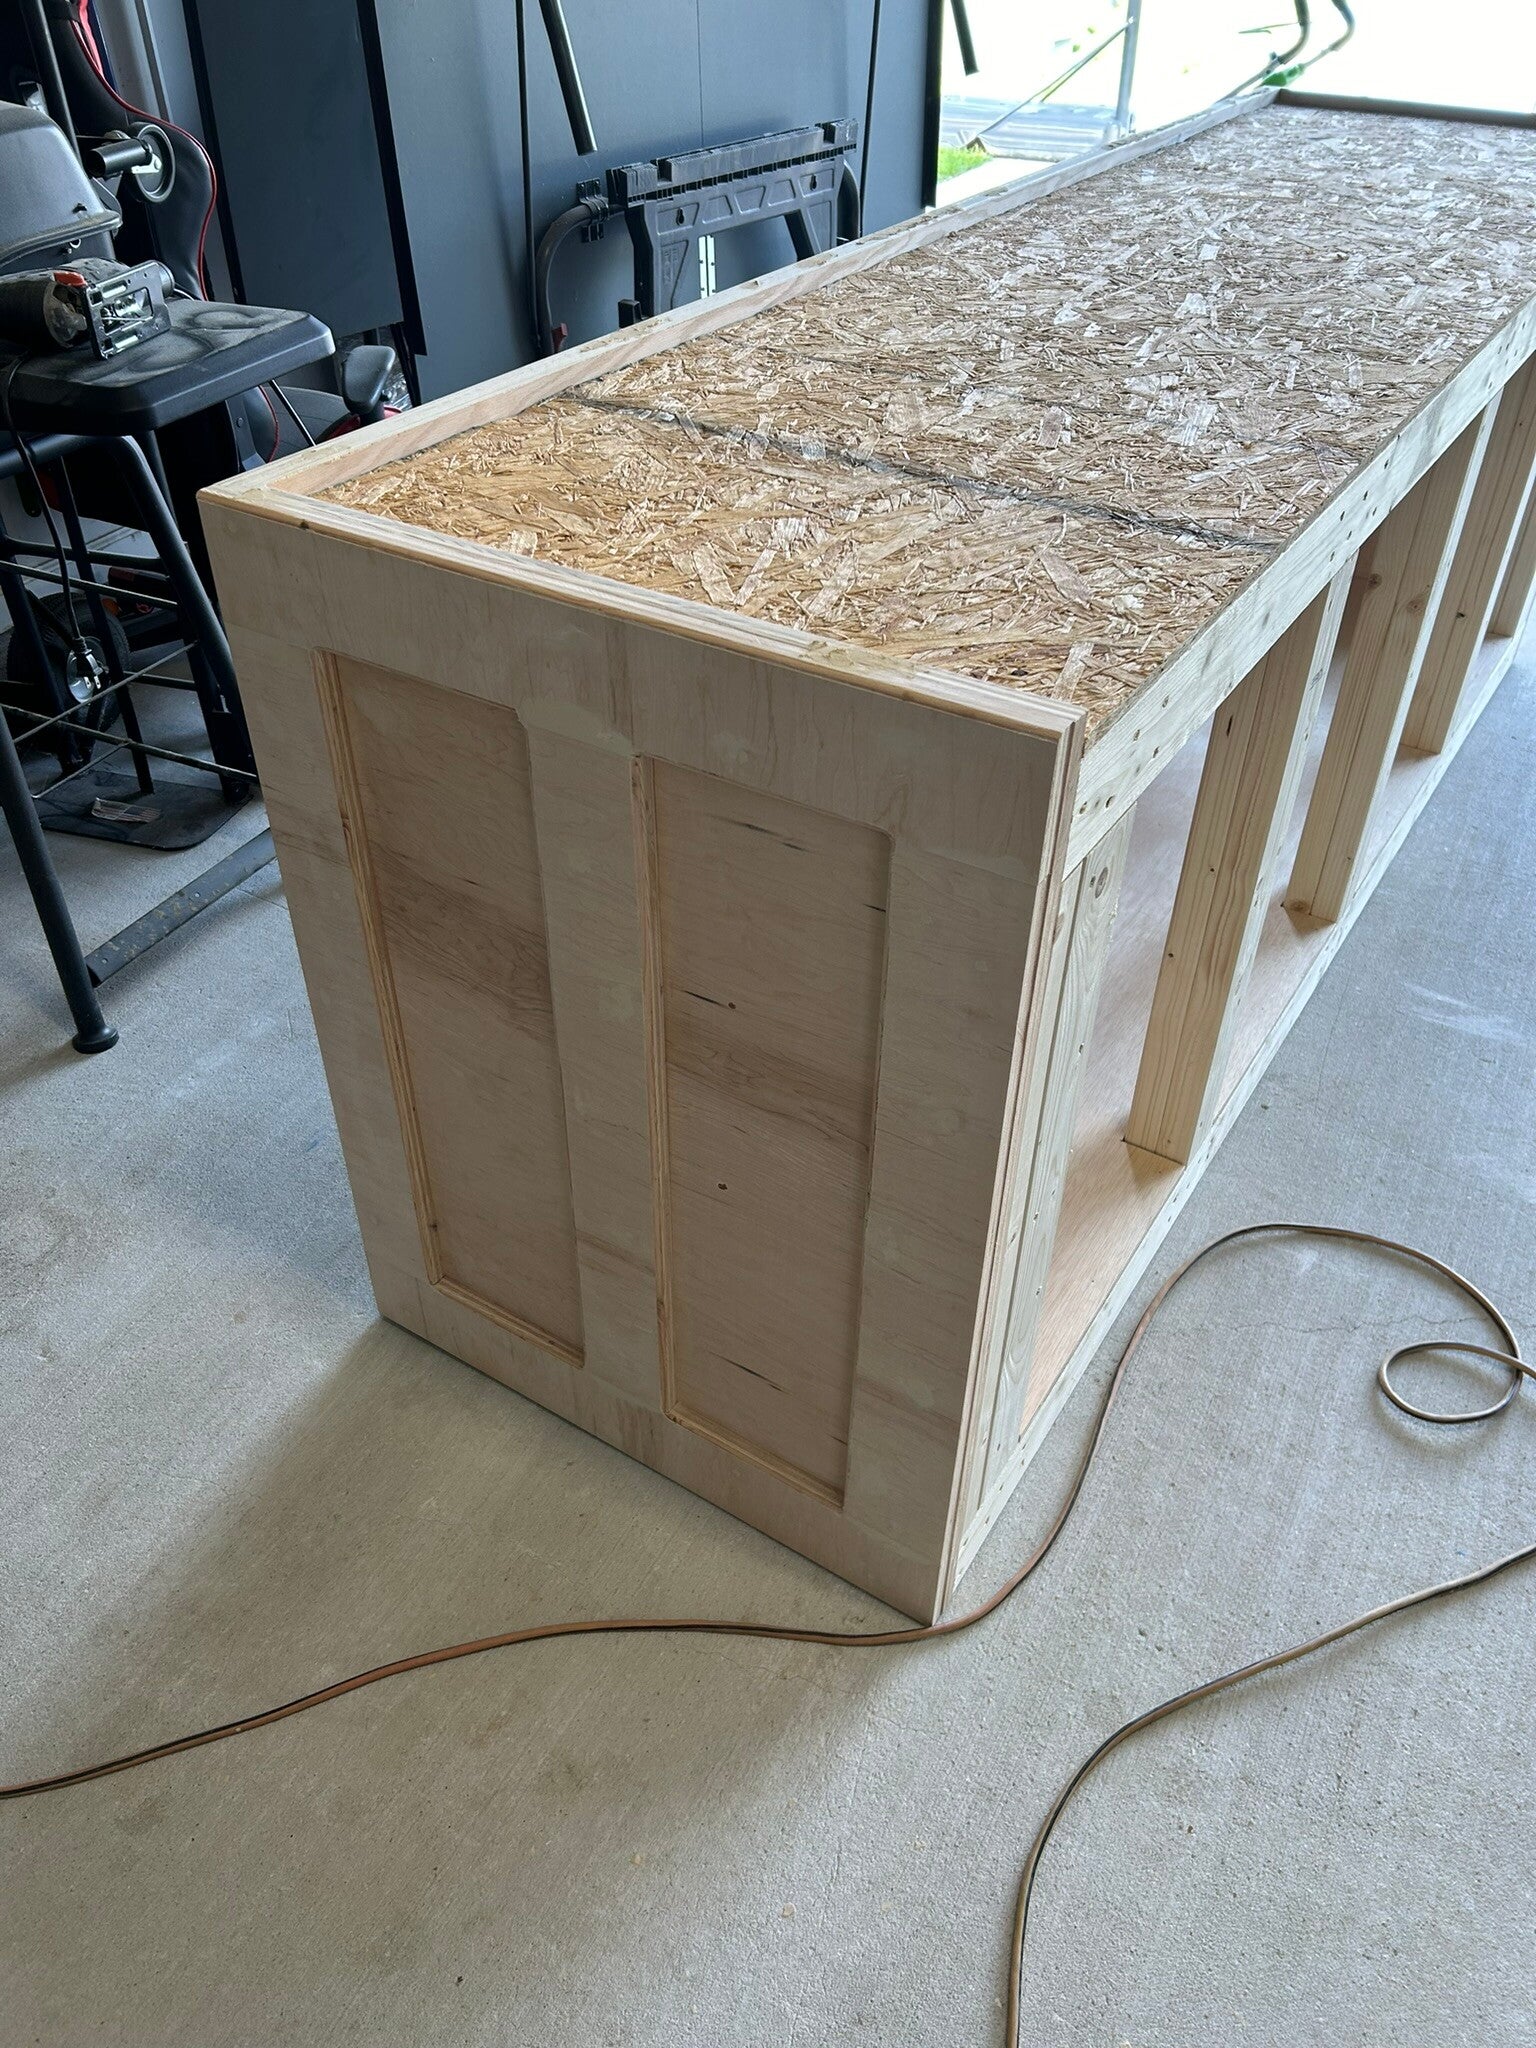
Getting ready for paint. Raised on 2x4's so I can paint the bottom more easily.
4 May 24
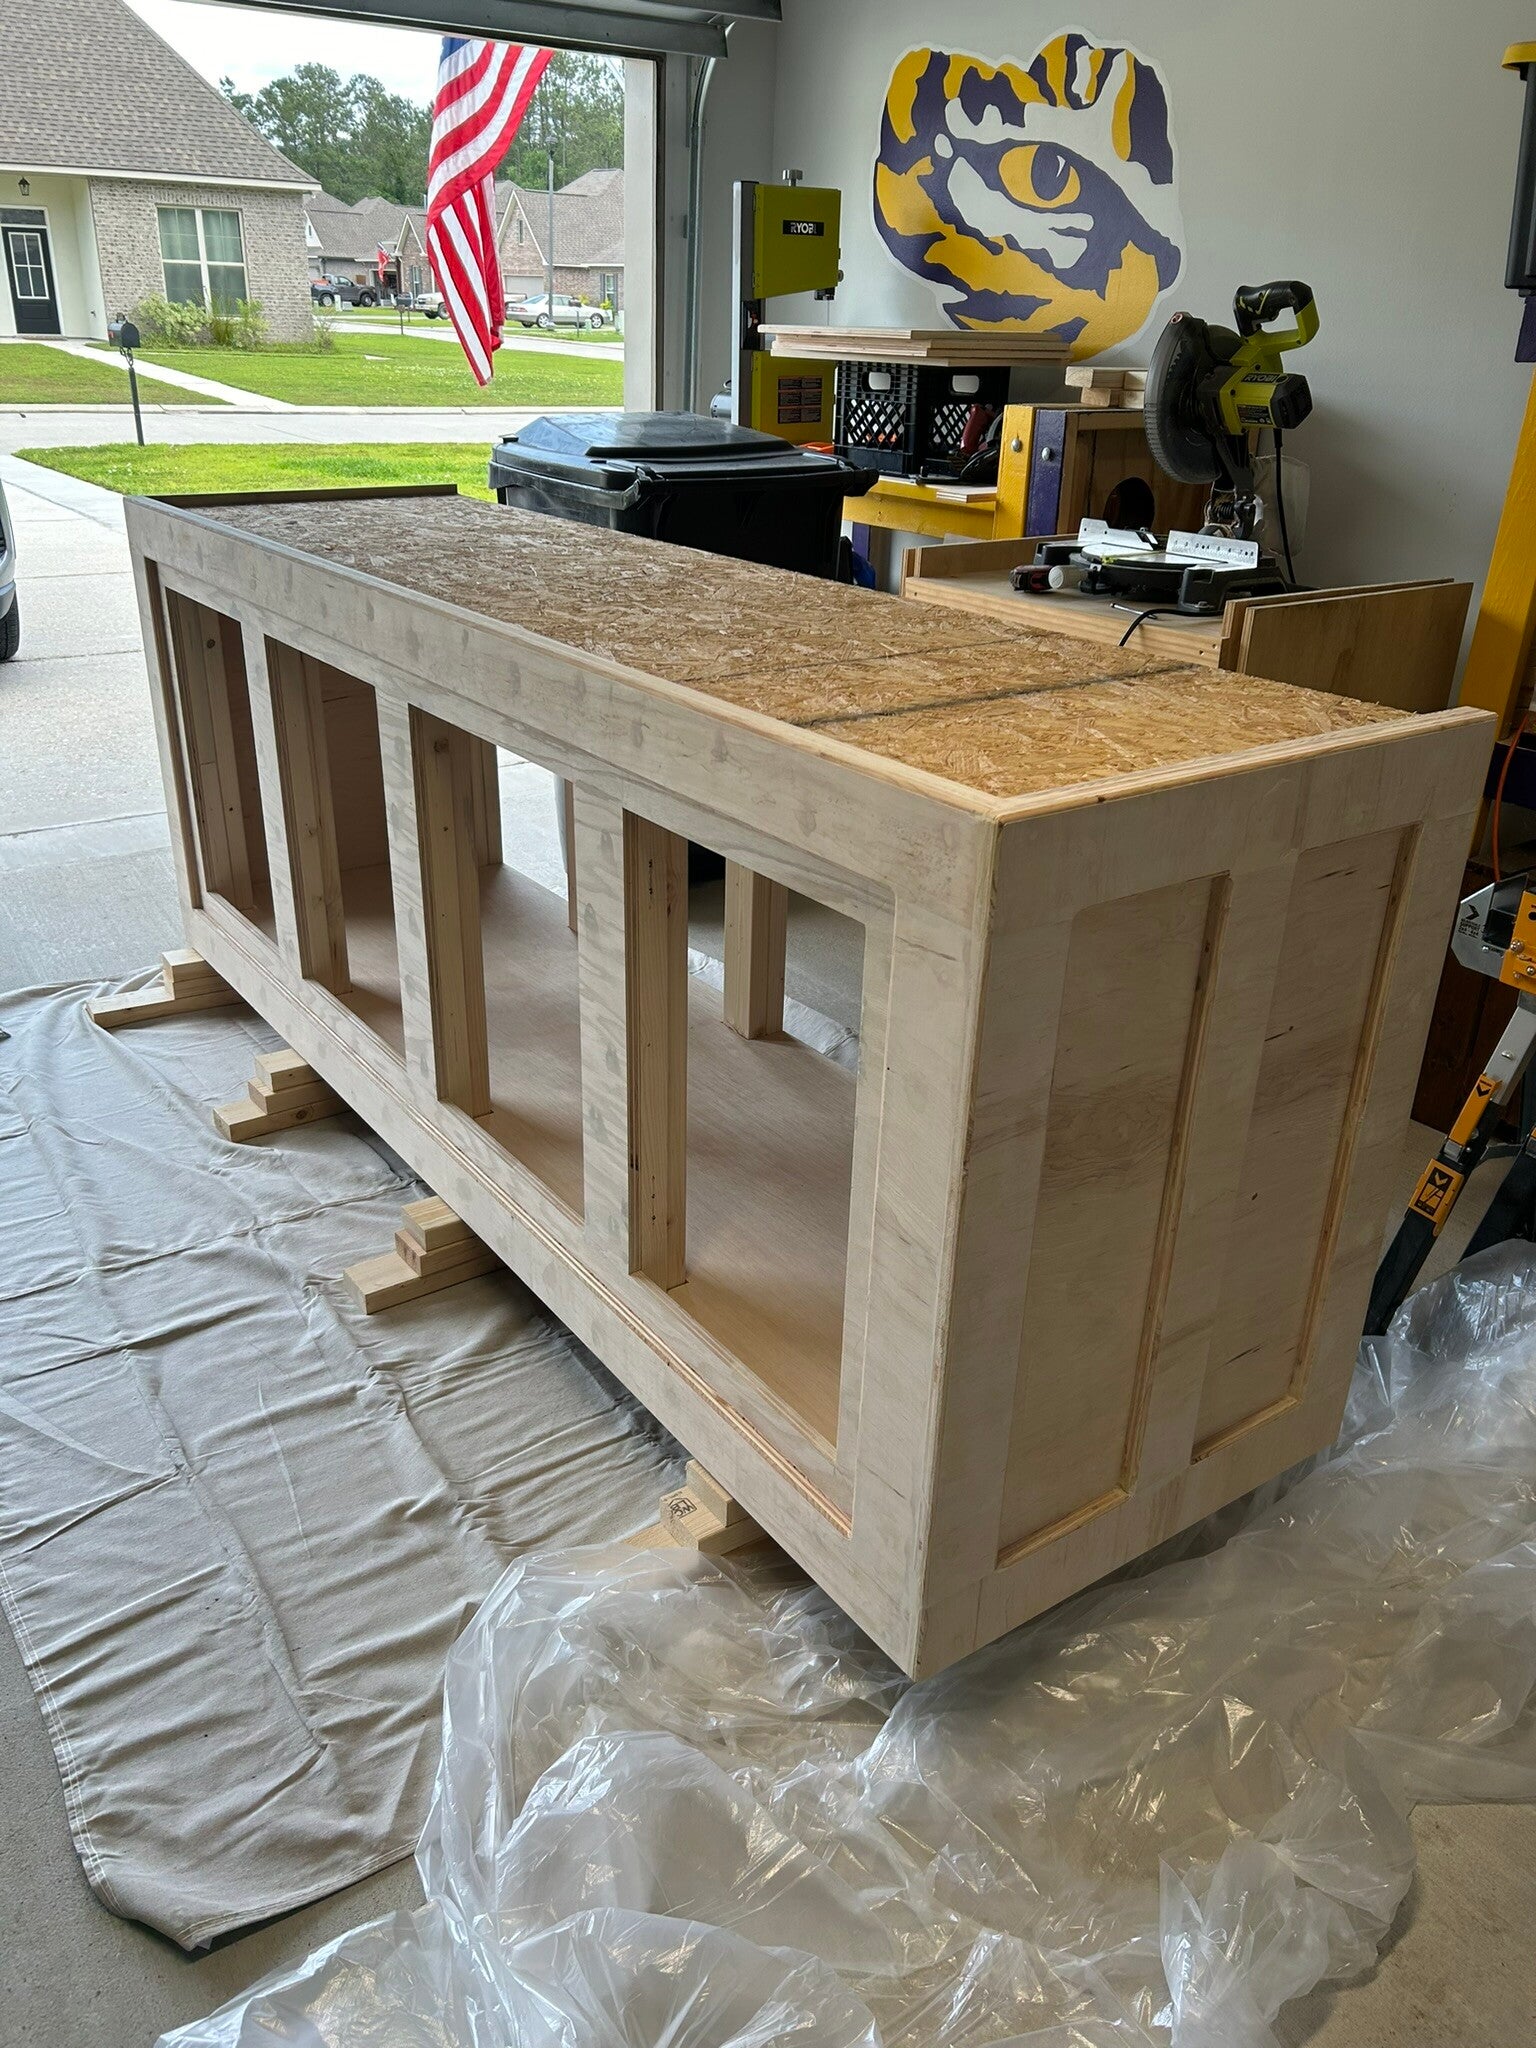
Primer added.
4 May 24
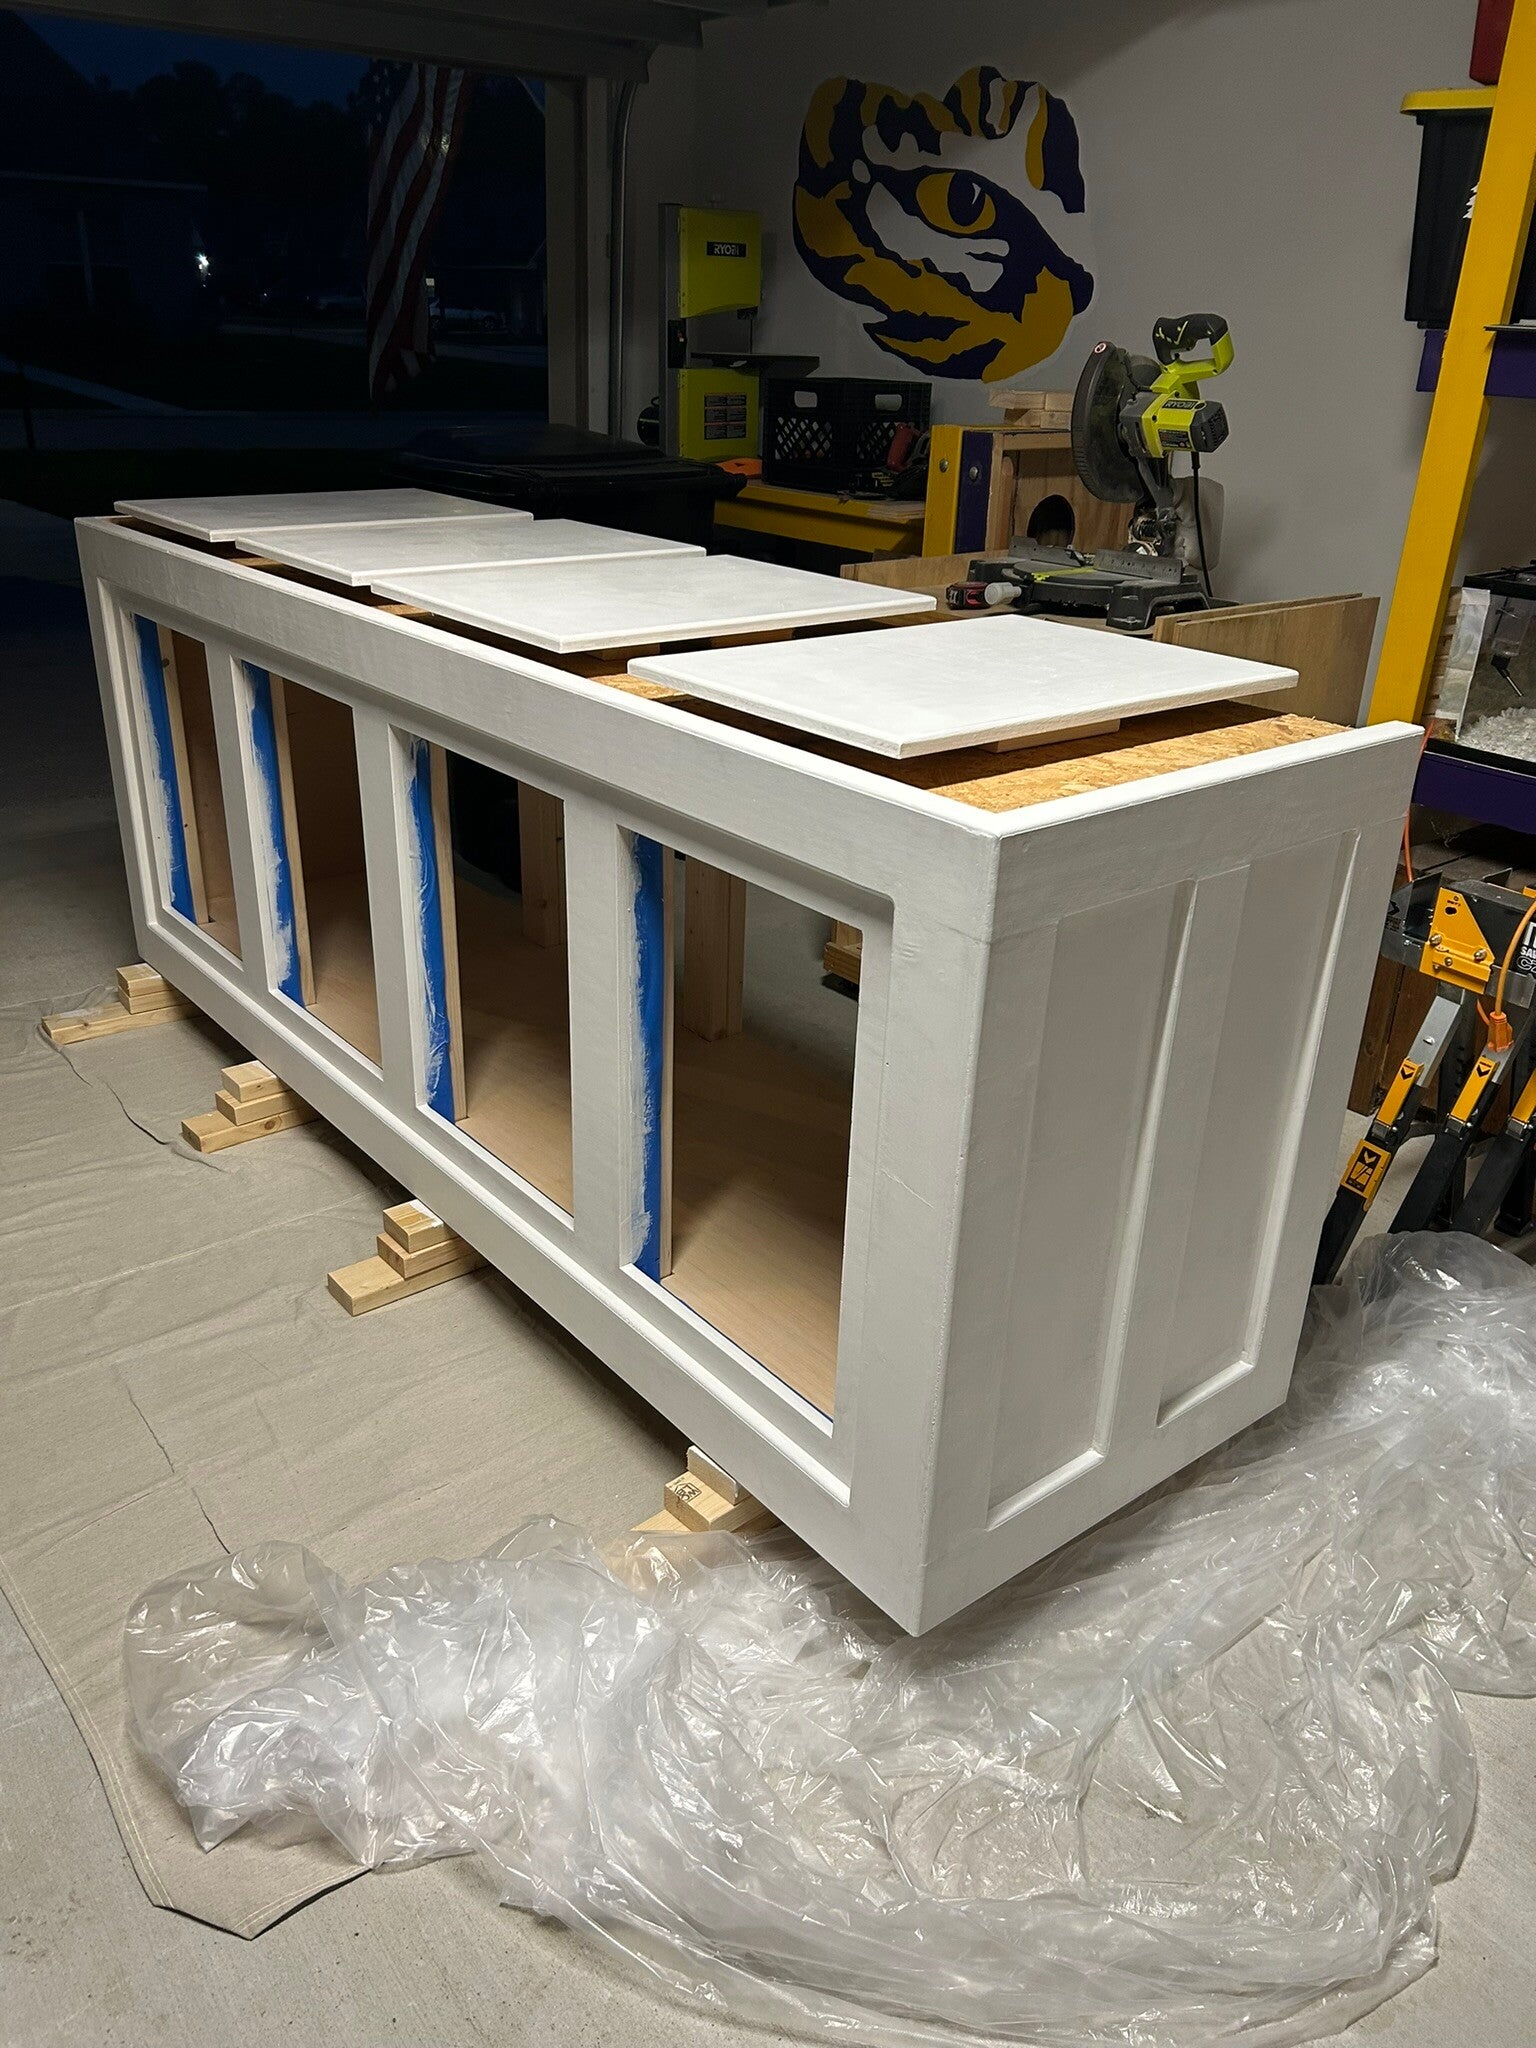
Hard to tell here, but light blue trim has been painted.
6 May 24
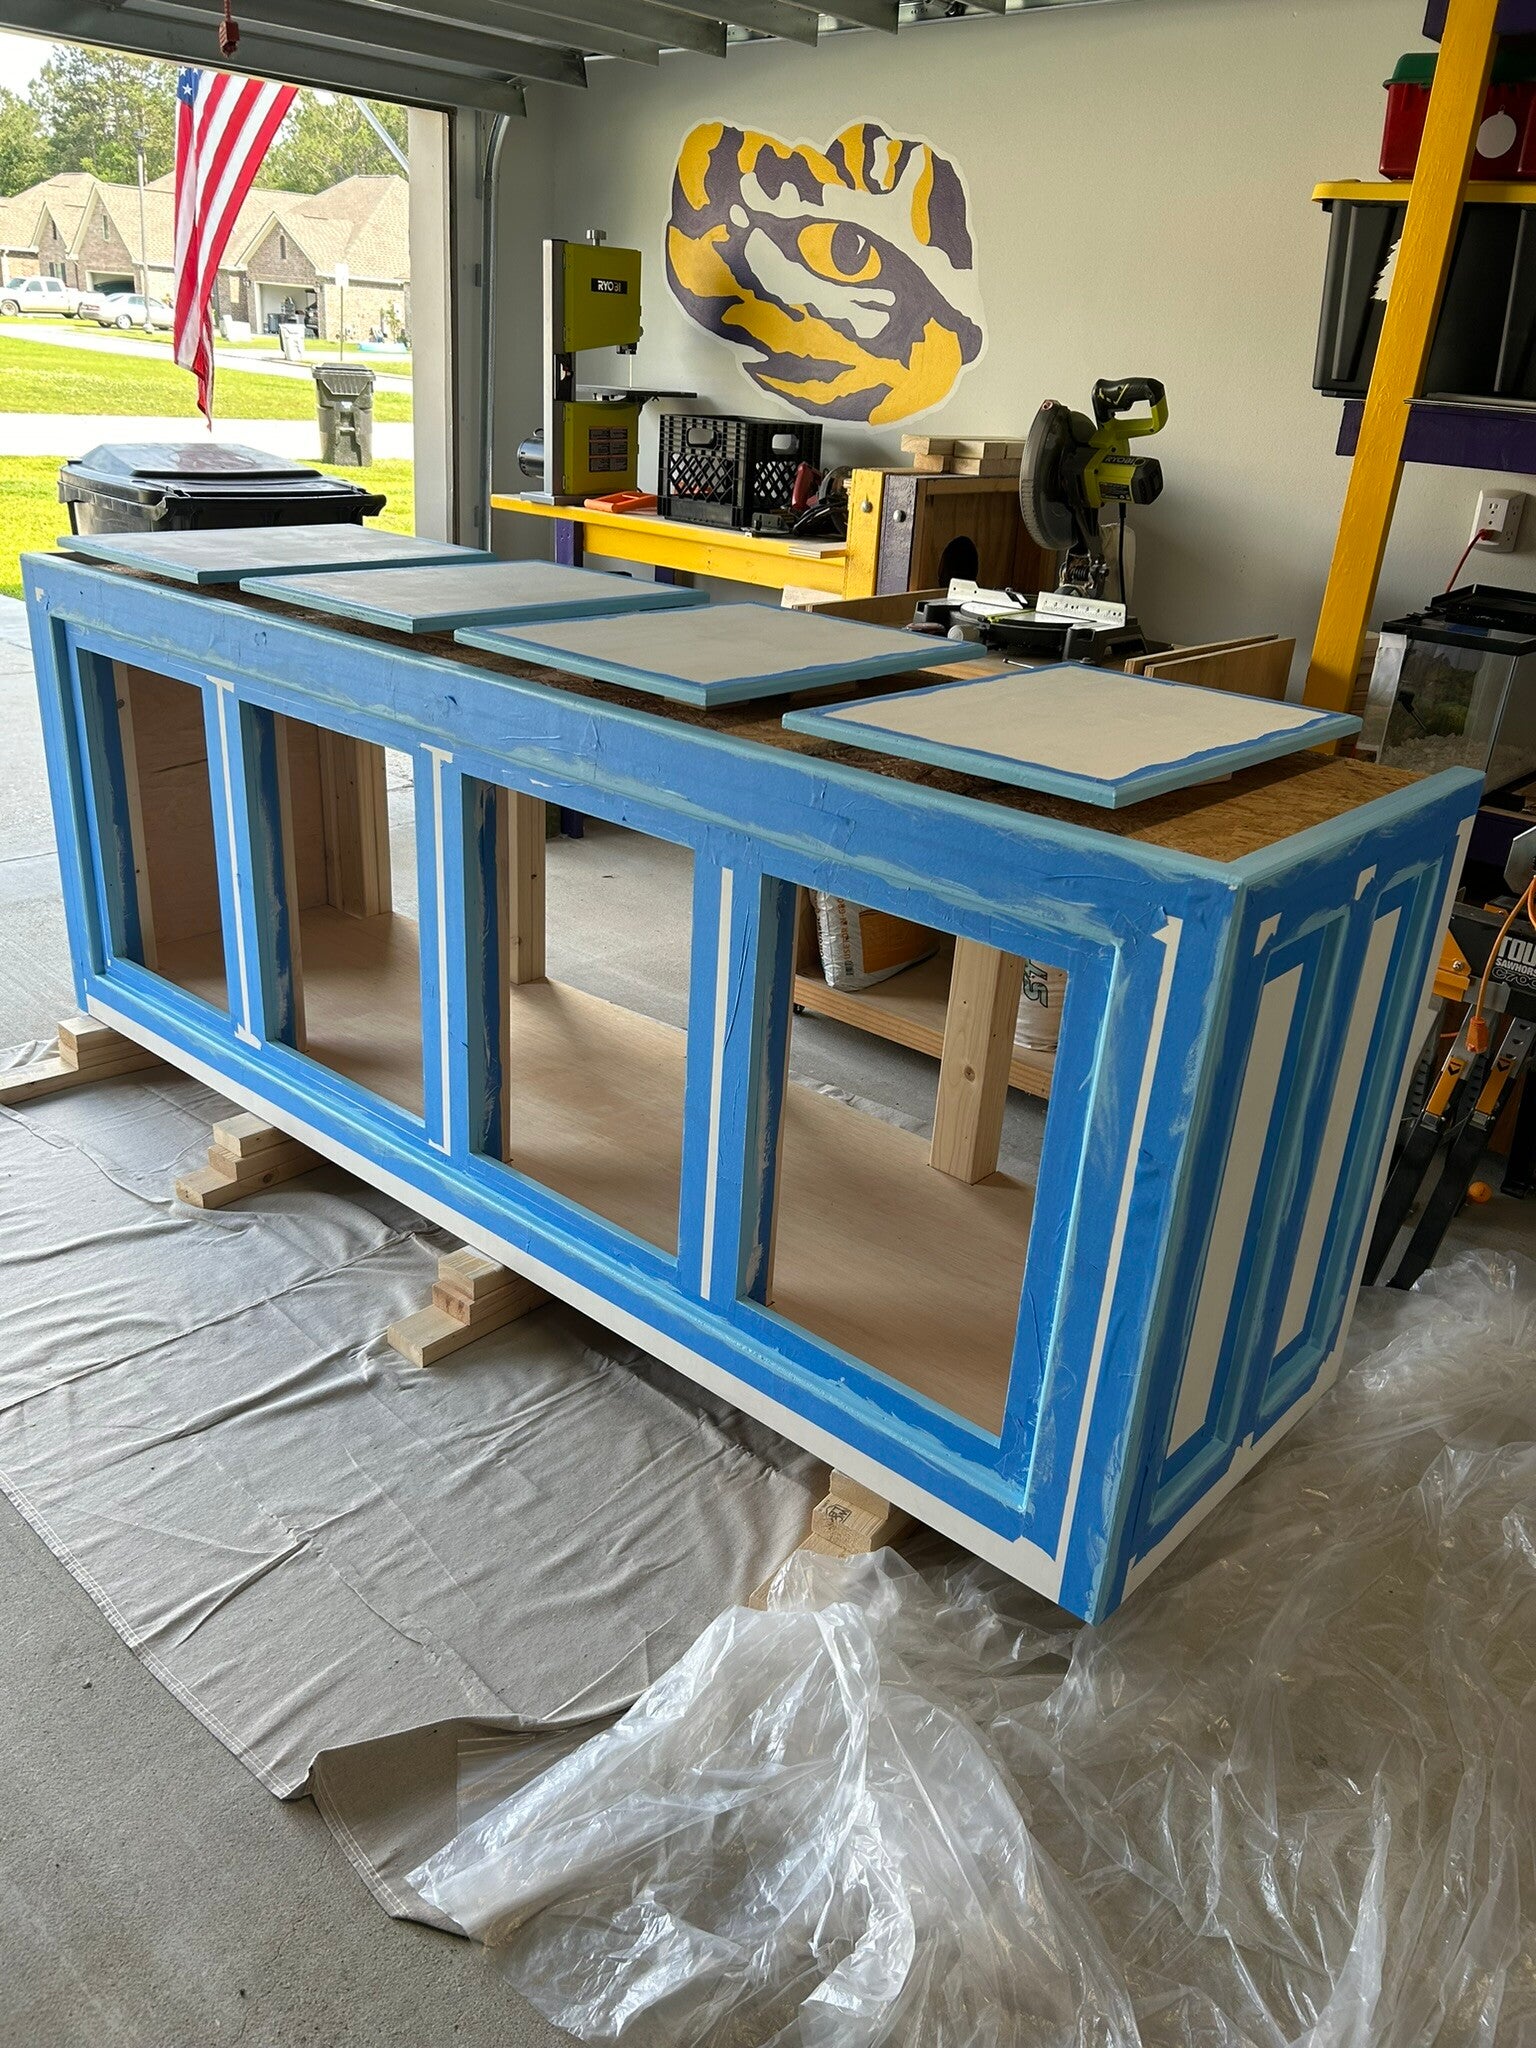
Tape removed. Blue completed. The white area is still primer.
6 May 24
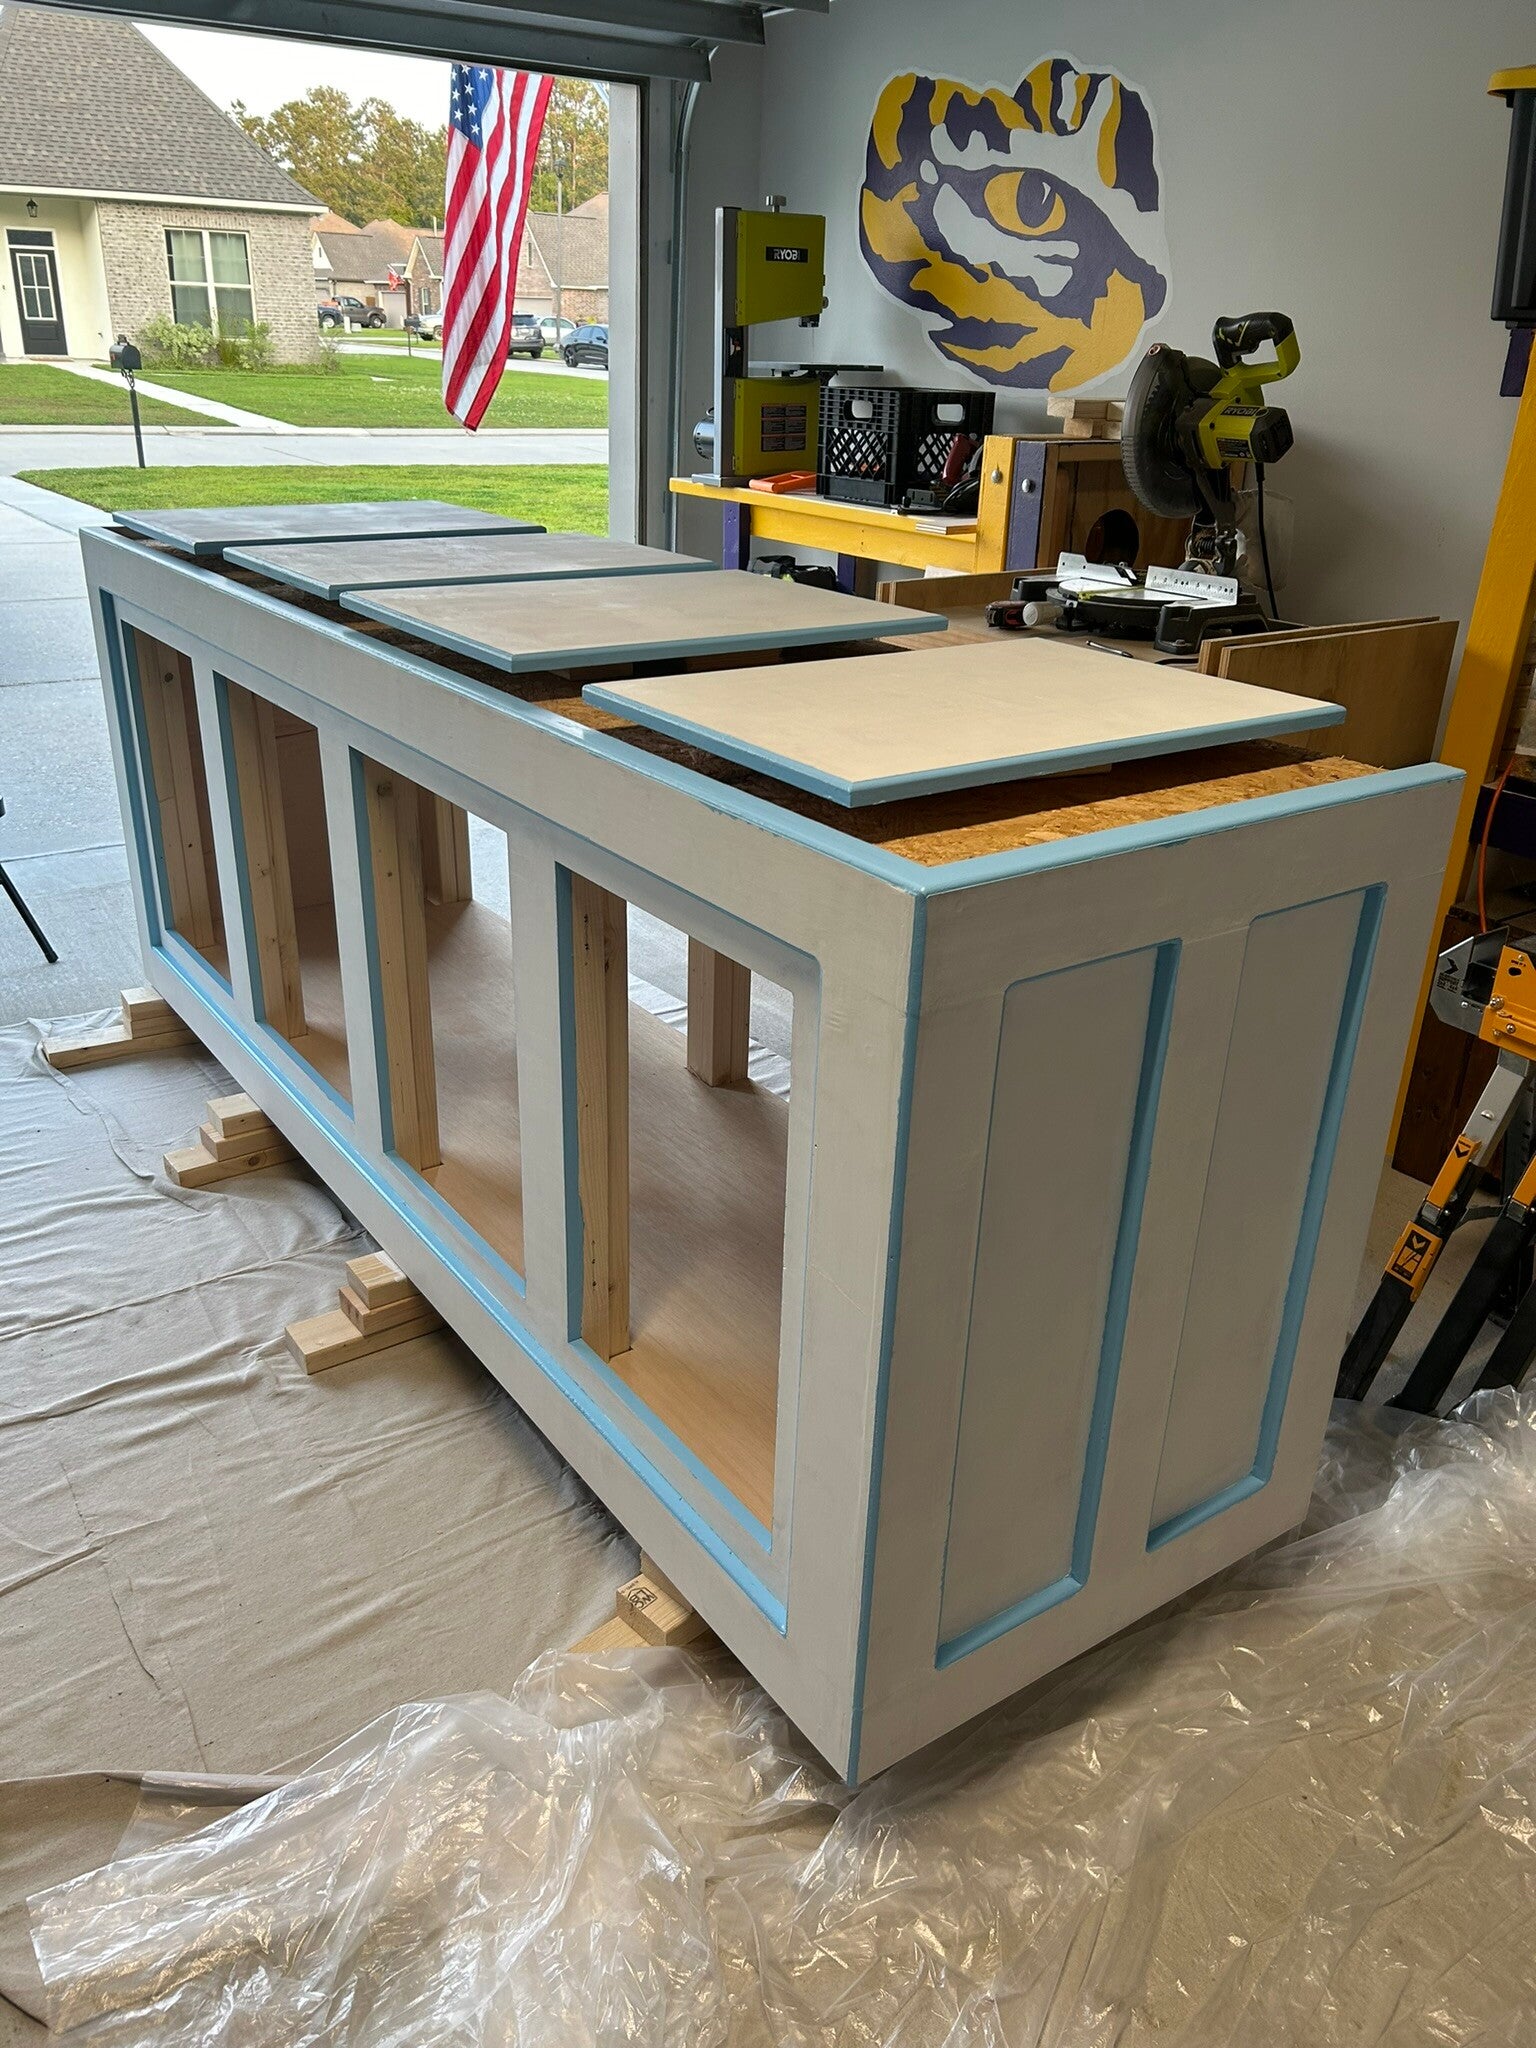
Tape in place over the light blue.
7 May 24
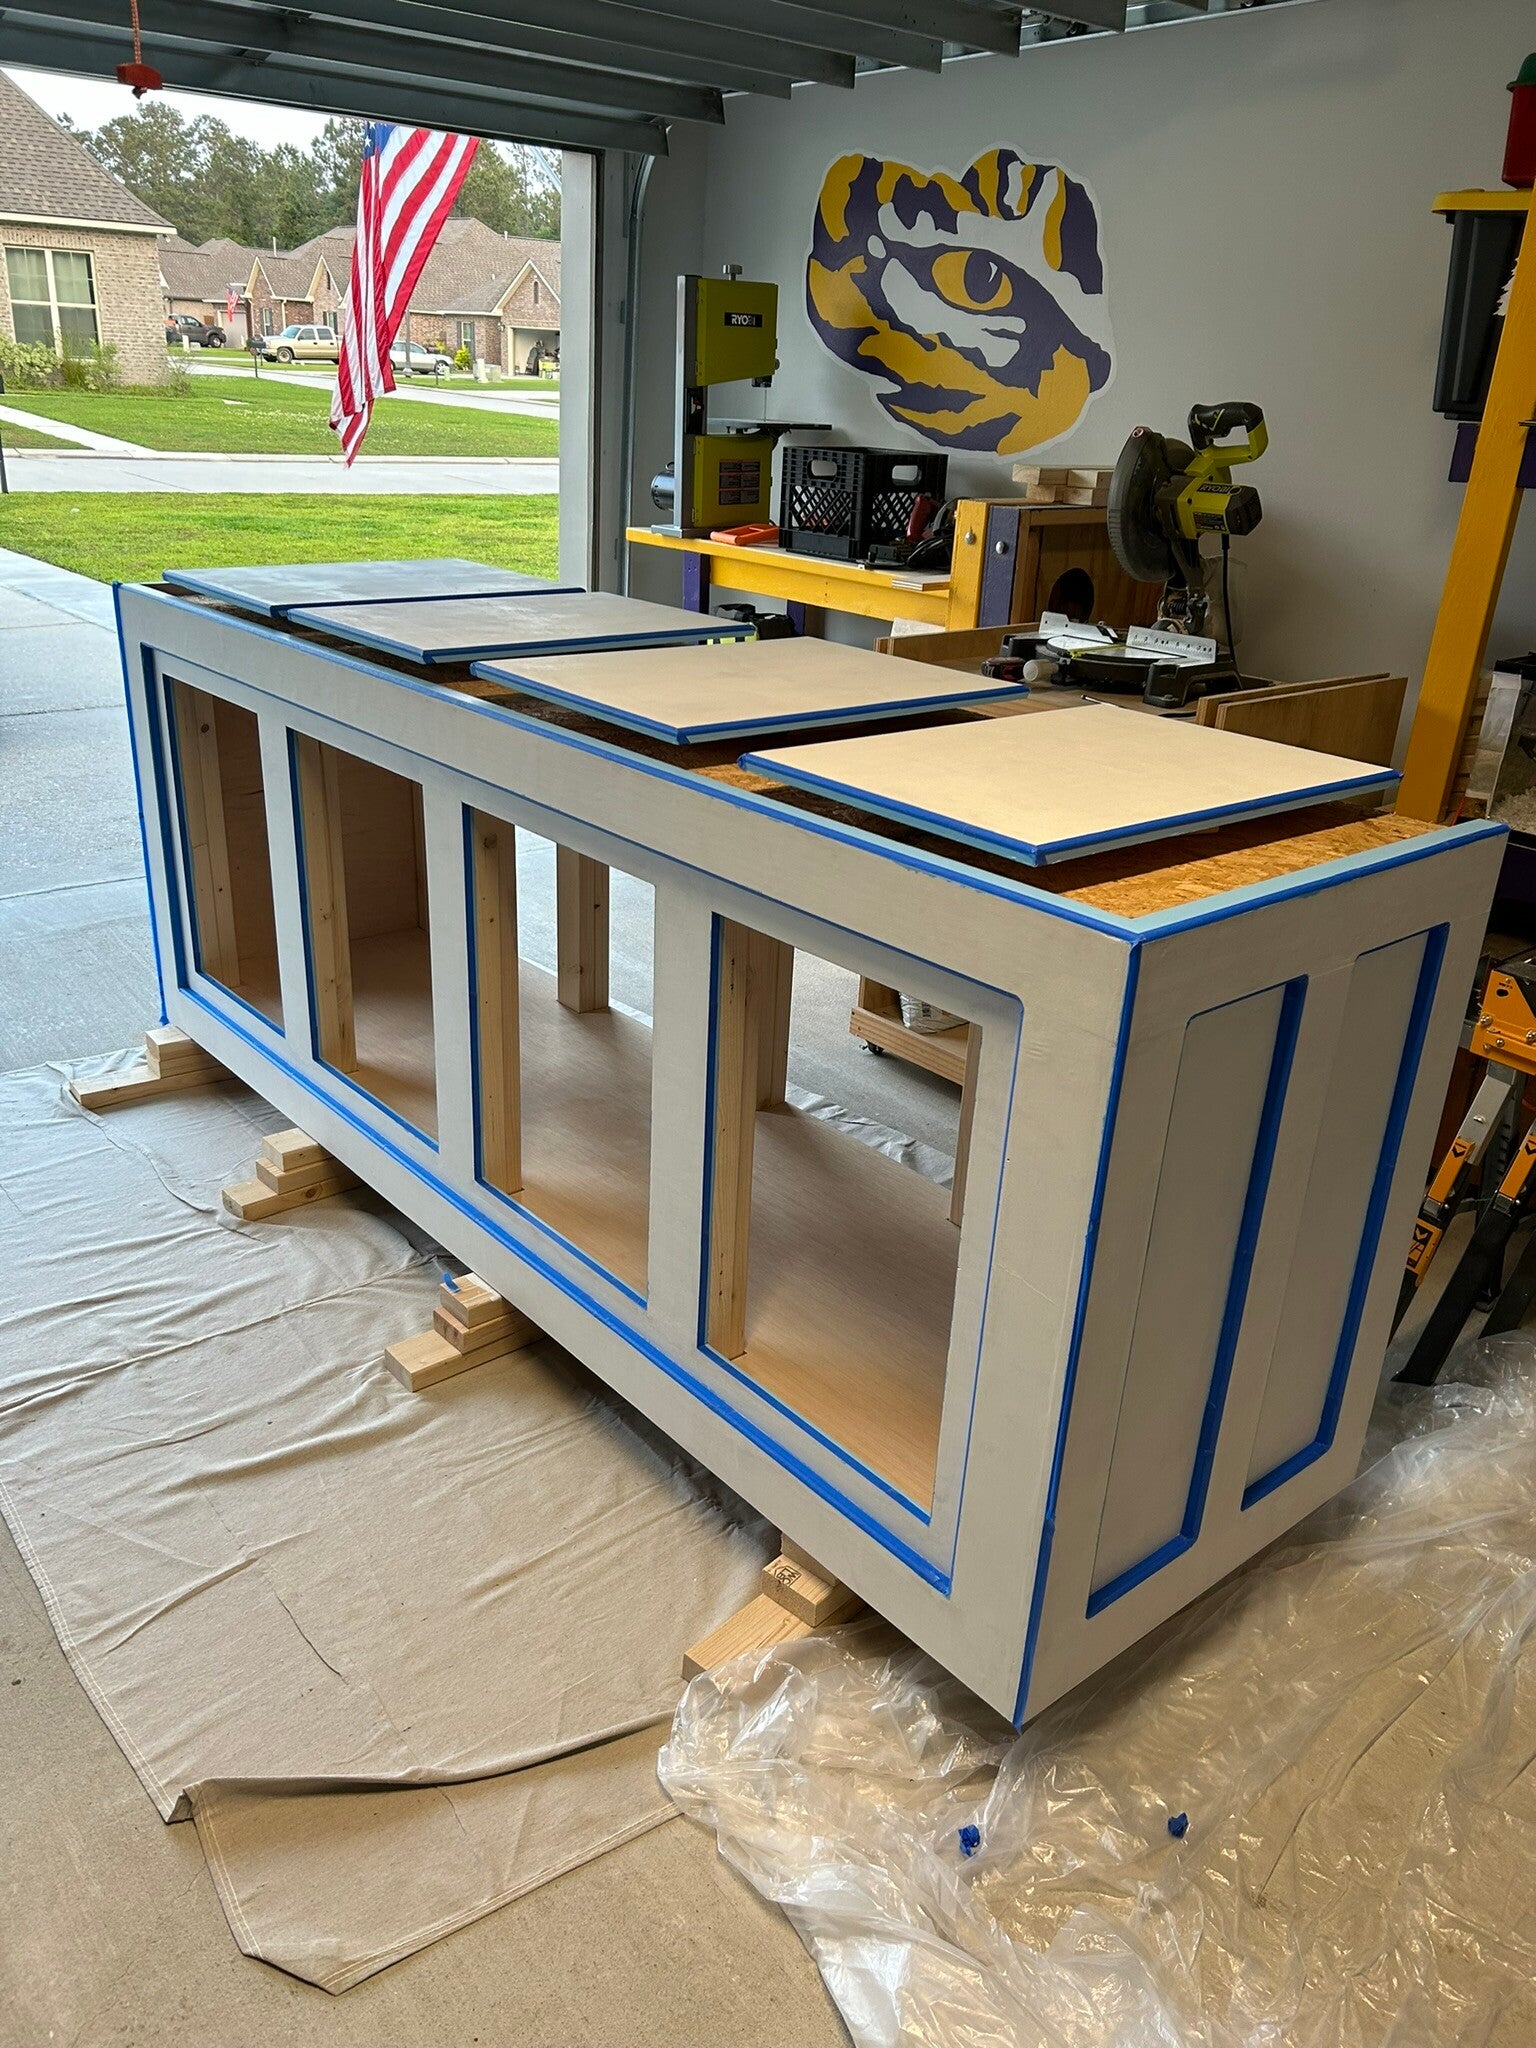
1st coat of green.
8 May 24
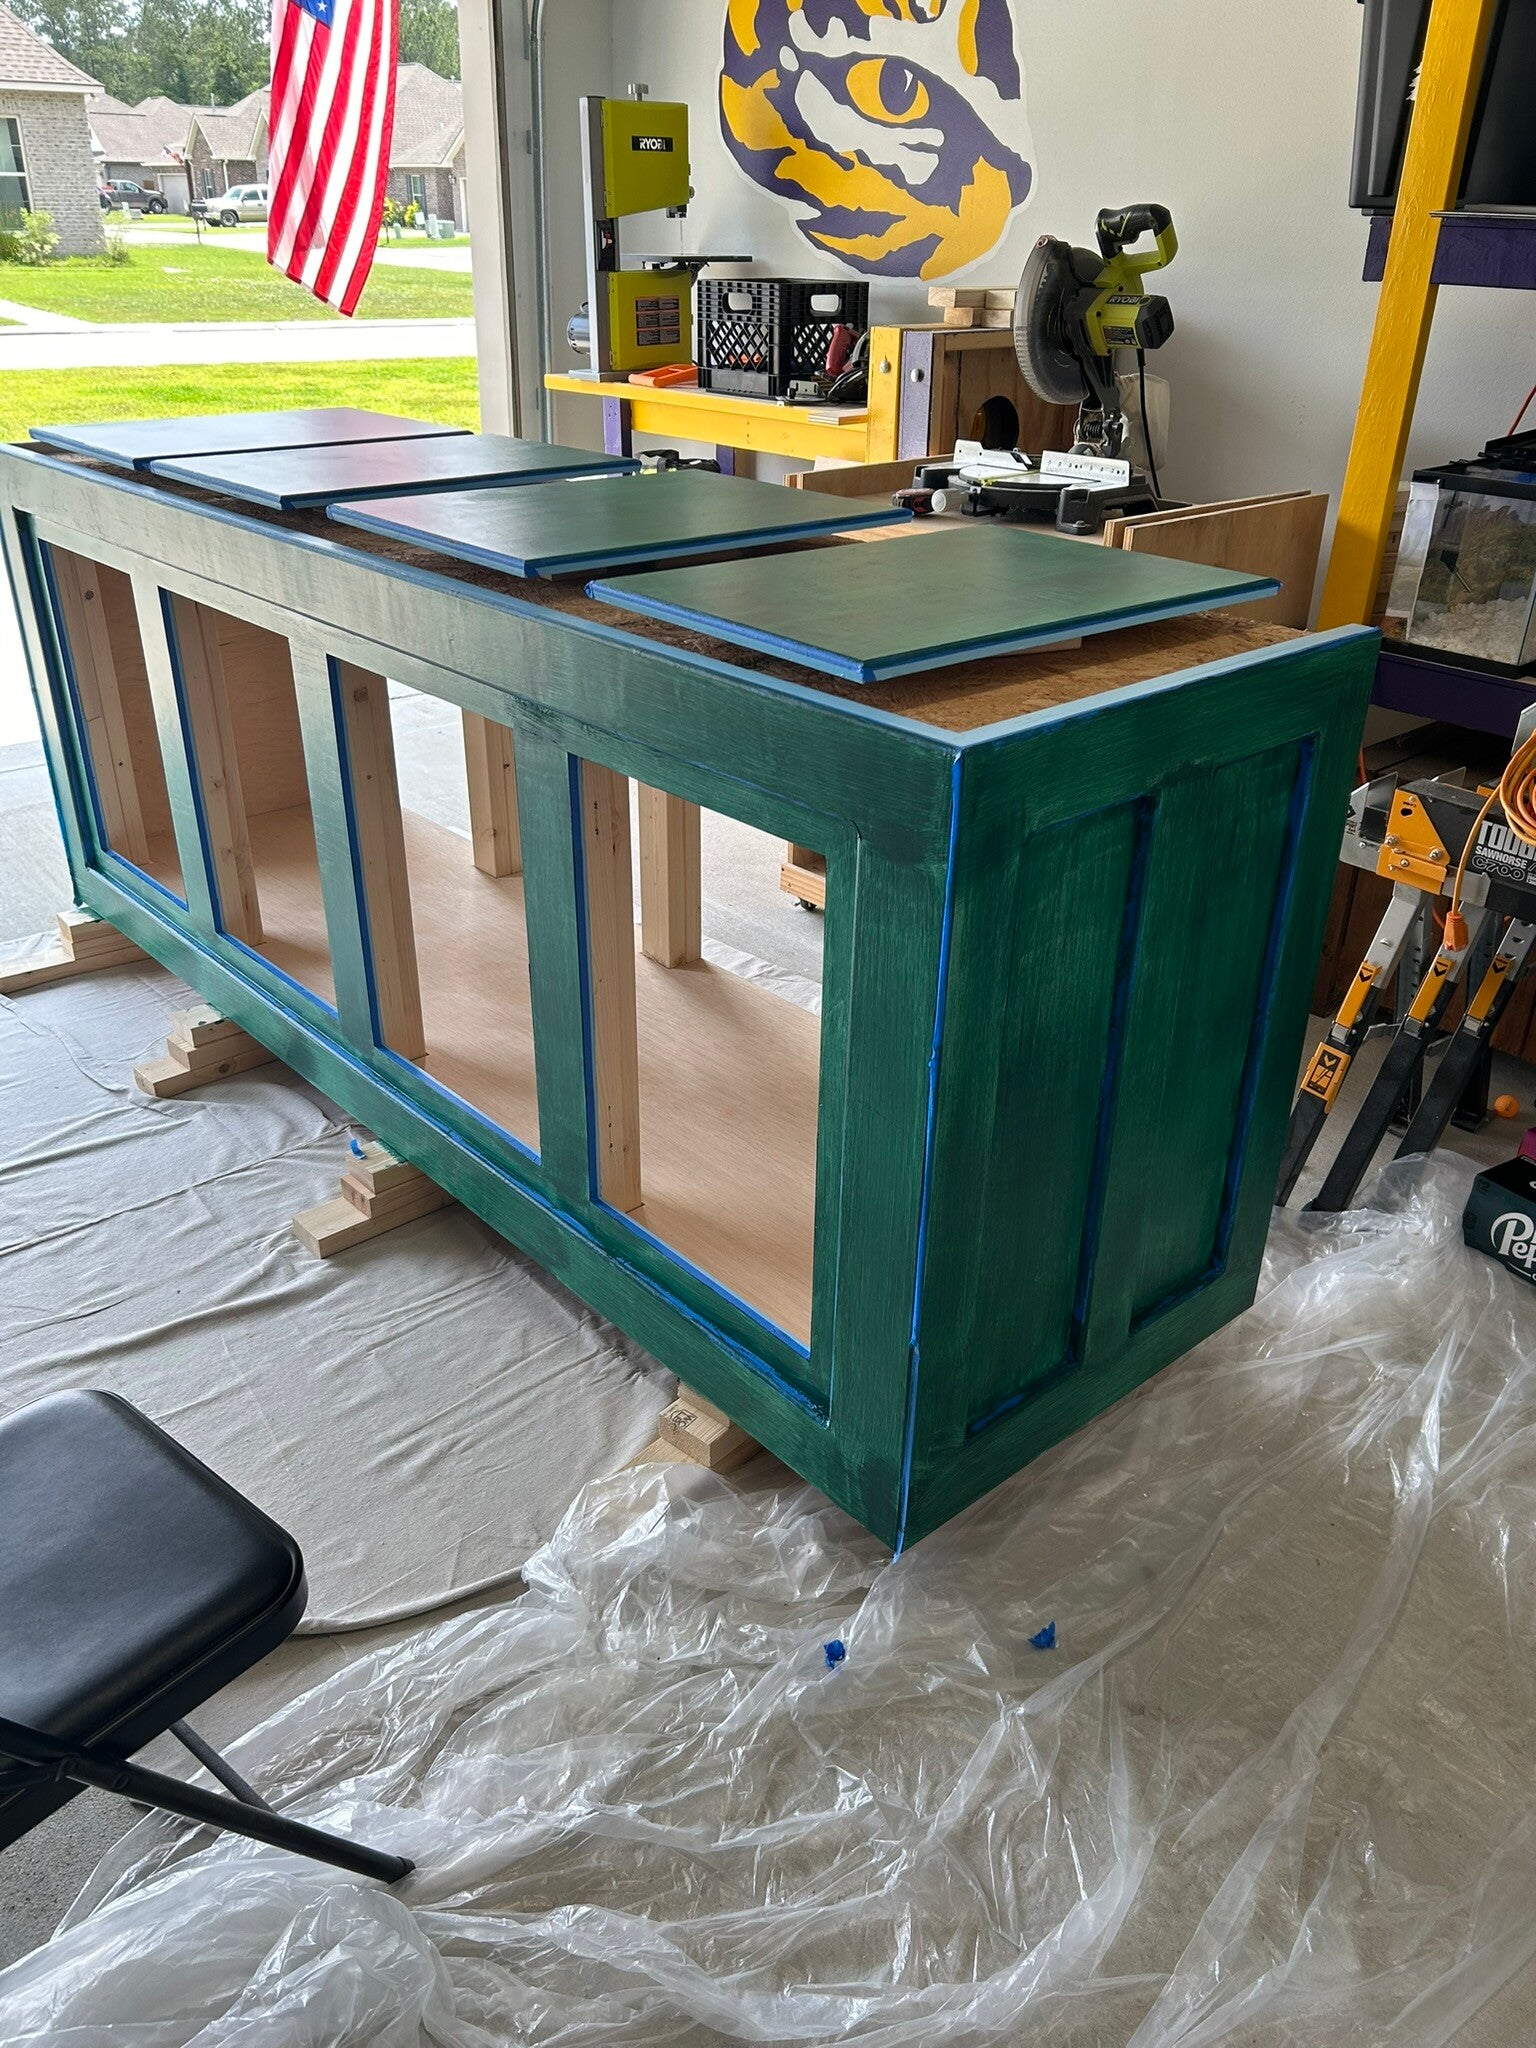
2nd coat.
8 May 24
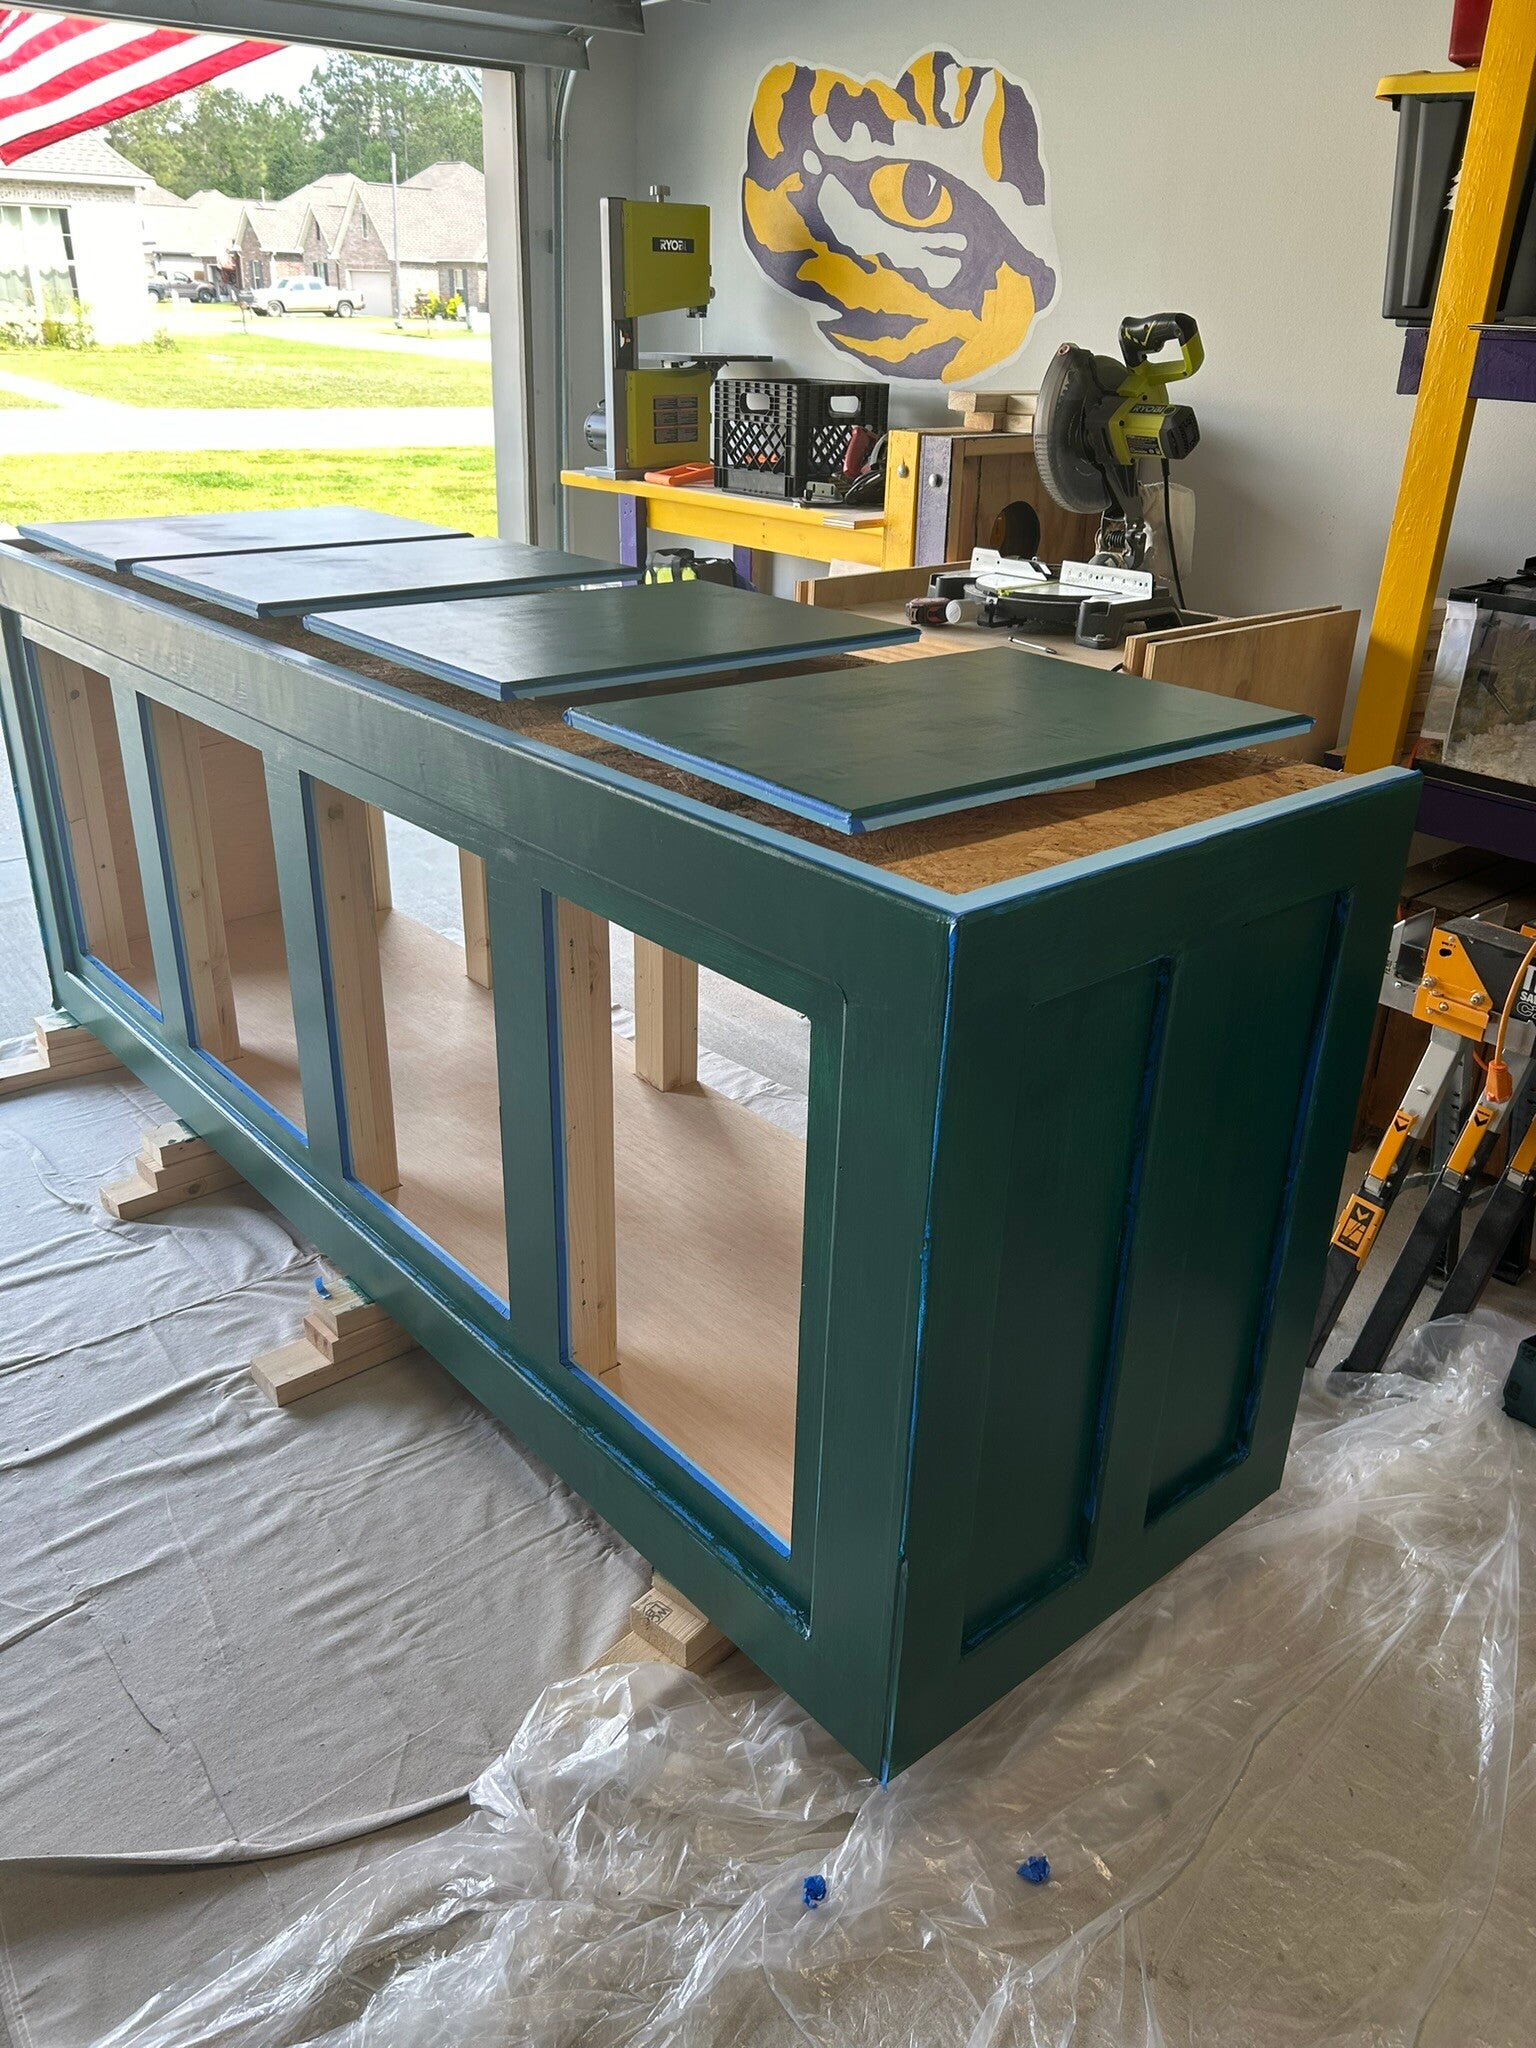
8 May 24
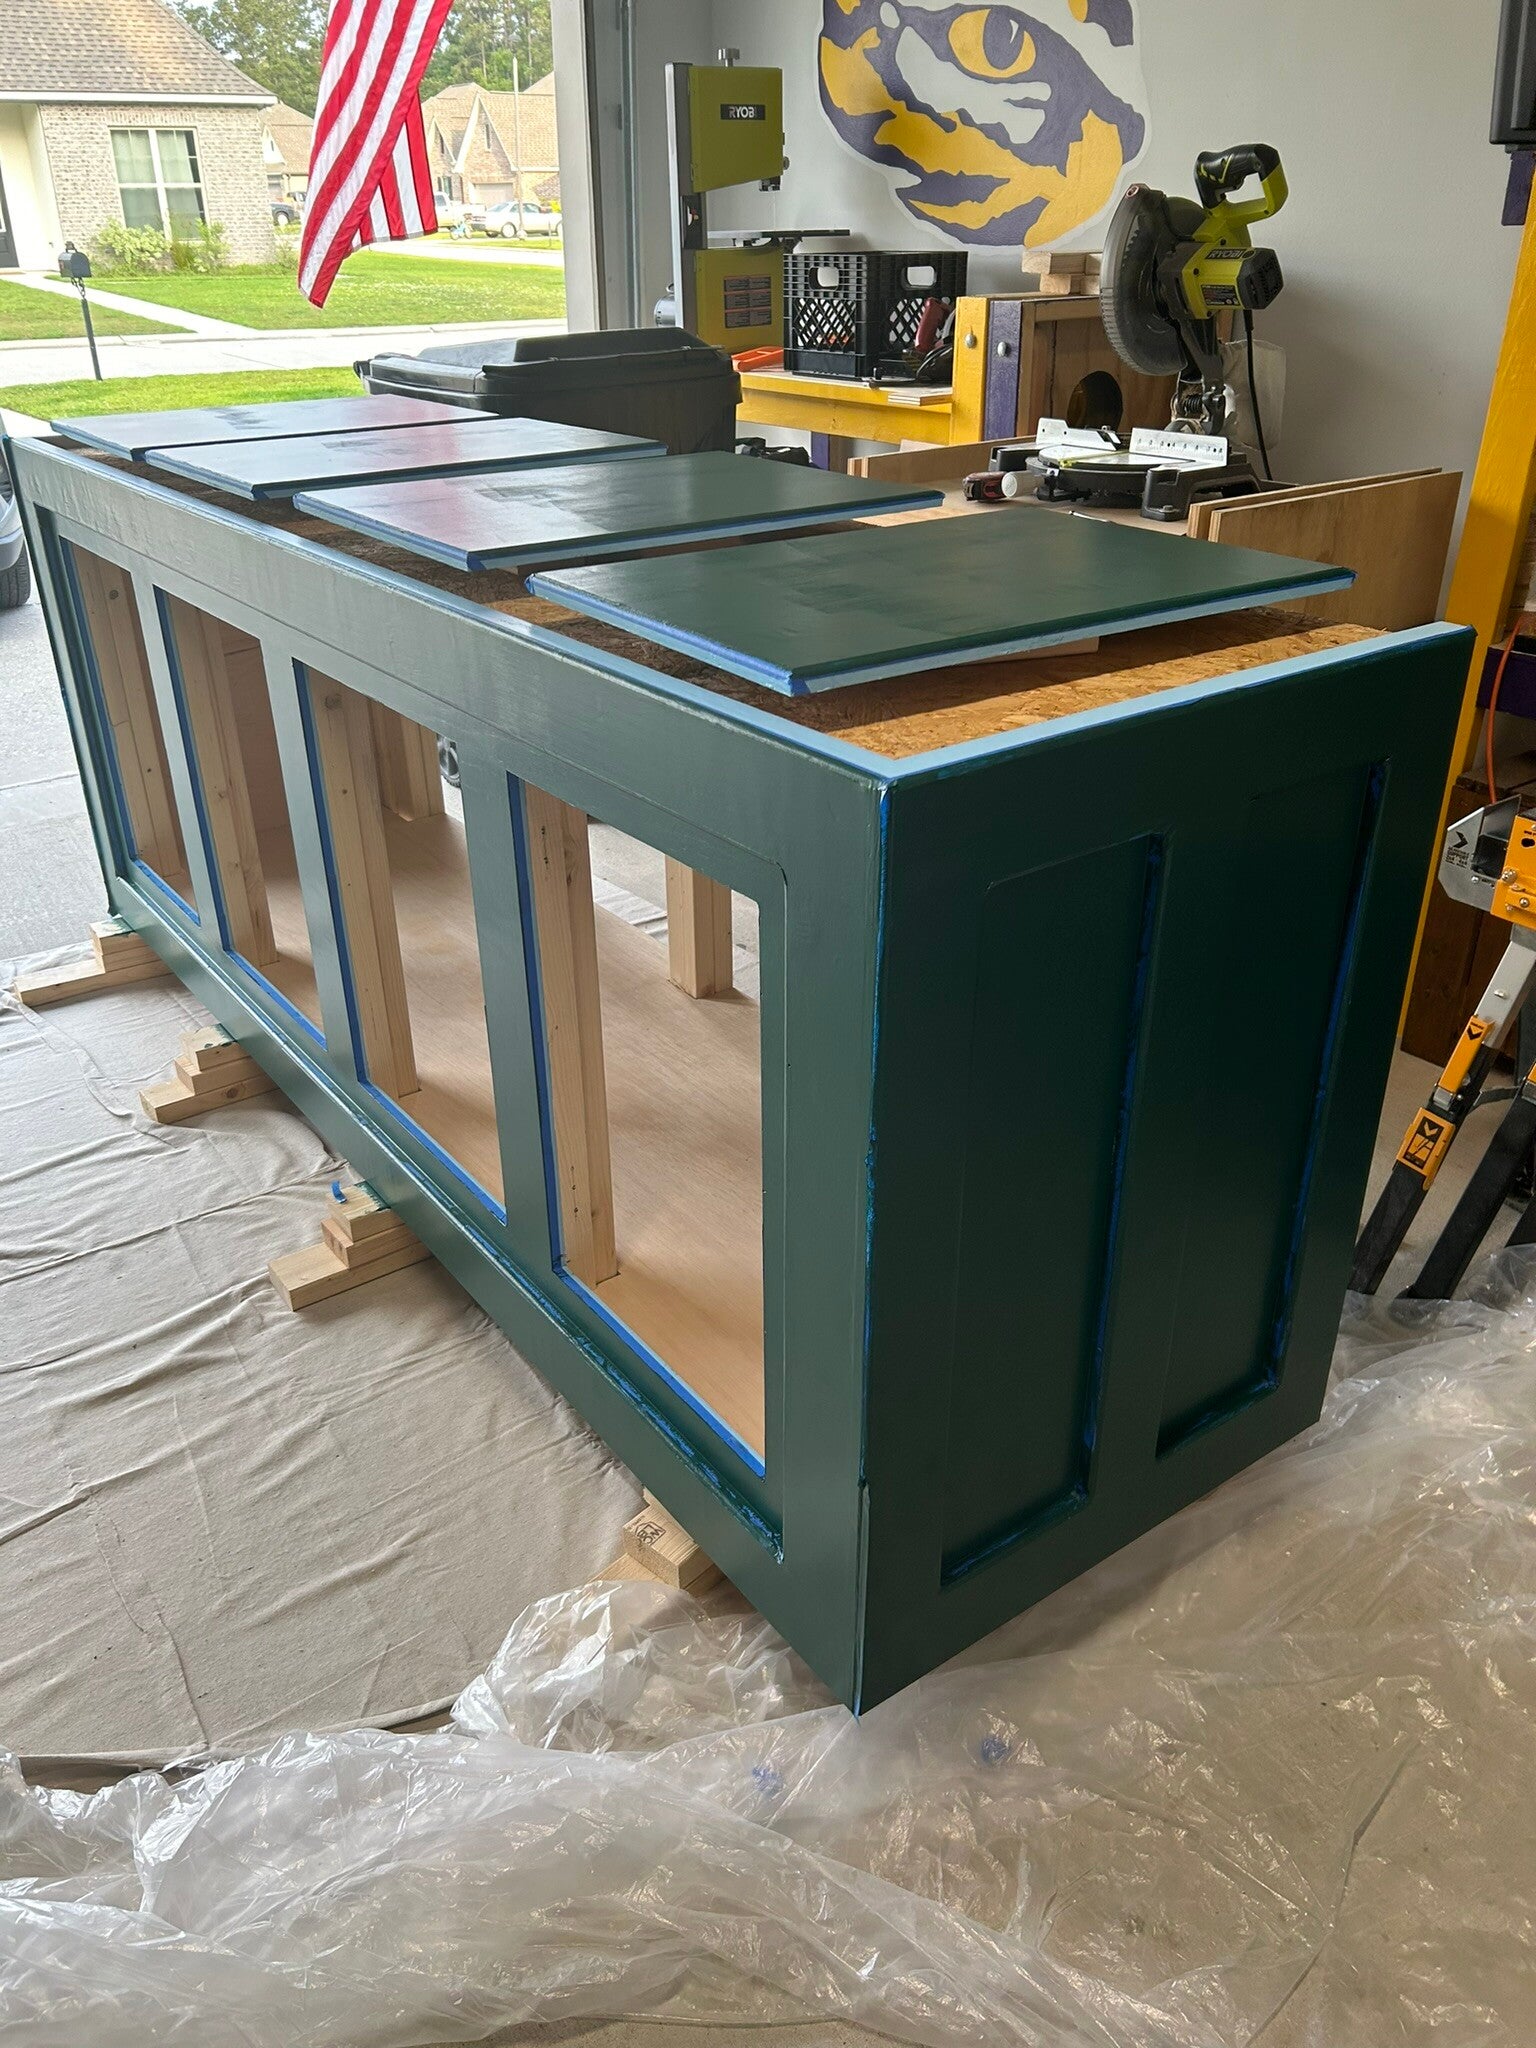
Painting complete.
8 May 24
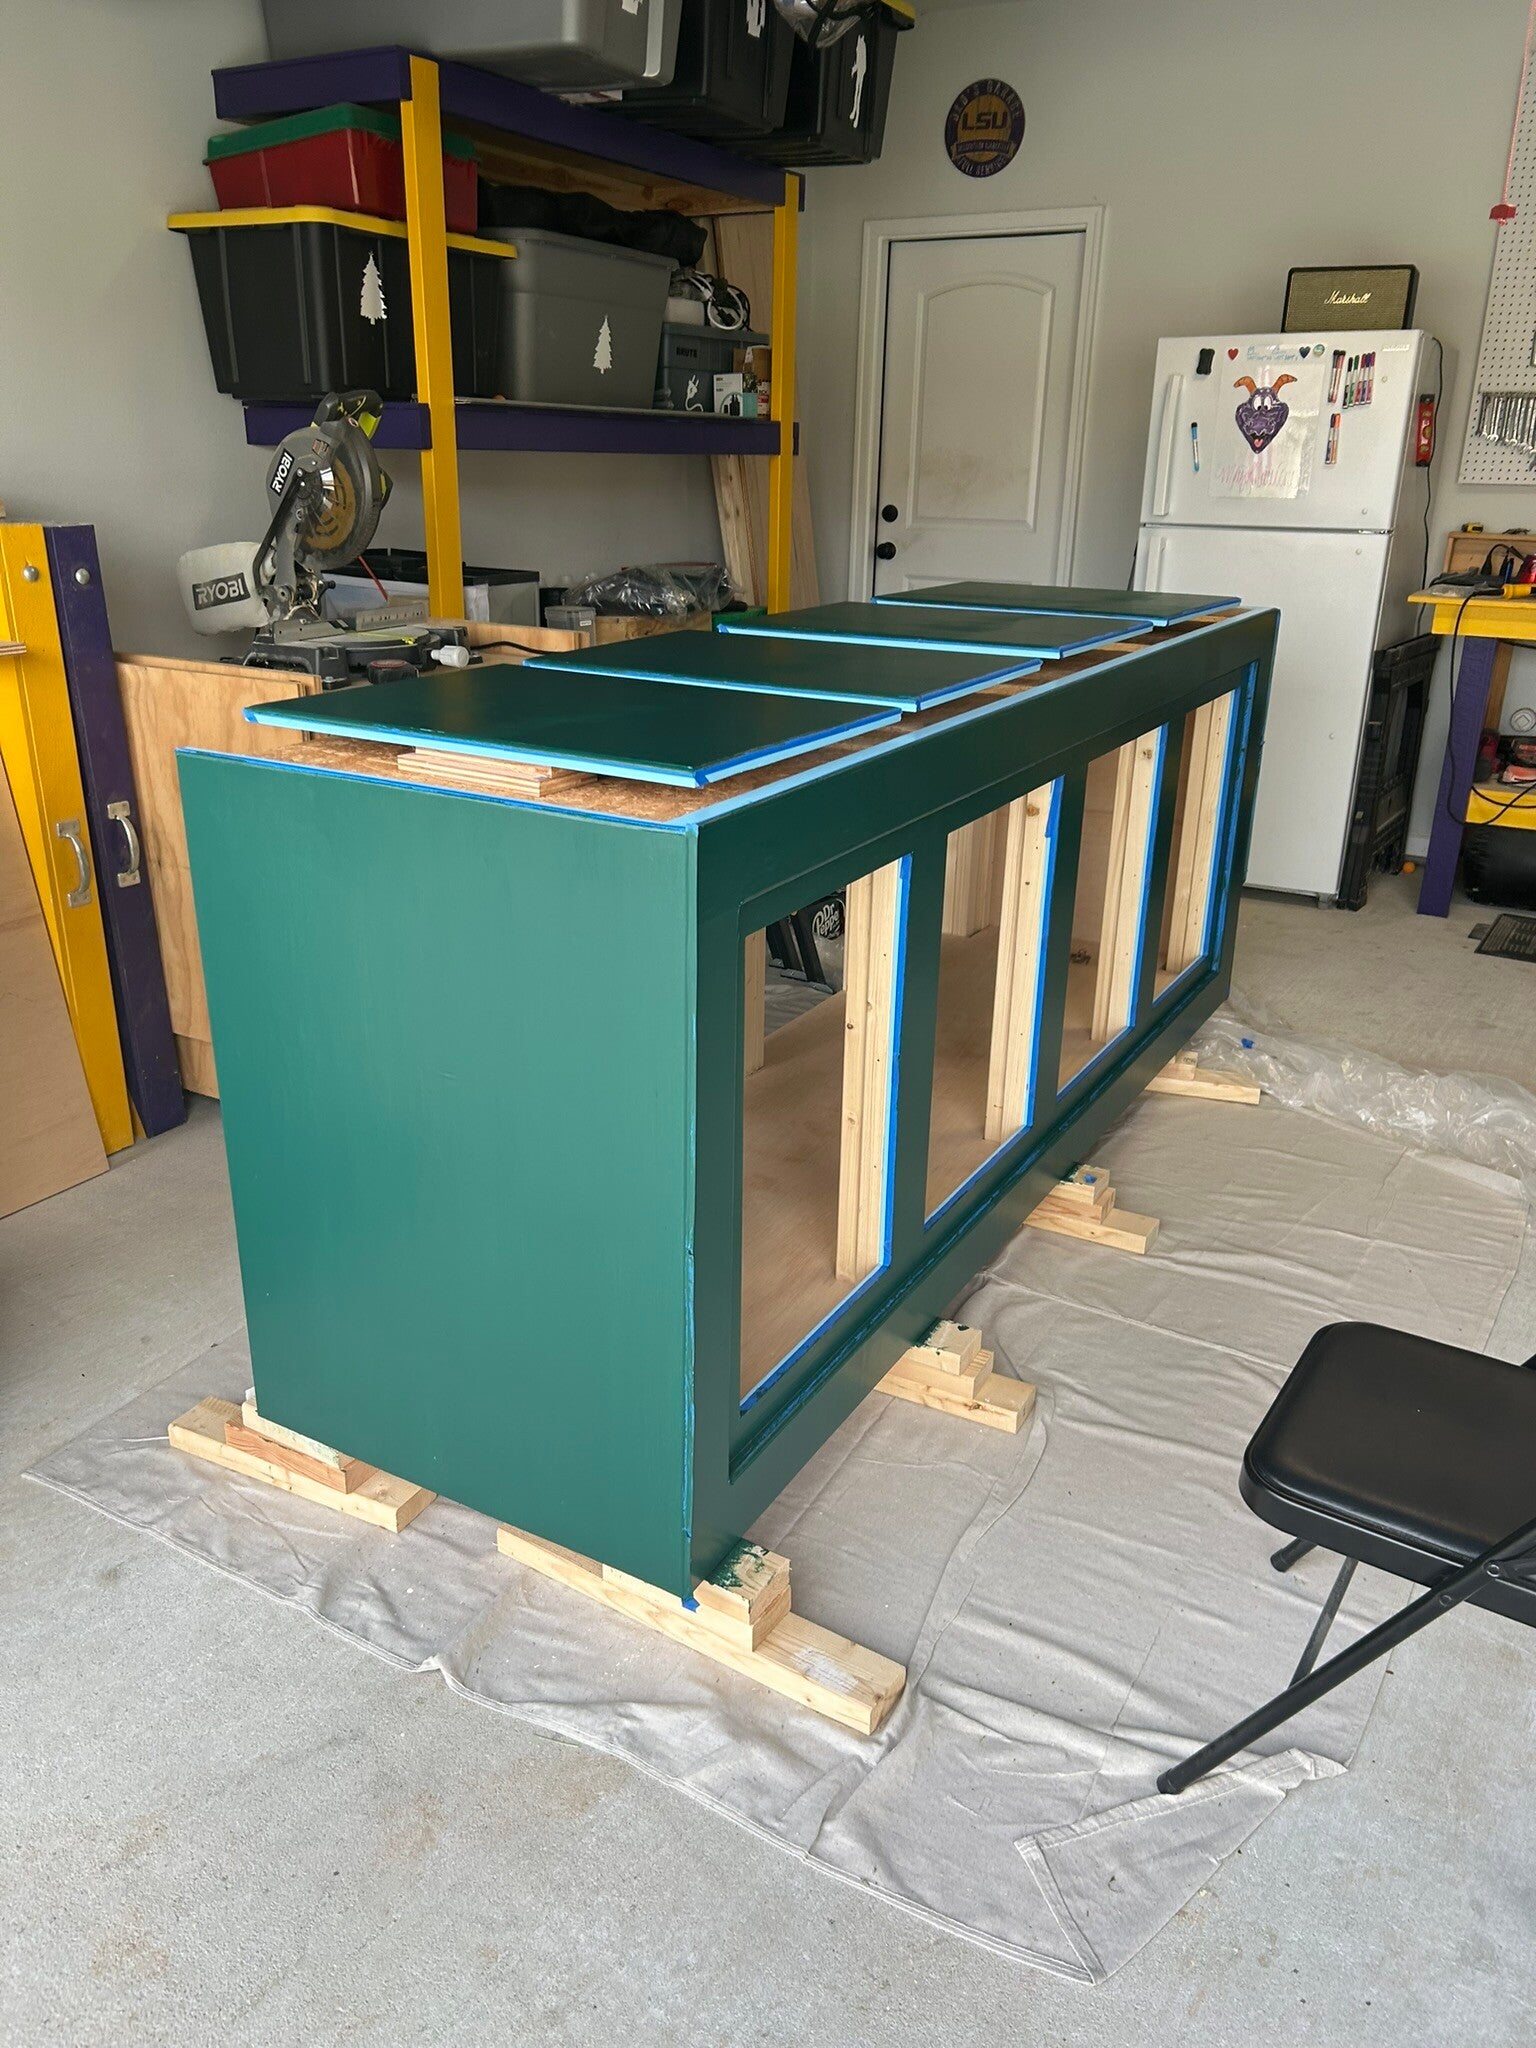
Painting complete.
8 May 24
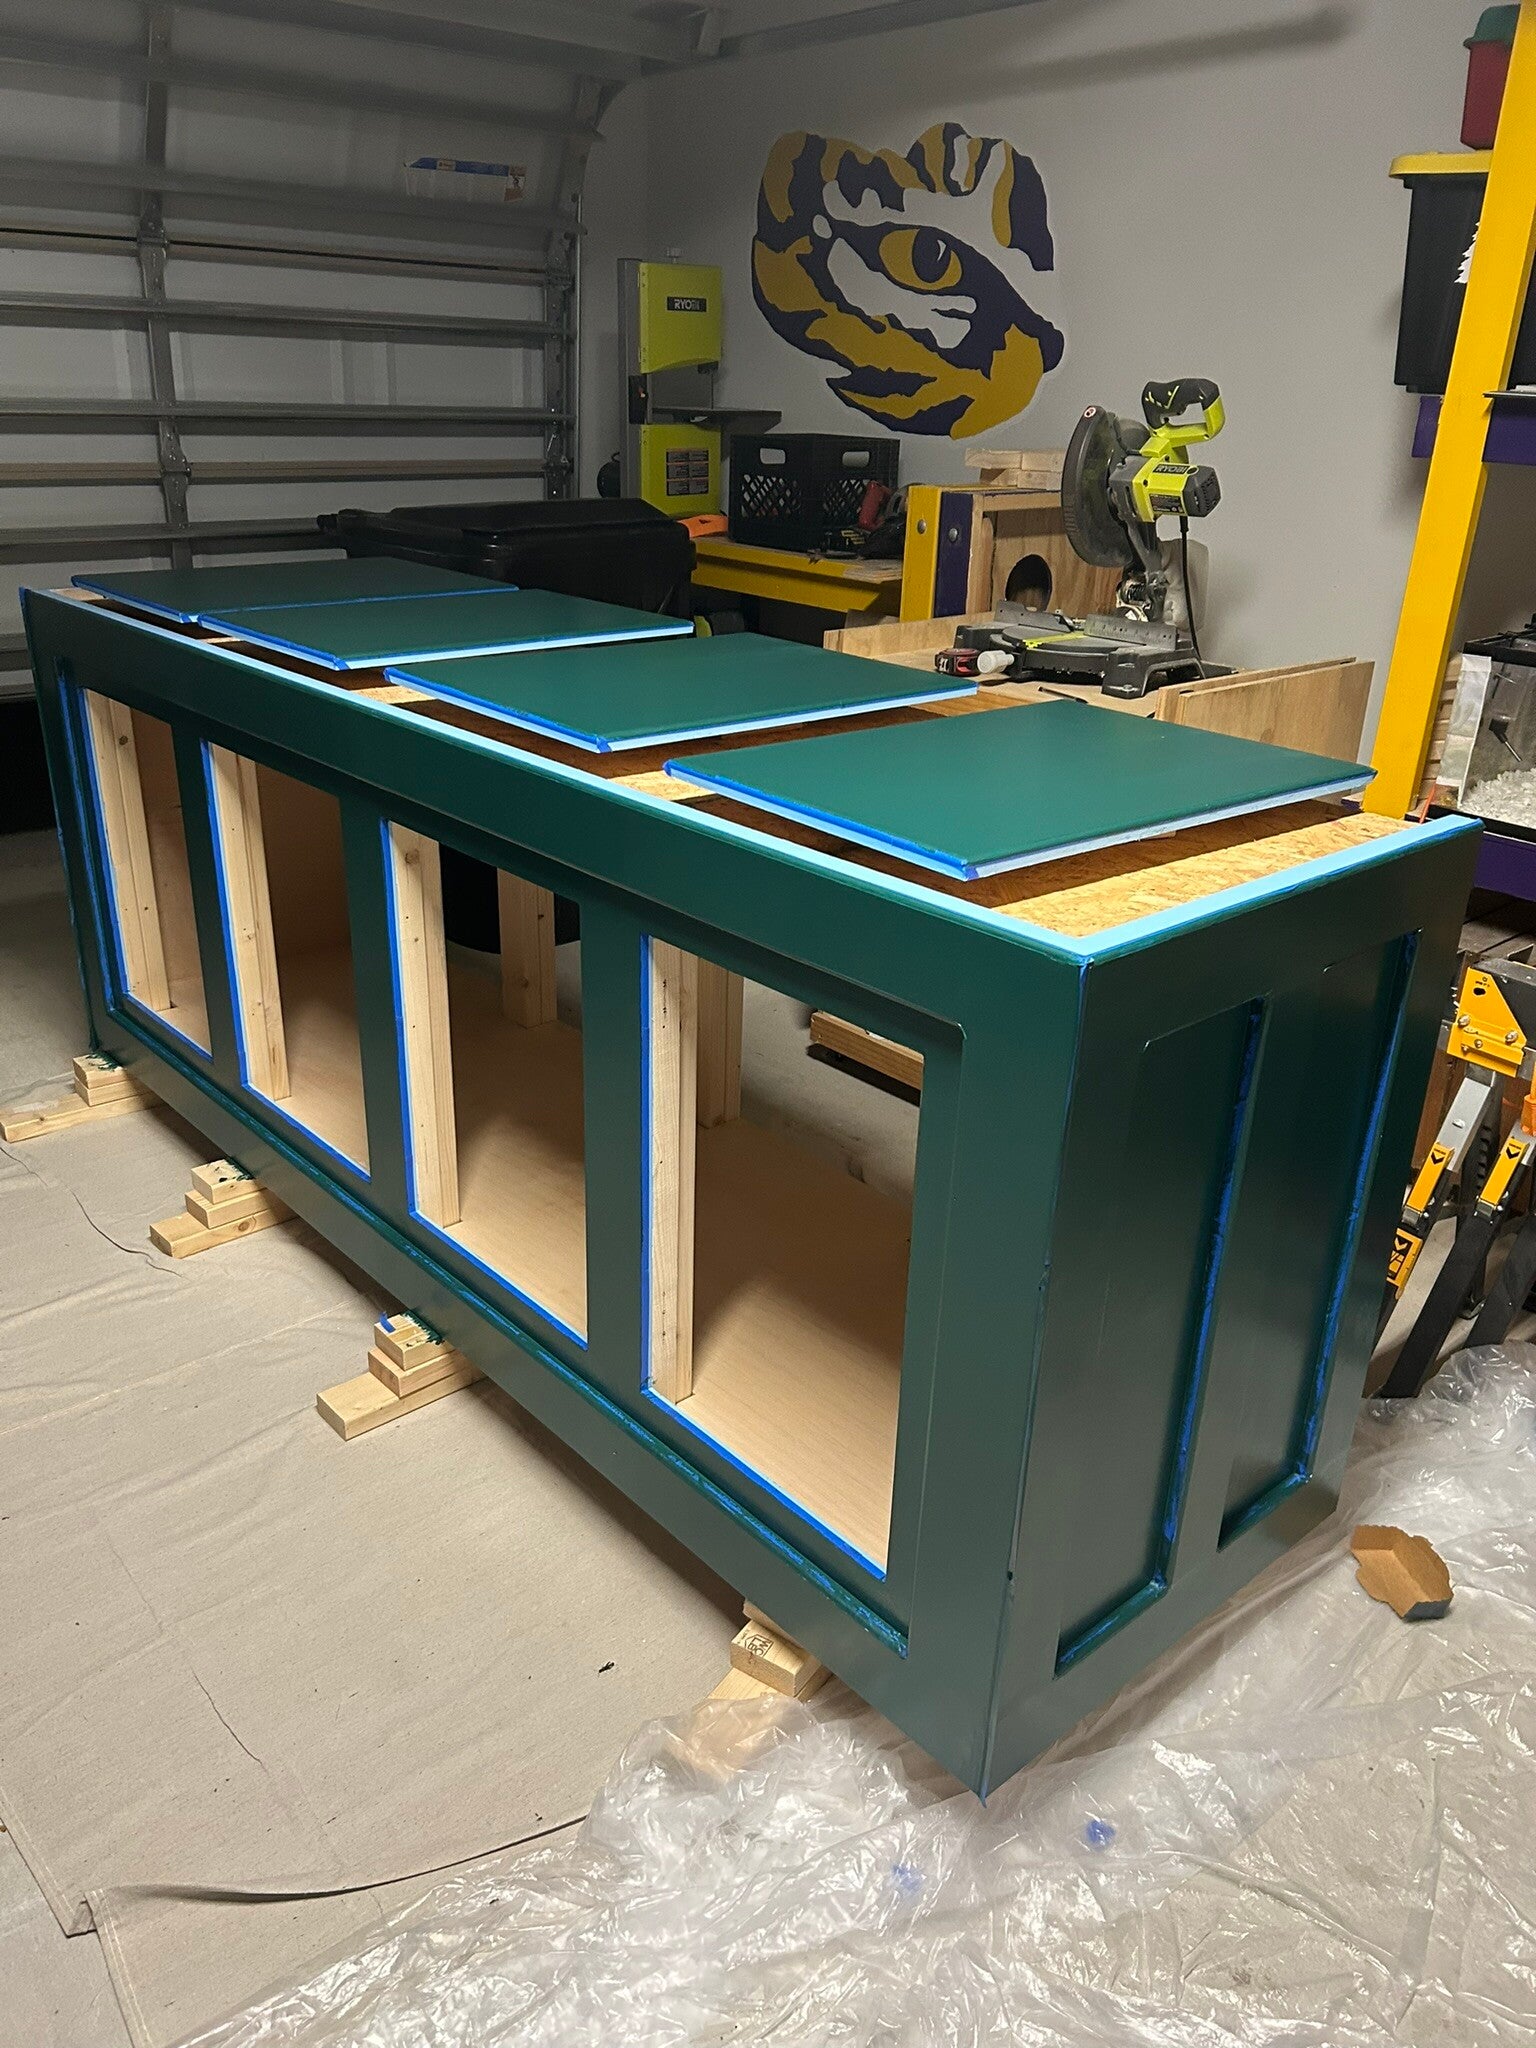
Minor touch up time.
9 May 24
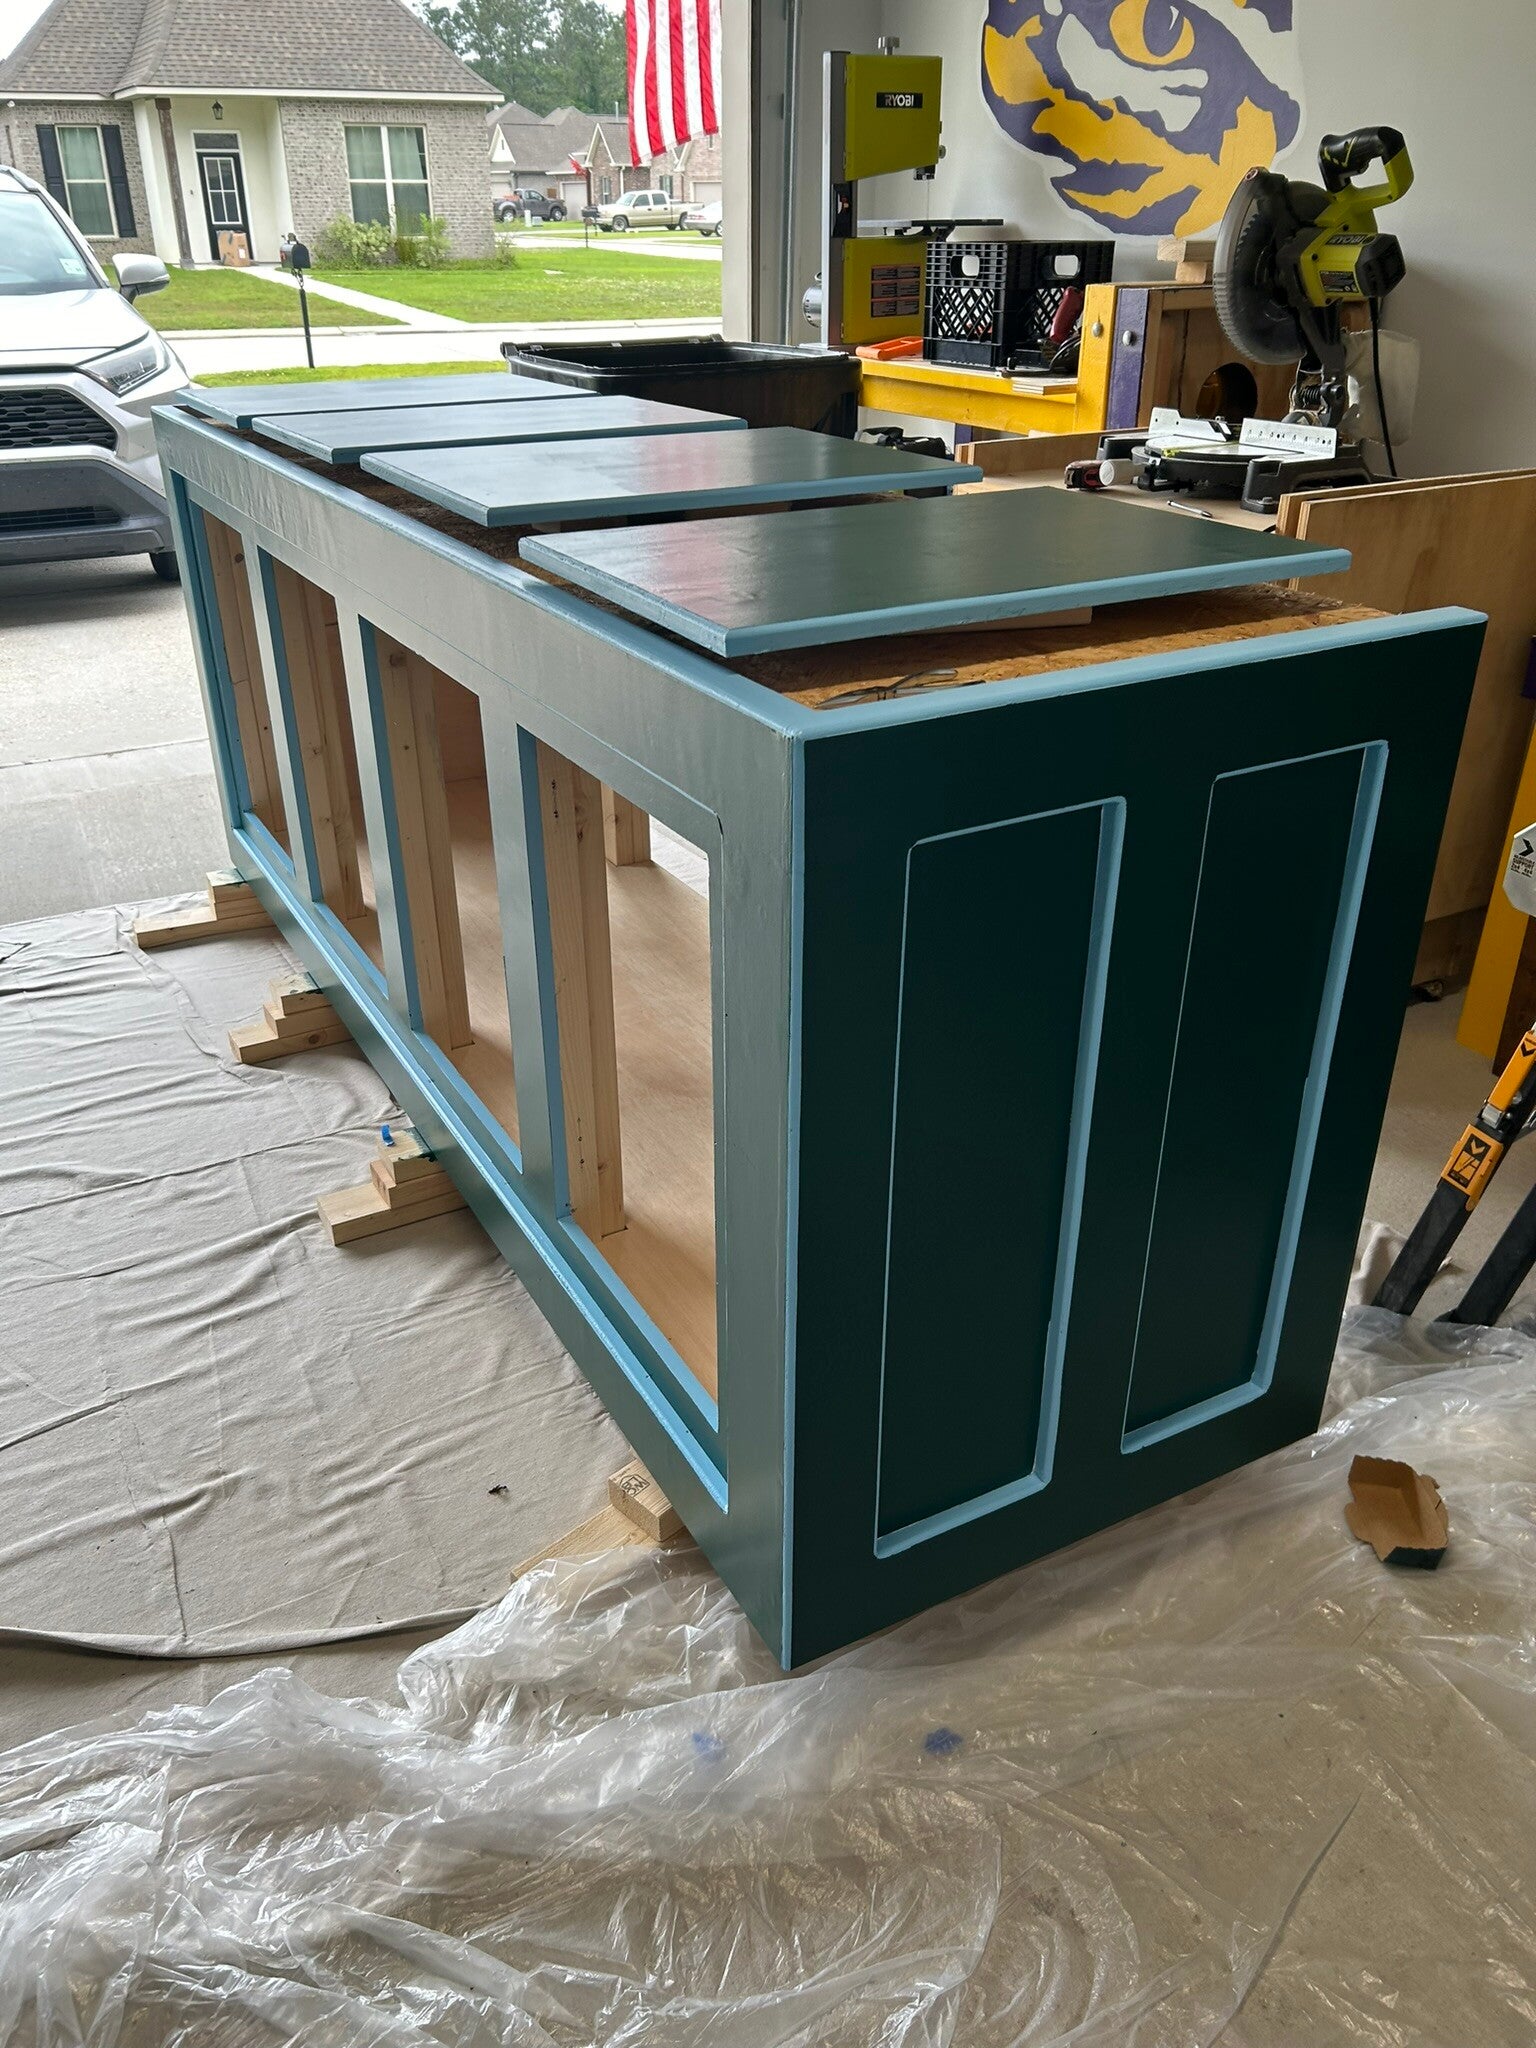
9 May 24
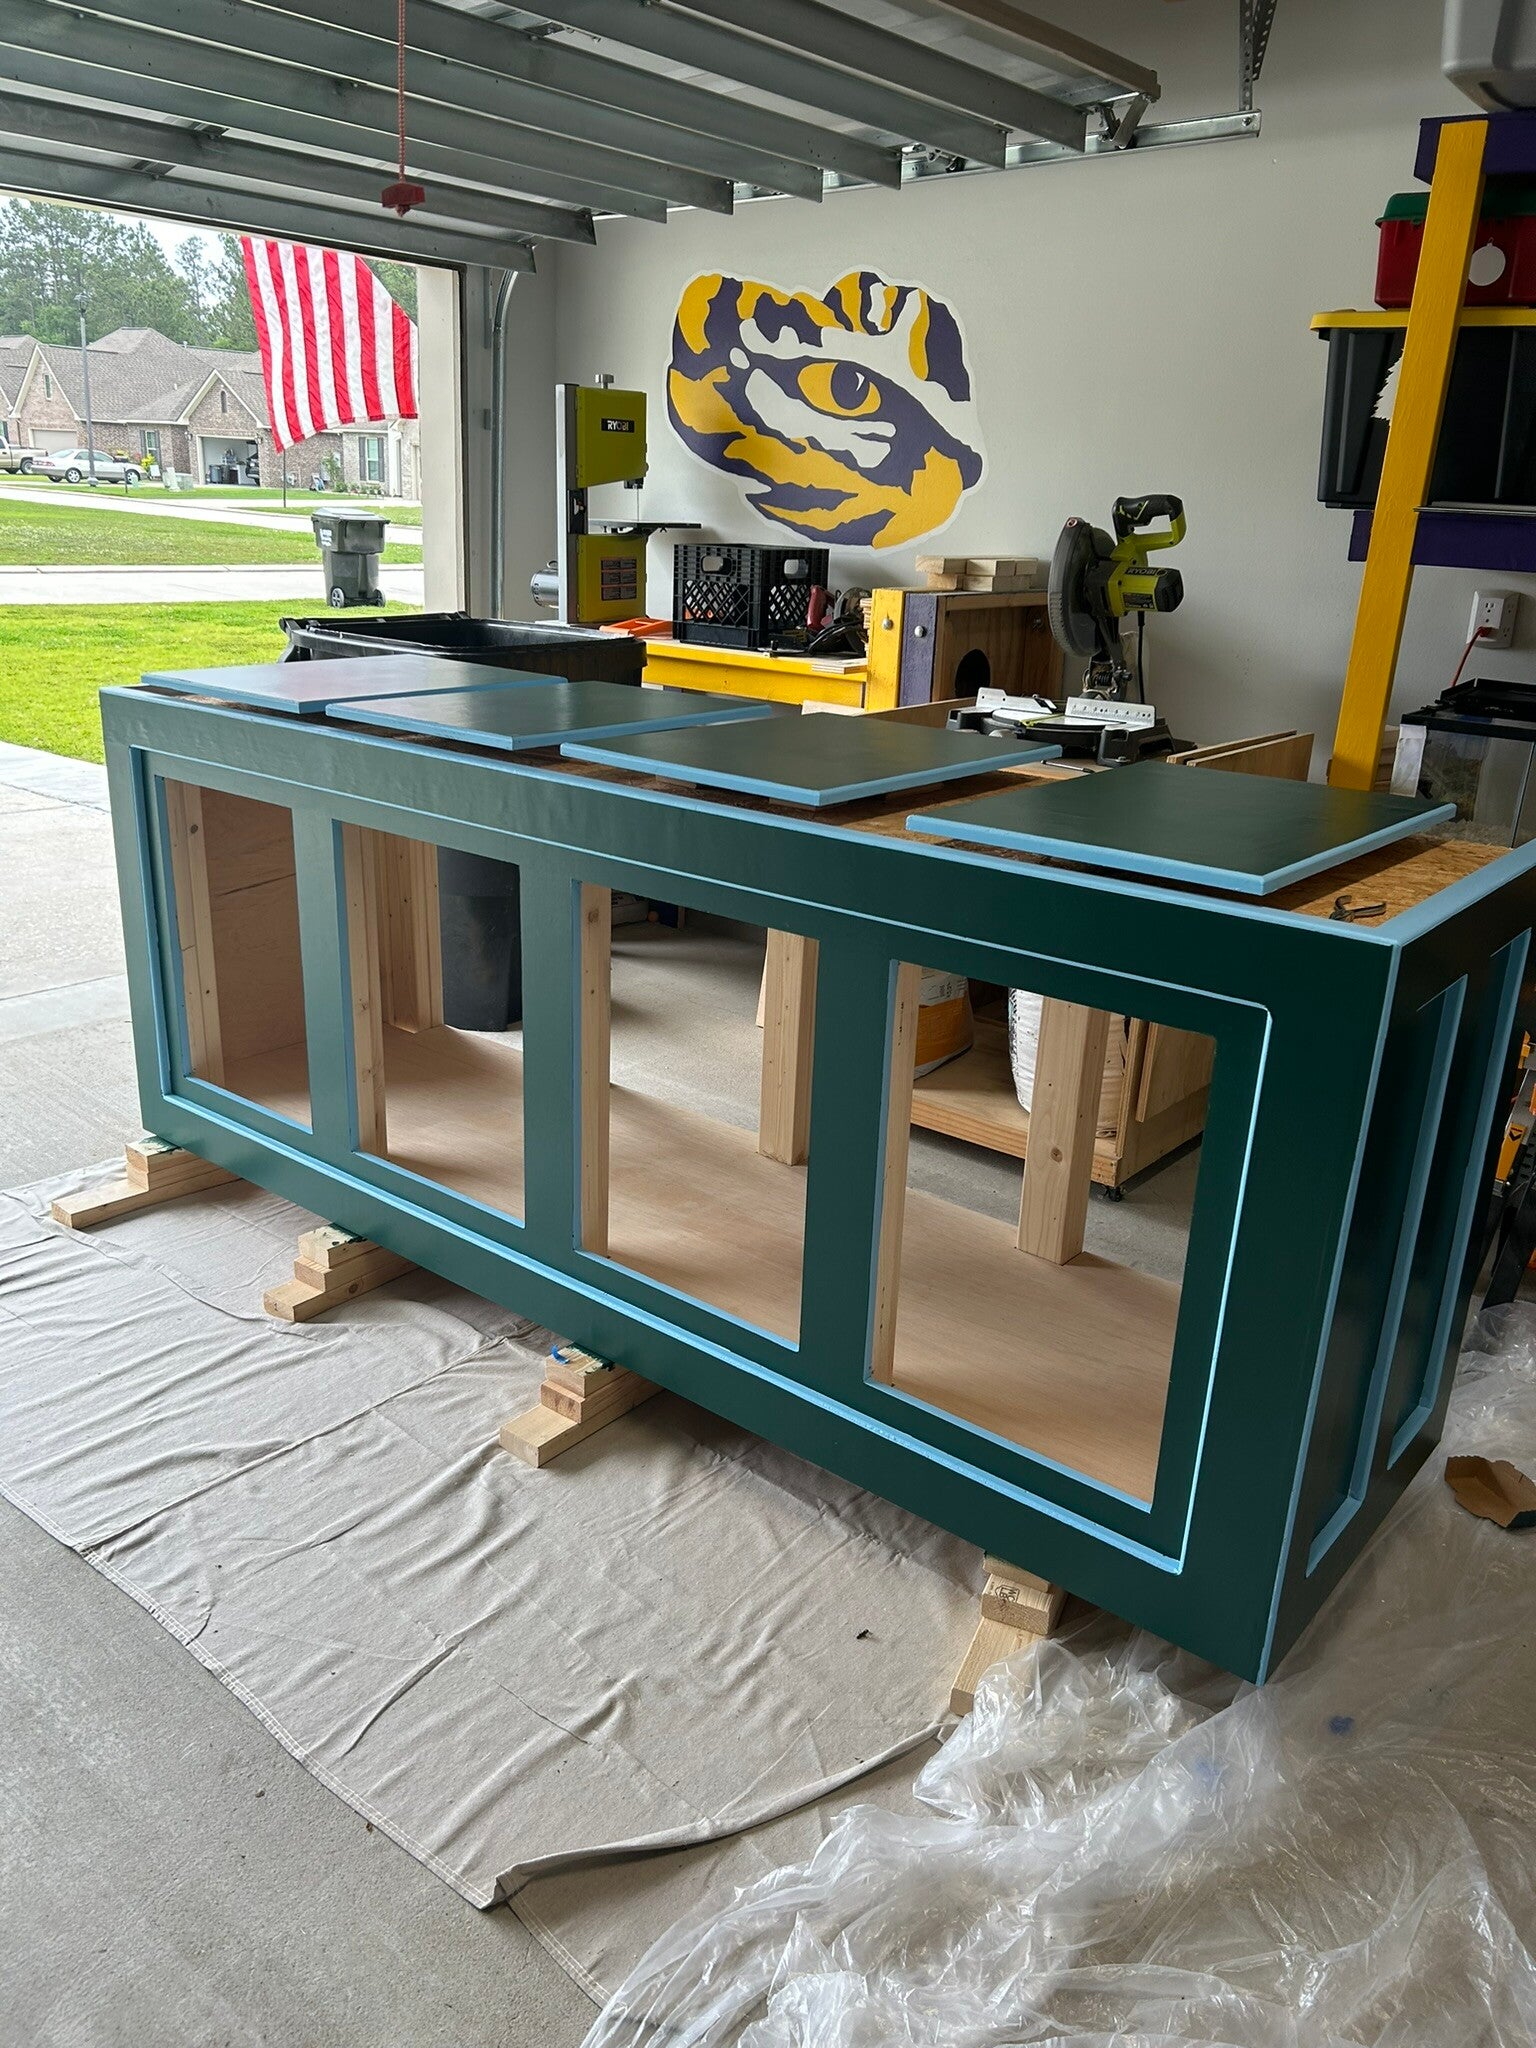
9 May 24
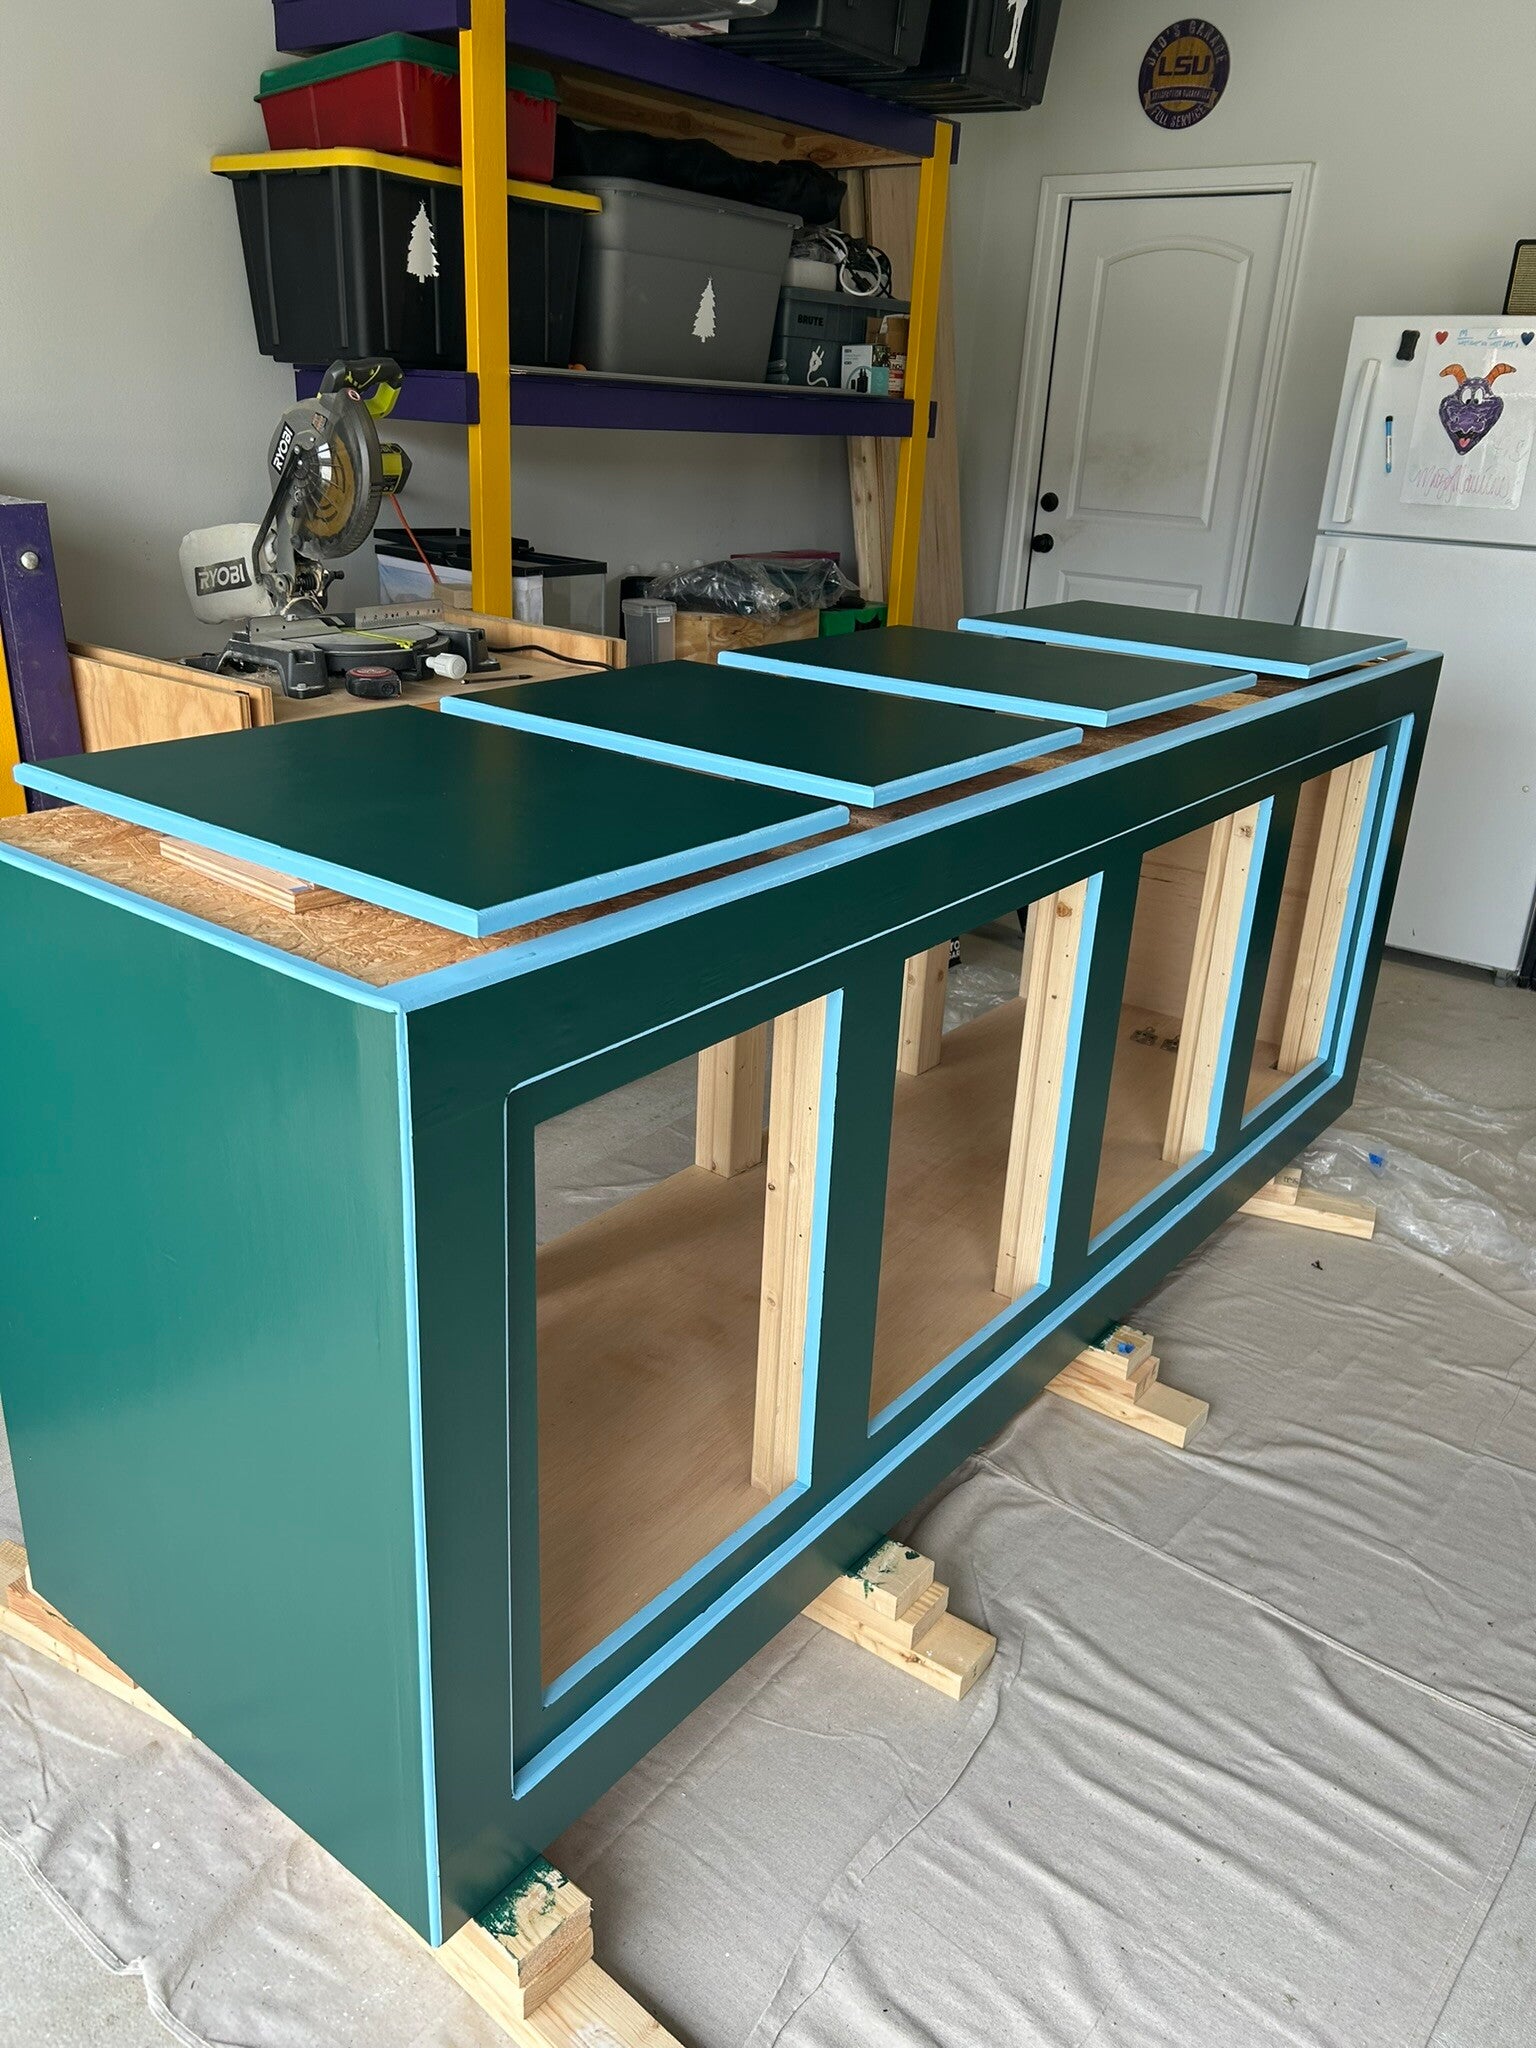
Supervisor came back to check on me.
9 May 24
Doros placed on.
22 May 24
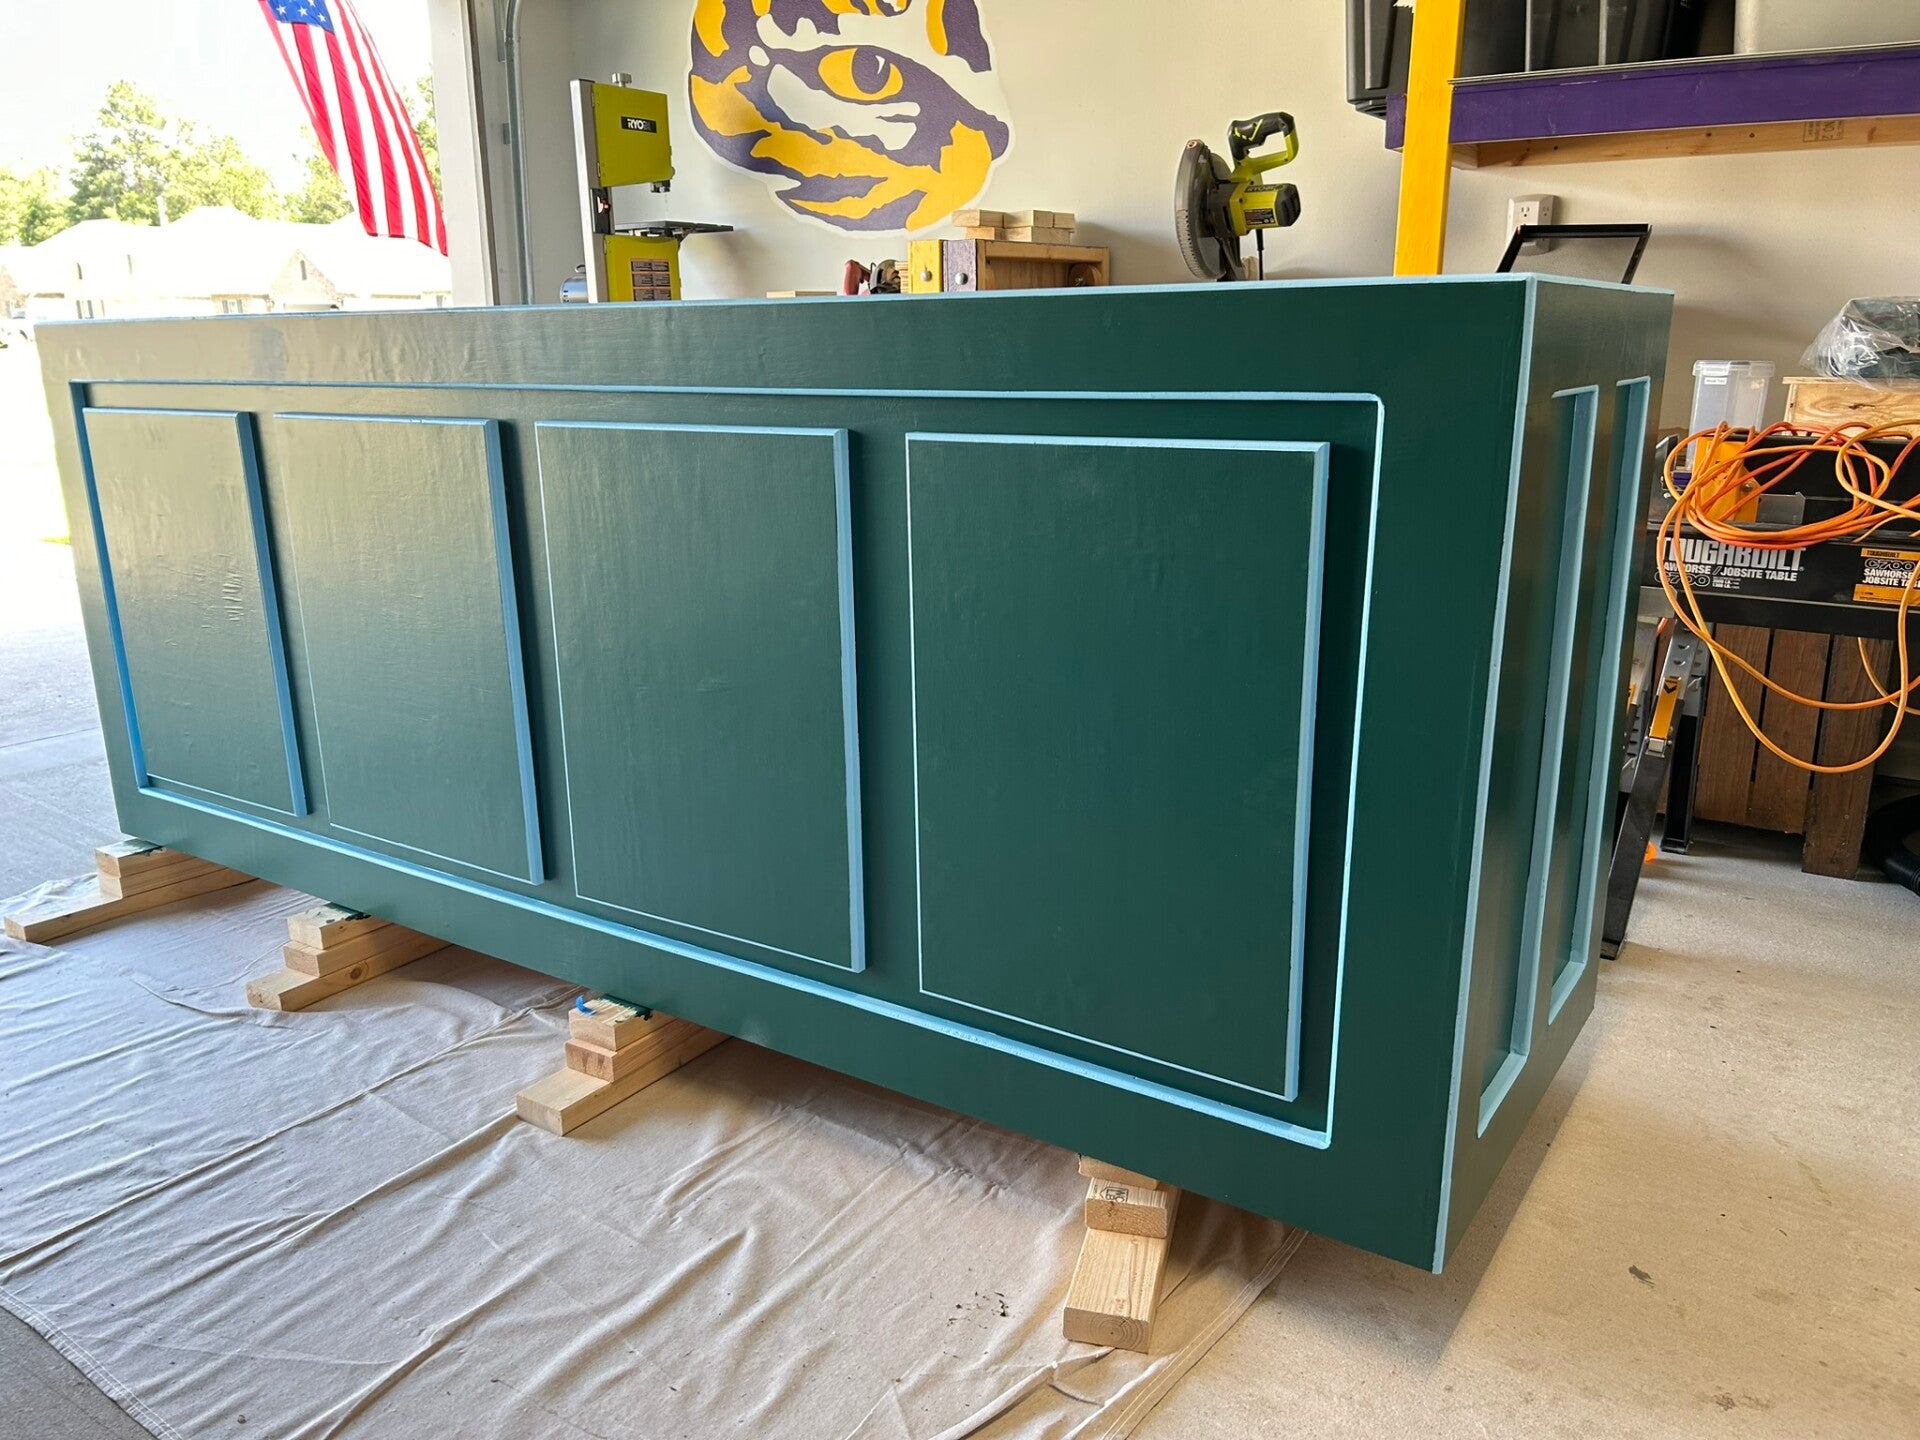
This will be the front of the actual aquarium
29 May 24
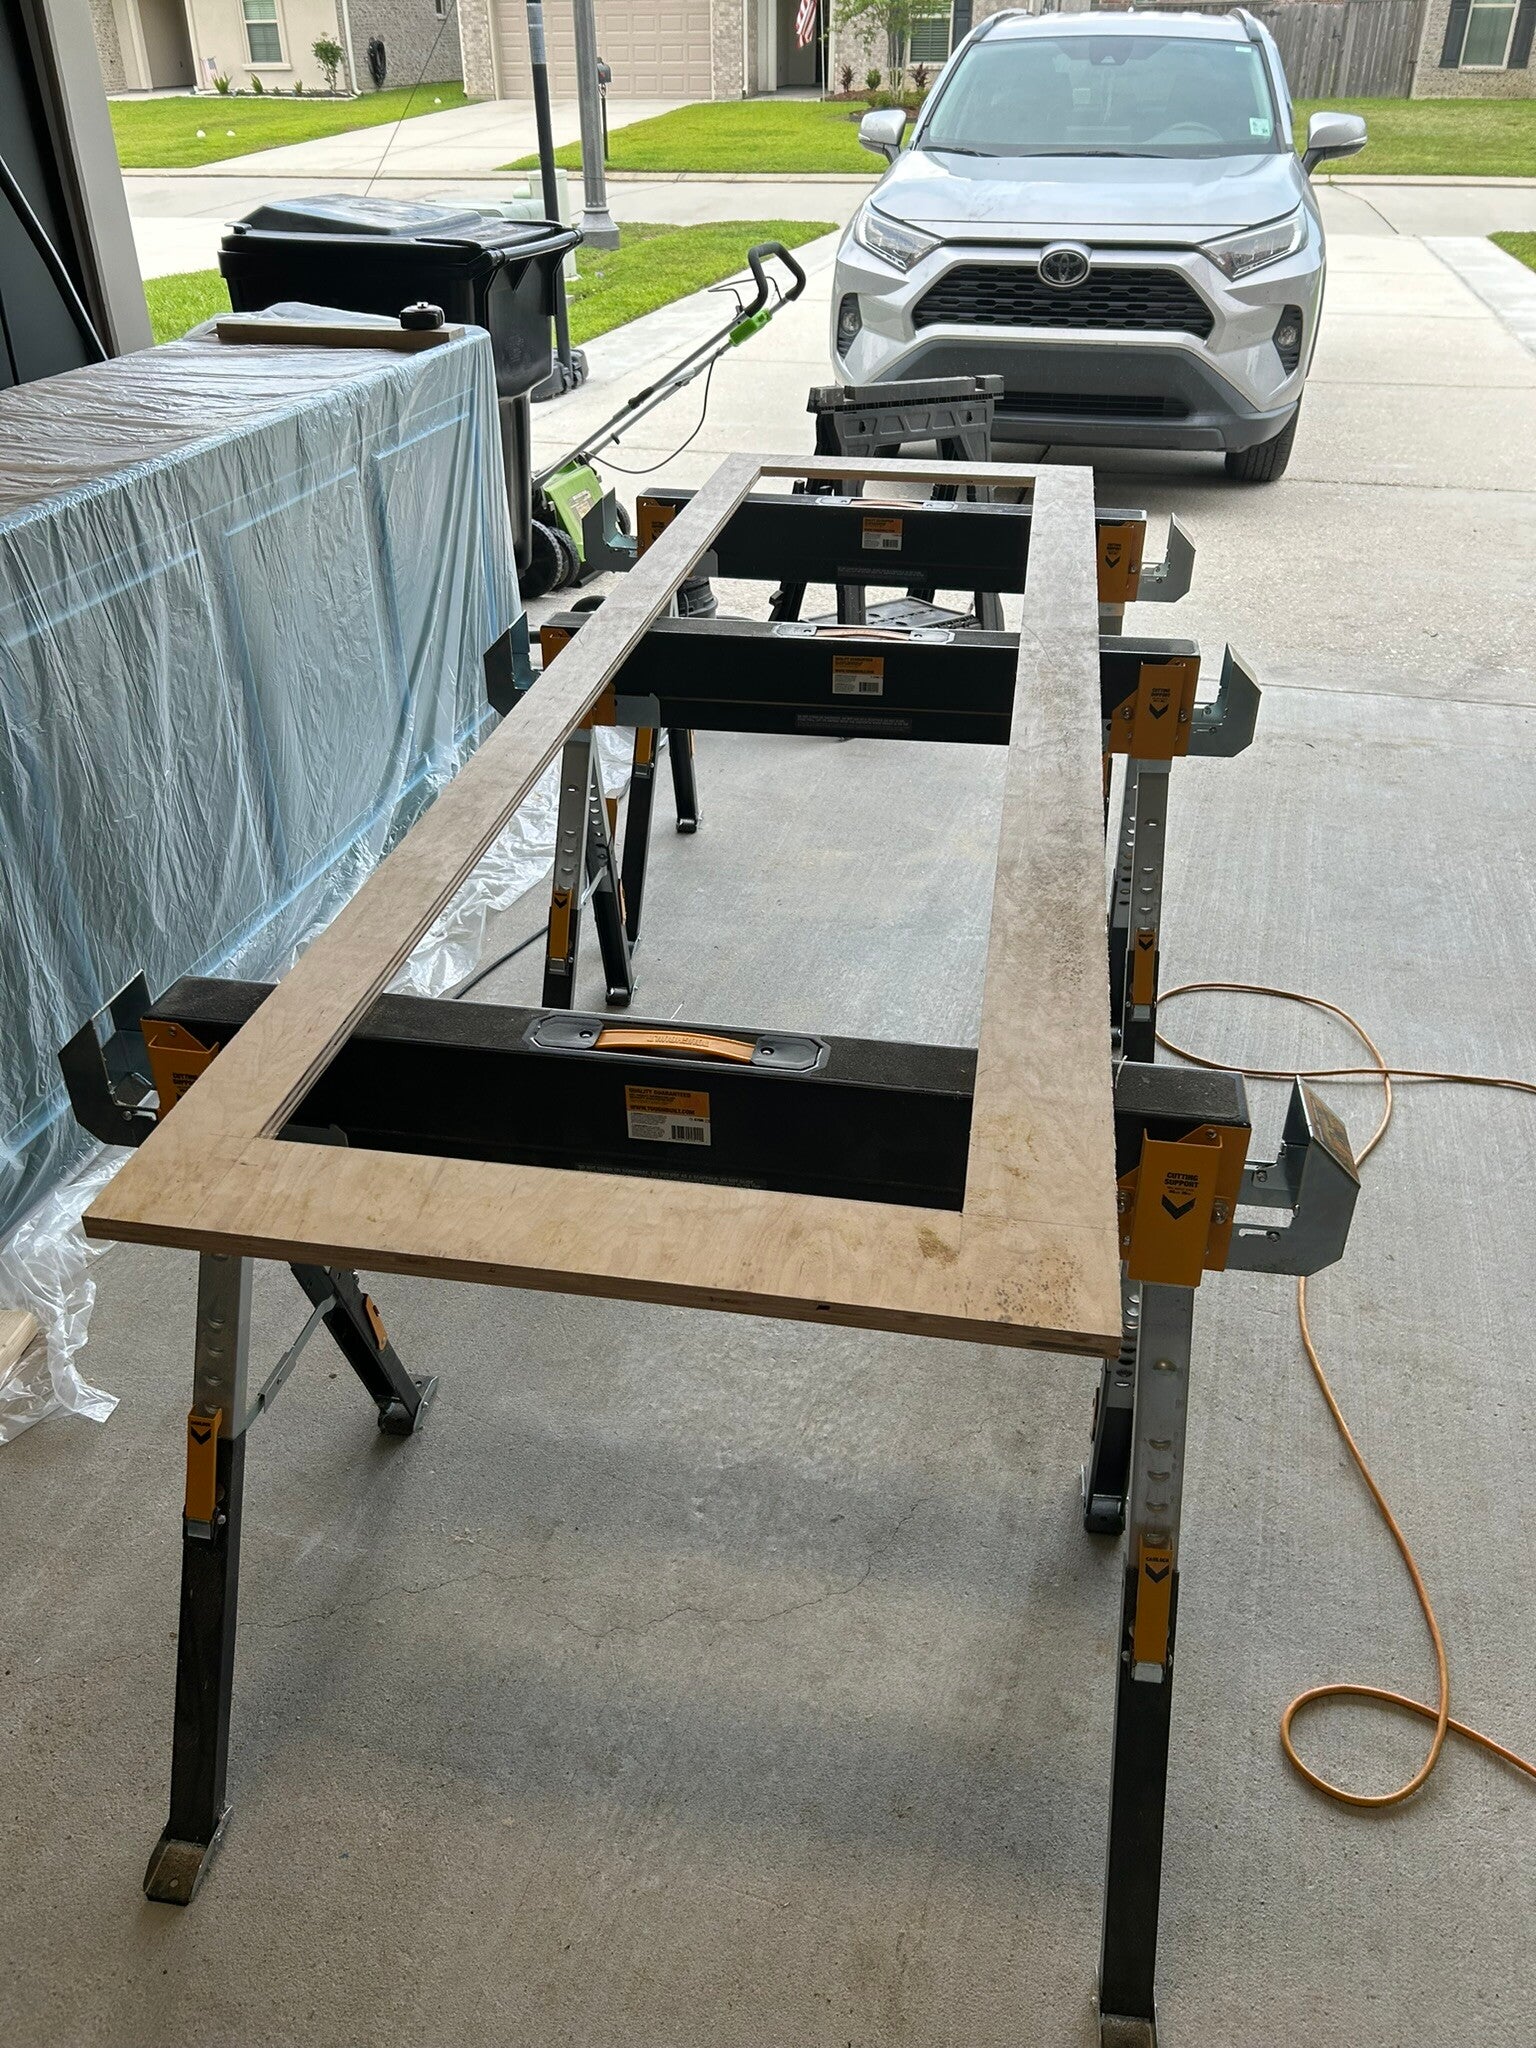
Back of the aquarium.
30 May 24
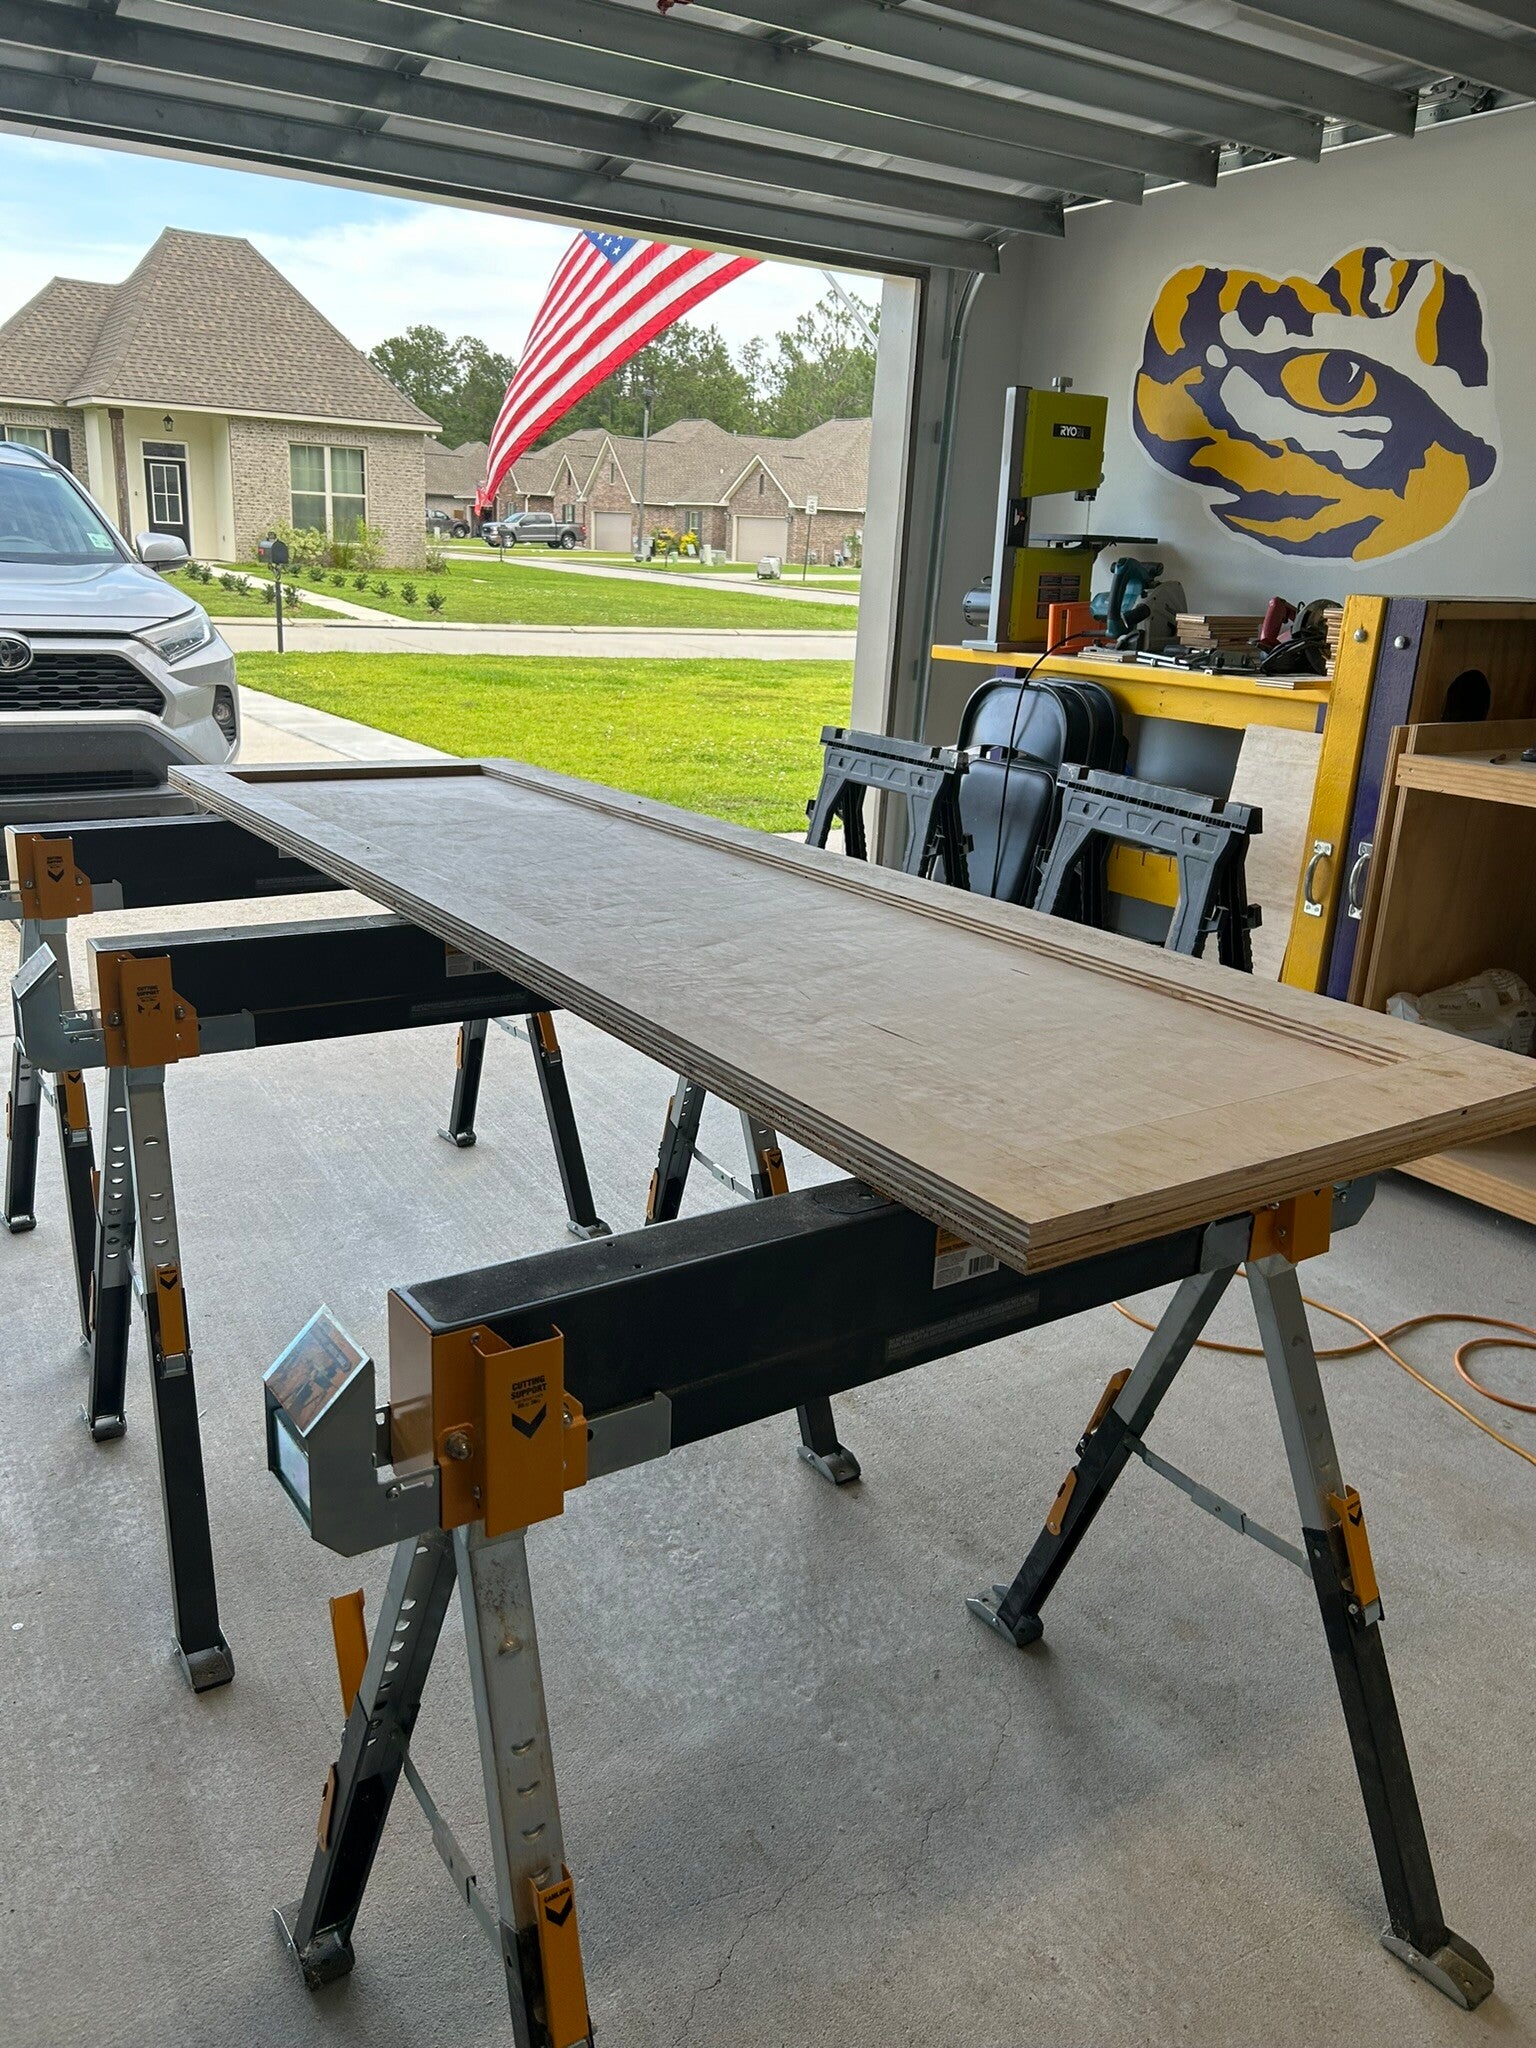
Back and one side attached.
5 Jun 24
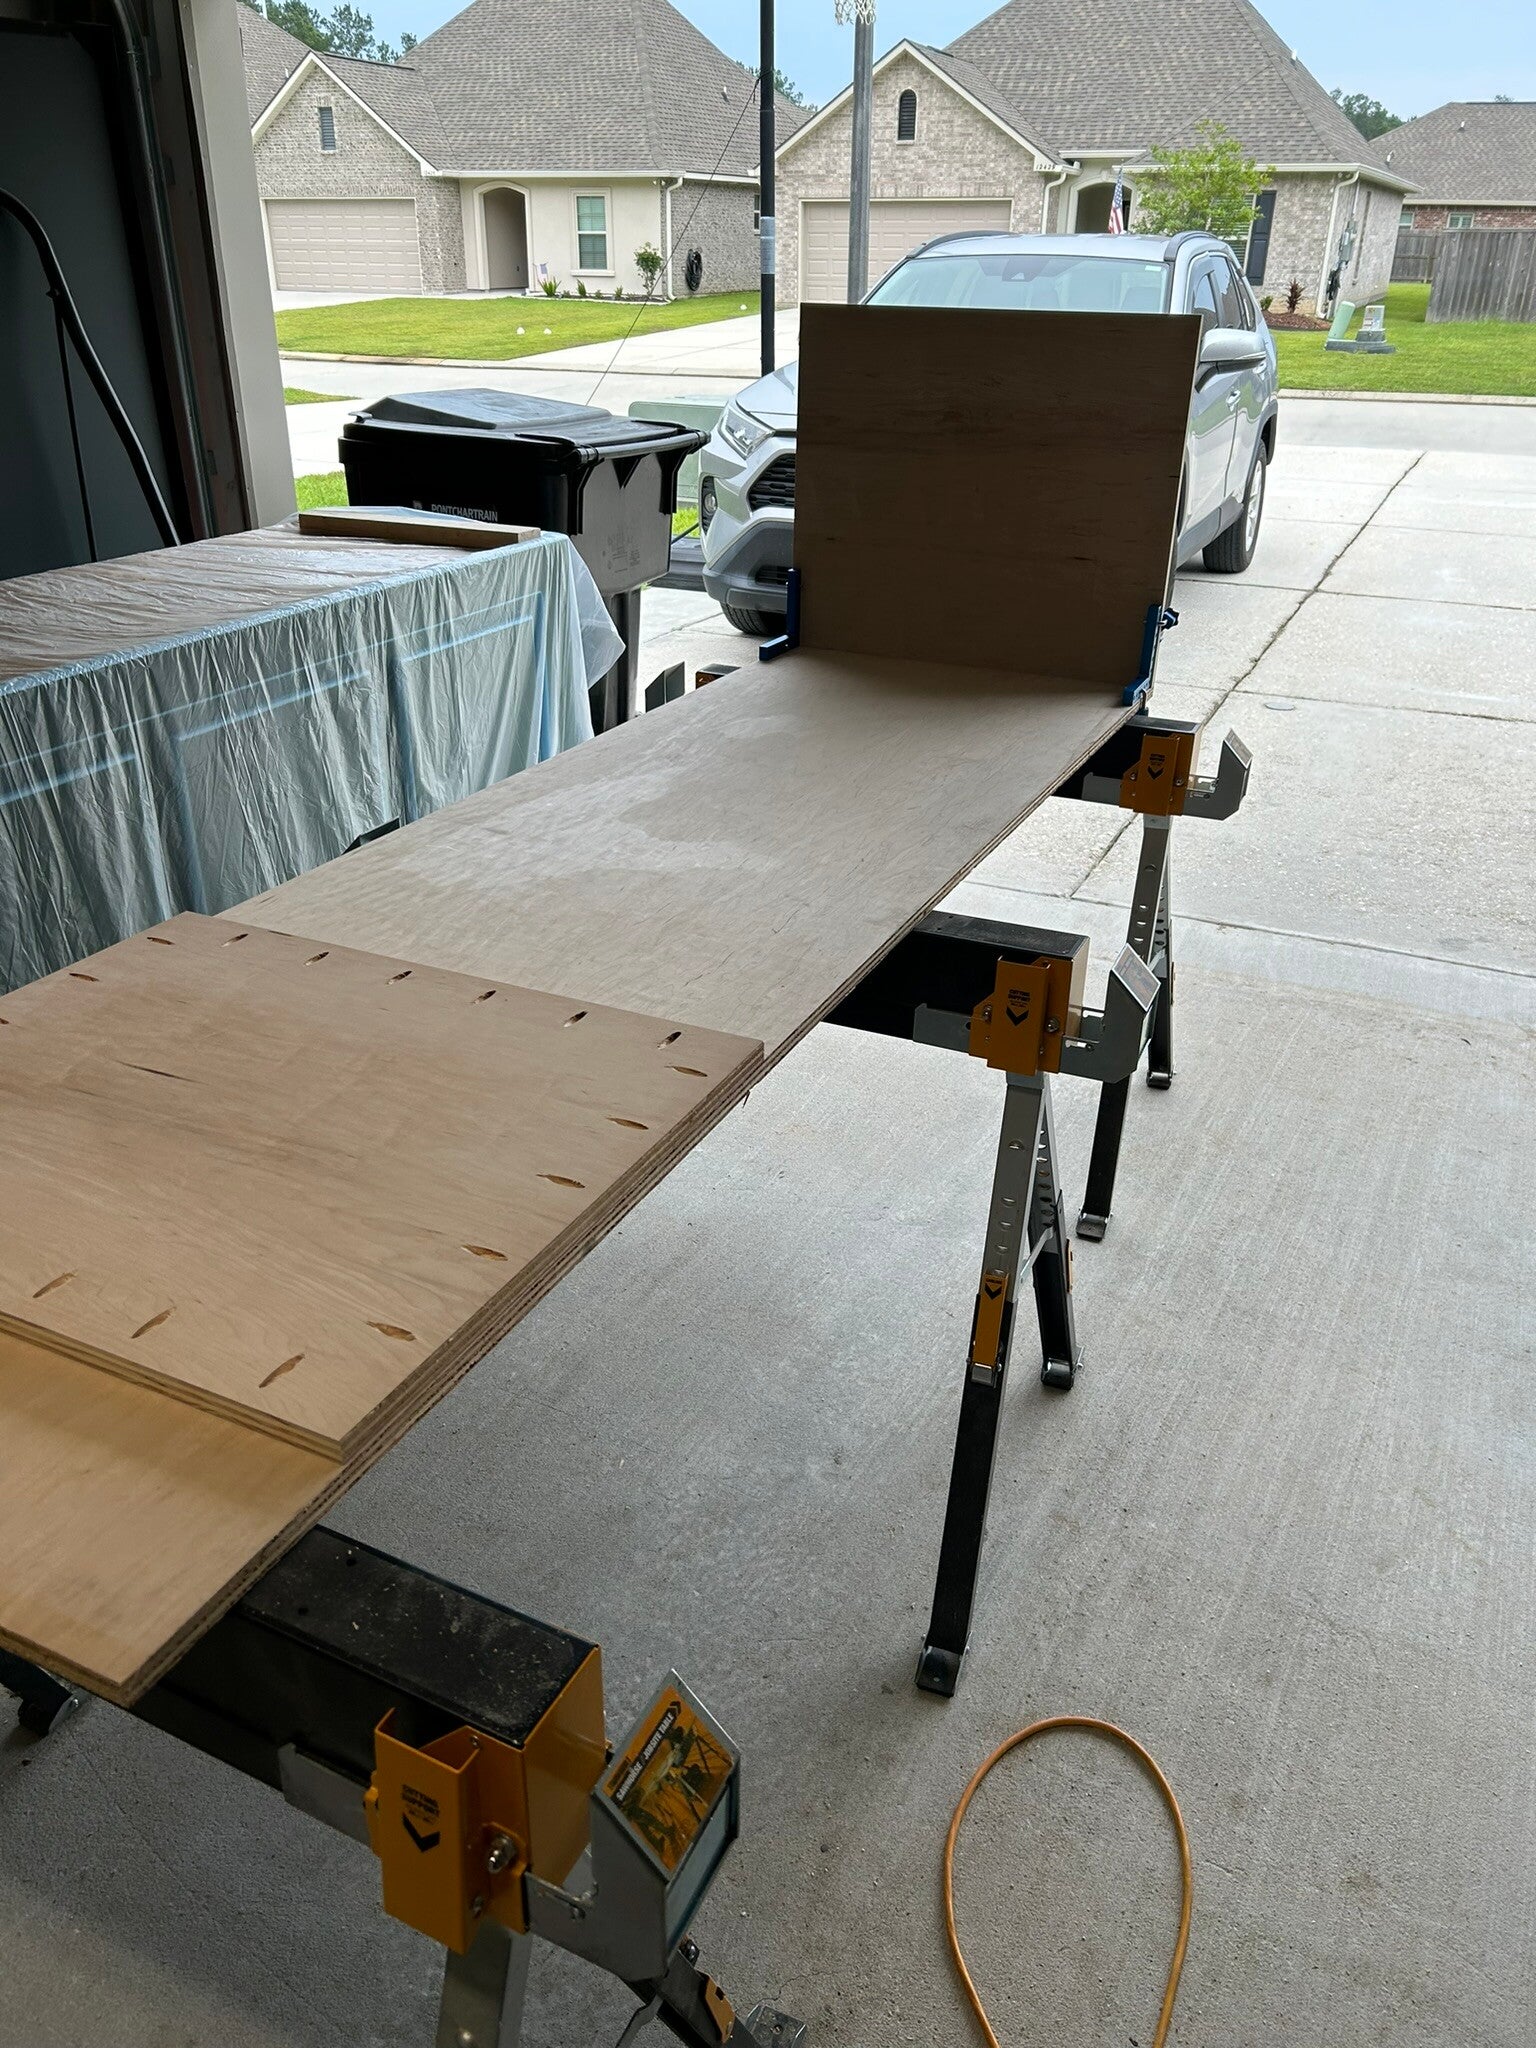
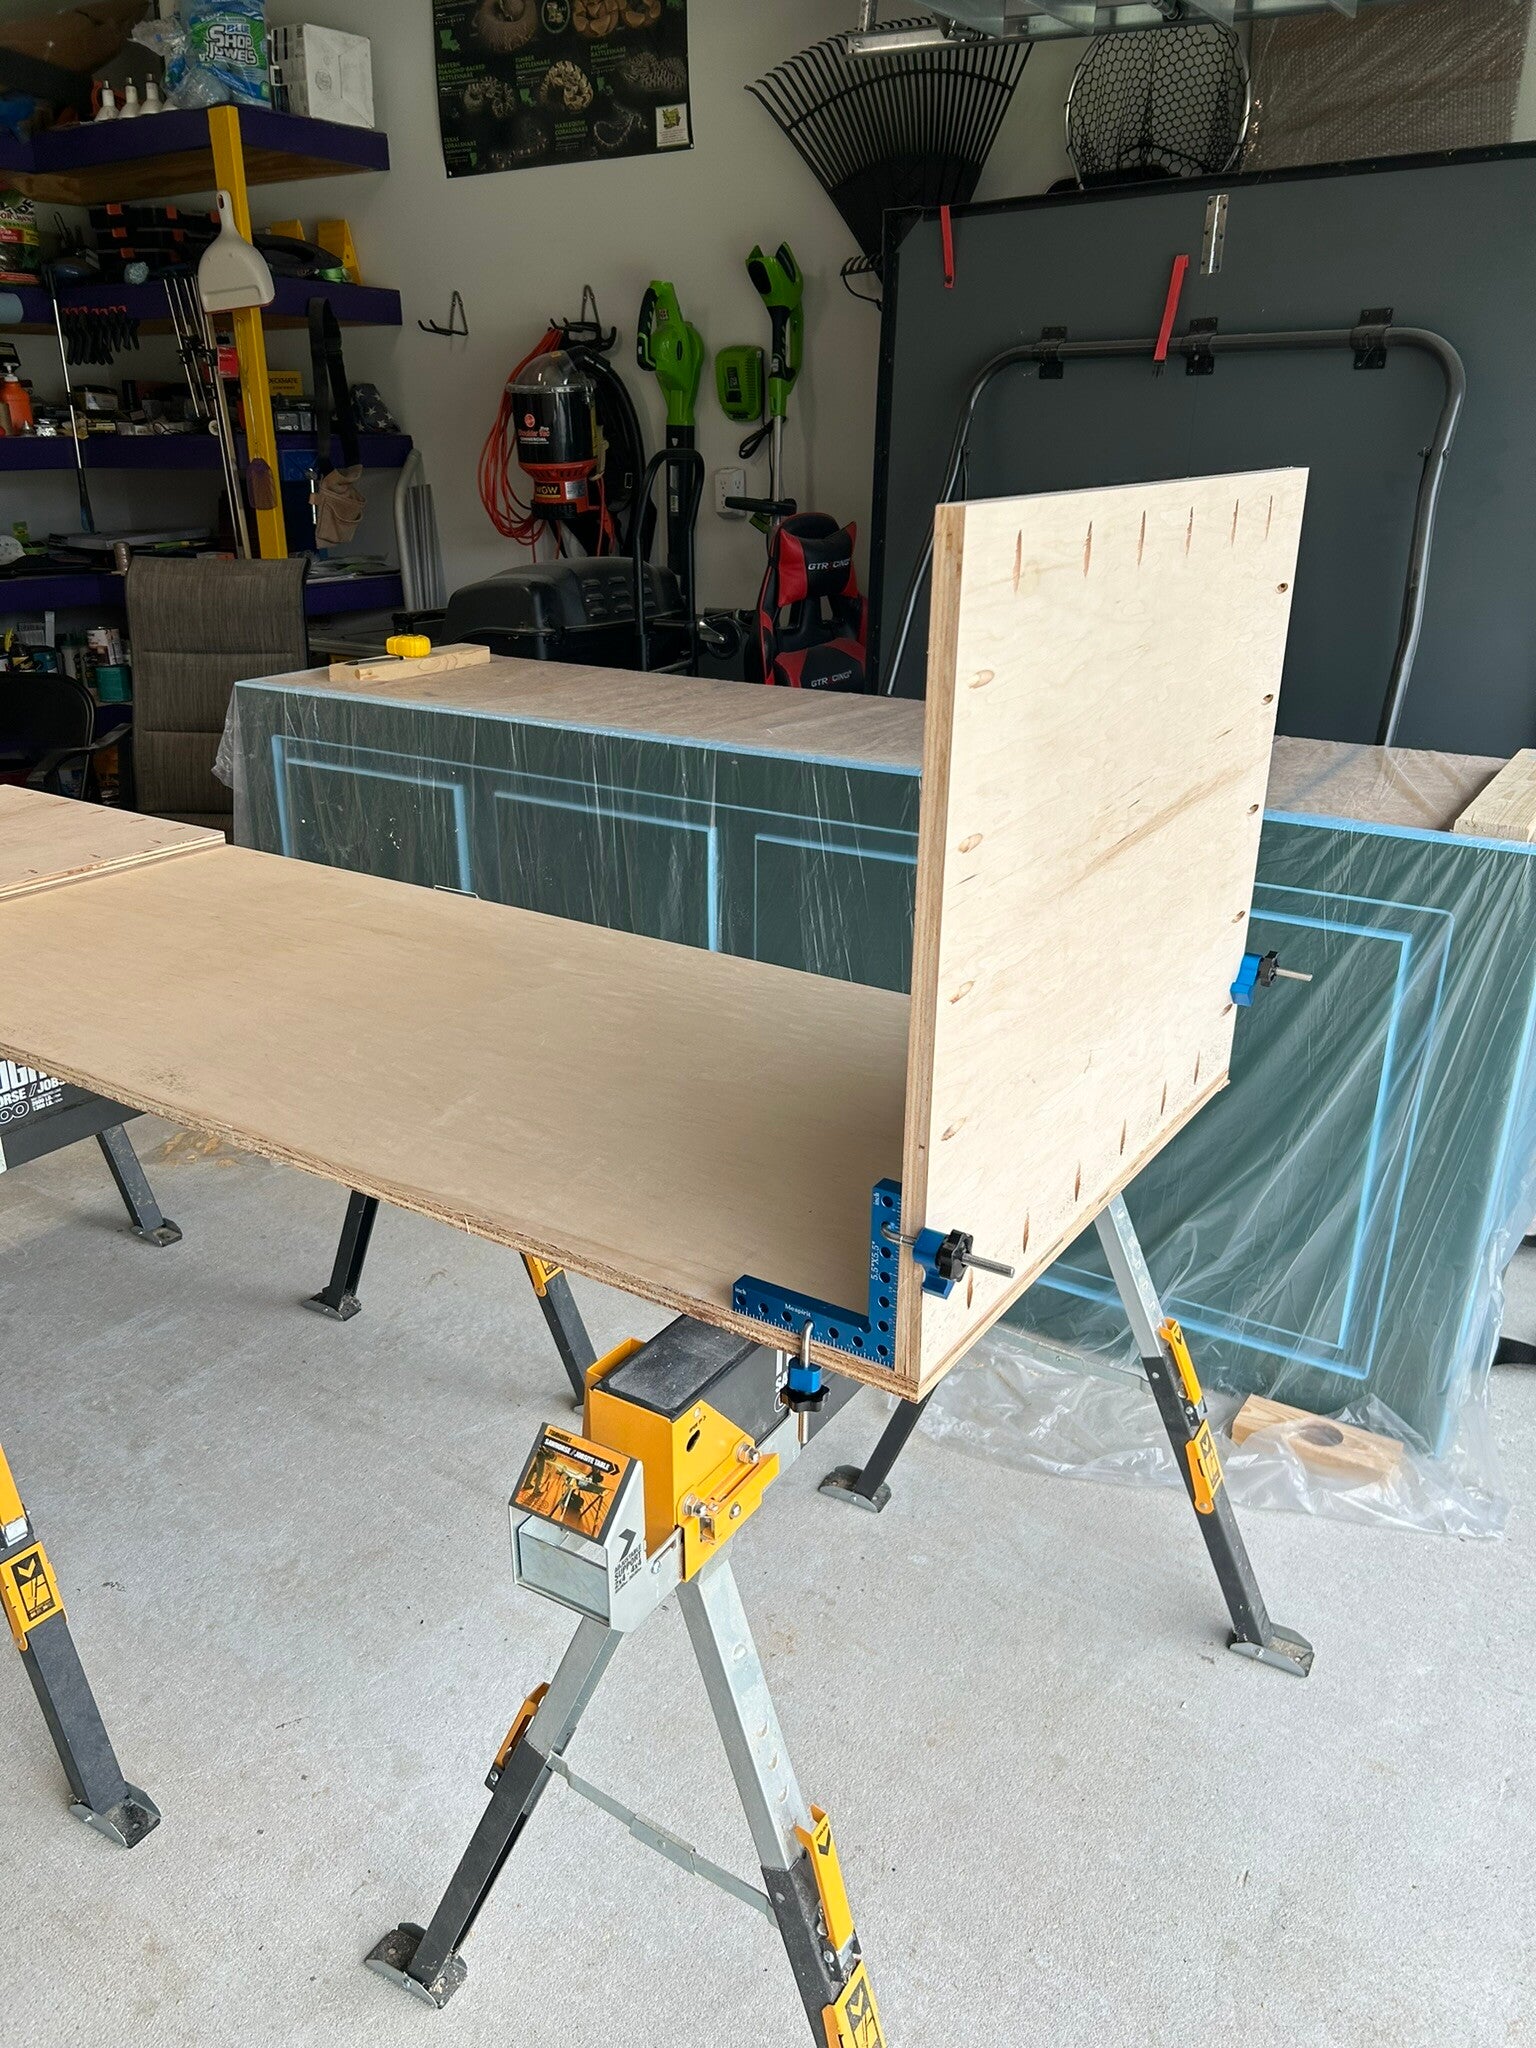
These corner clamps are heavy duty and hold a 90-degree angle perfectly.
5 Jun 24
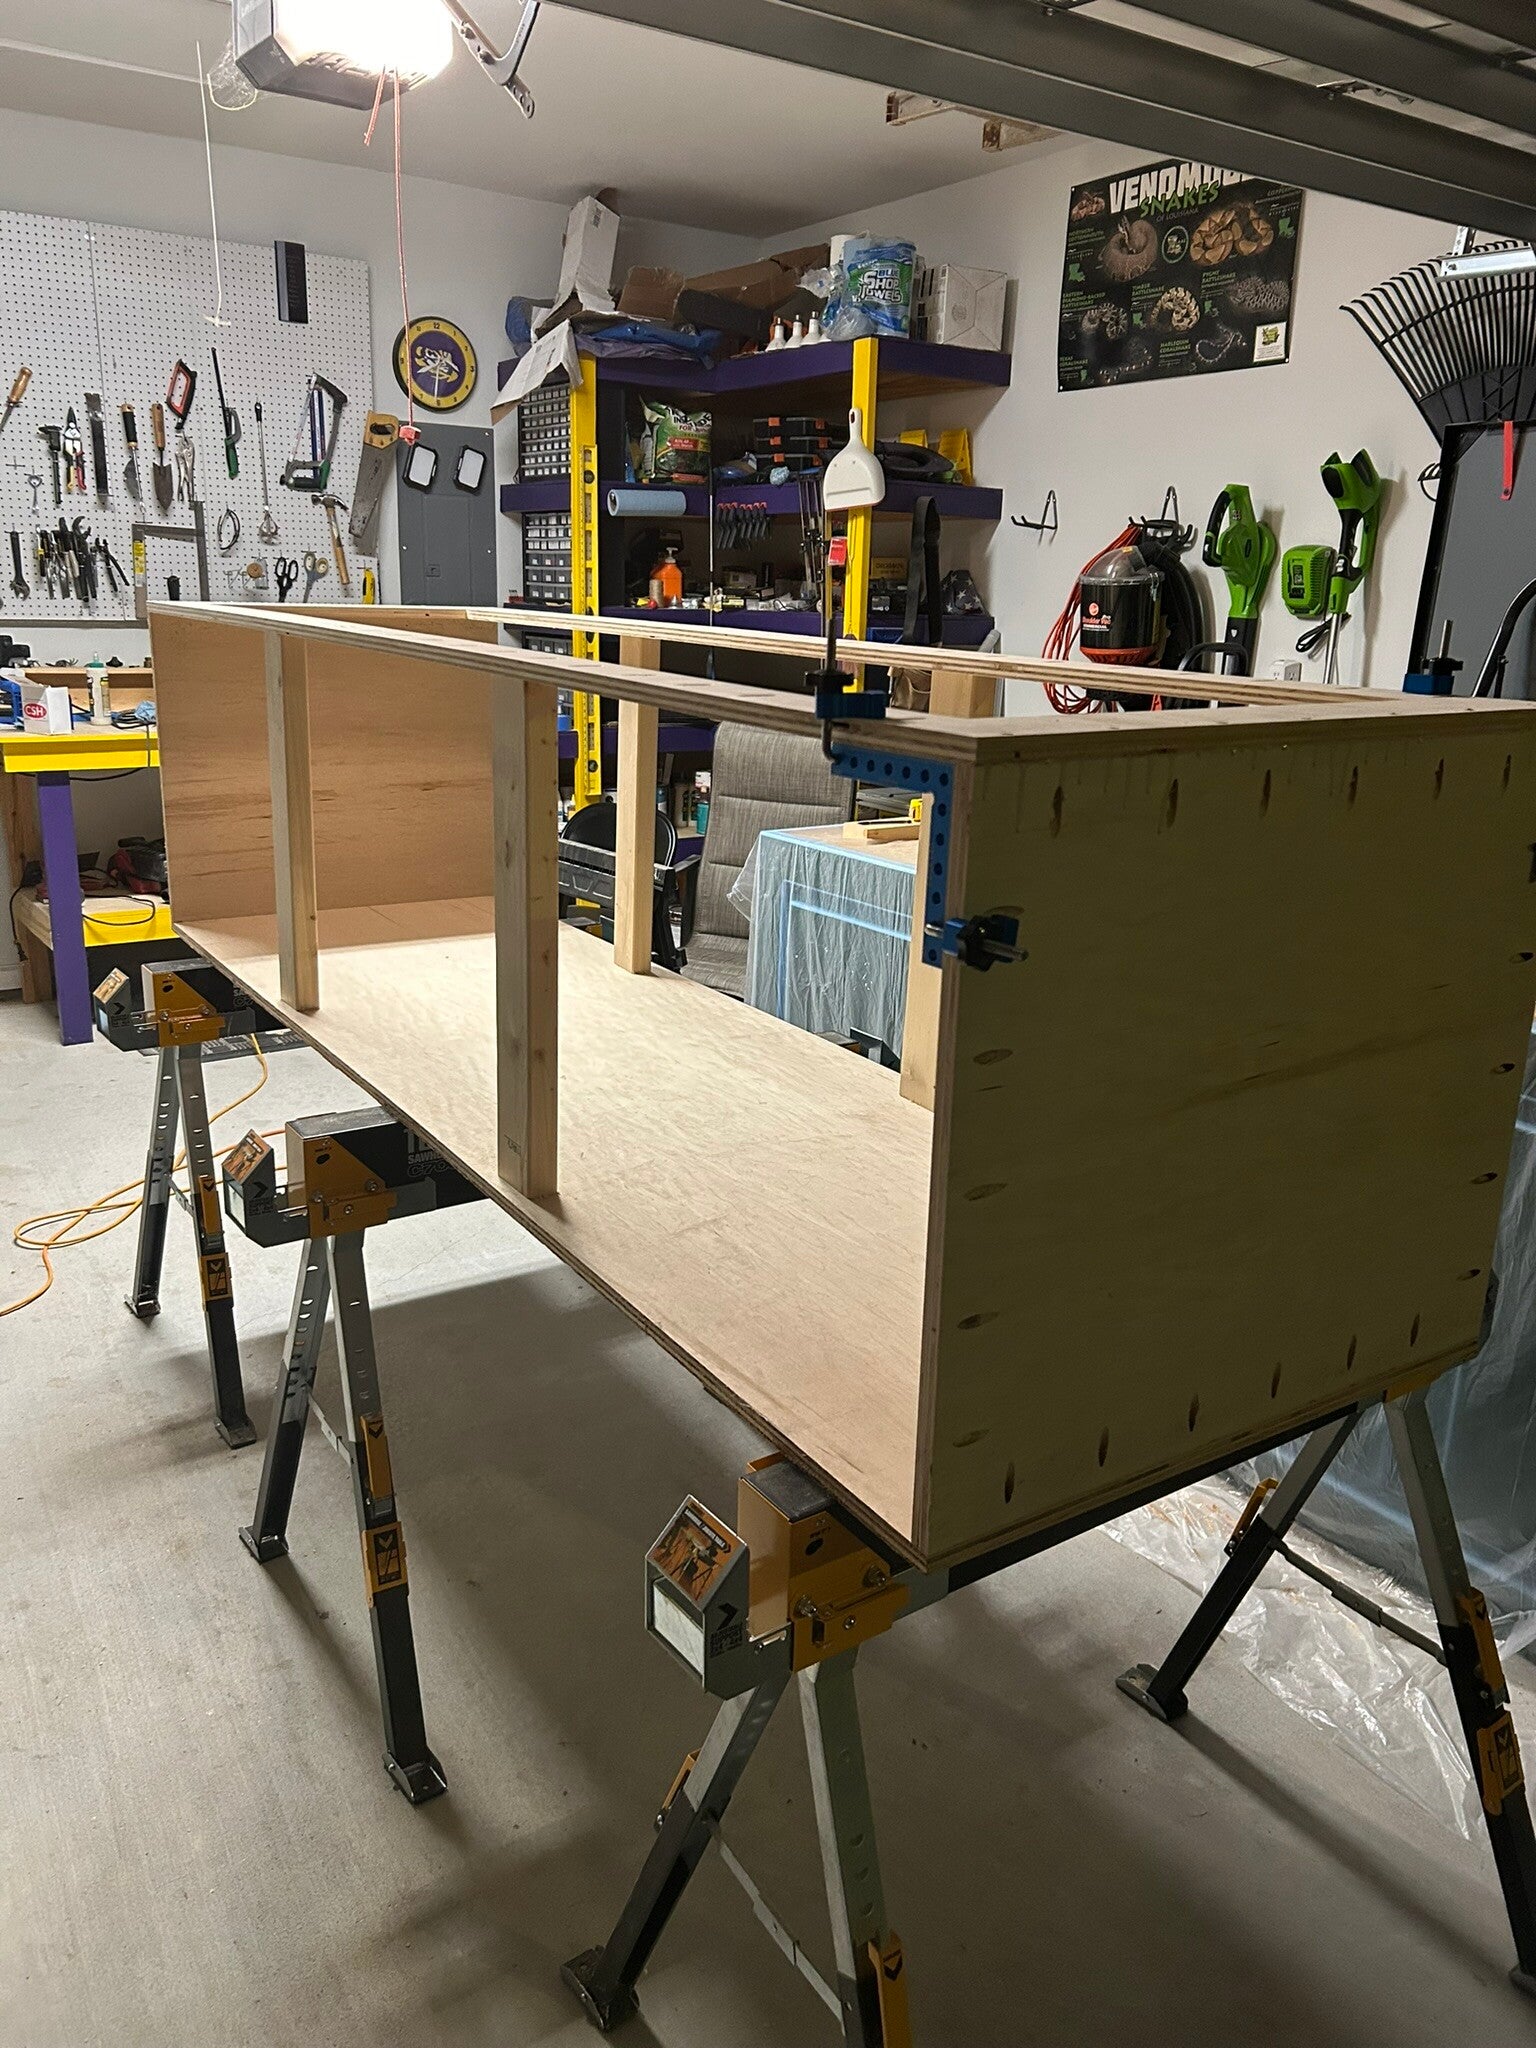
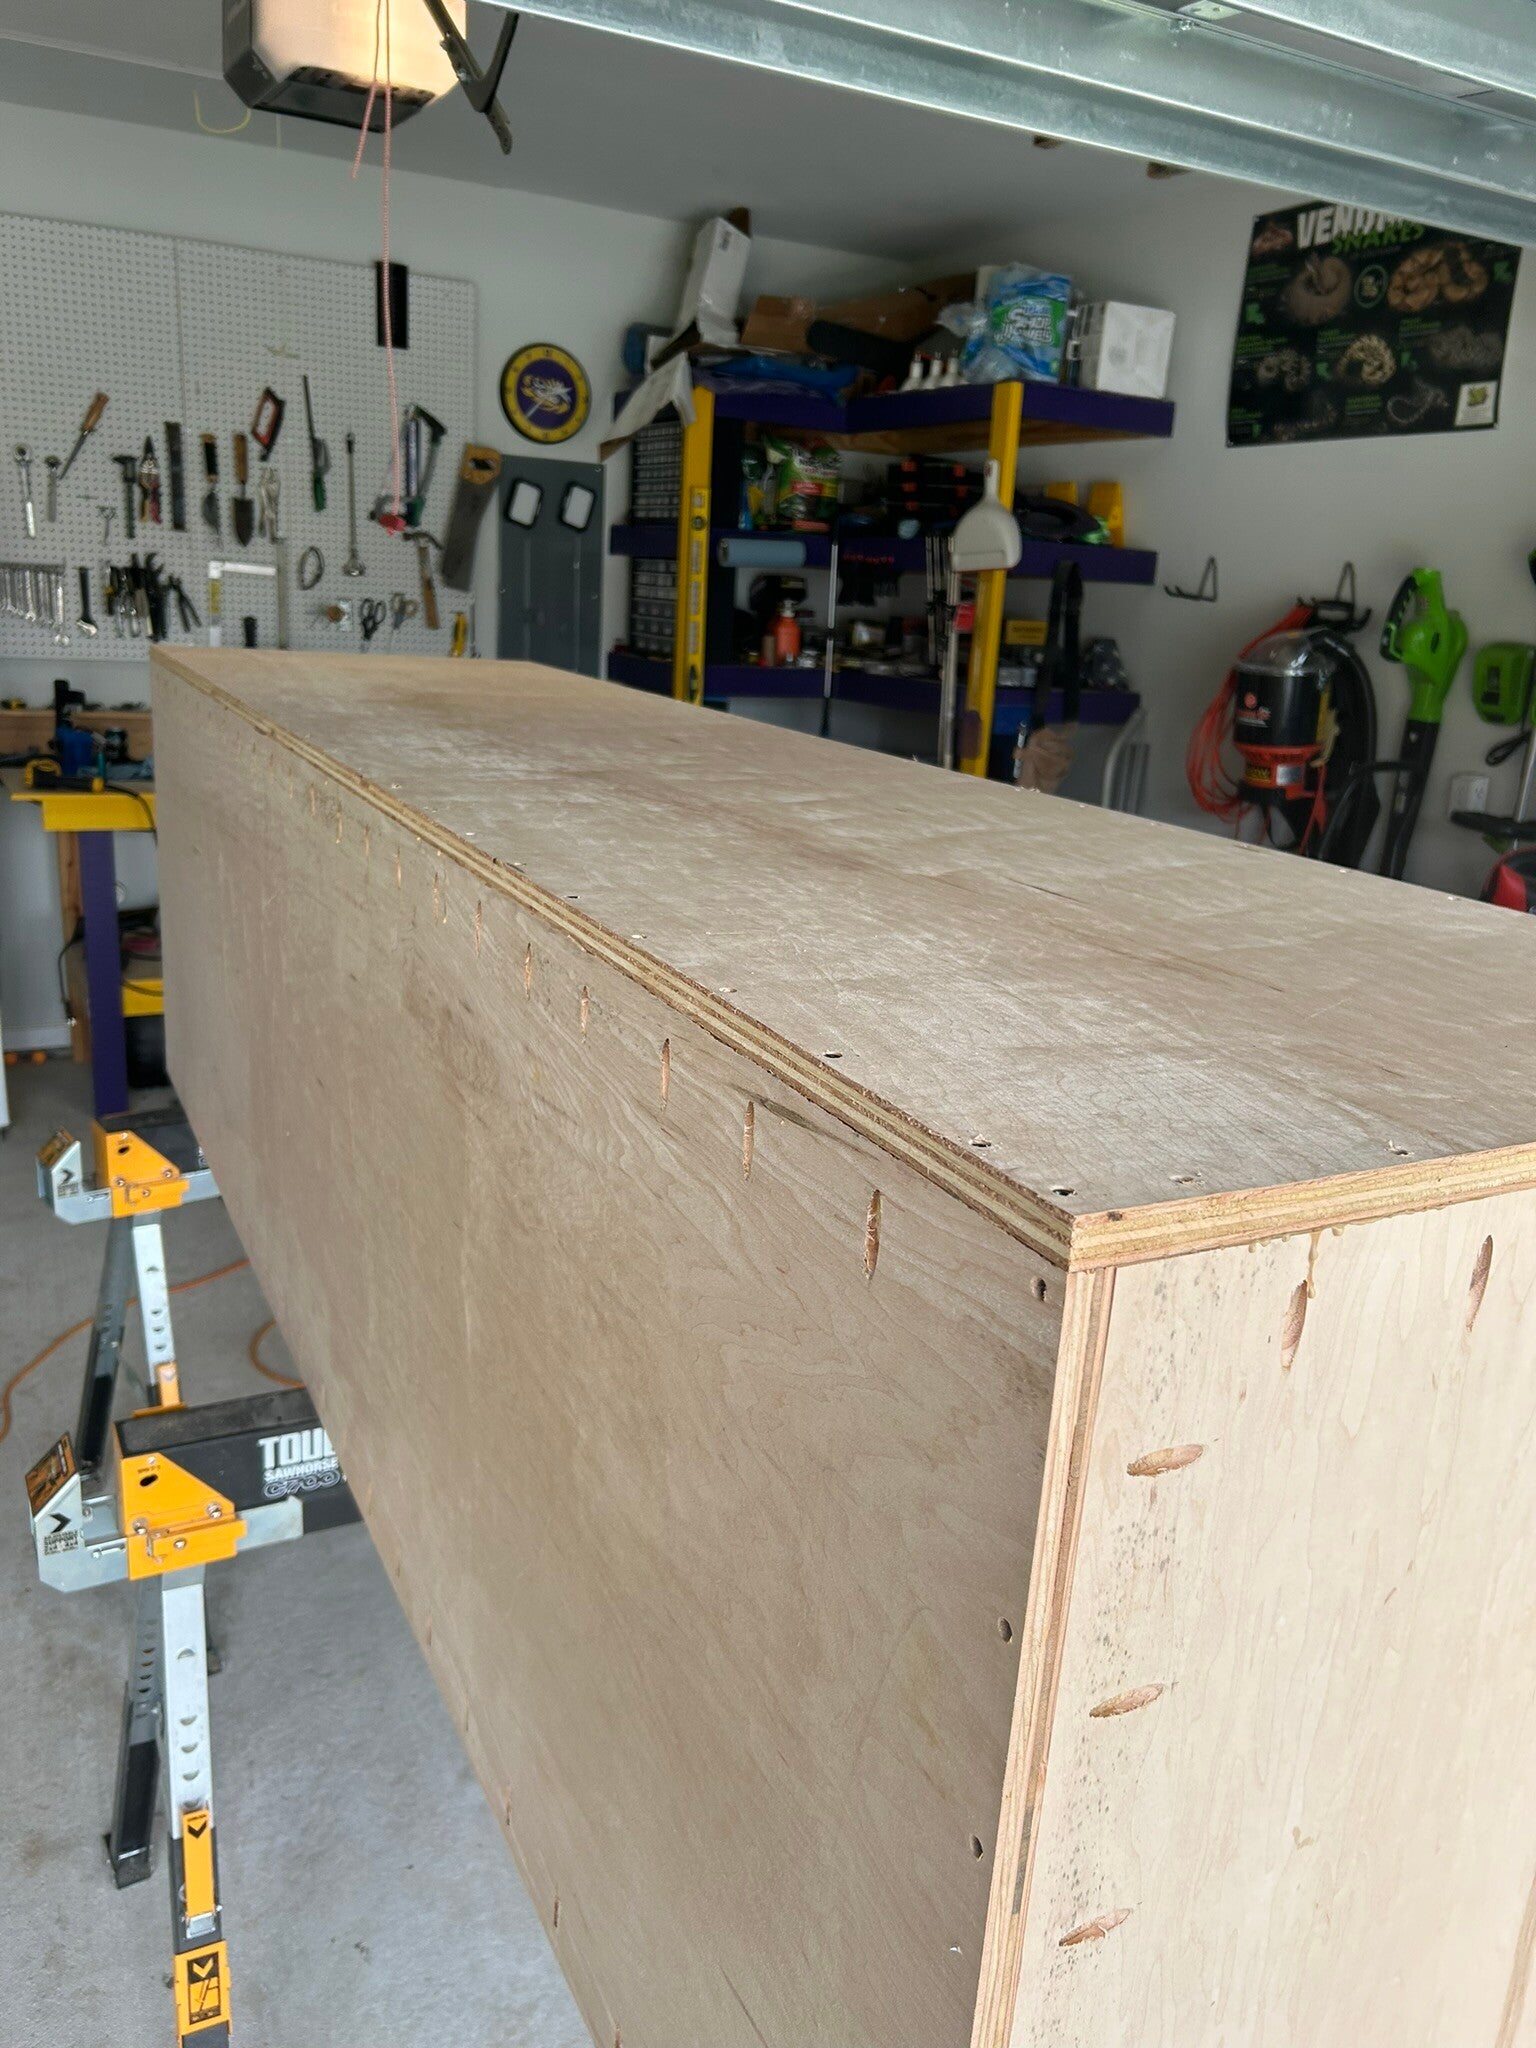
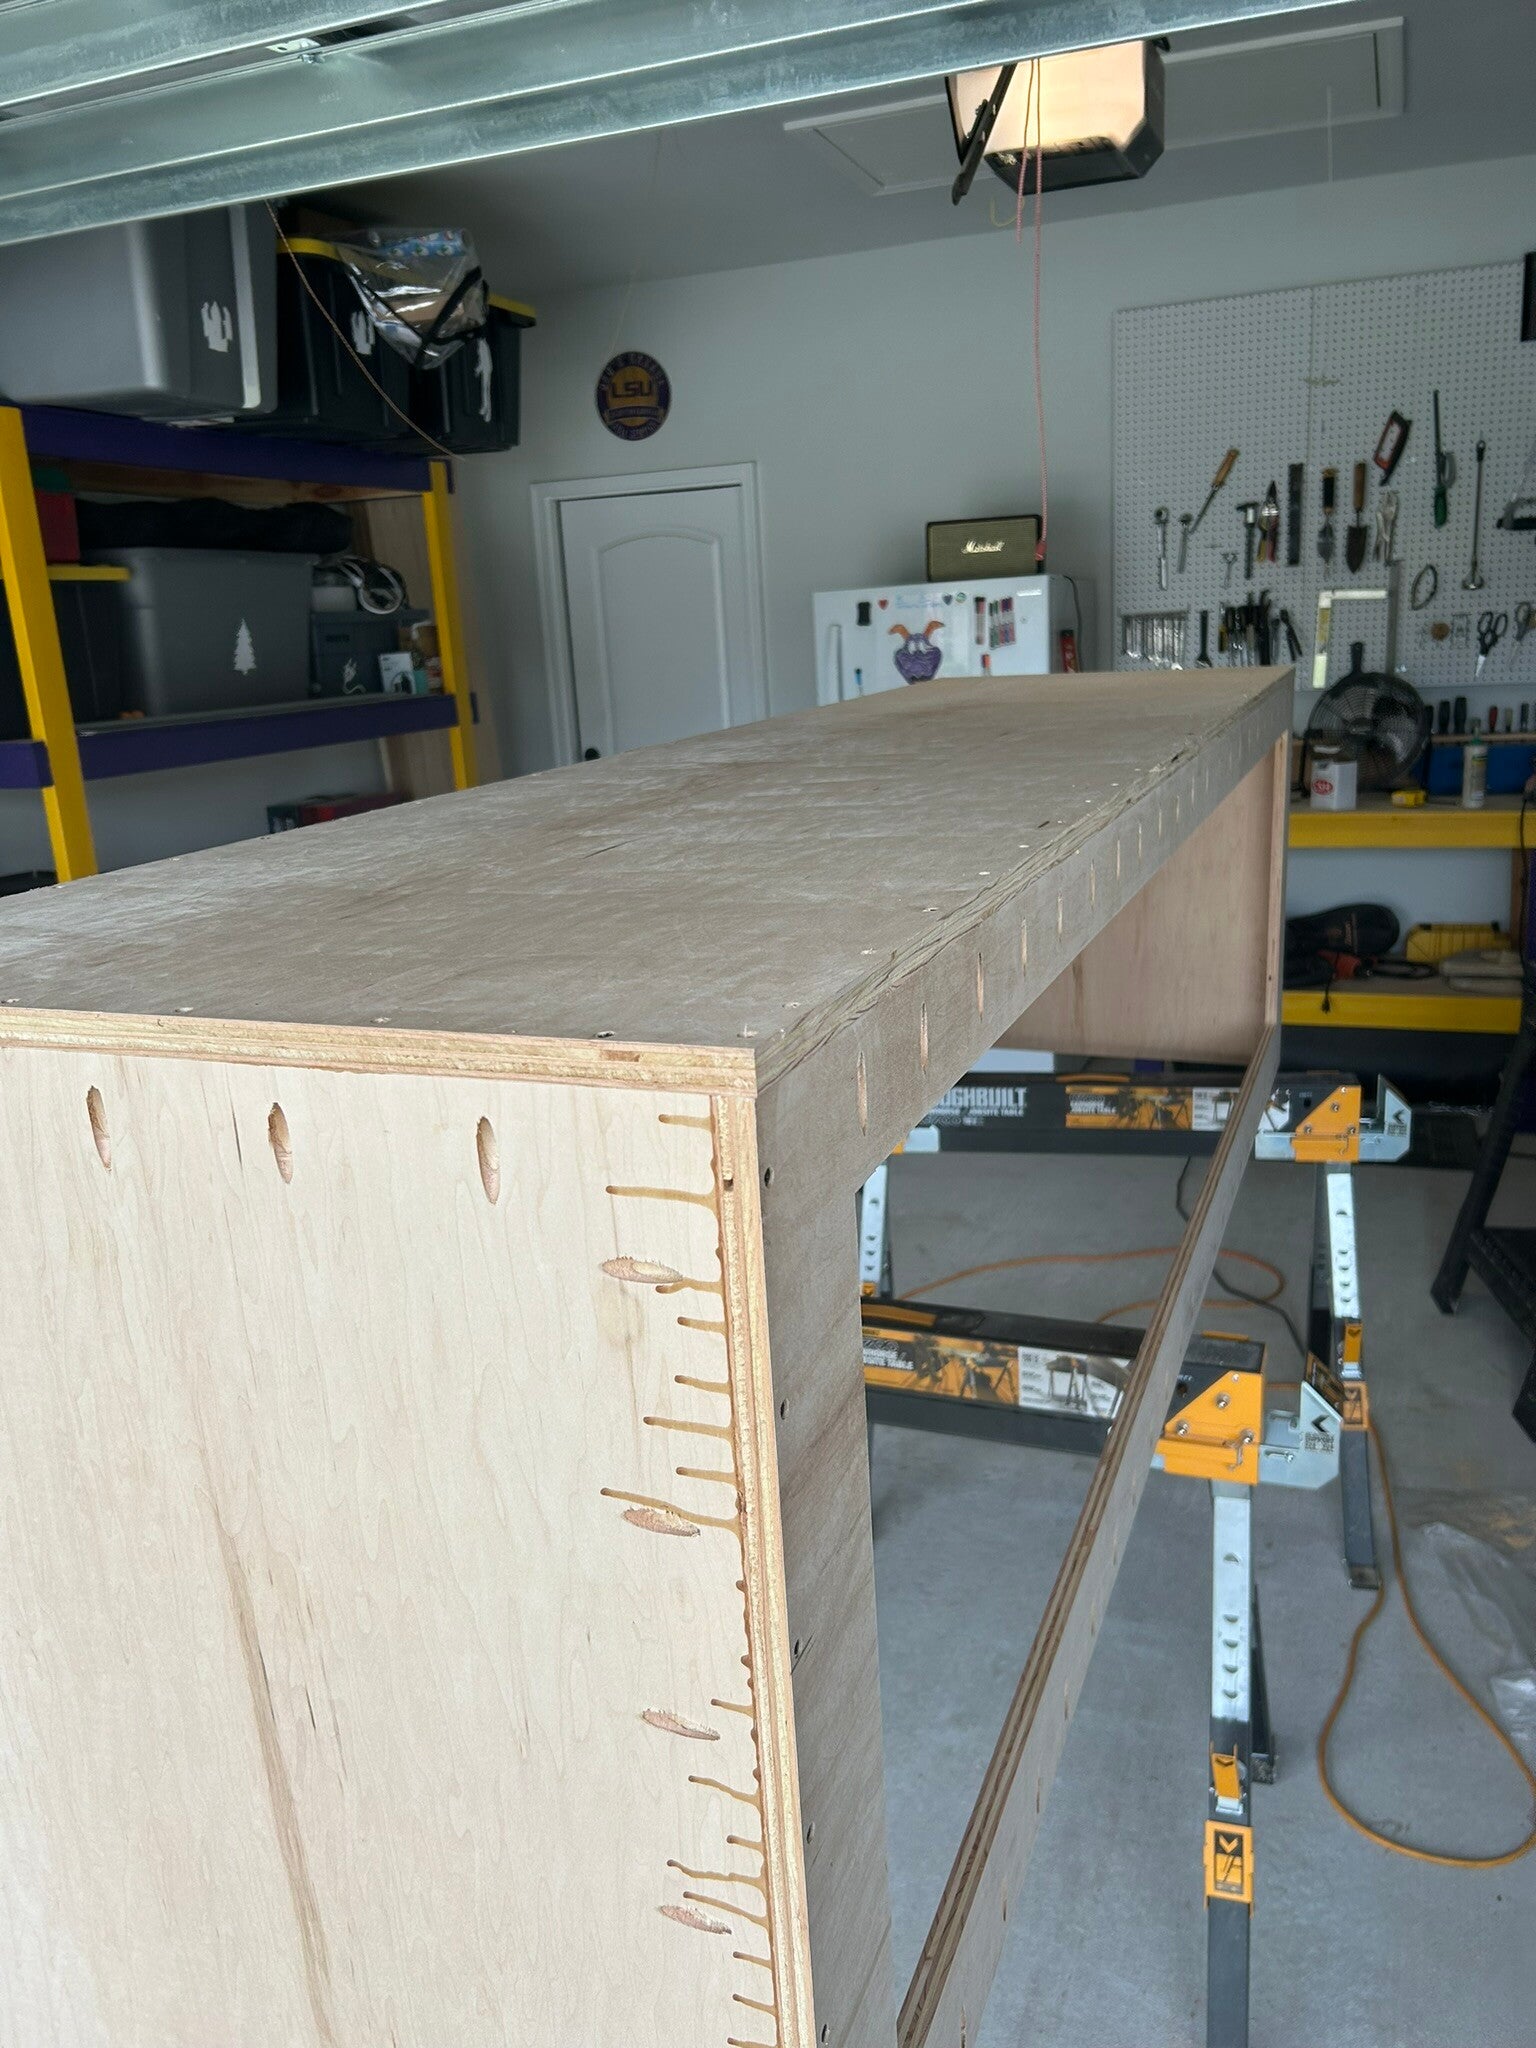
Back, front, and sides all attached. The 2x4's are just there to prevent sagging while I work on it.
5 Jun 24
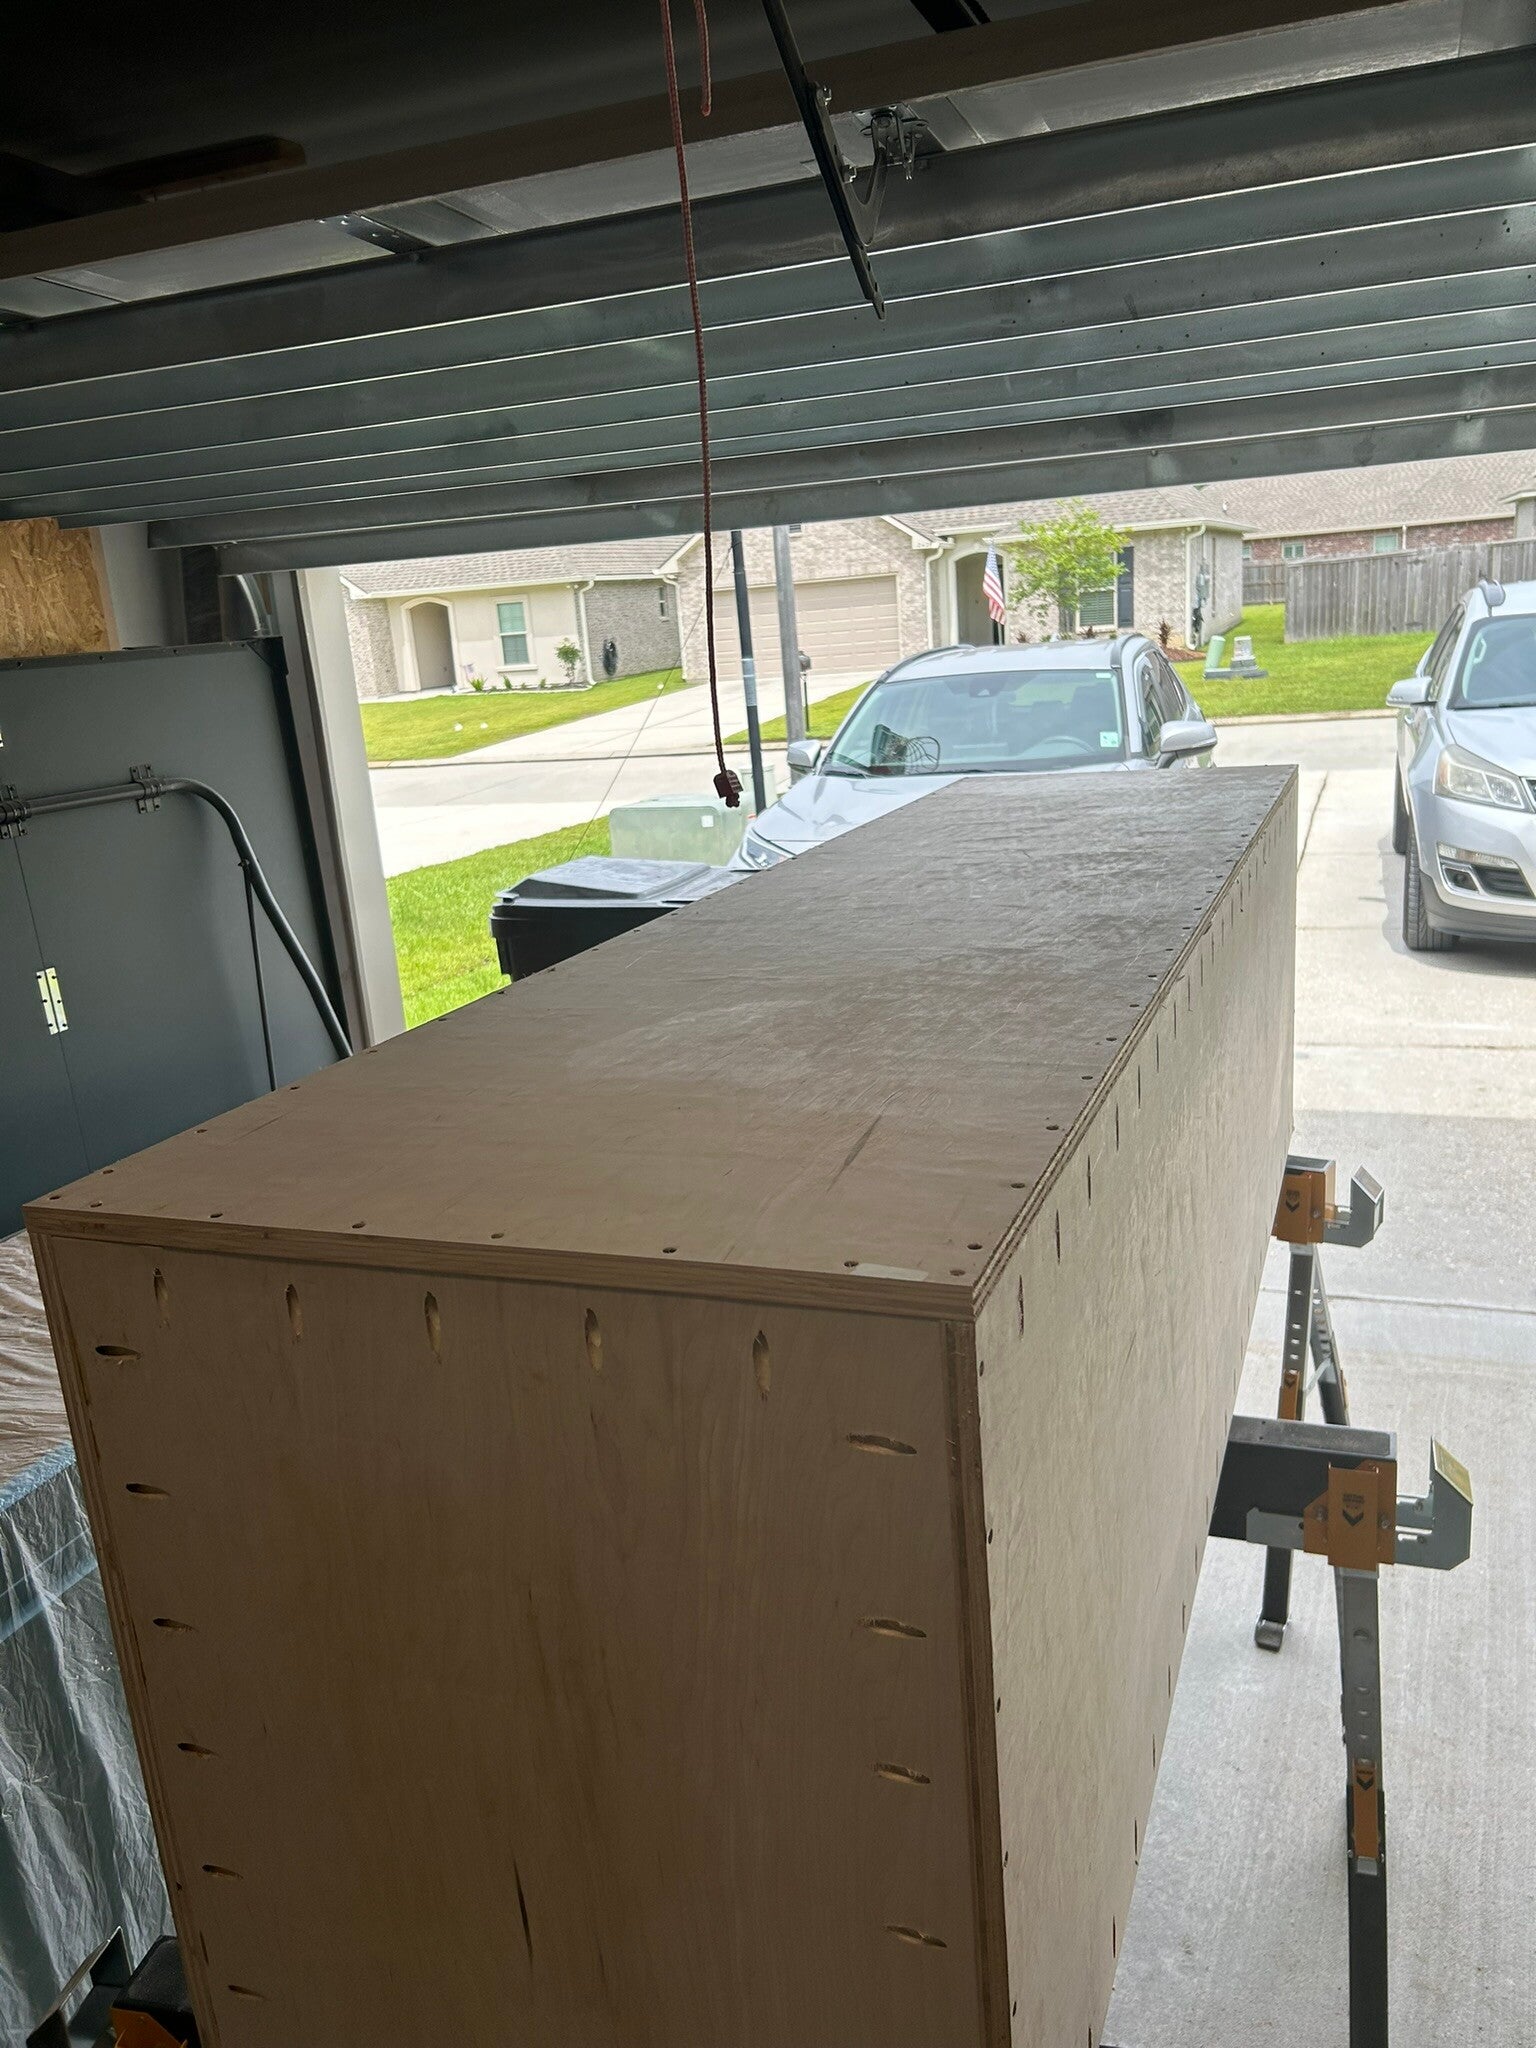
Bottom attached.
6 Jun 24
6 Jun 24
6 Jun 24
6 Jun 24
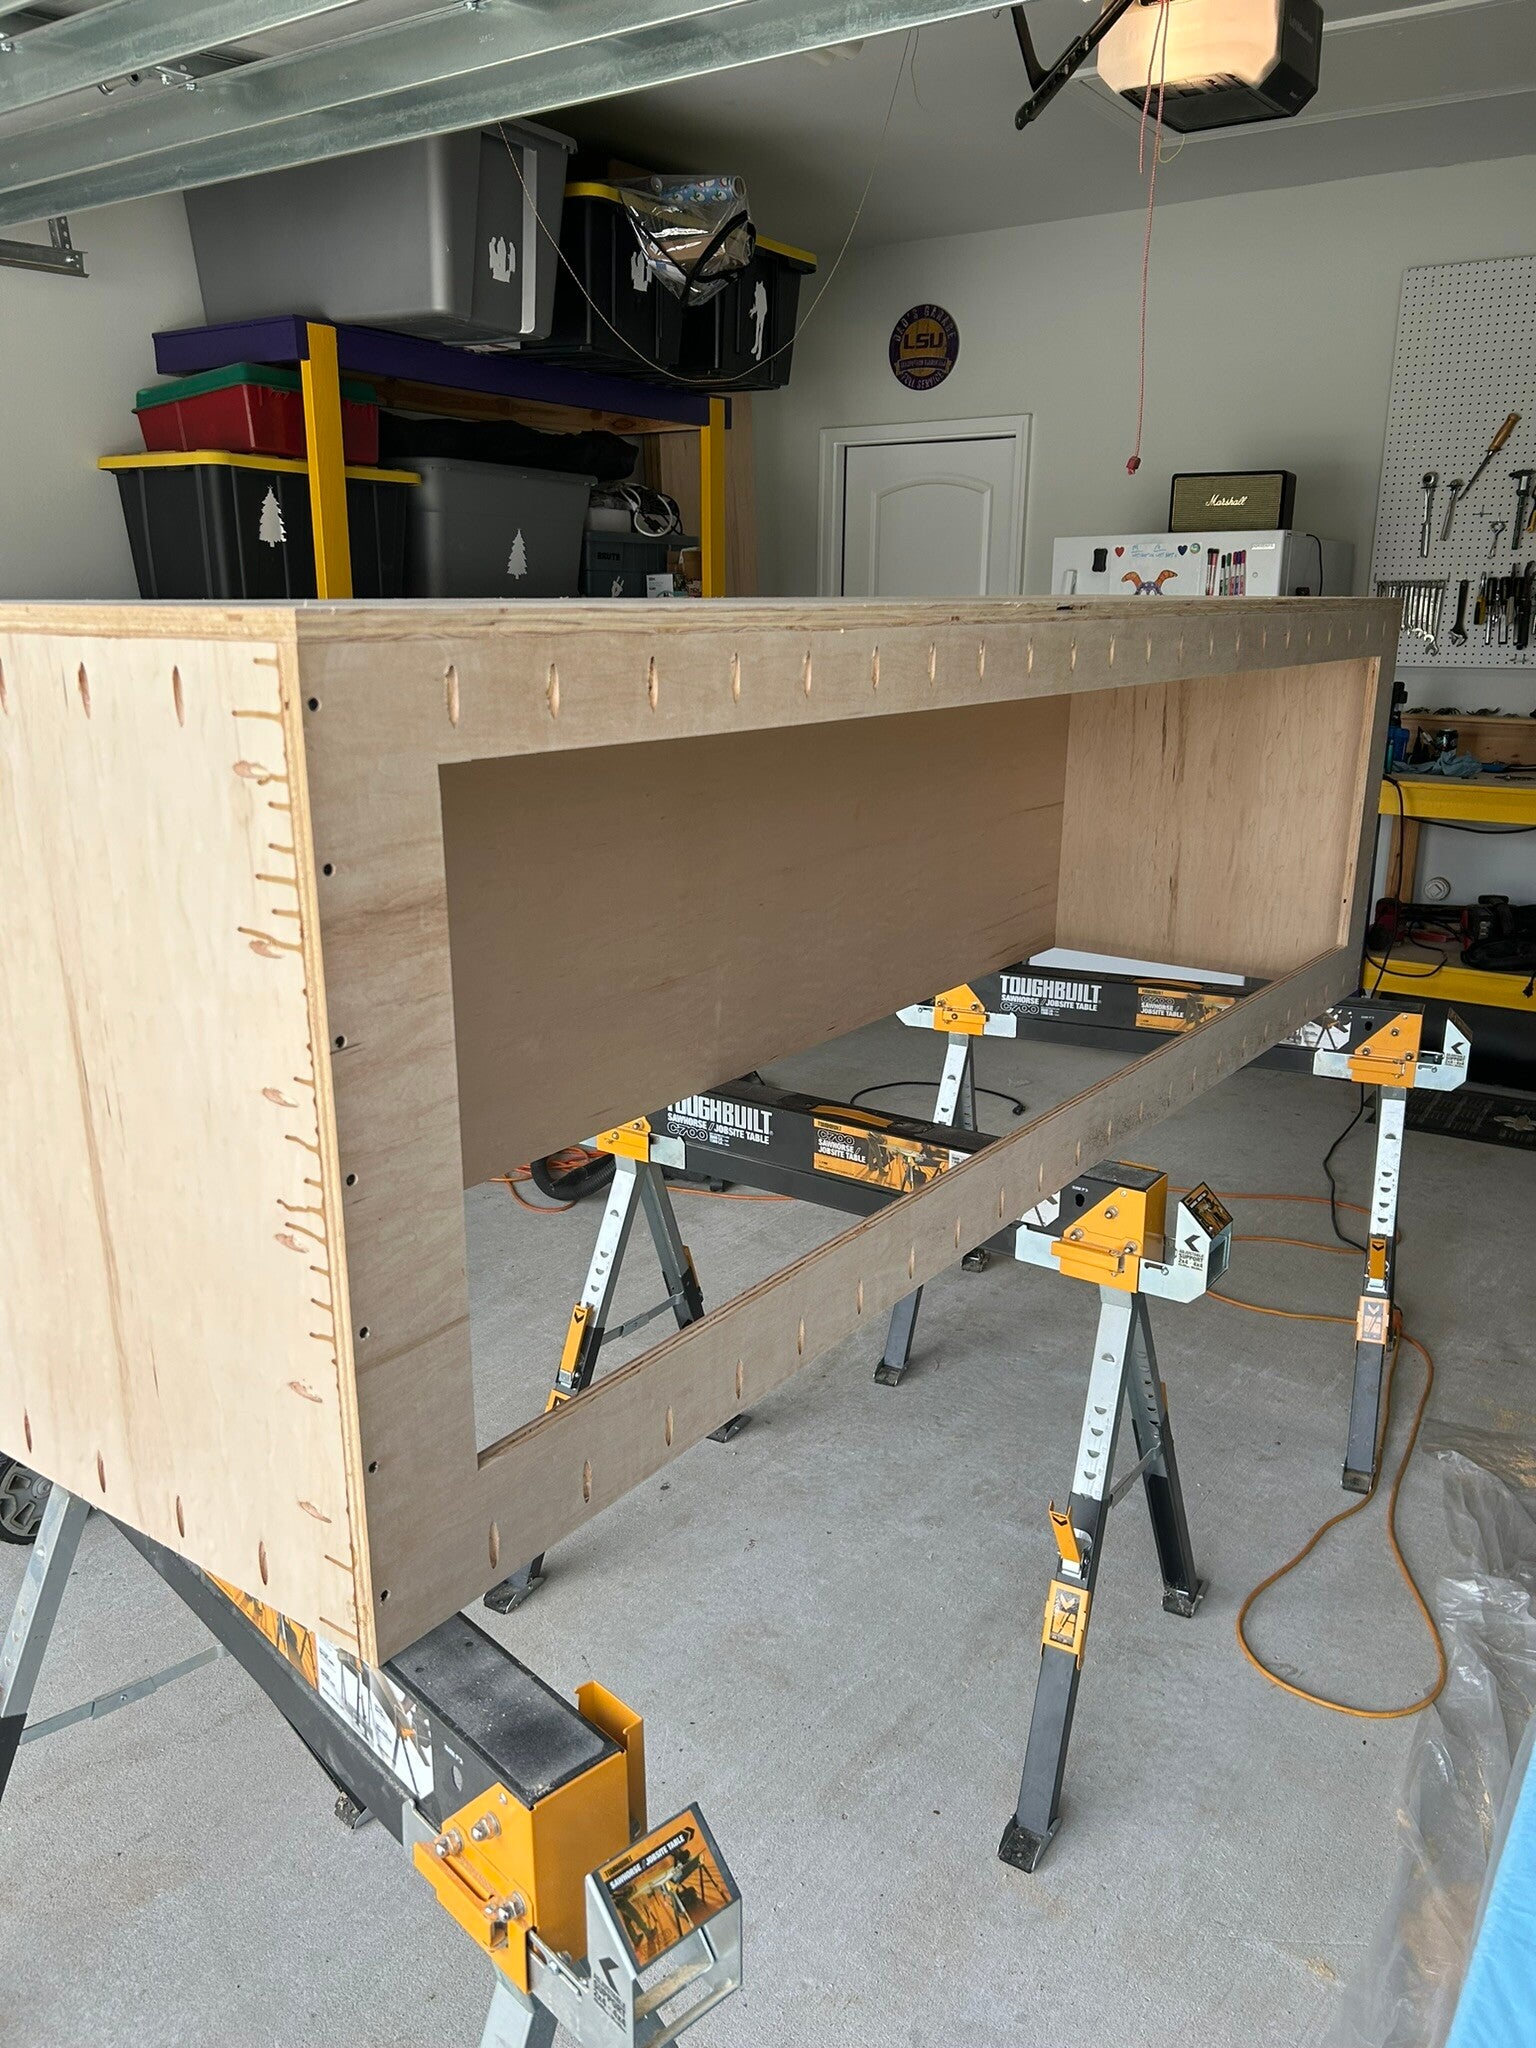
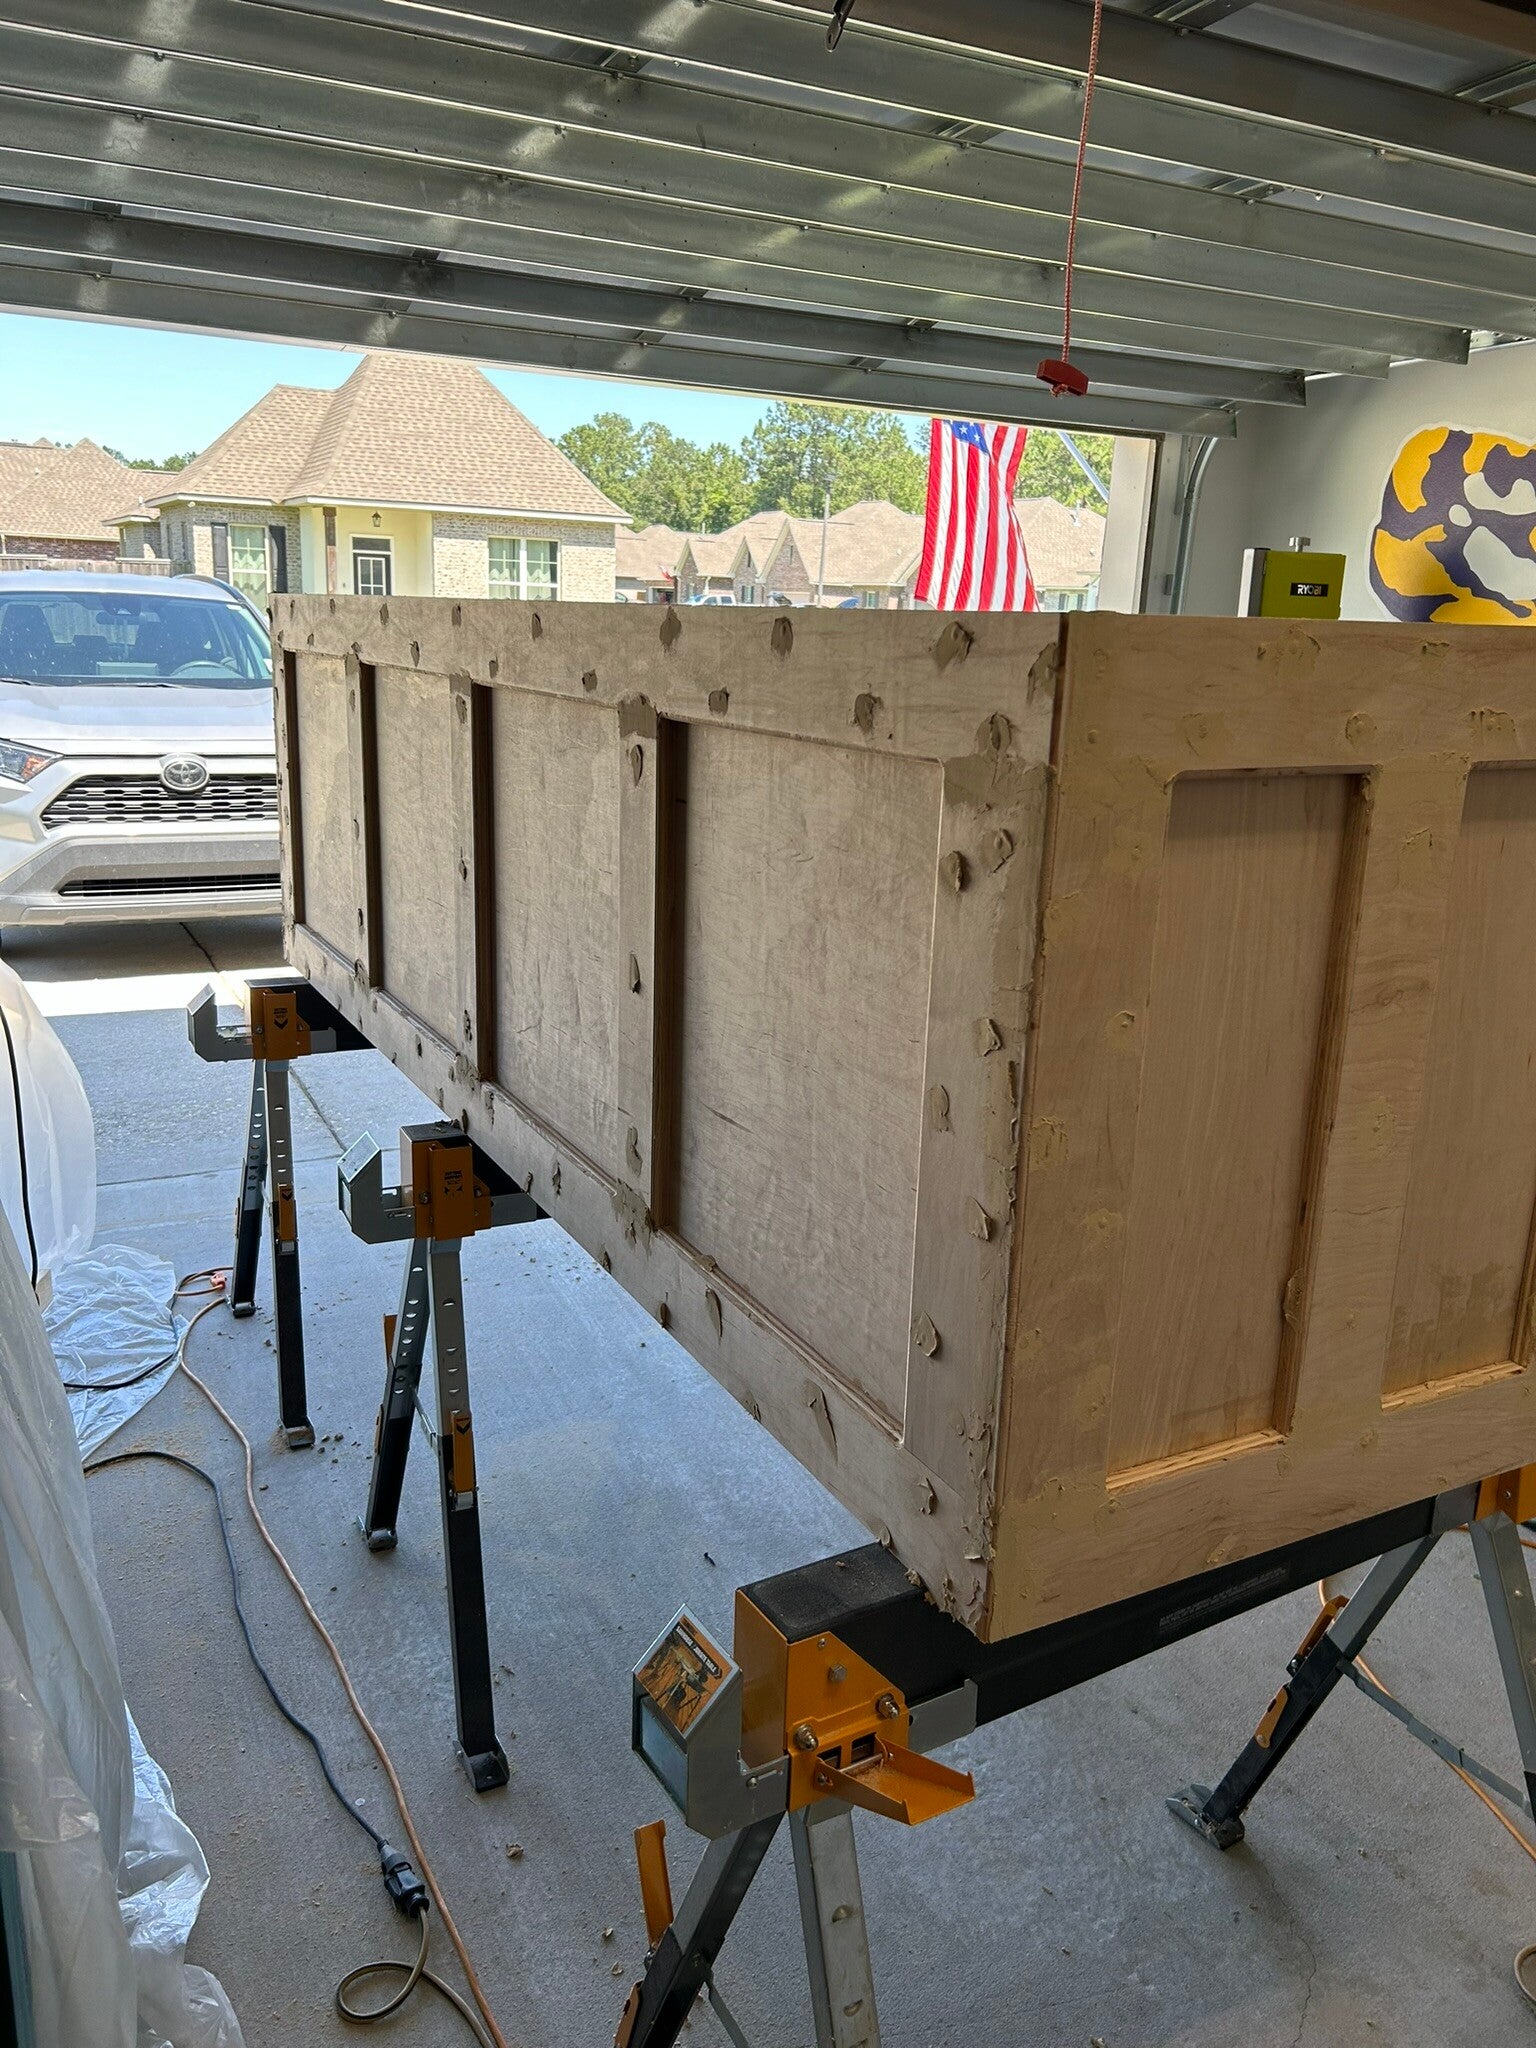
Starting to put the edge framing on. This makes it look better but also provides crucial support for the insane weight of the water.
6 Jun 24
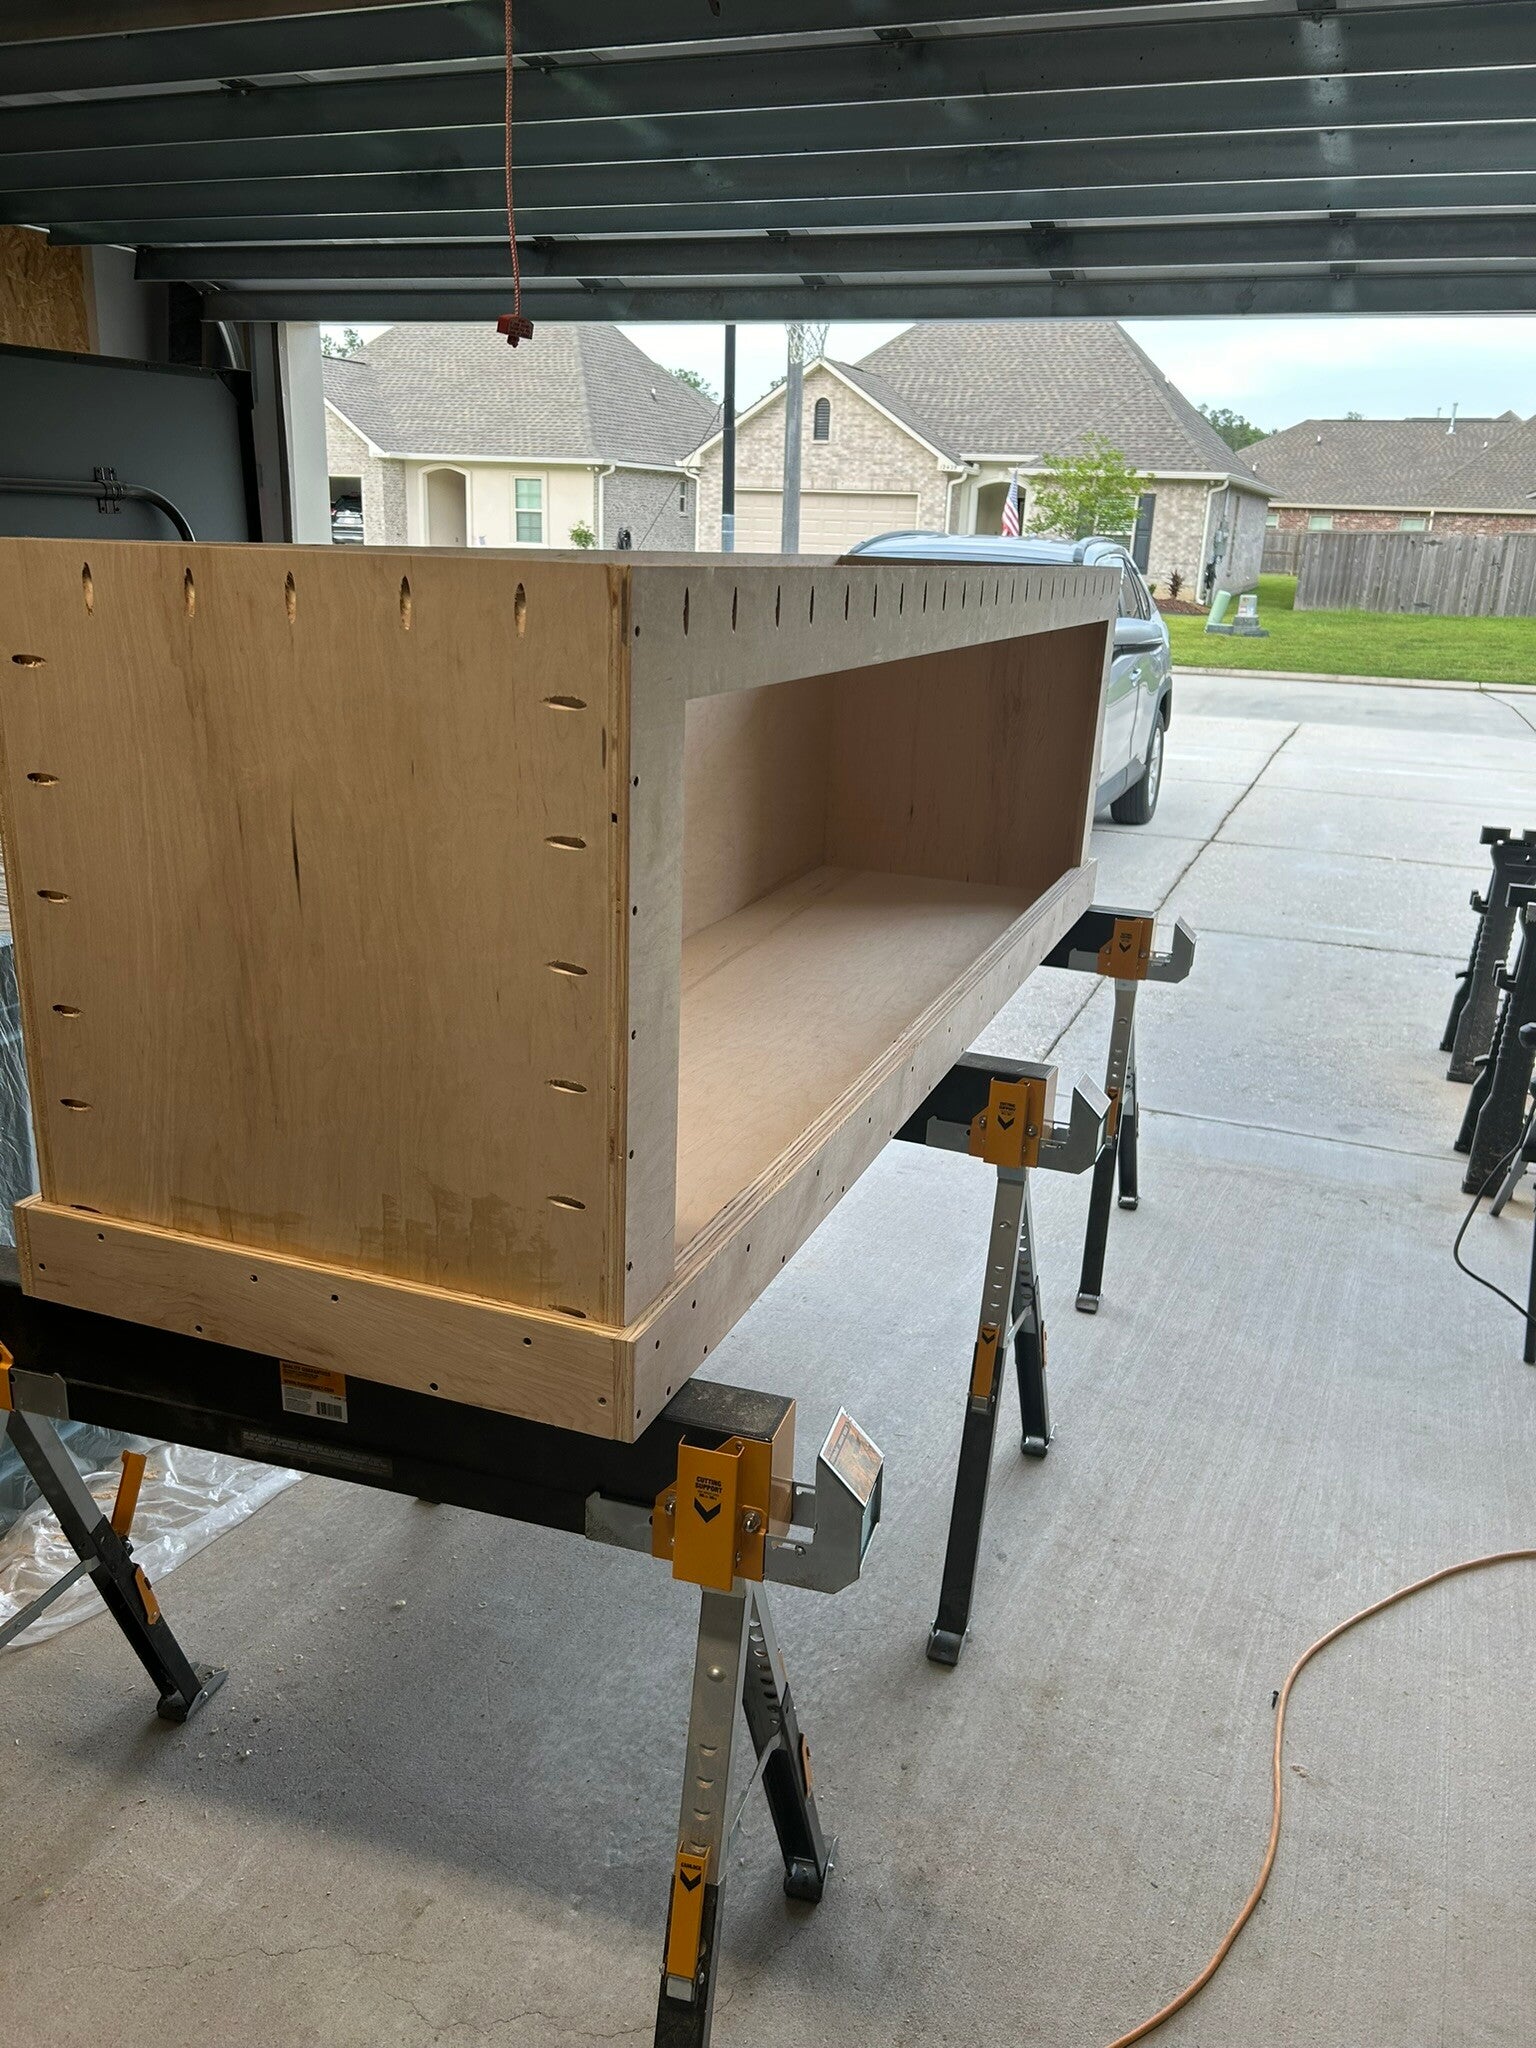
Side framing complete.
7 Jun 24
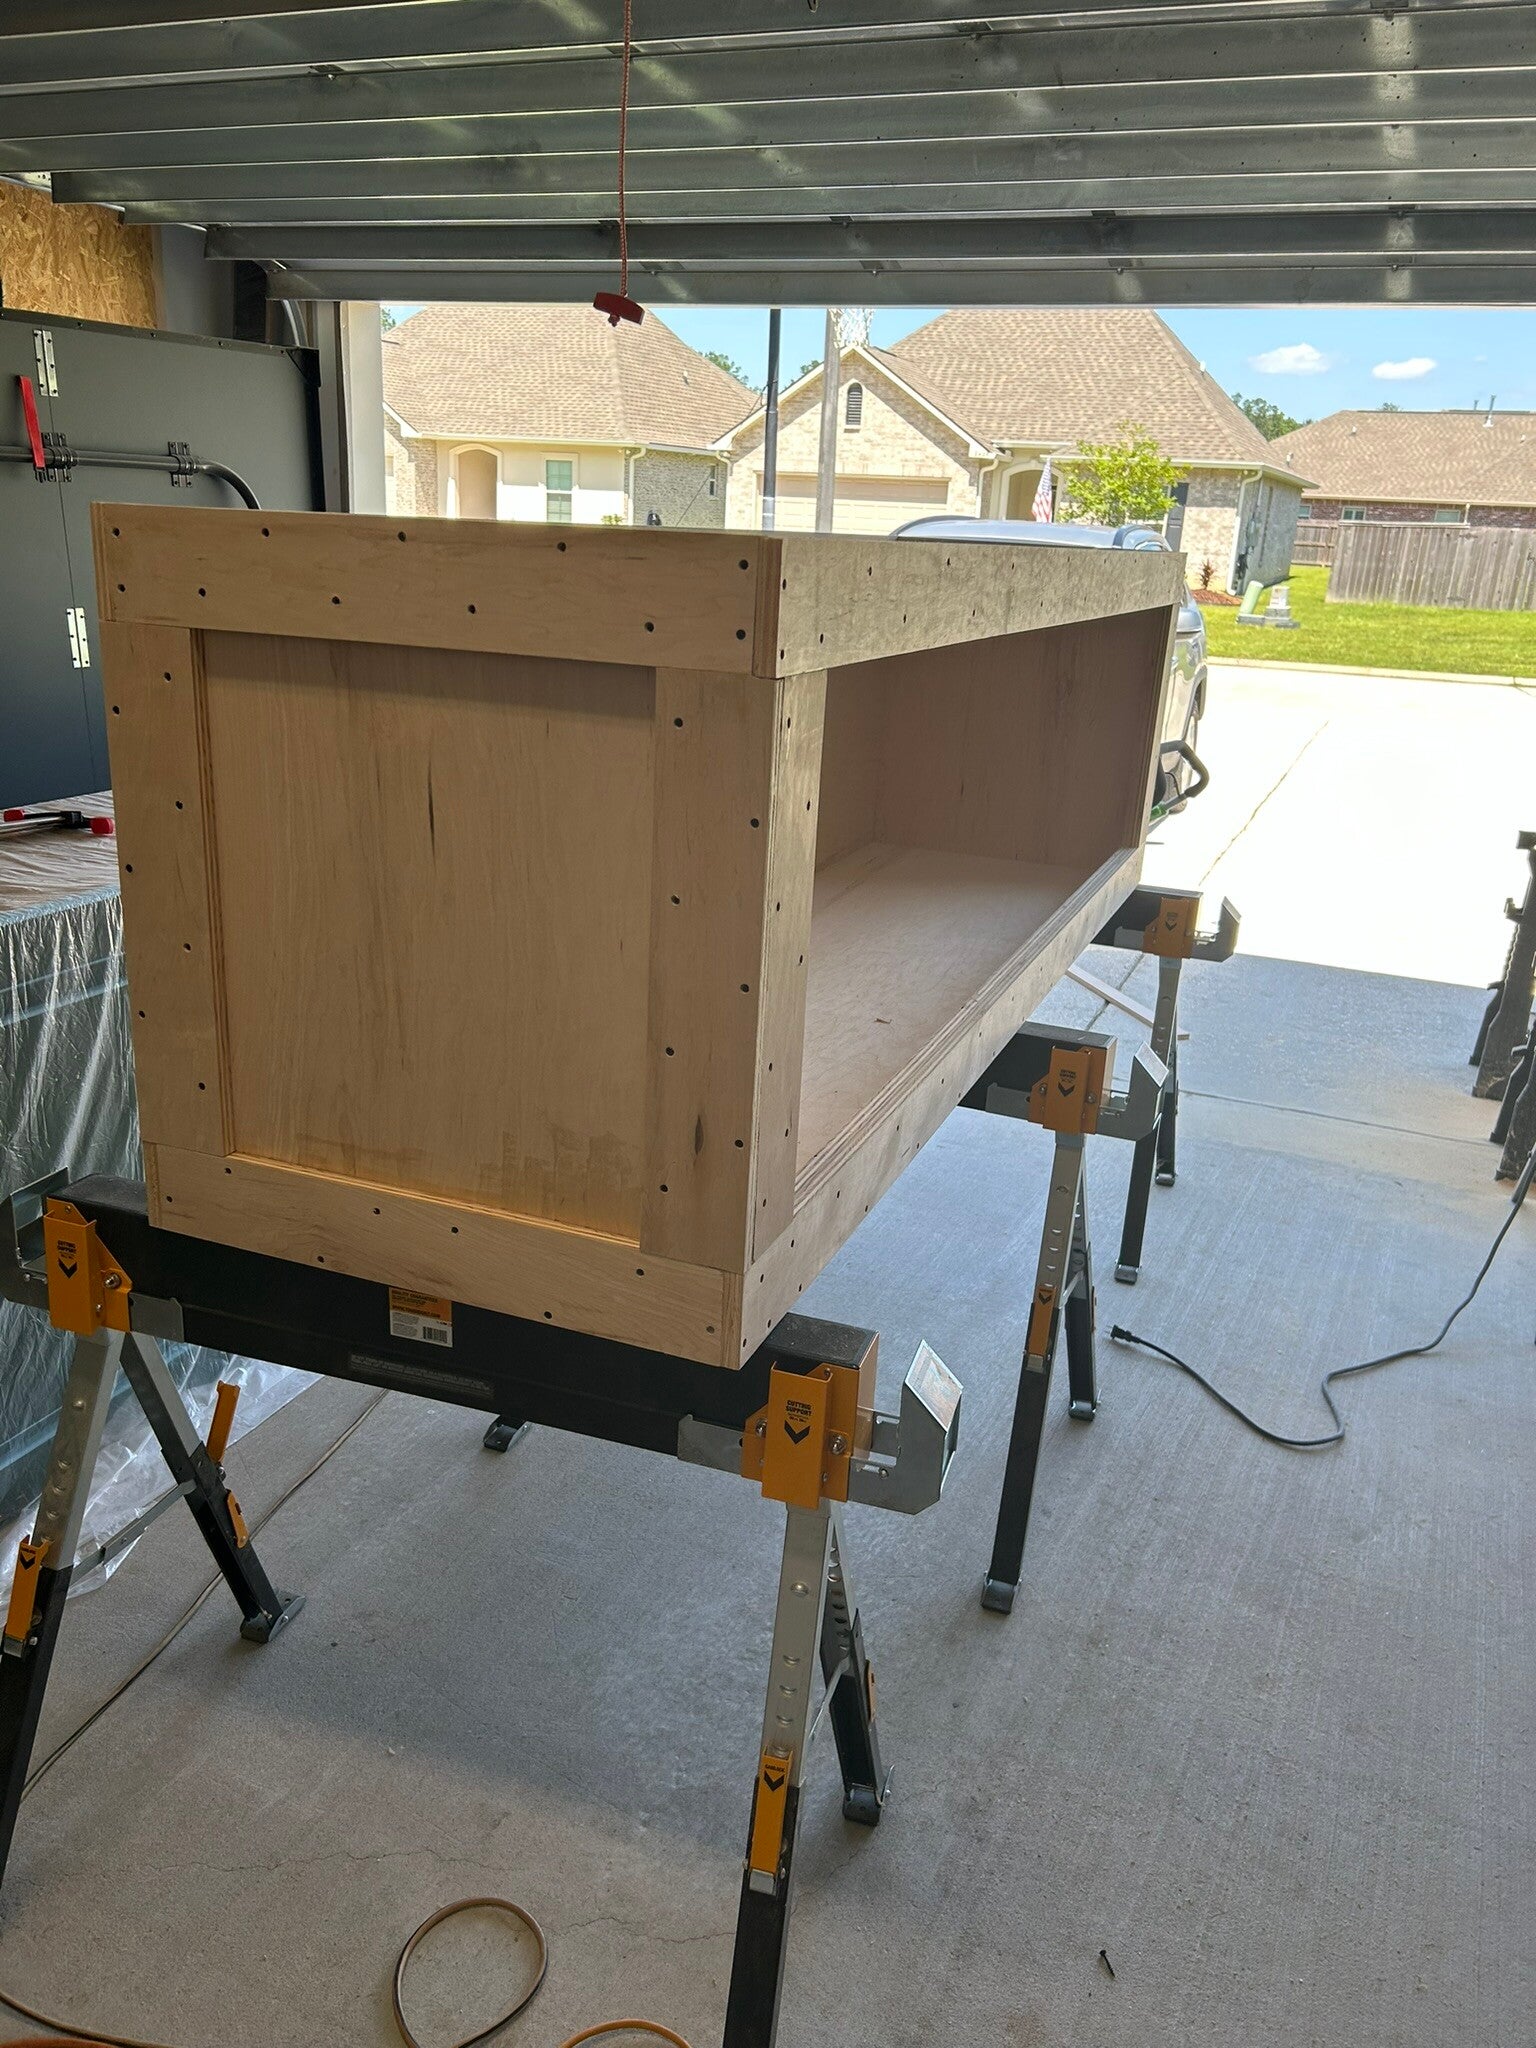
Center beam added to mimic the appearance of the stand
8 Jun 24
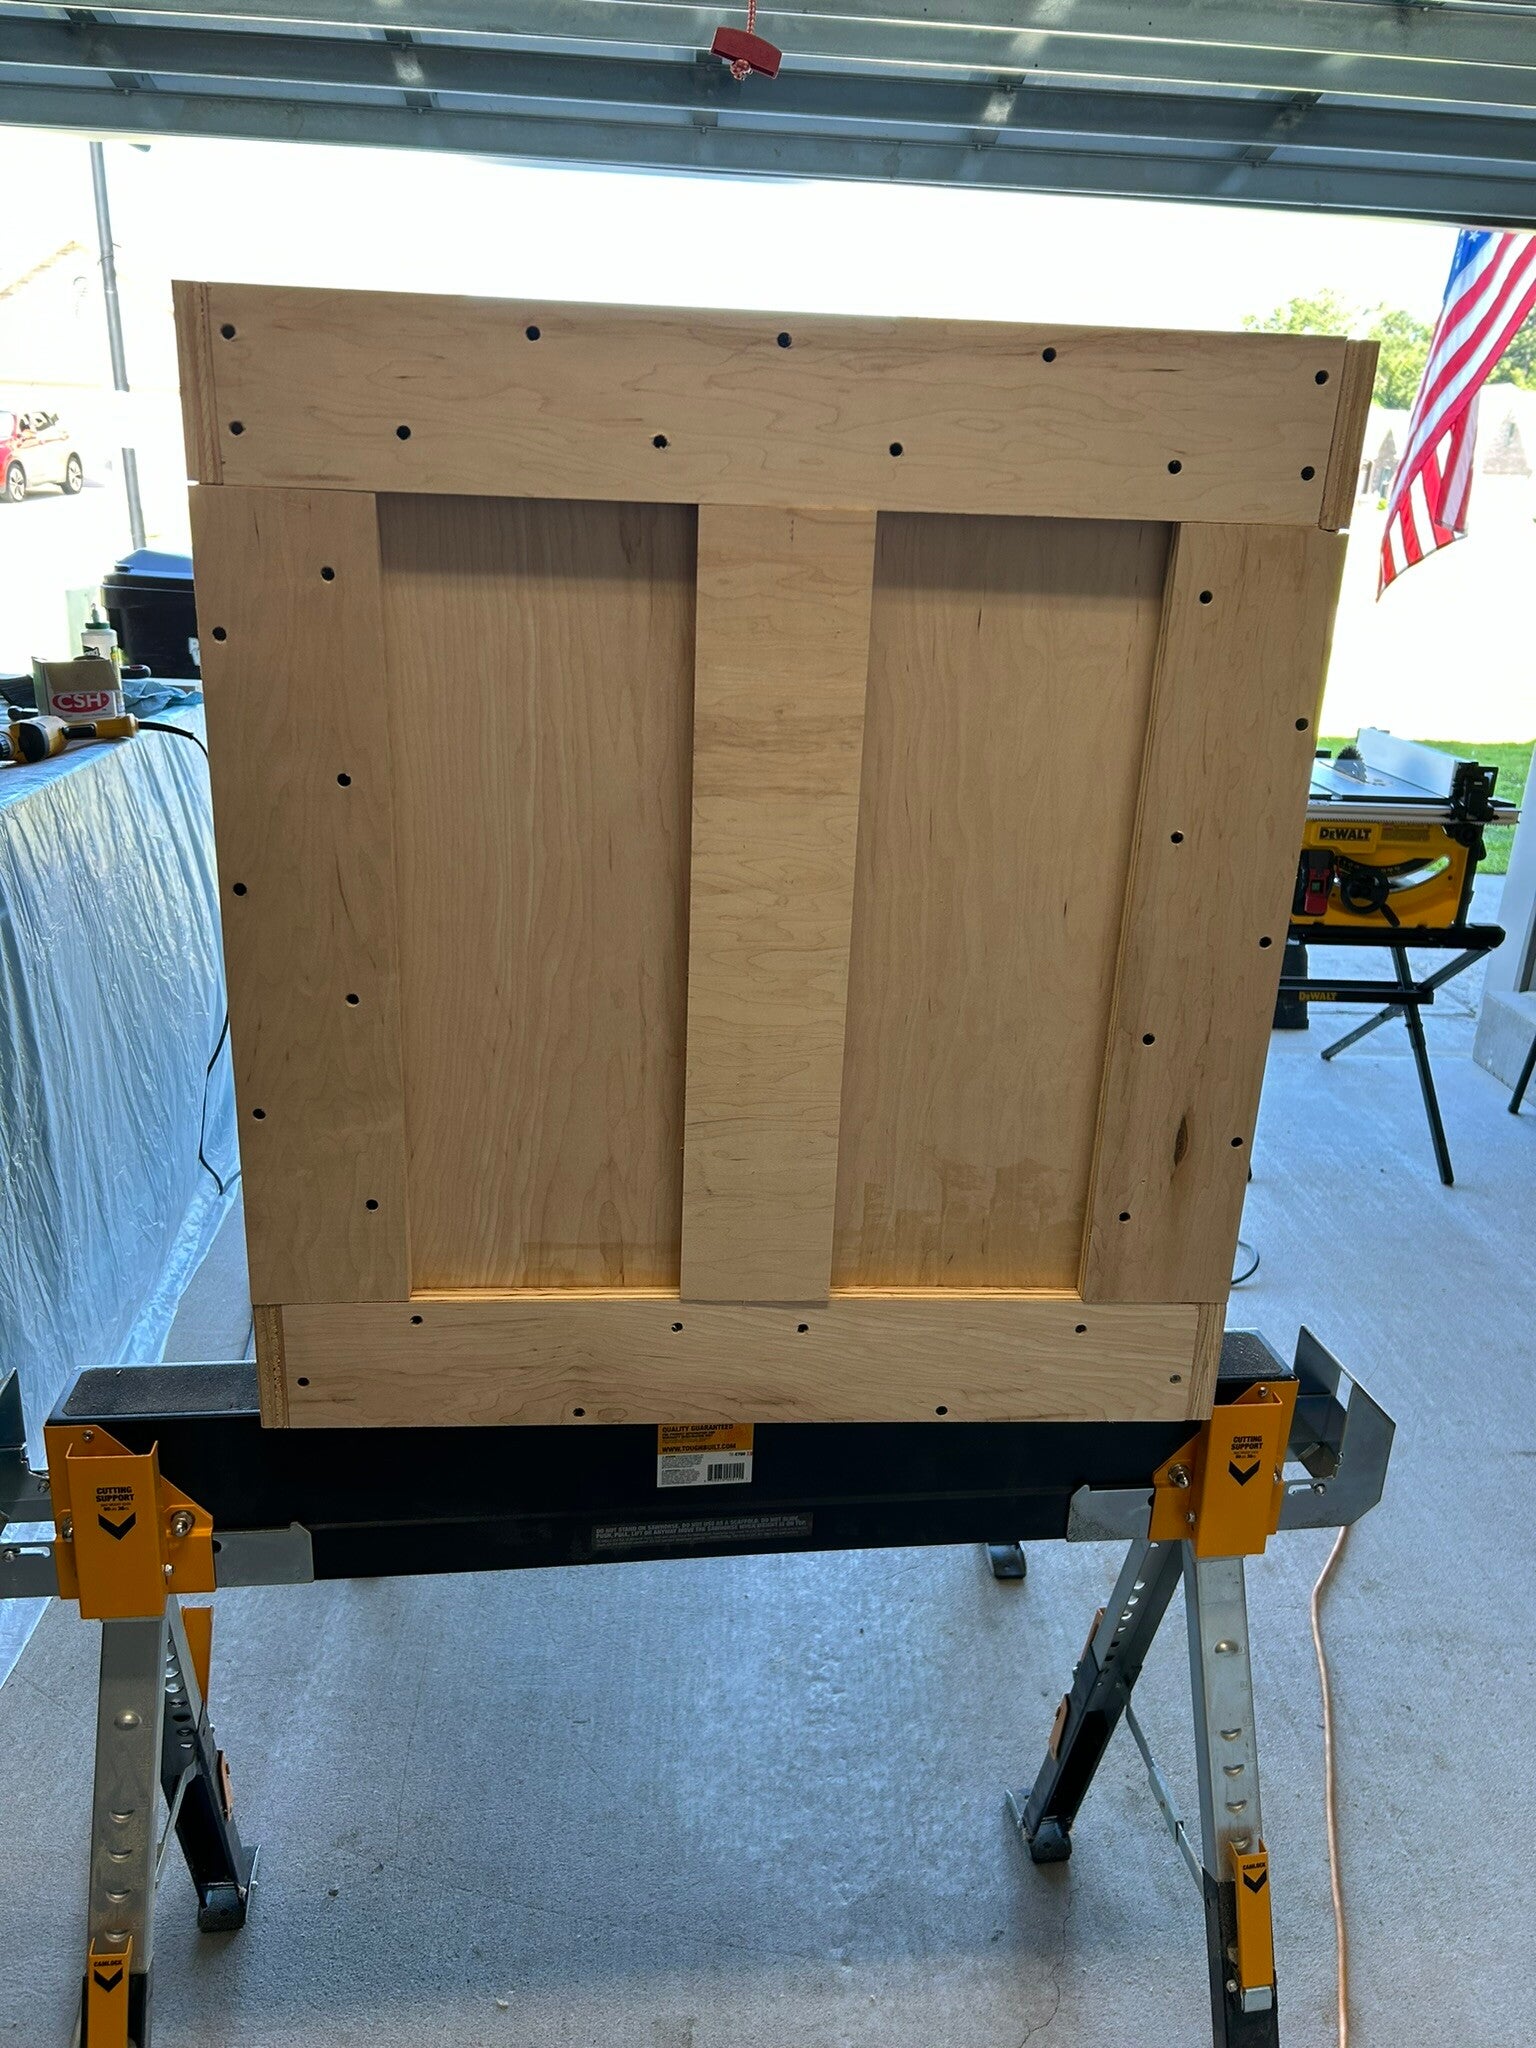
Beams added to back also.
8 Jun 24
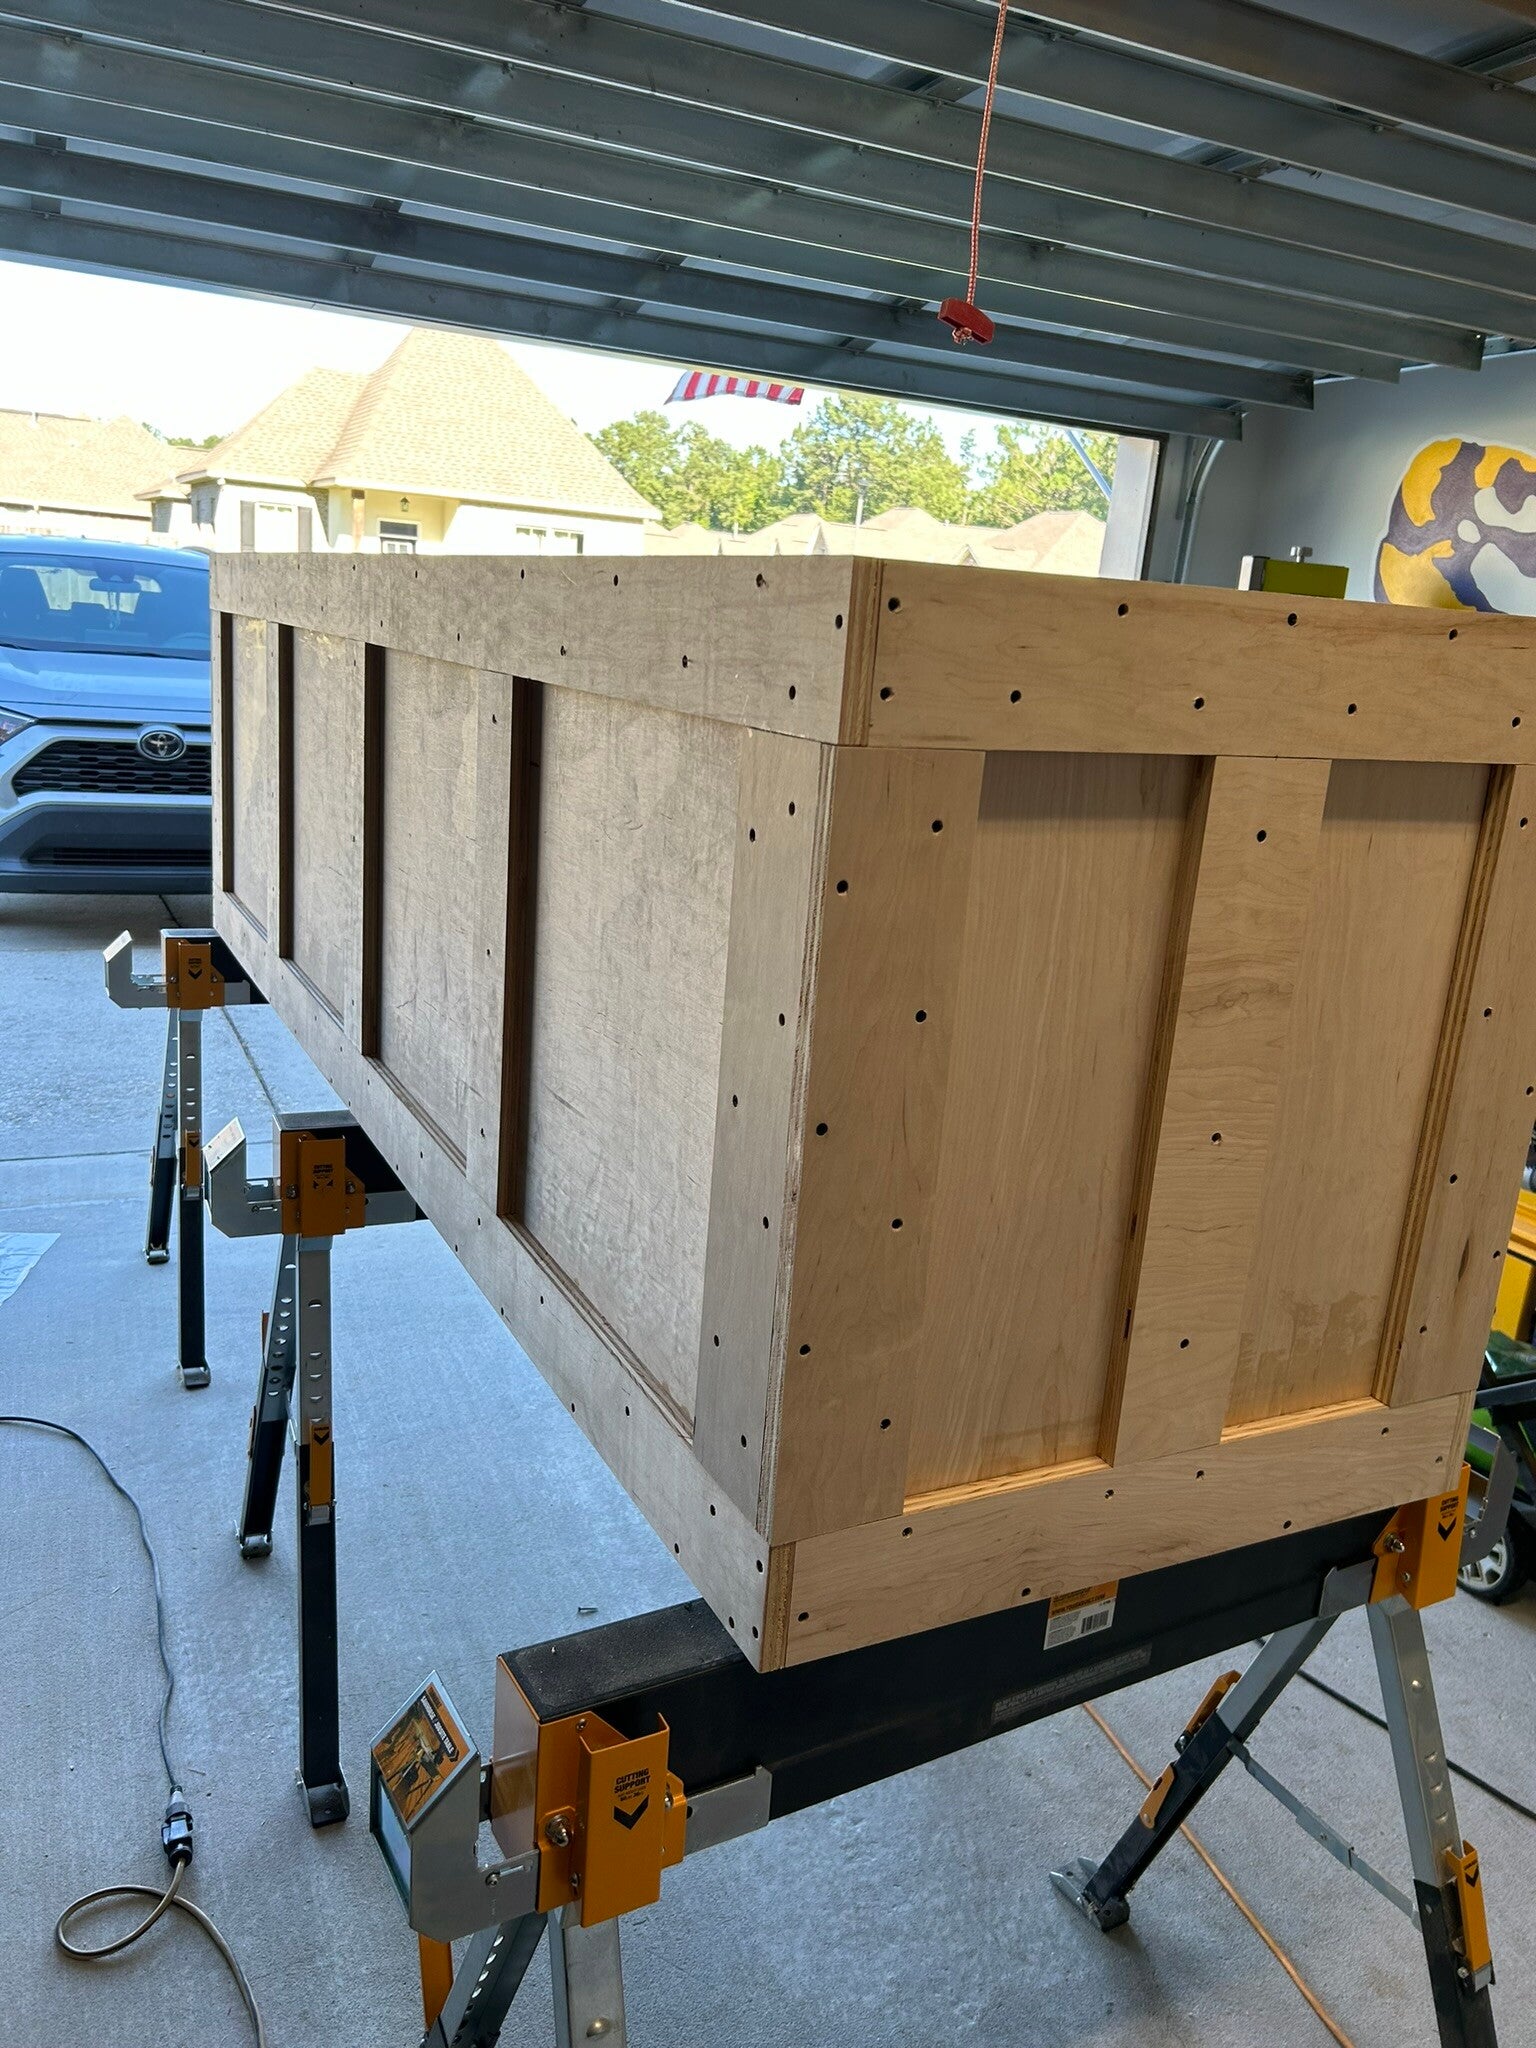
Framing added to front for strength.
8 Jun 24
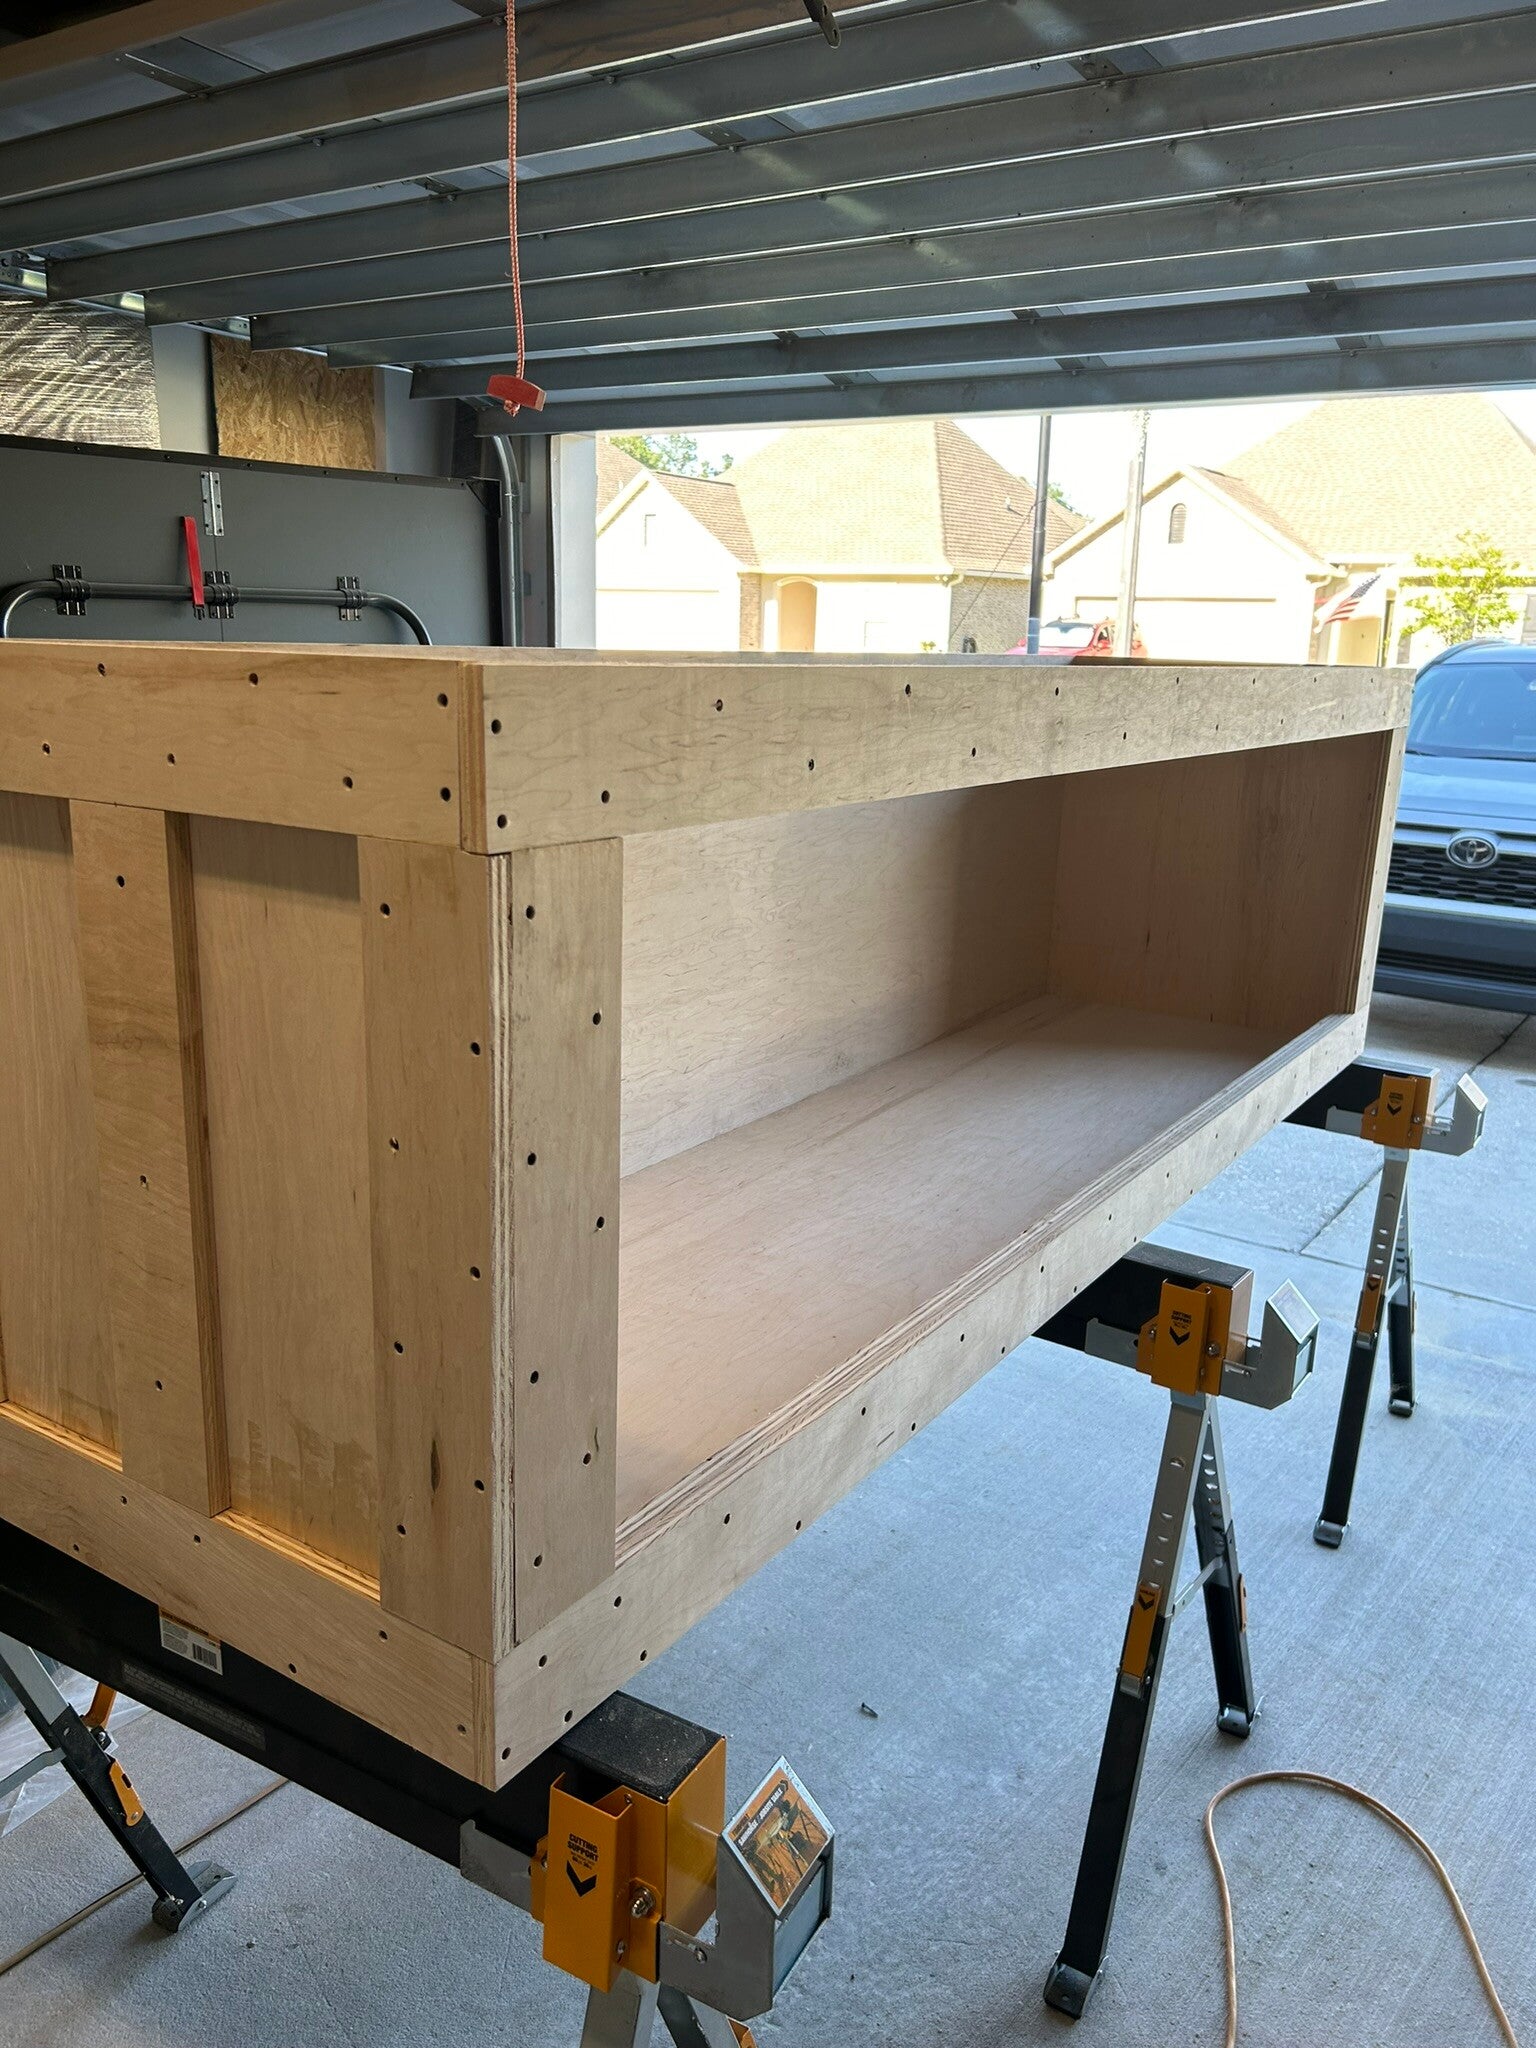
Filled the screw holes.
9 Jun 24
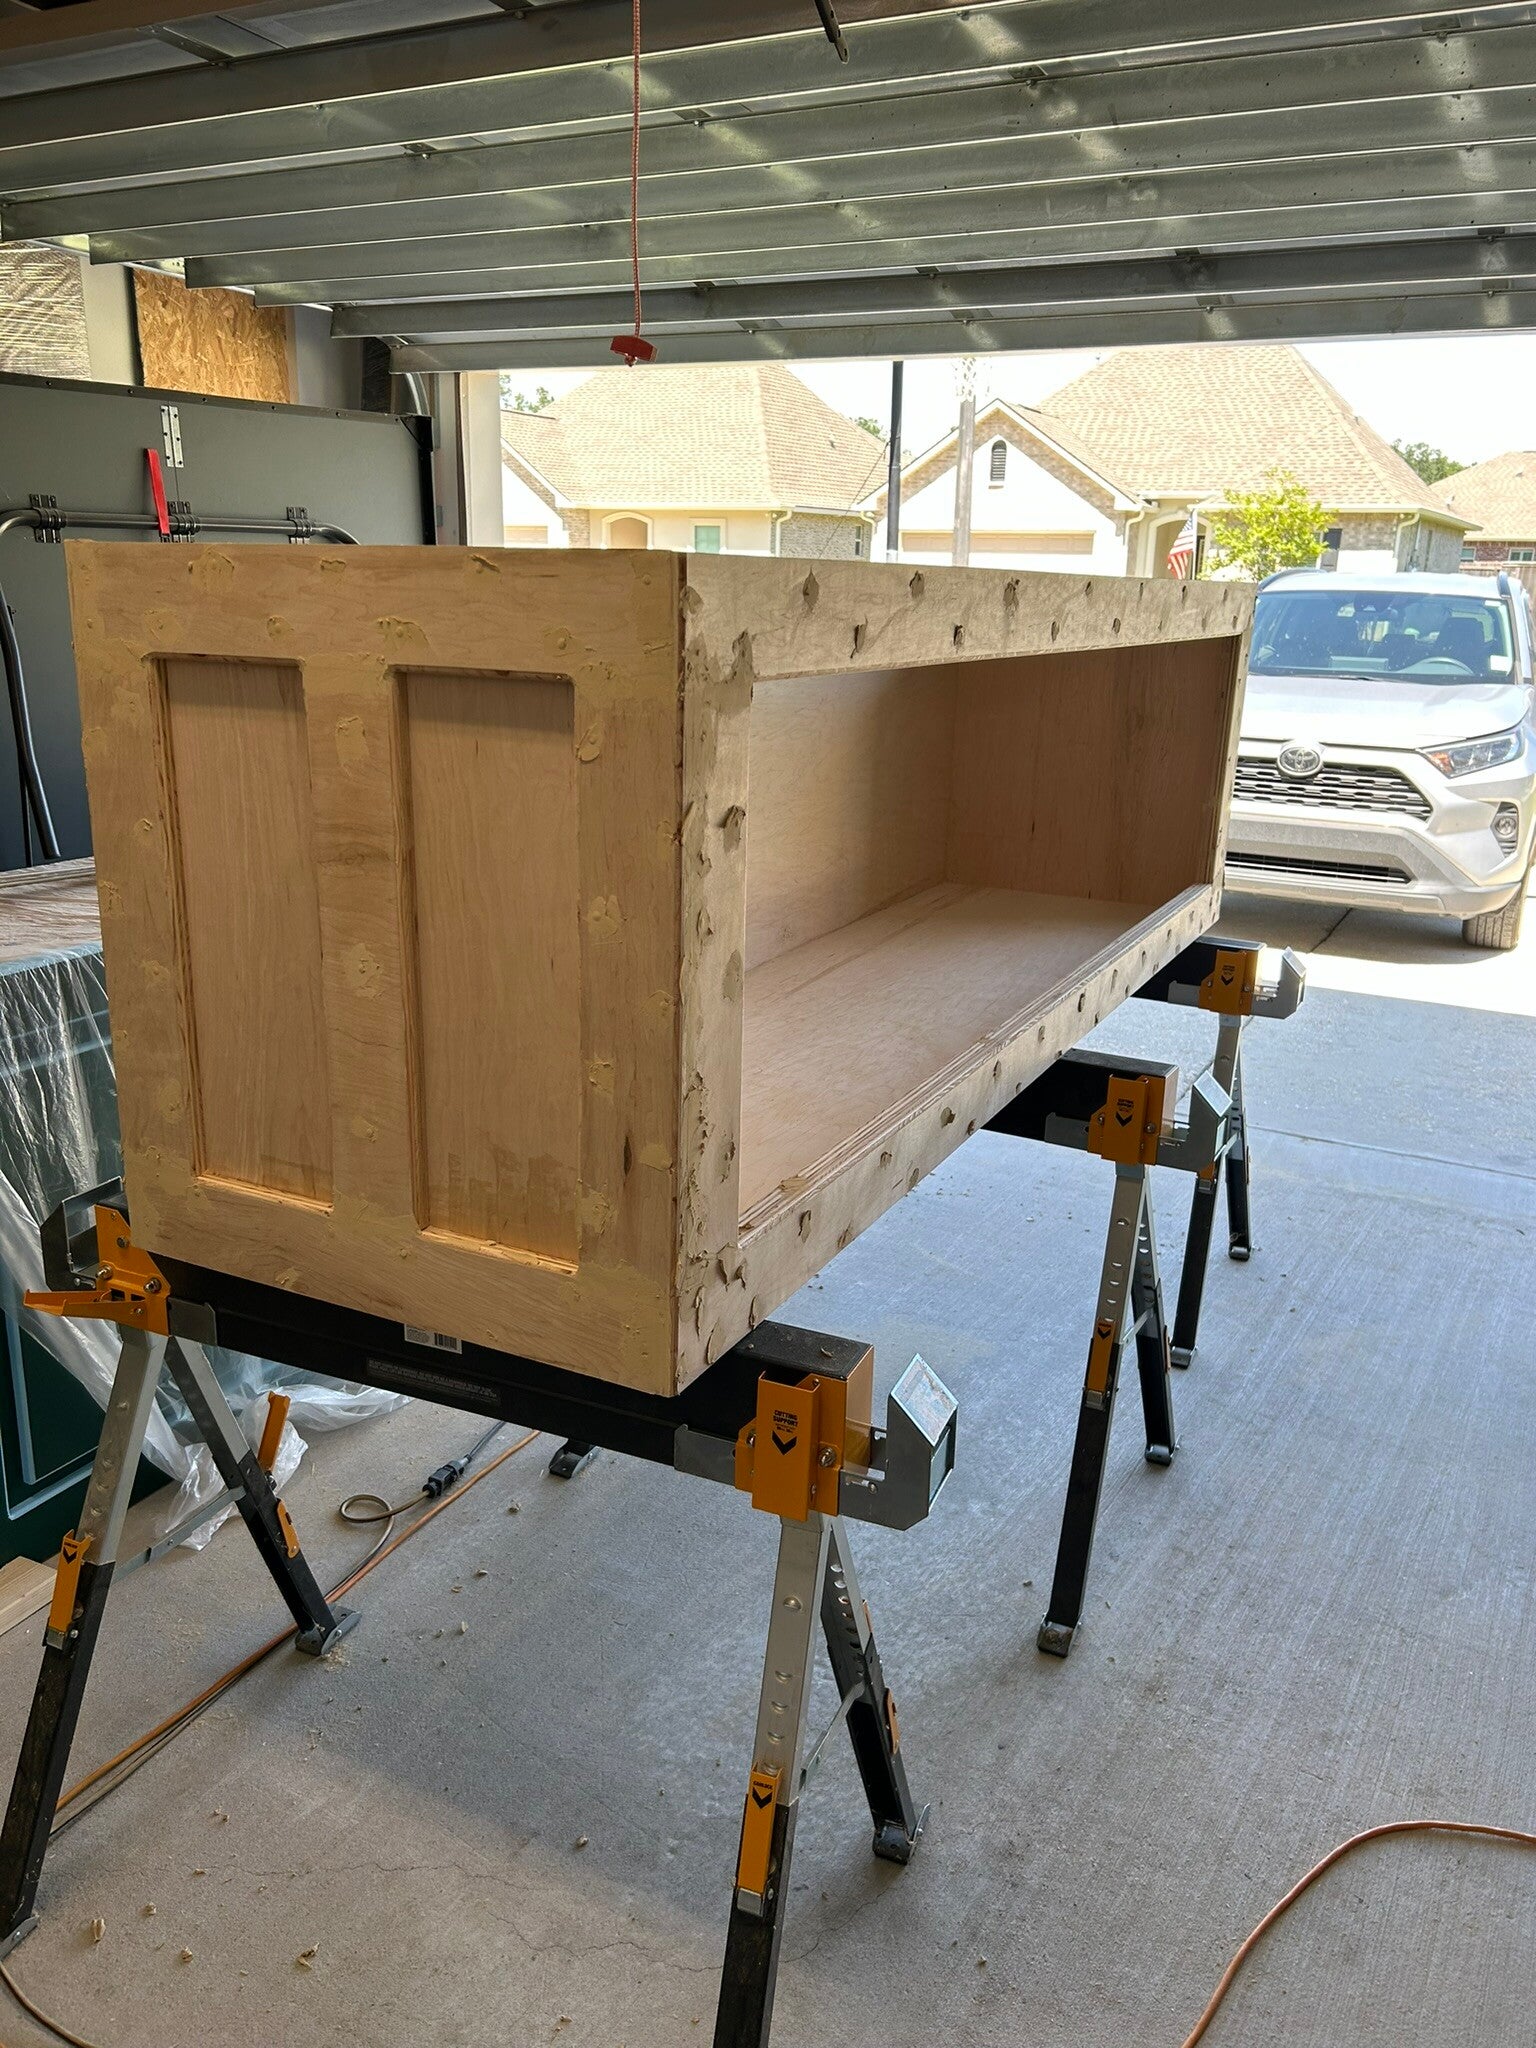
9 Jun 24
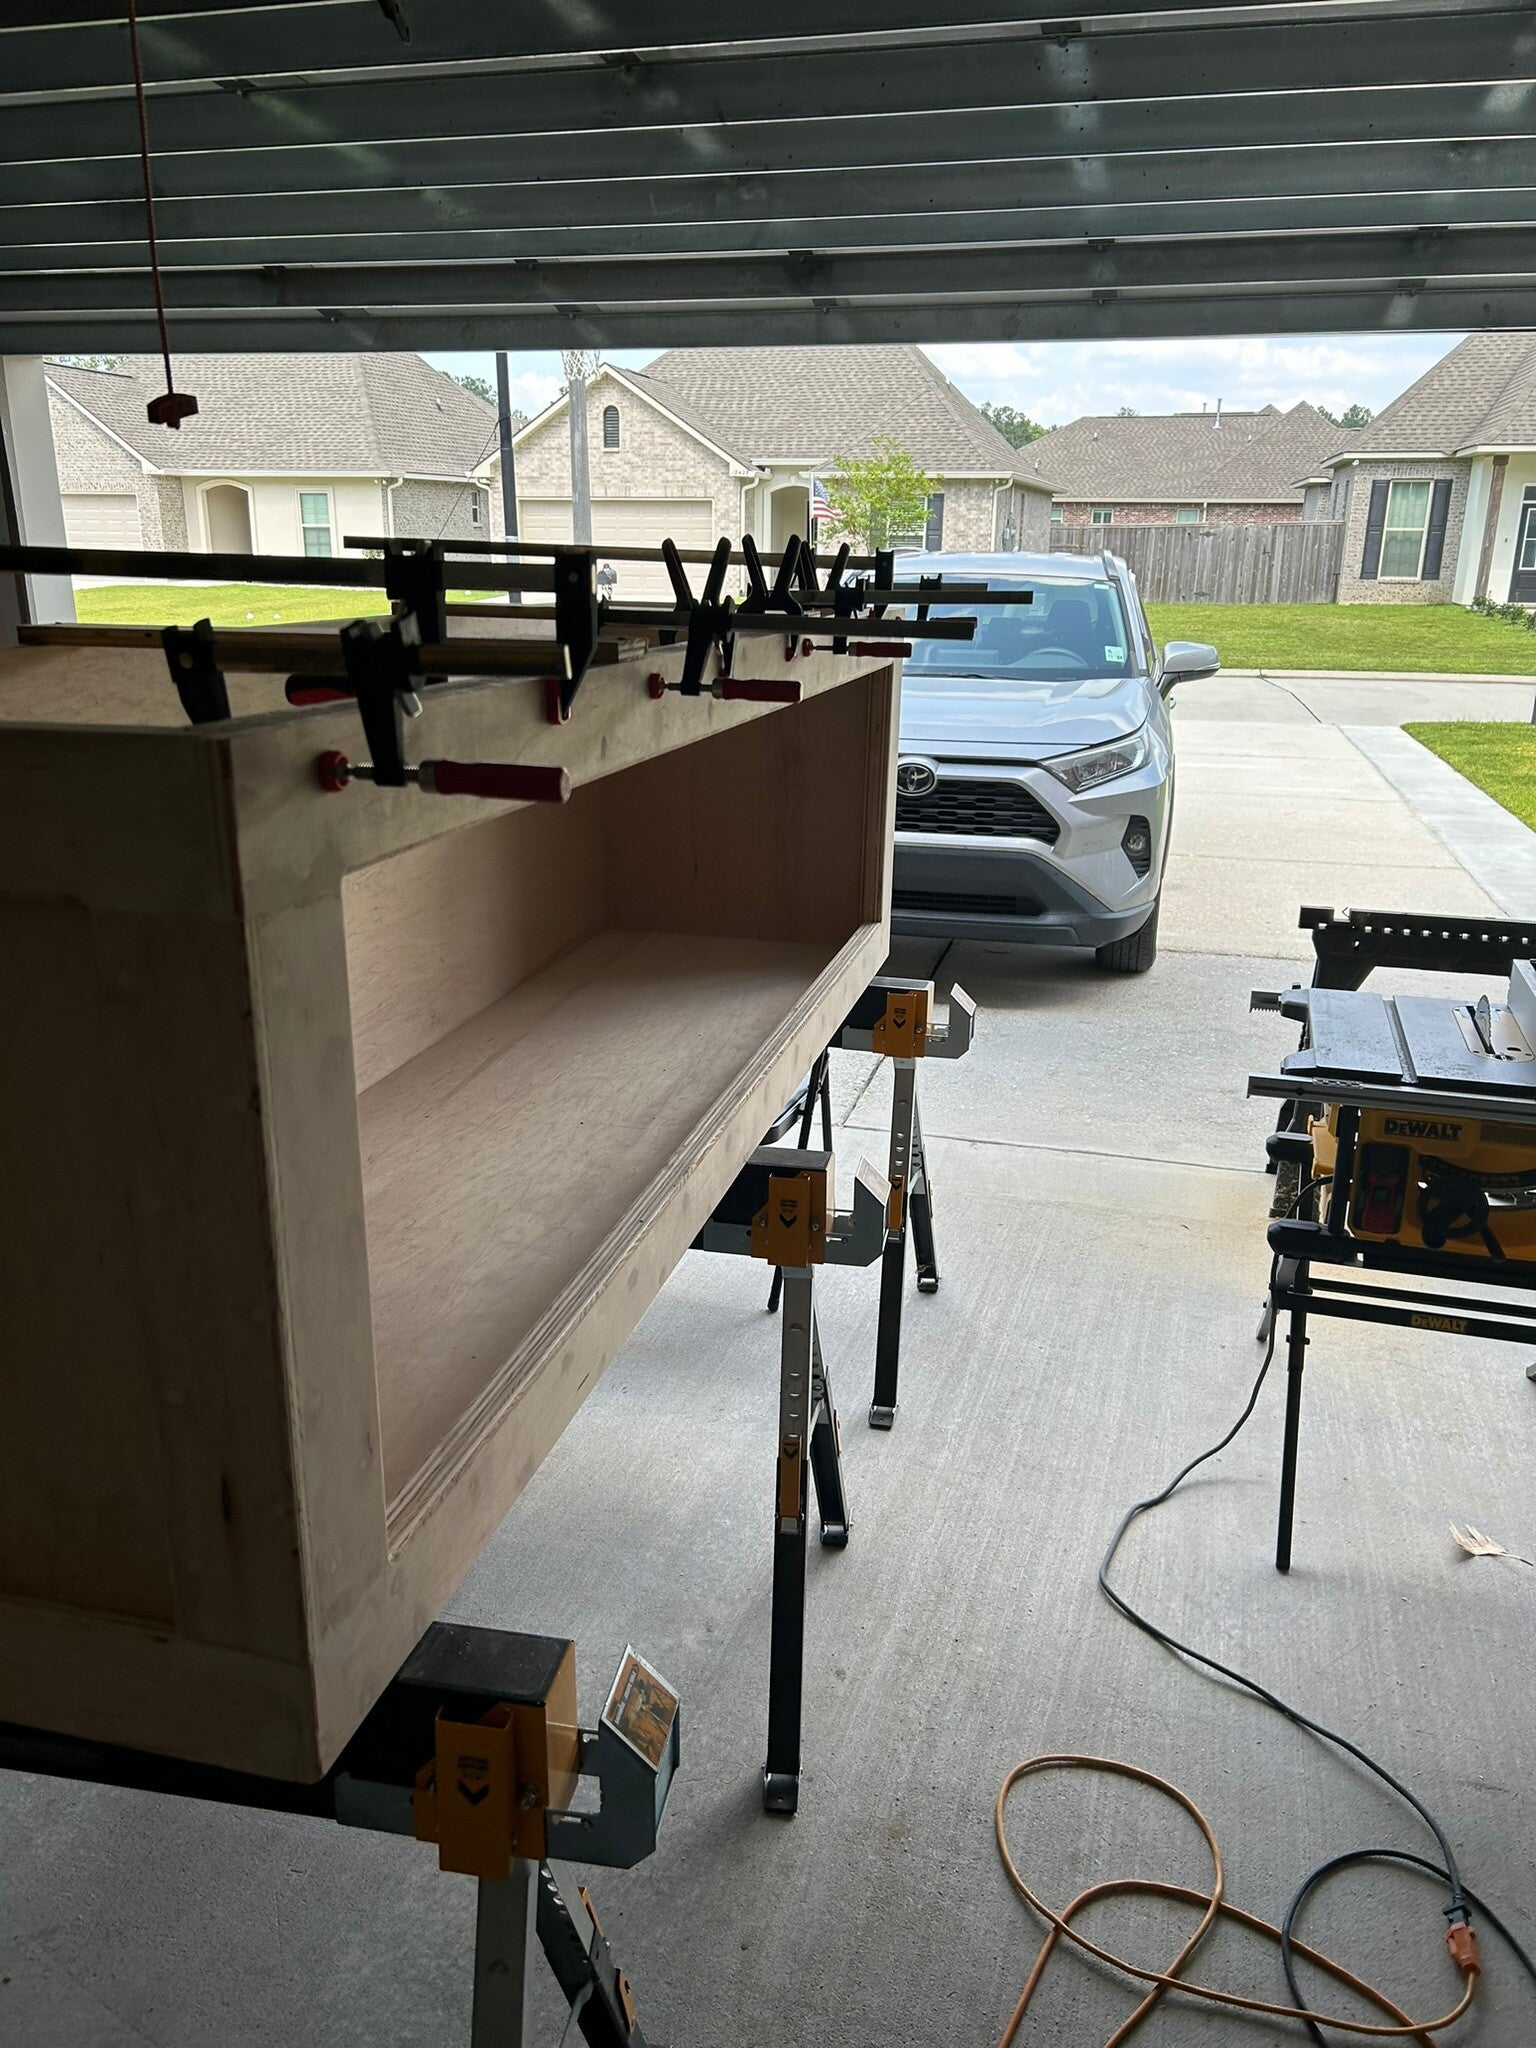
Added edges inside the front that will go around the outside of the glass. Held on with only glue (that's why I used so many clamps).
11 Jun 24
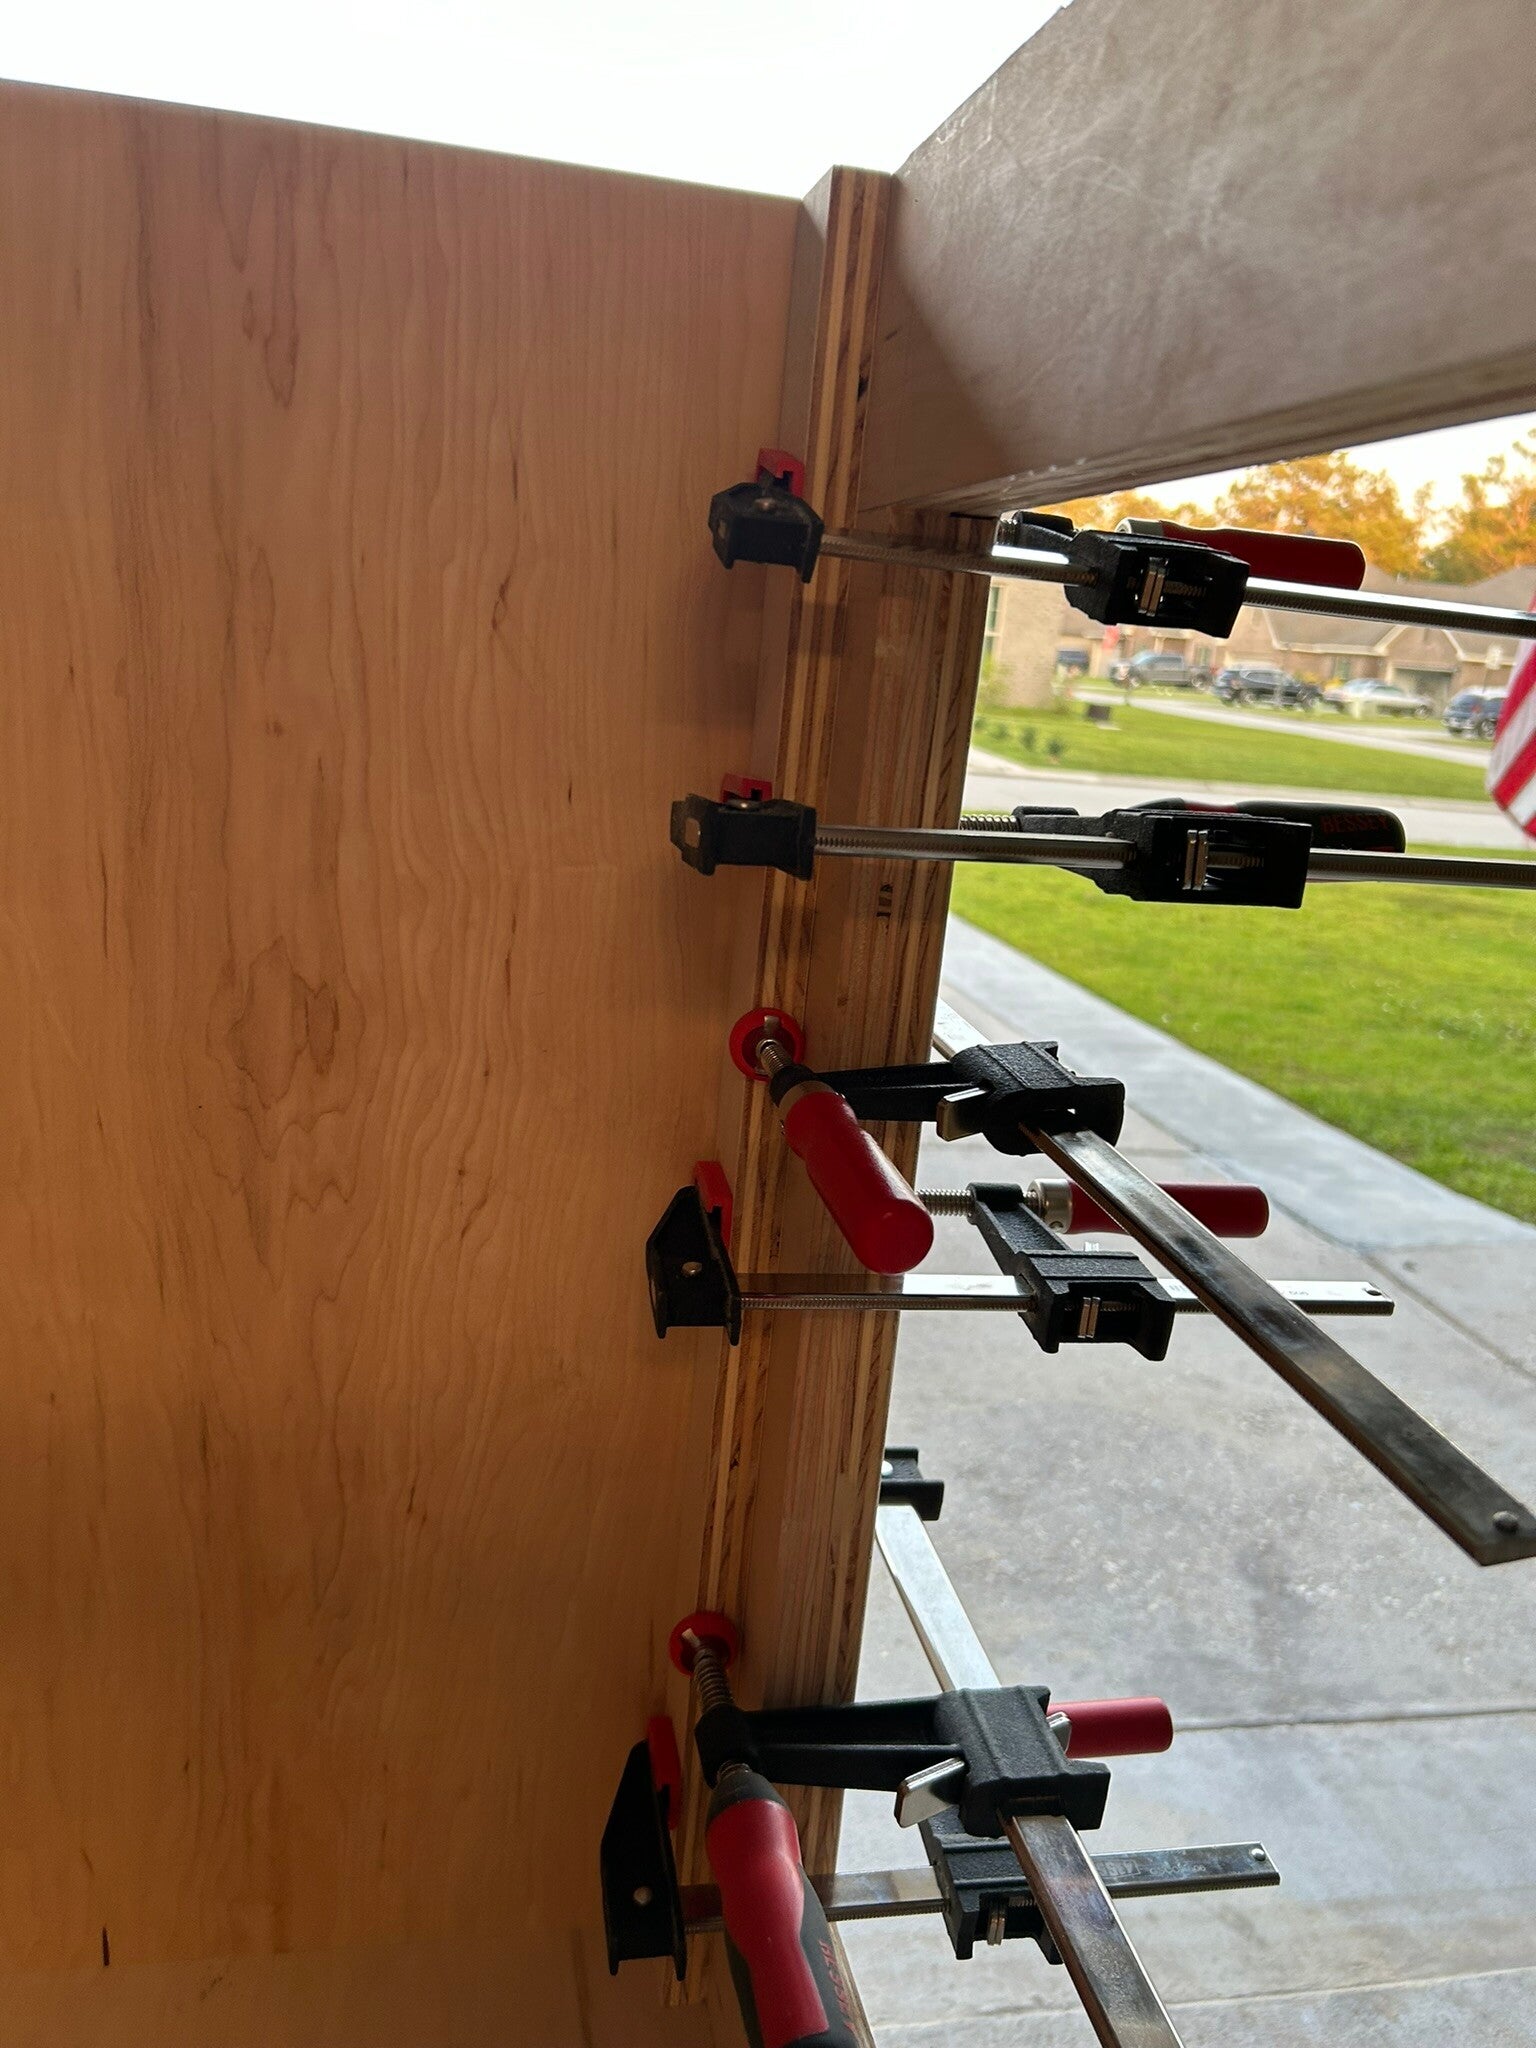
11 Jun 24
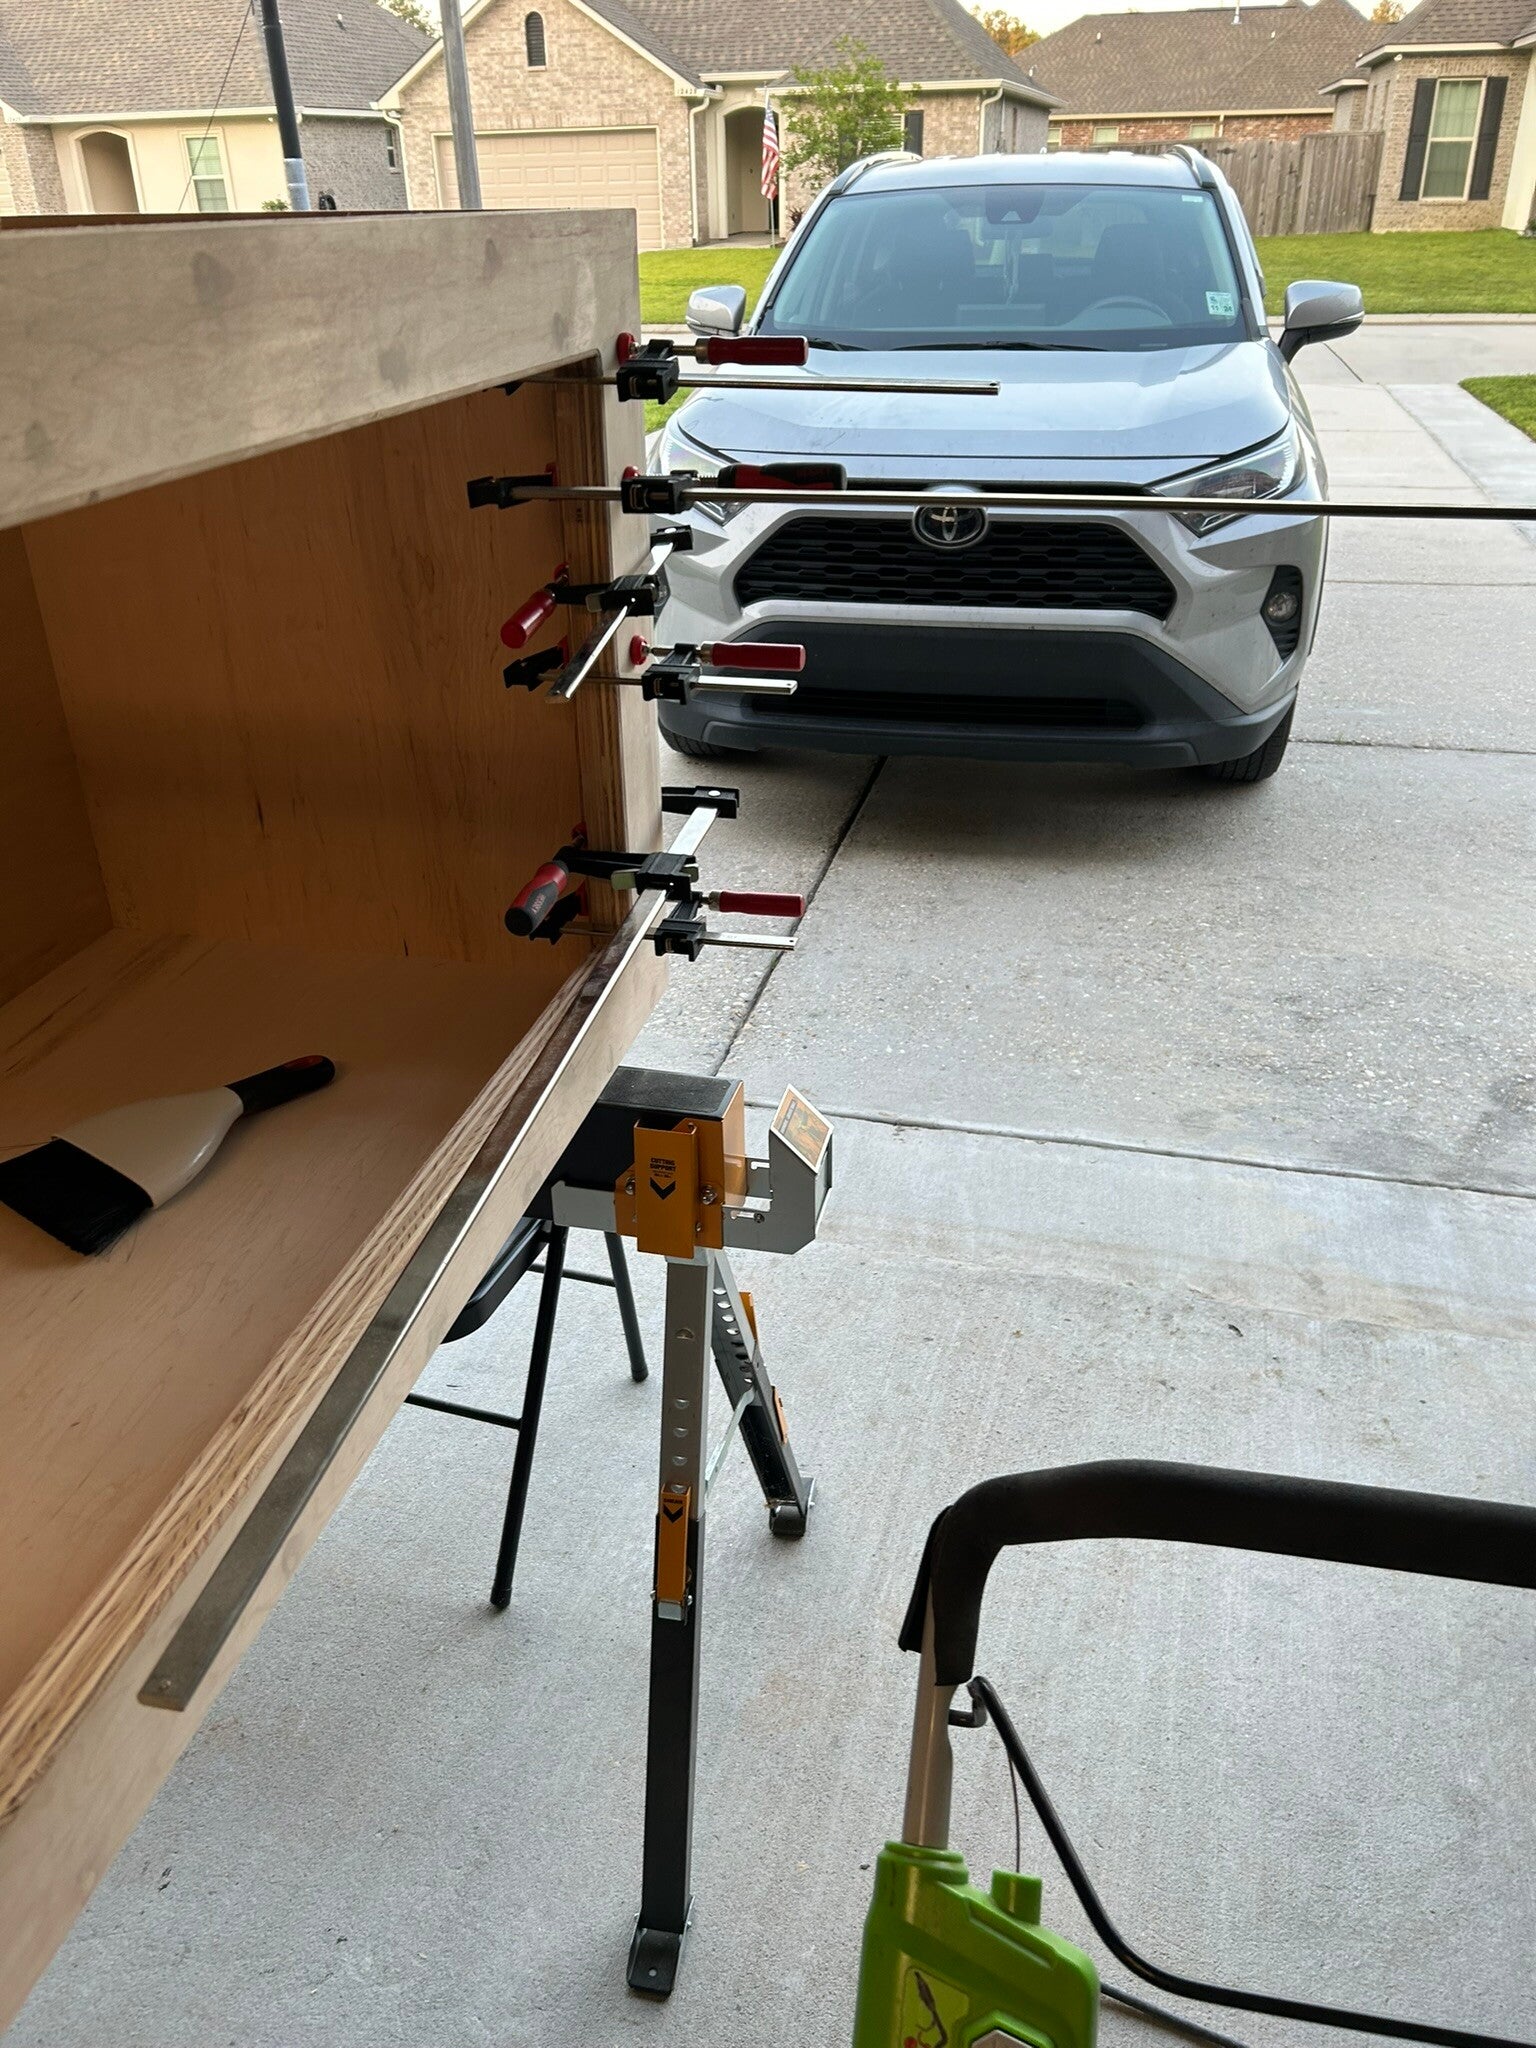
Repeating the process around the interior of the front.
13 Jun 24
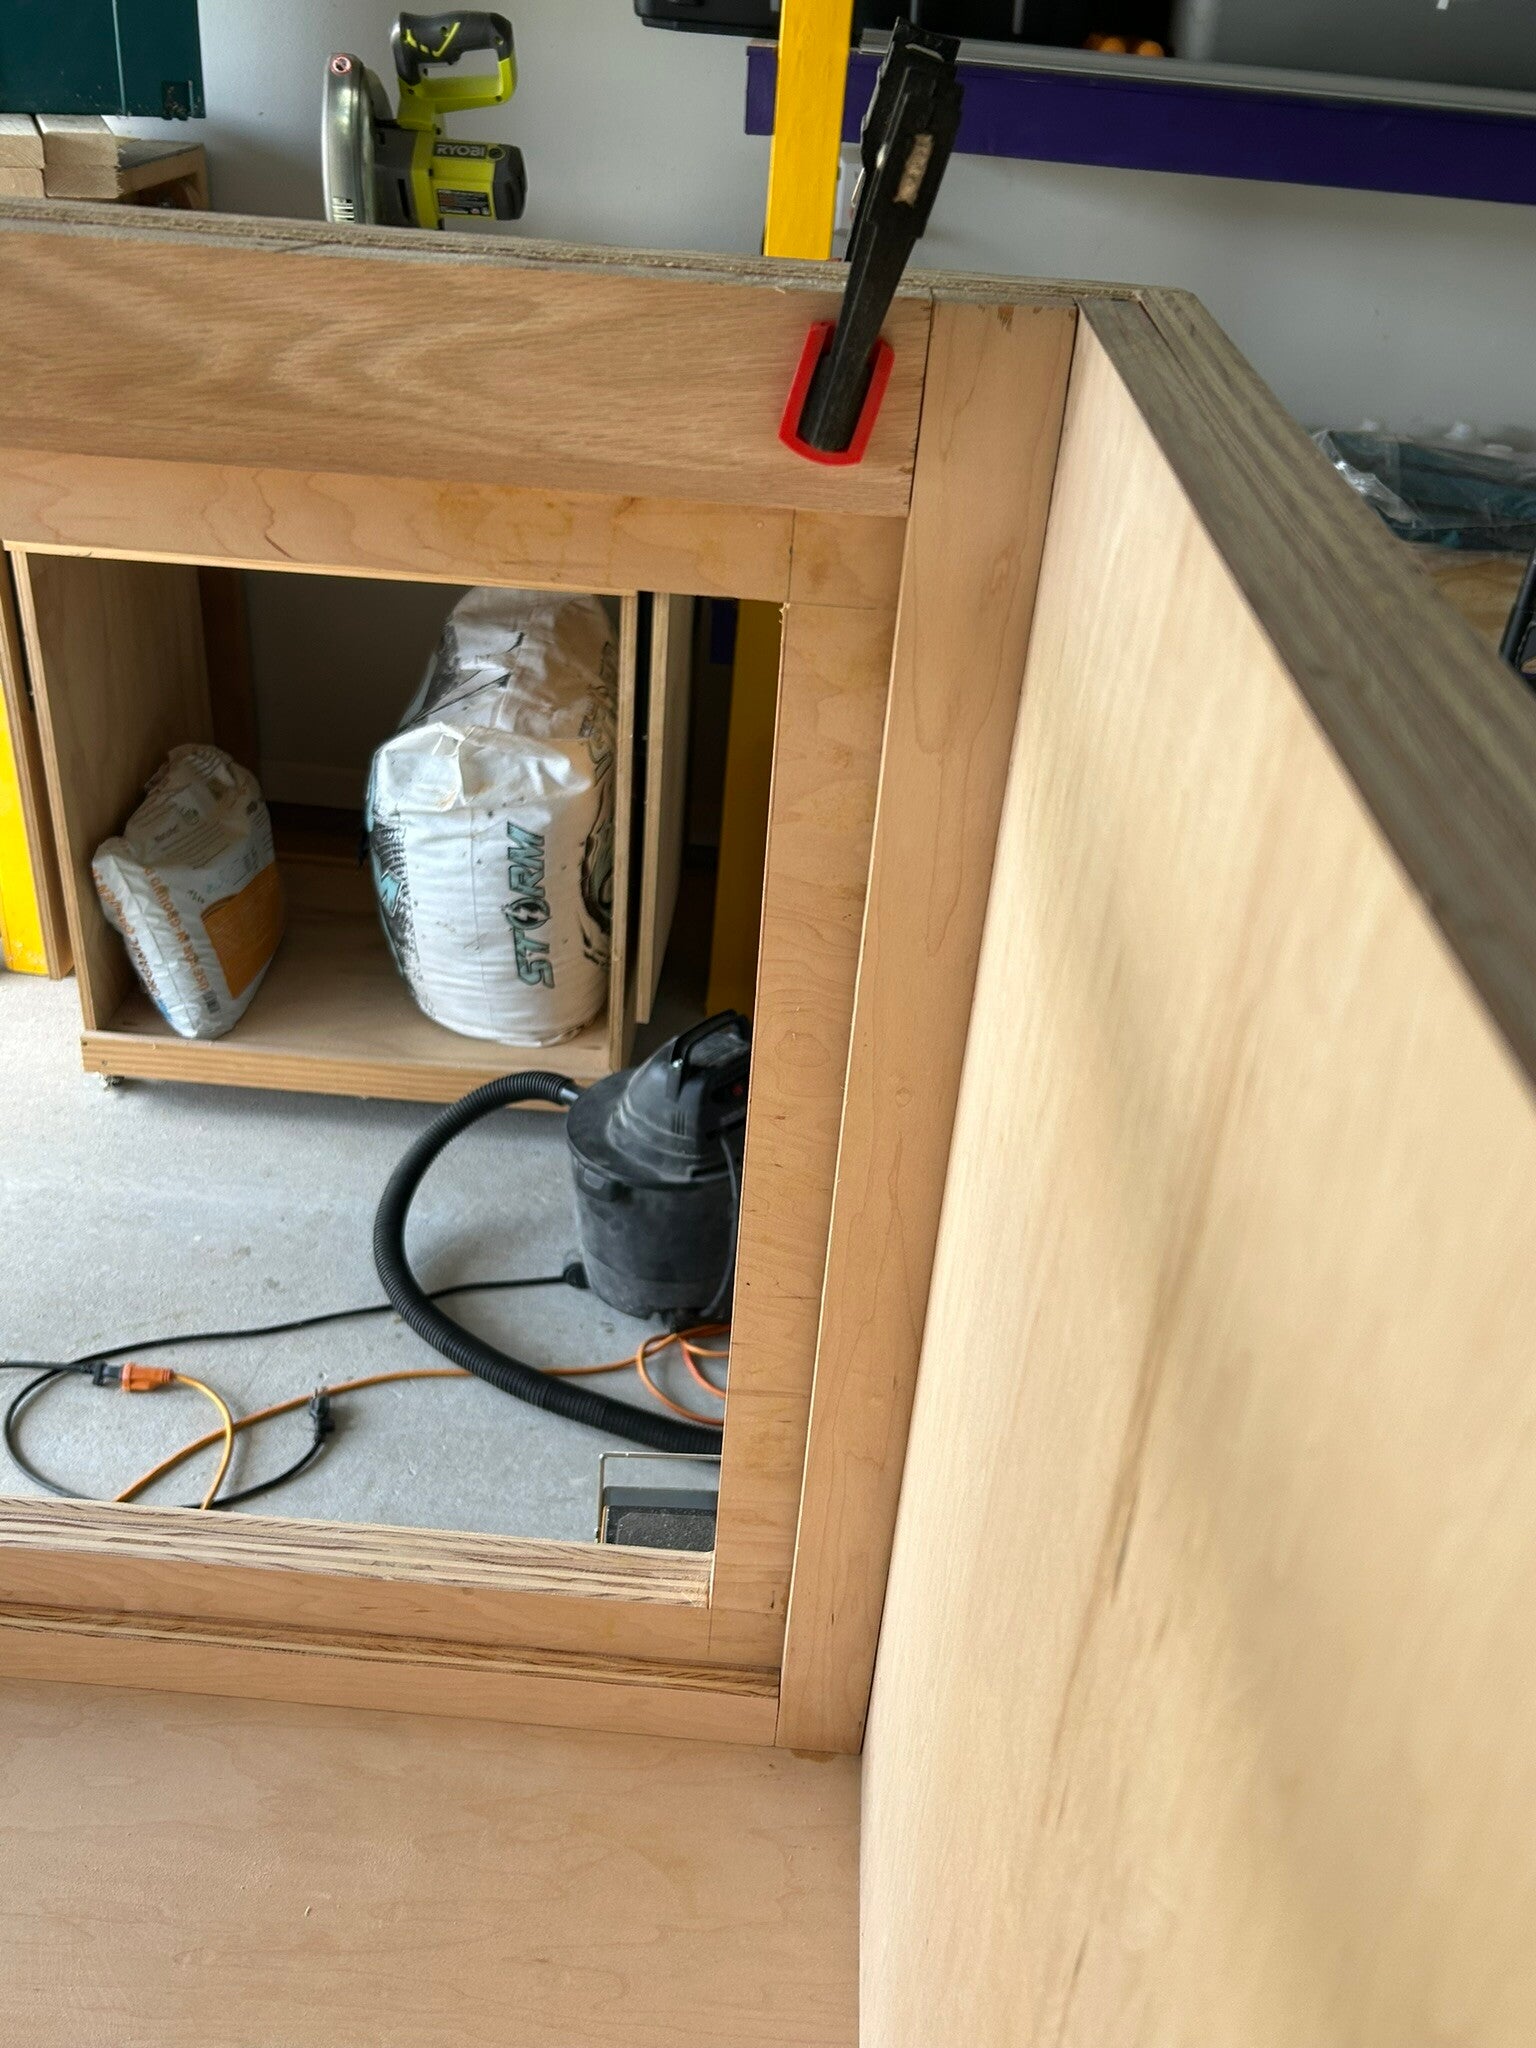
Inside view of what the edge looks like.
13 Jun 24
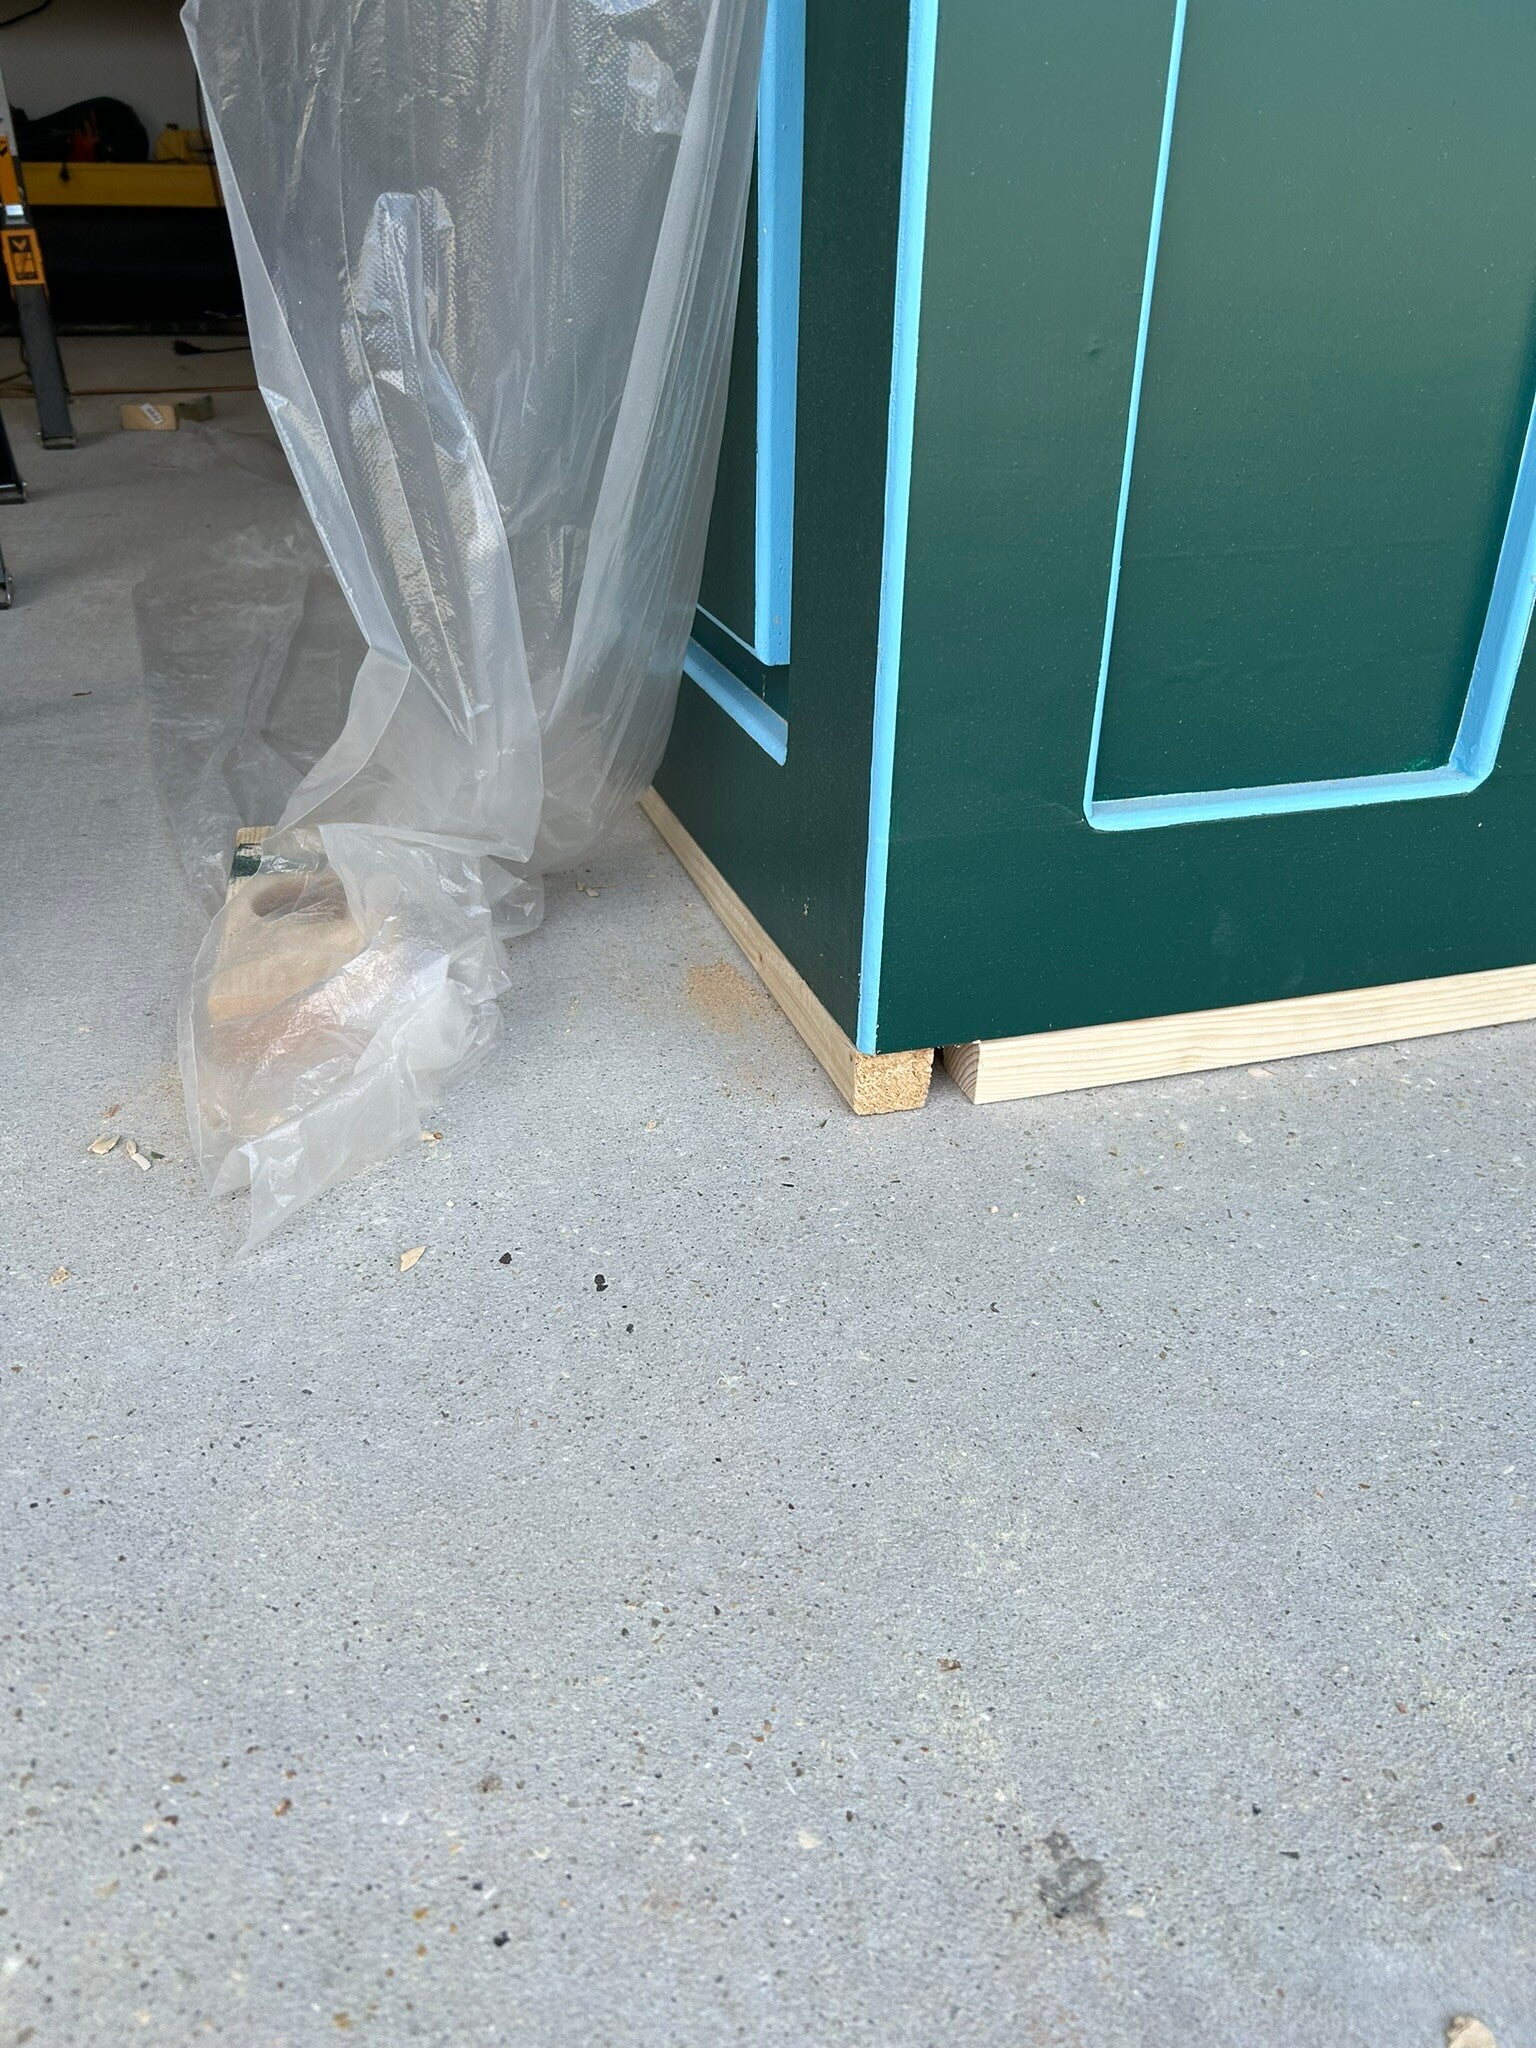
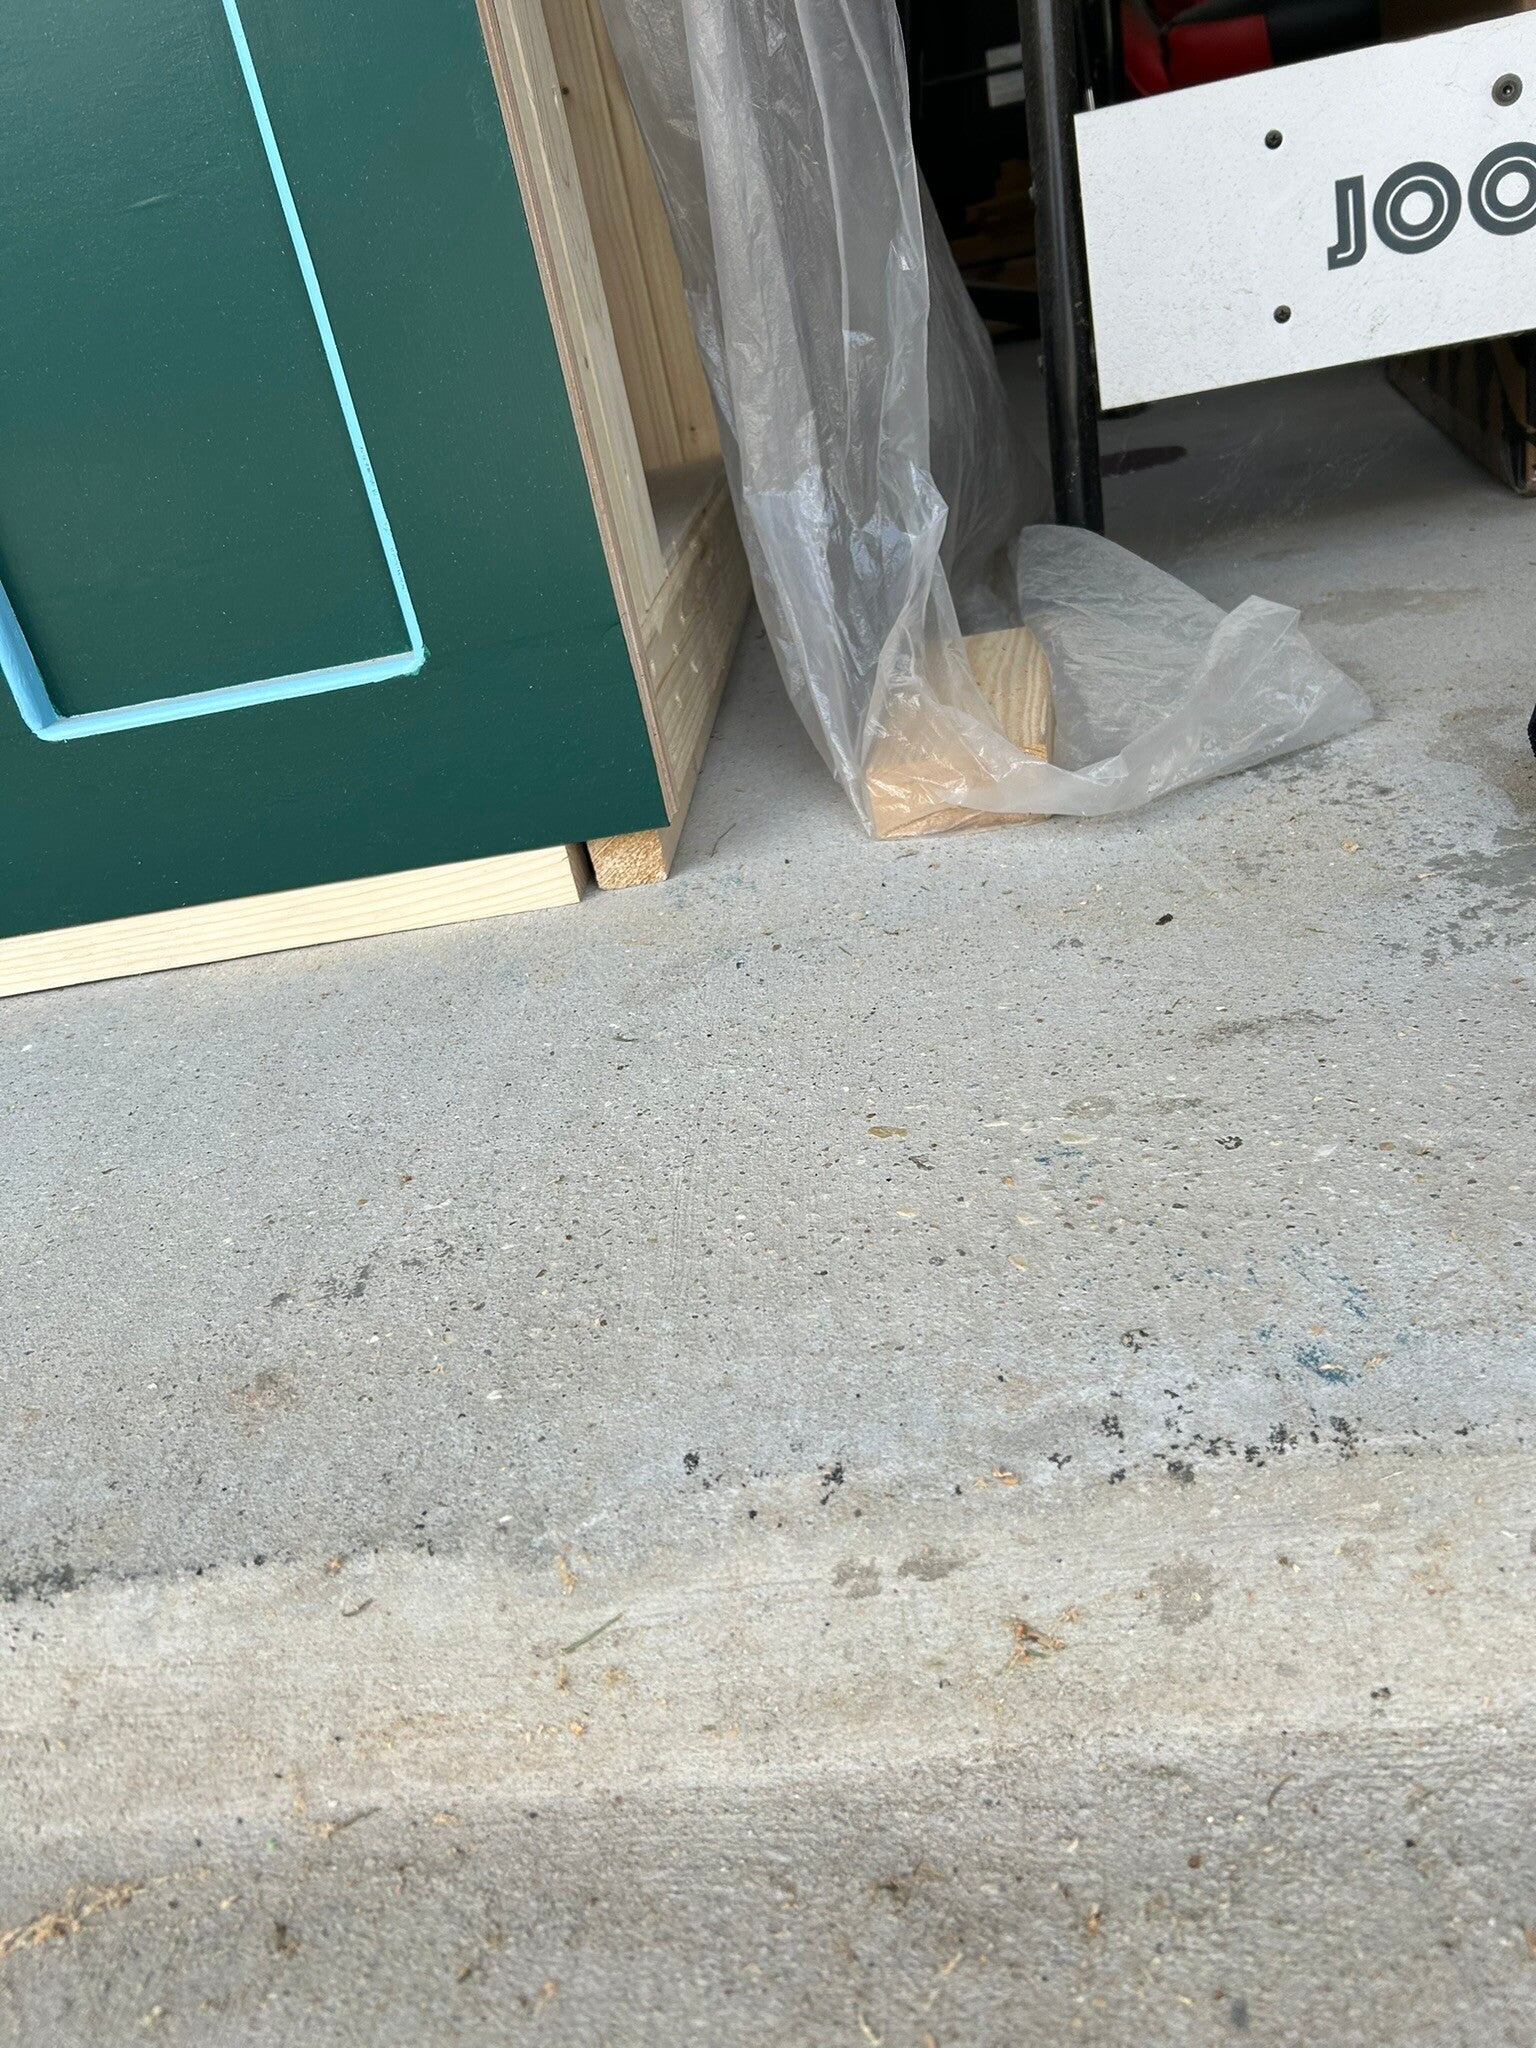
Made my own 8-foot-long shims. Needed the stand to be exactly level while placing the tank on top of it.
14 Jun 24
14 Jun 24
14 Jun 24
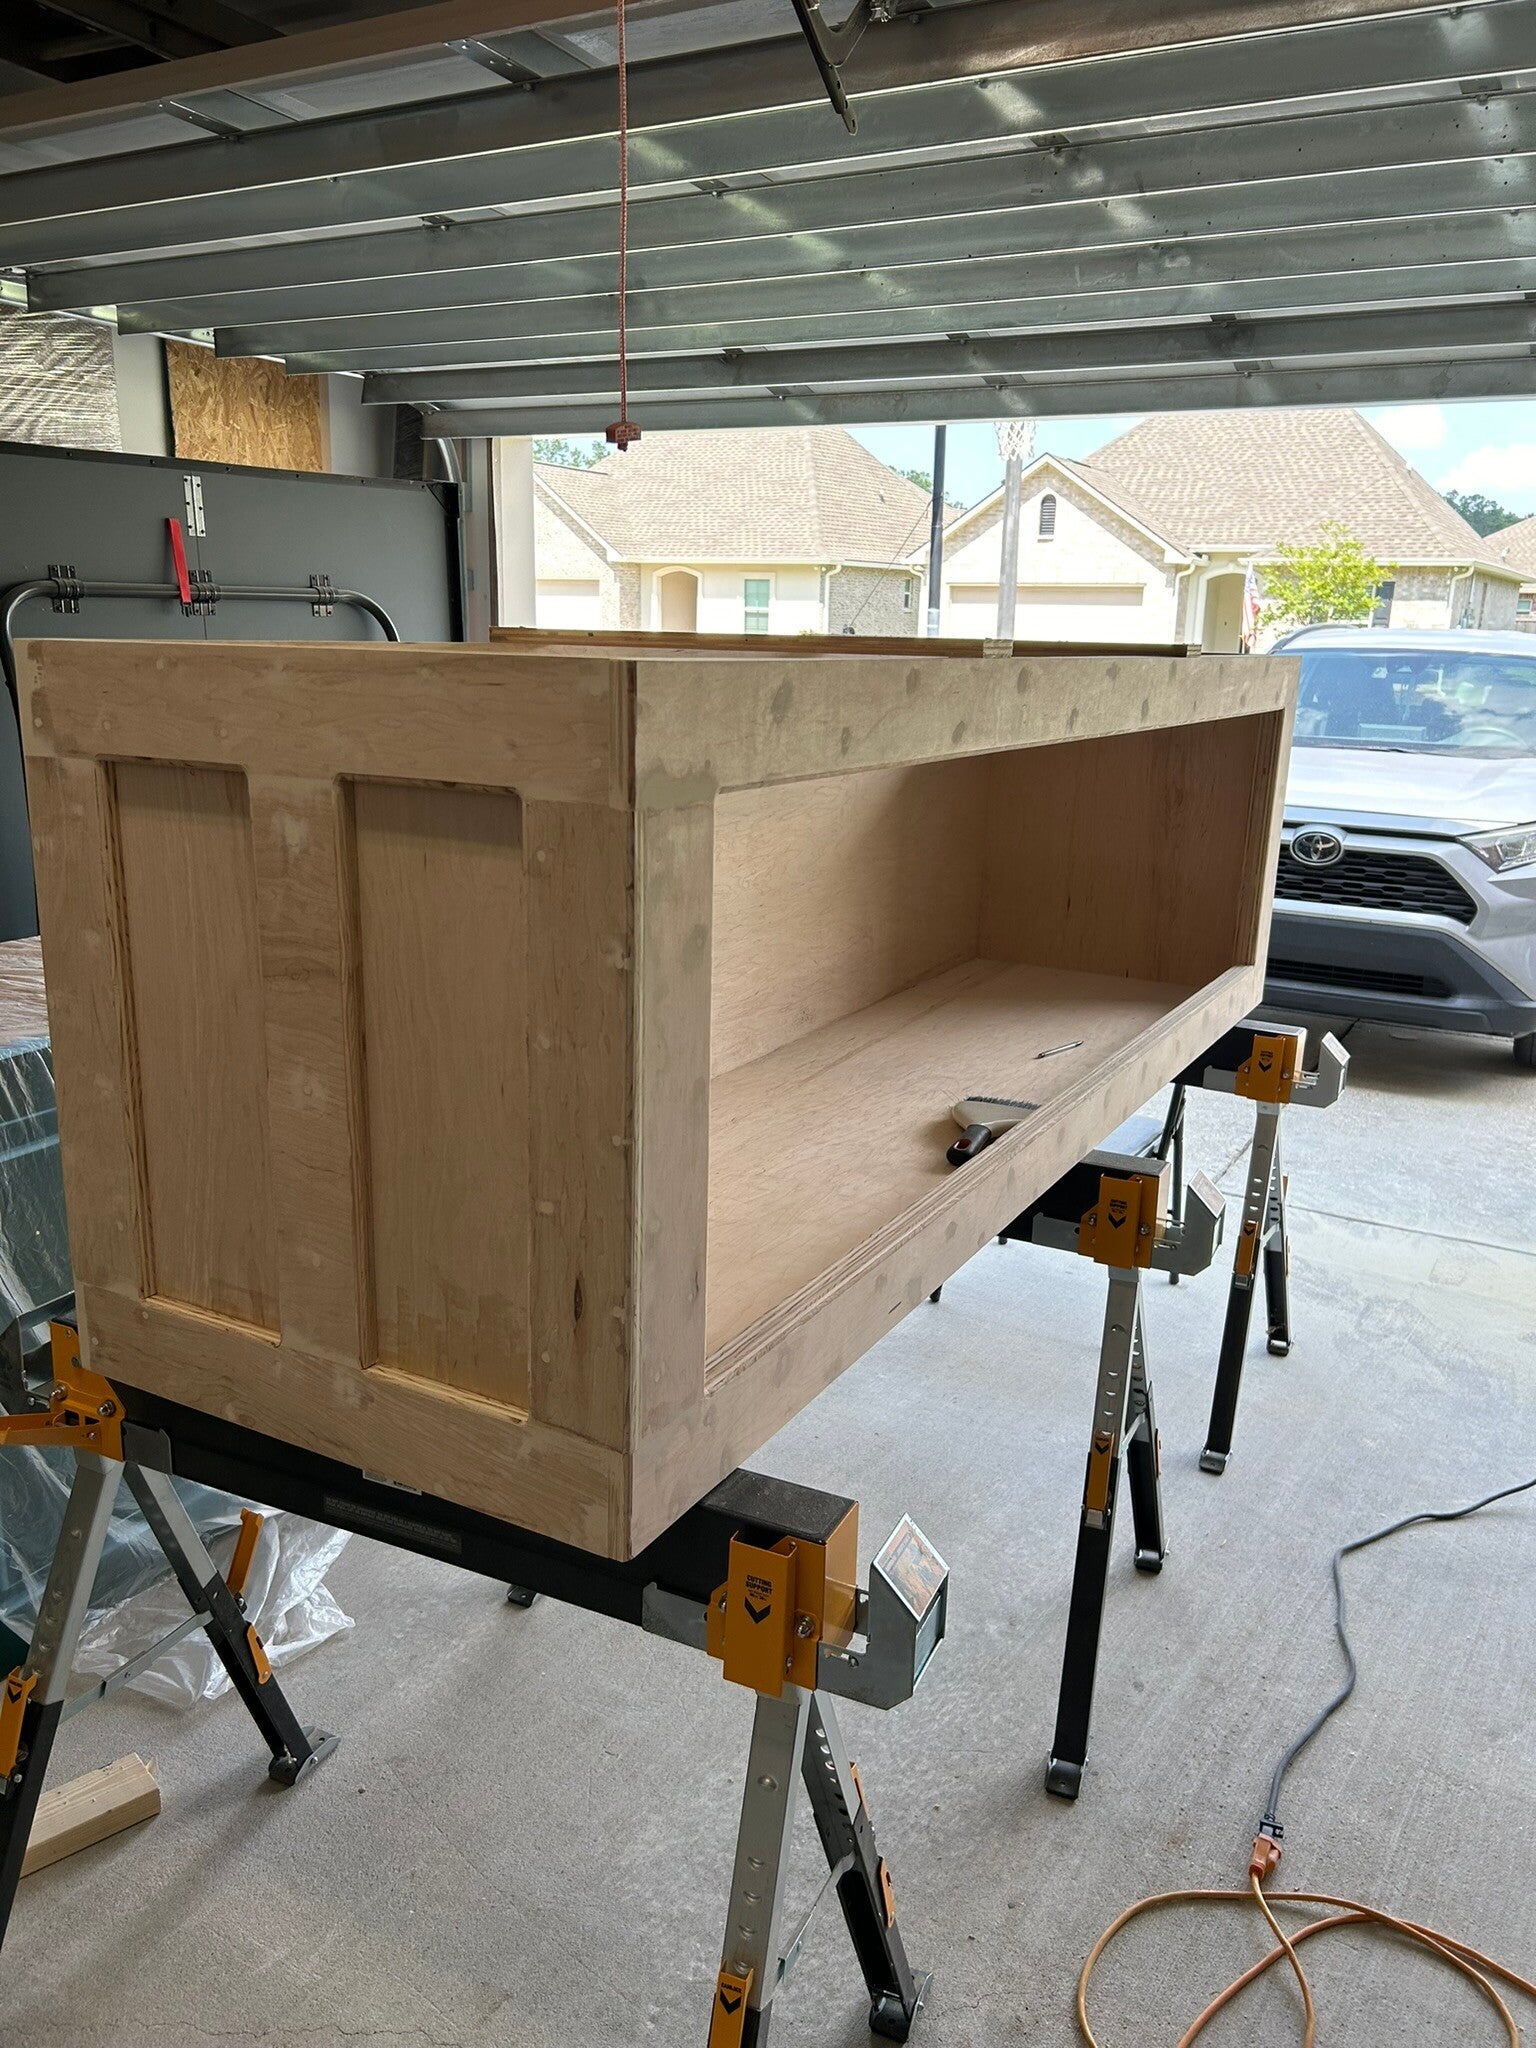
Stand covered to protect it from dust while work on aquarium (lots of sanding).
14 Jun 24
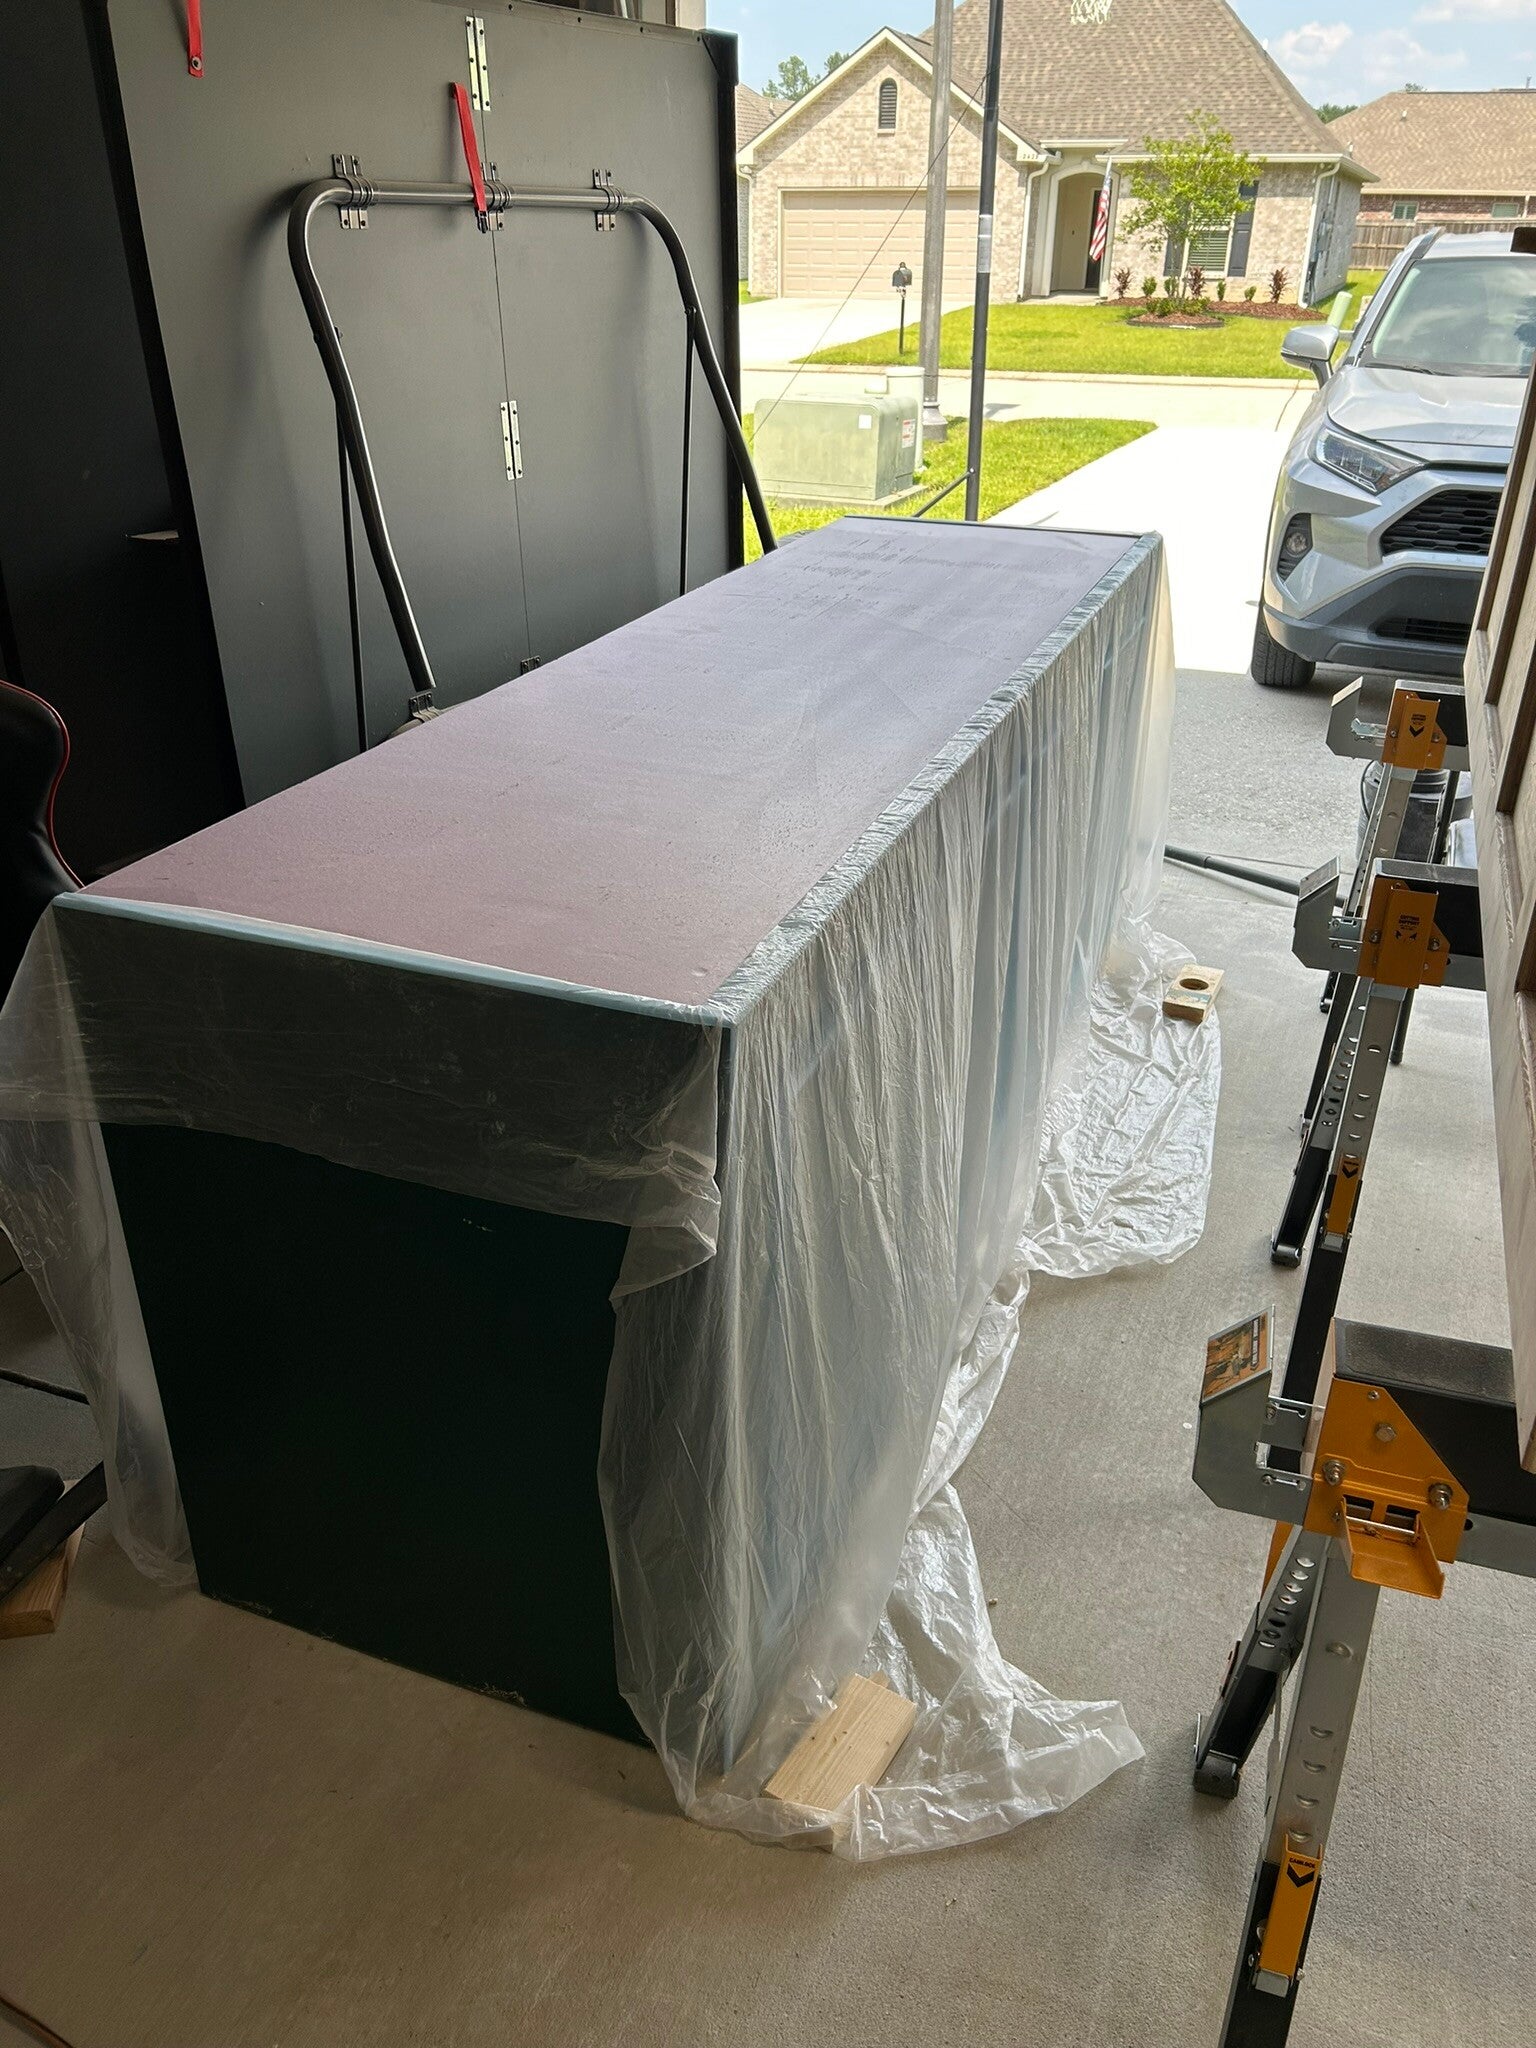
Large human for scale.
14 Jun 24
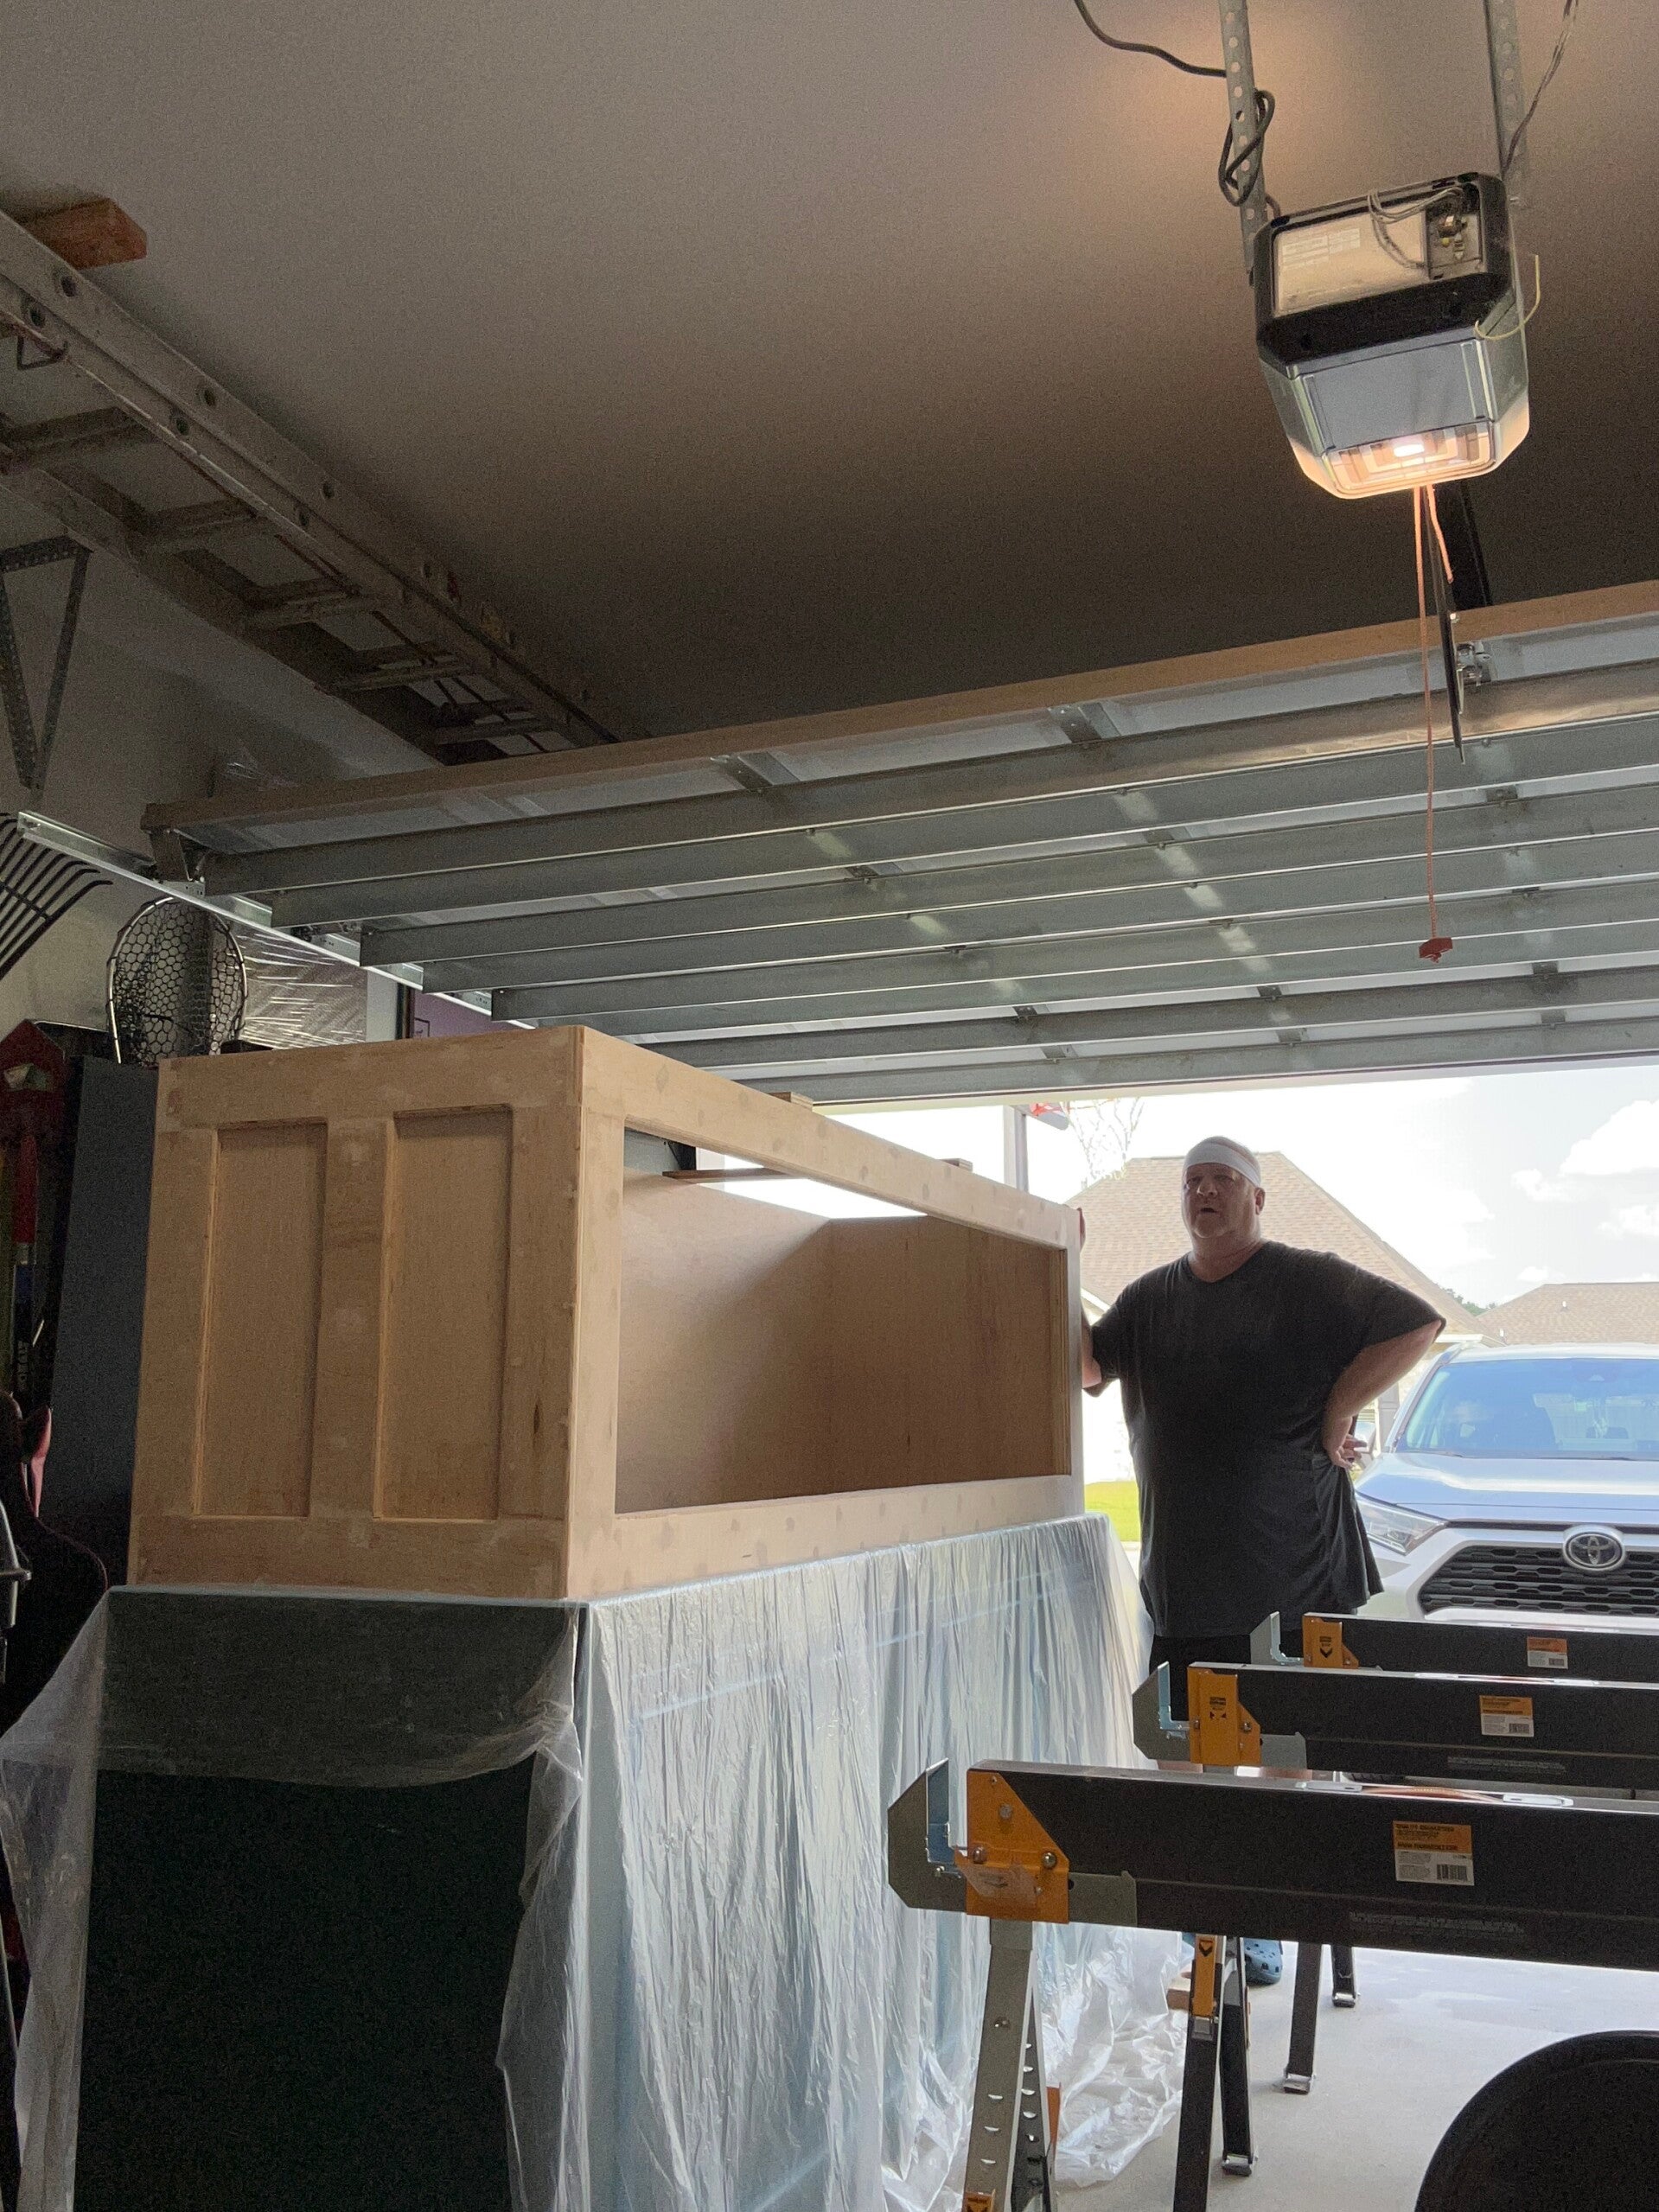
This will be the top of the aquarium. That one center beam will go a long way in keeping the aquarium from bowing out.
15 Jun 24
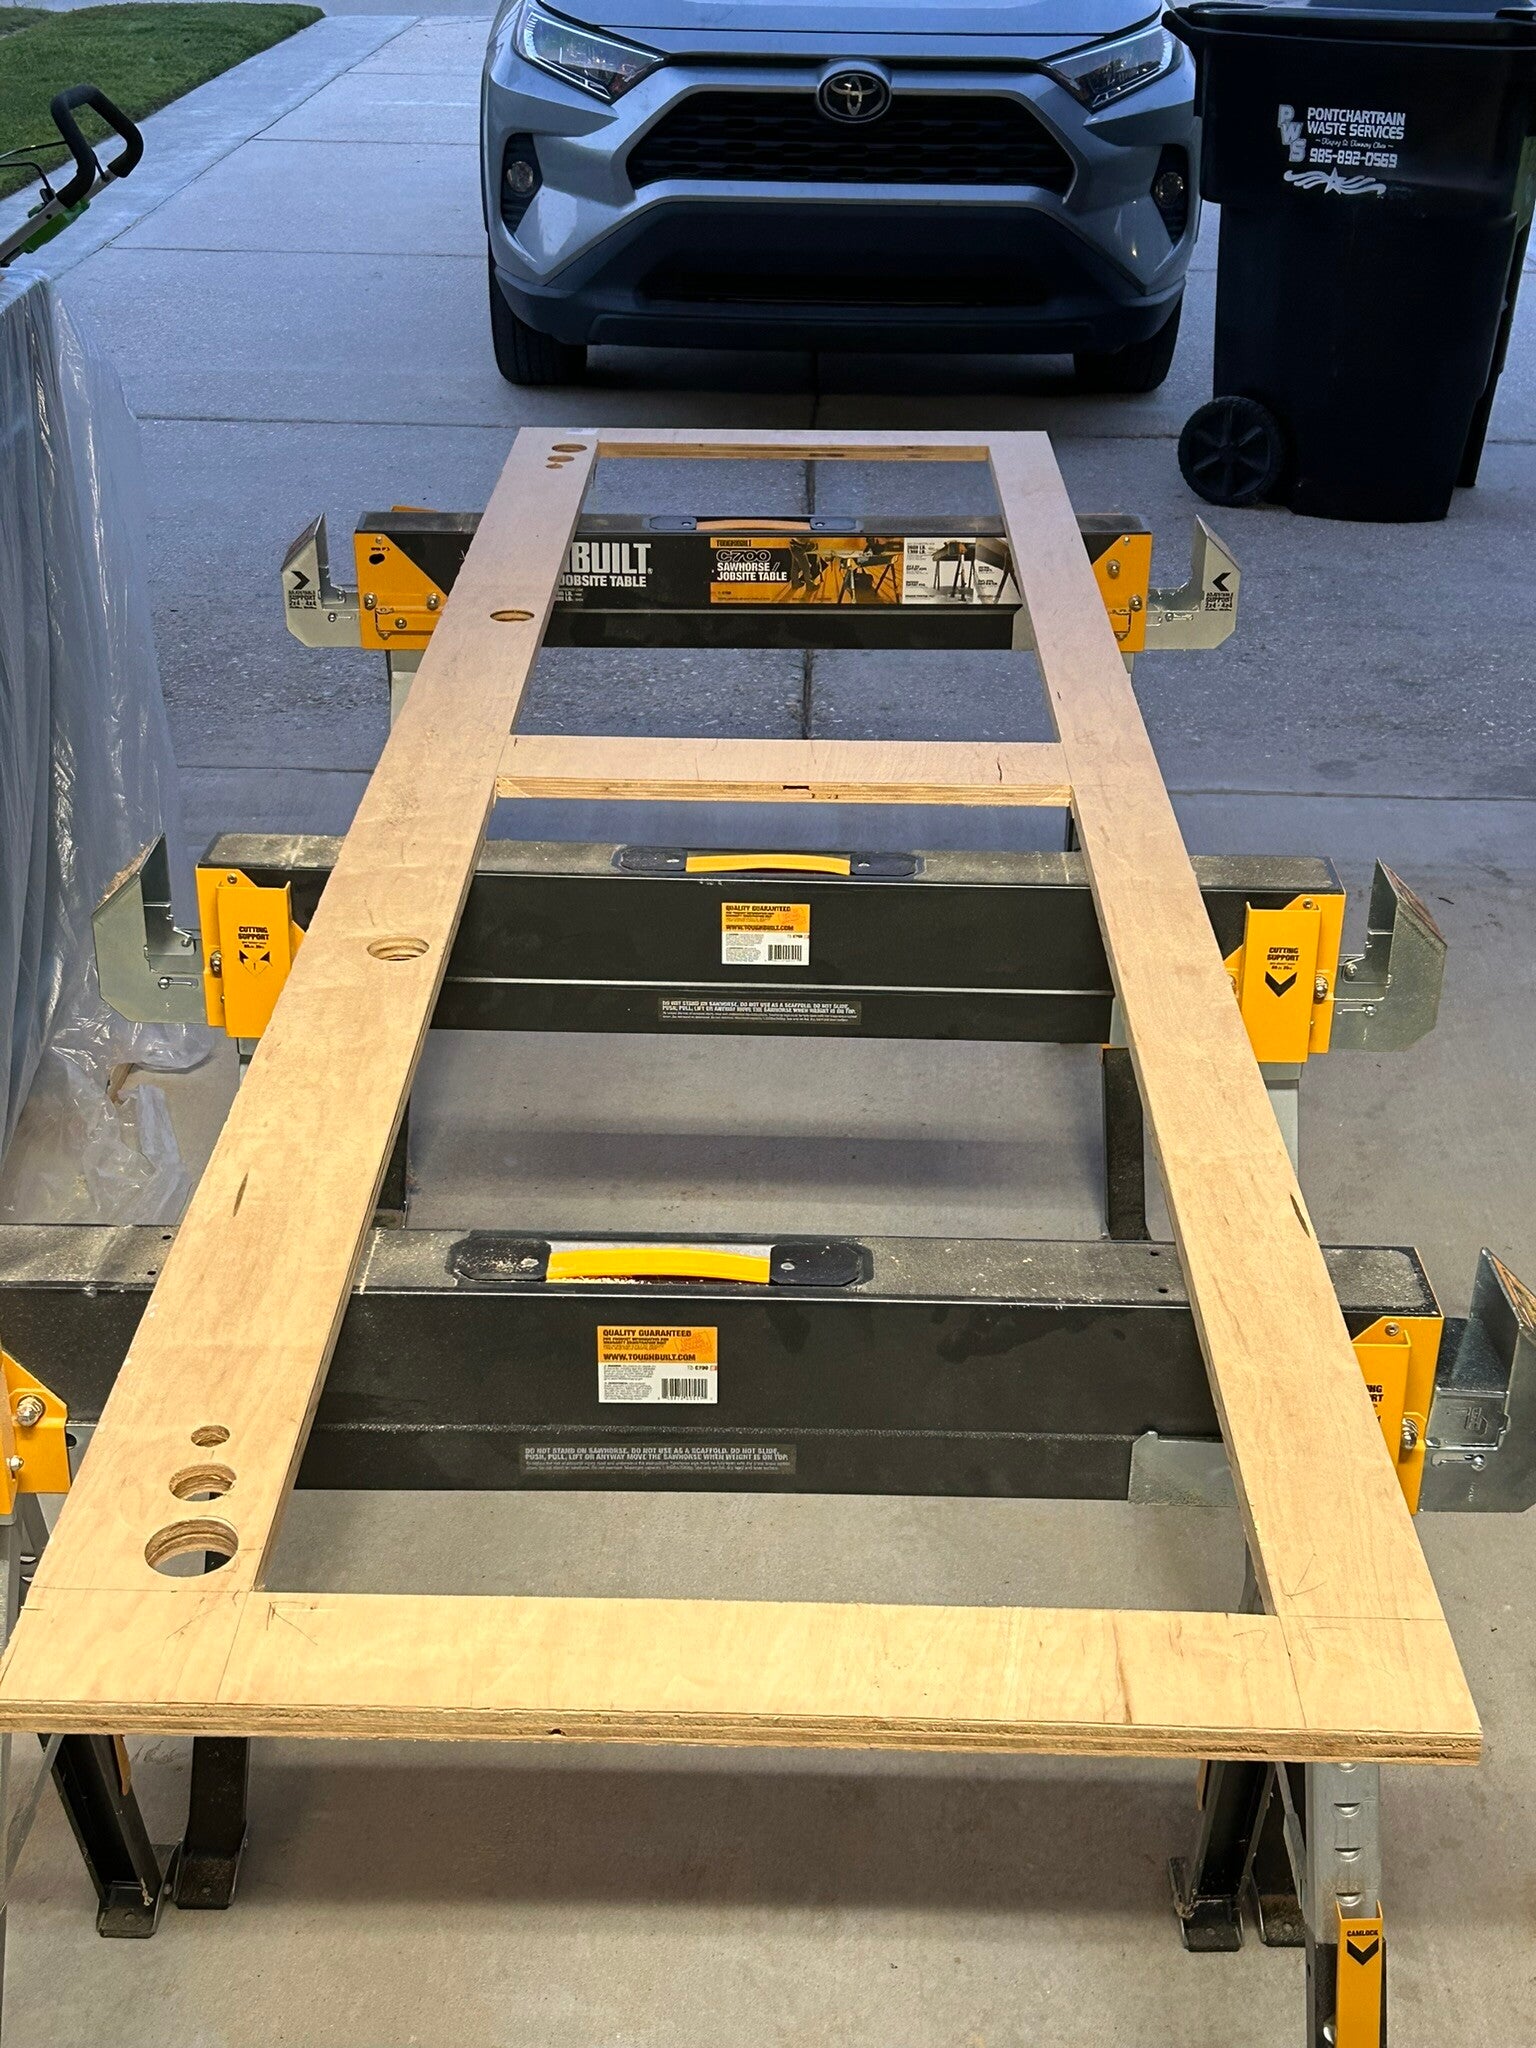
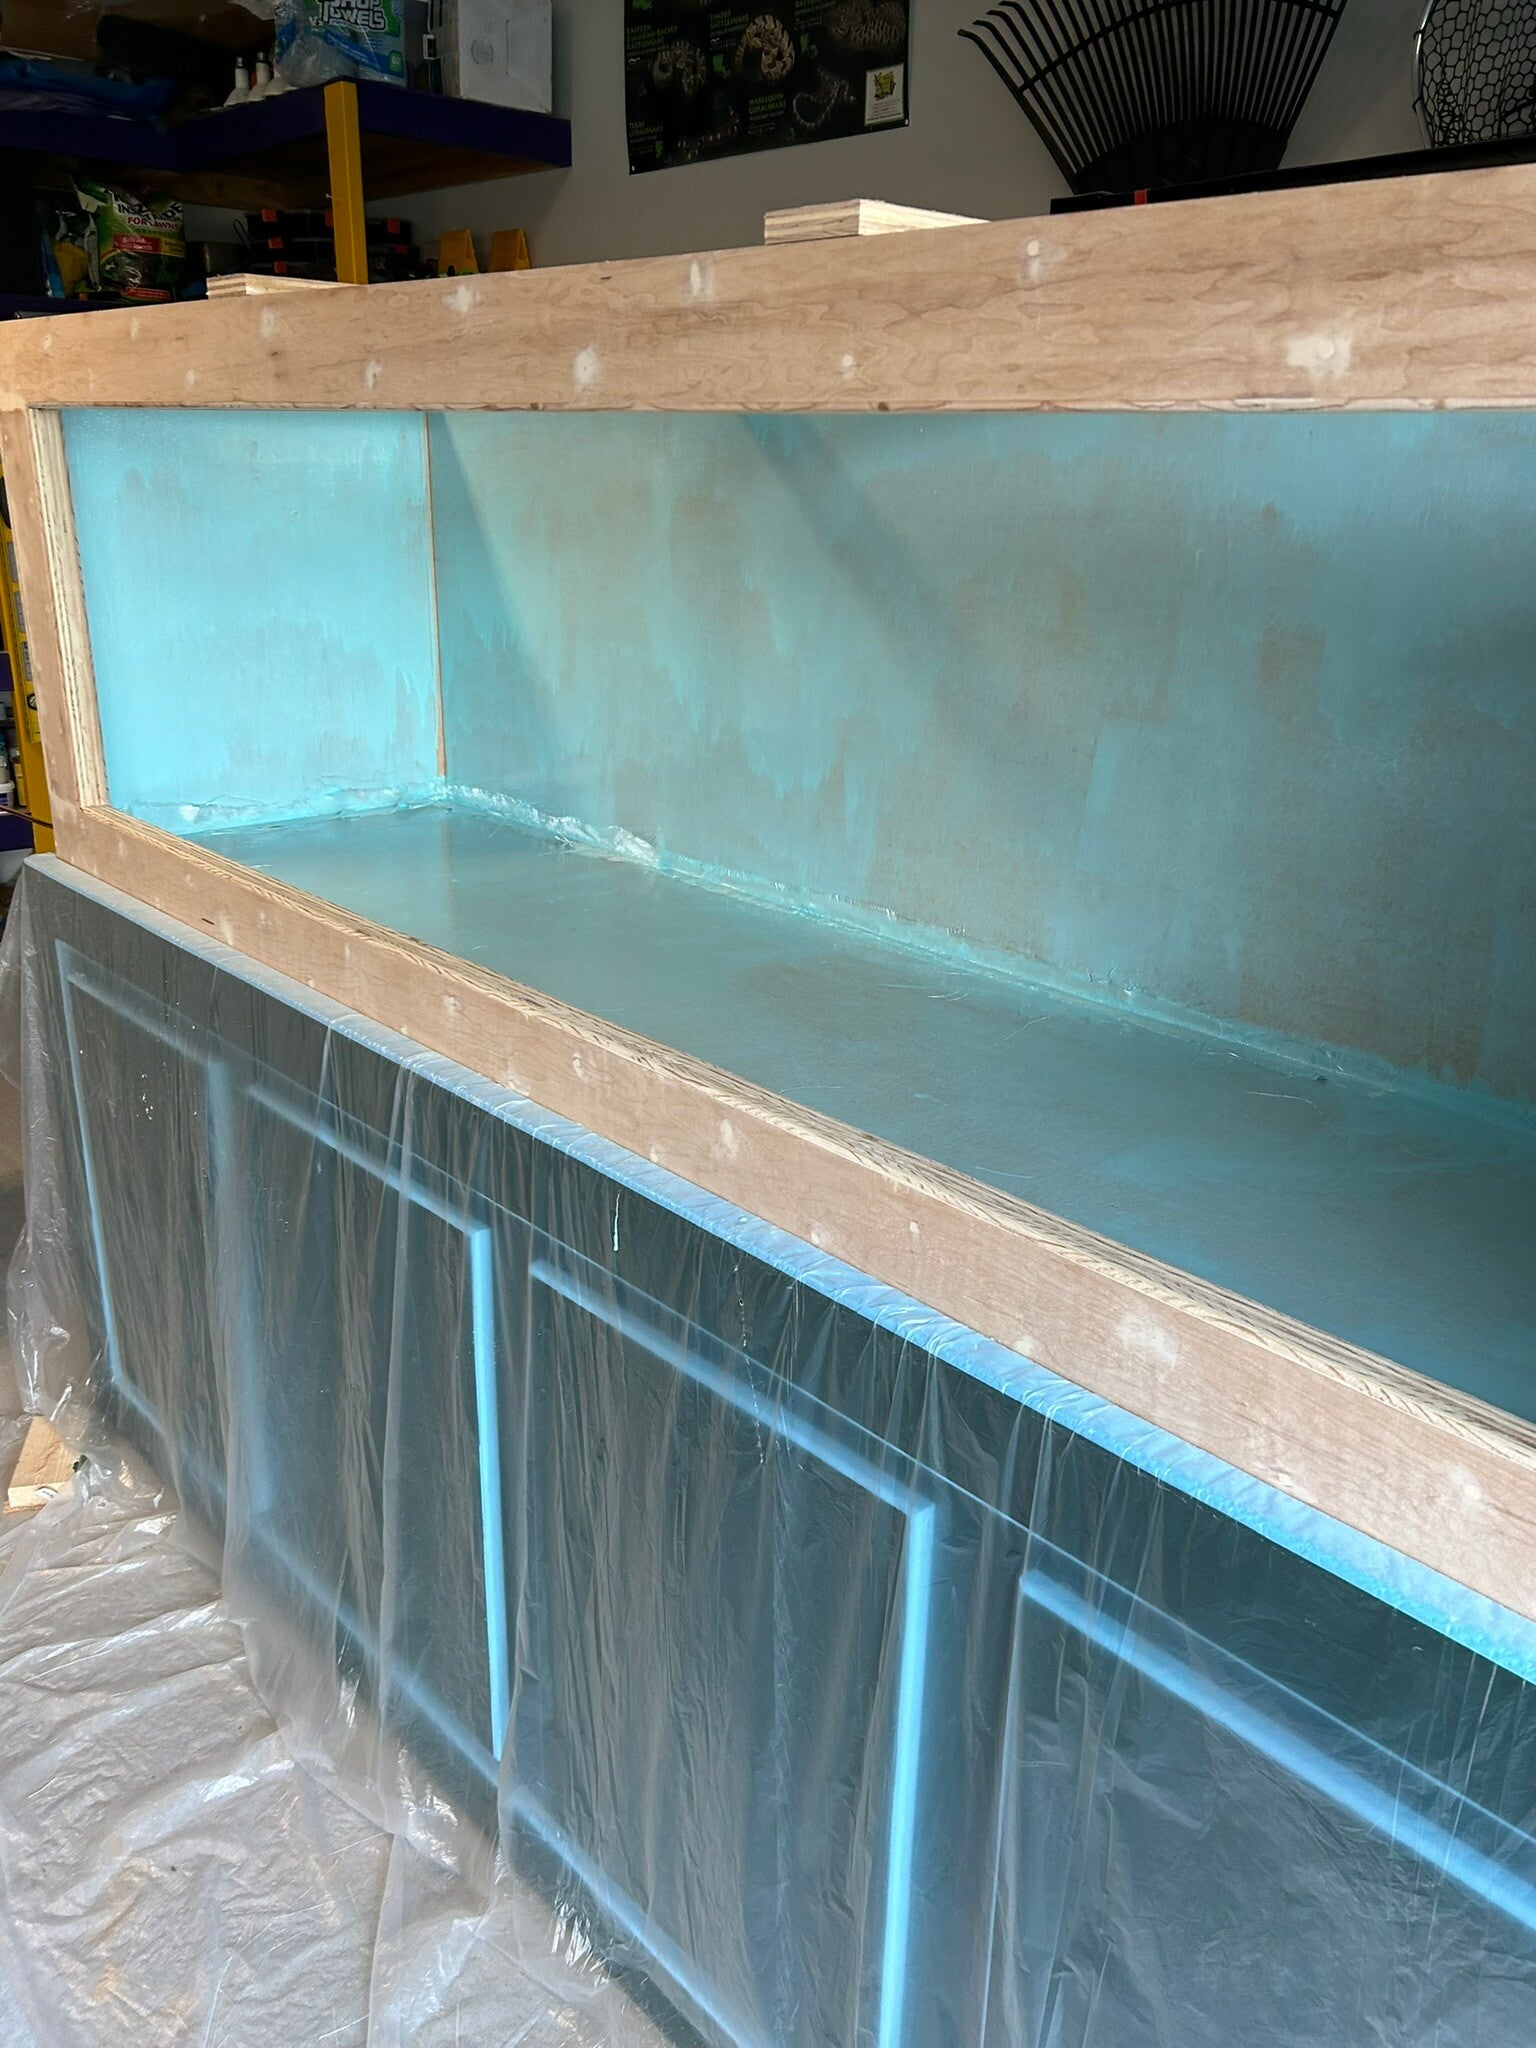
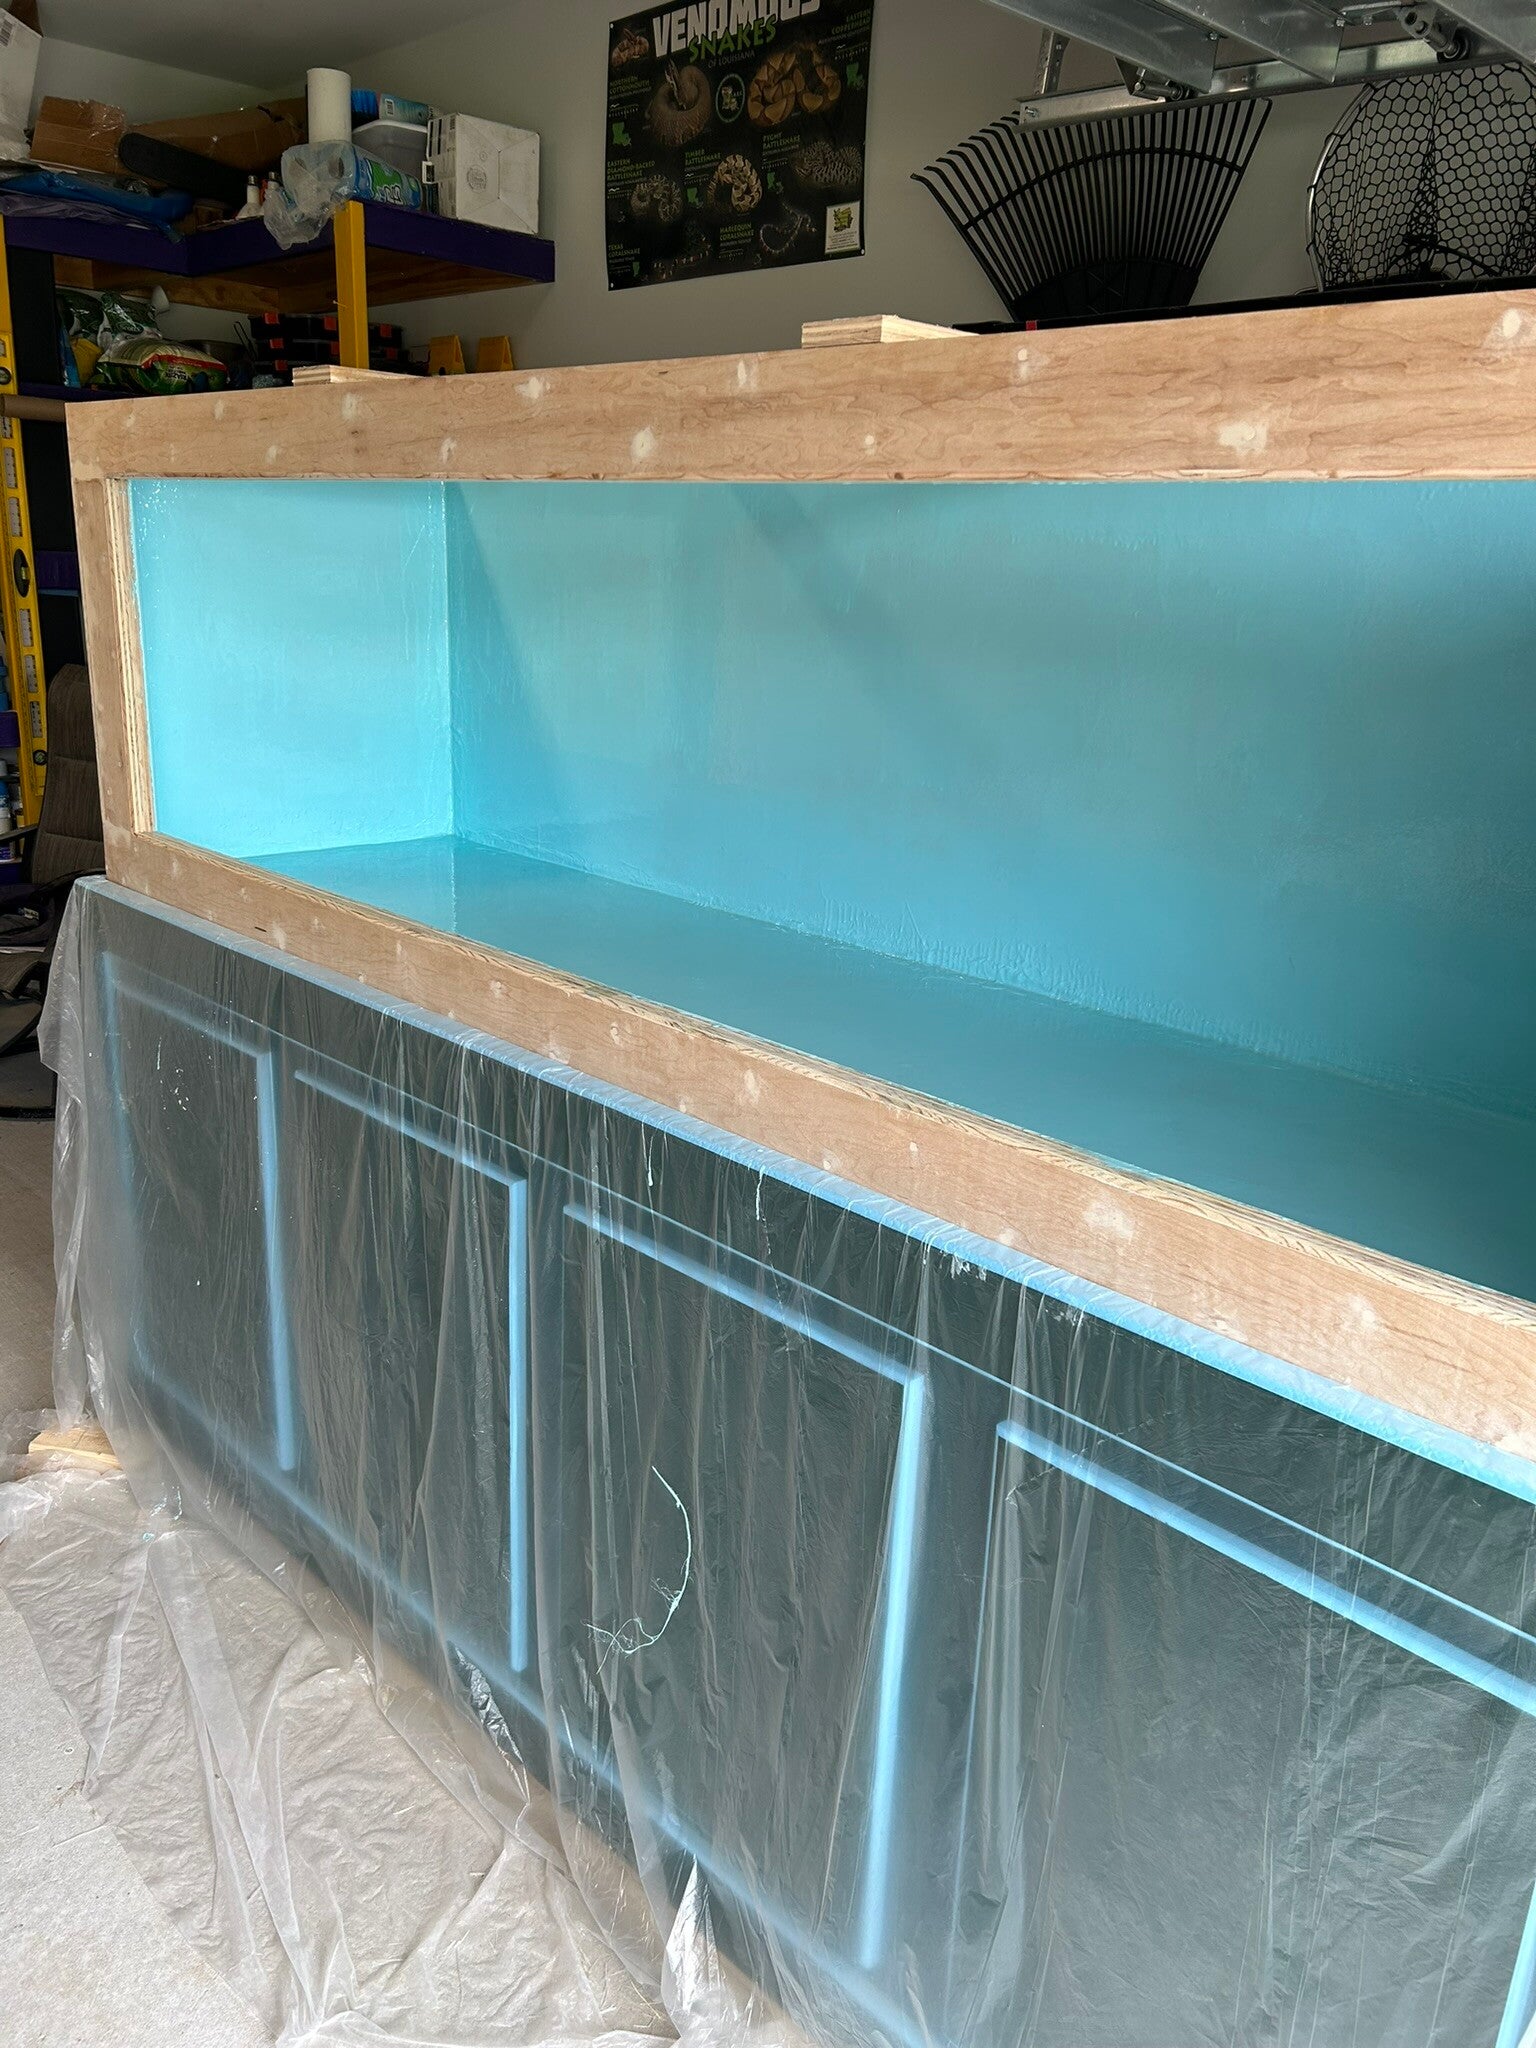
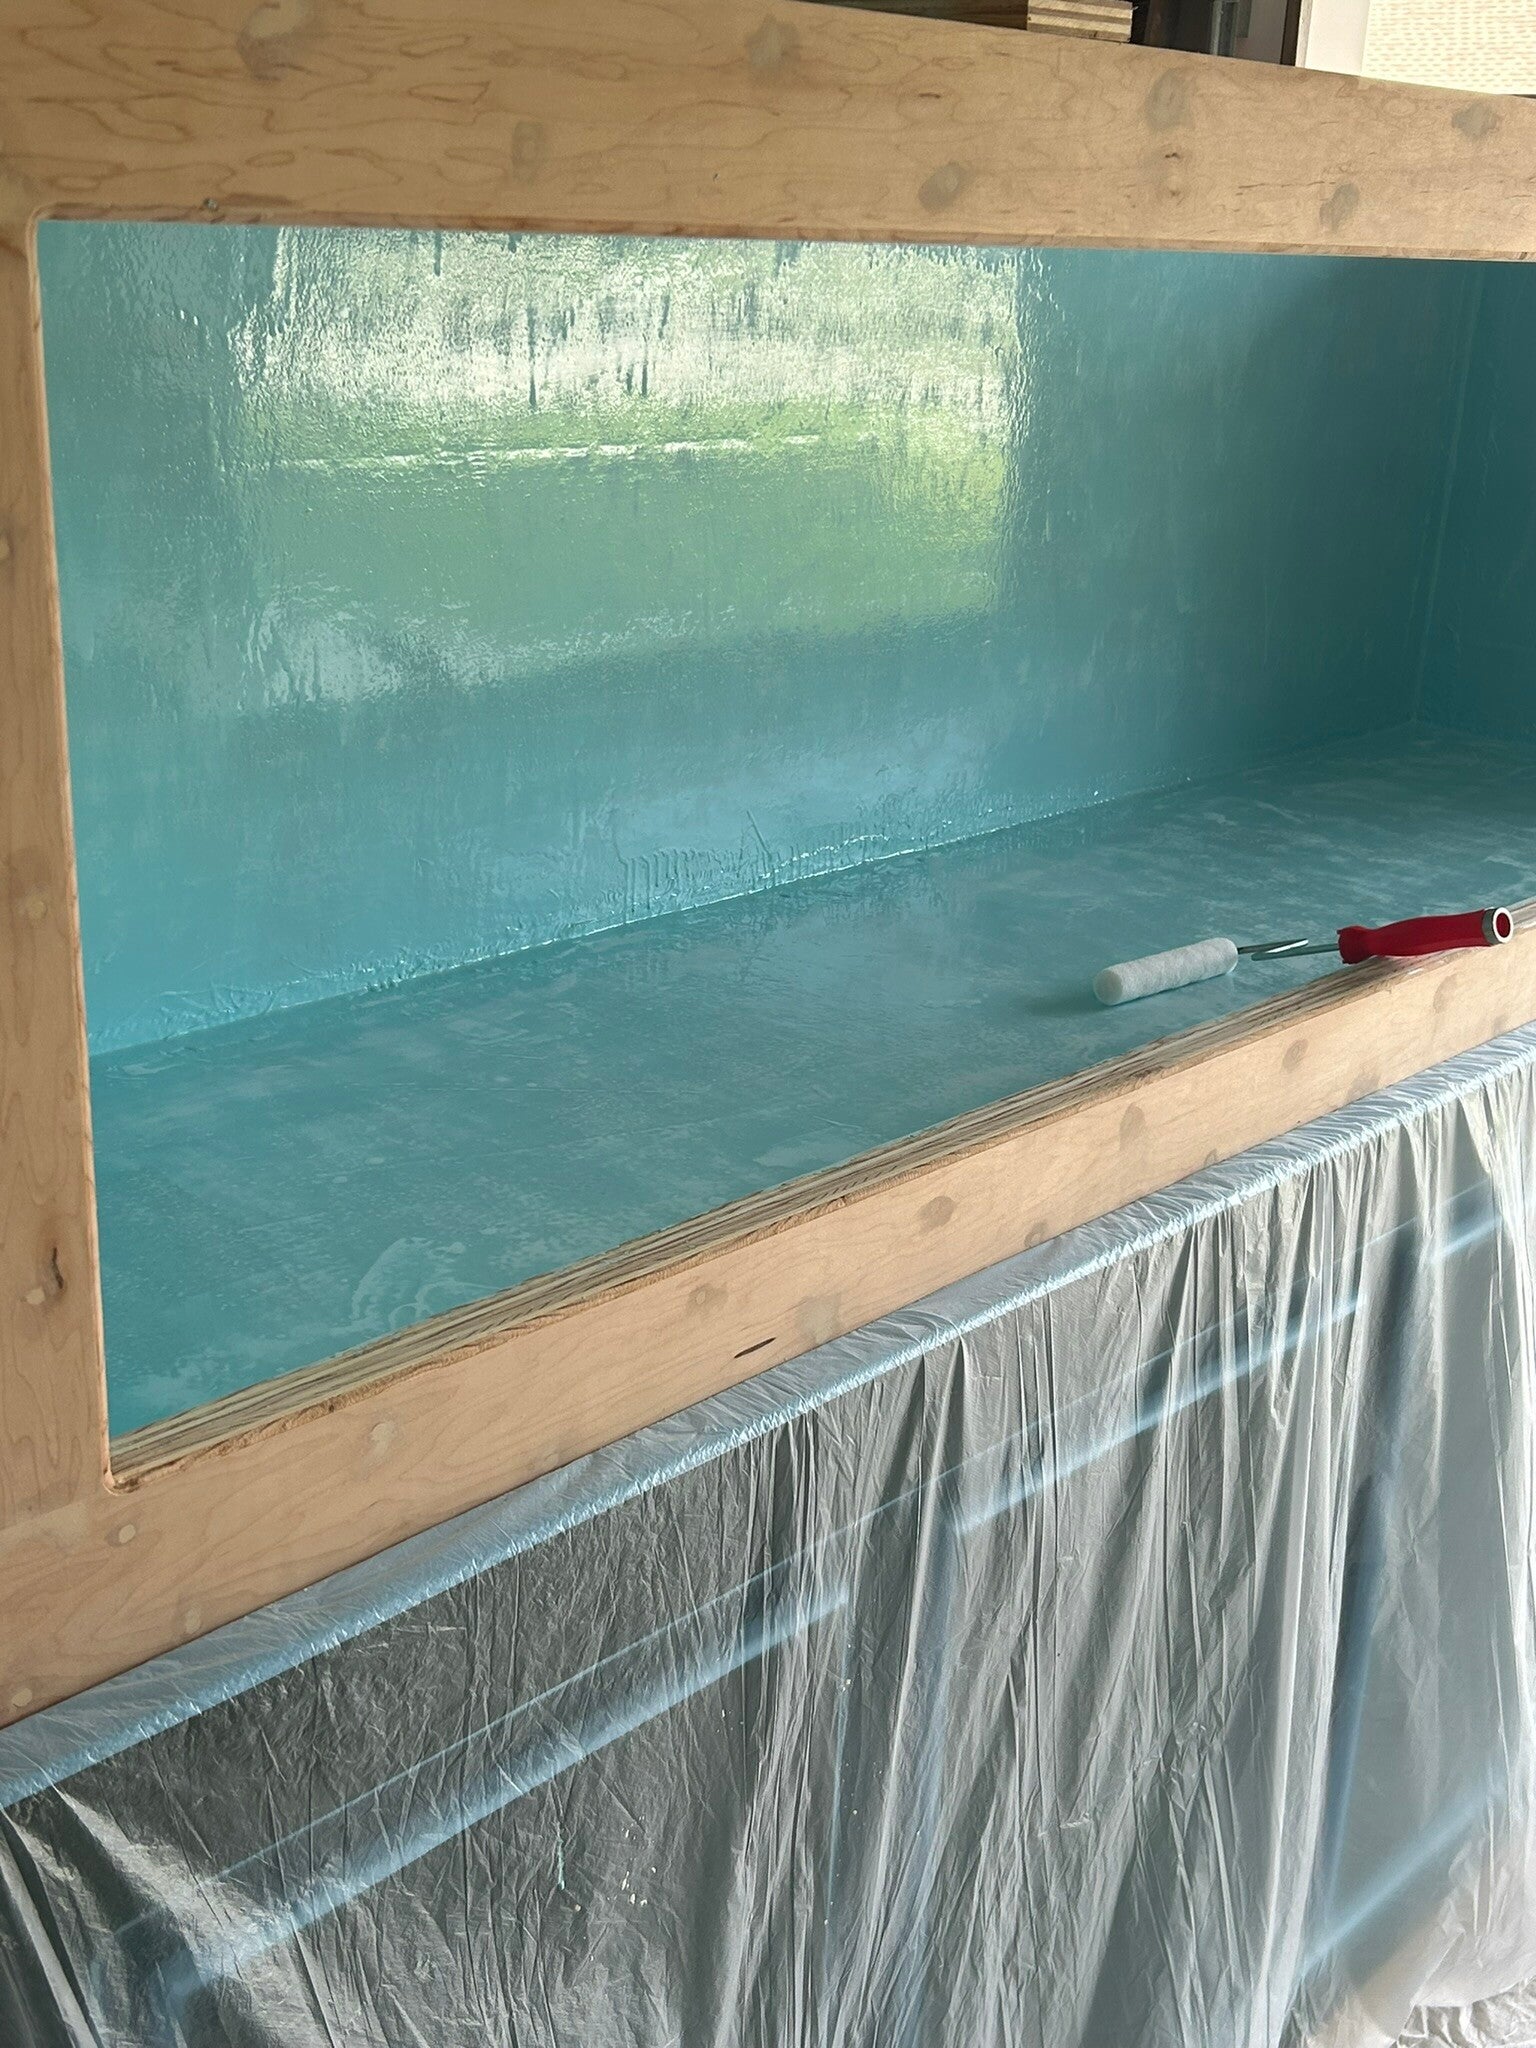
1st coat of Pond Armor going inside the aquarium. It's an epoxy paint that will dry completely hard and waterproof. Fiberglass cloth sheets placed in the corners before painting to make the corners even stronger and prevent leaks.
20 Jun 24
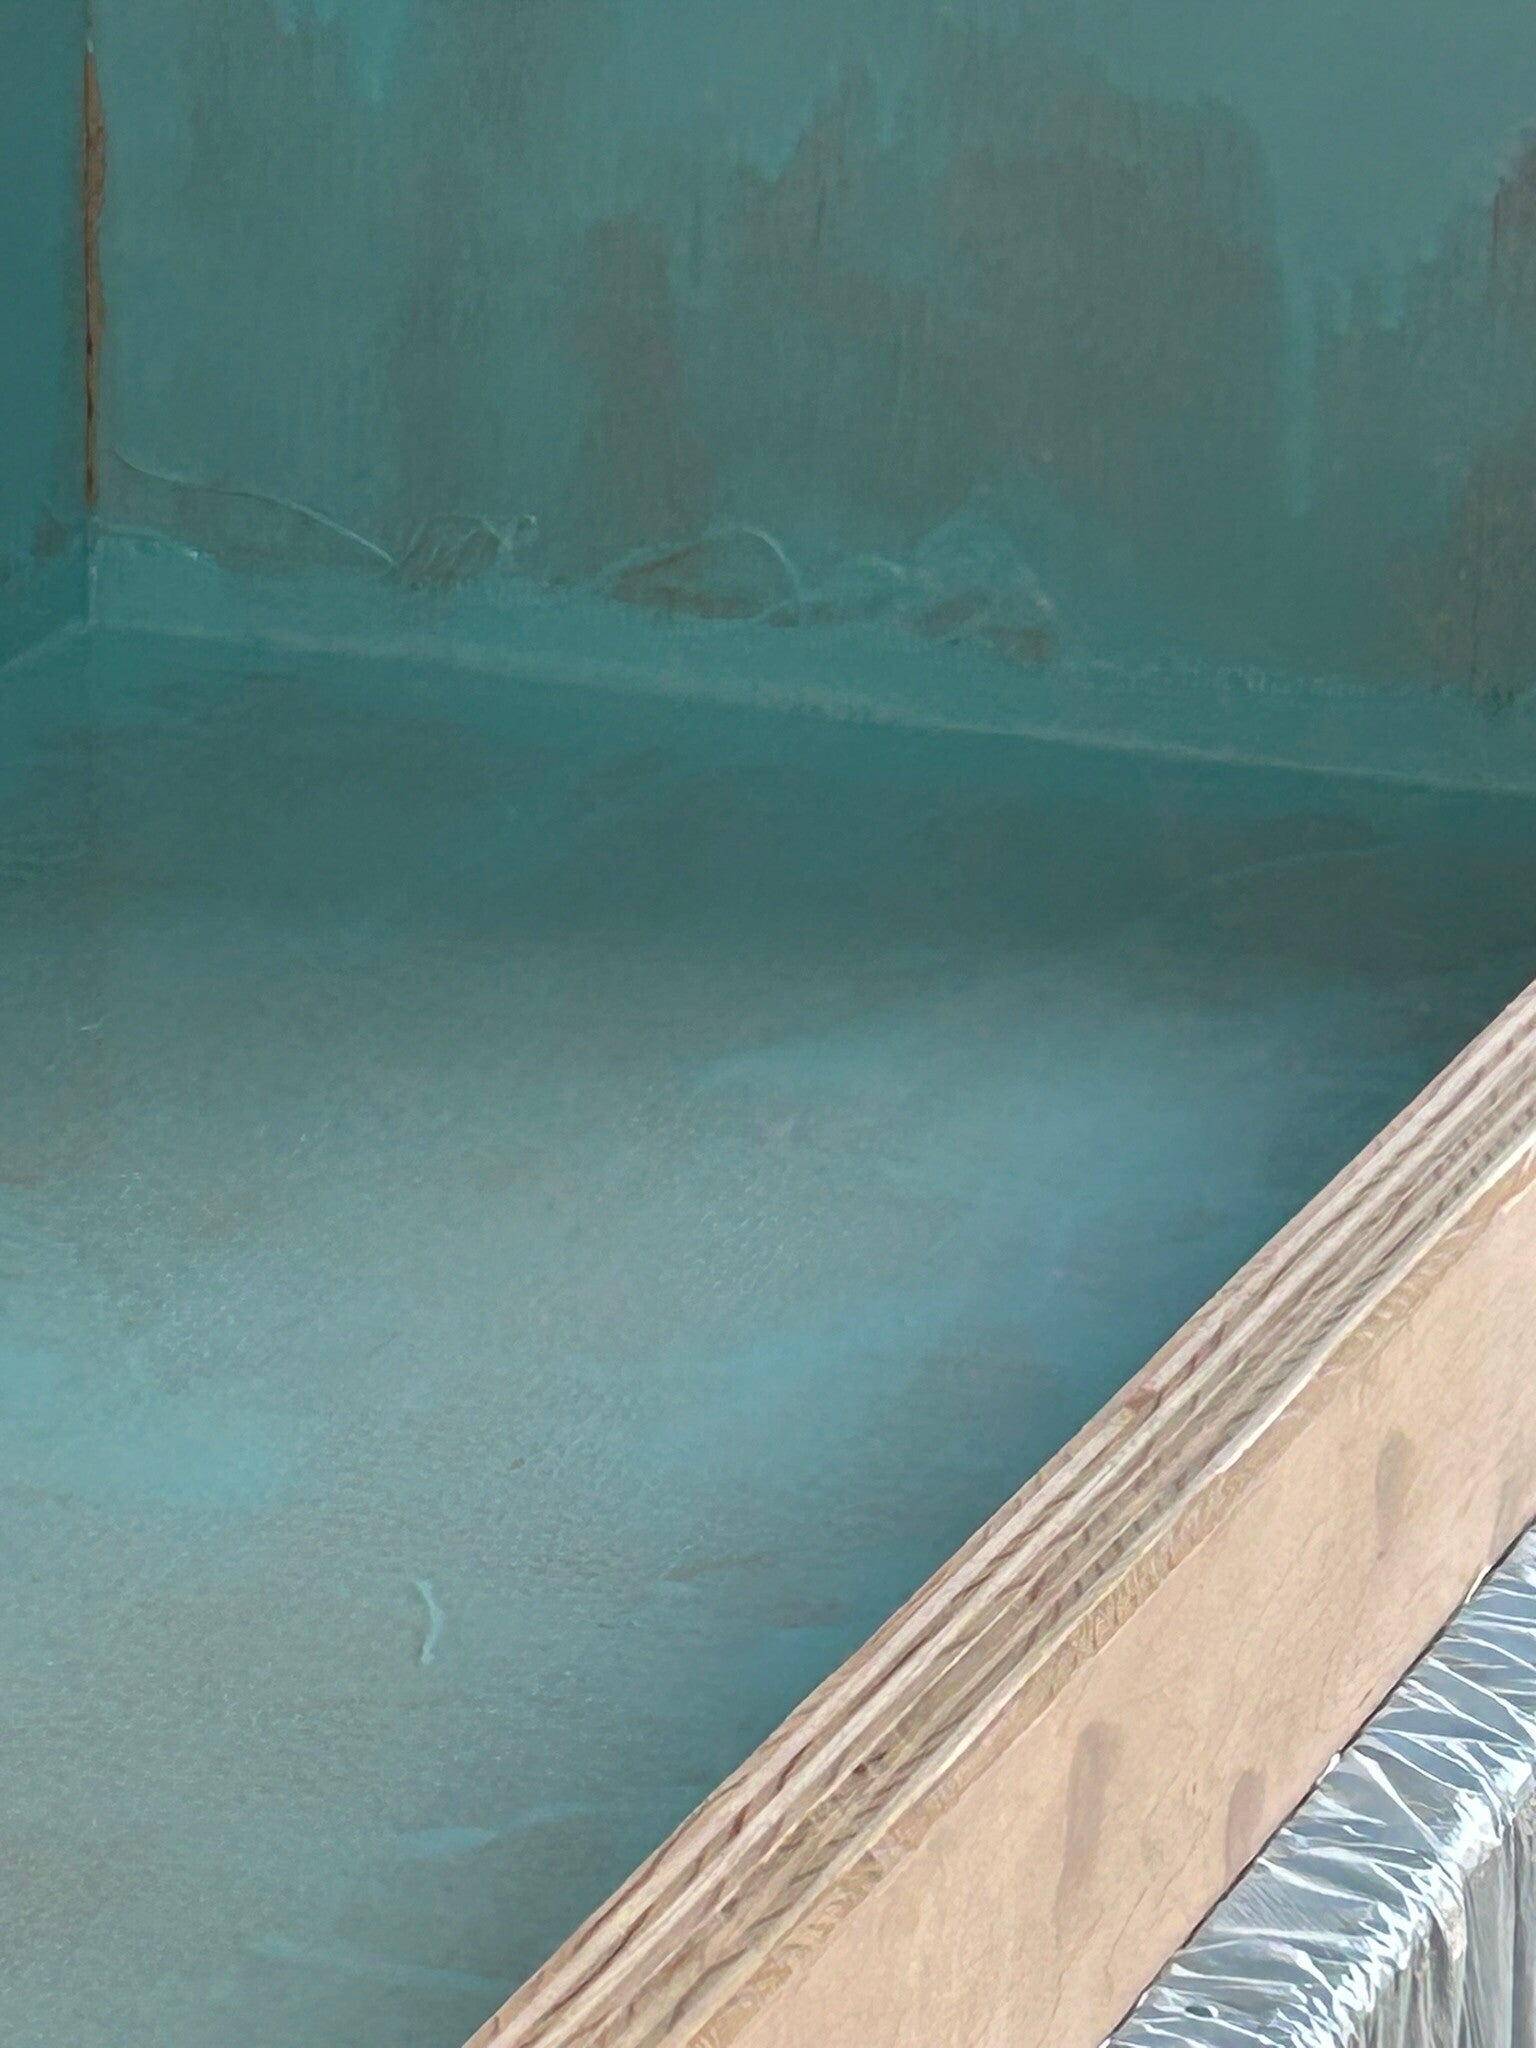
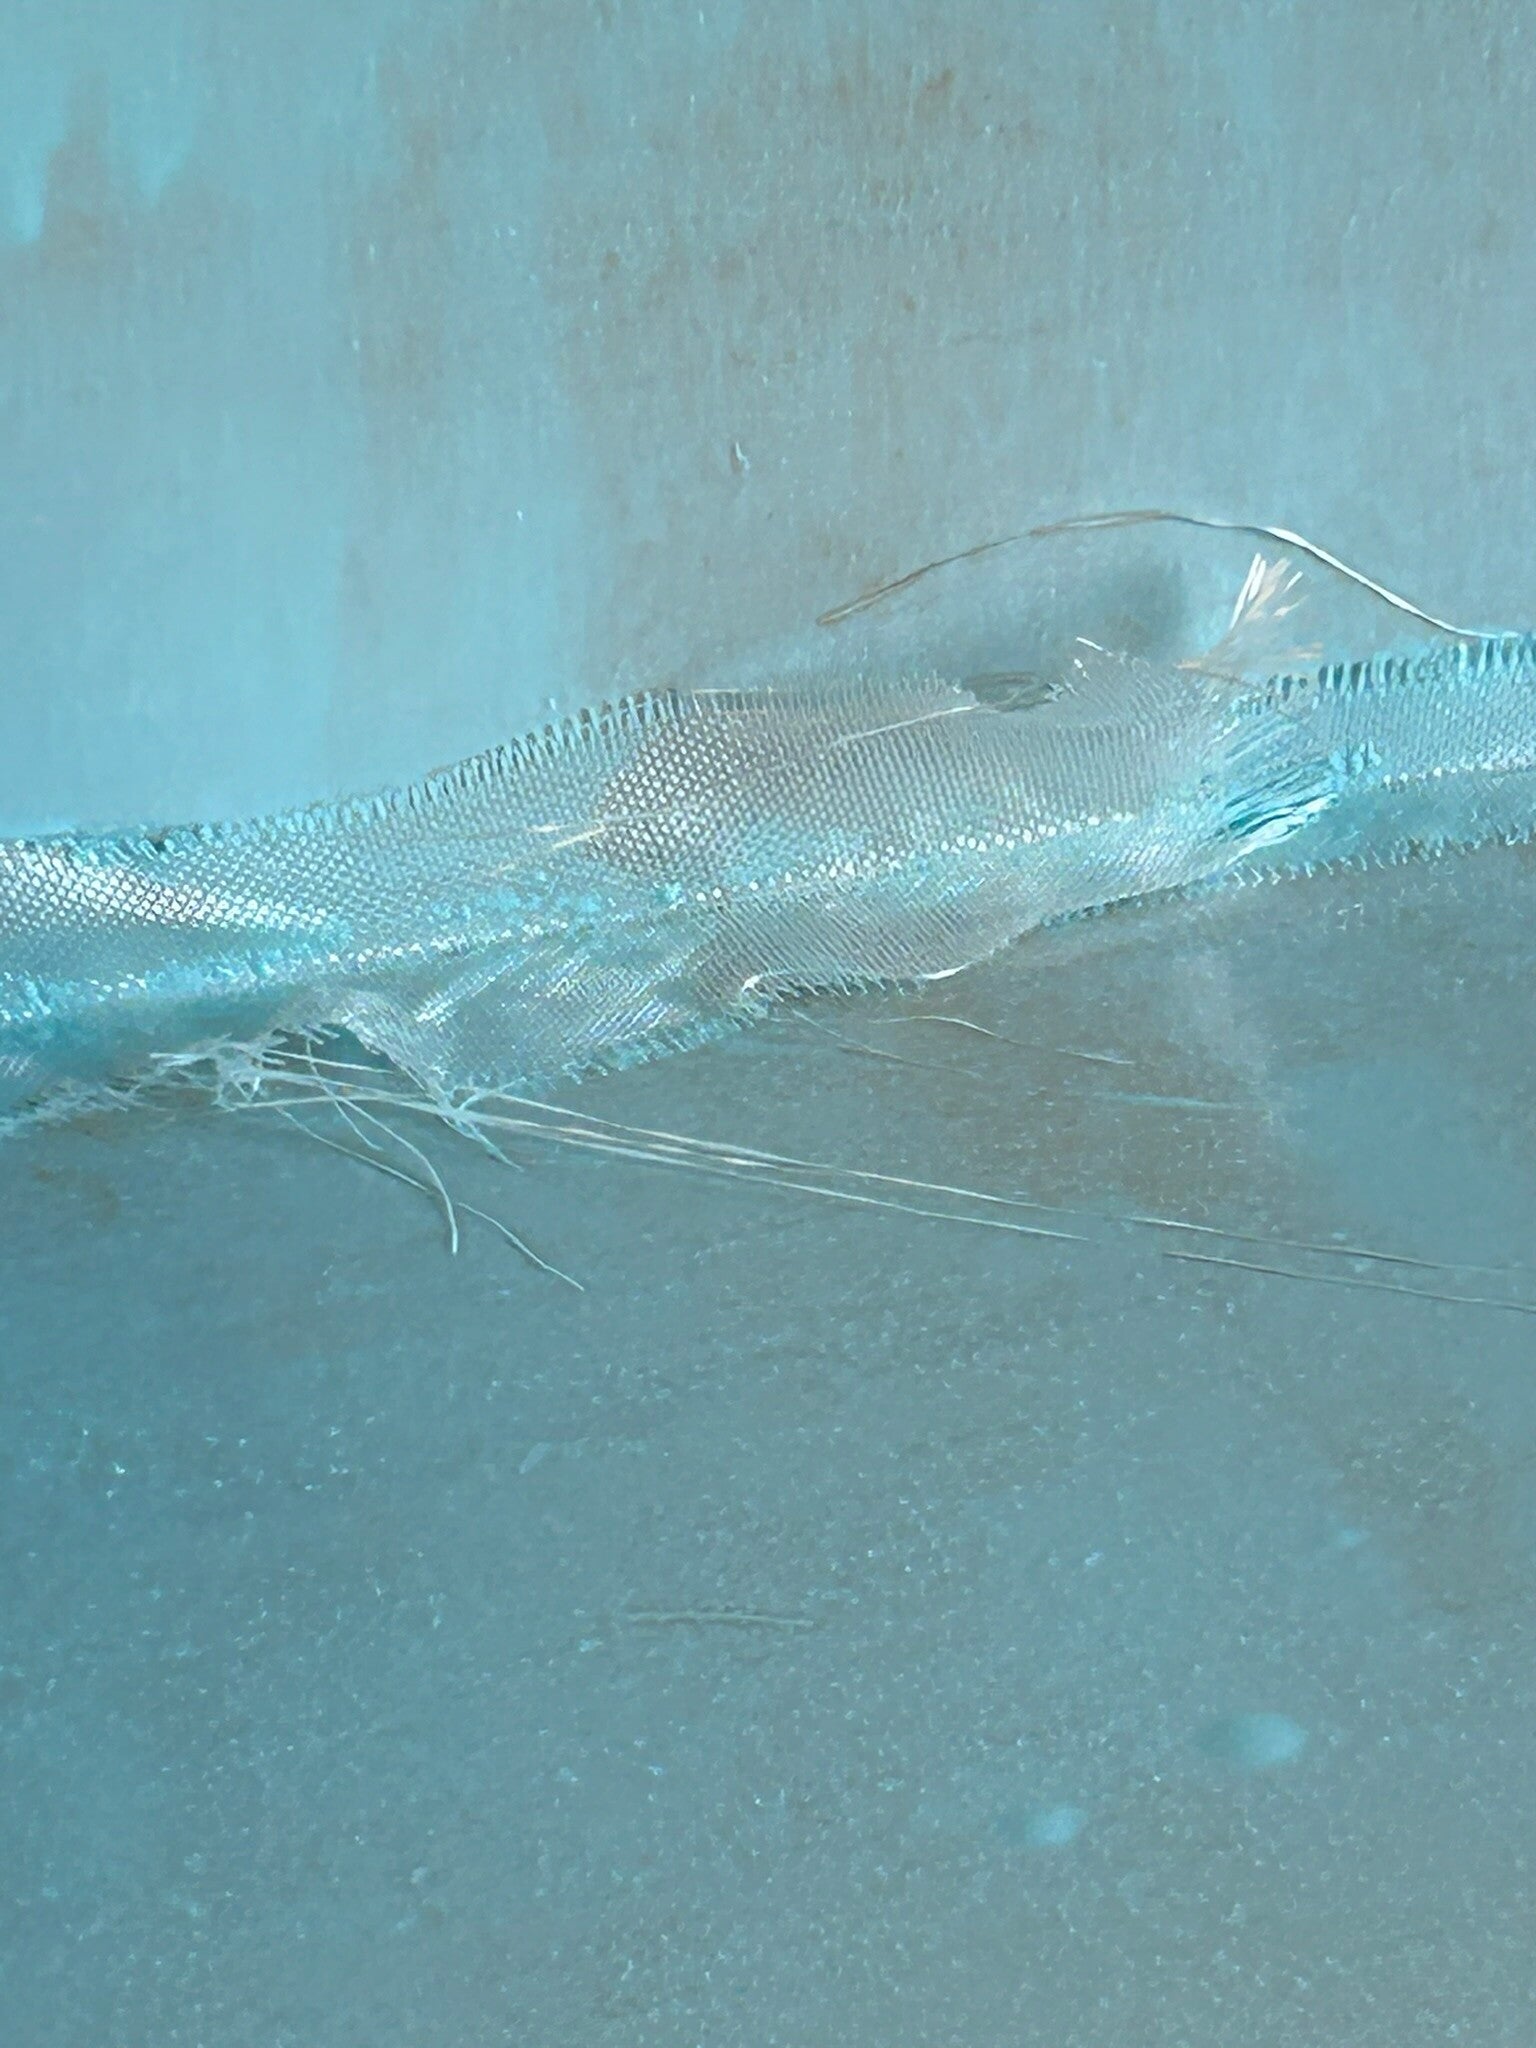
This is an example of how not to place the fiberglass. Paint epoxy is not fun to work with, and you only get like 15 minutes to paint with it before it starts to harden.
20 Jun 24
1st coat done.
20 Jun 24
30 Jun 24
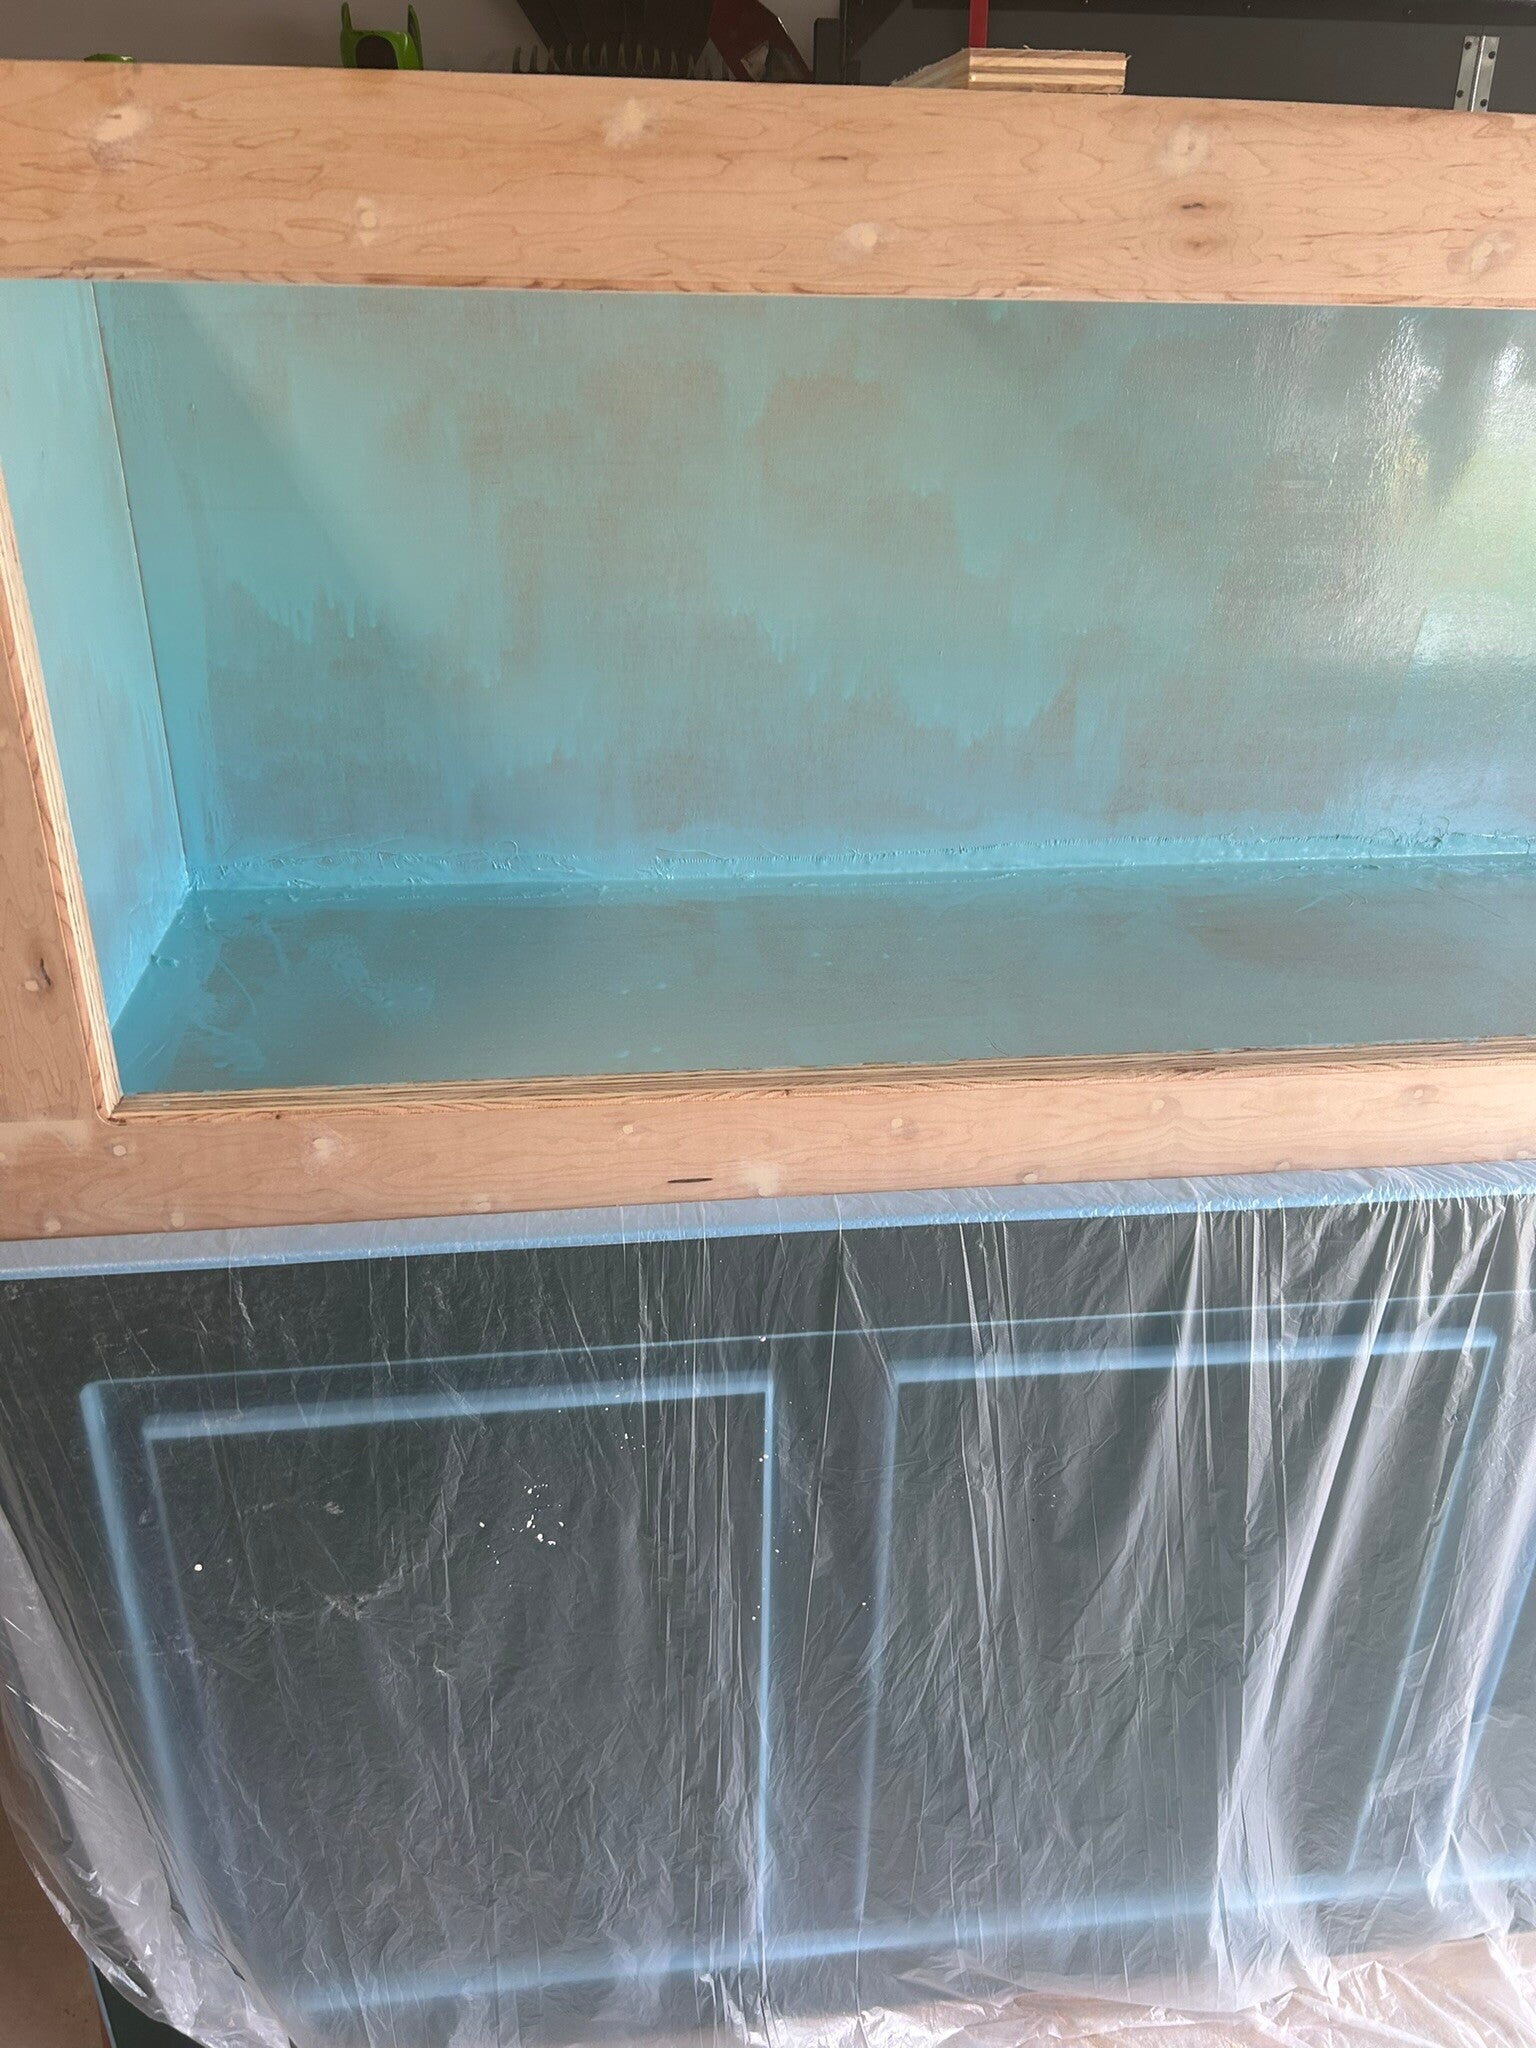
Had to turn it to paint each side.
8 Jul 24
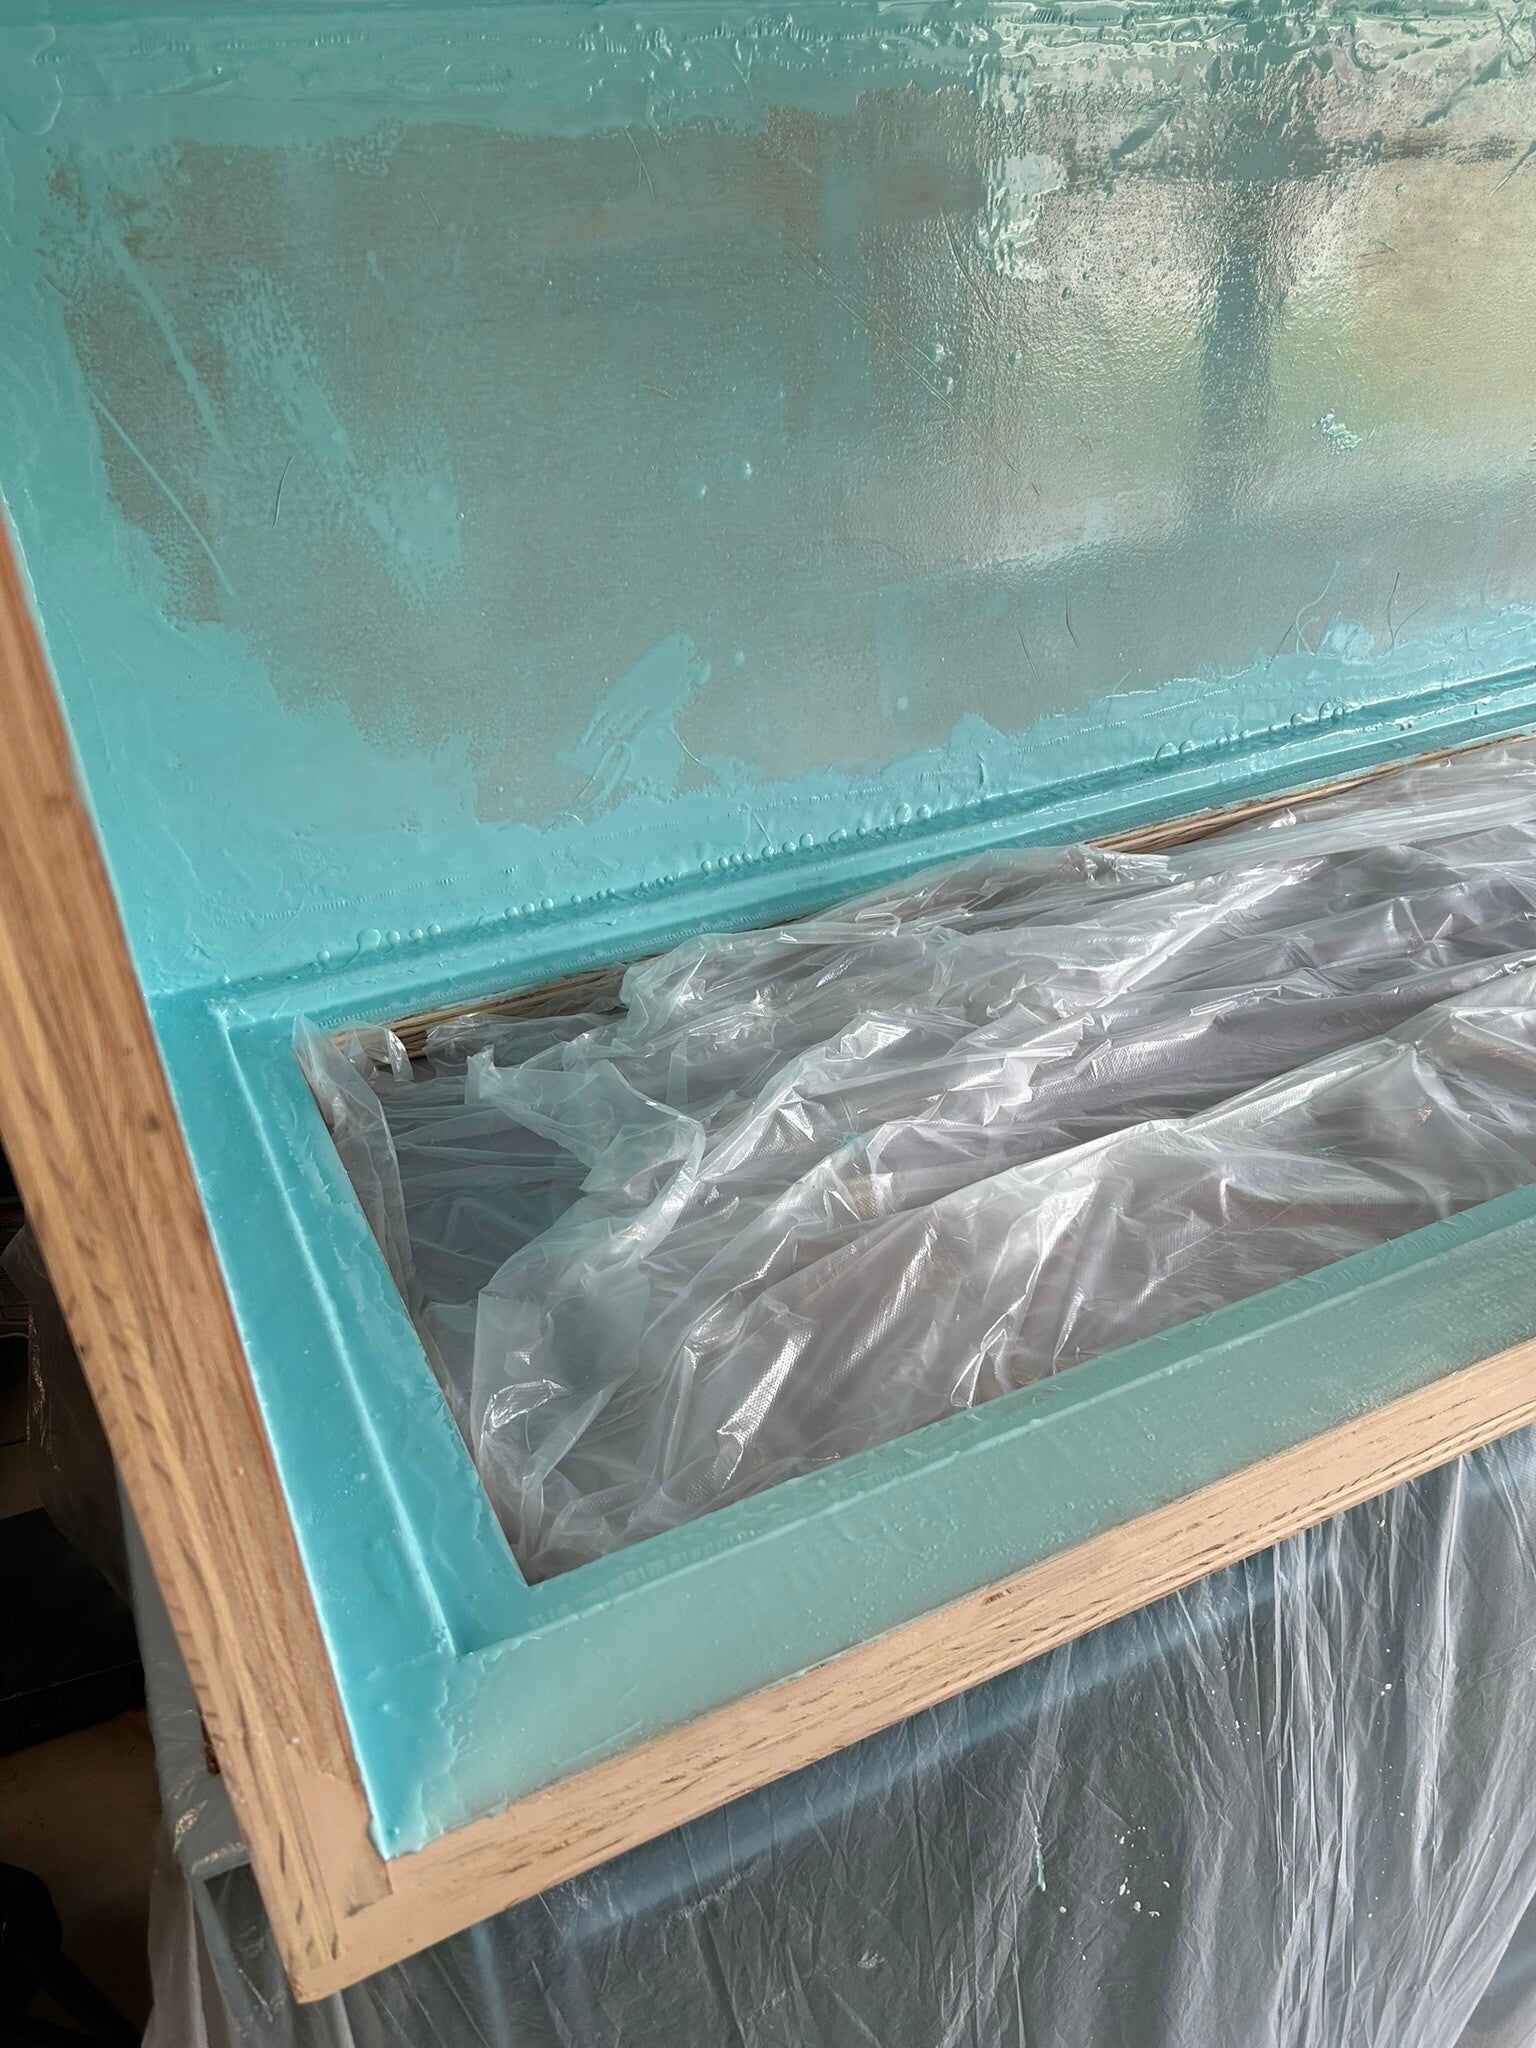
Braces screwed in place to hold it open while I painted since the top was not attached.
8 Jul 24
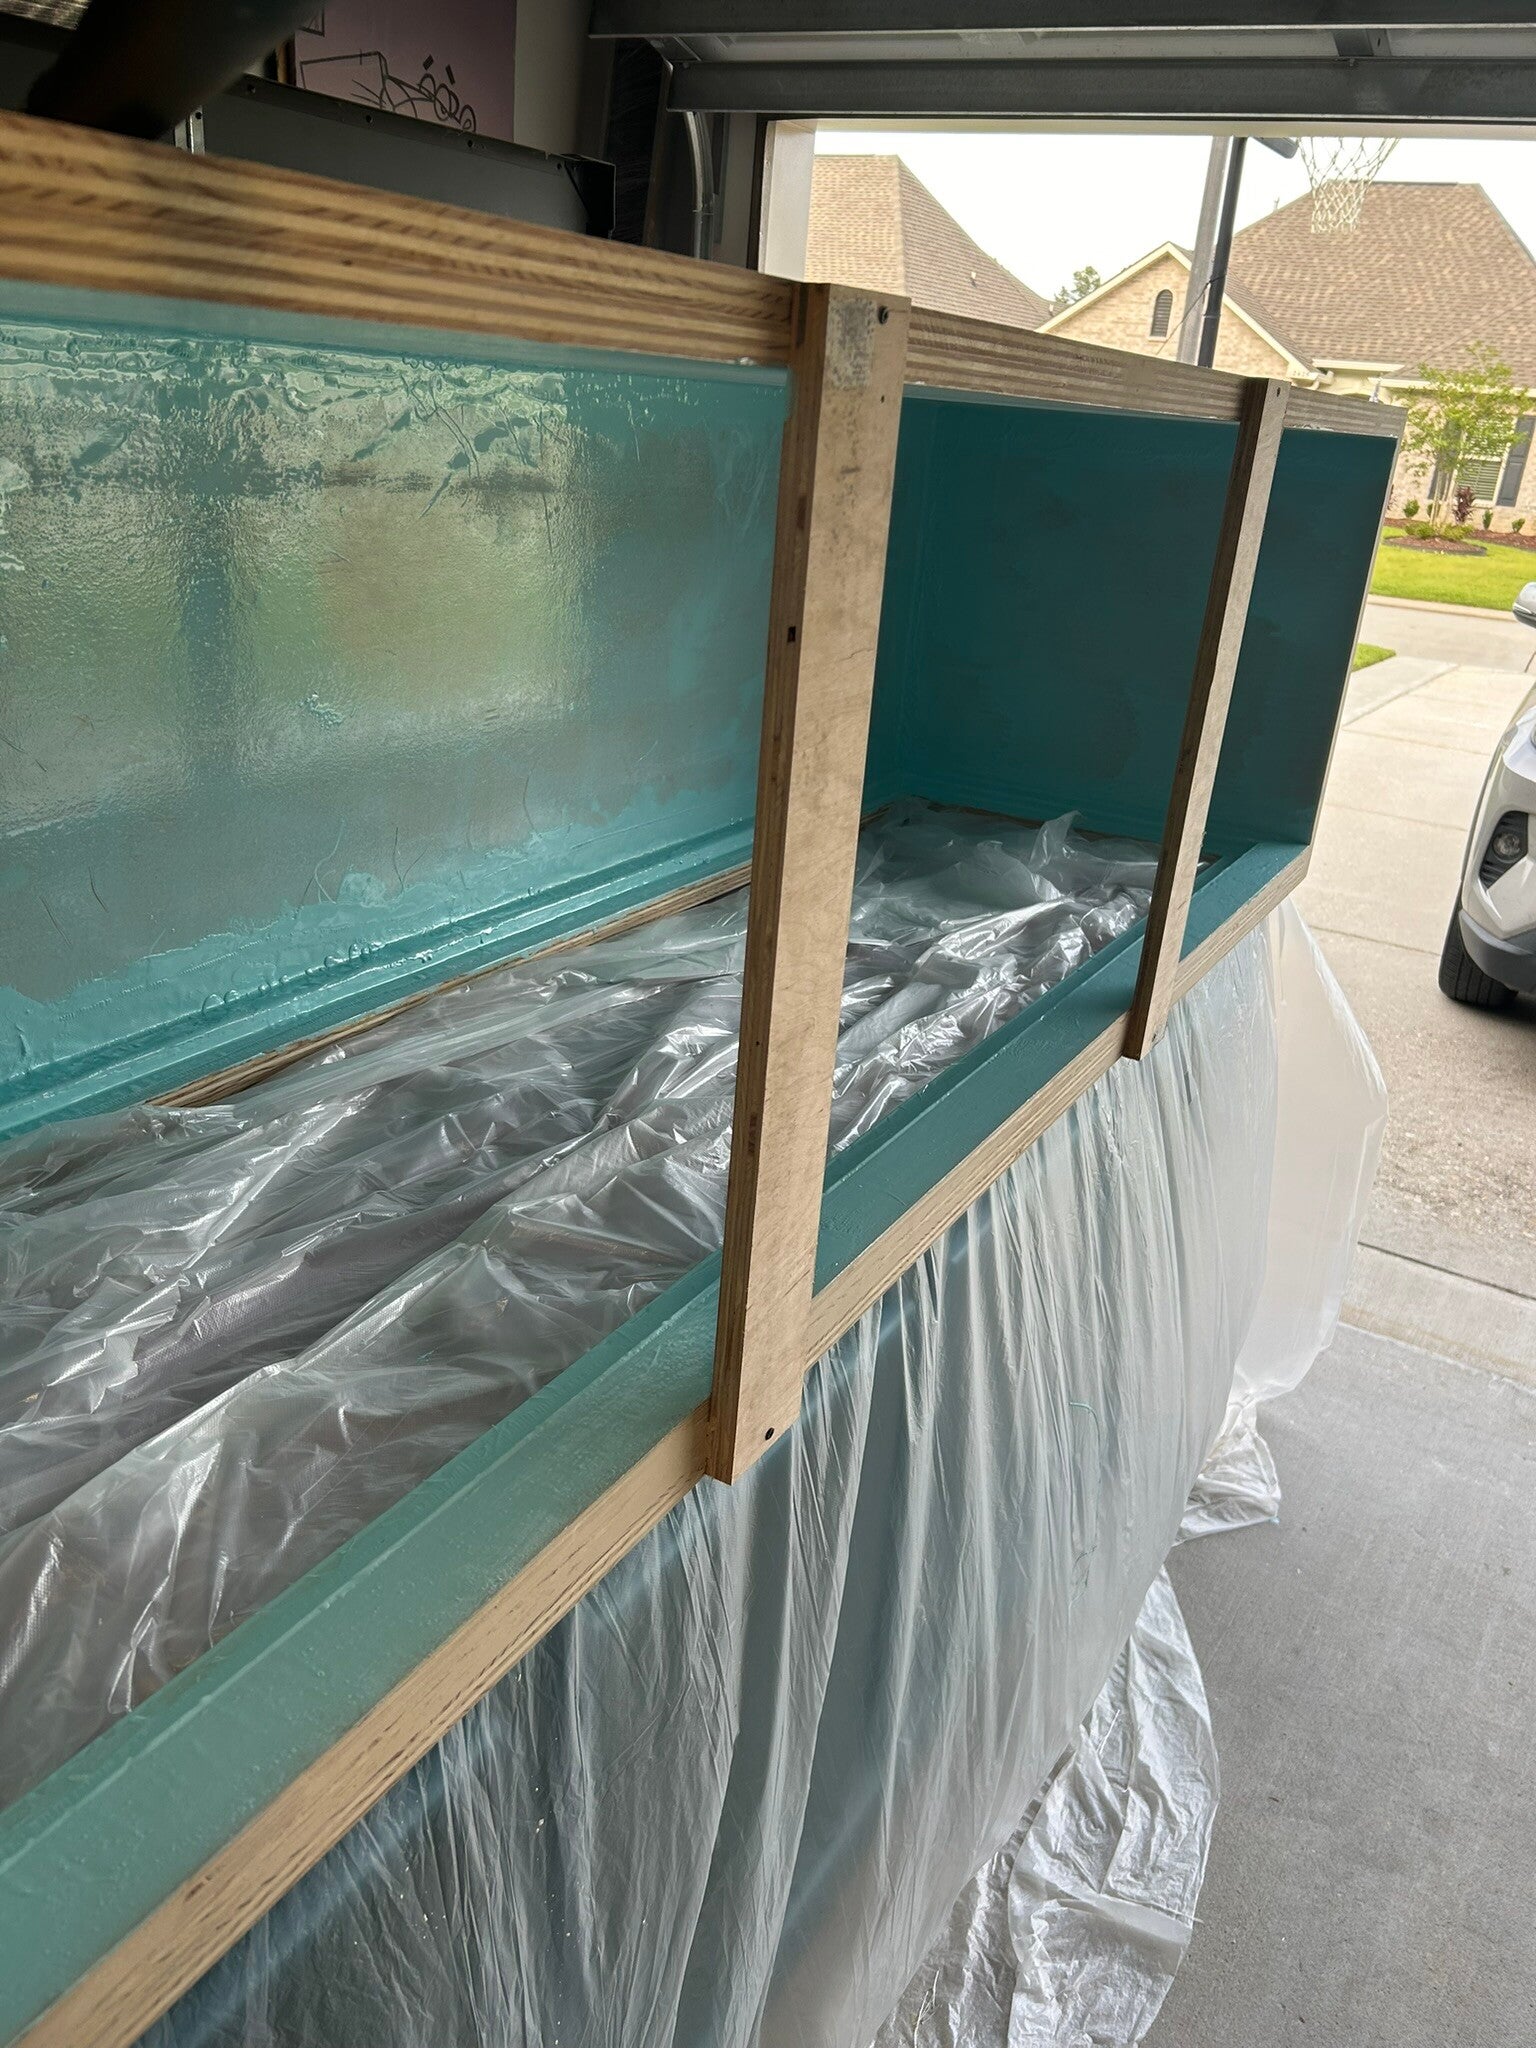
8 Jul 24
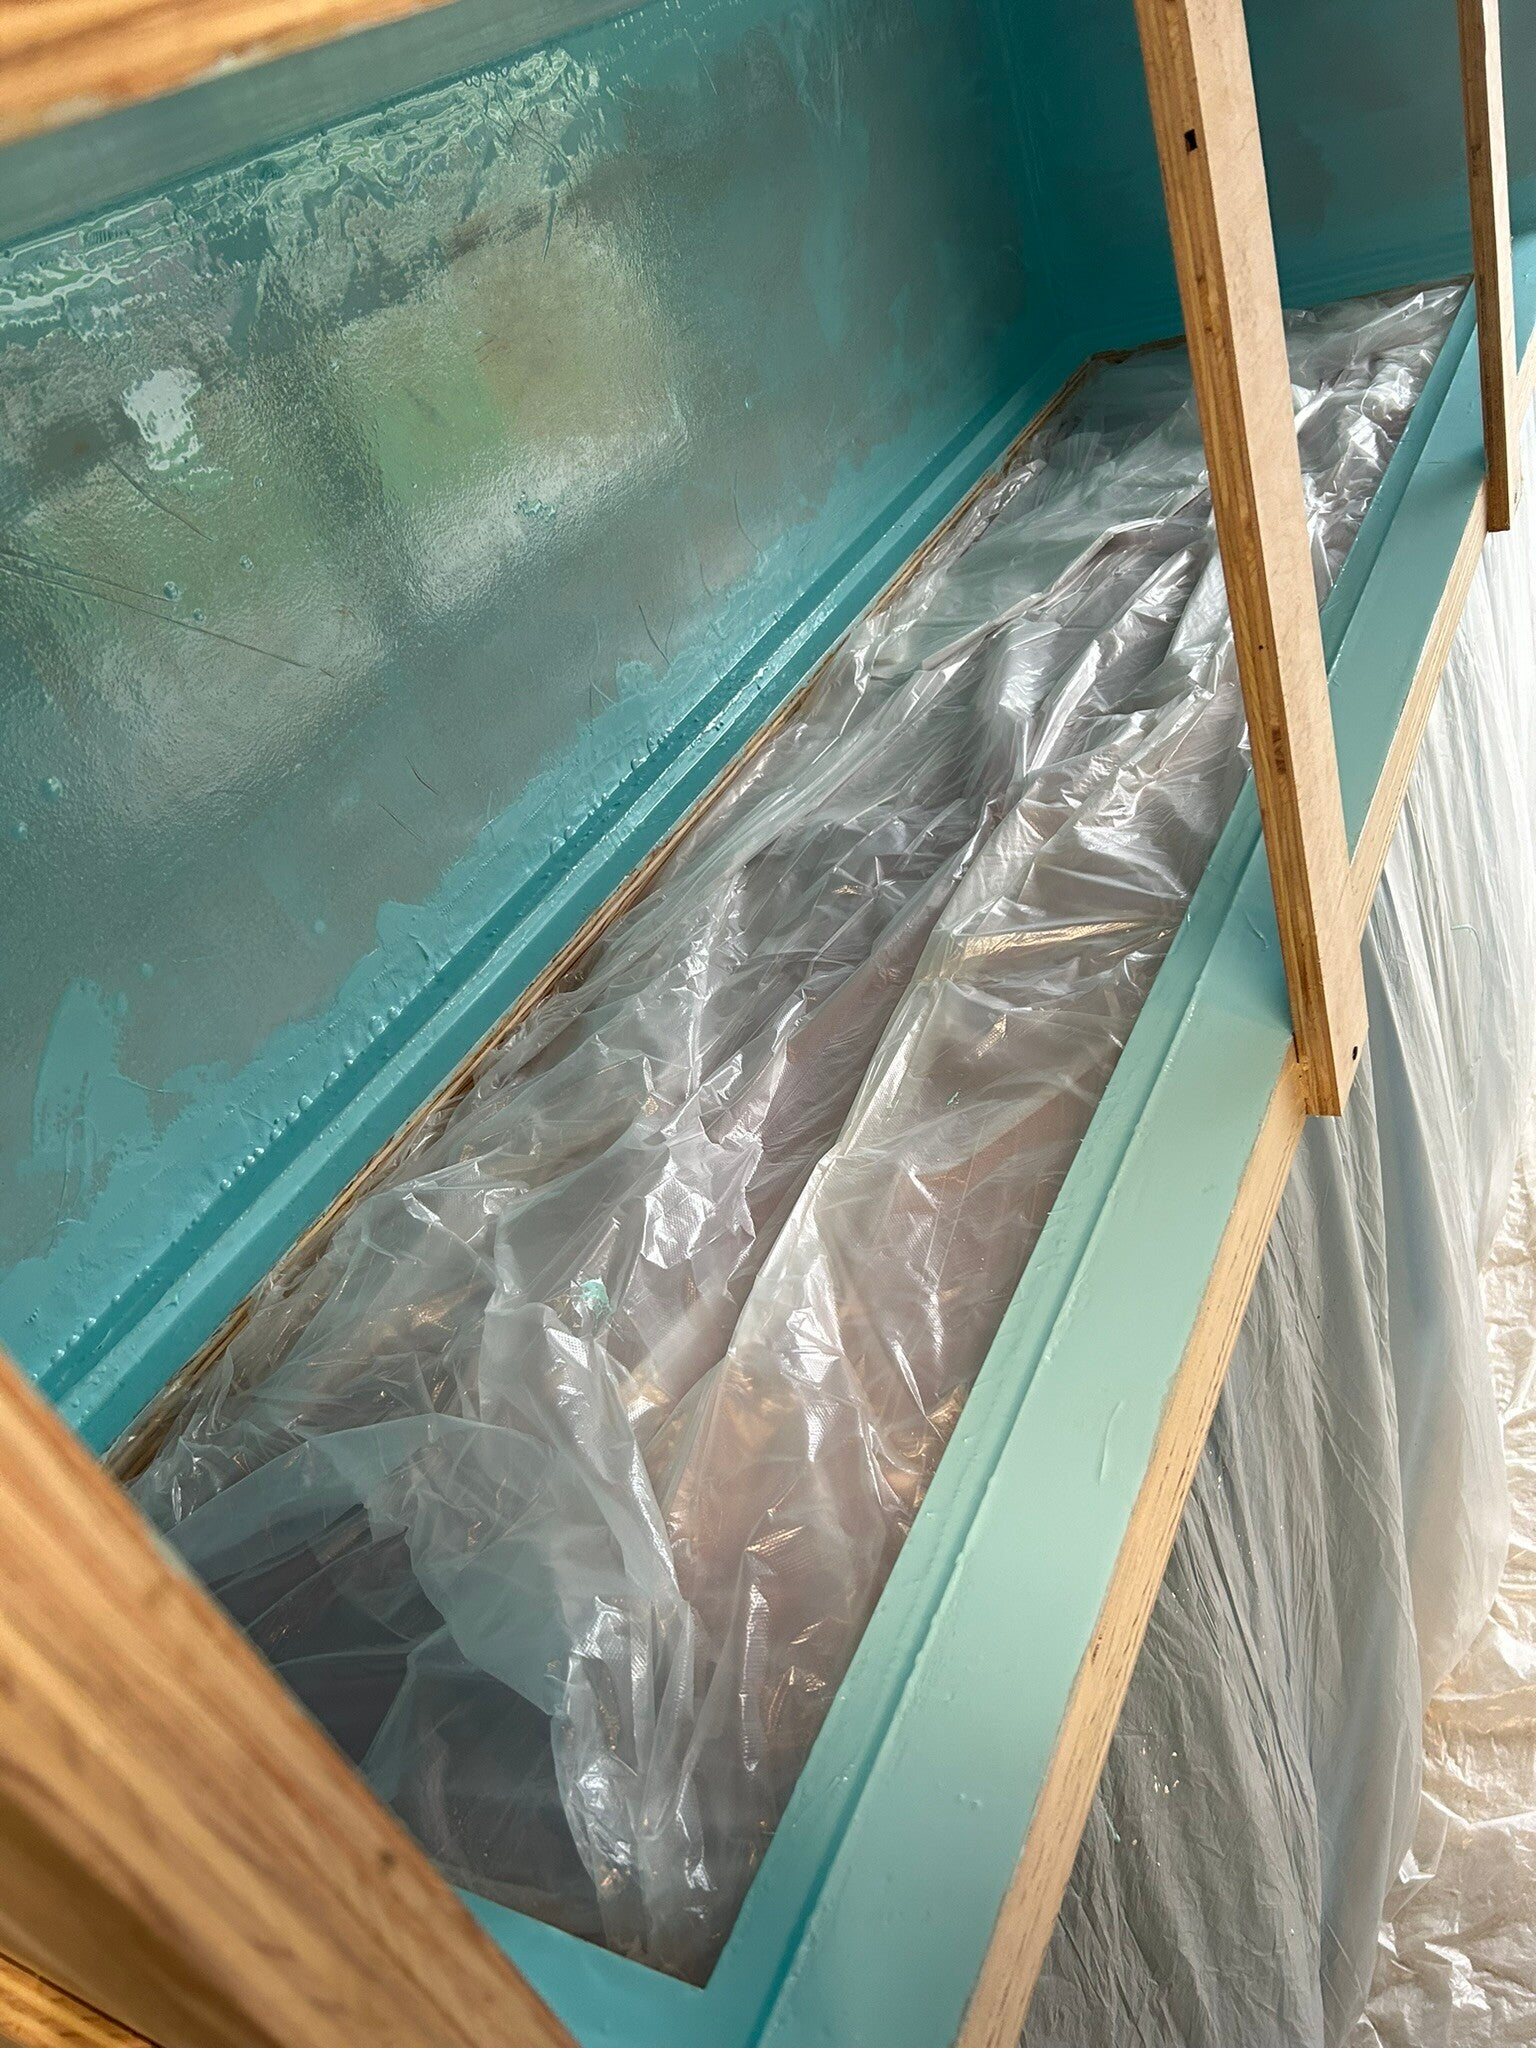
2nd coat done.
8 Jul 24
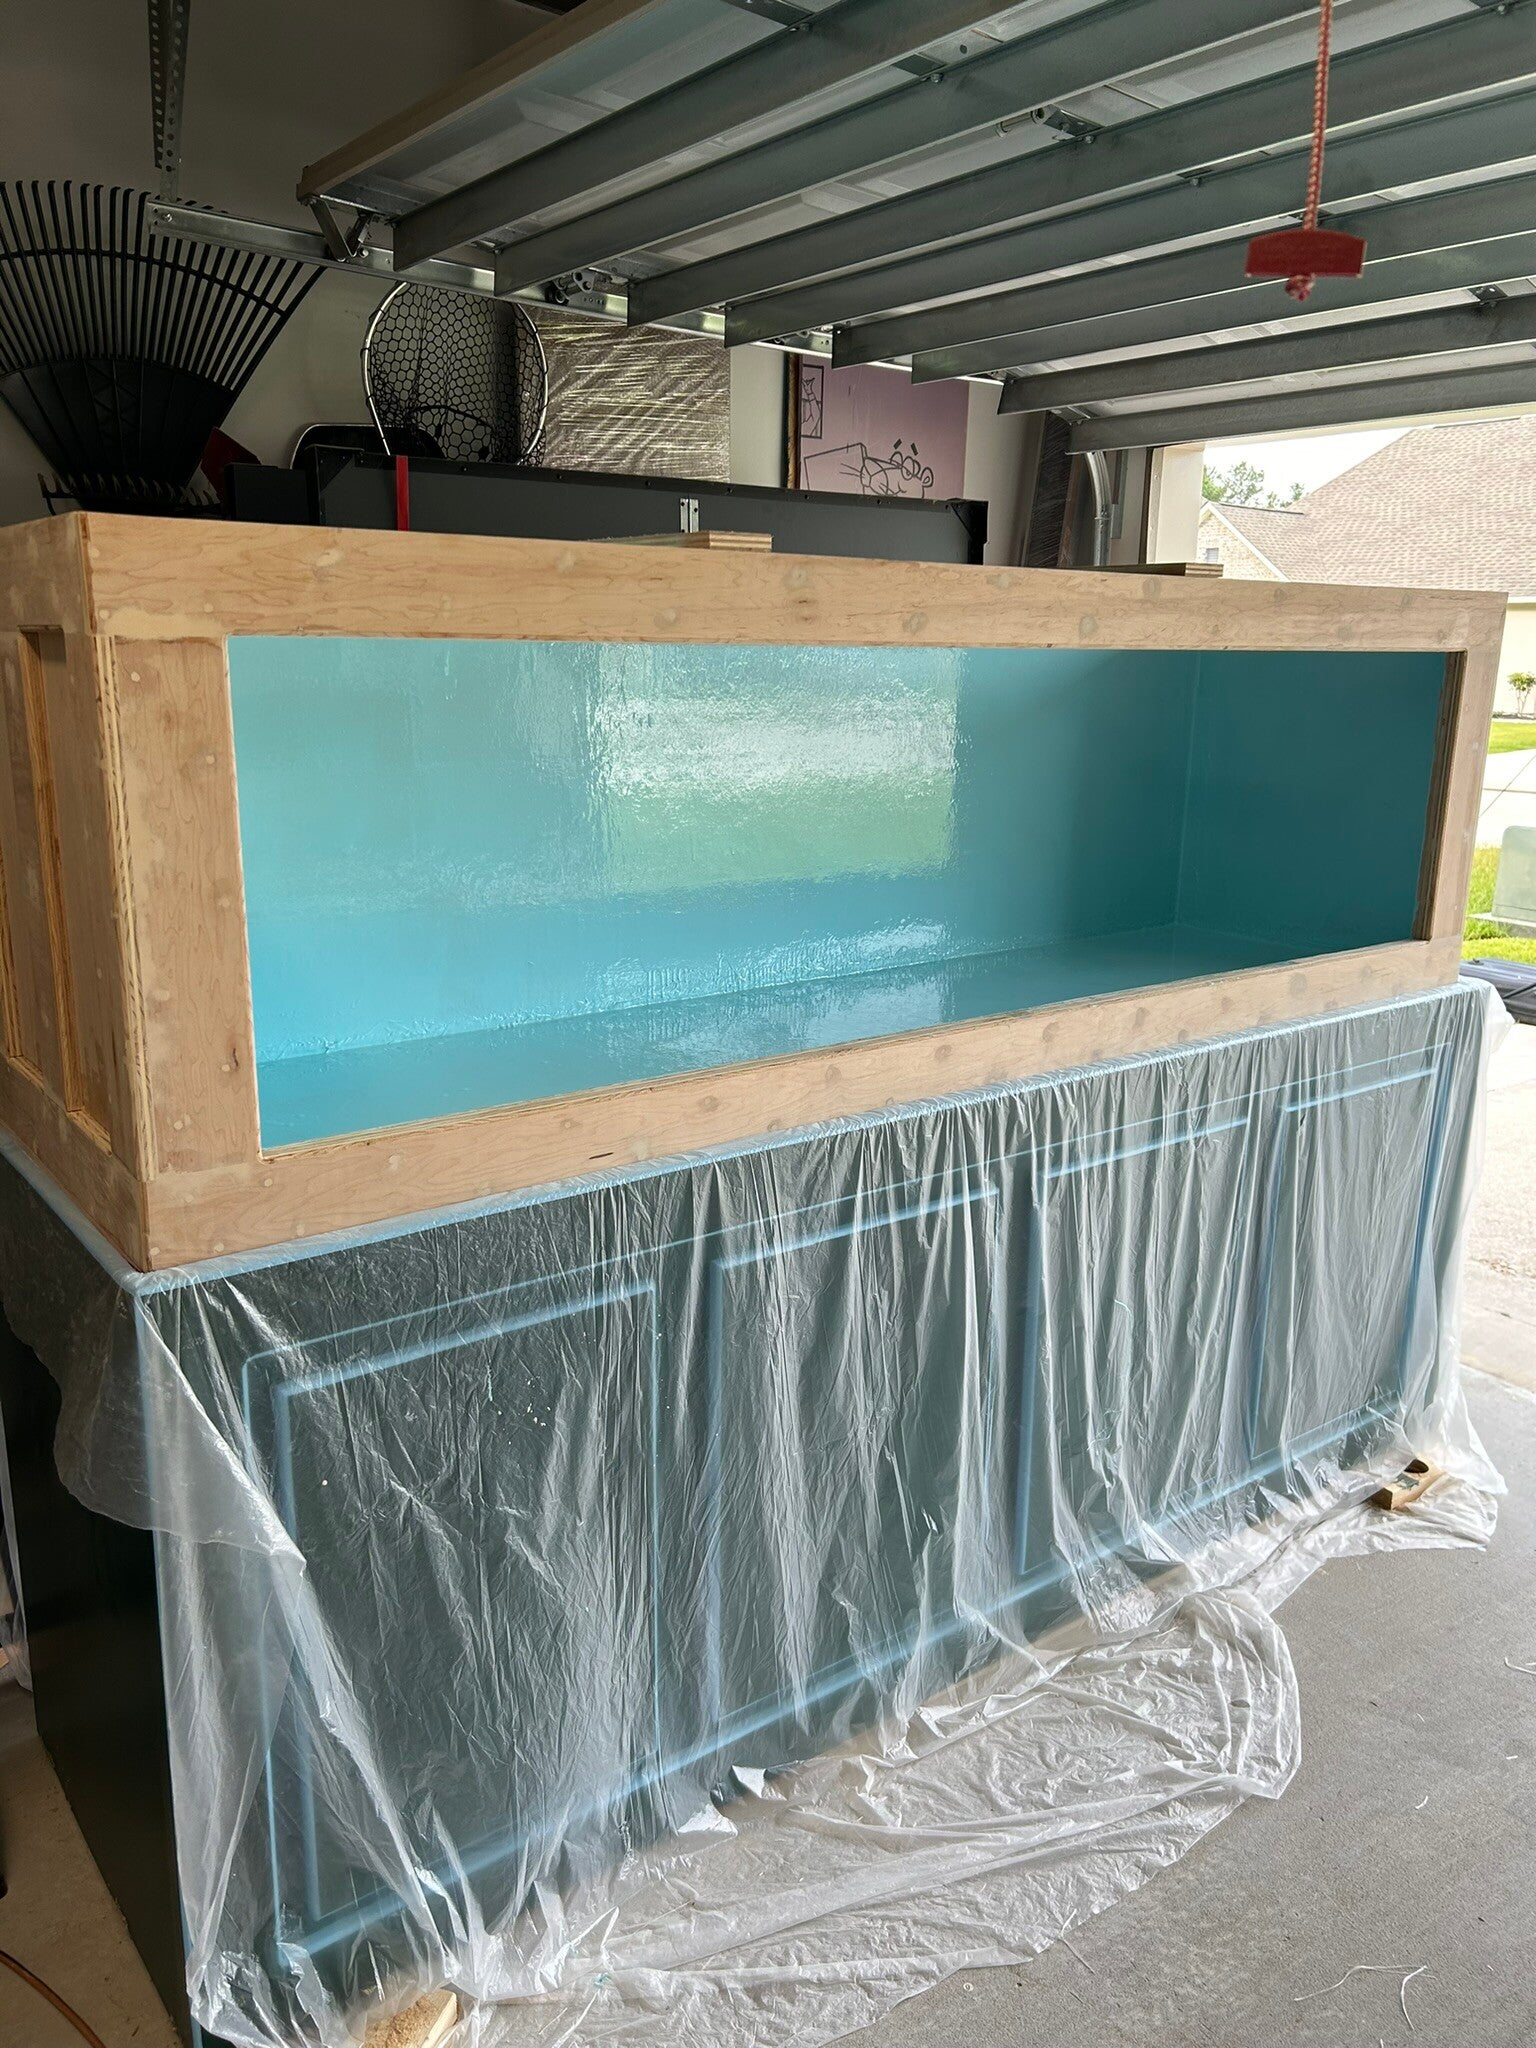
3rd coat
9 Jul 24
10 Jul 24
10 Jul 24
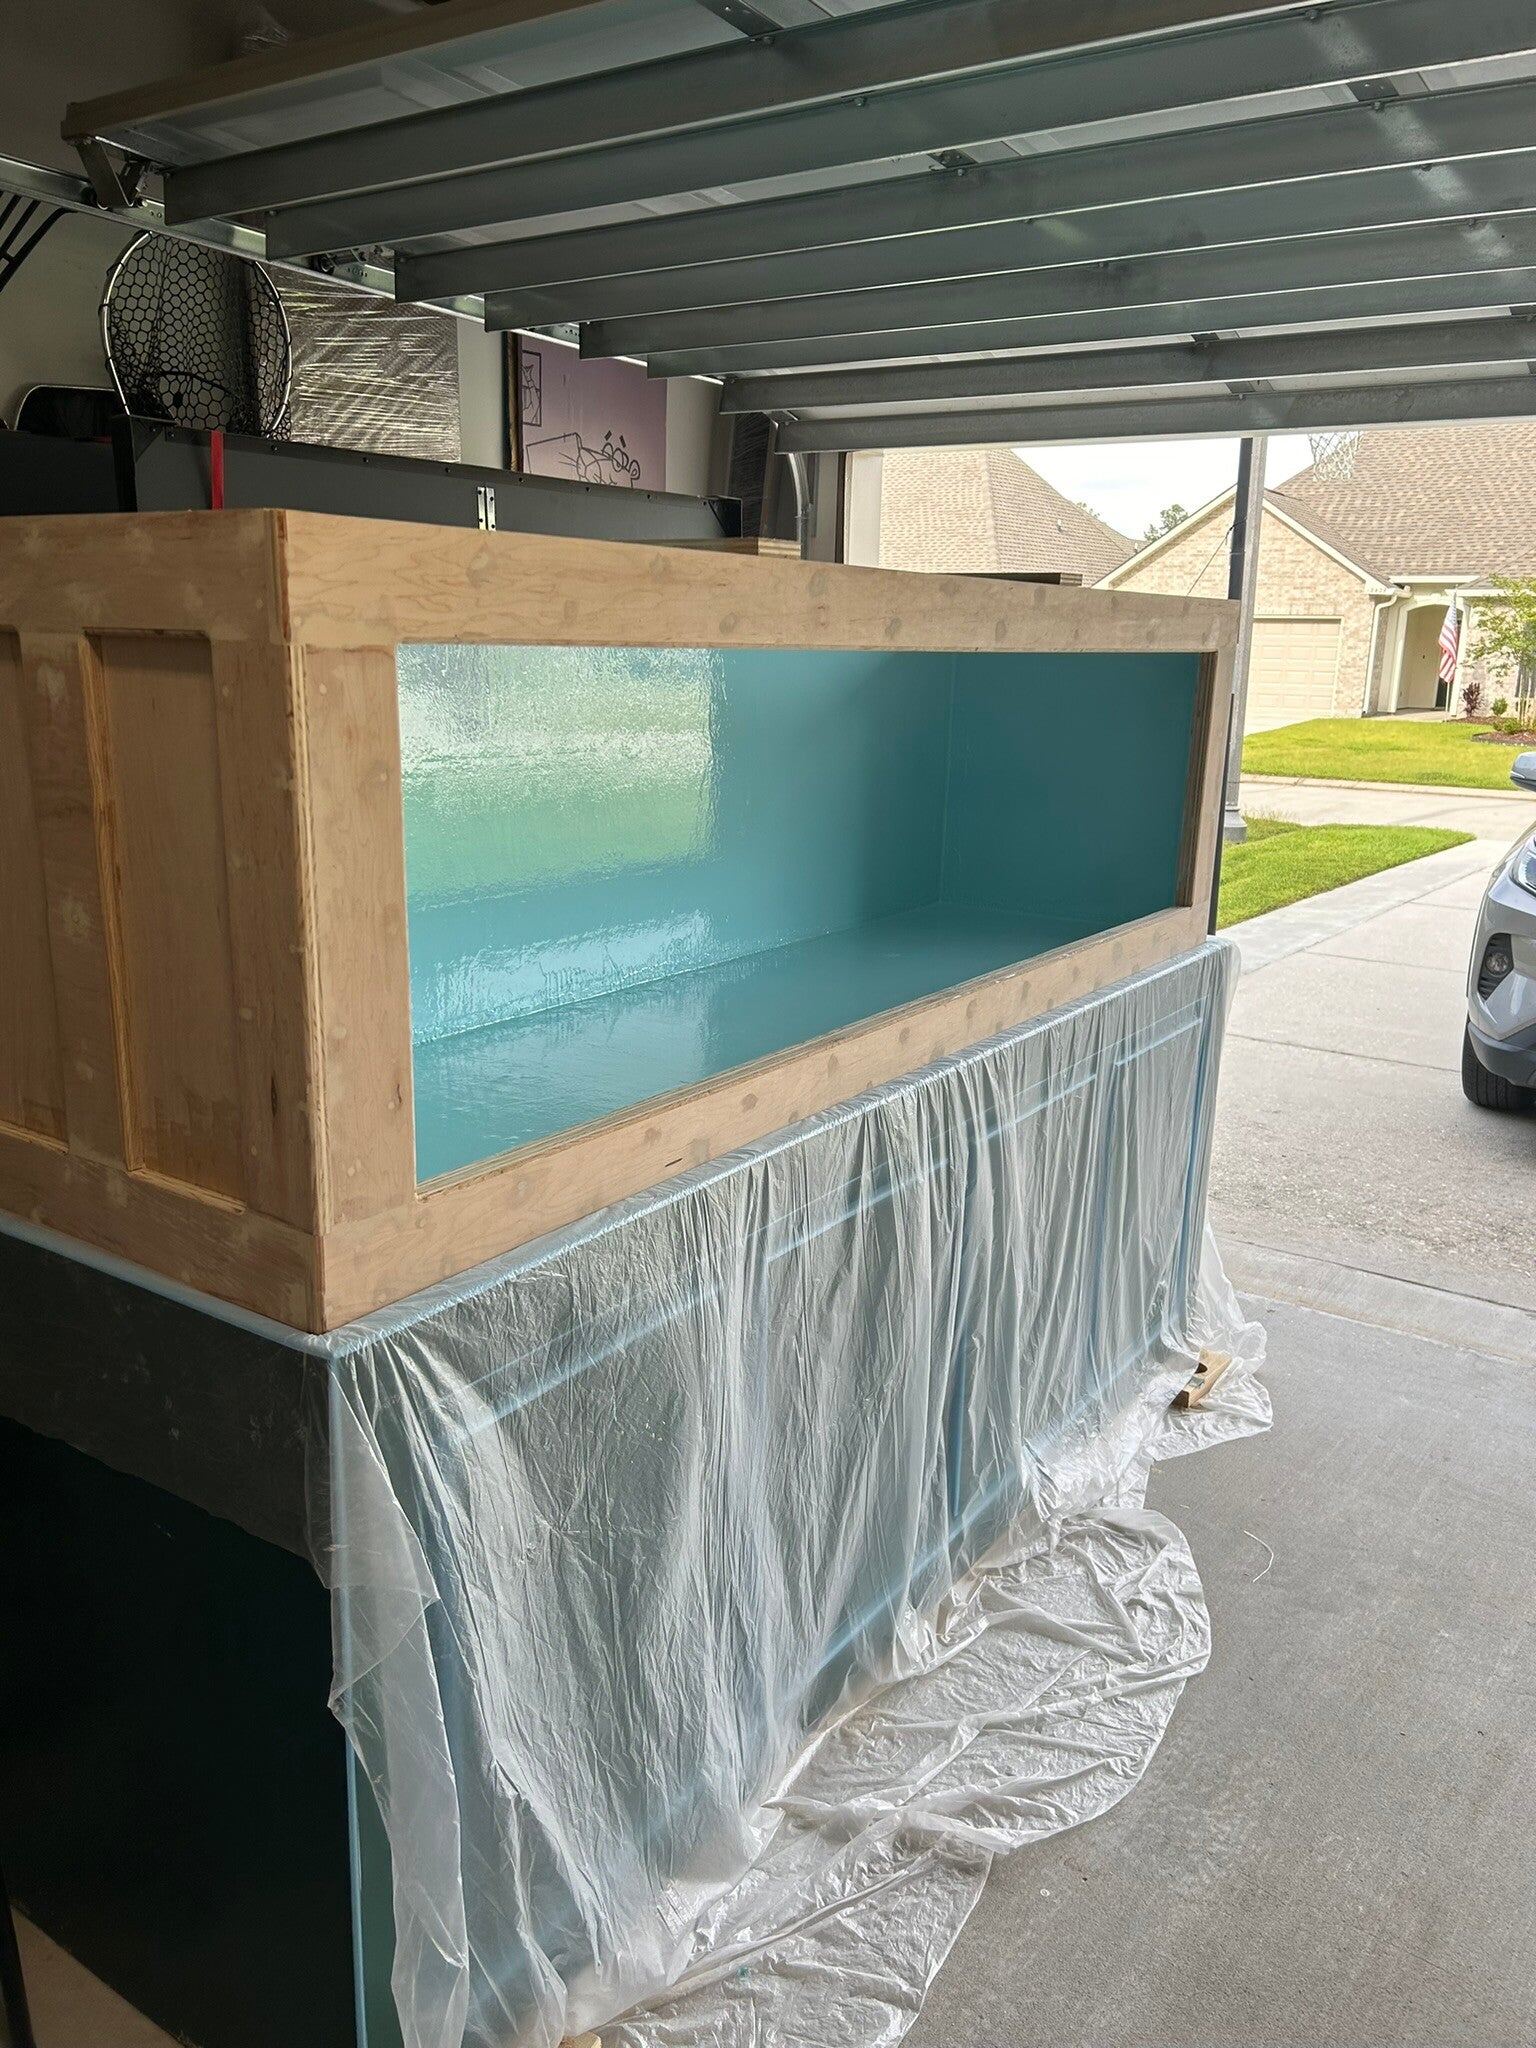
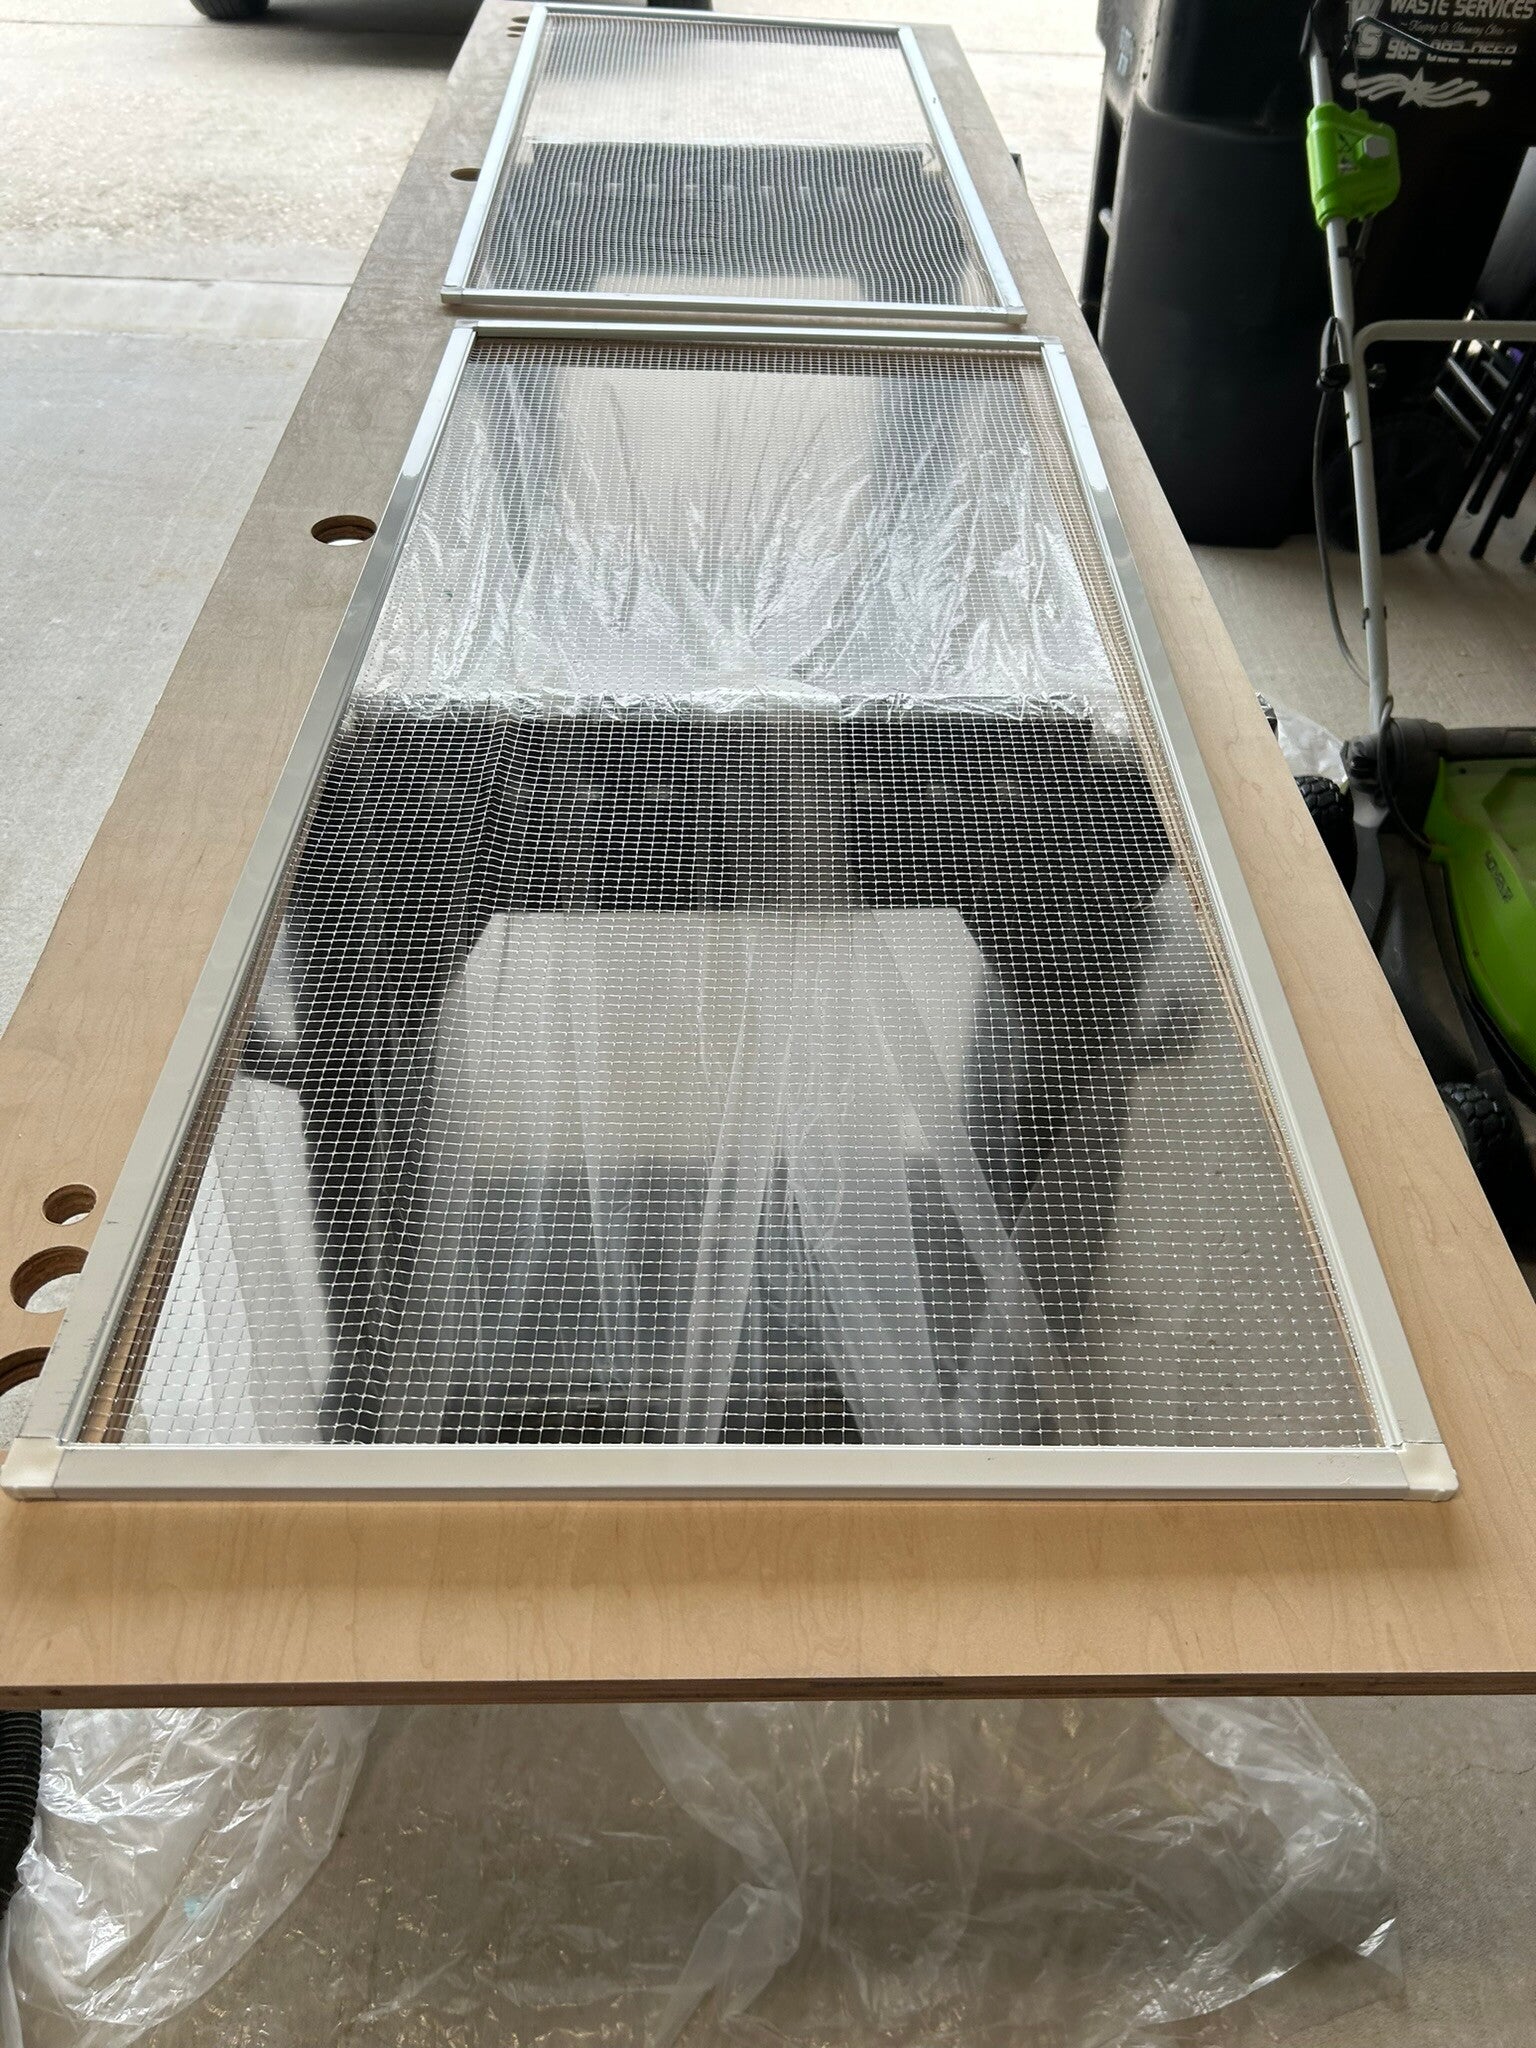
Built the covers of the aquarium with clear fish netting, screen borders and spline. You can see the holes drilled in the top piece for the filter hoses, air lines, etc.
15 Jul 24
15 Jul 24
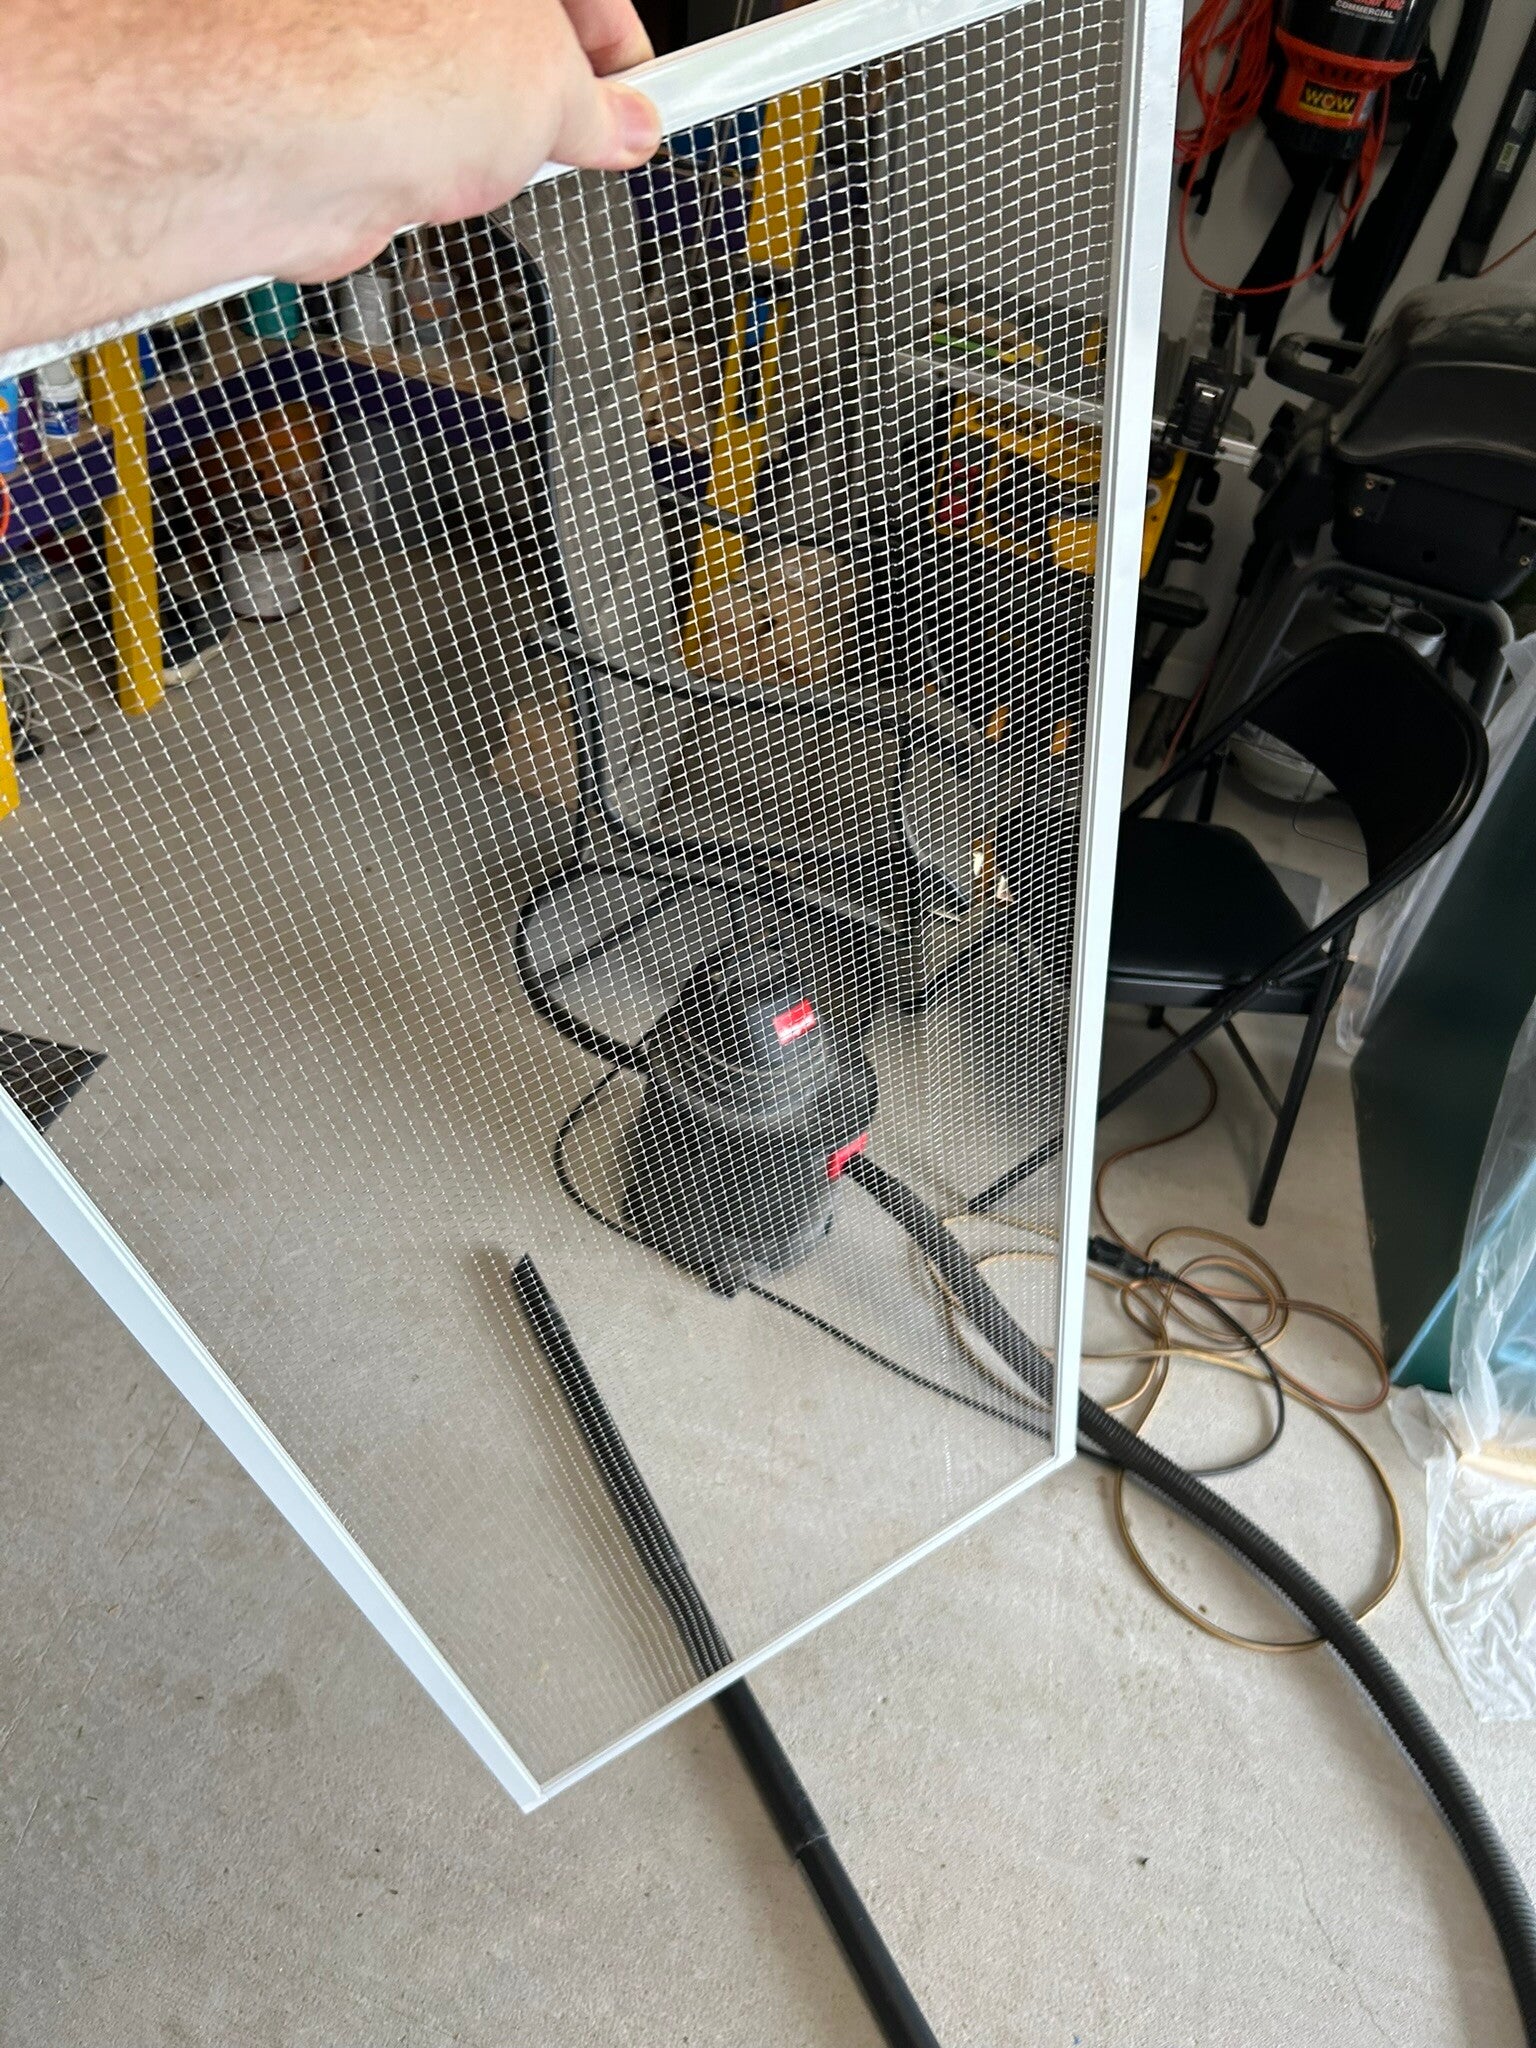
Filled in any tiny gaps.
16 Jul 24
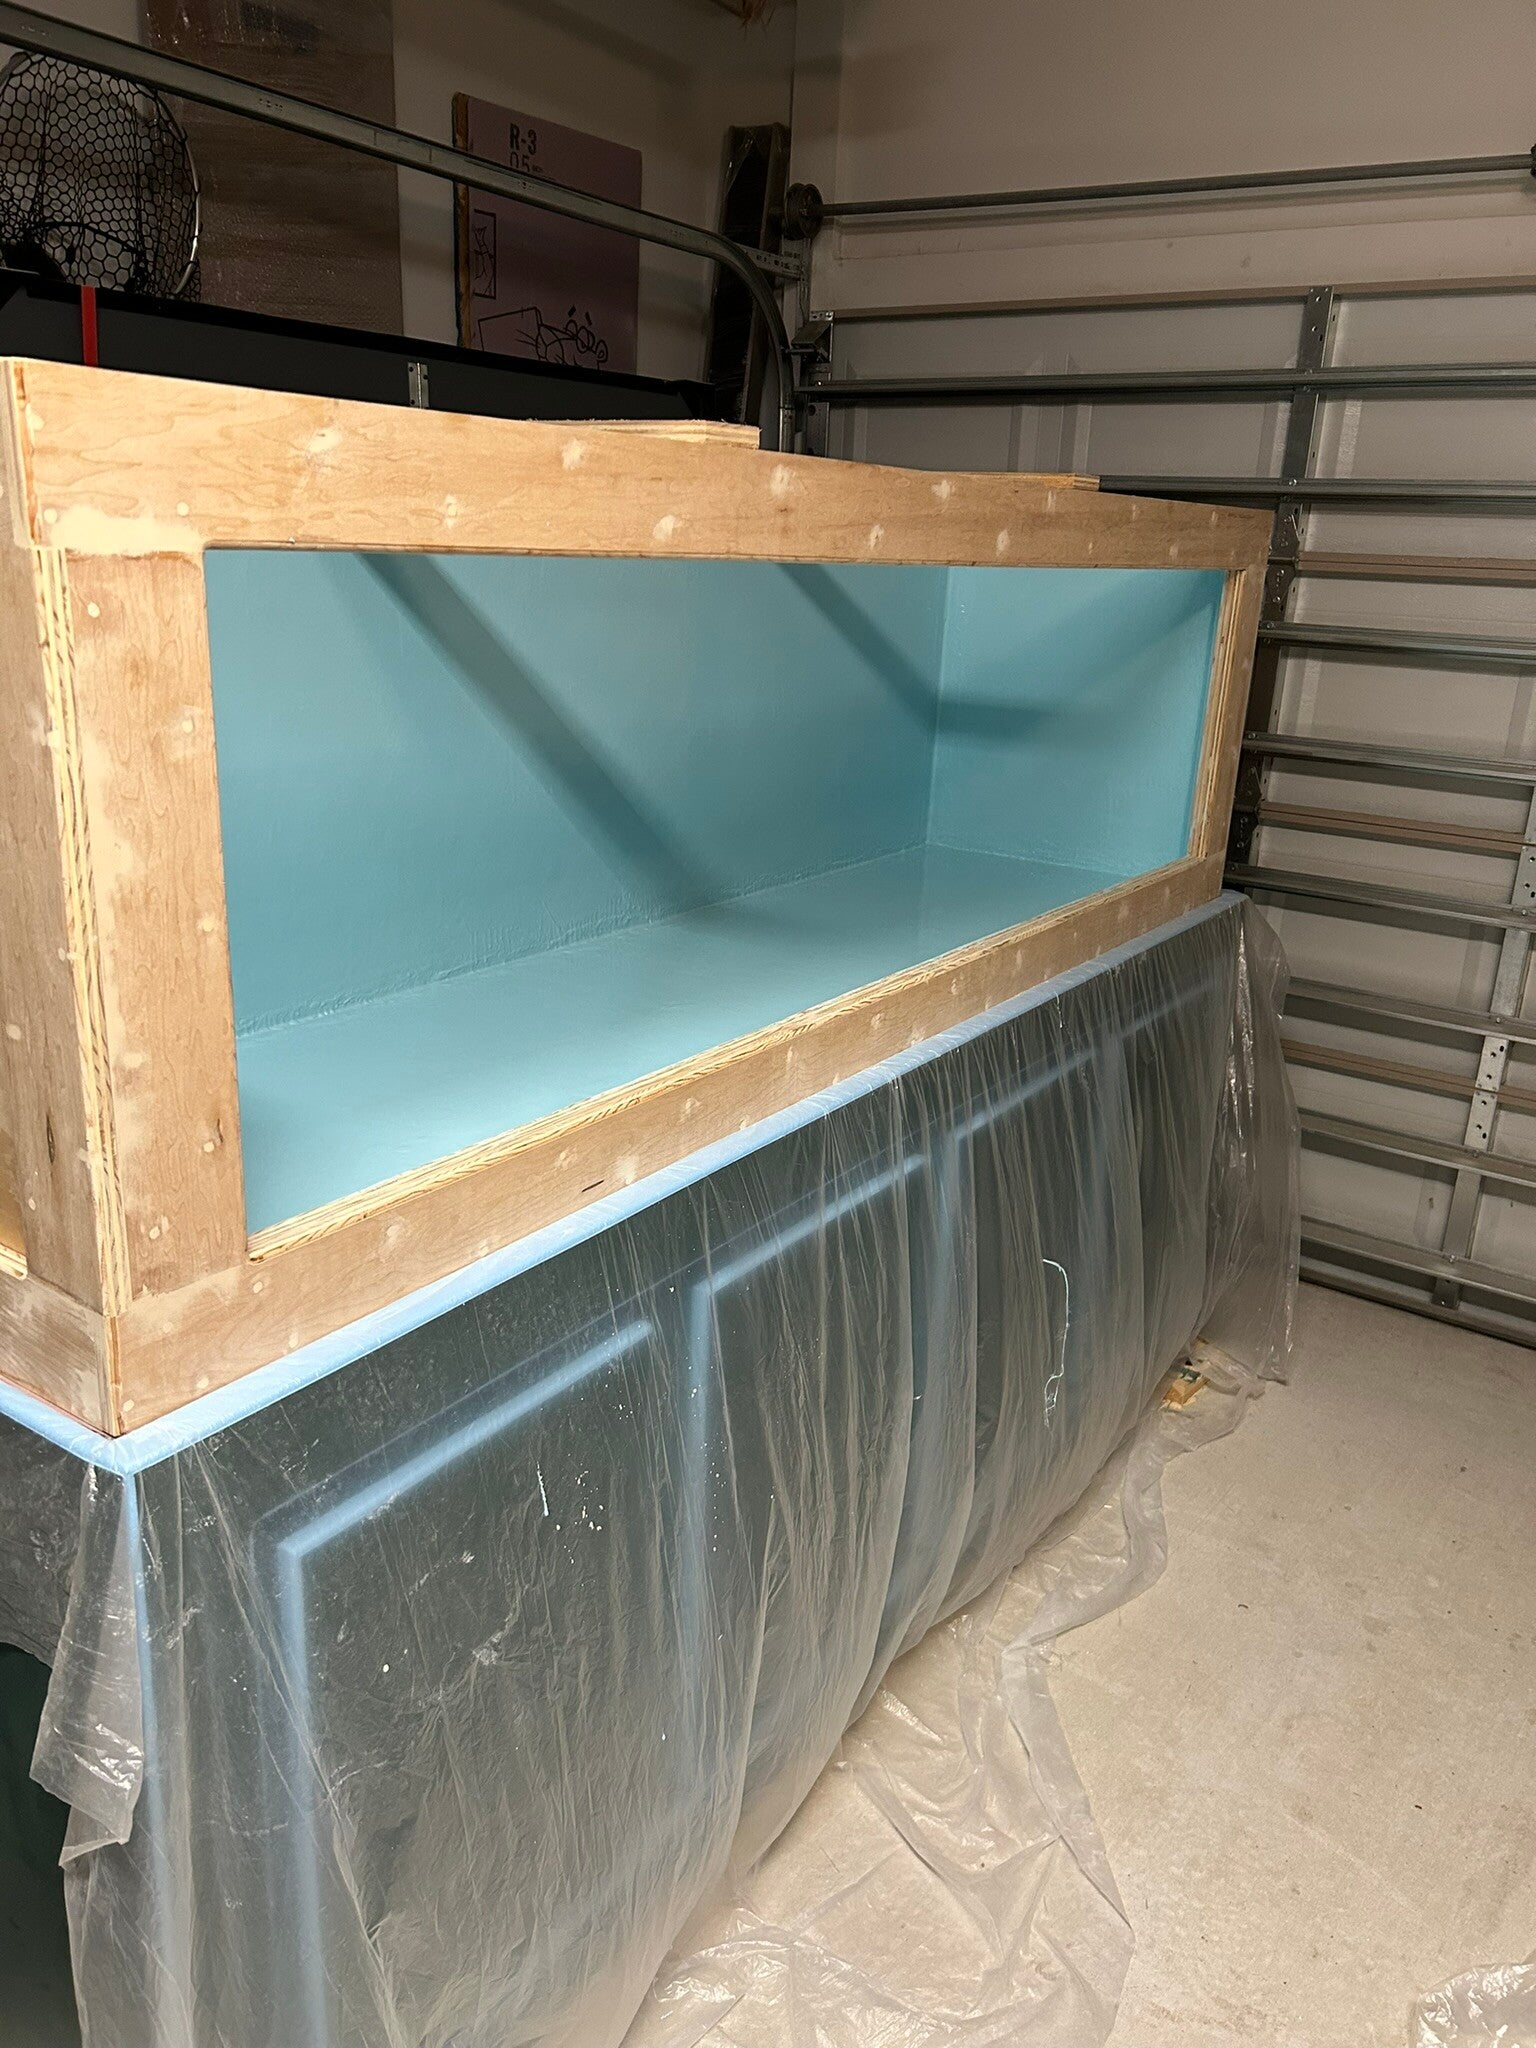
Primer on the top piece. I couldn't attach the top piece before because it needs Pond Armor on the top and bottom.
16 Jul 24
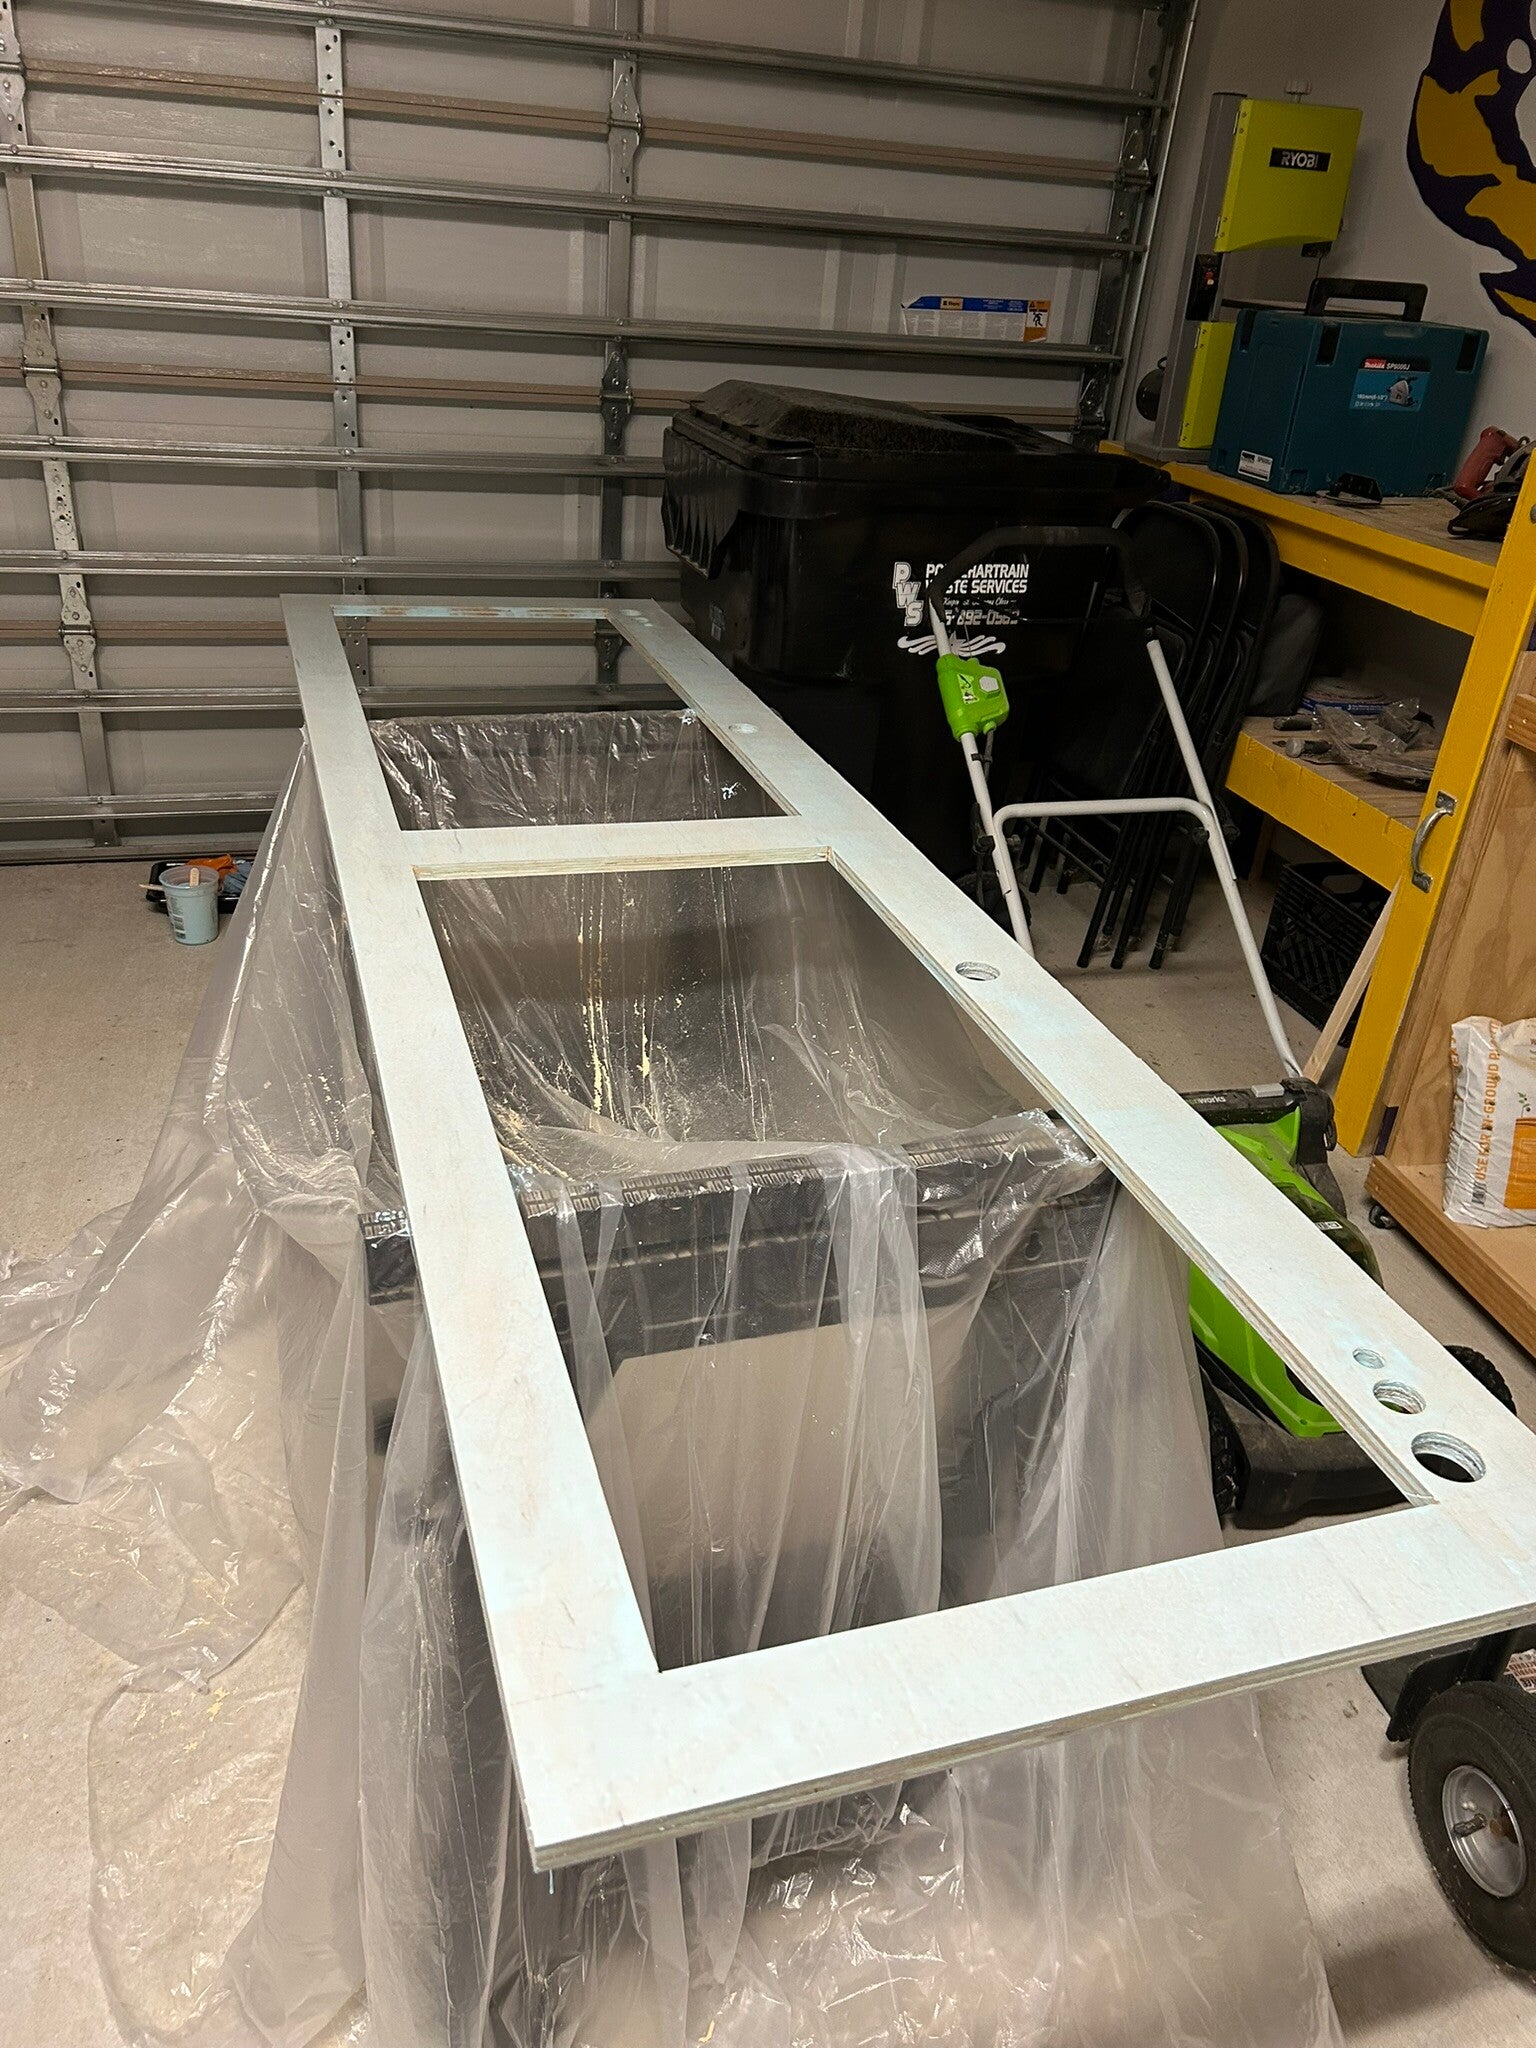
1st coat
16 Jul 24
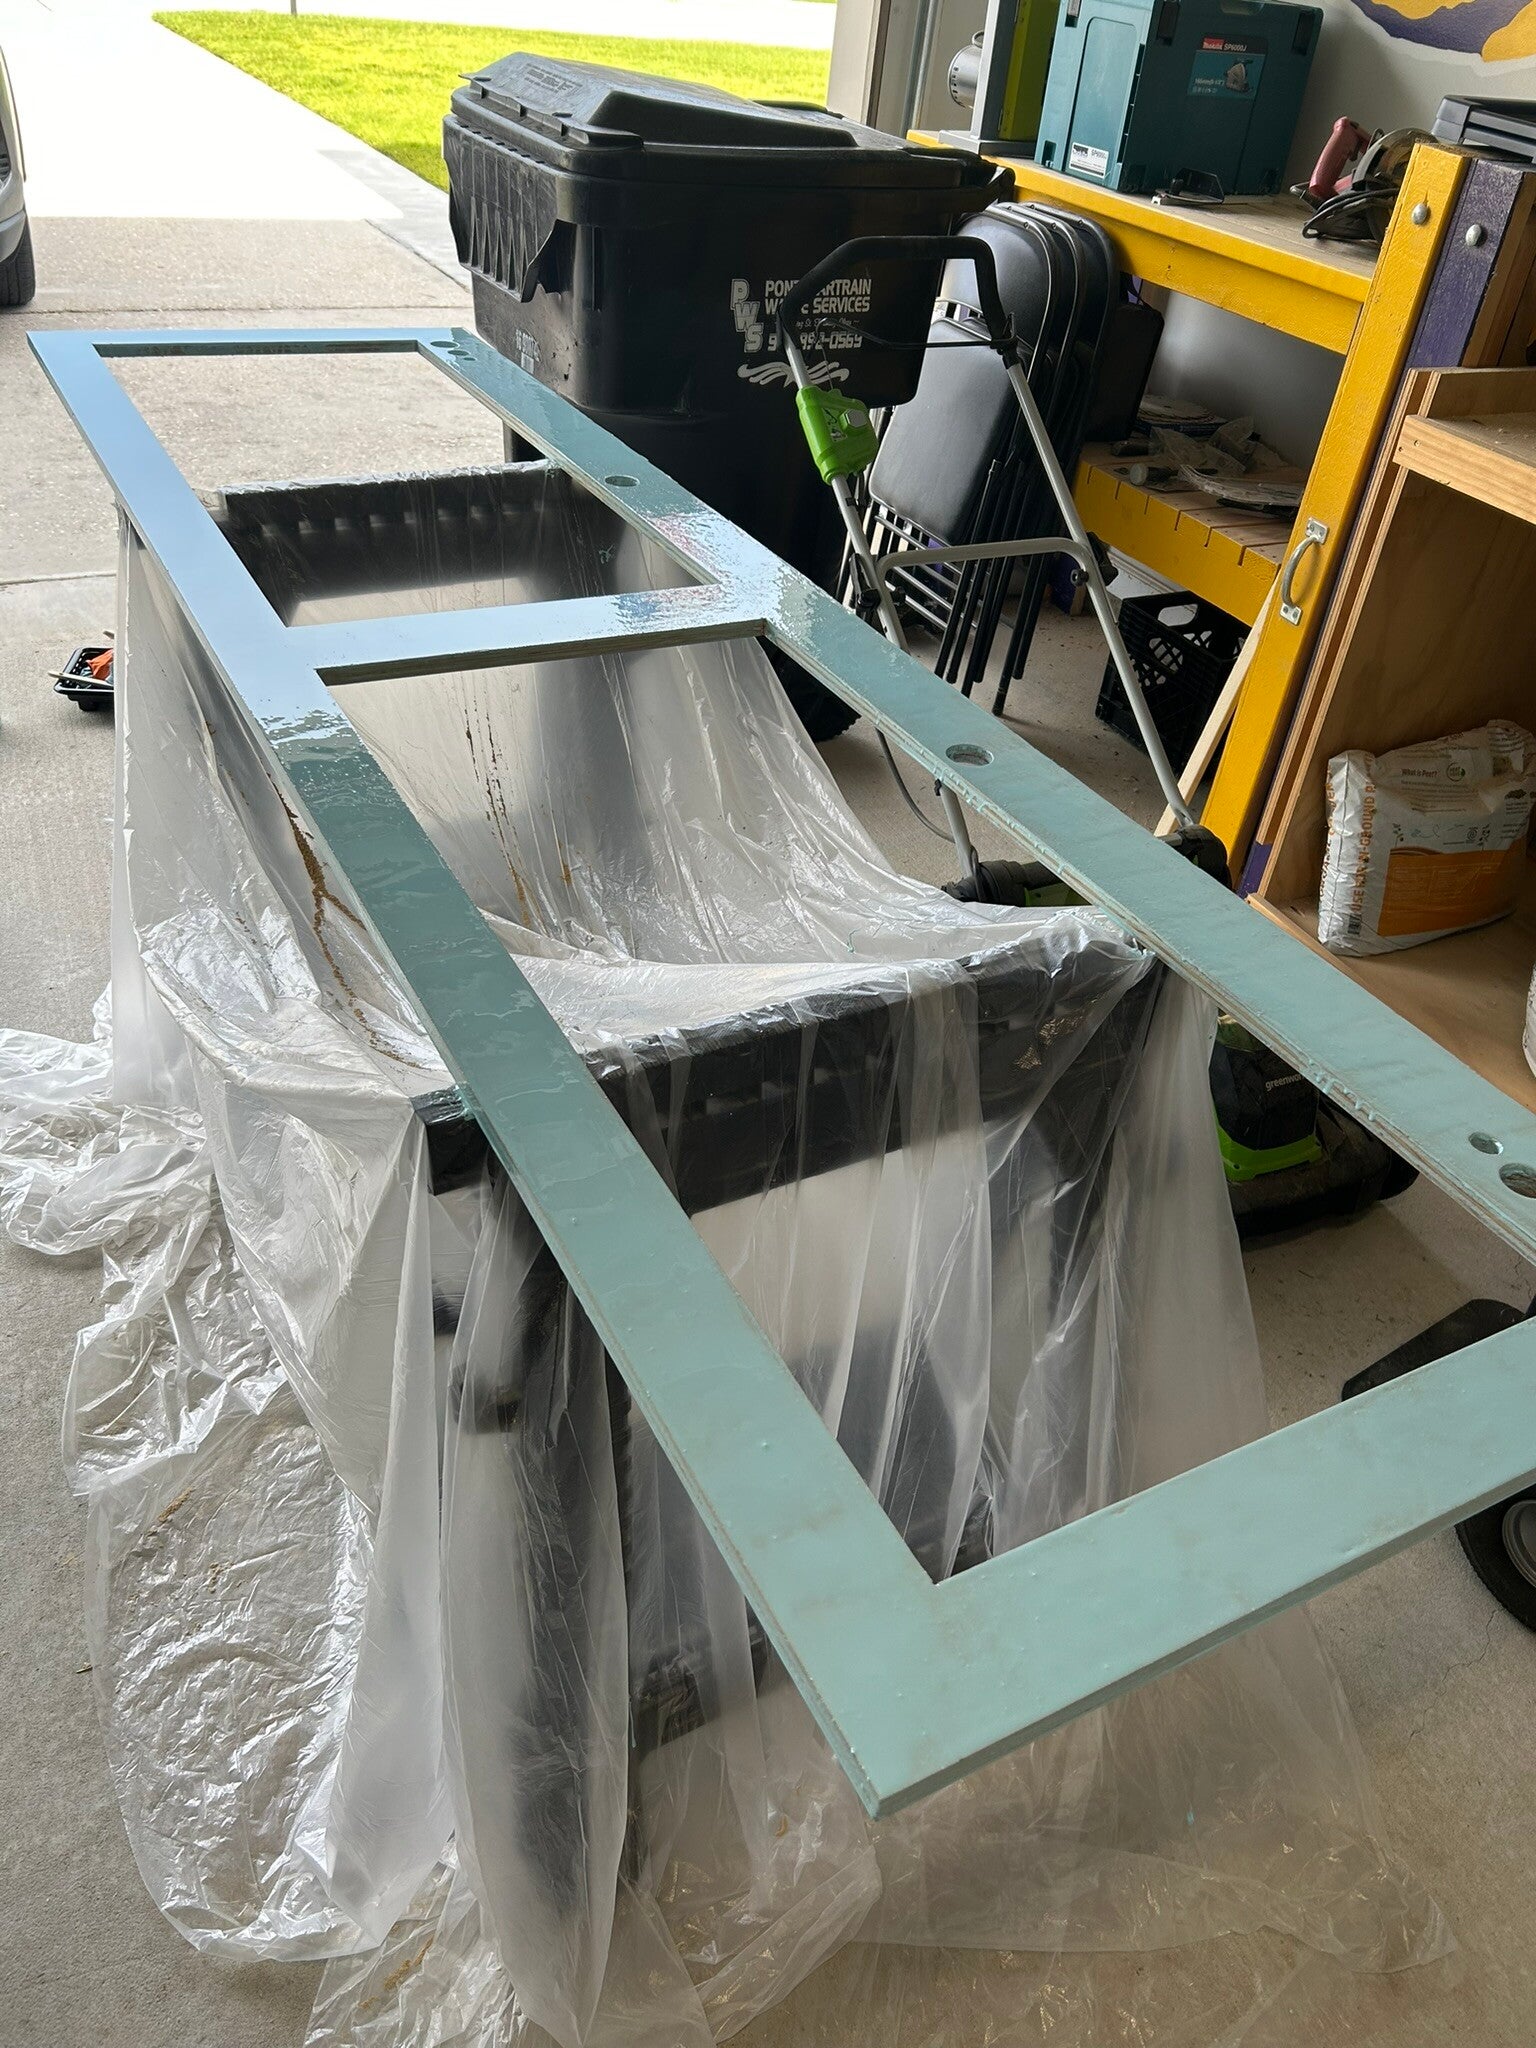
17 Jul 24
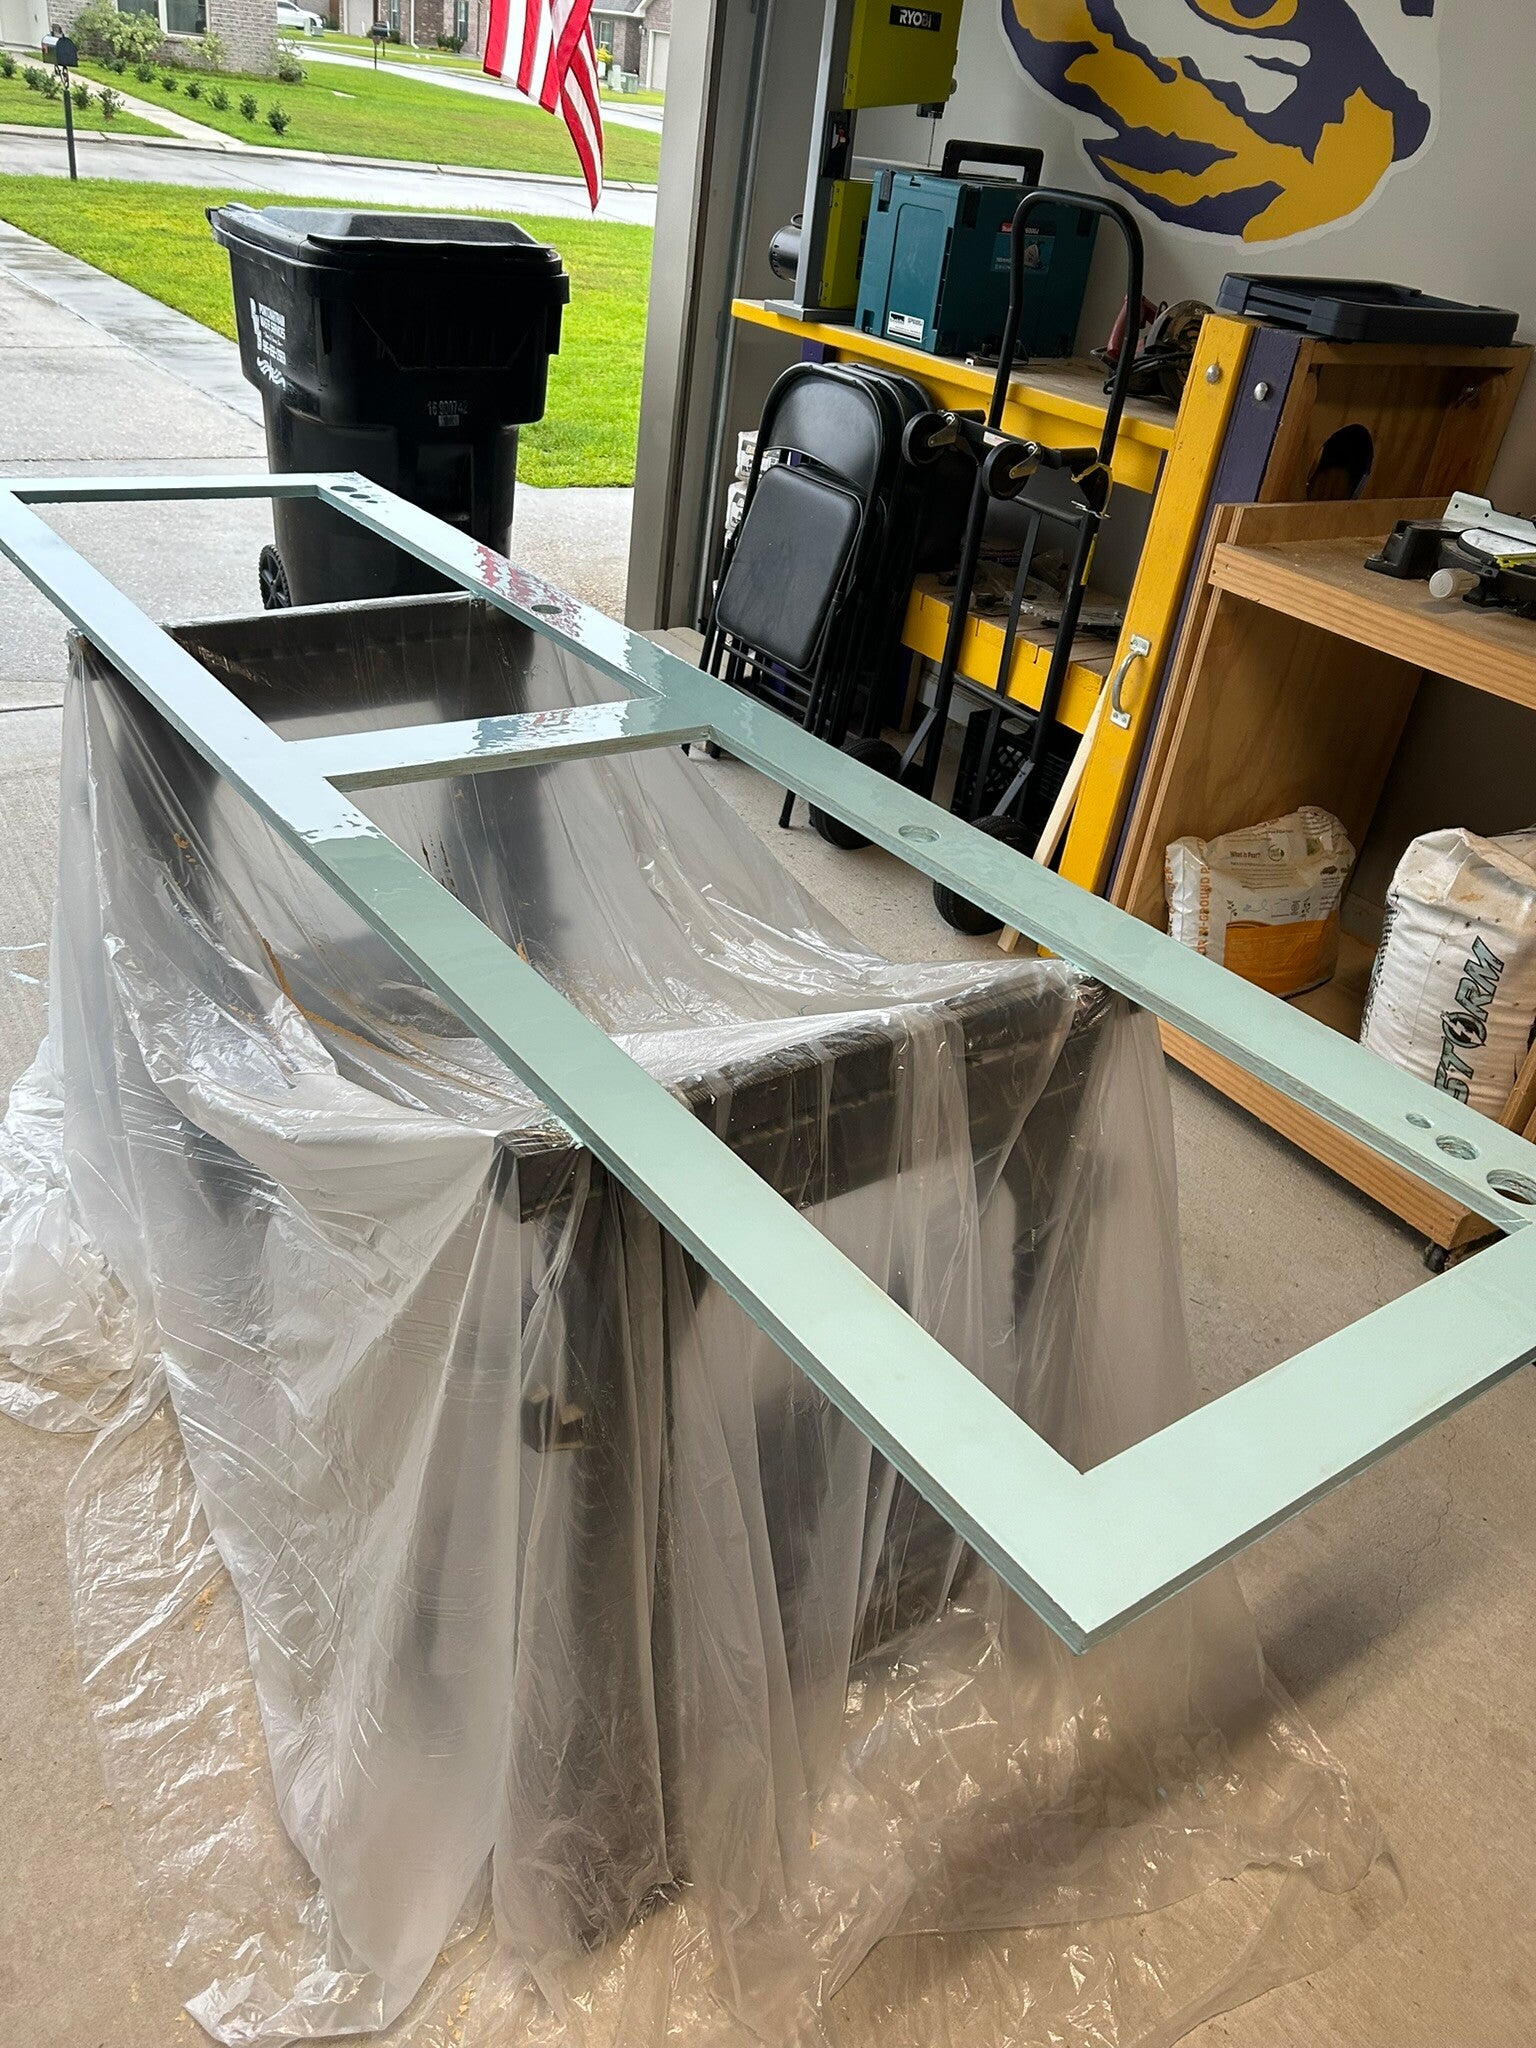
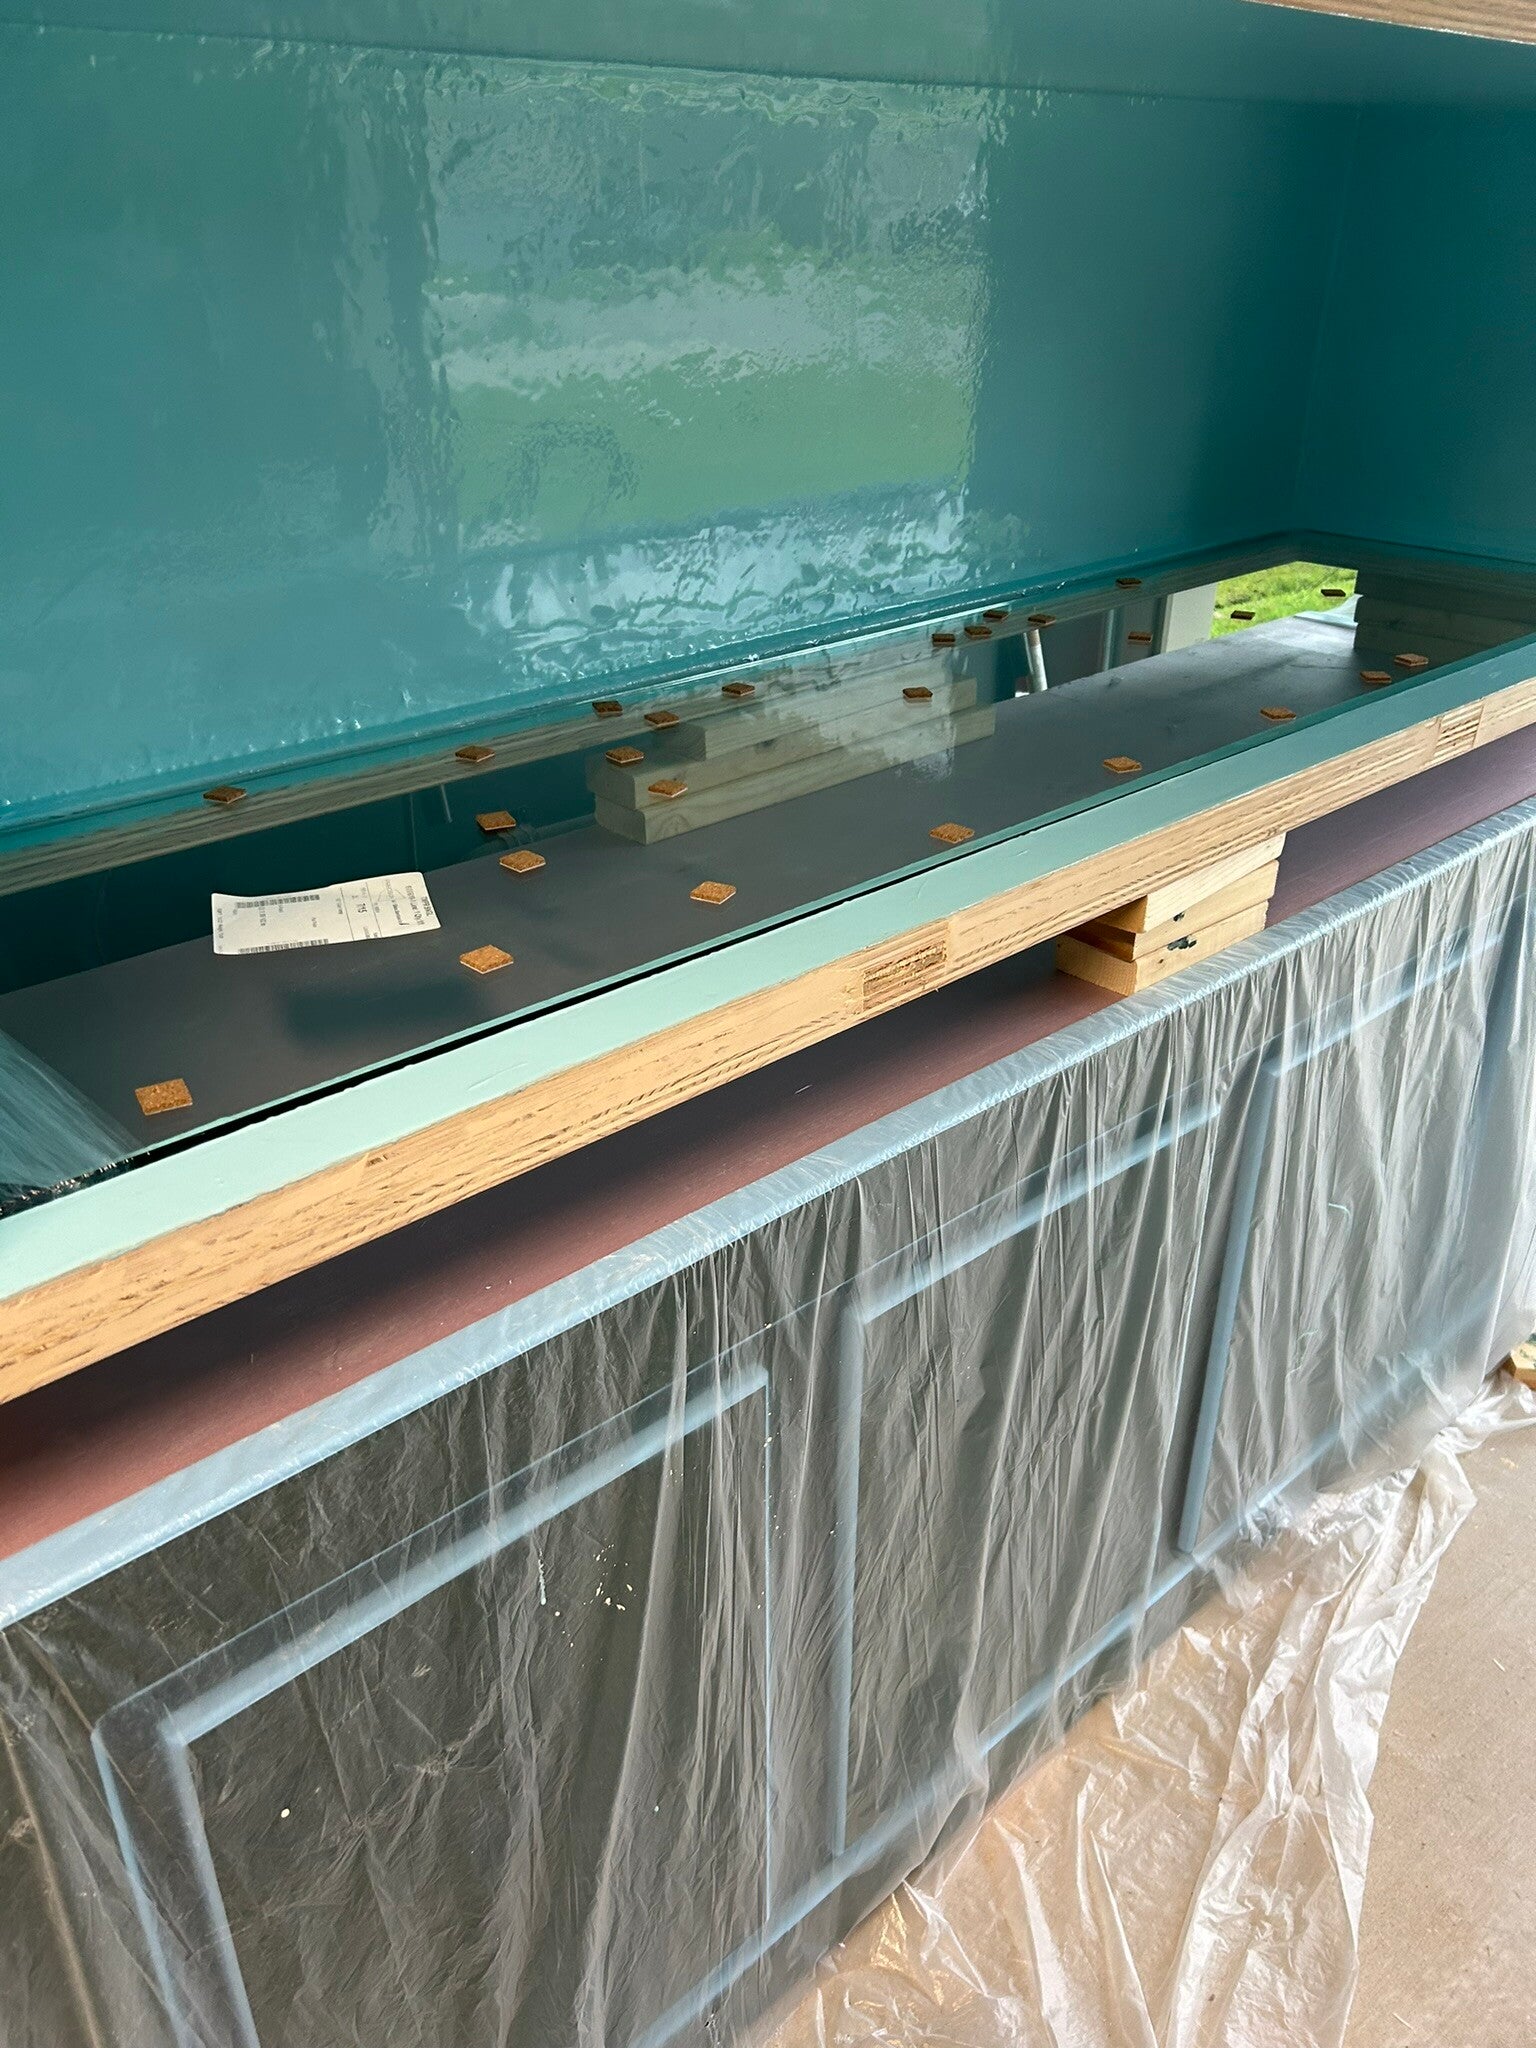
8 foot long, 2 foot tall, 1/2-inch-thick piece of glass in place. It was not light. Used aquarium safe silicone caulk to hold it in place and make it watertight.
19 Jul 24
19 Jul 24
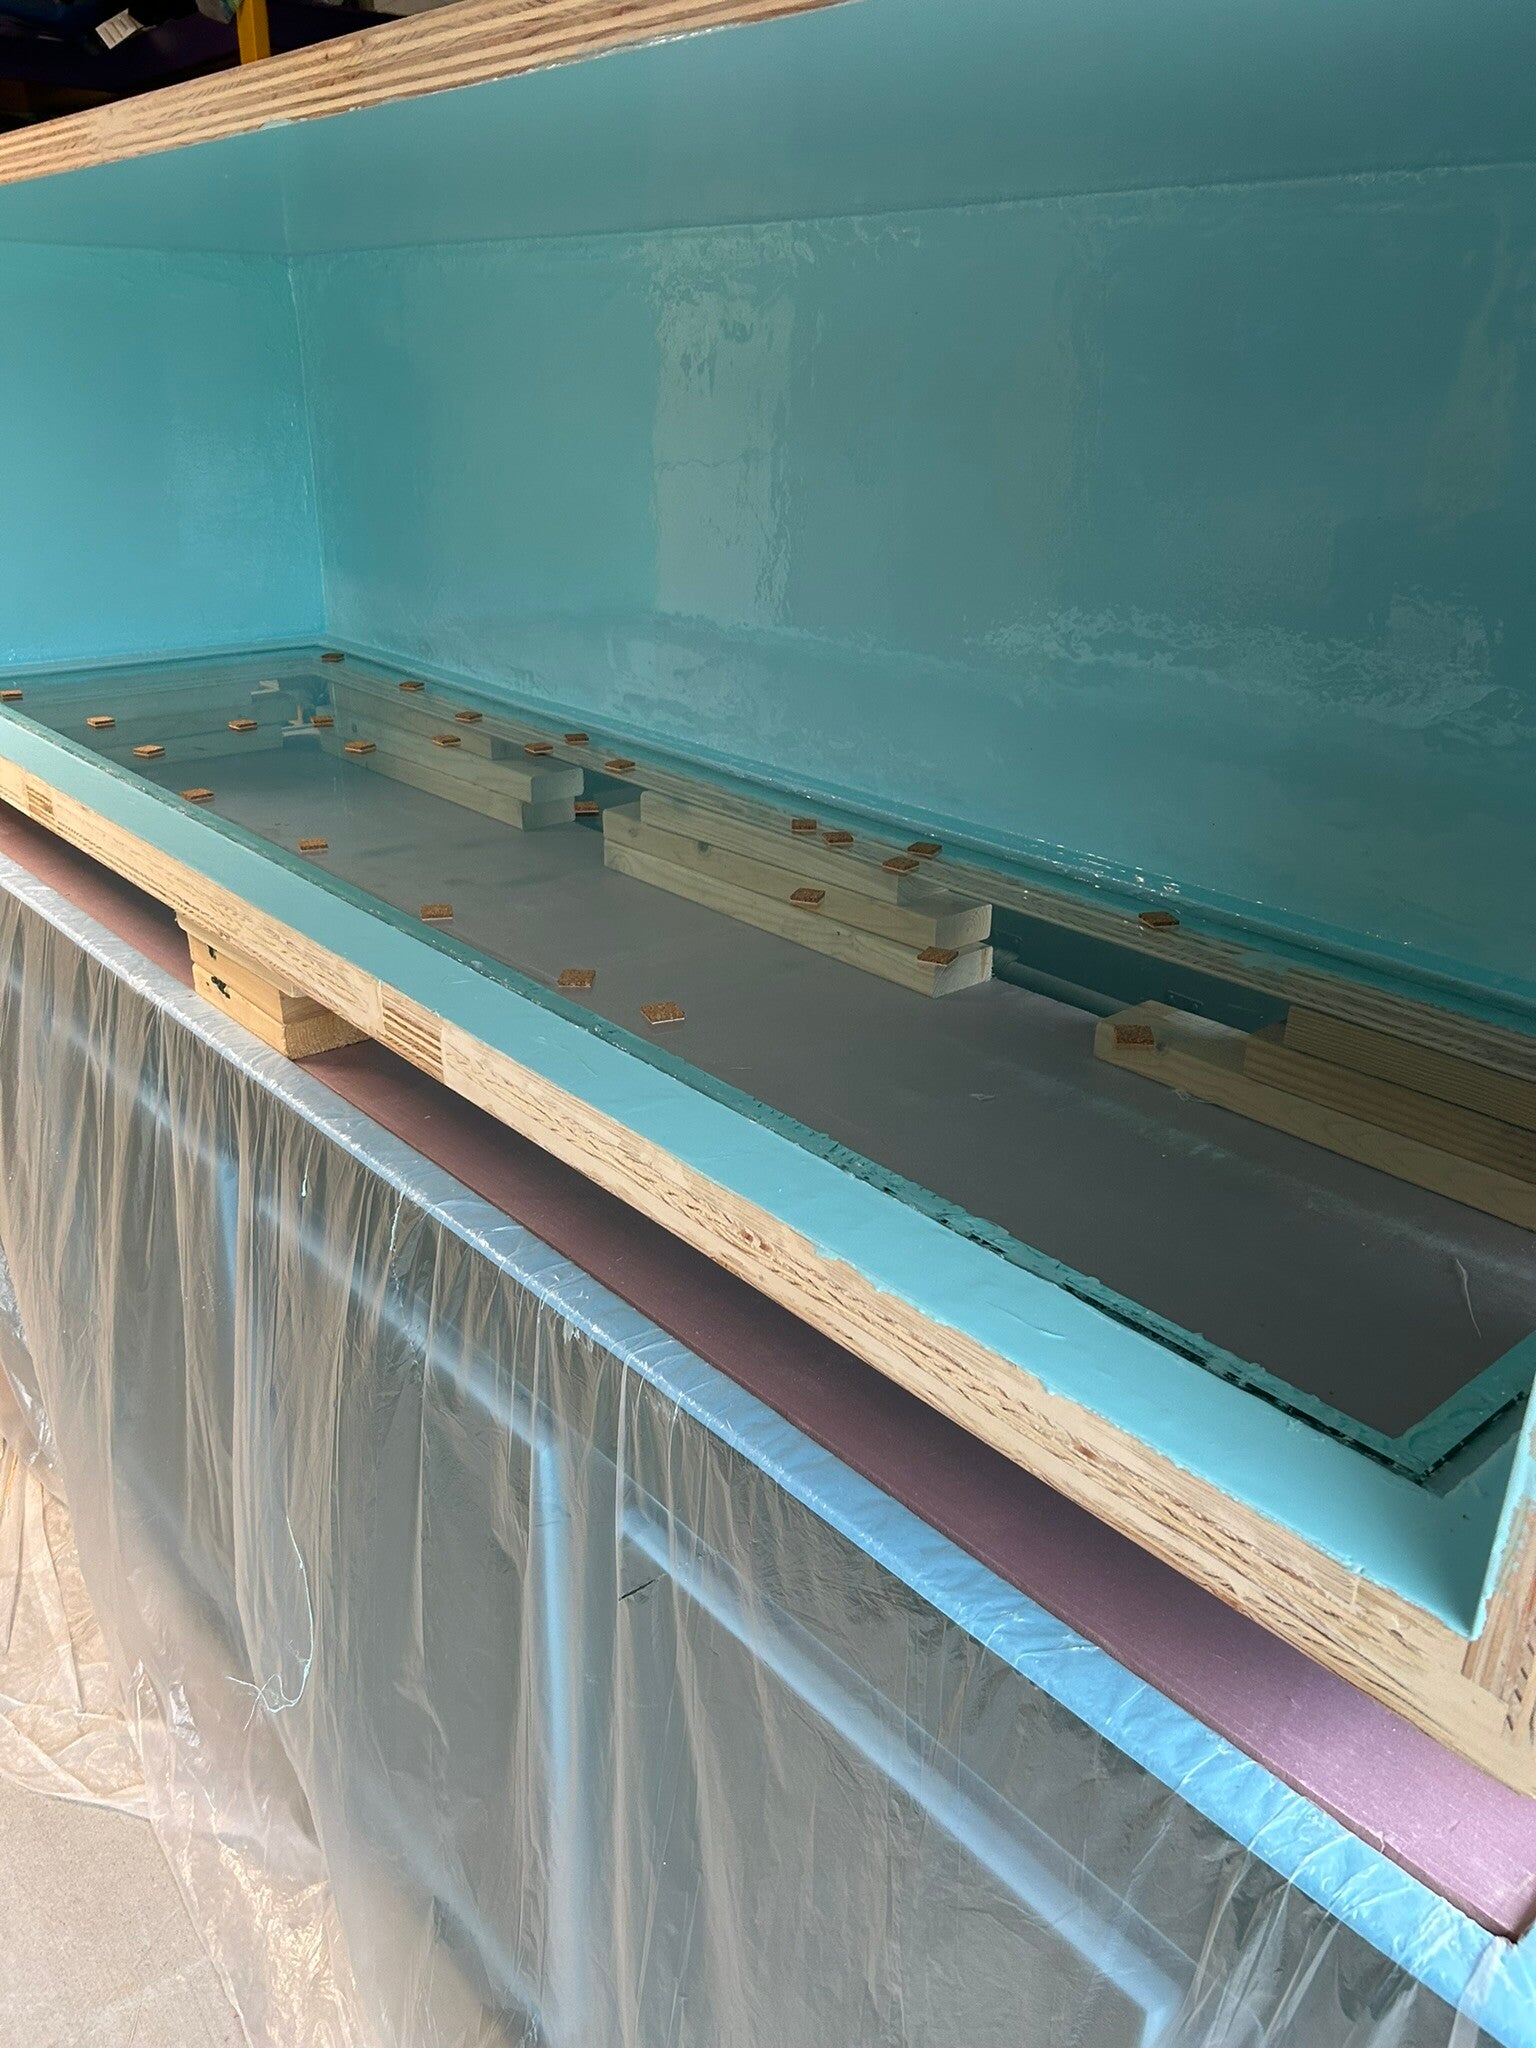
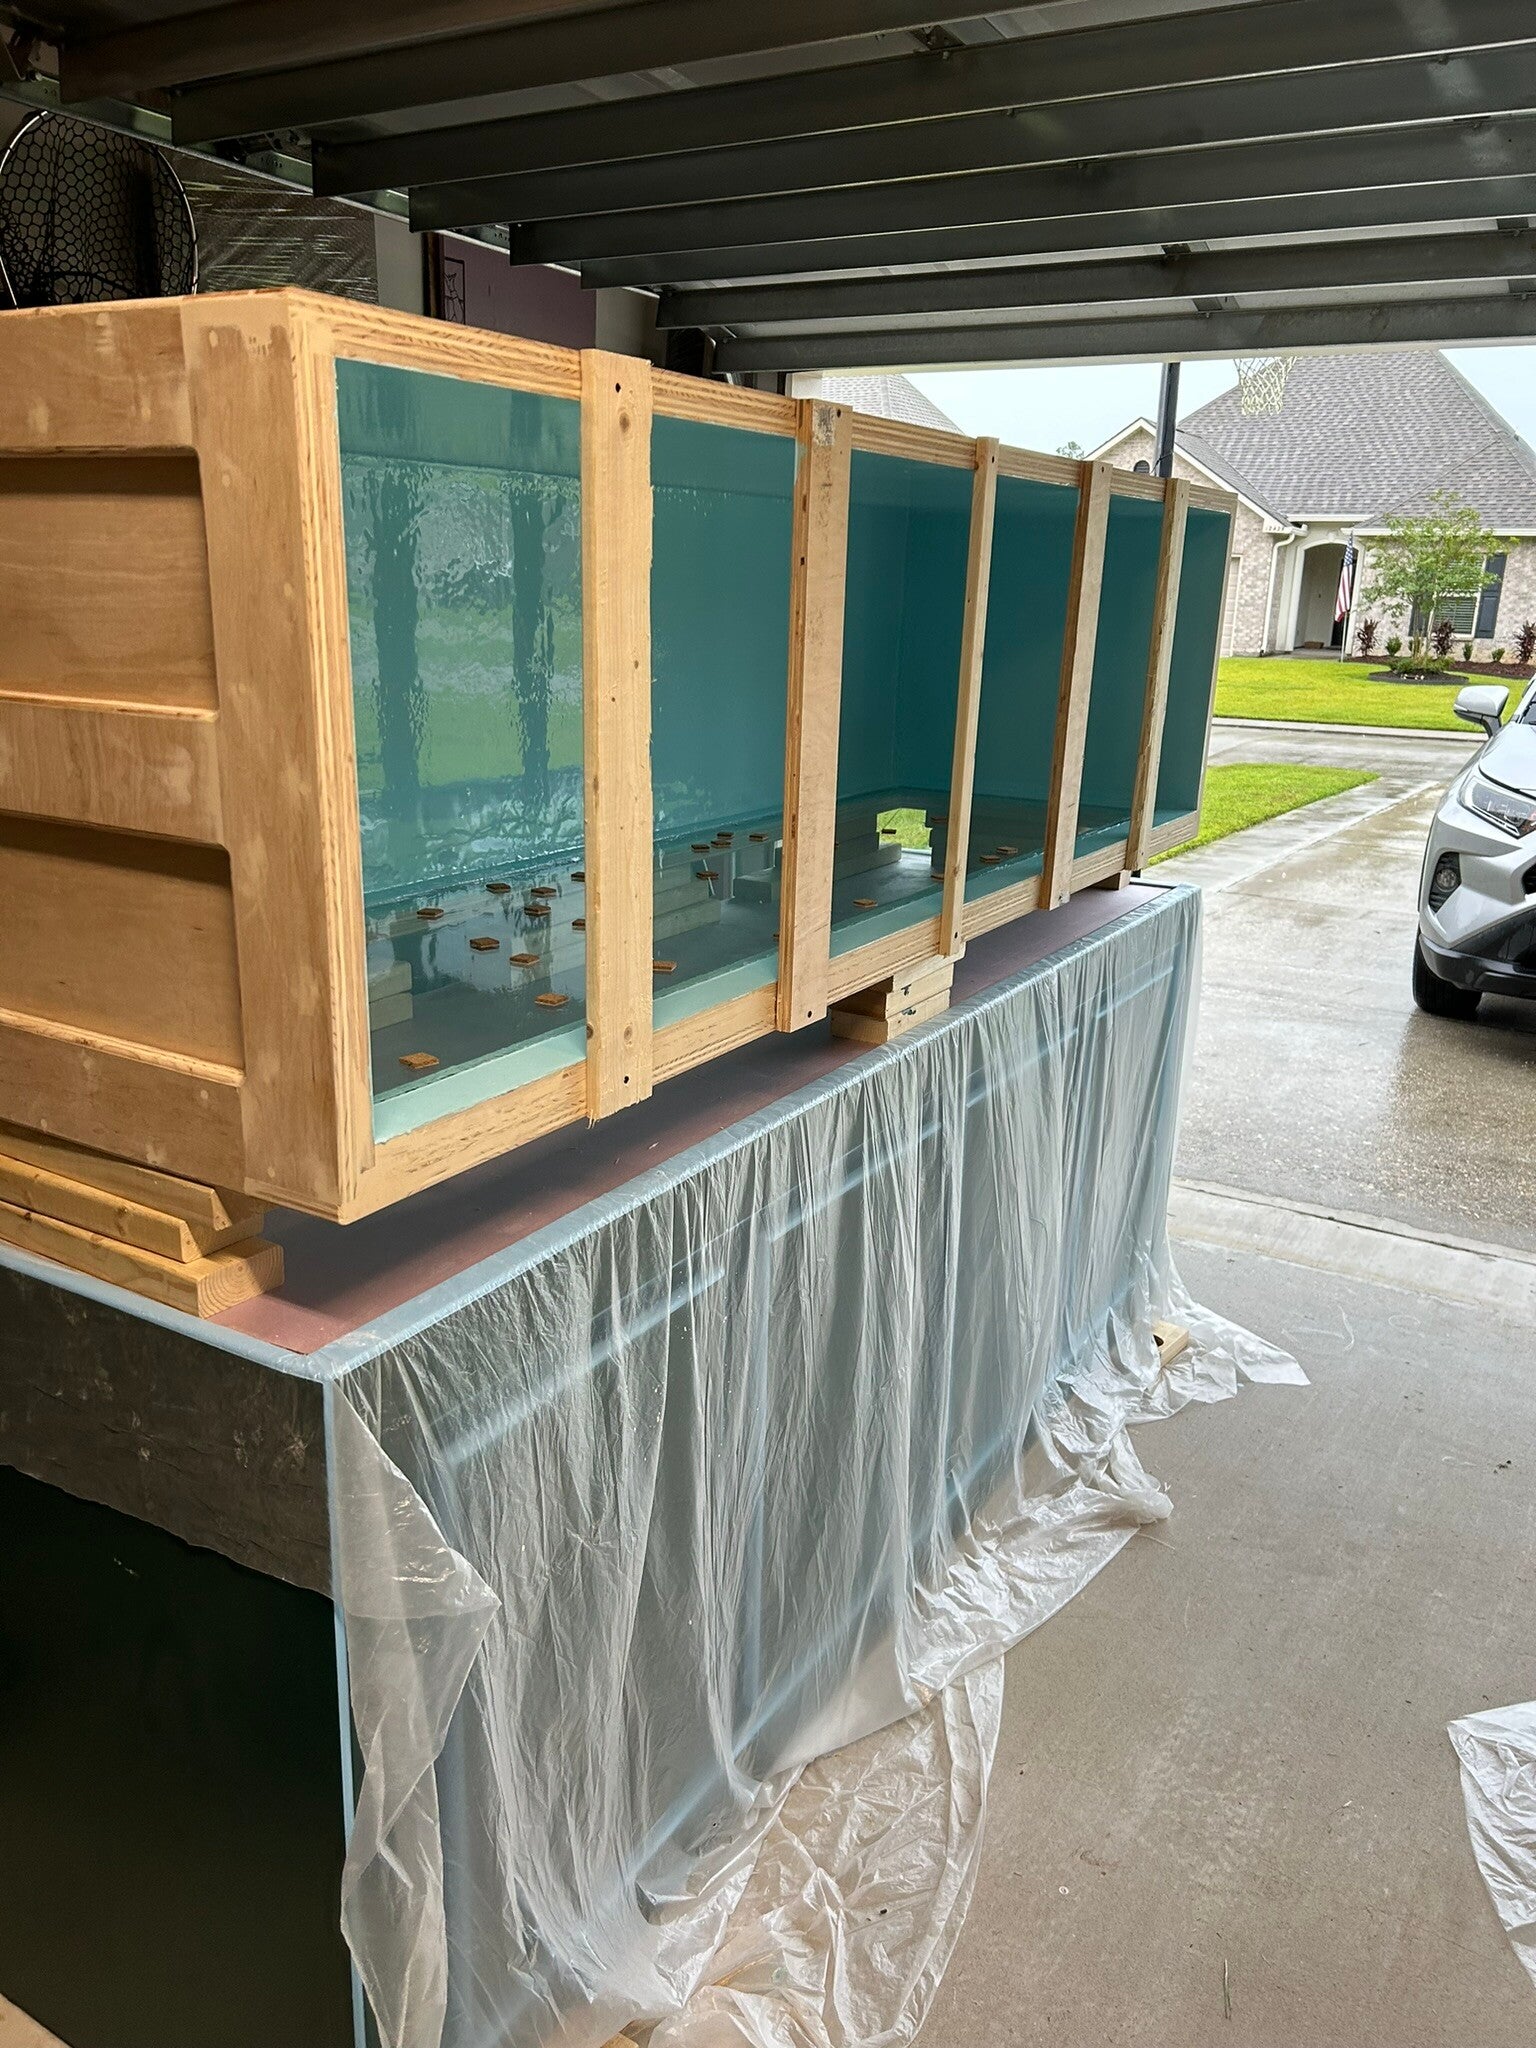
Now that the glass is in, I put the bracers back on to stop it from sagging.
19 Jul 24
Mason and Ben moved the stand into my bedroom. They had to use shoulder straps it was so heavy.
25 Jul 24
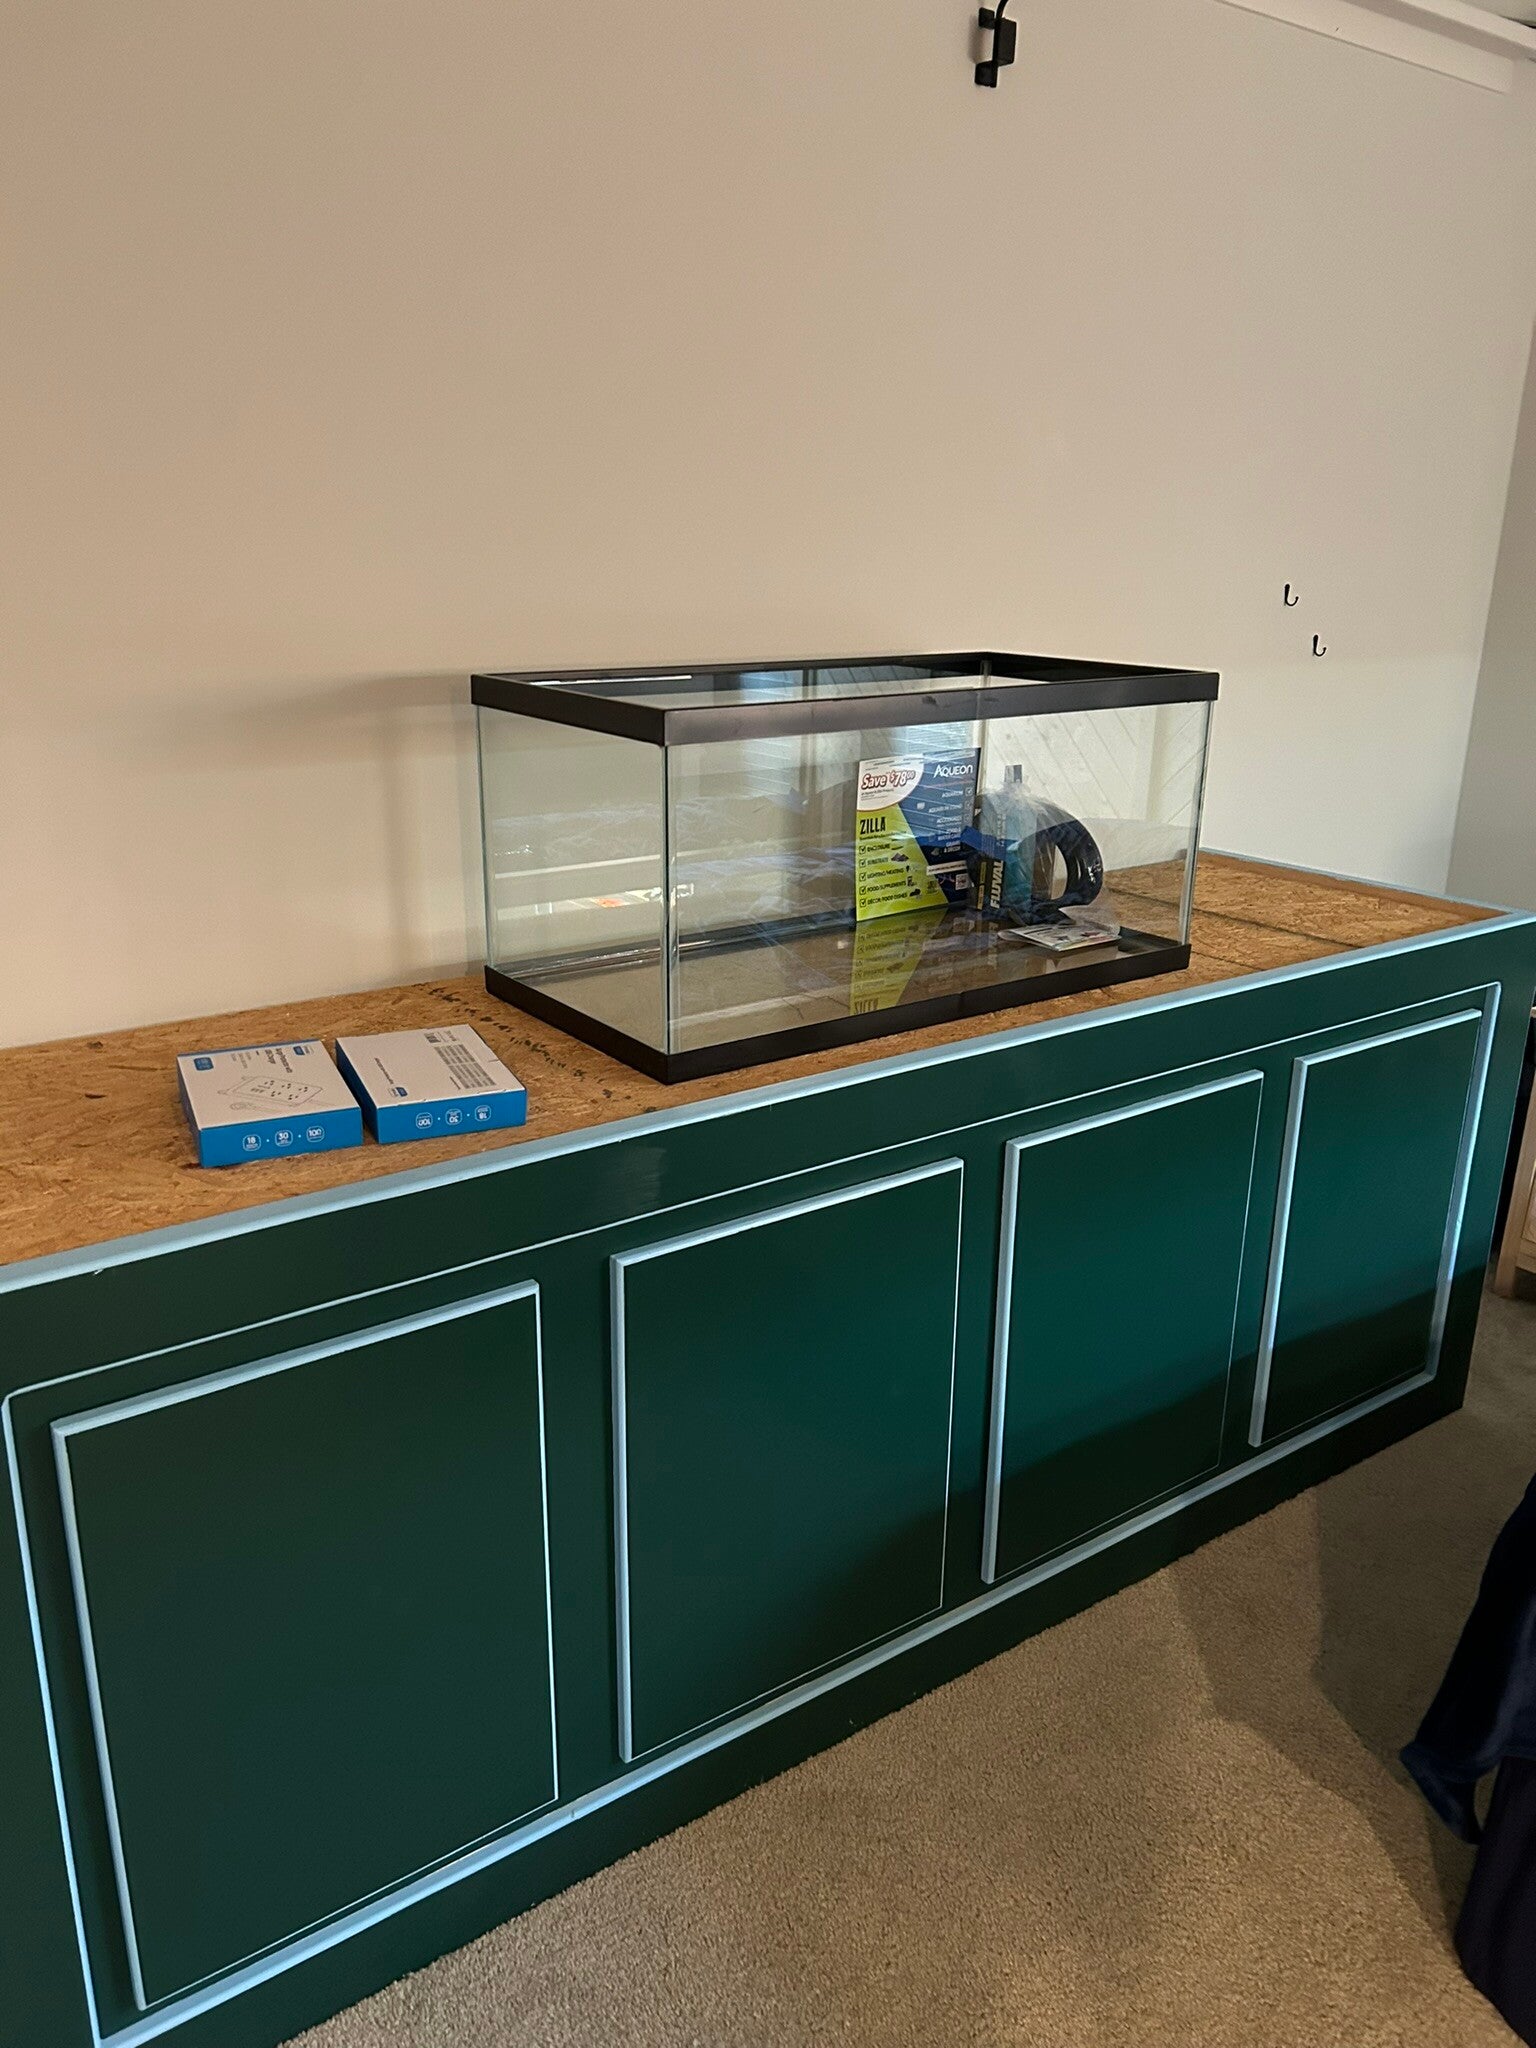
25 Jul 24
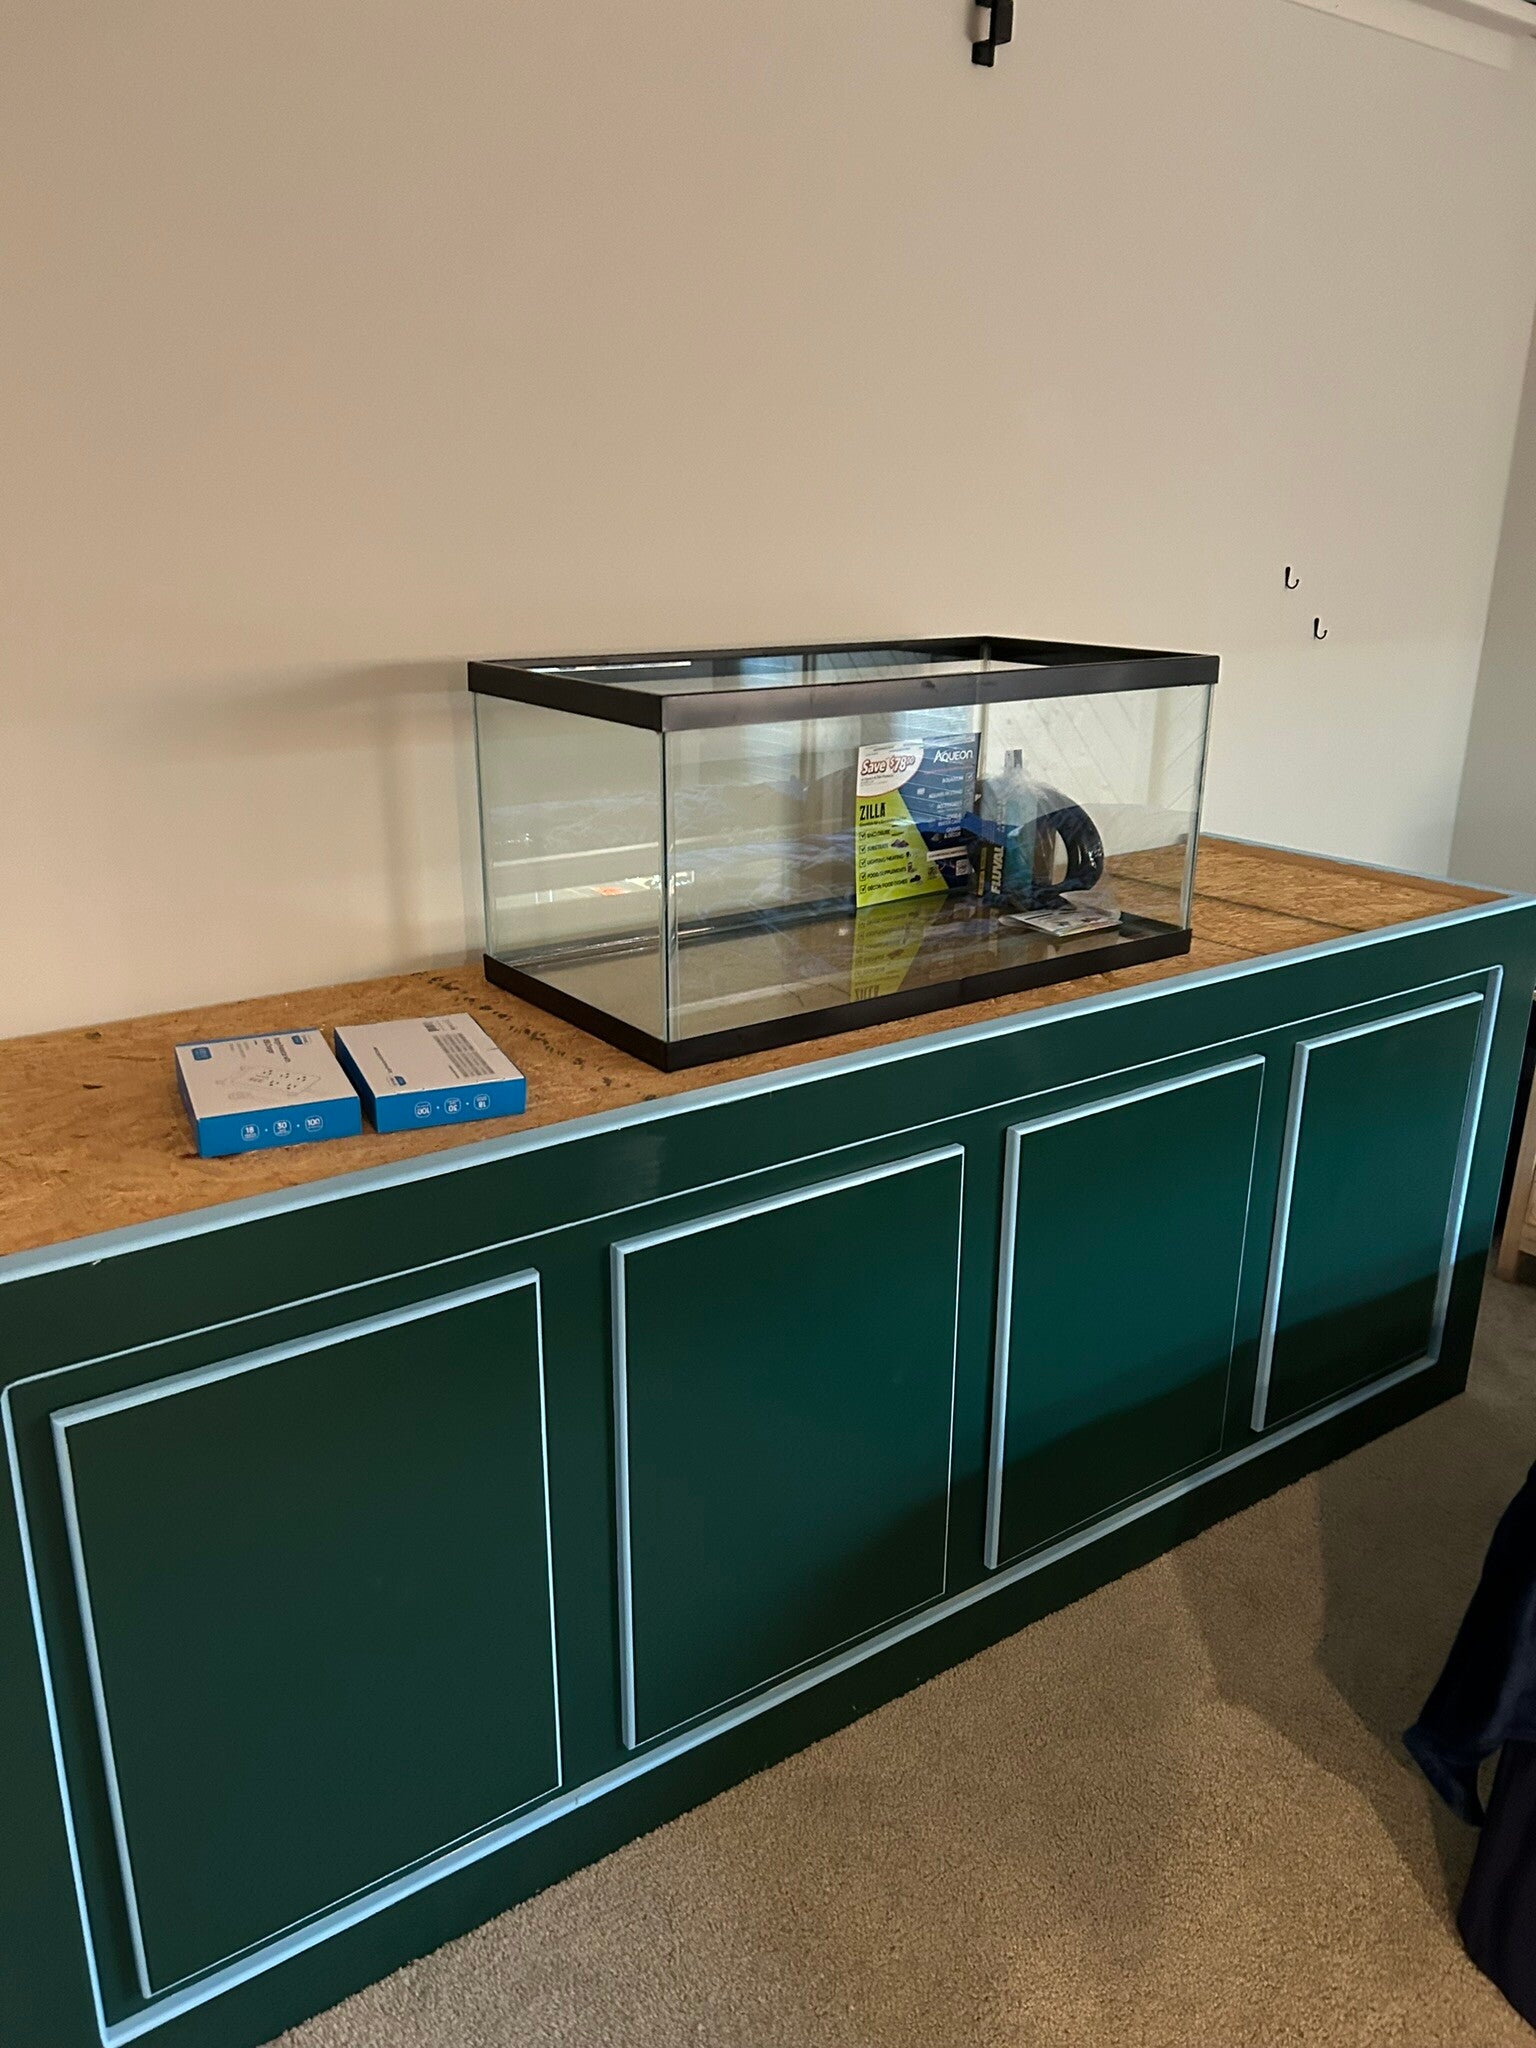
Filled tank to check watertightness. Test failed.
1 Aug 24
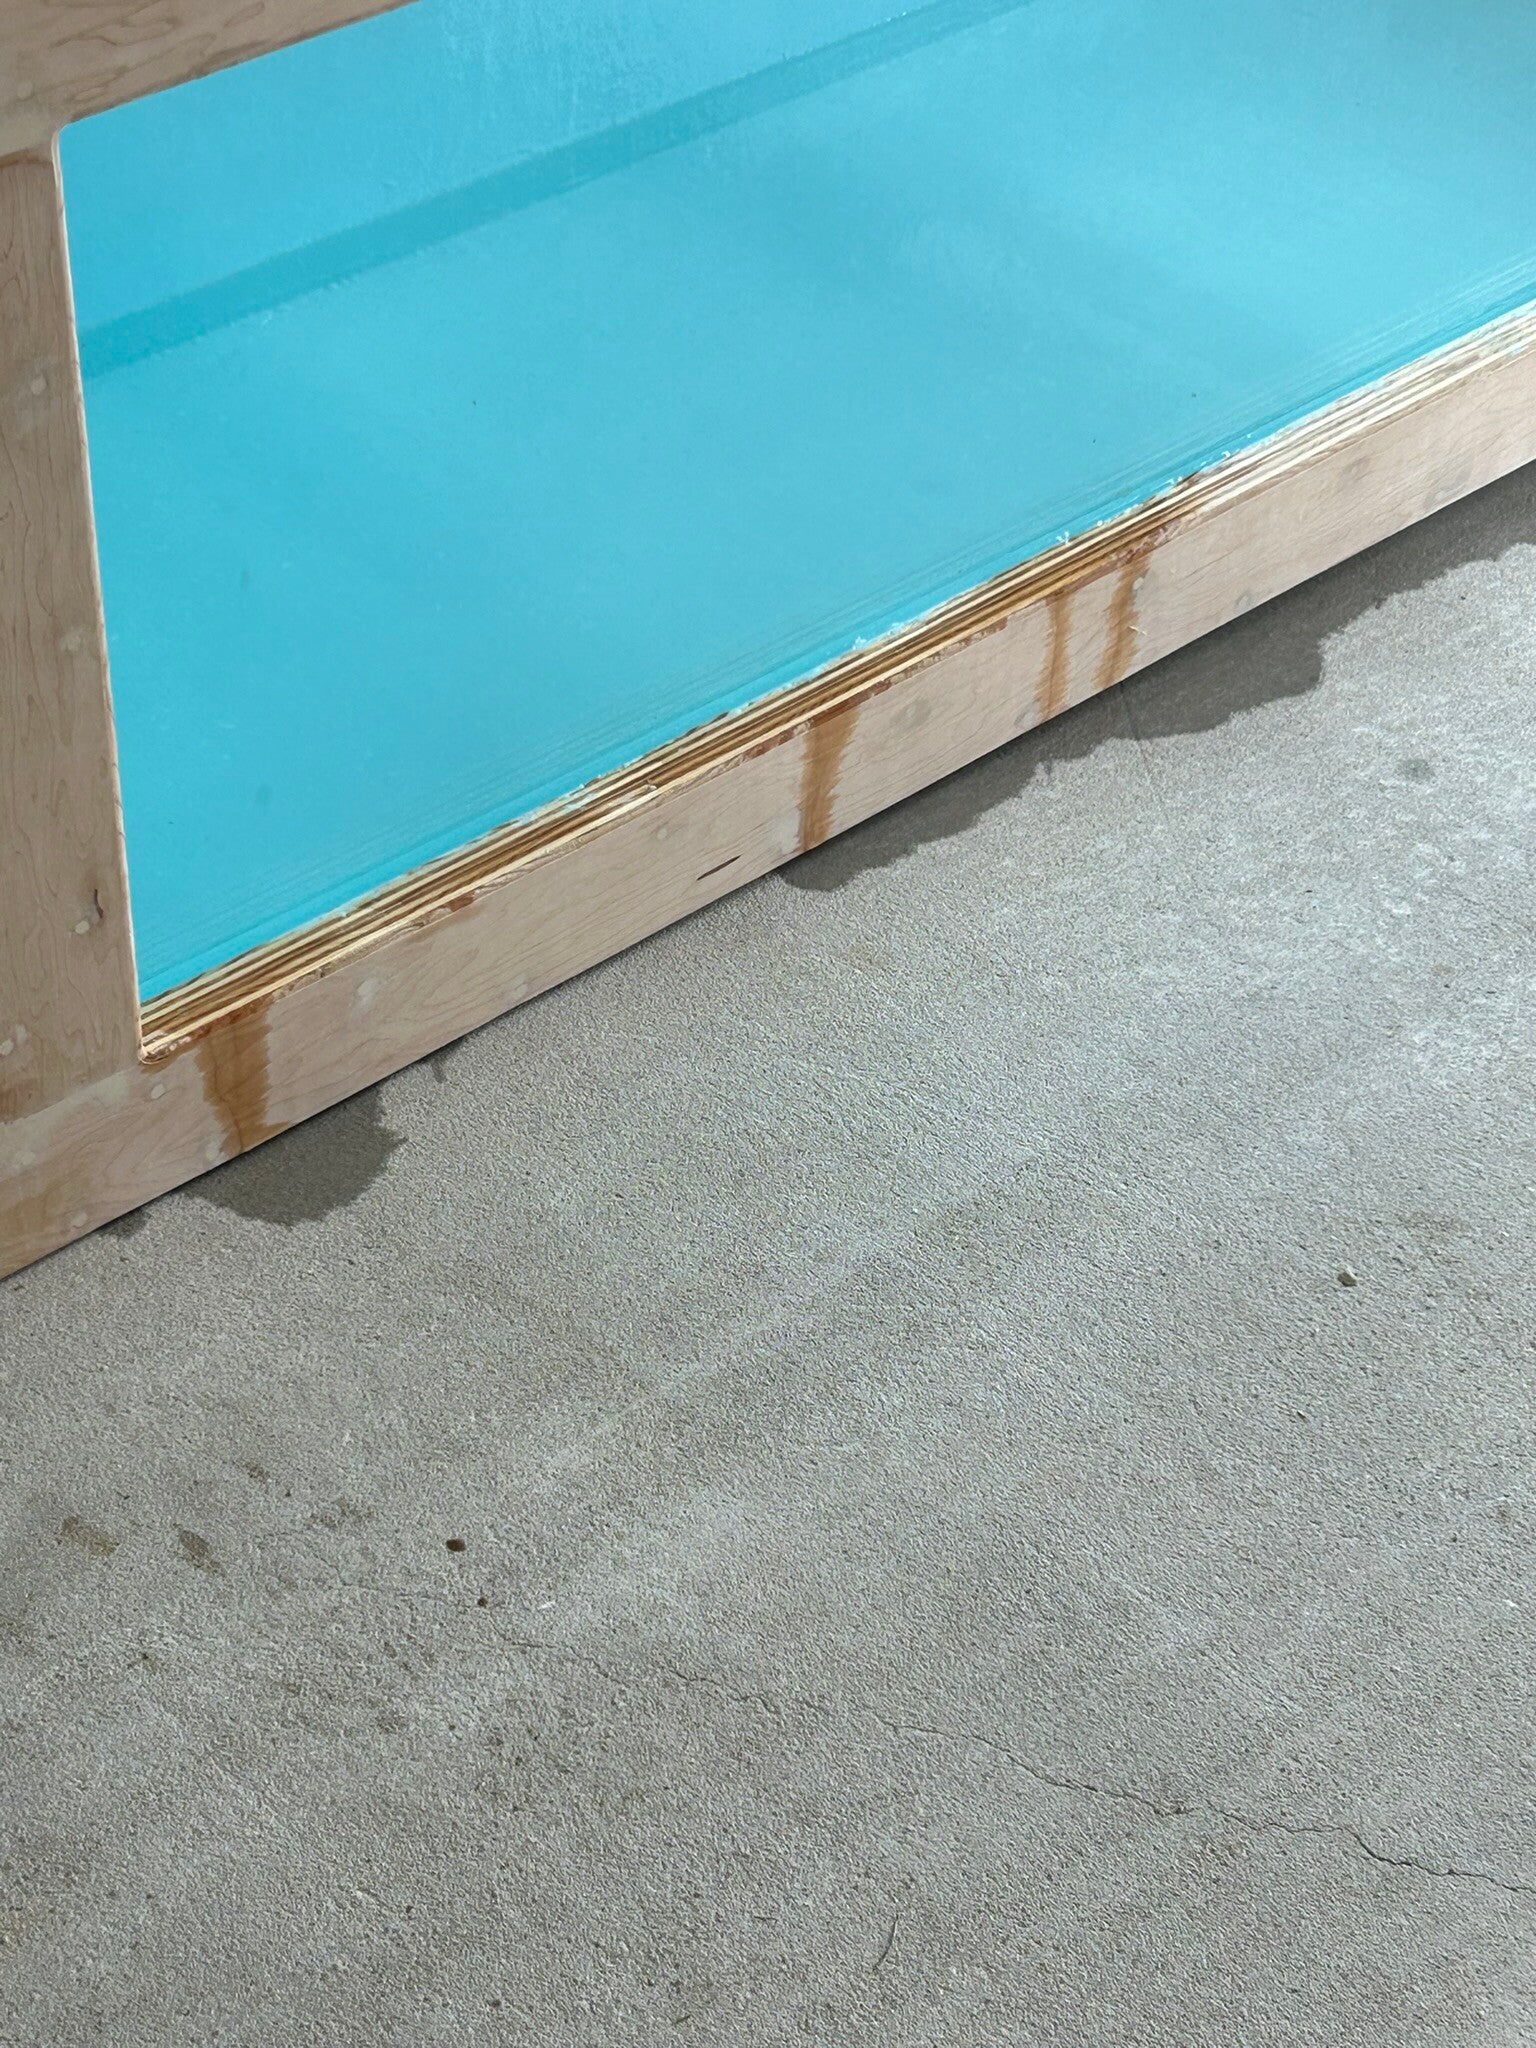
Taping to prepare for paint.
8 Aug 24
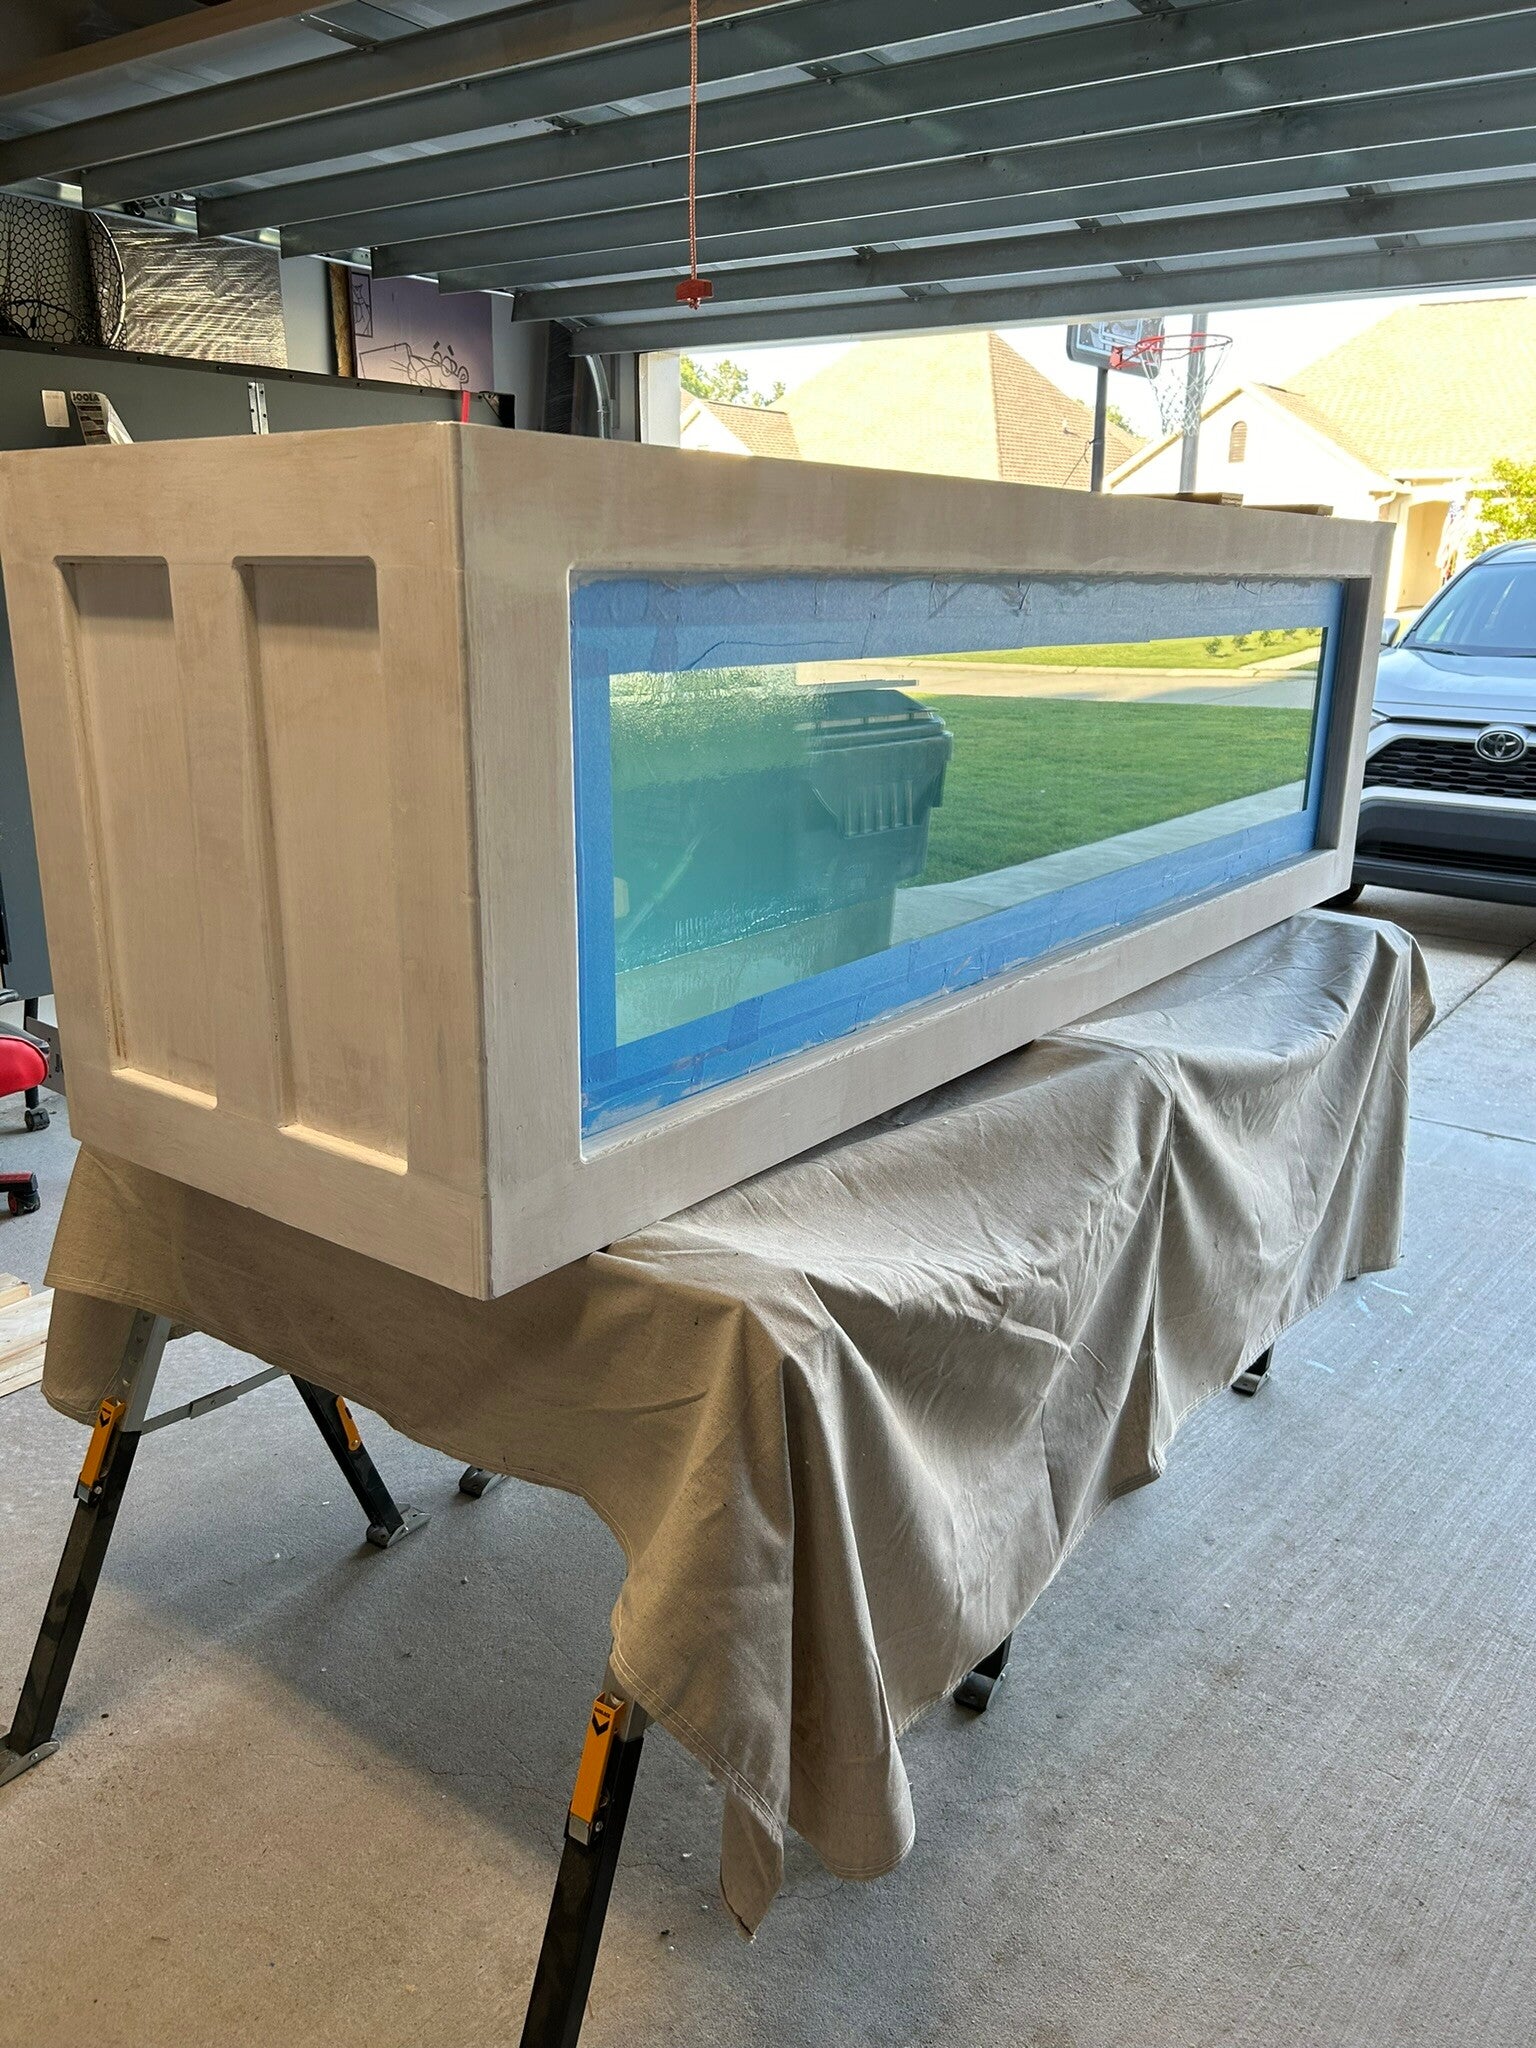
Primer on
8 Aug 24
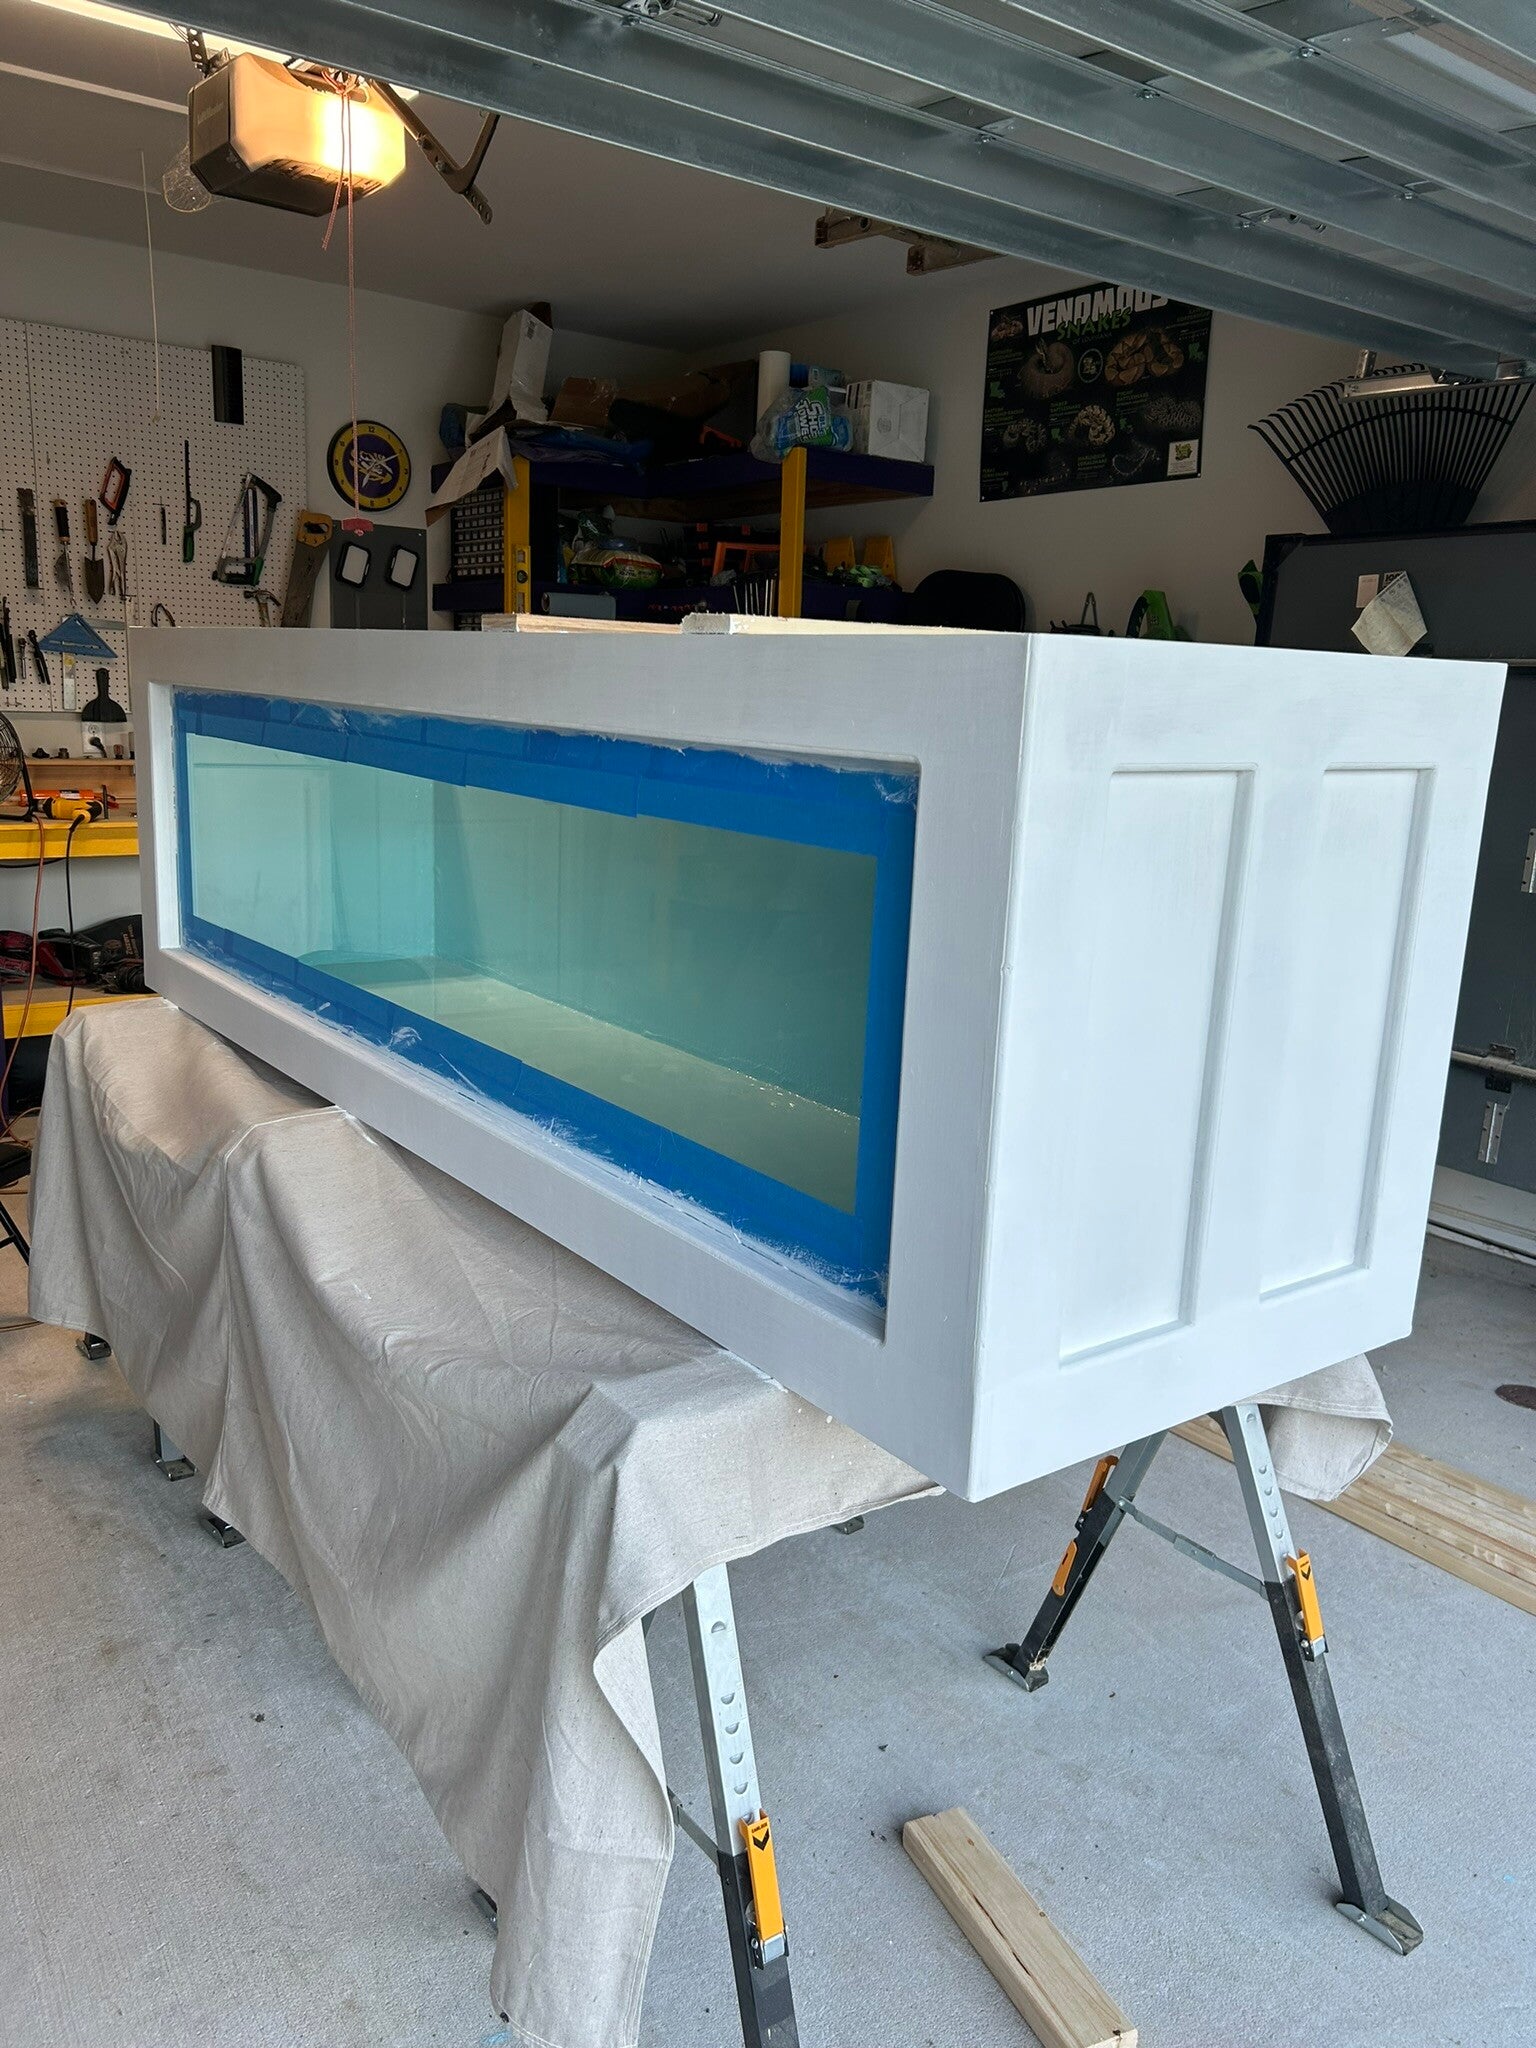
Light blue trim done.
10 Aug 24
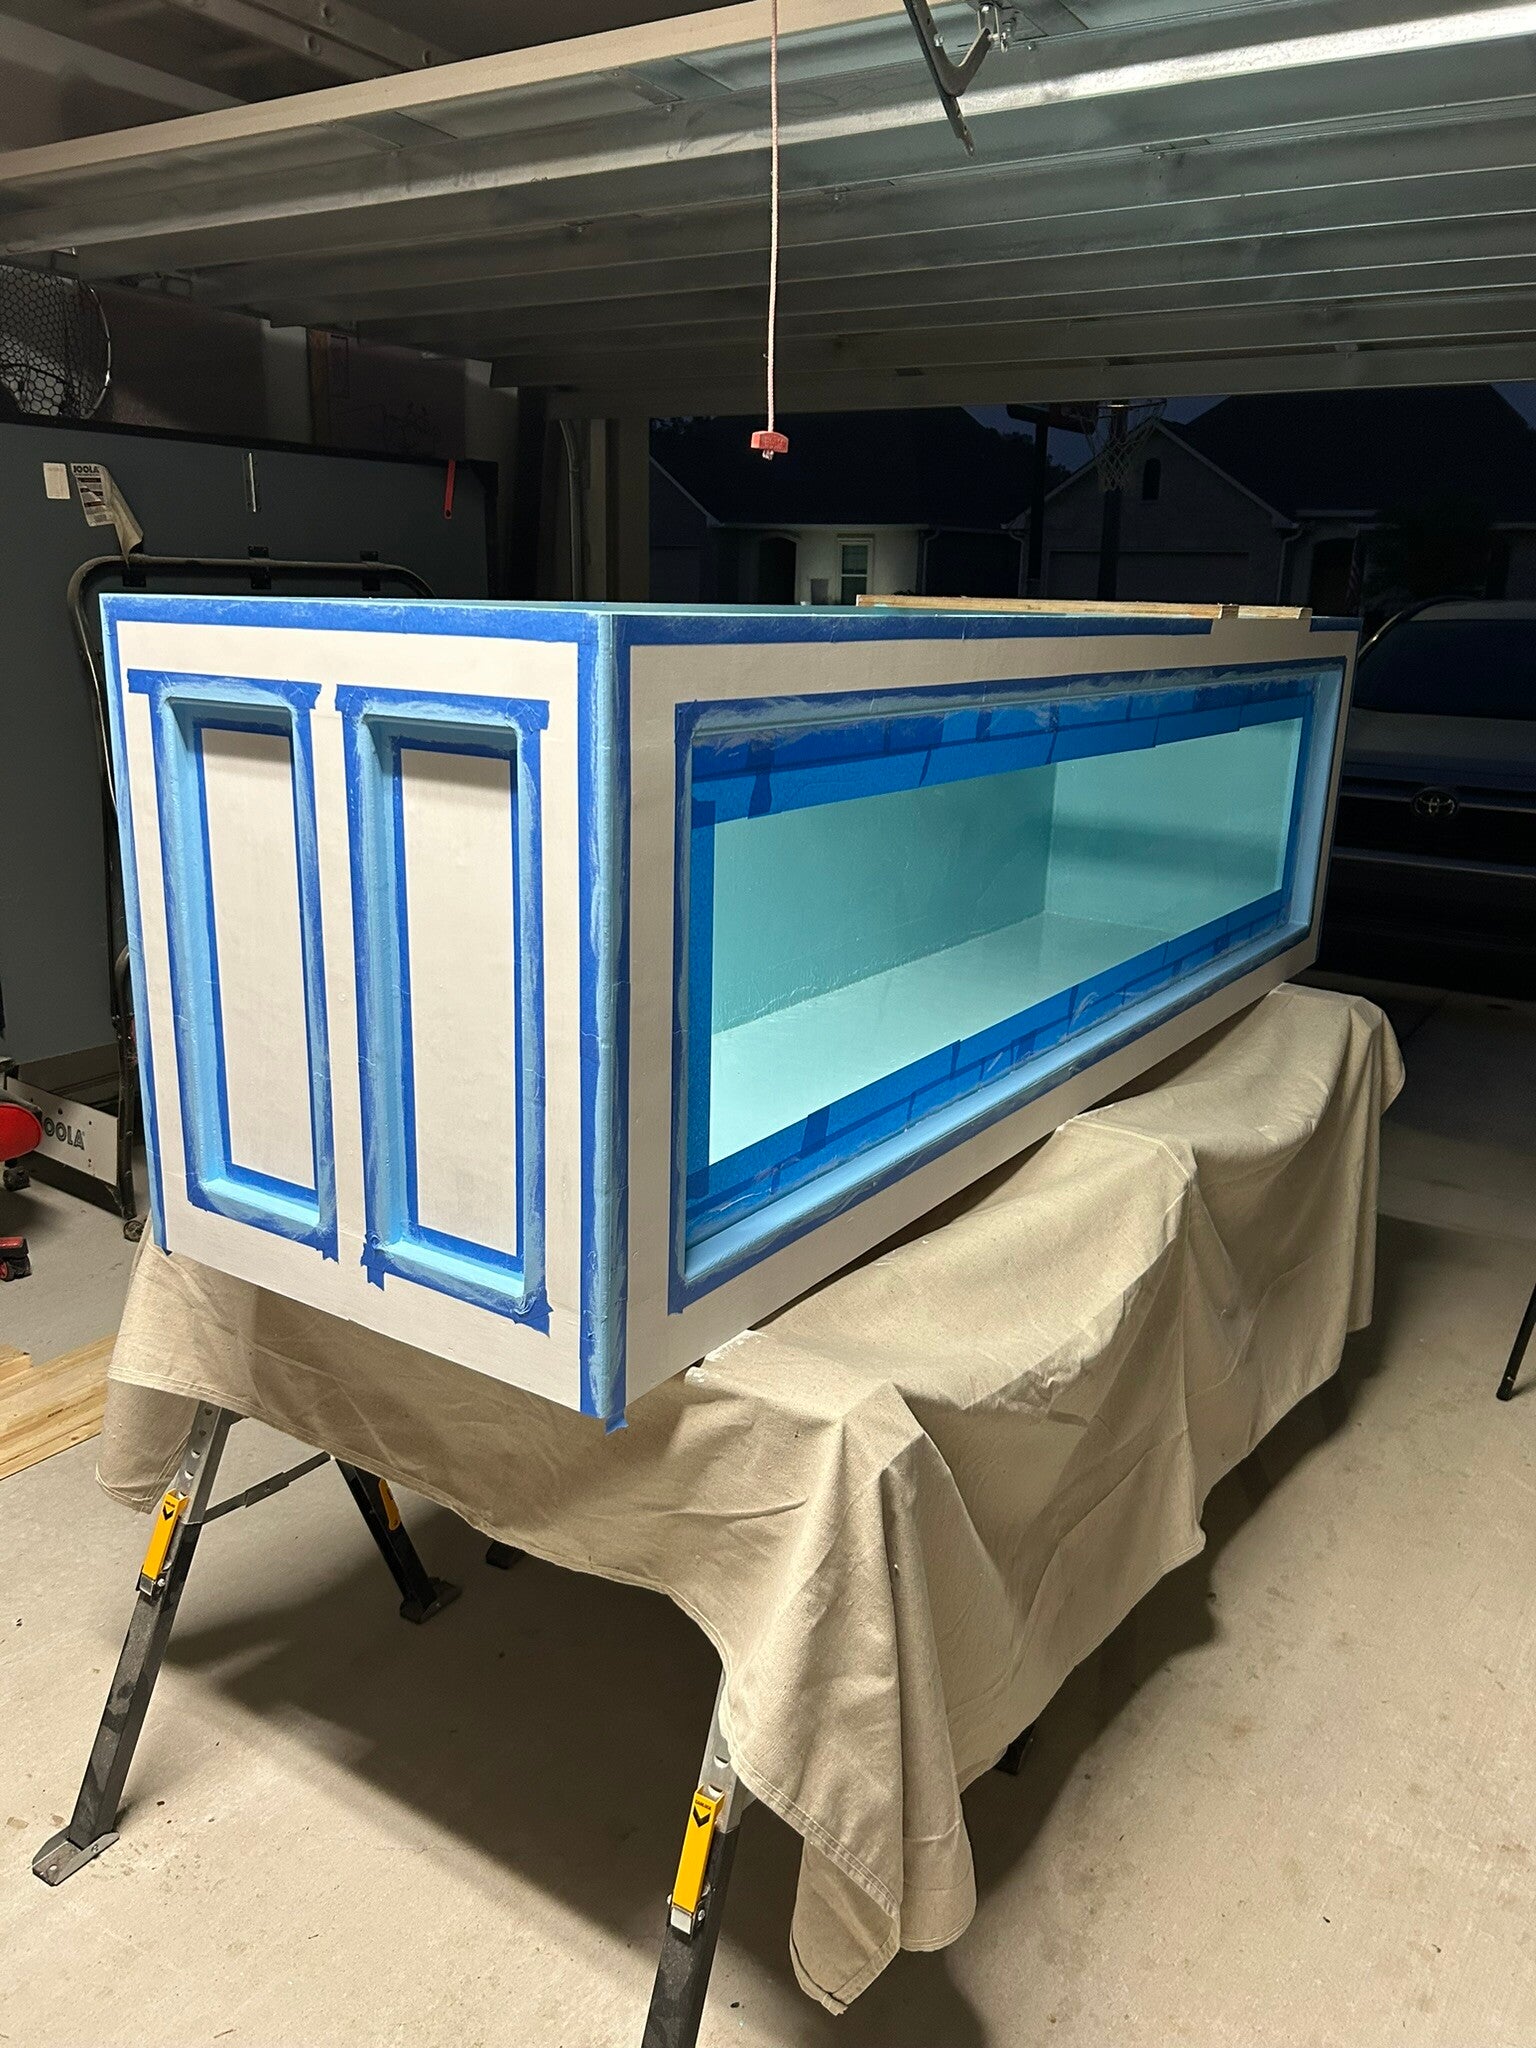
11 Aug 24
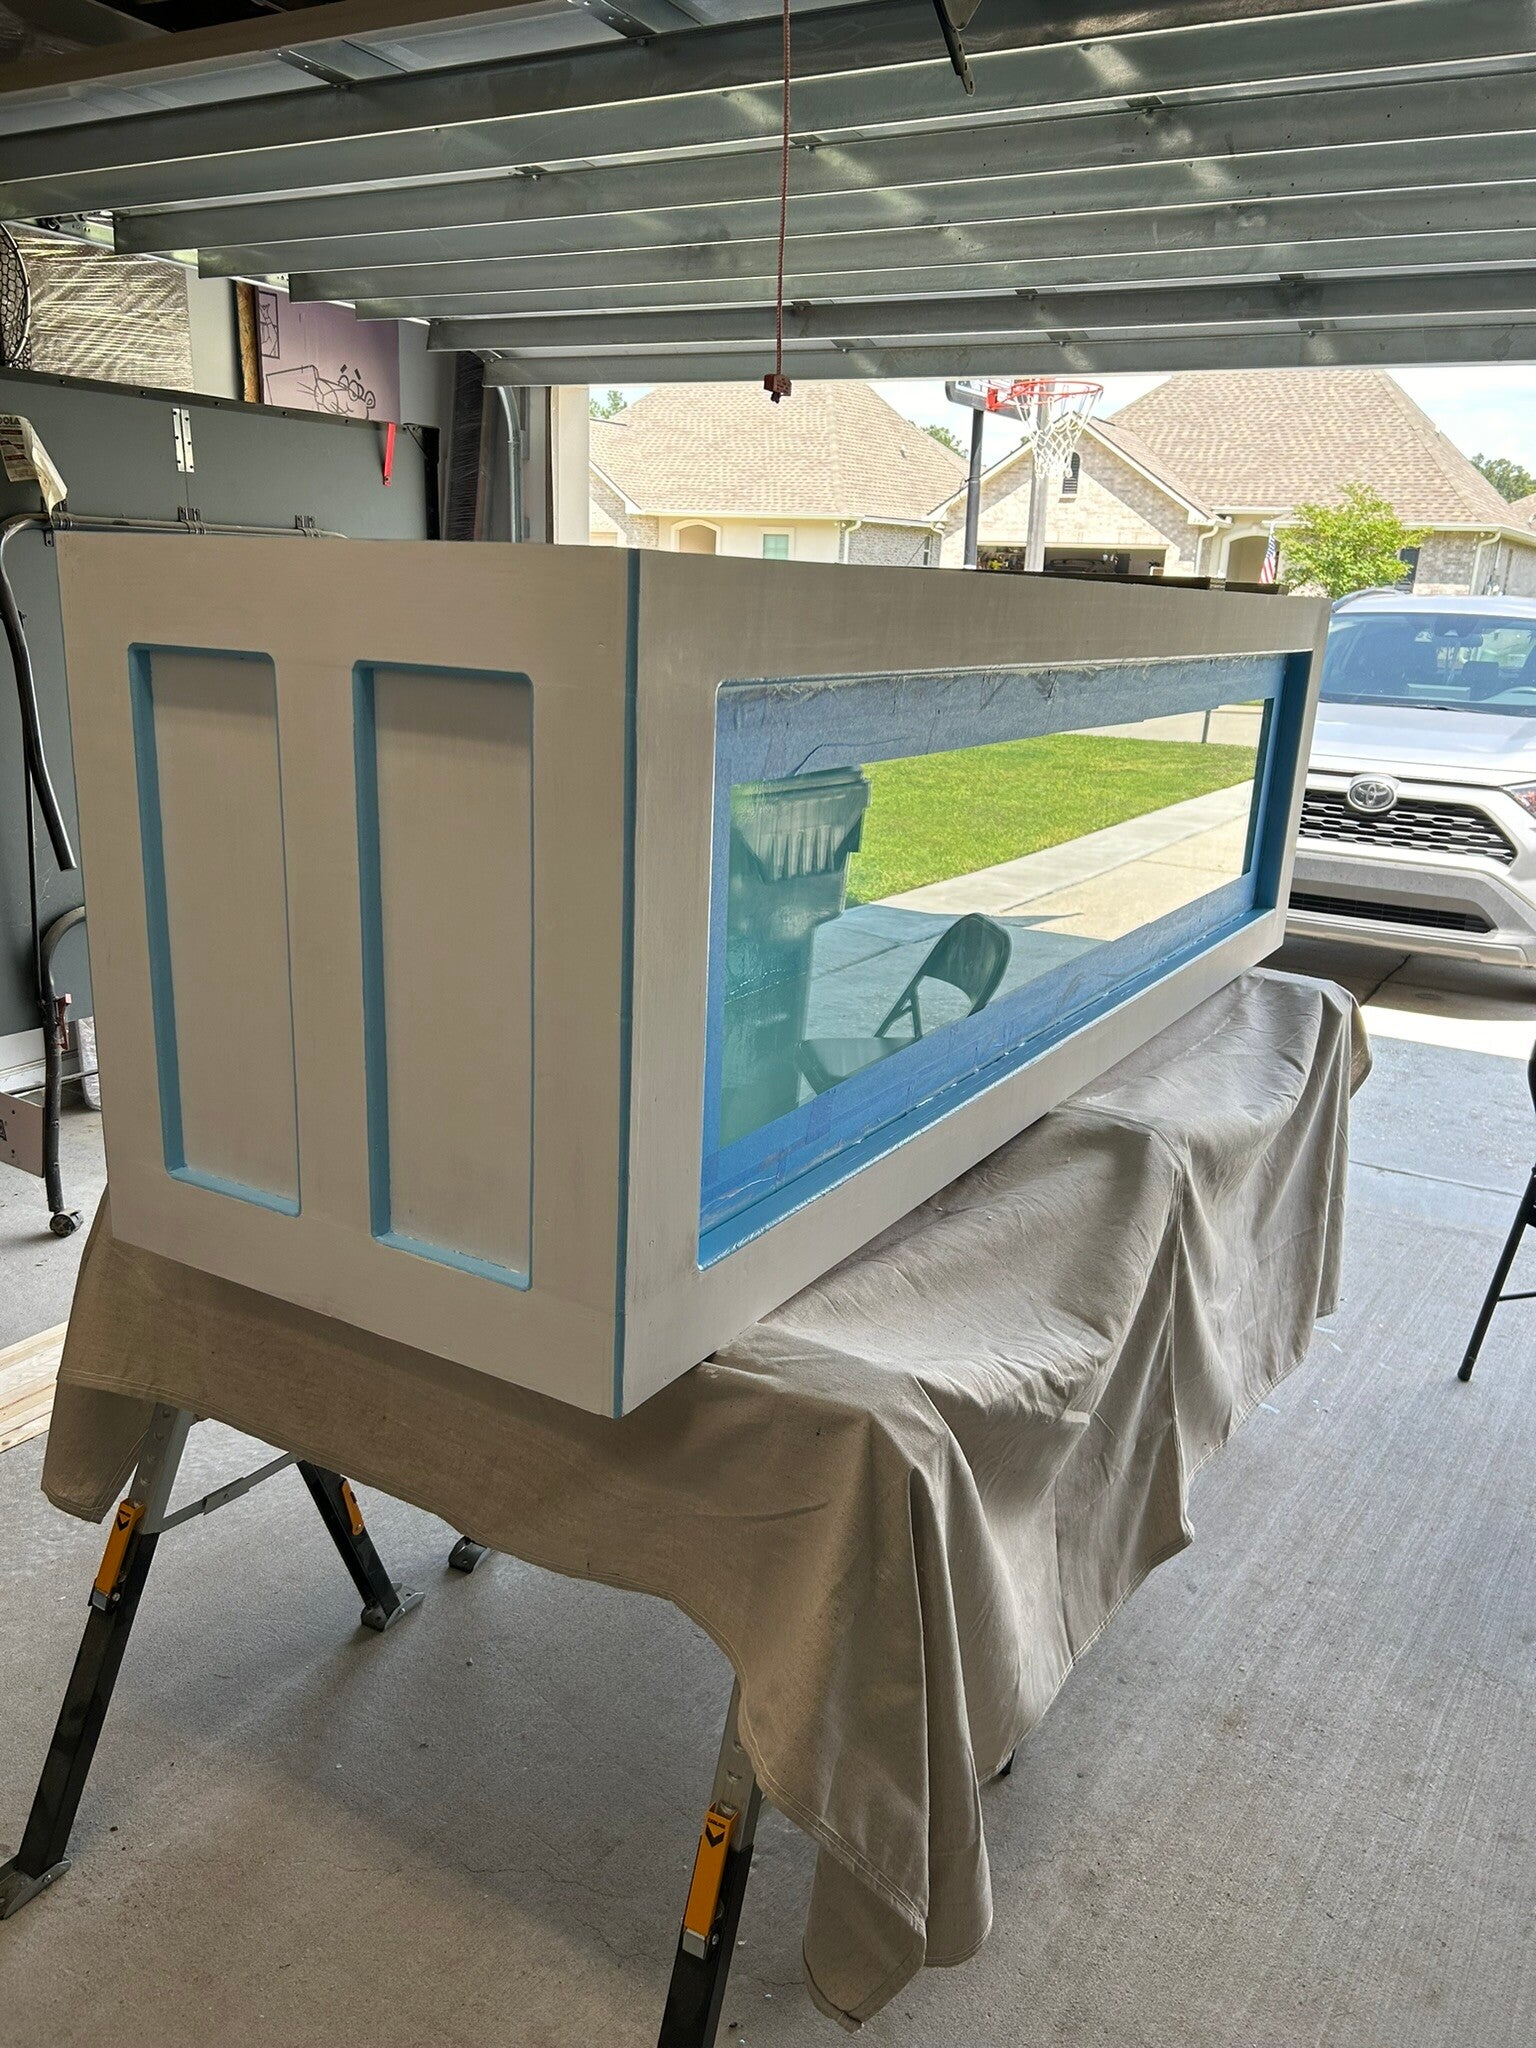
11 Aug 24
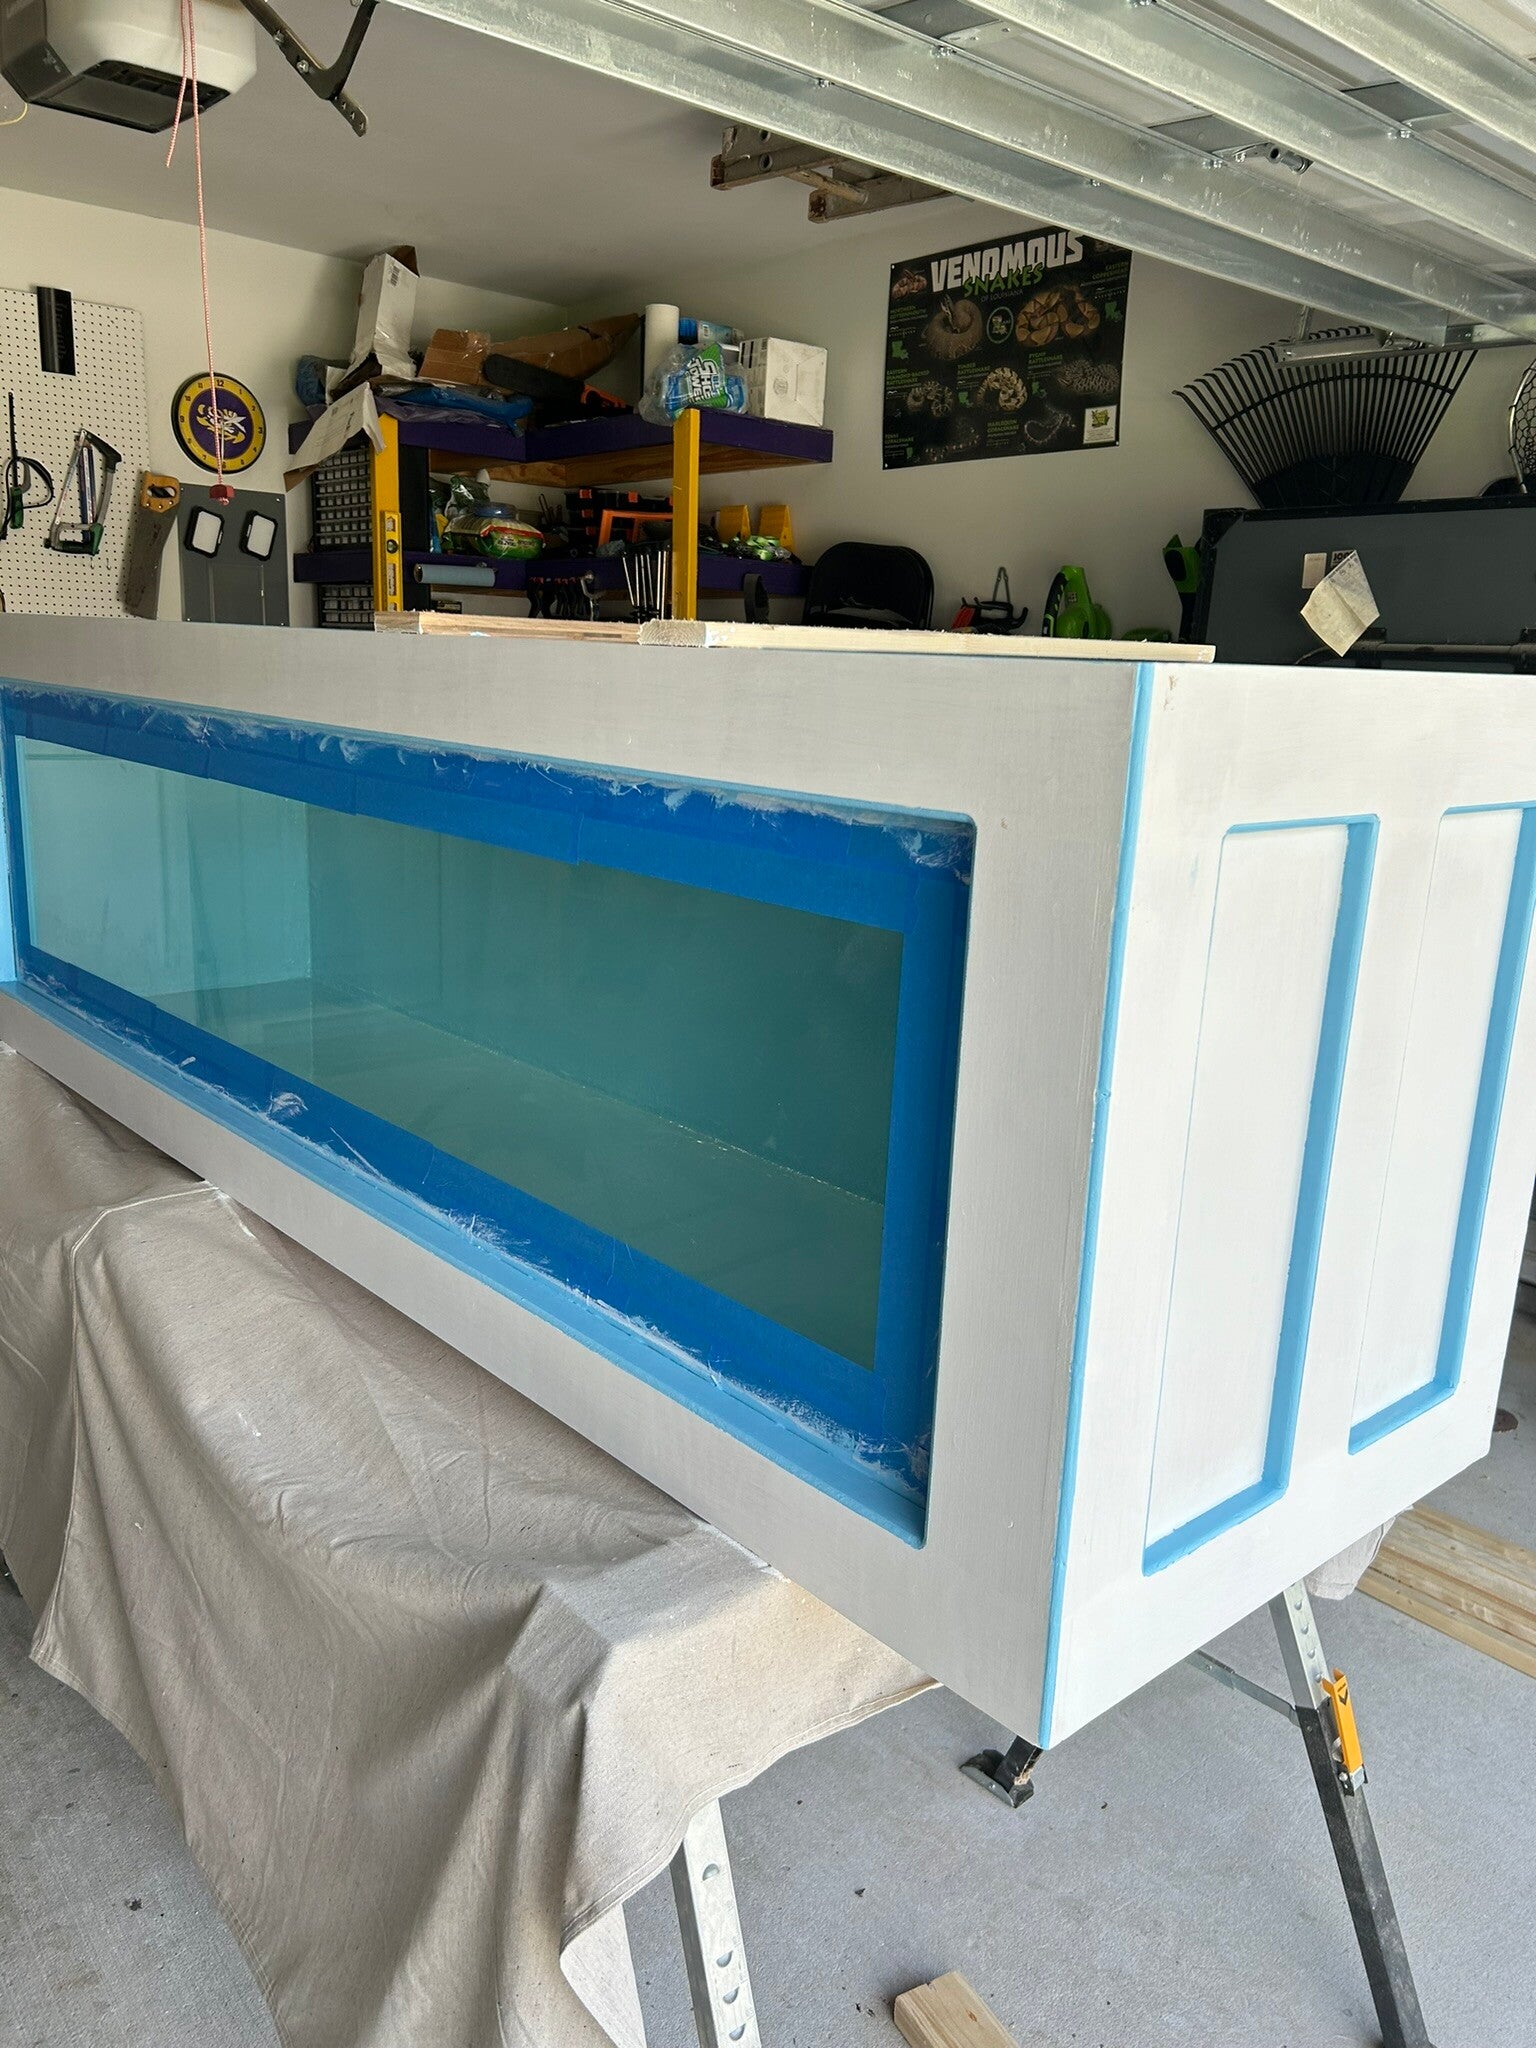
1st coat of green.
11 Aug 24
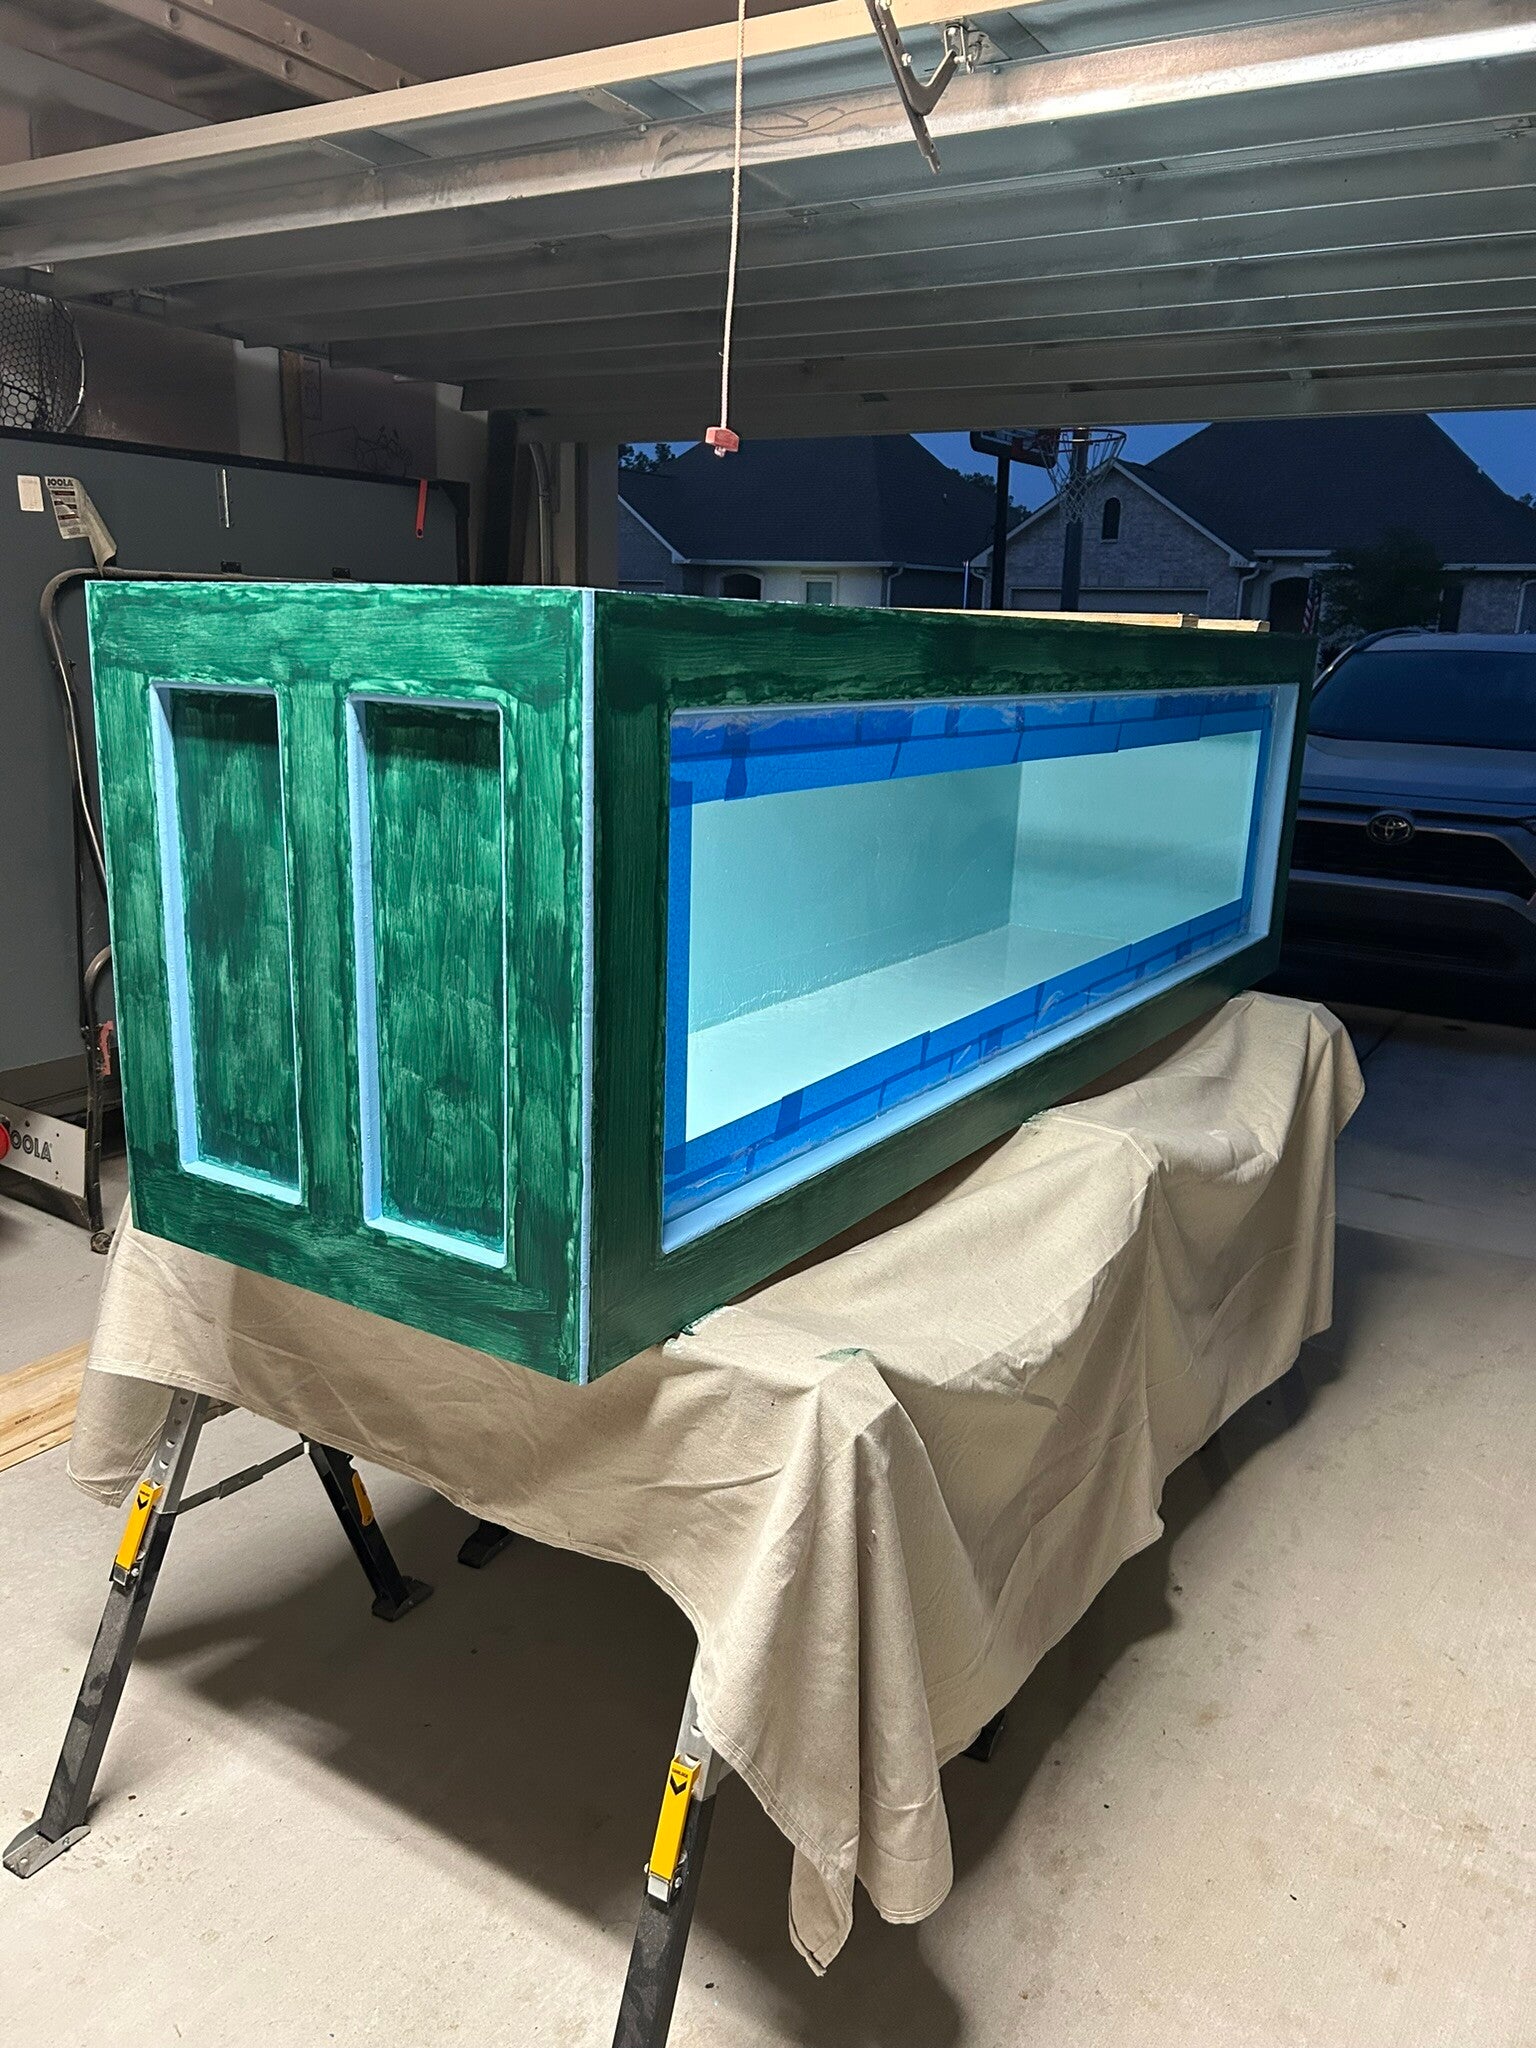
2nd coat of paint
11 Aug 24
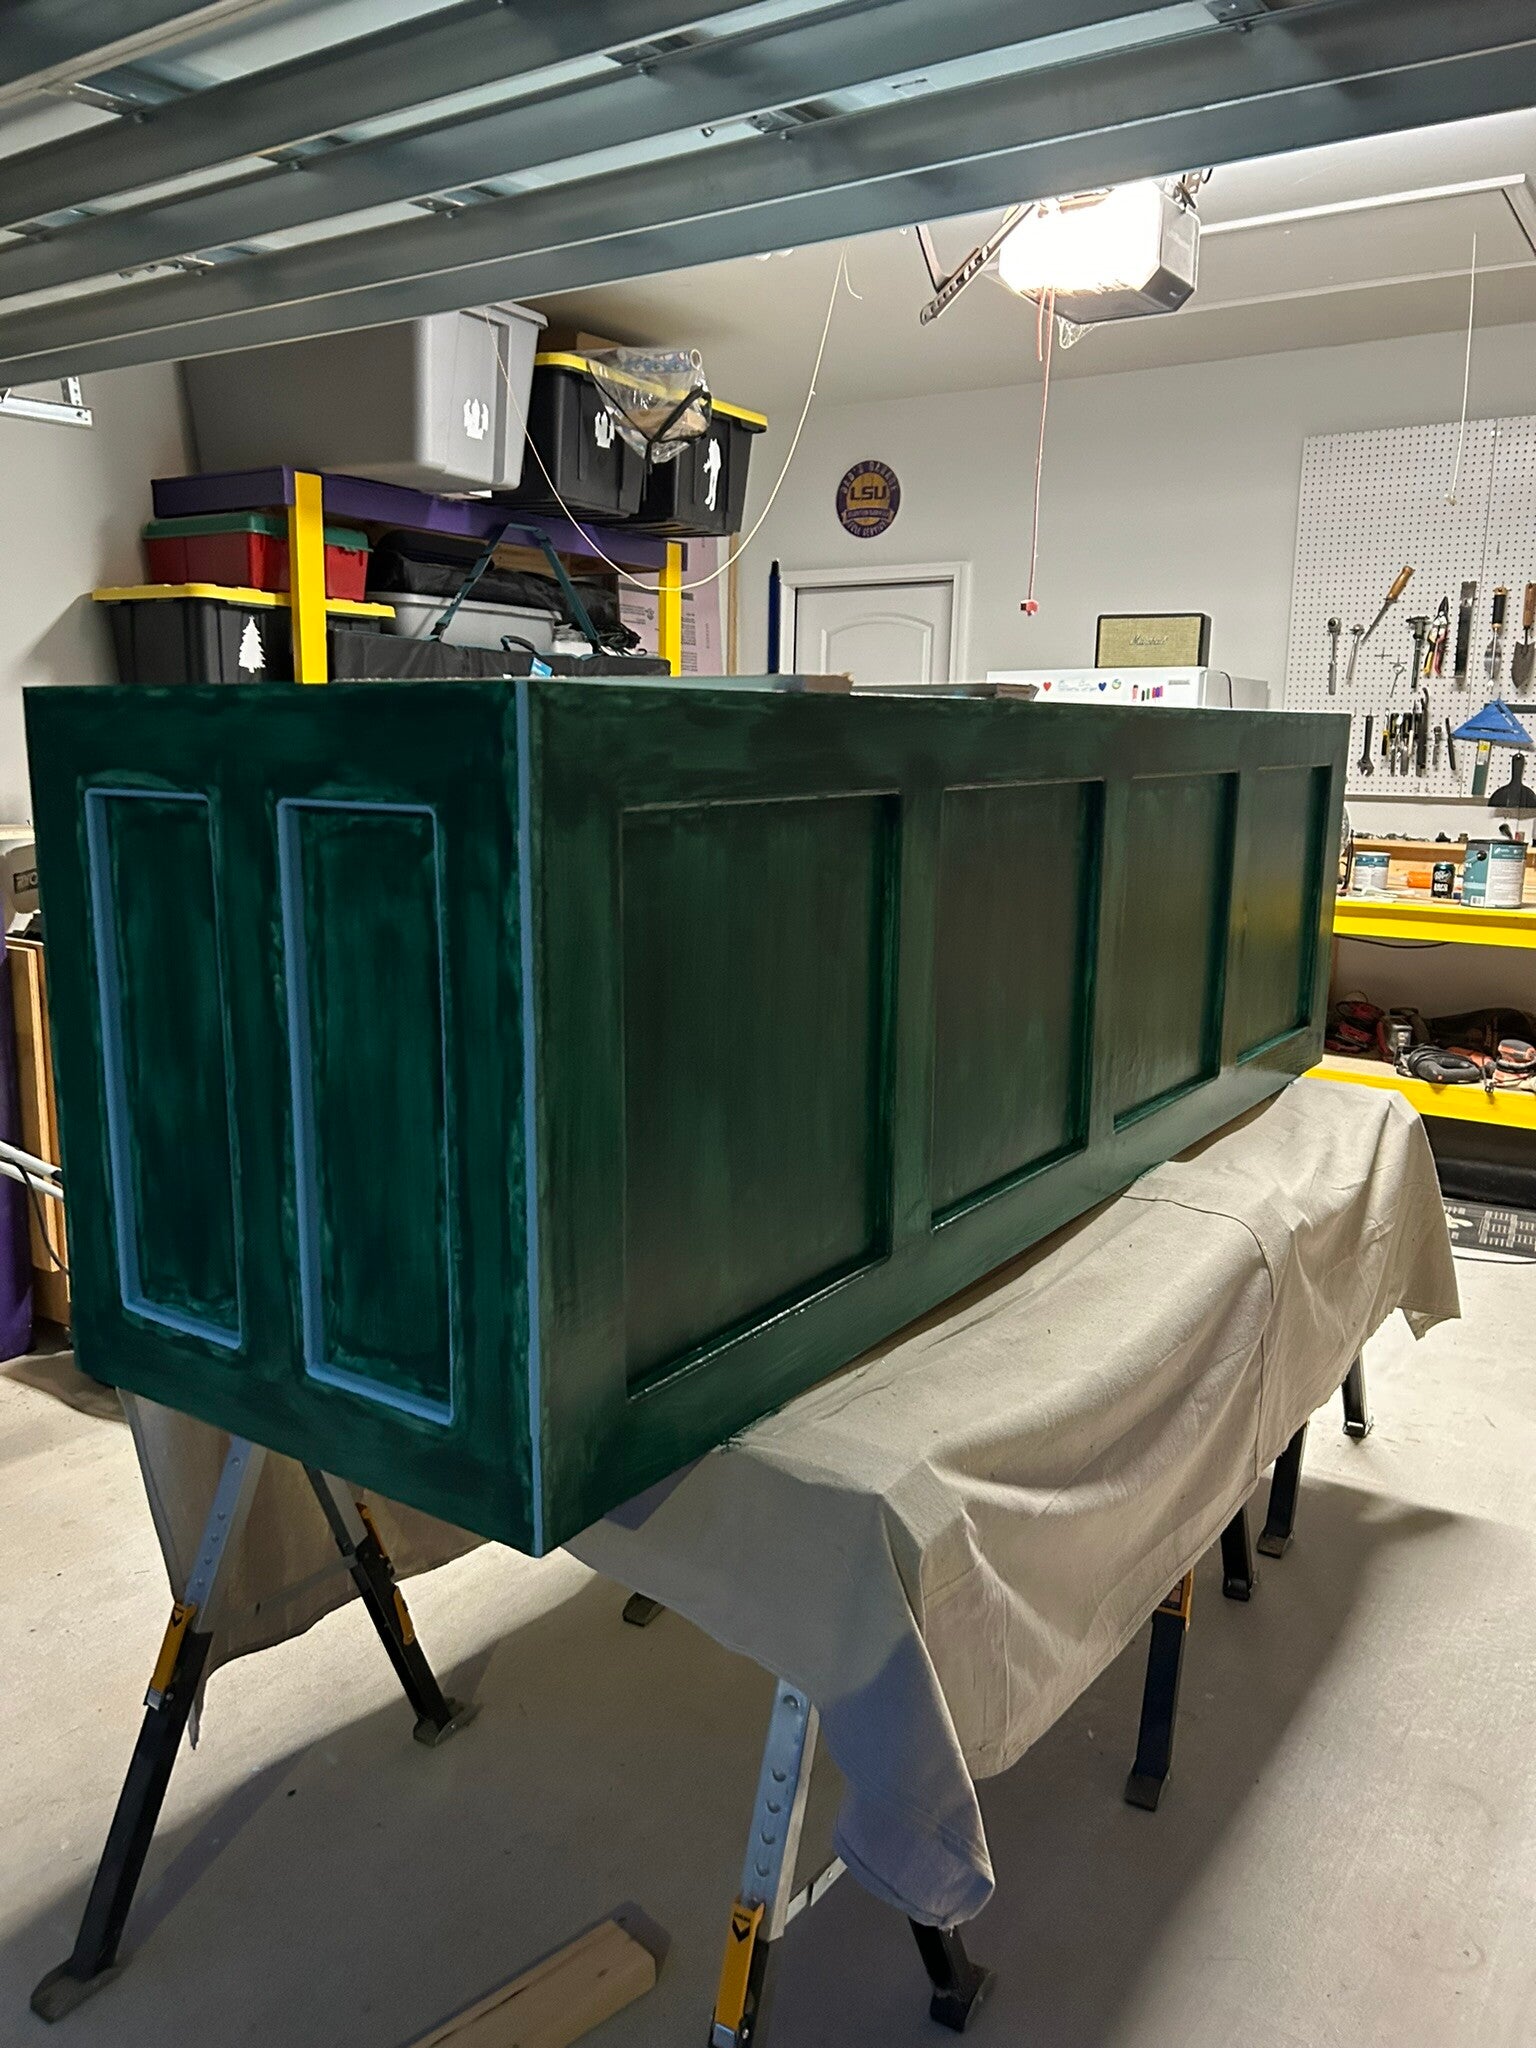
3rd coat
14 Aug 24
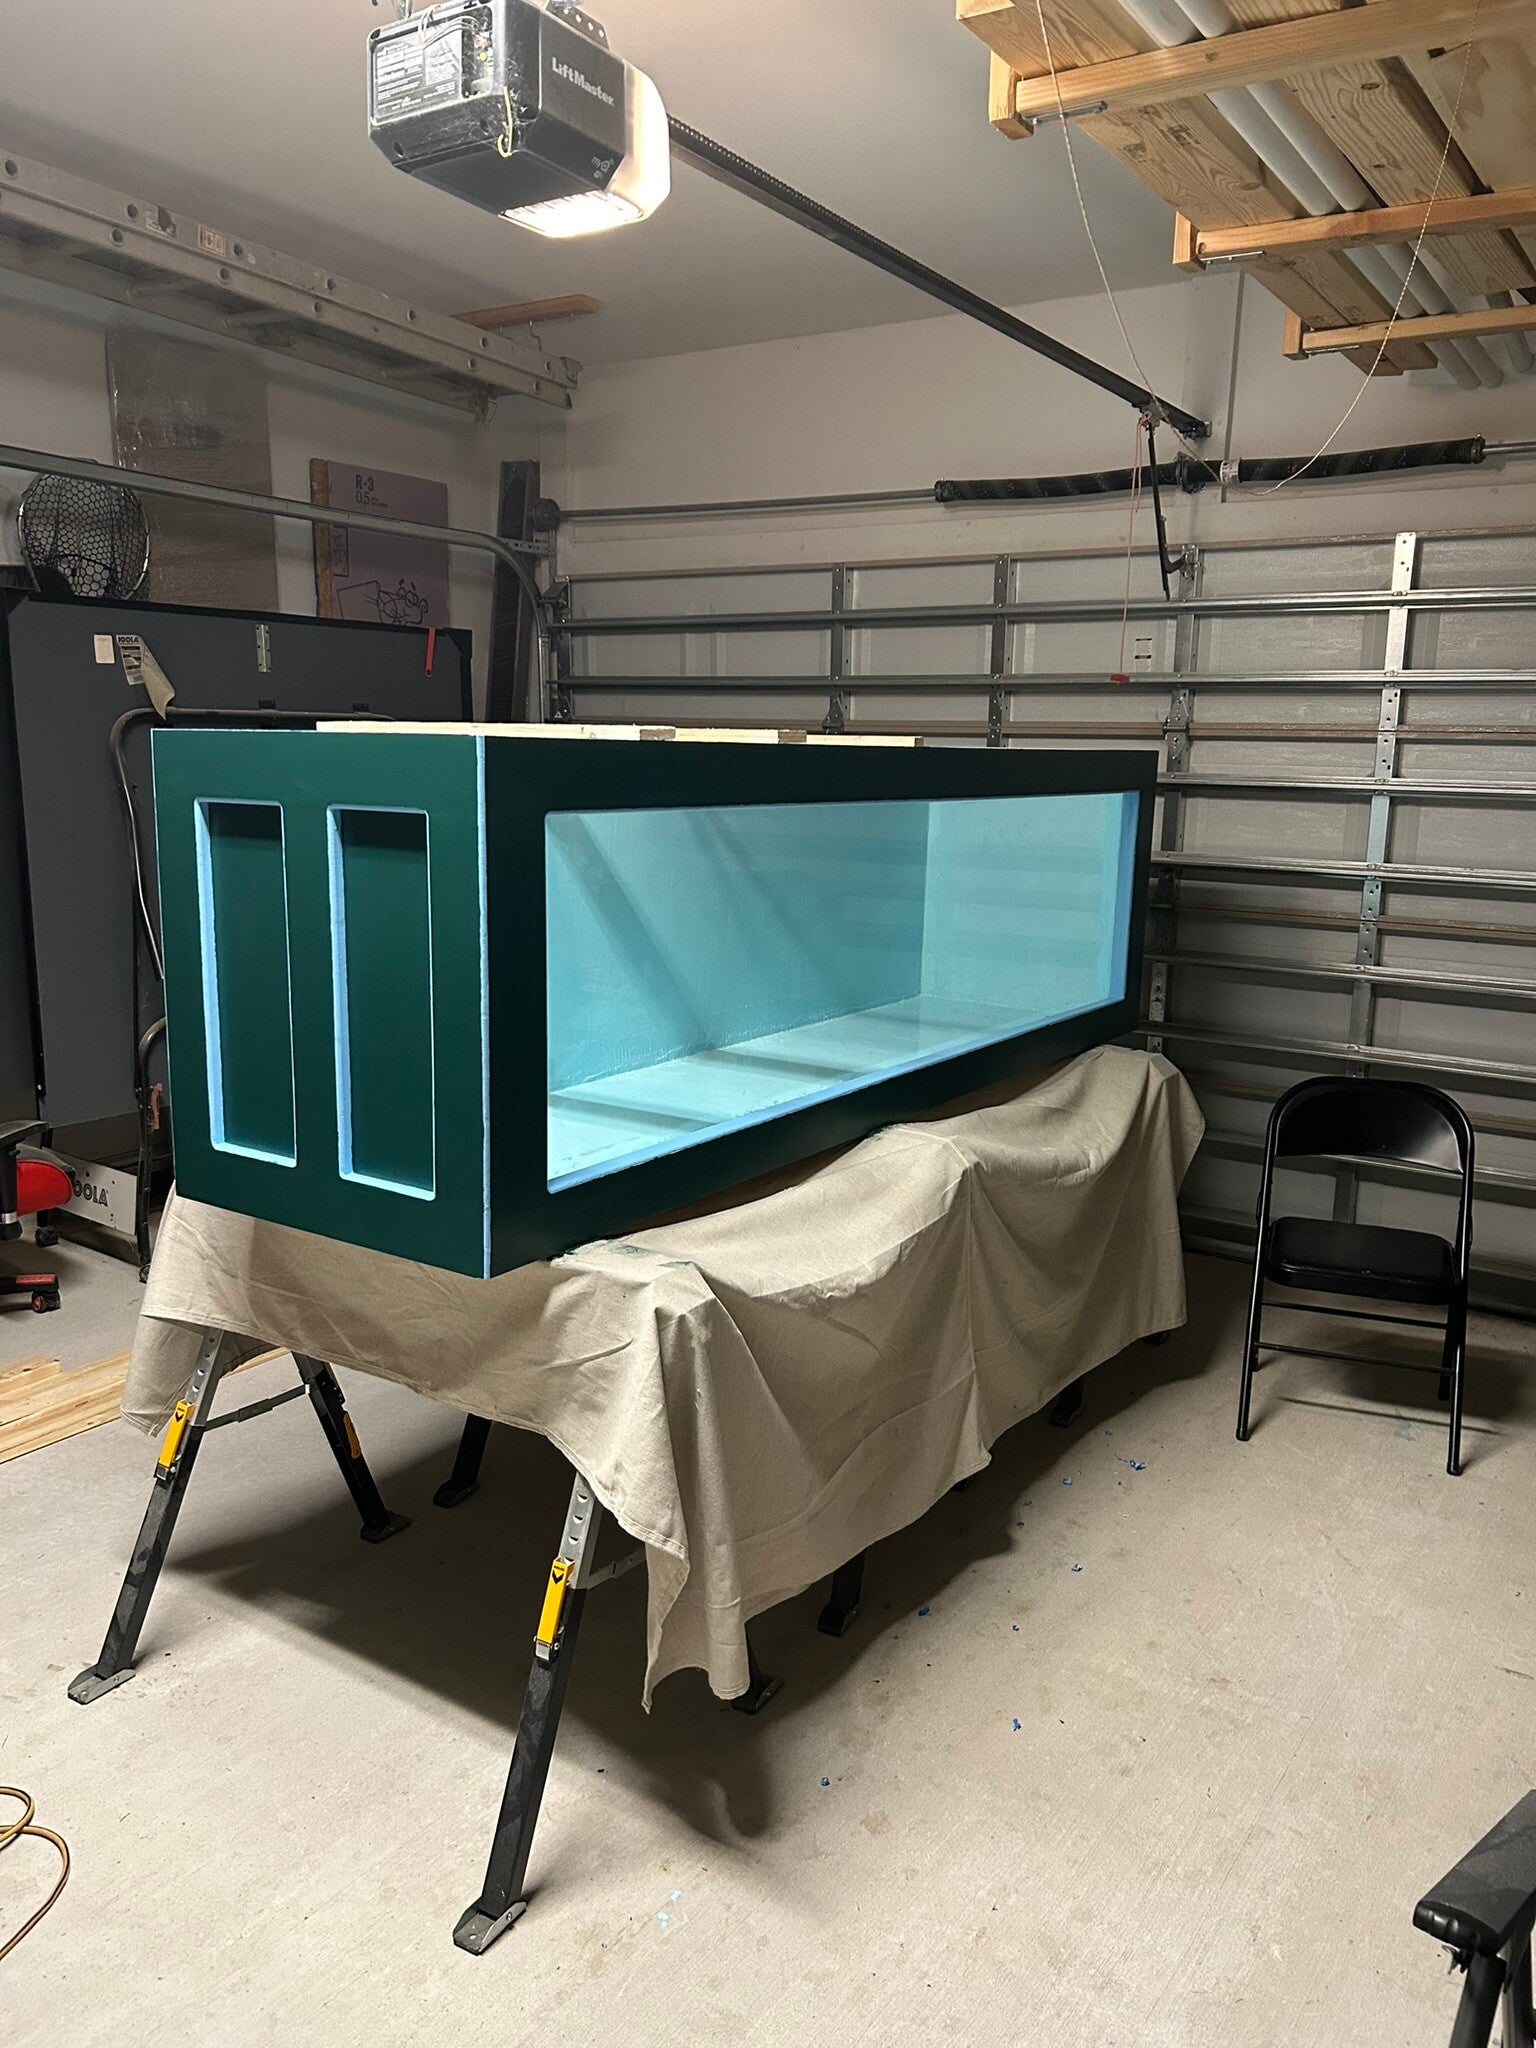
14 Aug 24
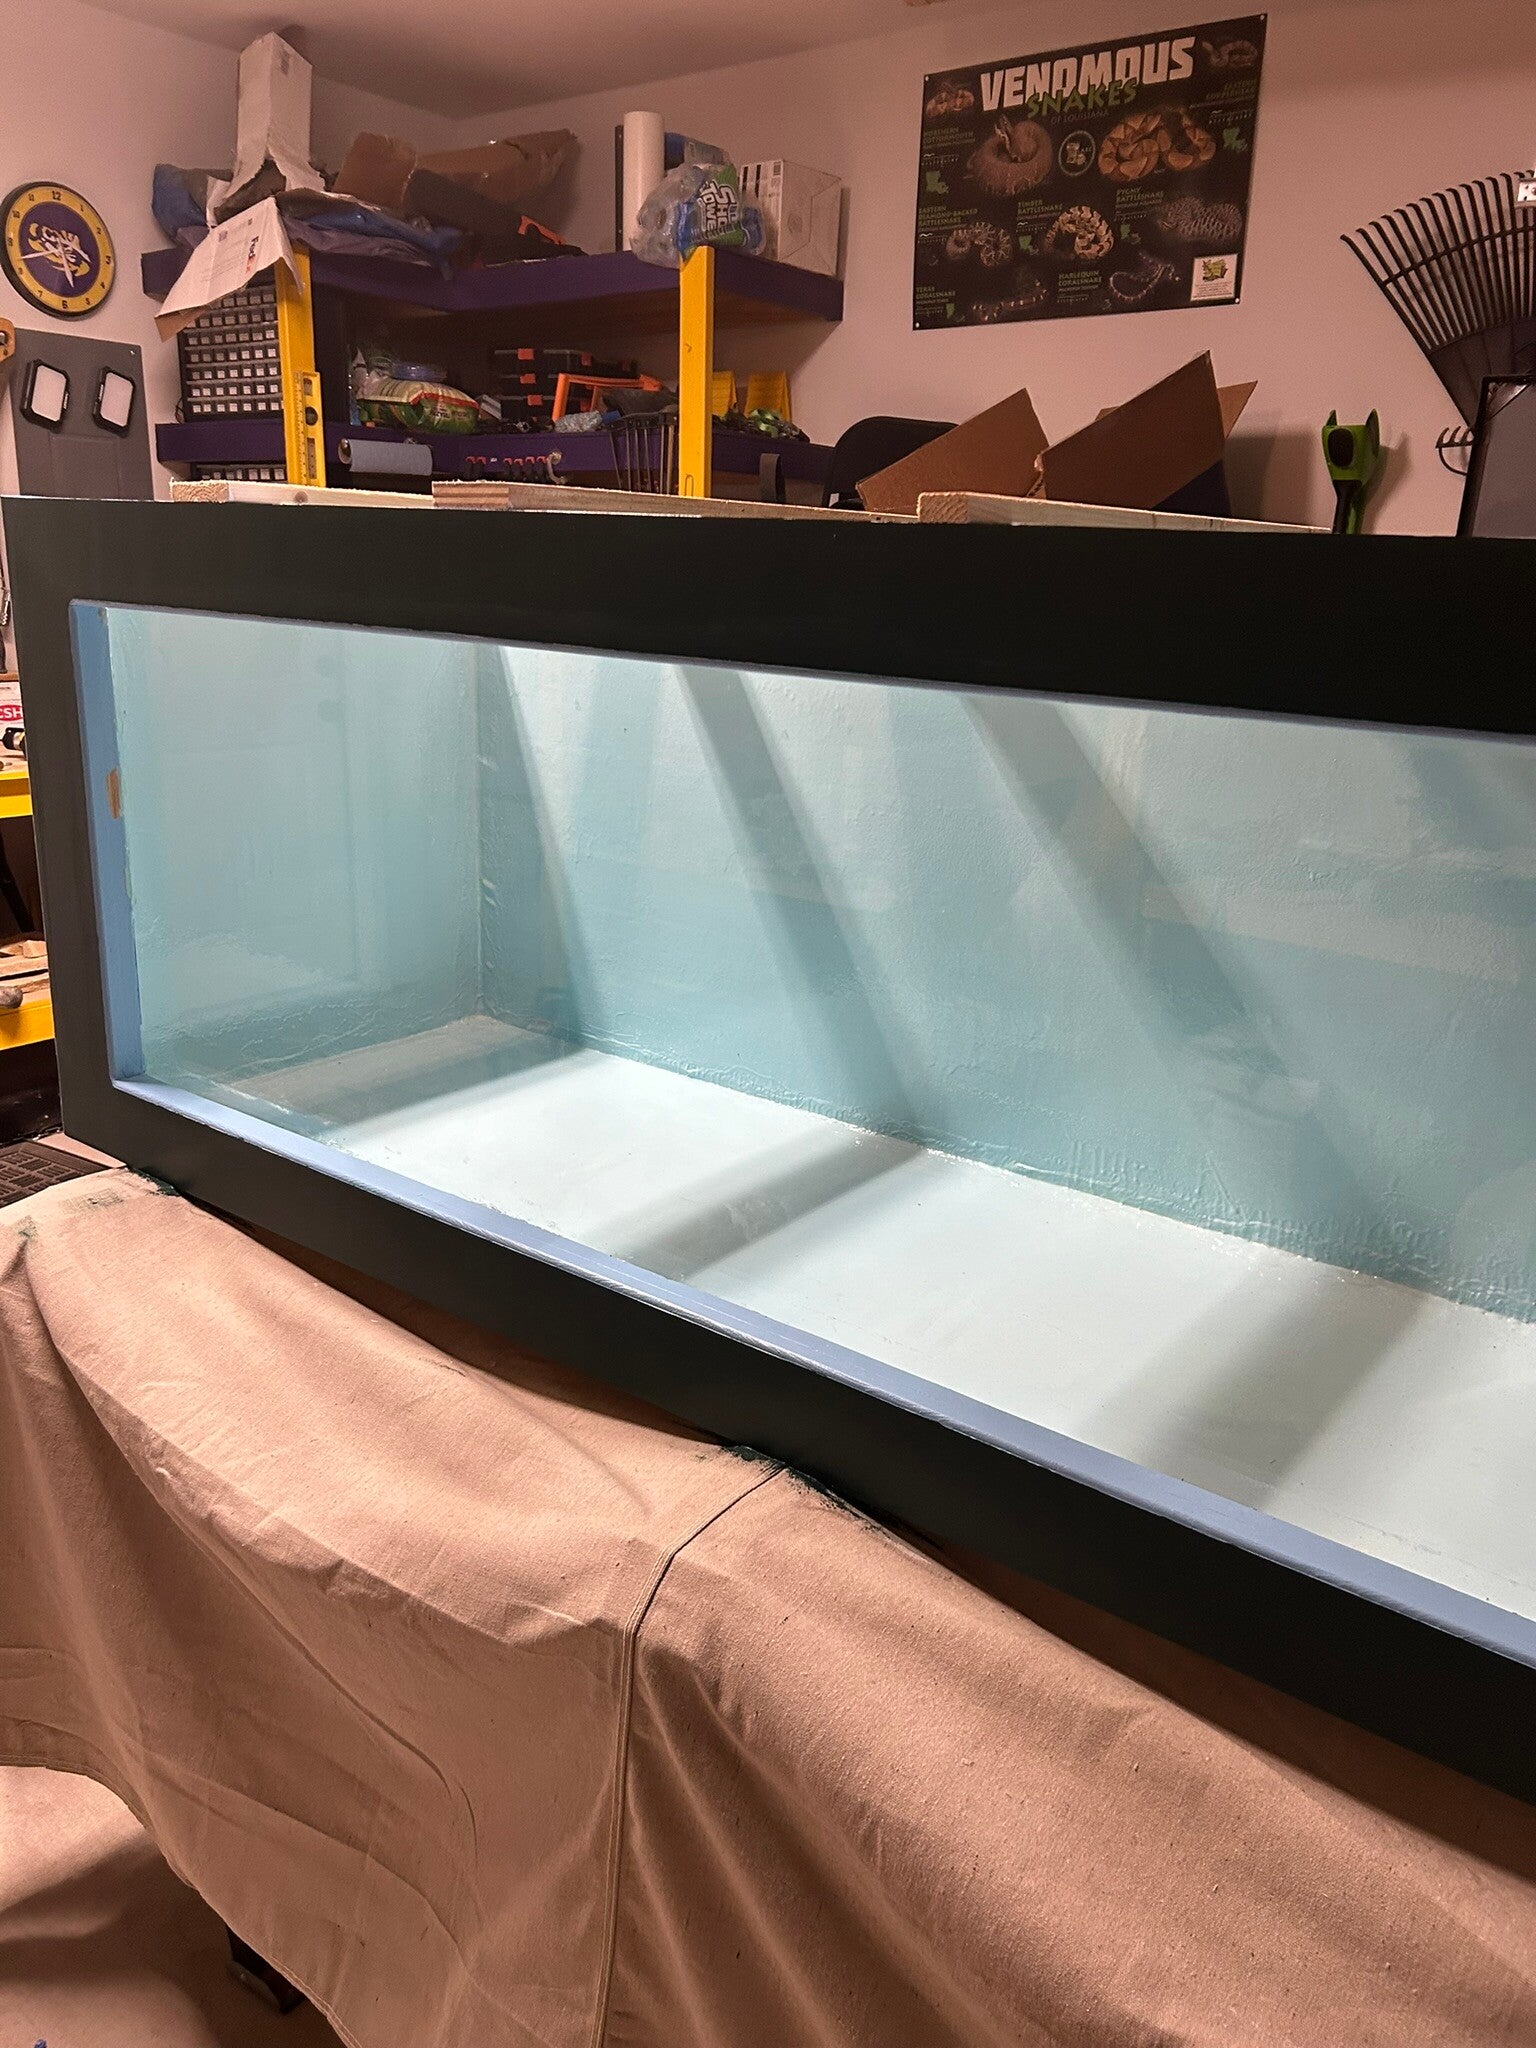
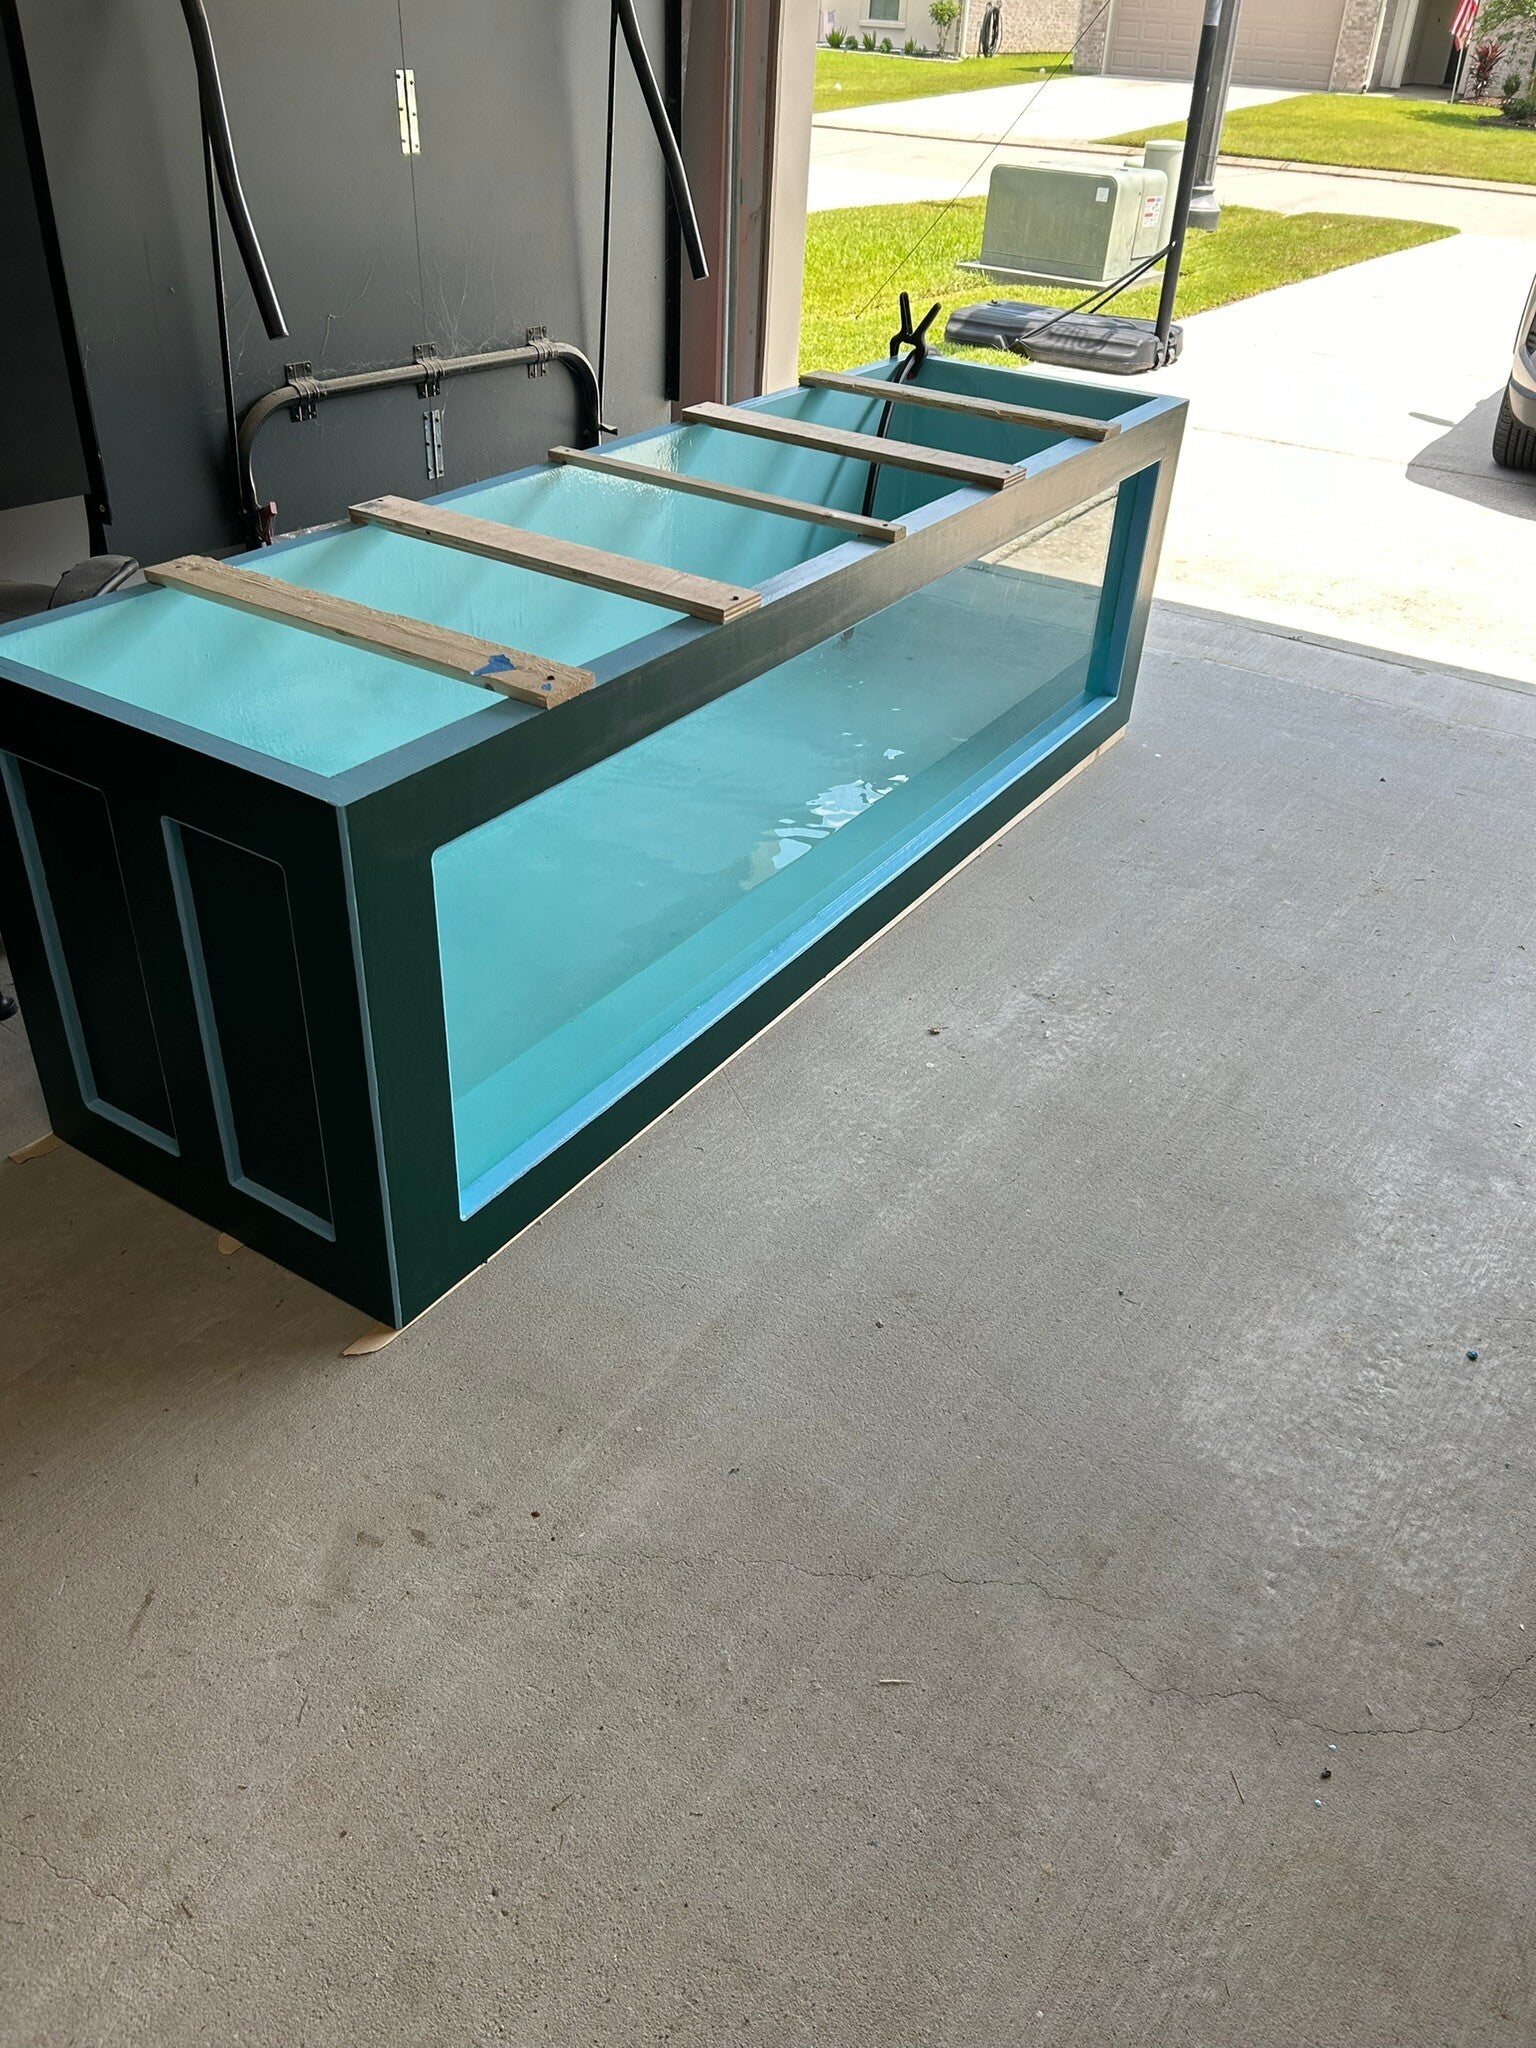
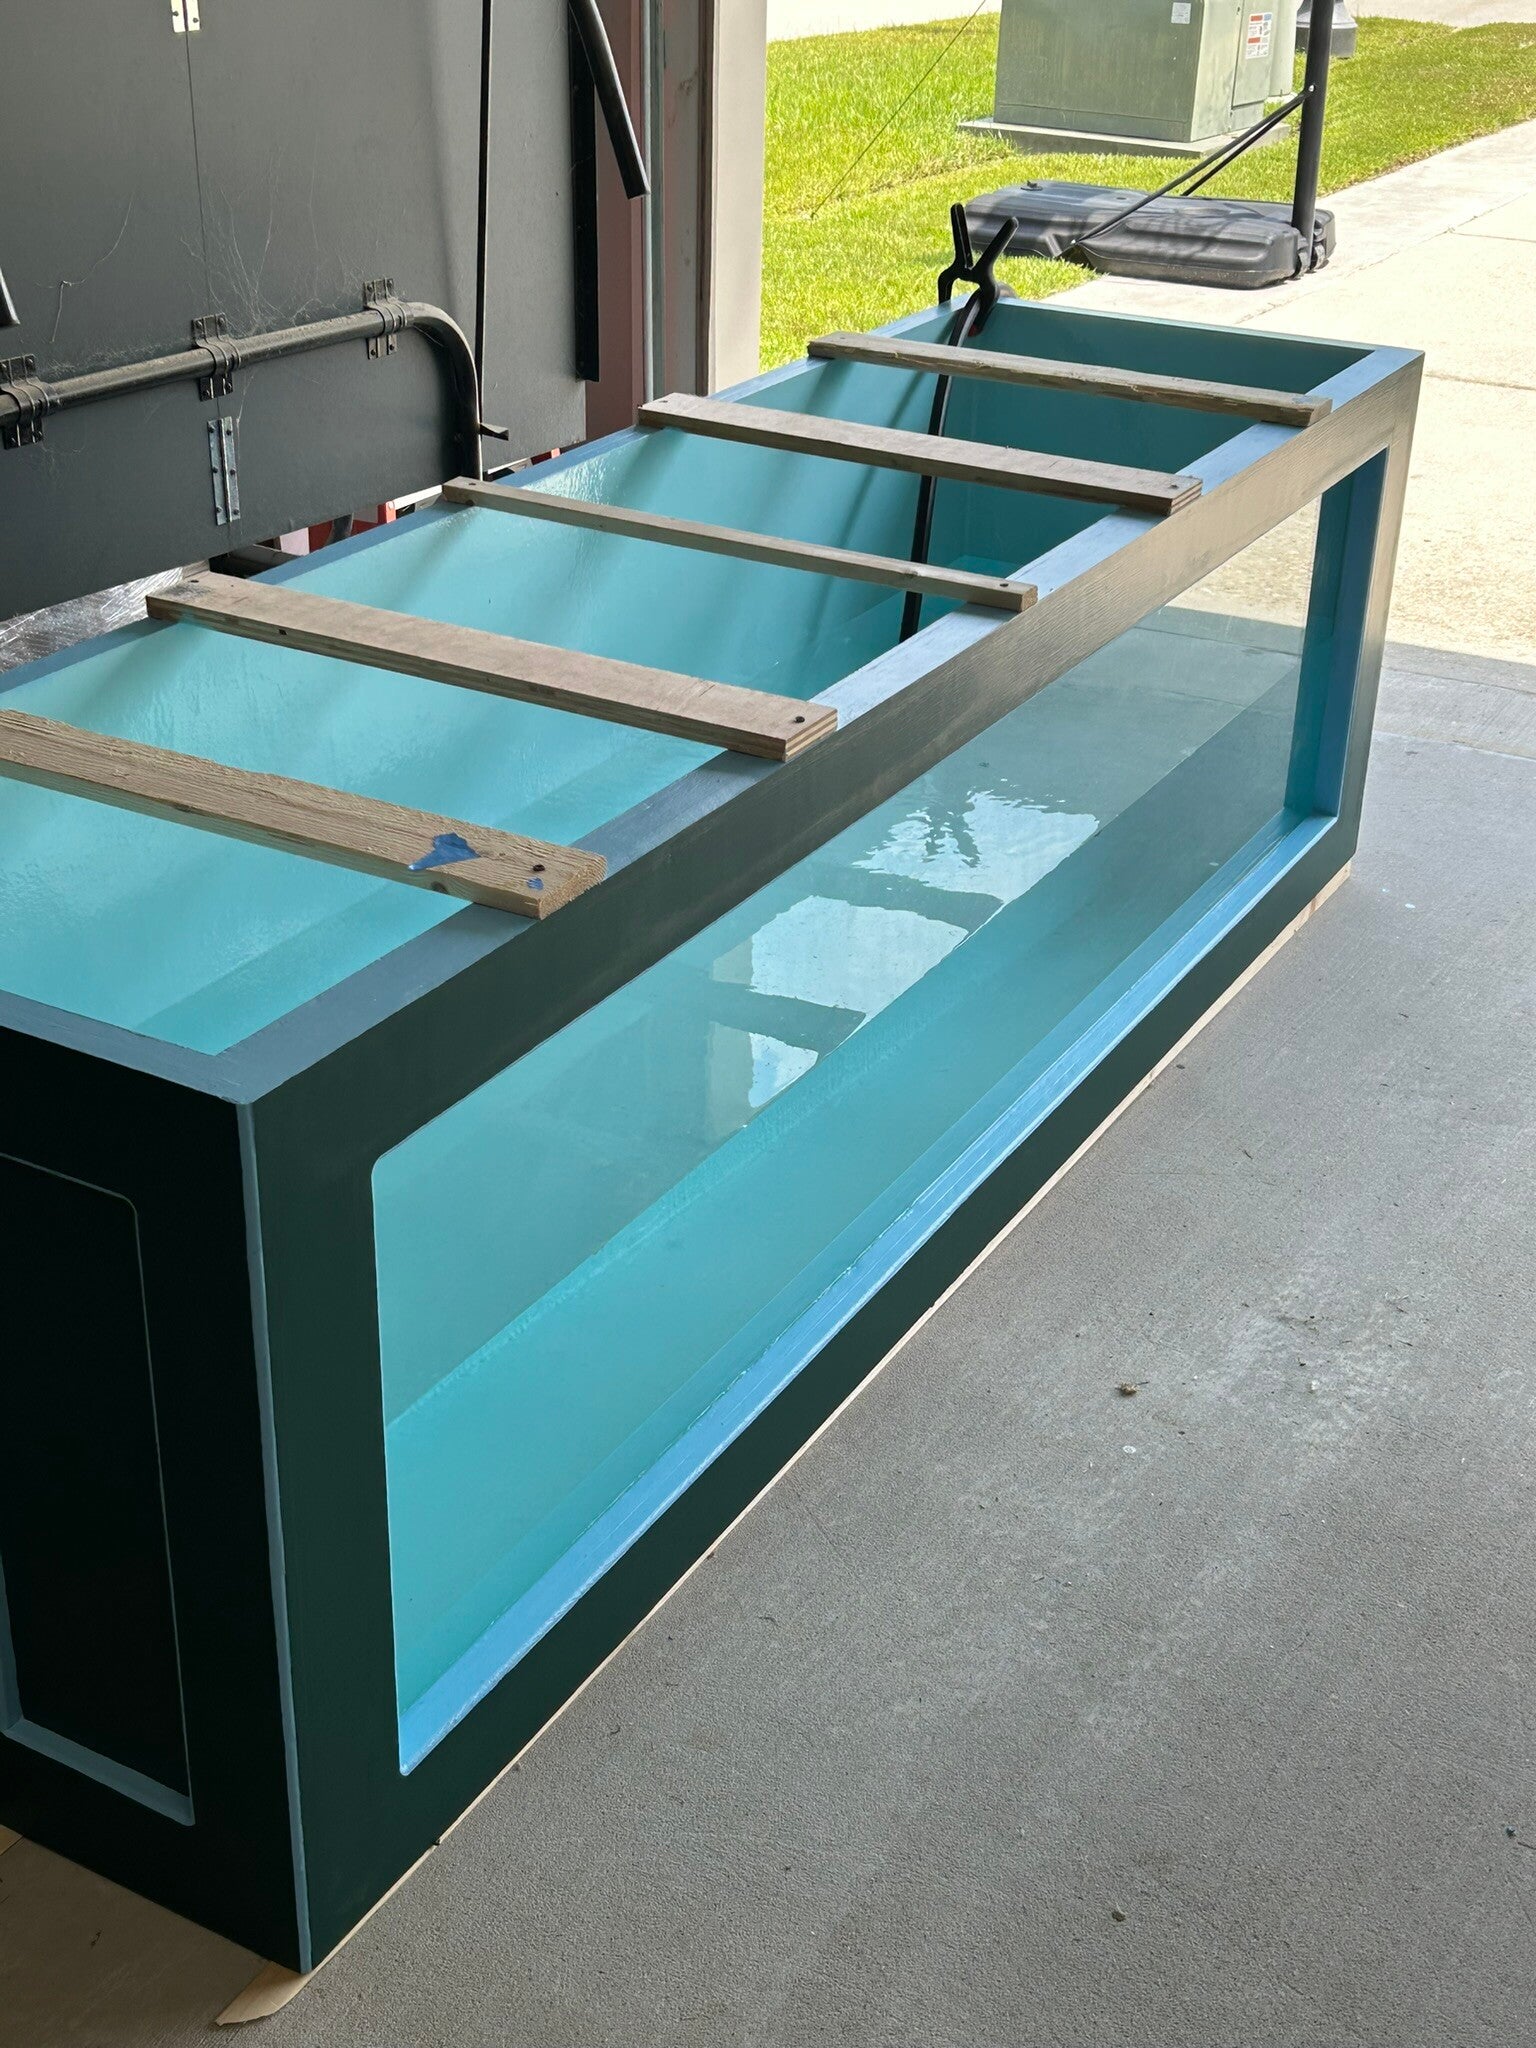
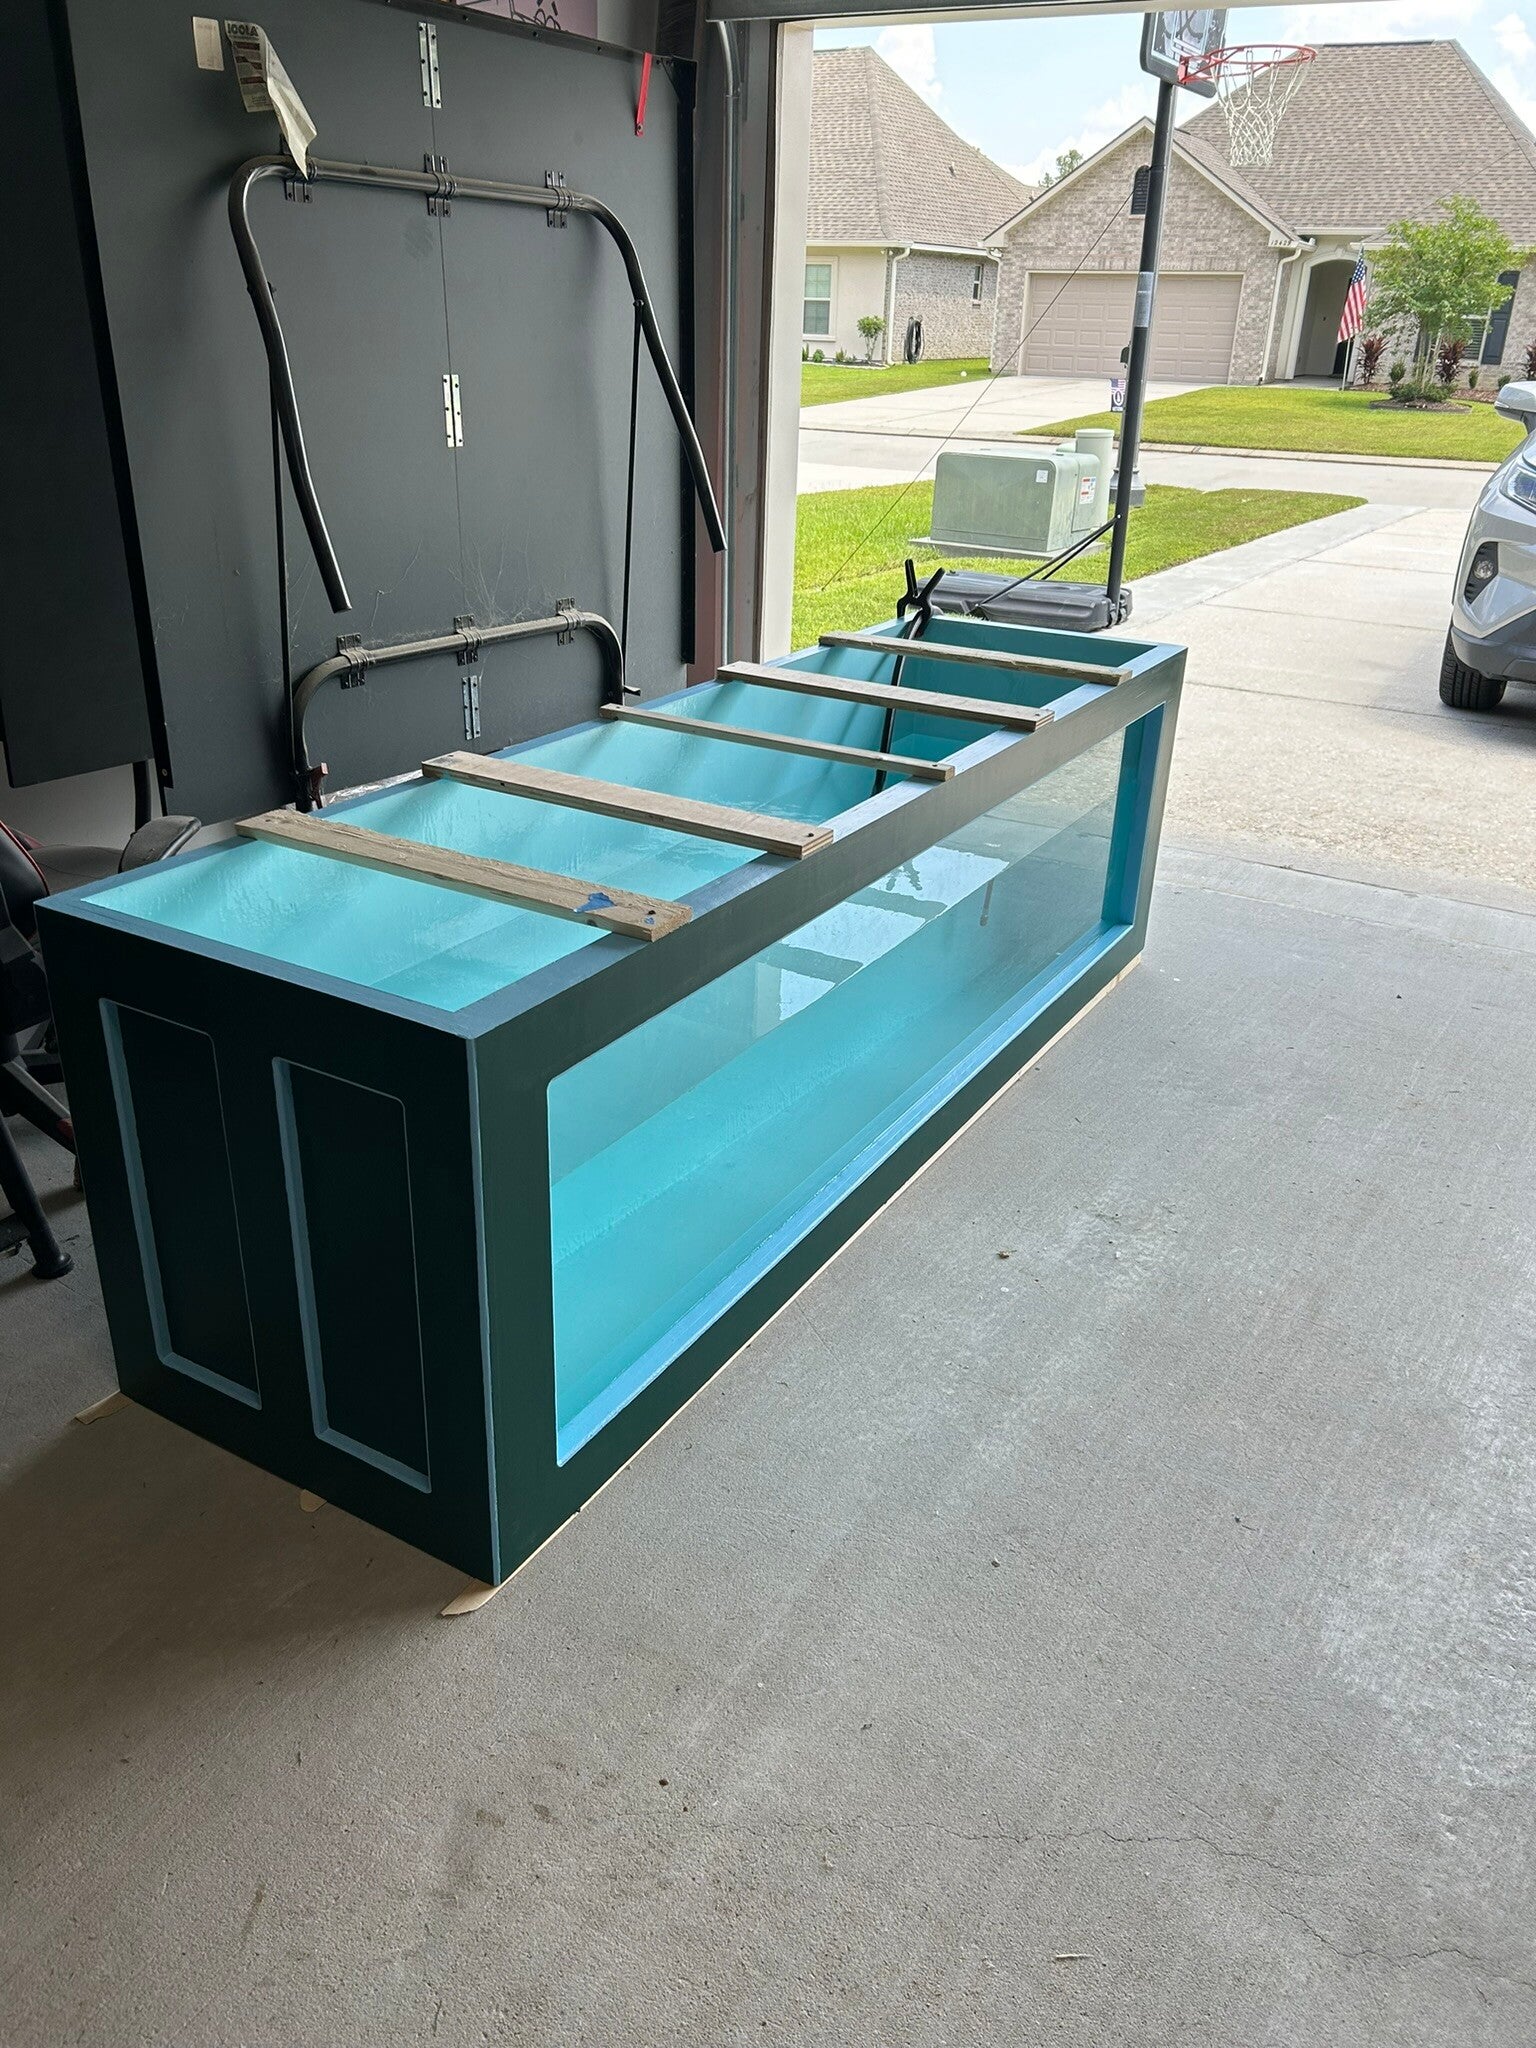
Retesting watertightness after I added more caulk.
17 Aug 24
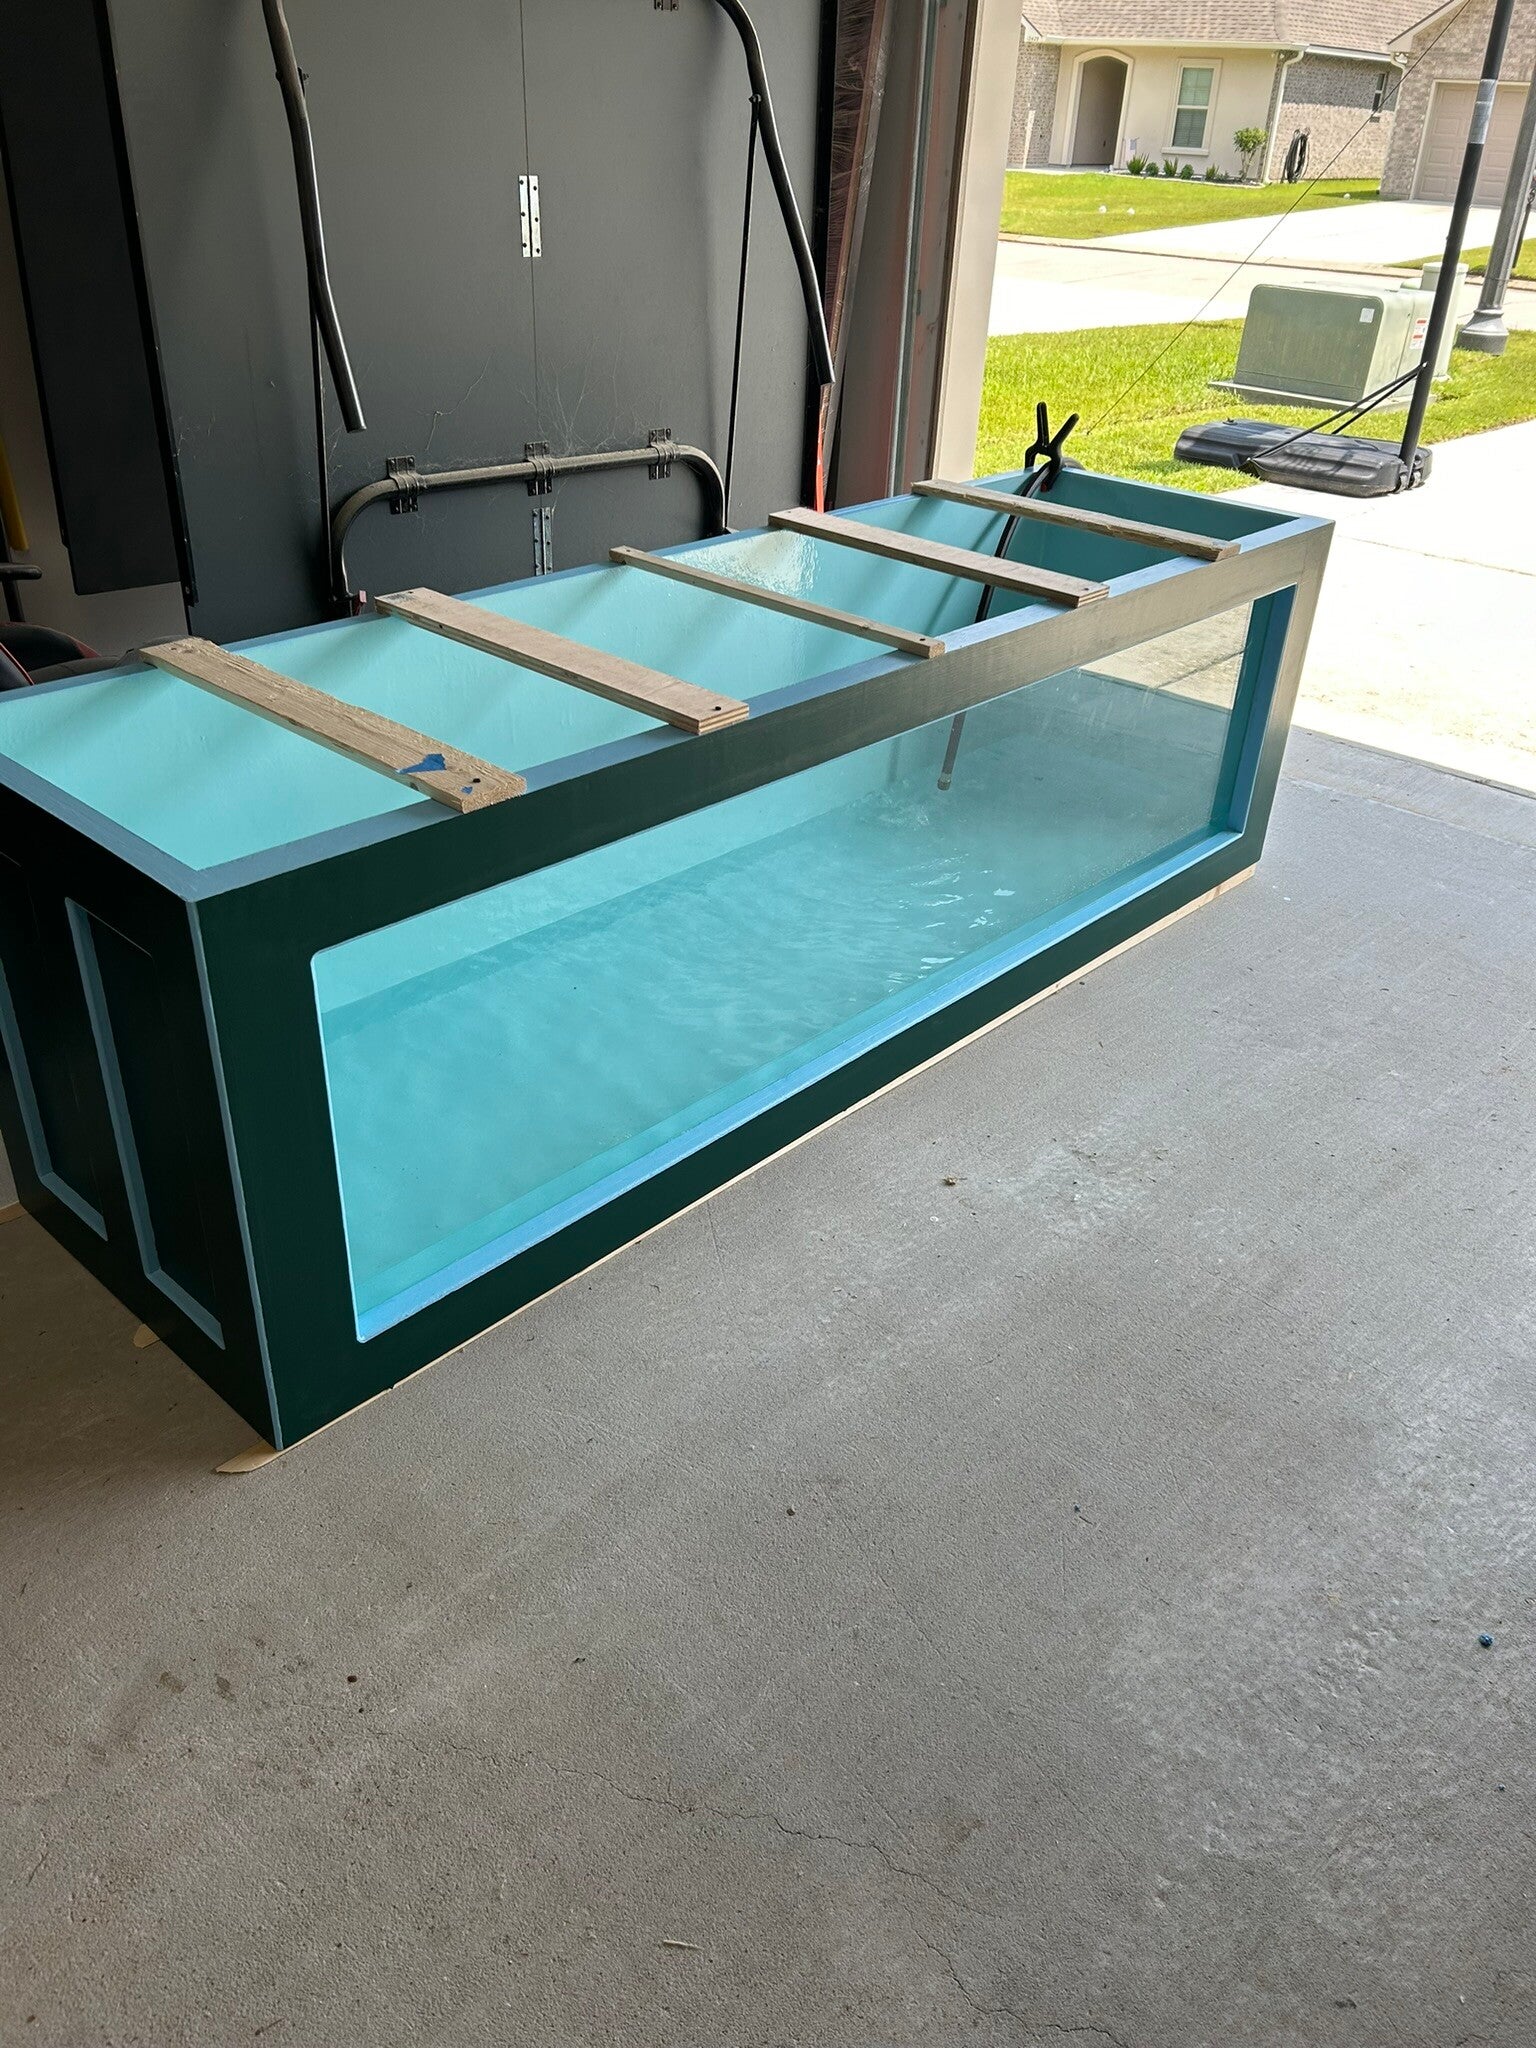
Adding more water a bit at a time and then letting it sit. This way if there is a leak I know here it is.
17 Aug 24
17 Aug 24
17 Aug 24
17 Aug 24
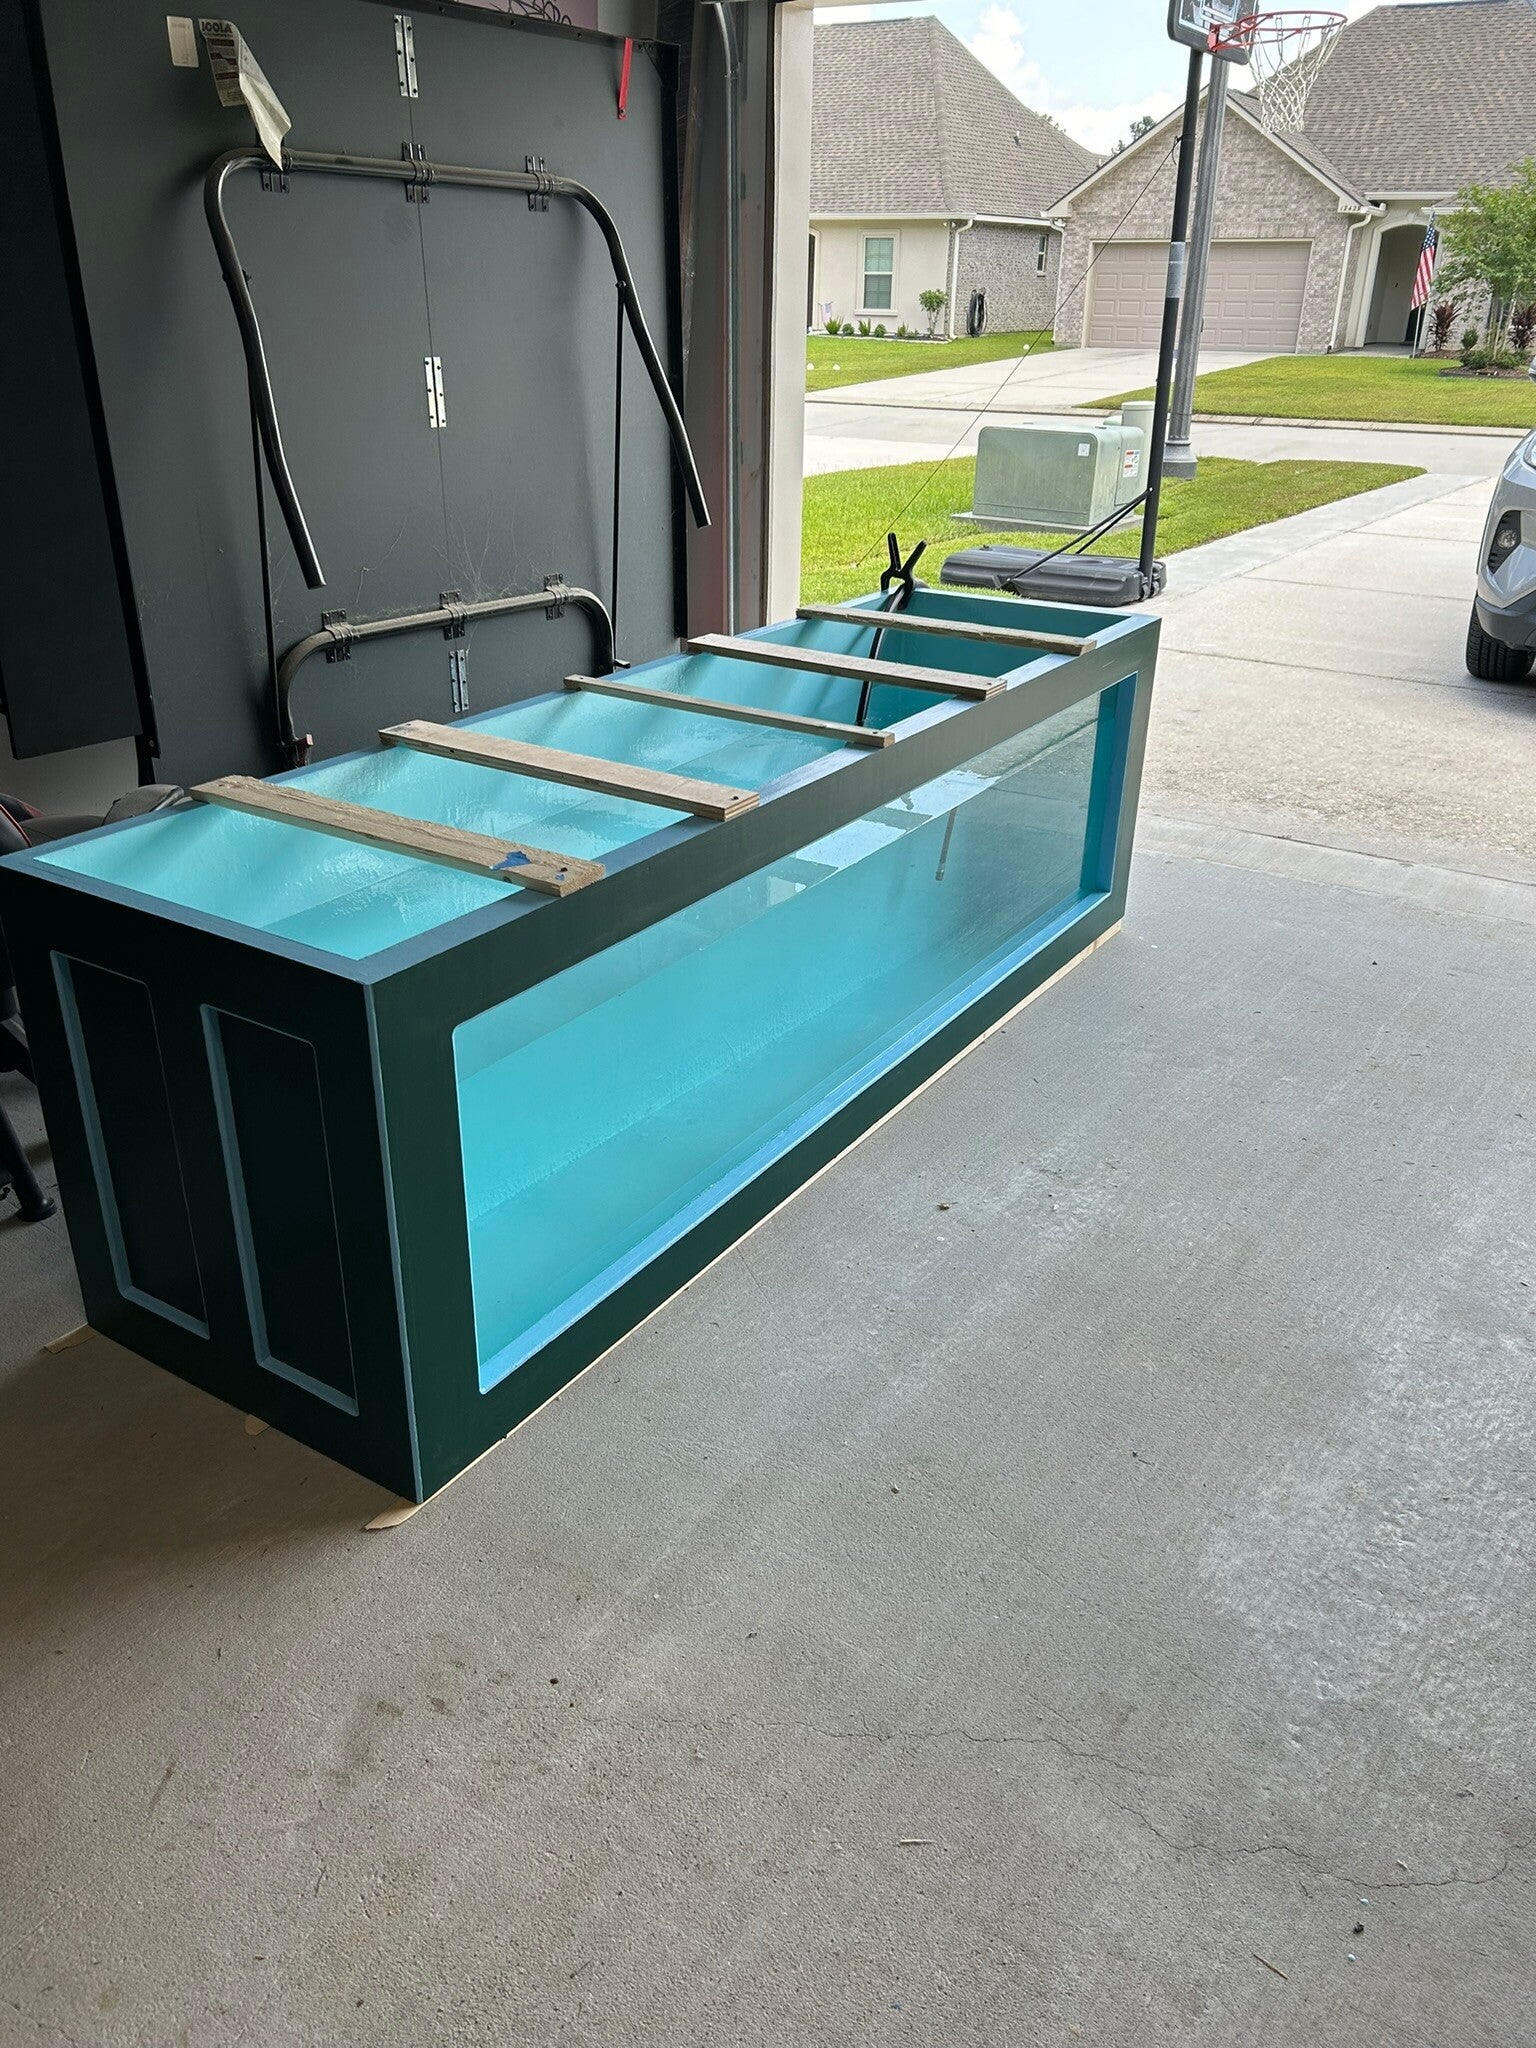
Success!
17 Aug 24
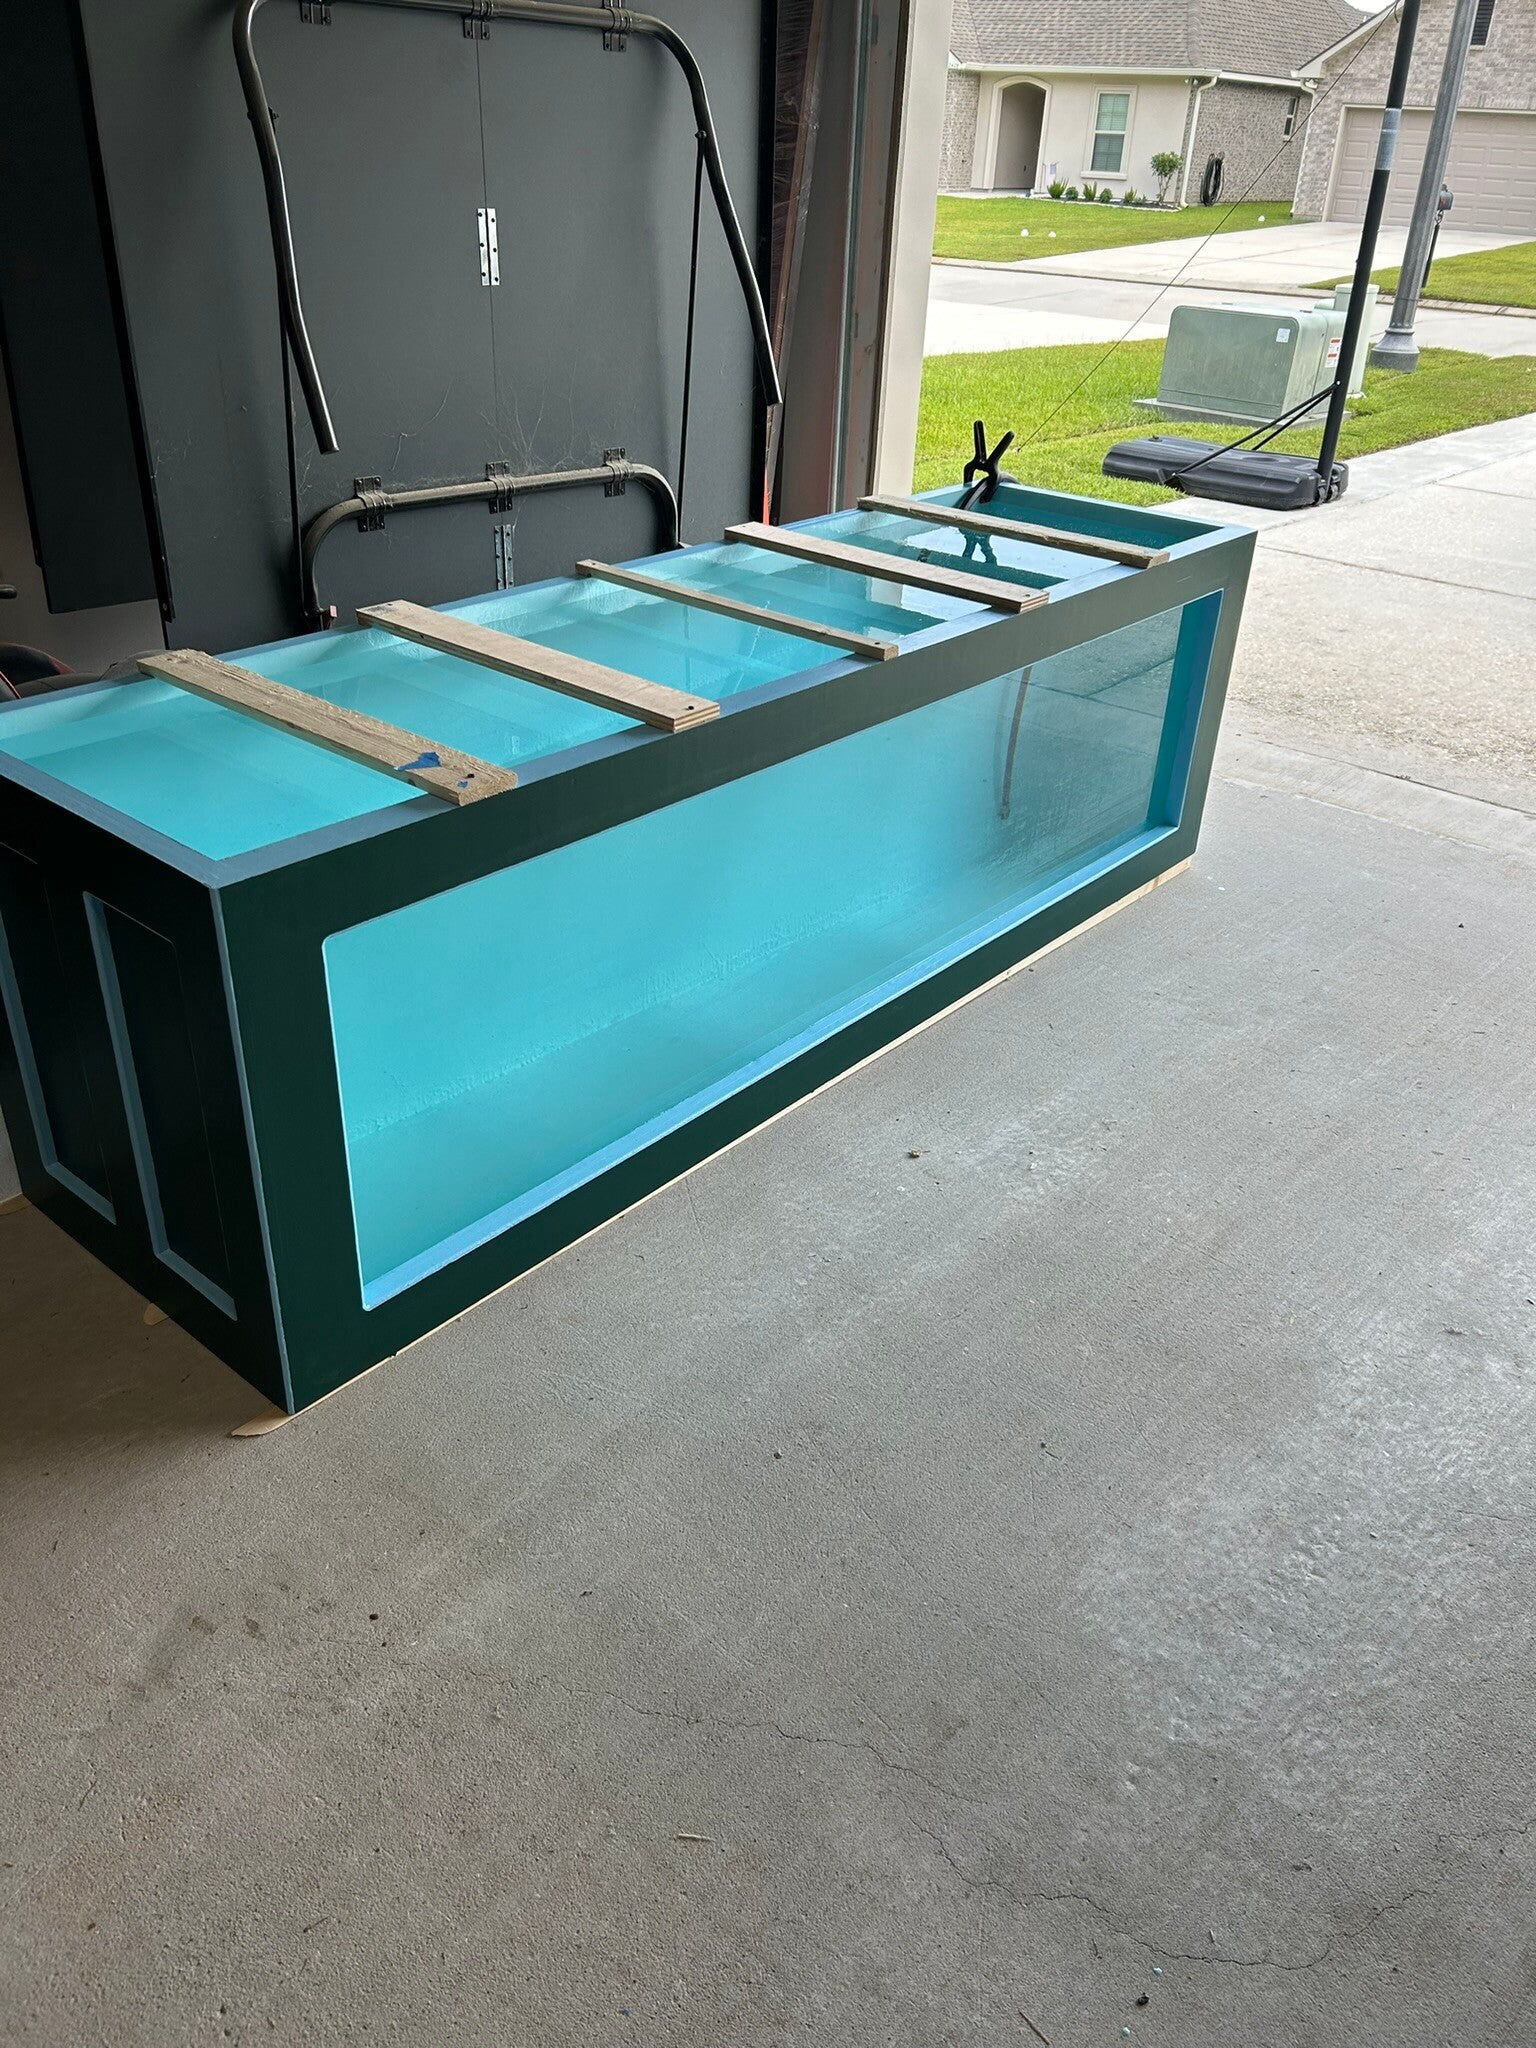
I had to help move the aquarium. Mason is still scarred from all the names I called during the process.
18 Aug 24
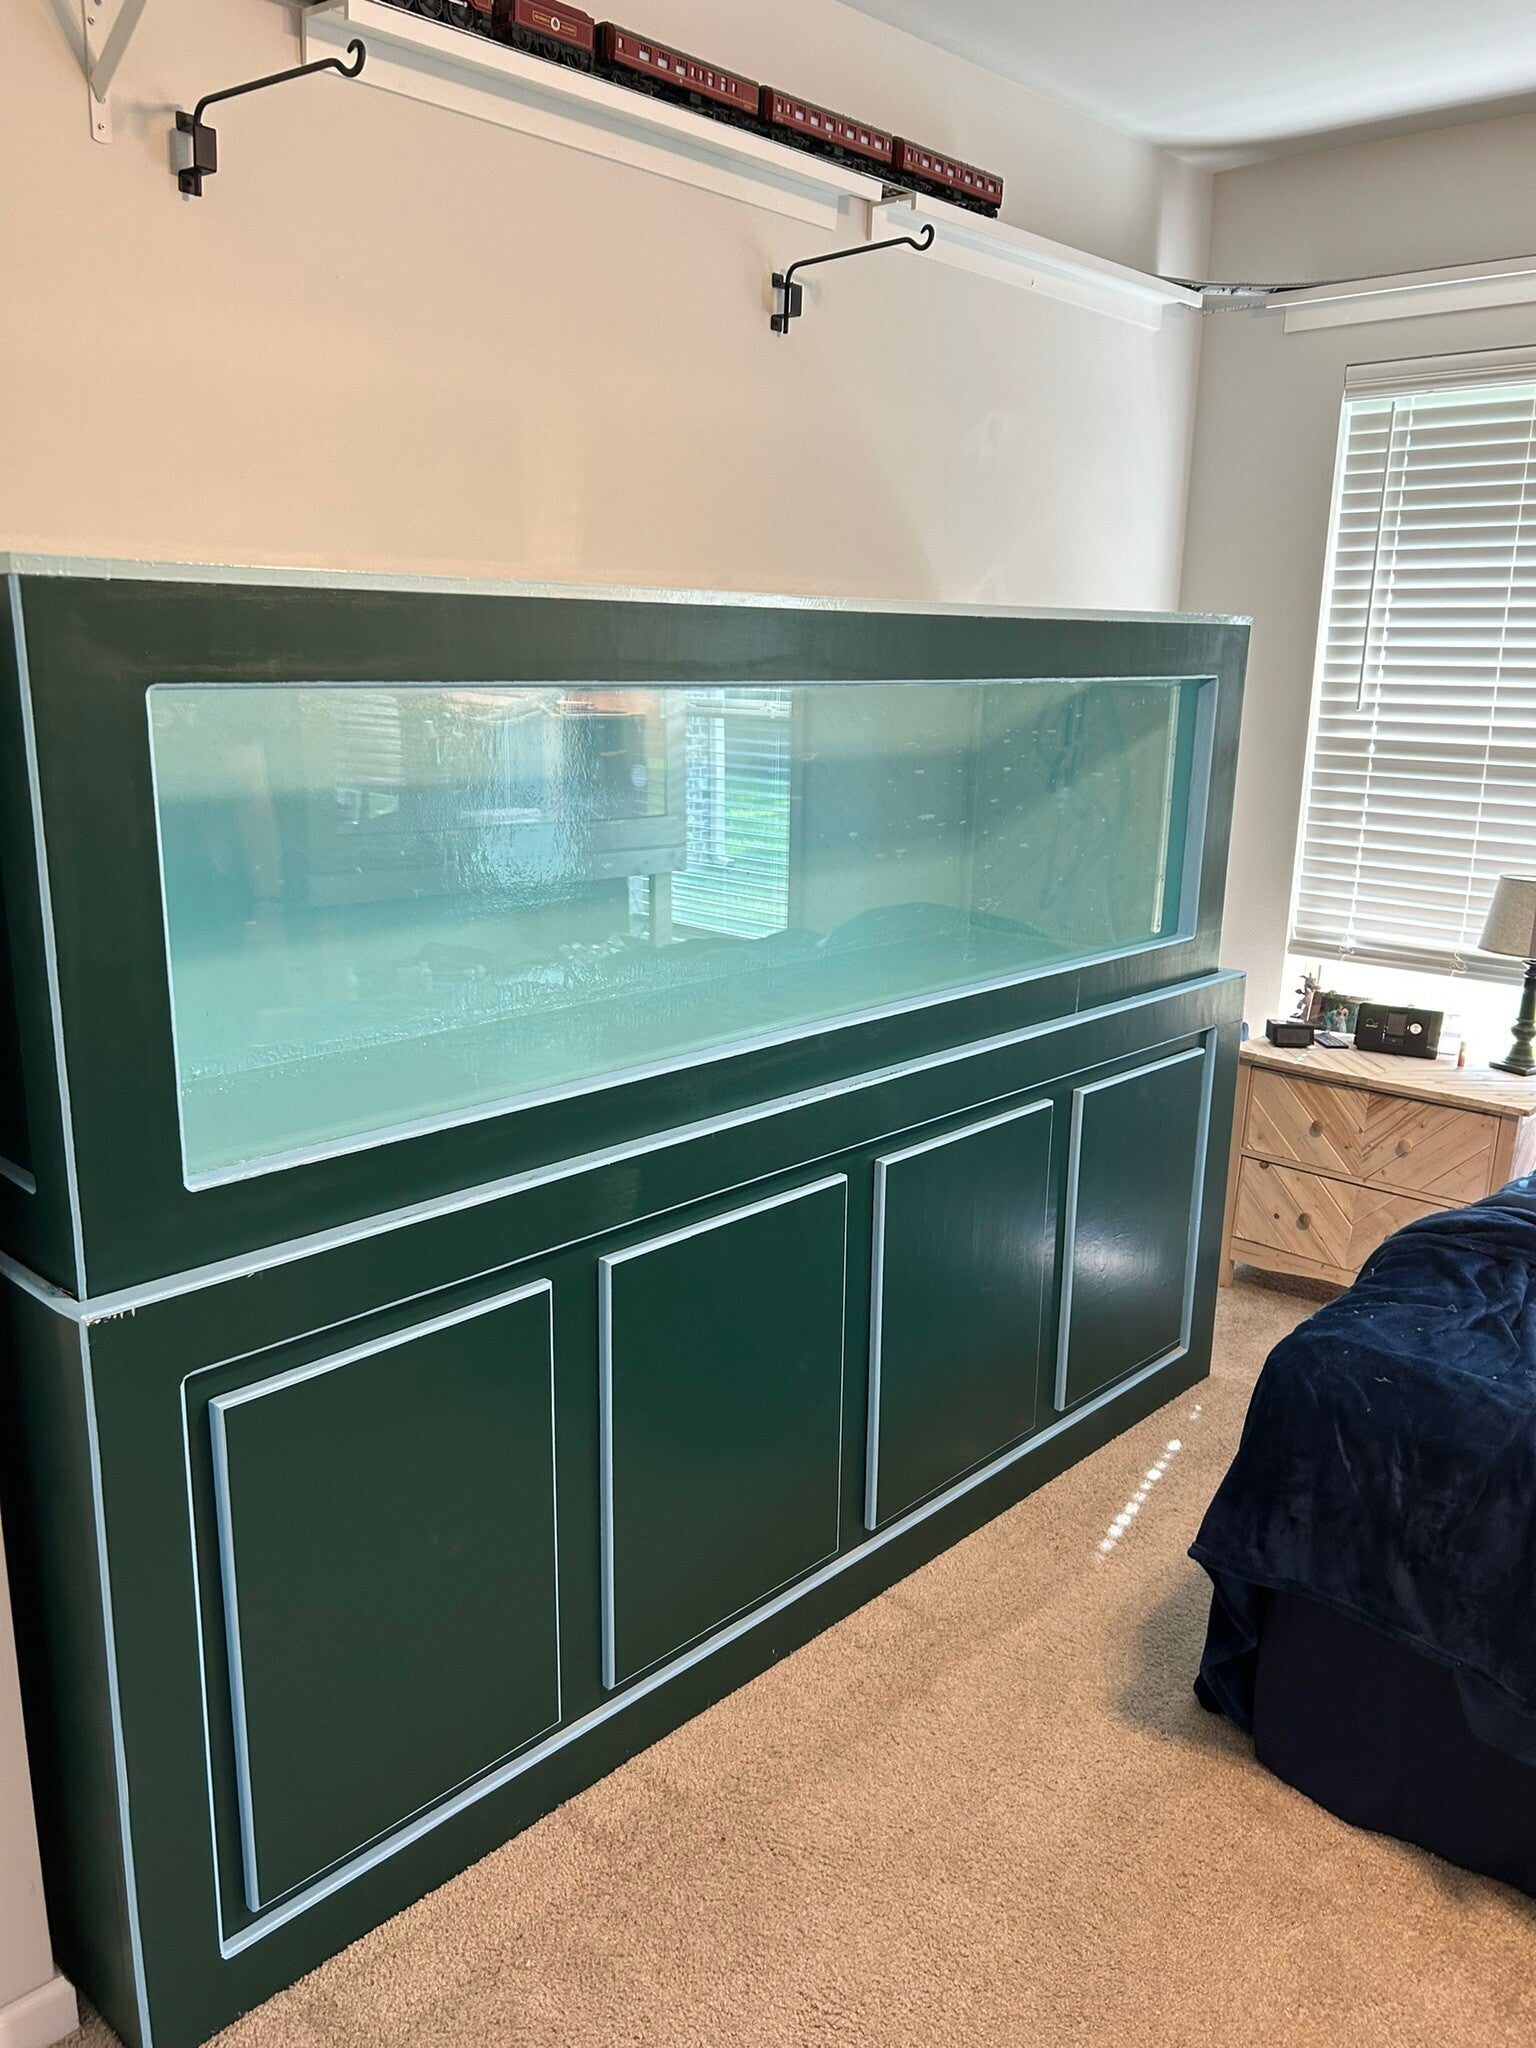
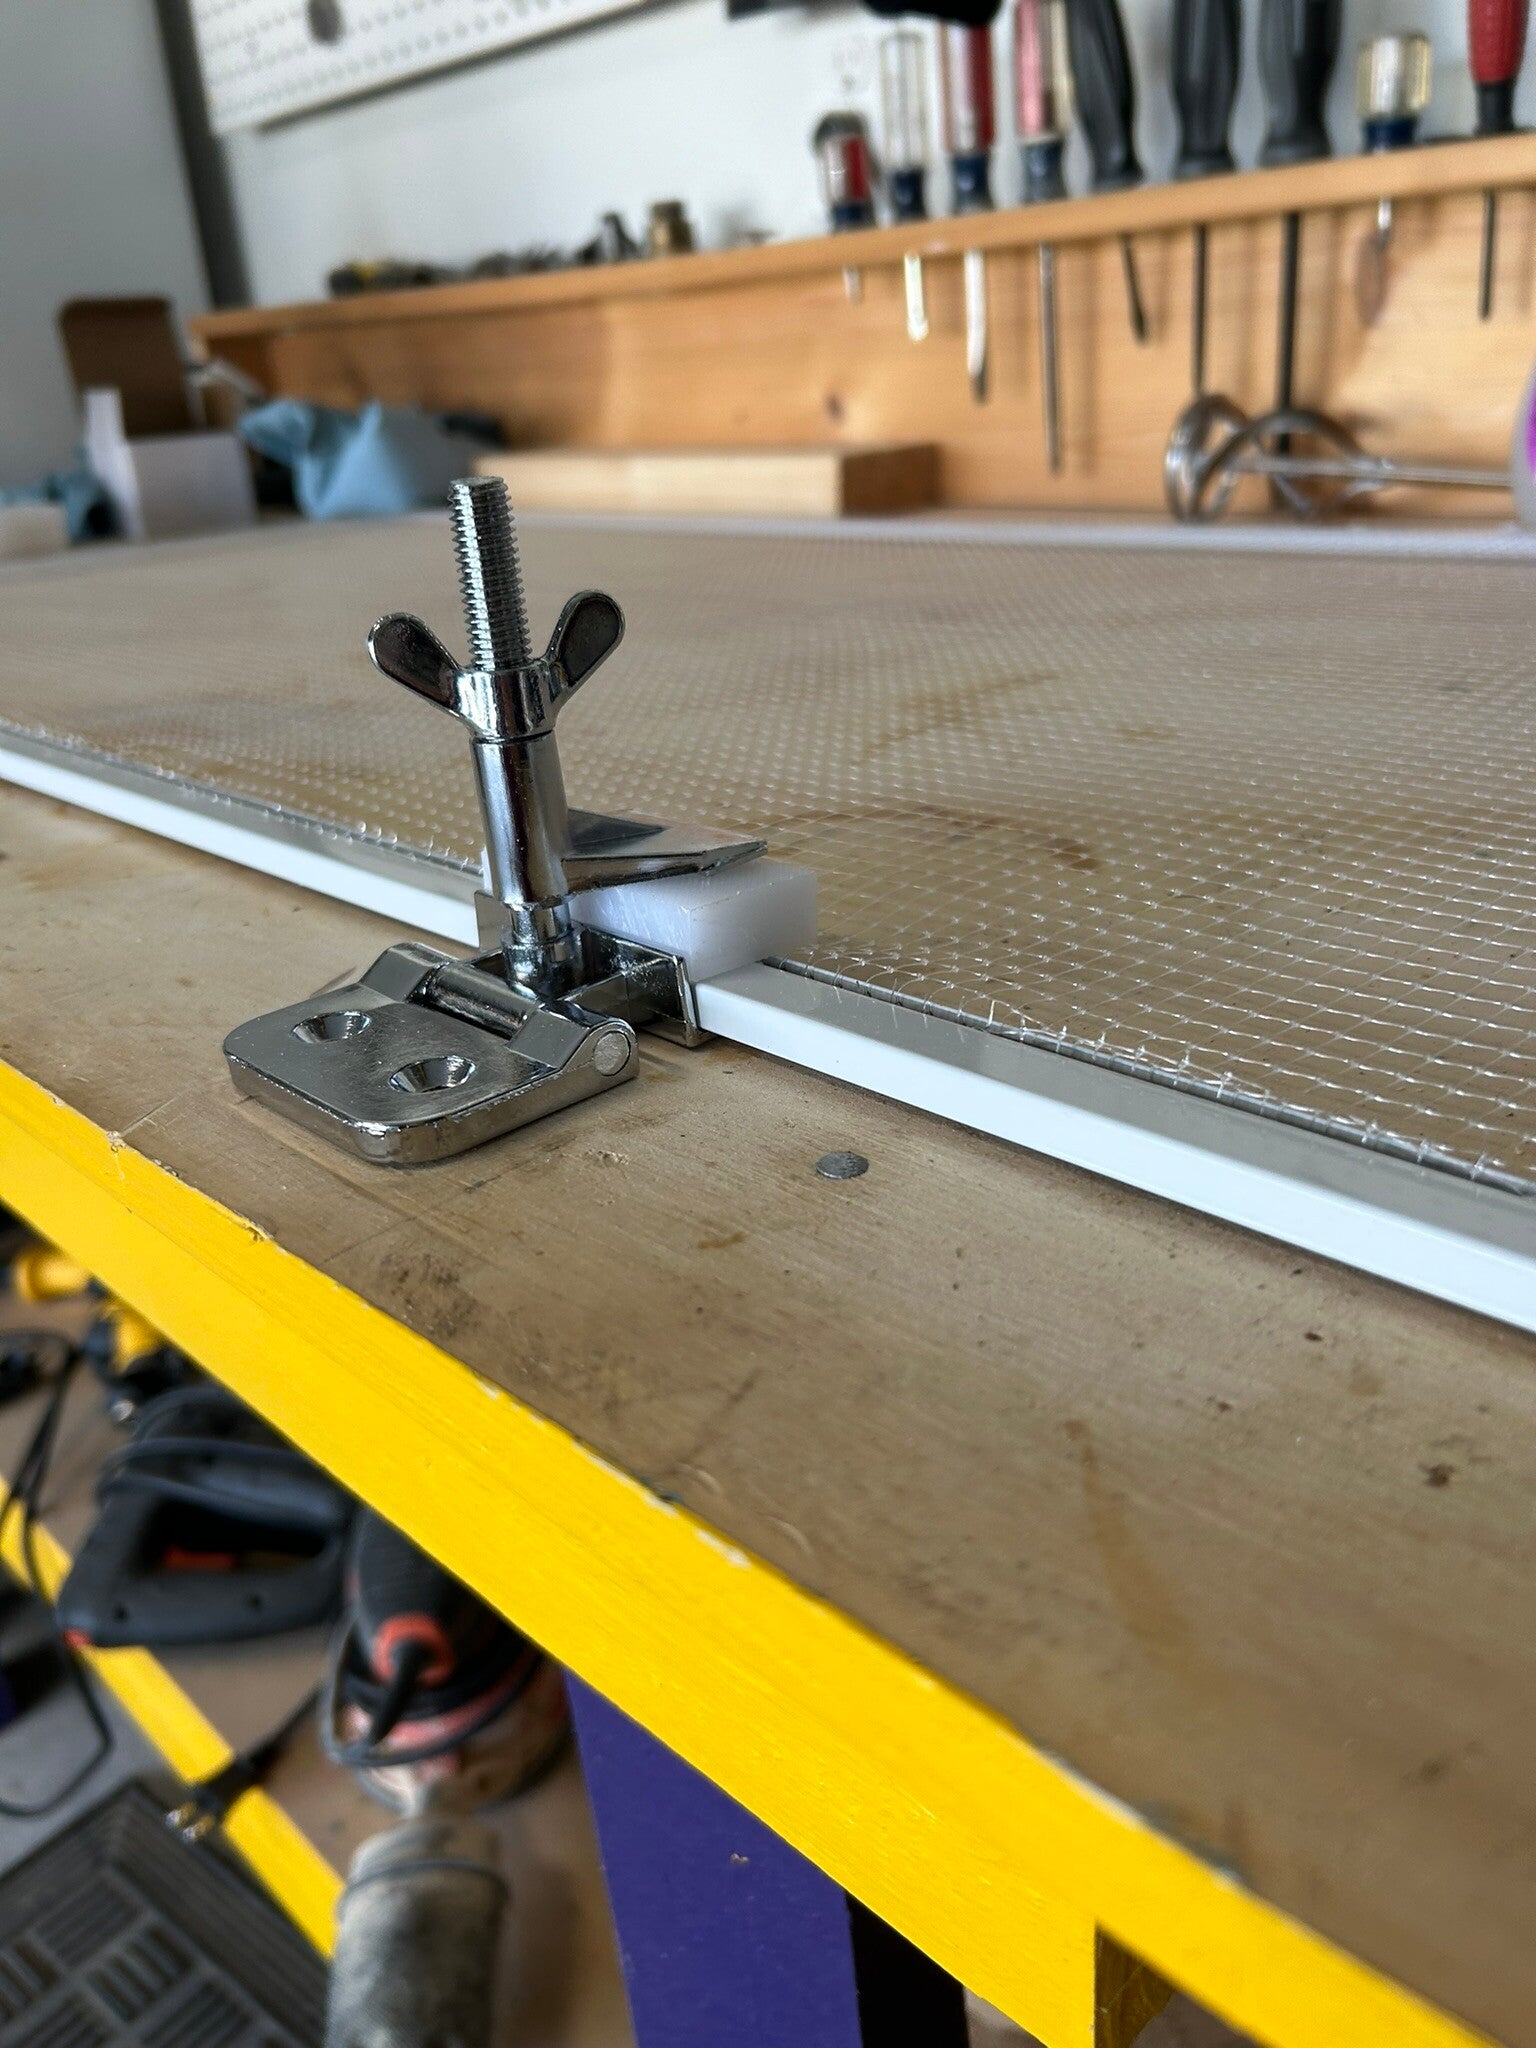
Used screen printing hinges for the covers.
12 Sep 24
Latches to lock the covers. This is for fish safety so they can't jump out.
13 Sep 24
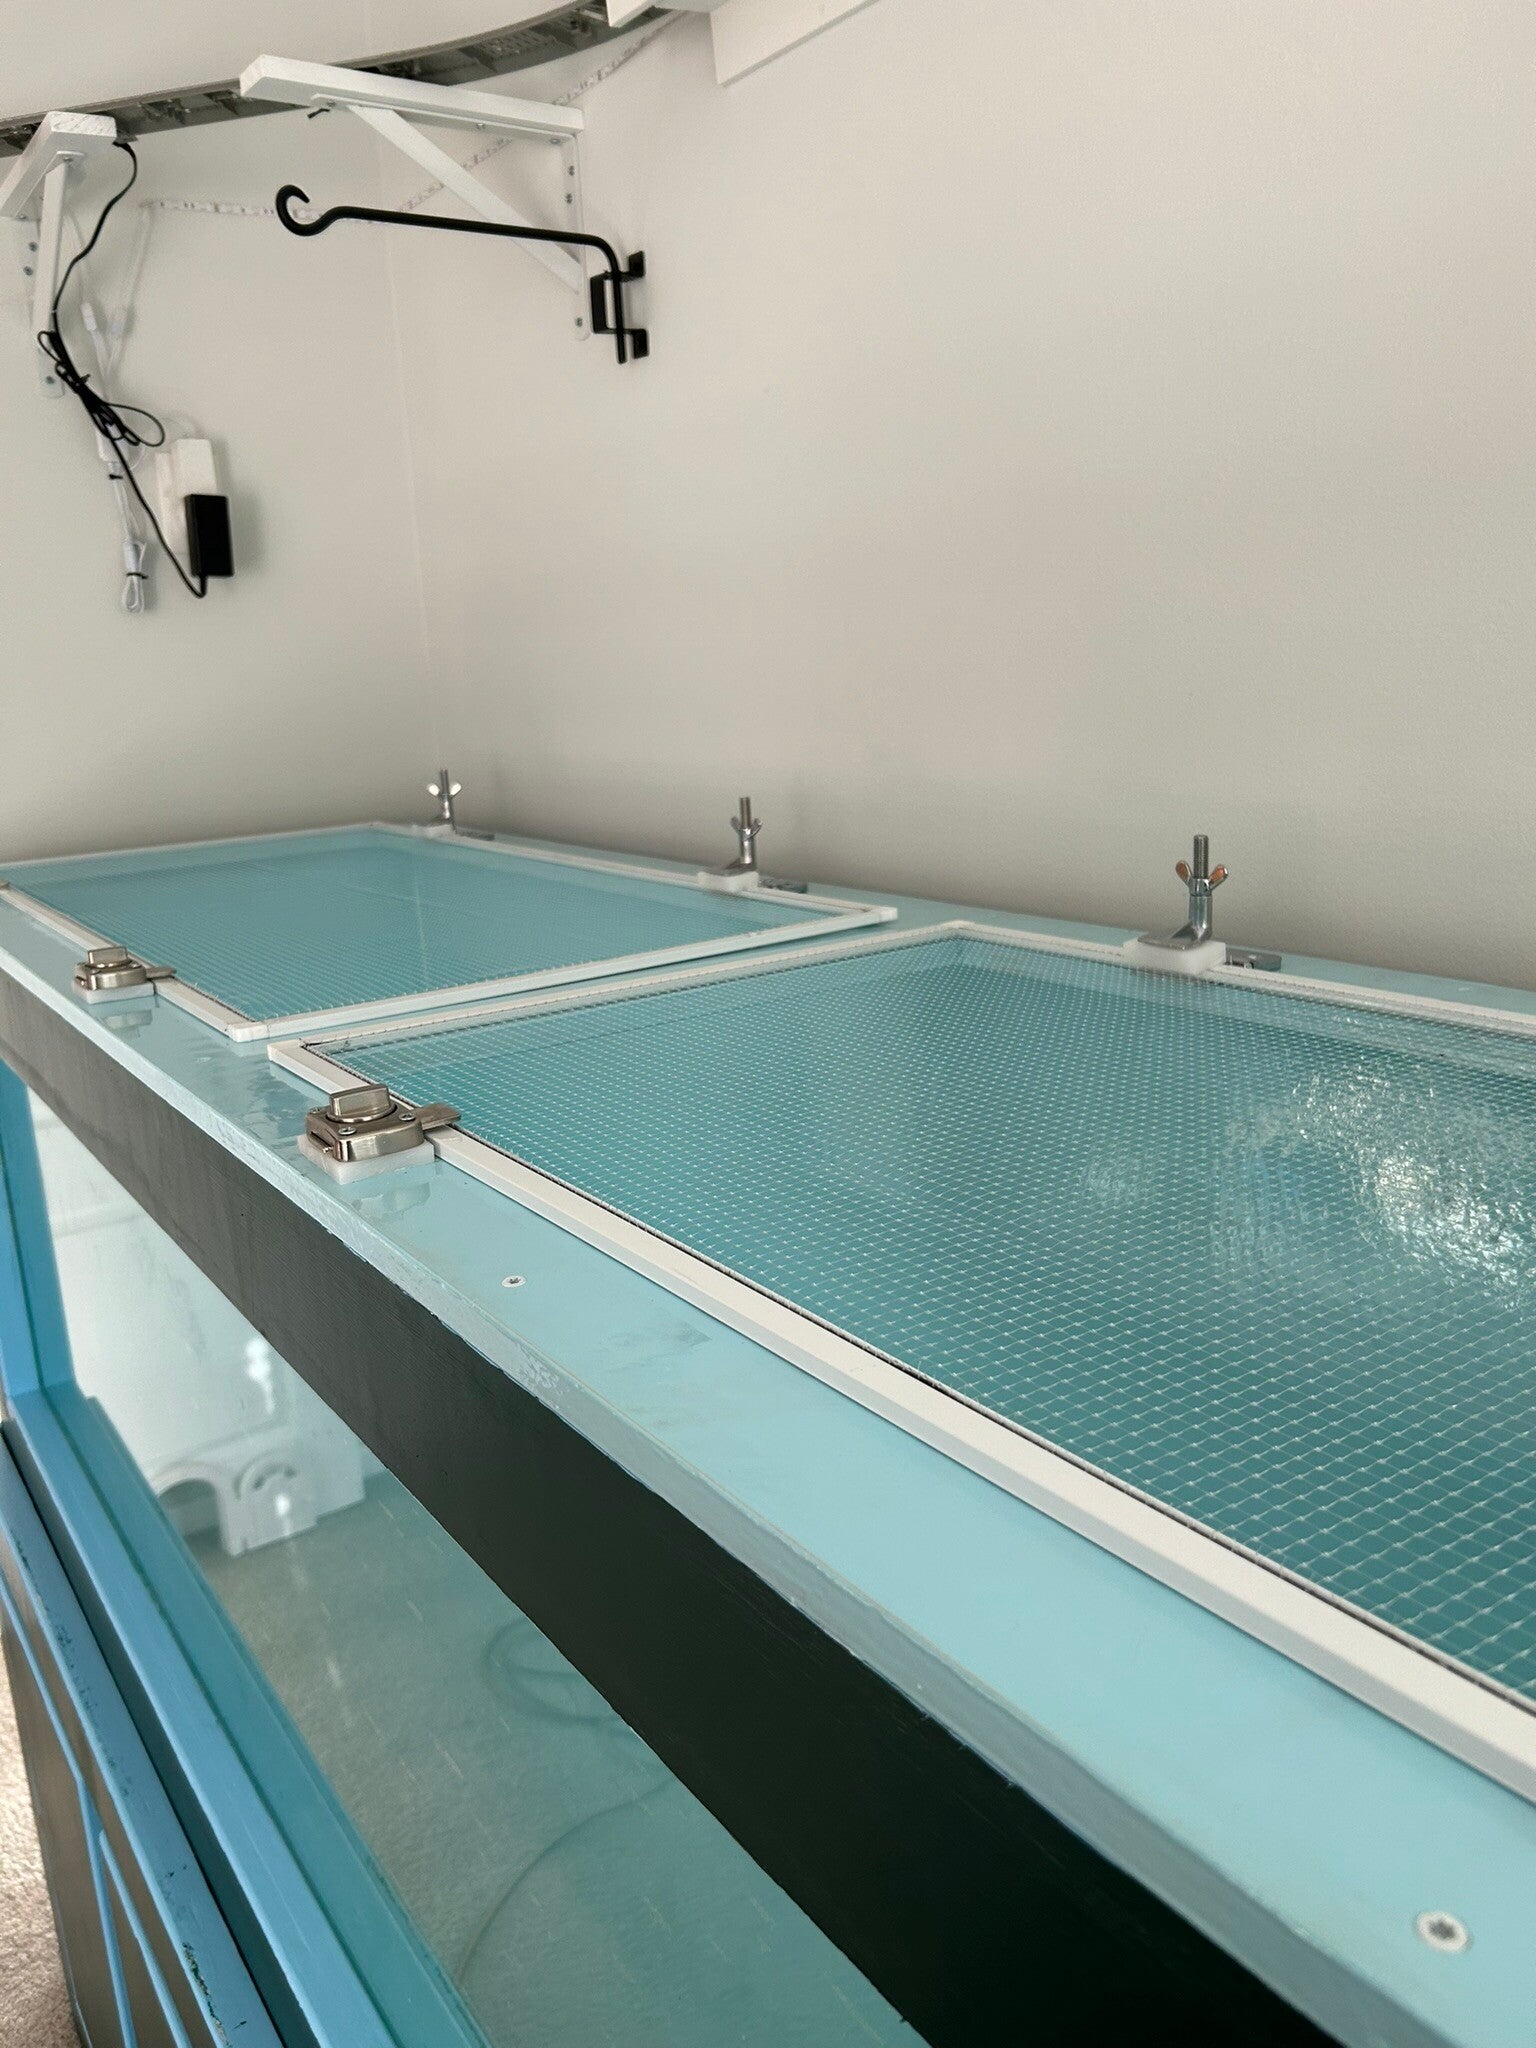
Easy open.
13 Sep 24
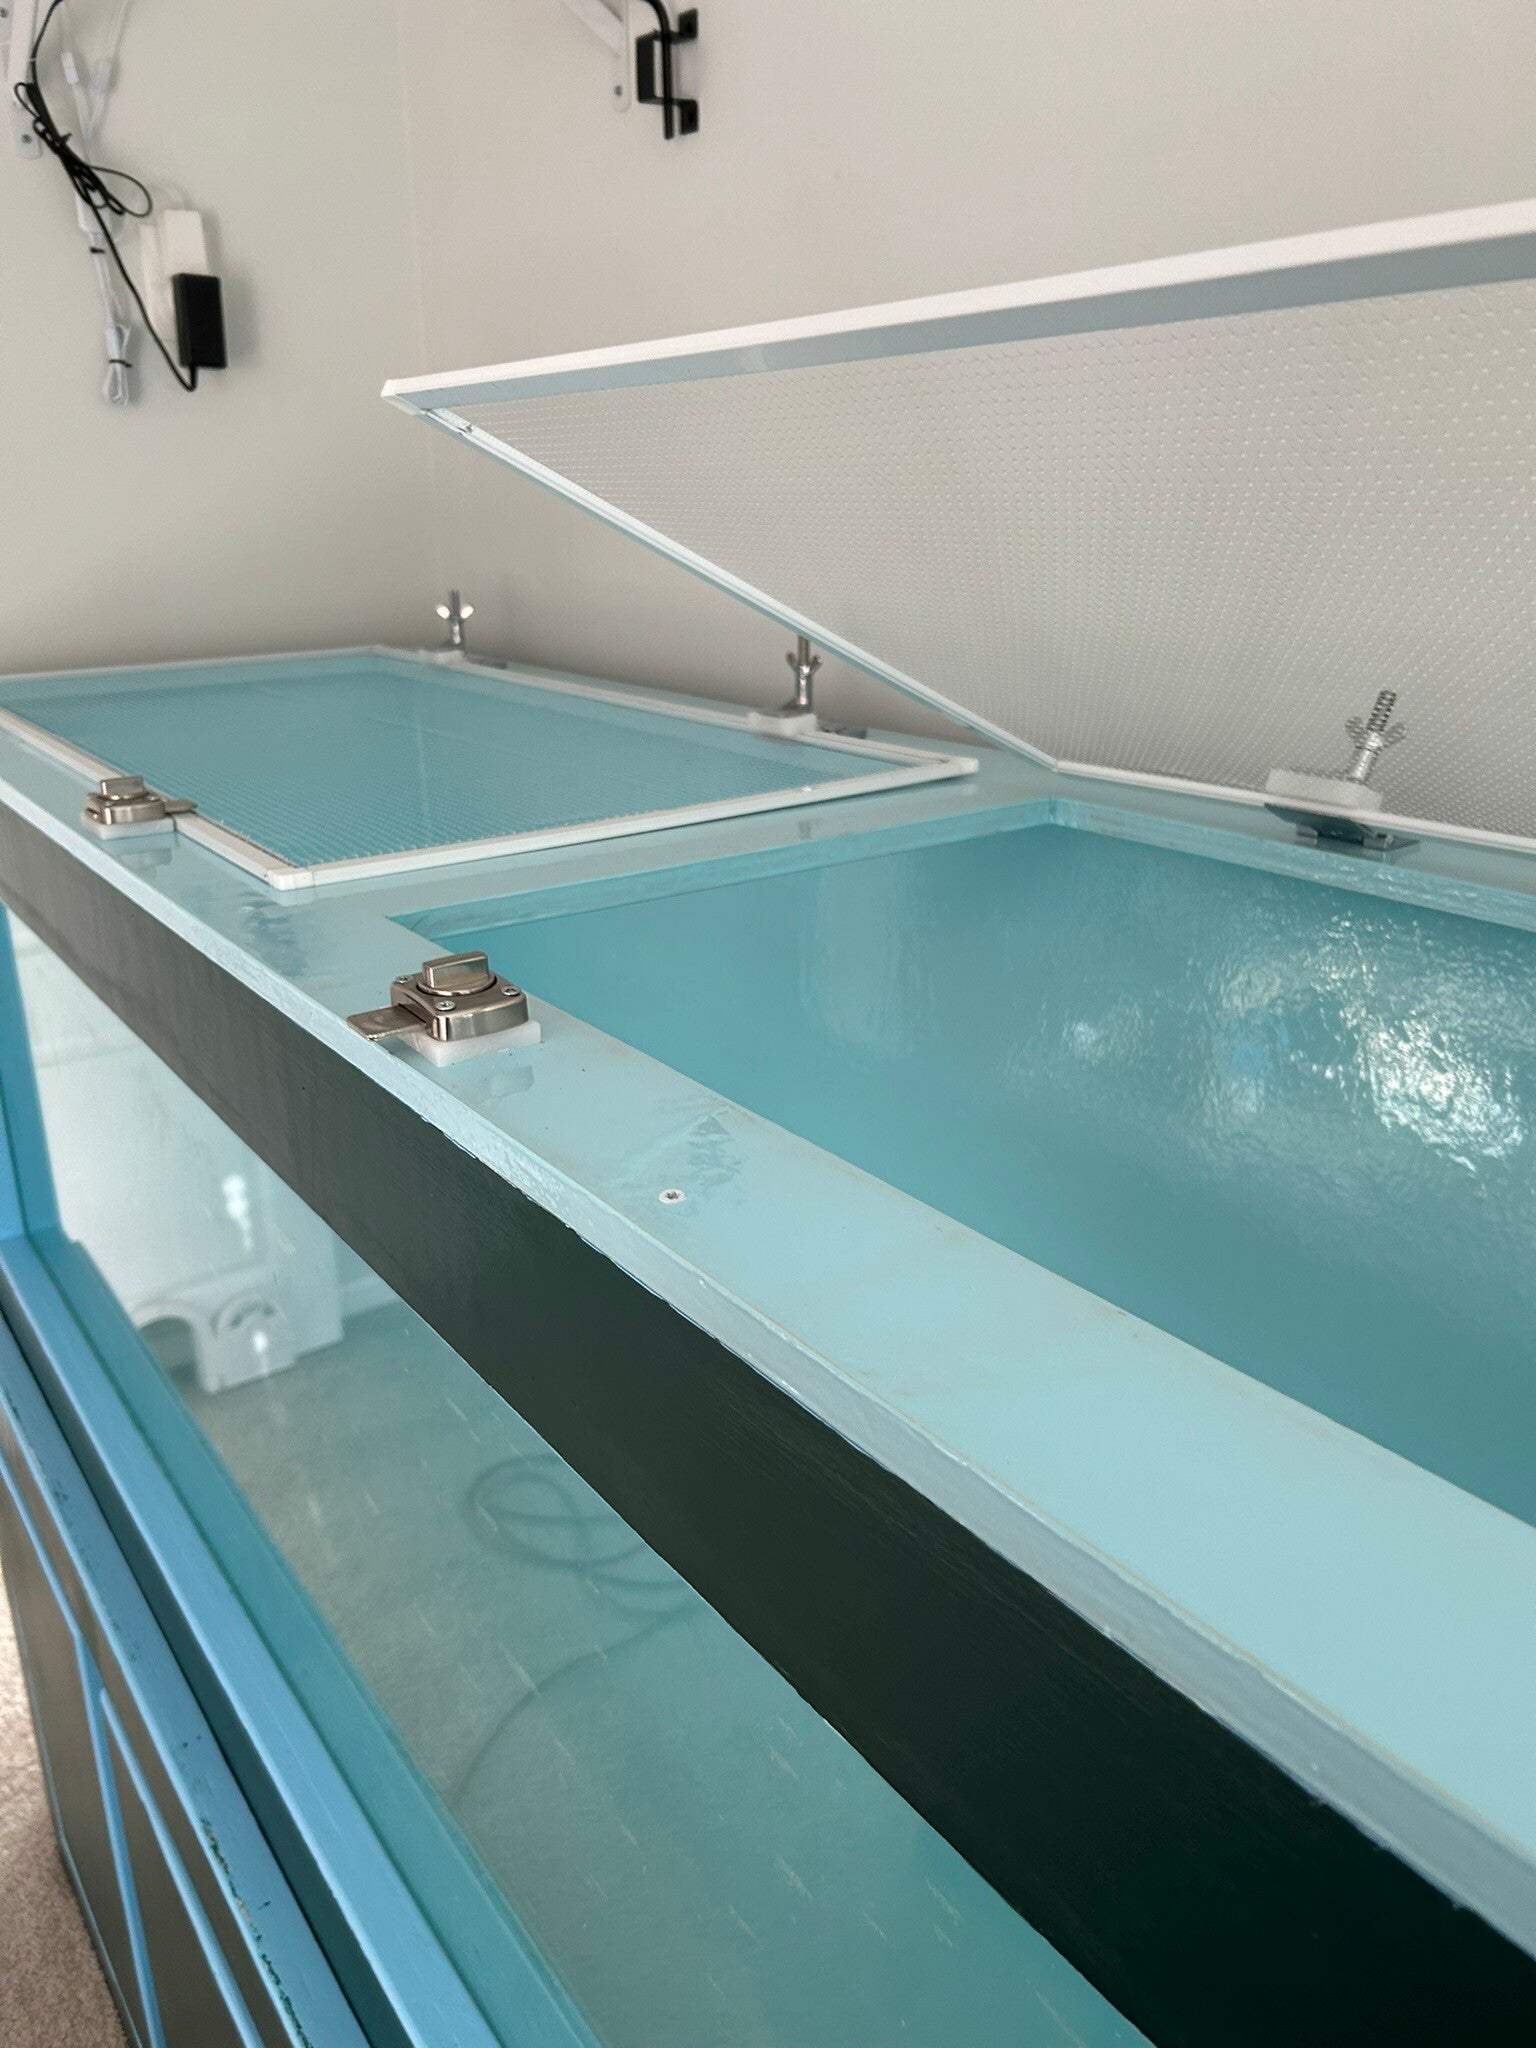
18 Sep 24
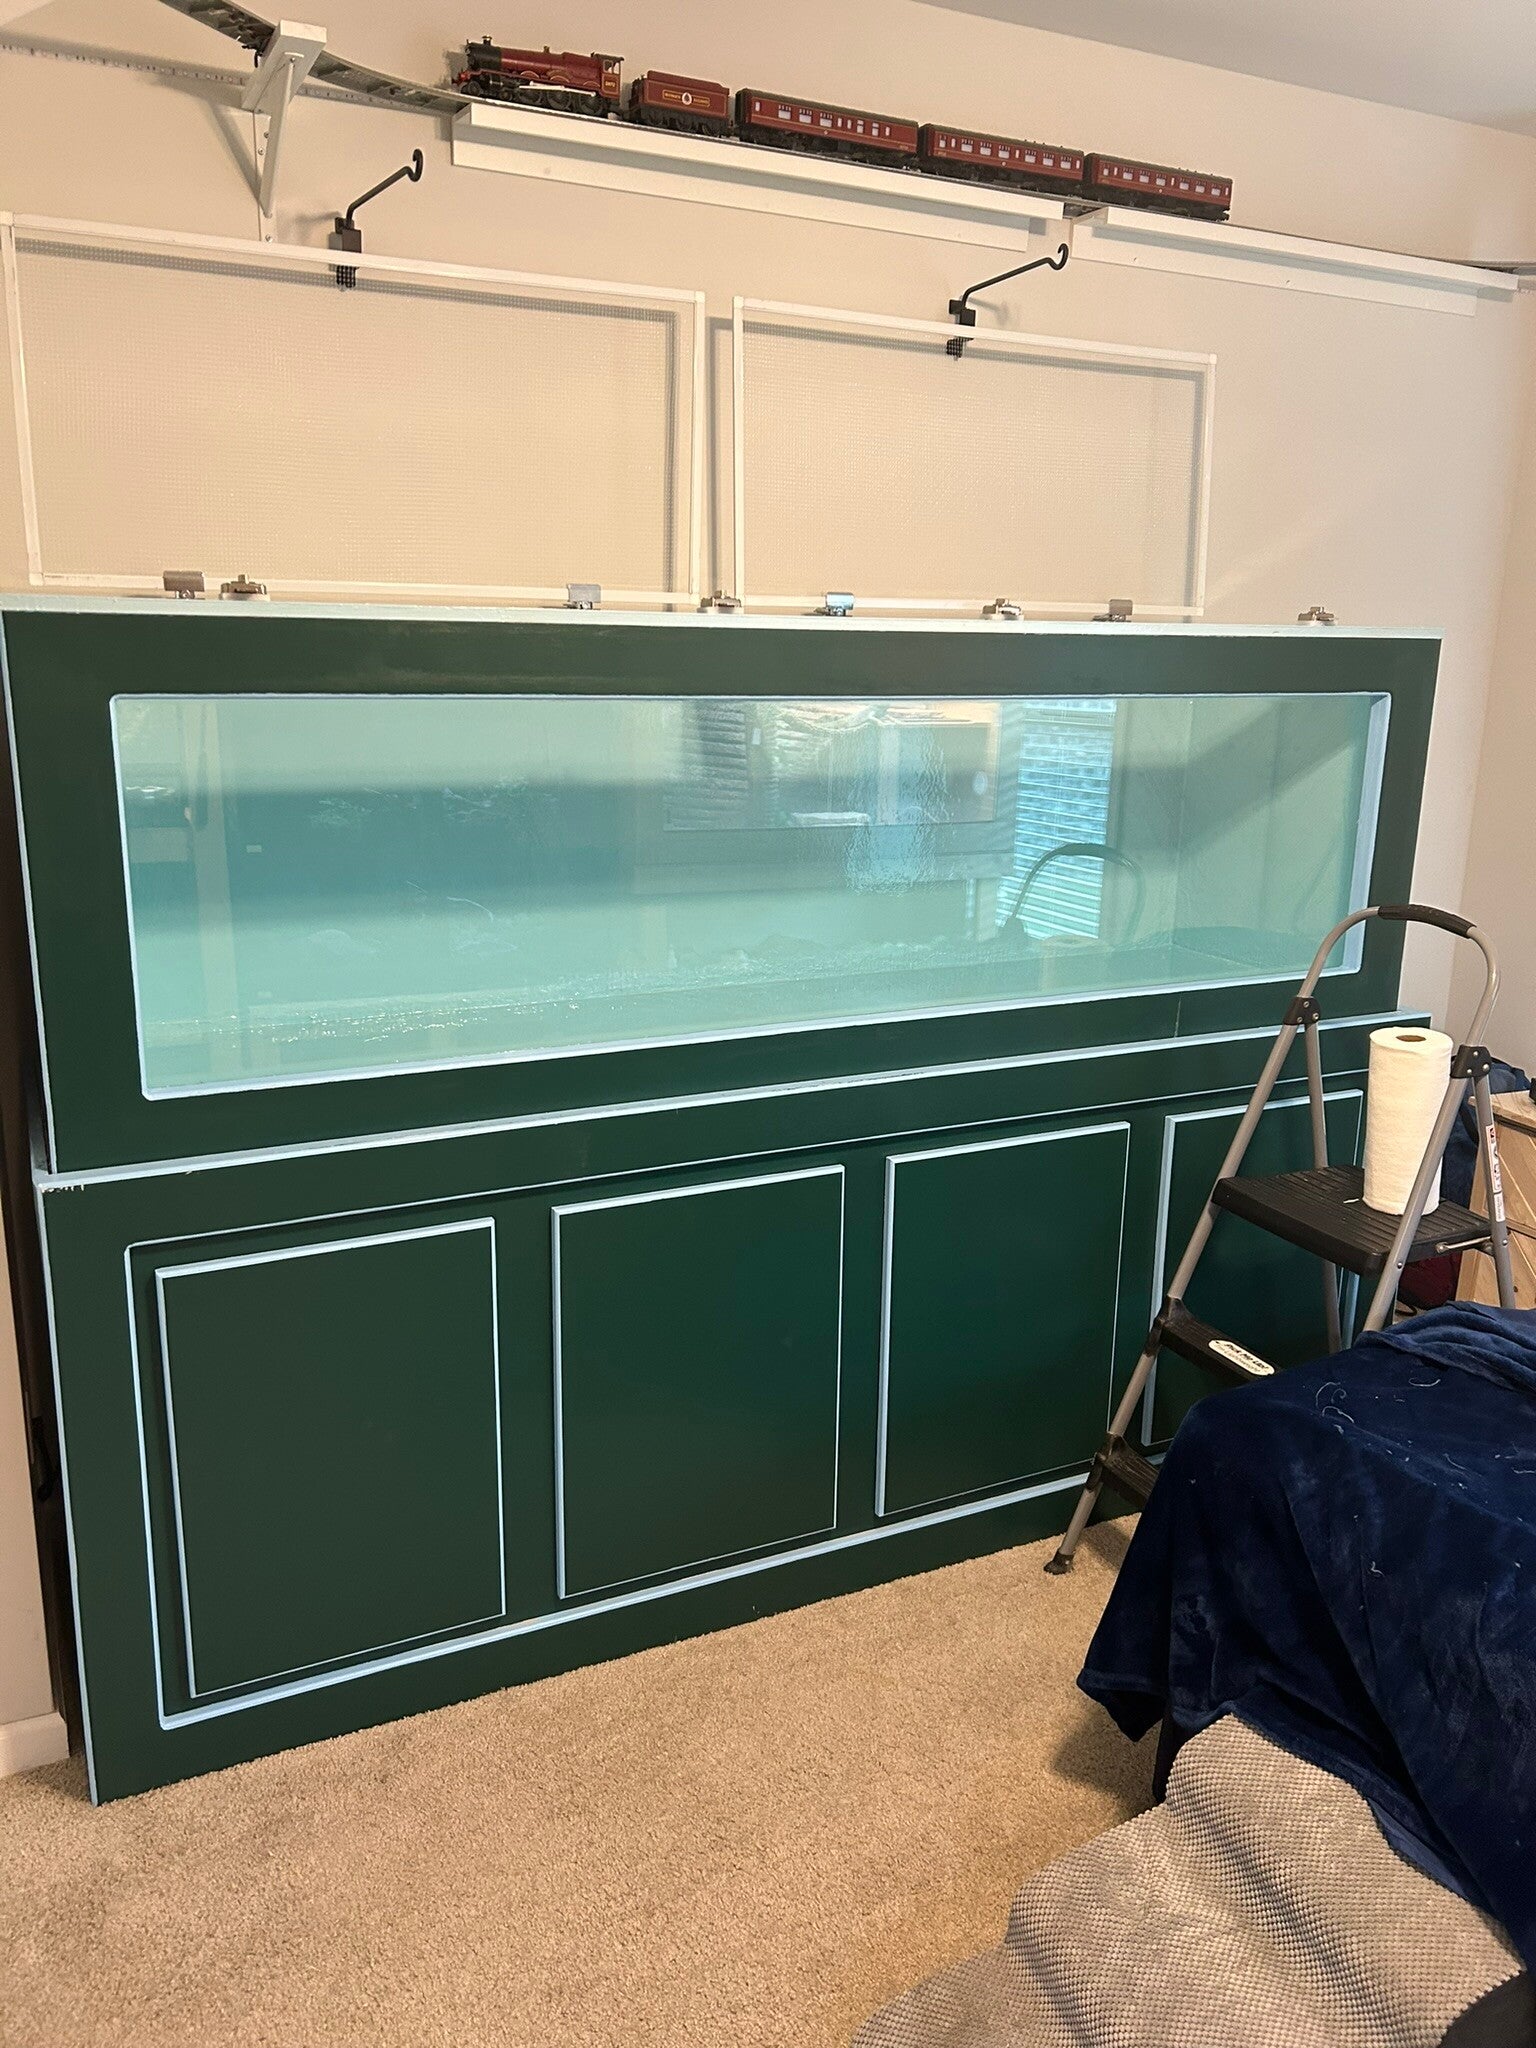
Sand in. I used pool filter sand that I rinsed several times.
18 Sep 24
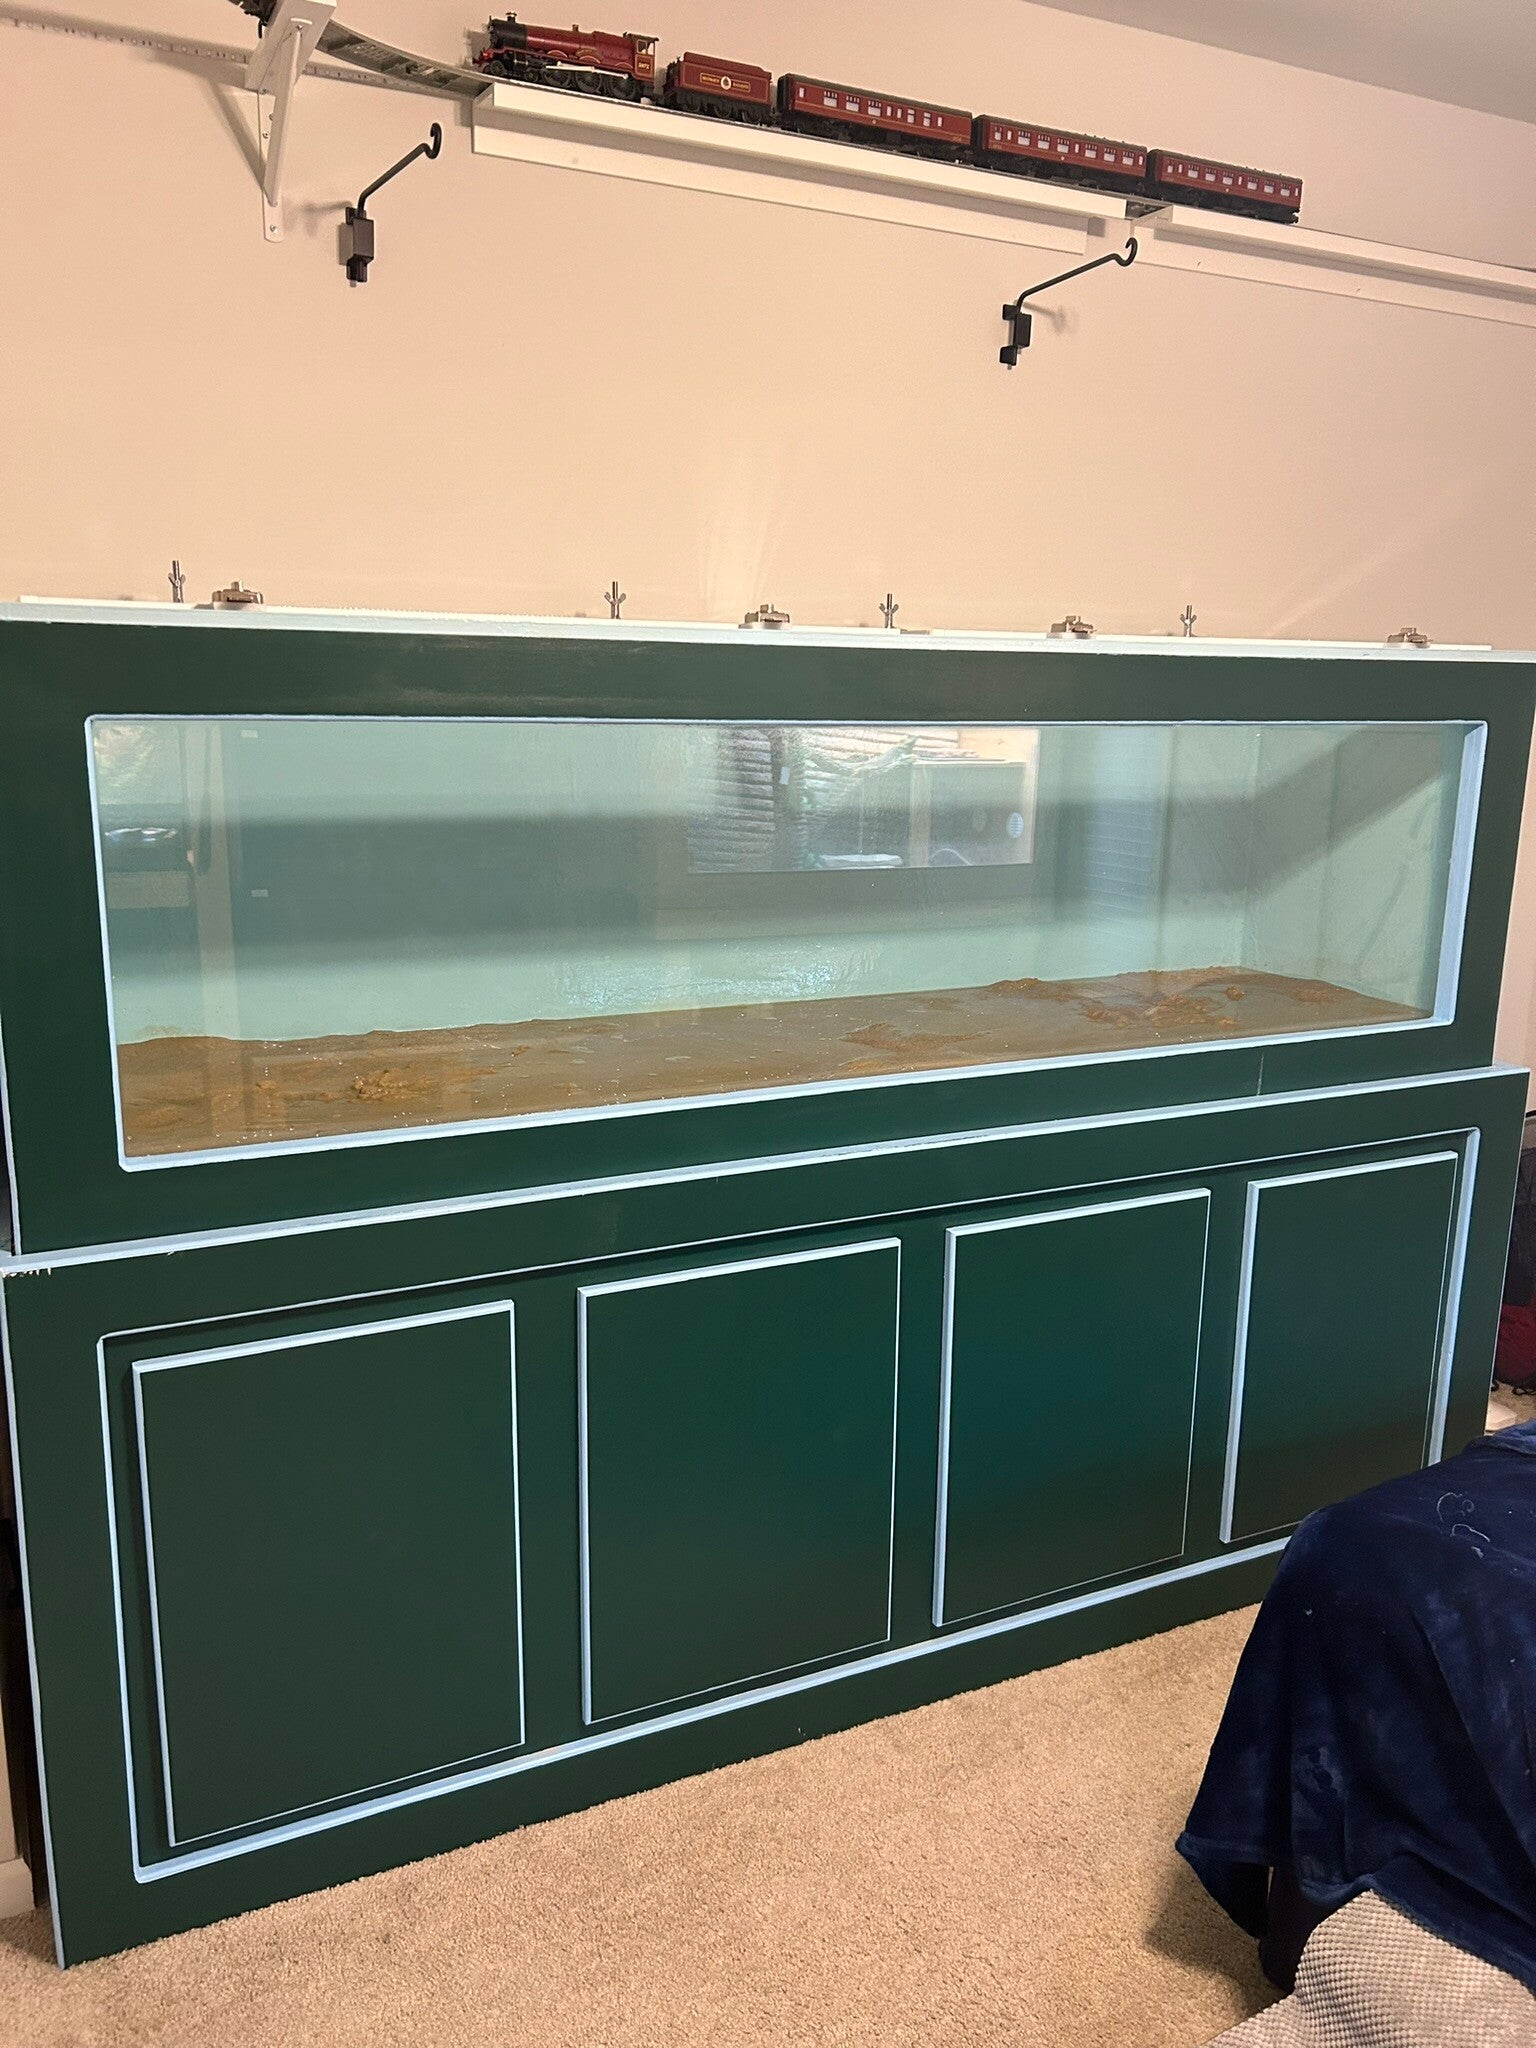
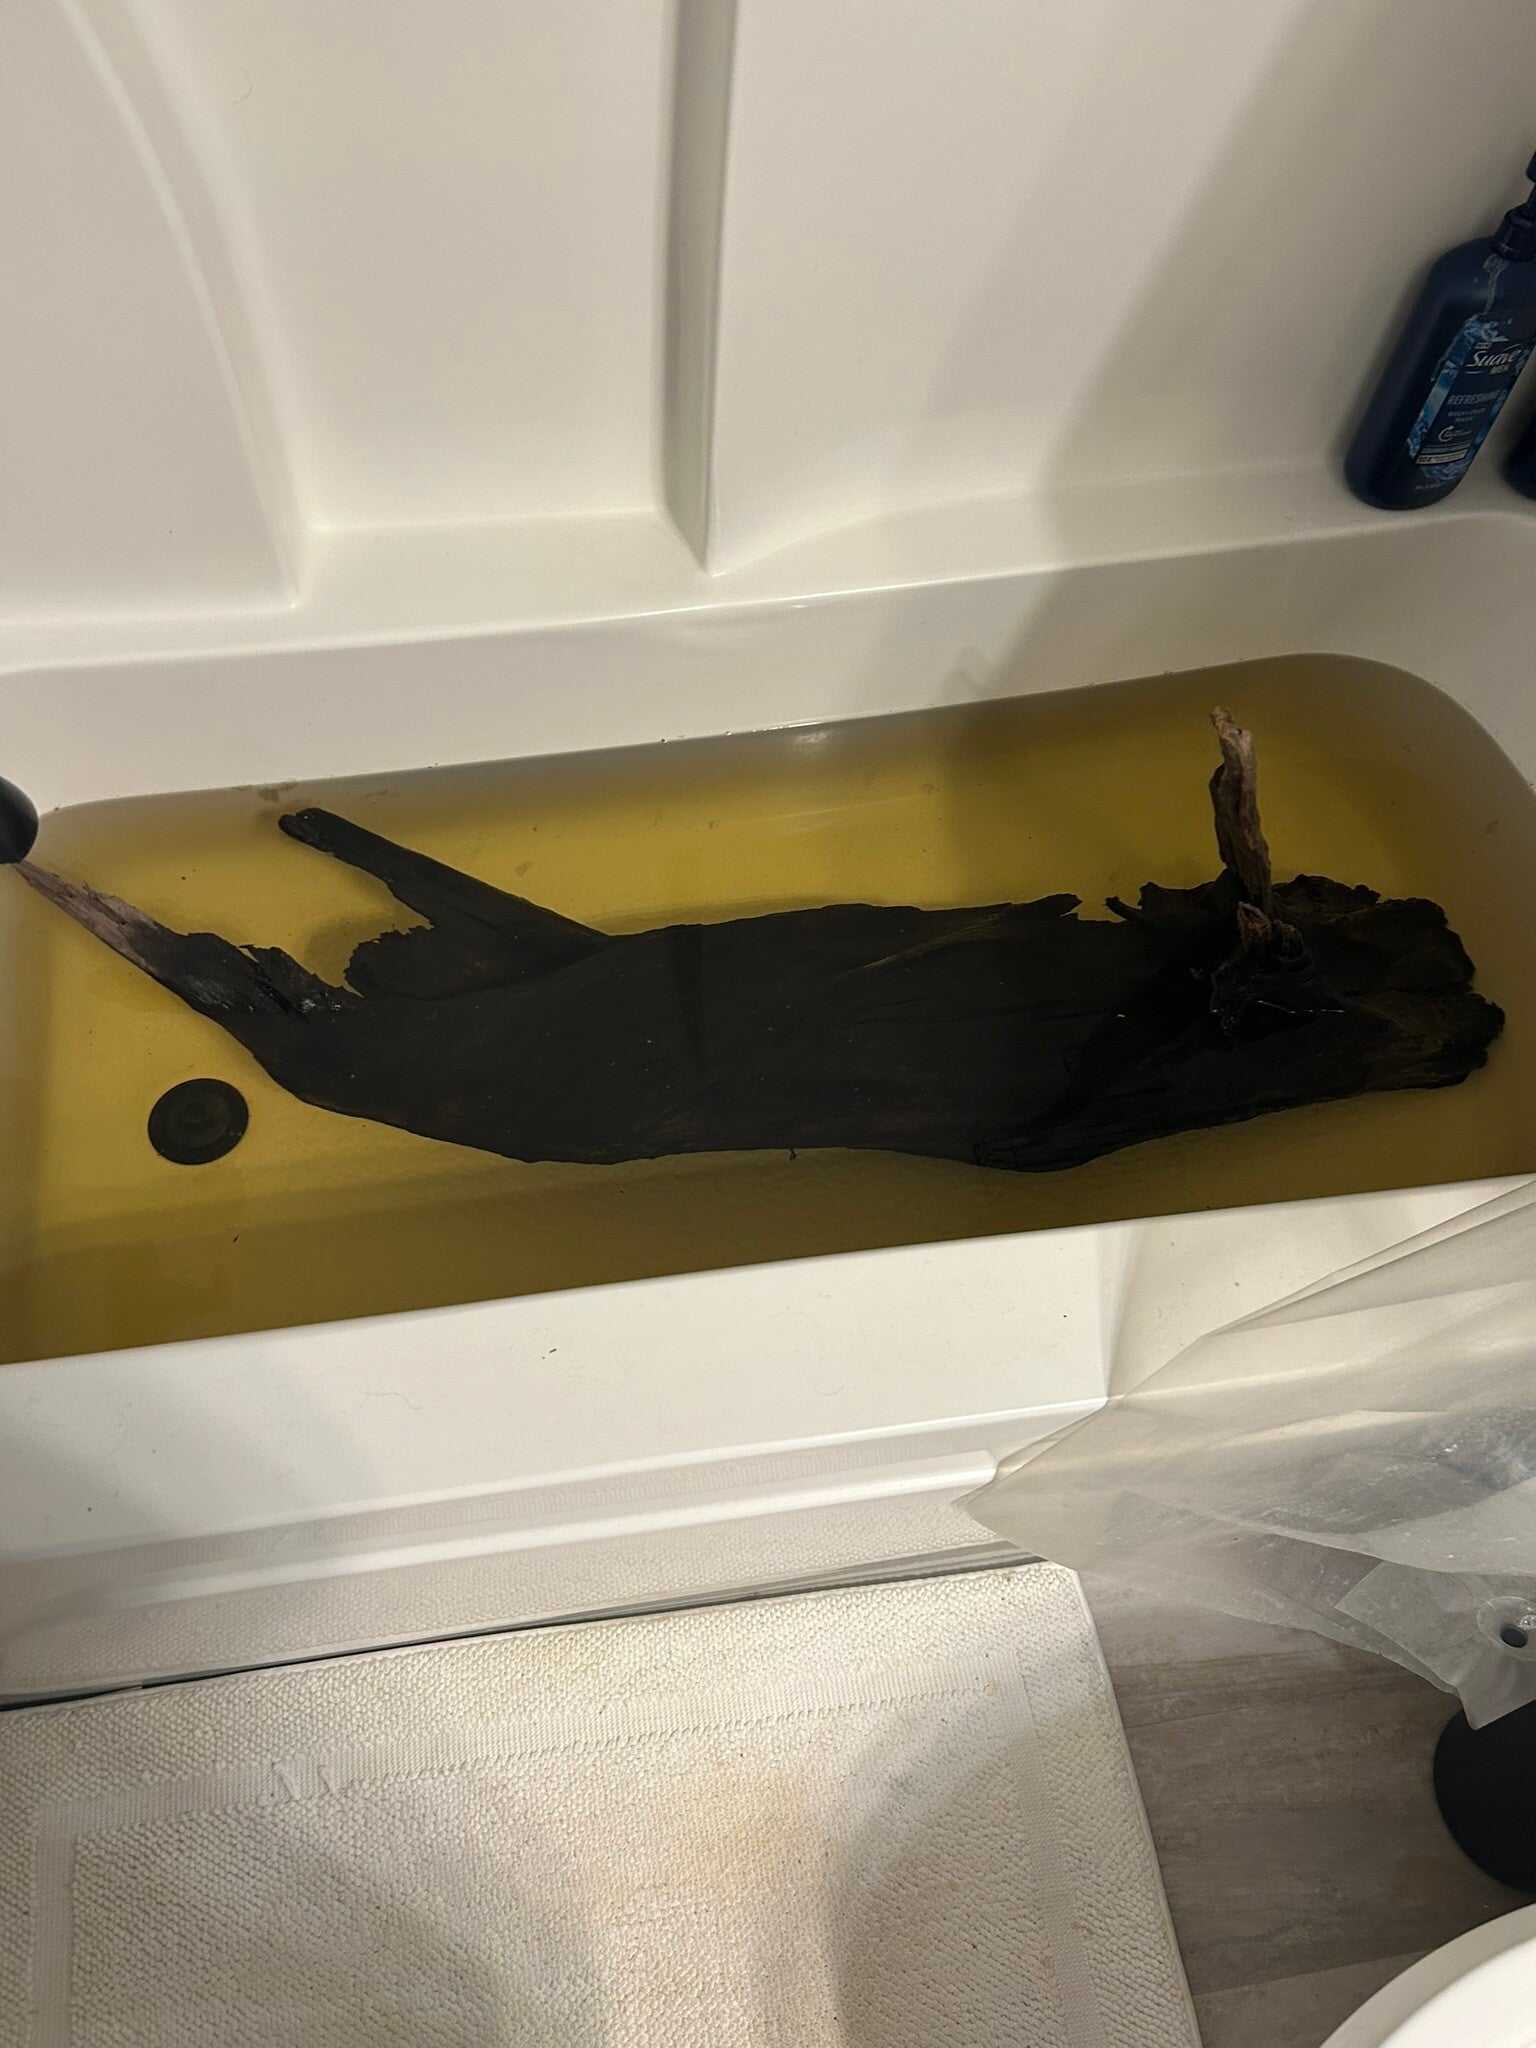
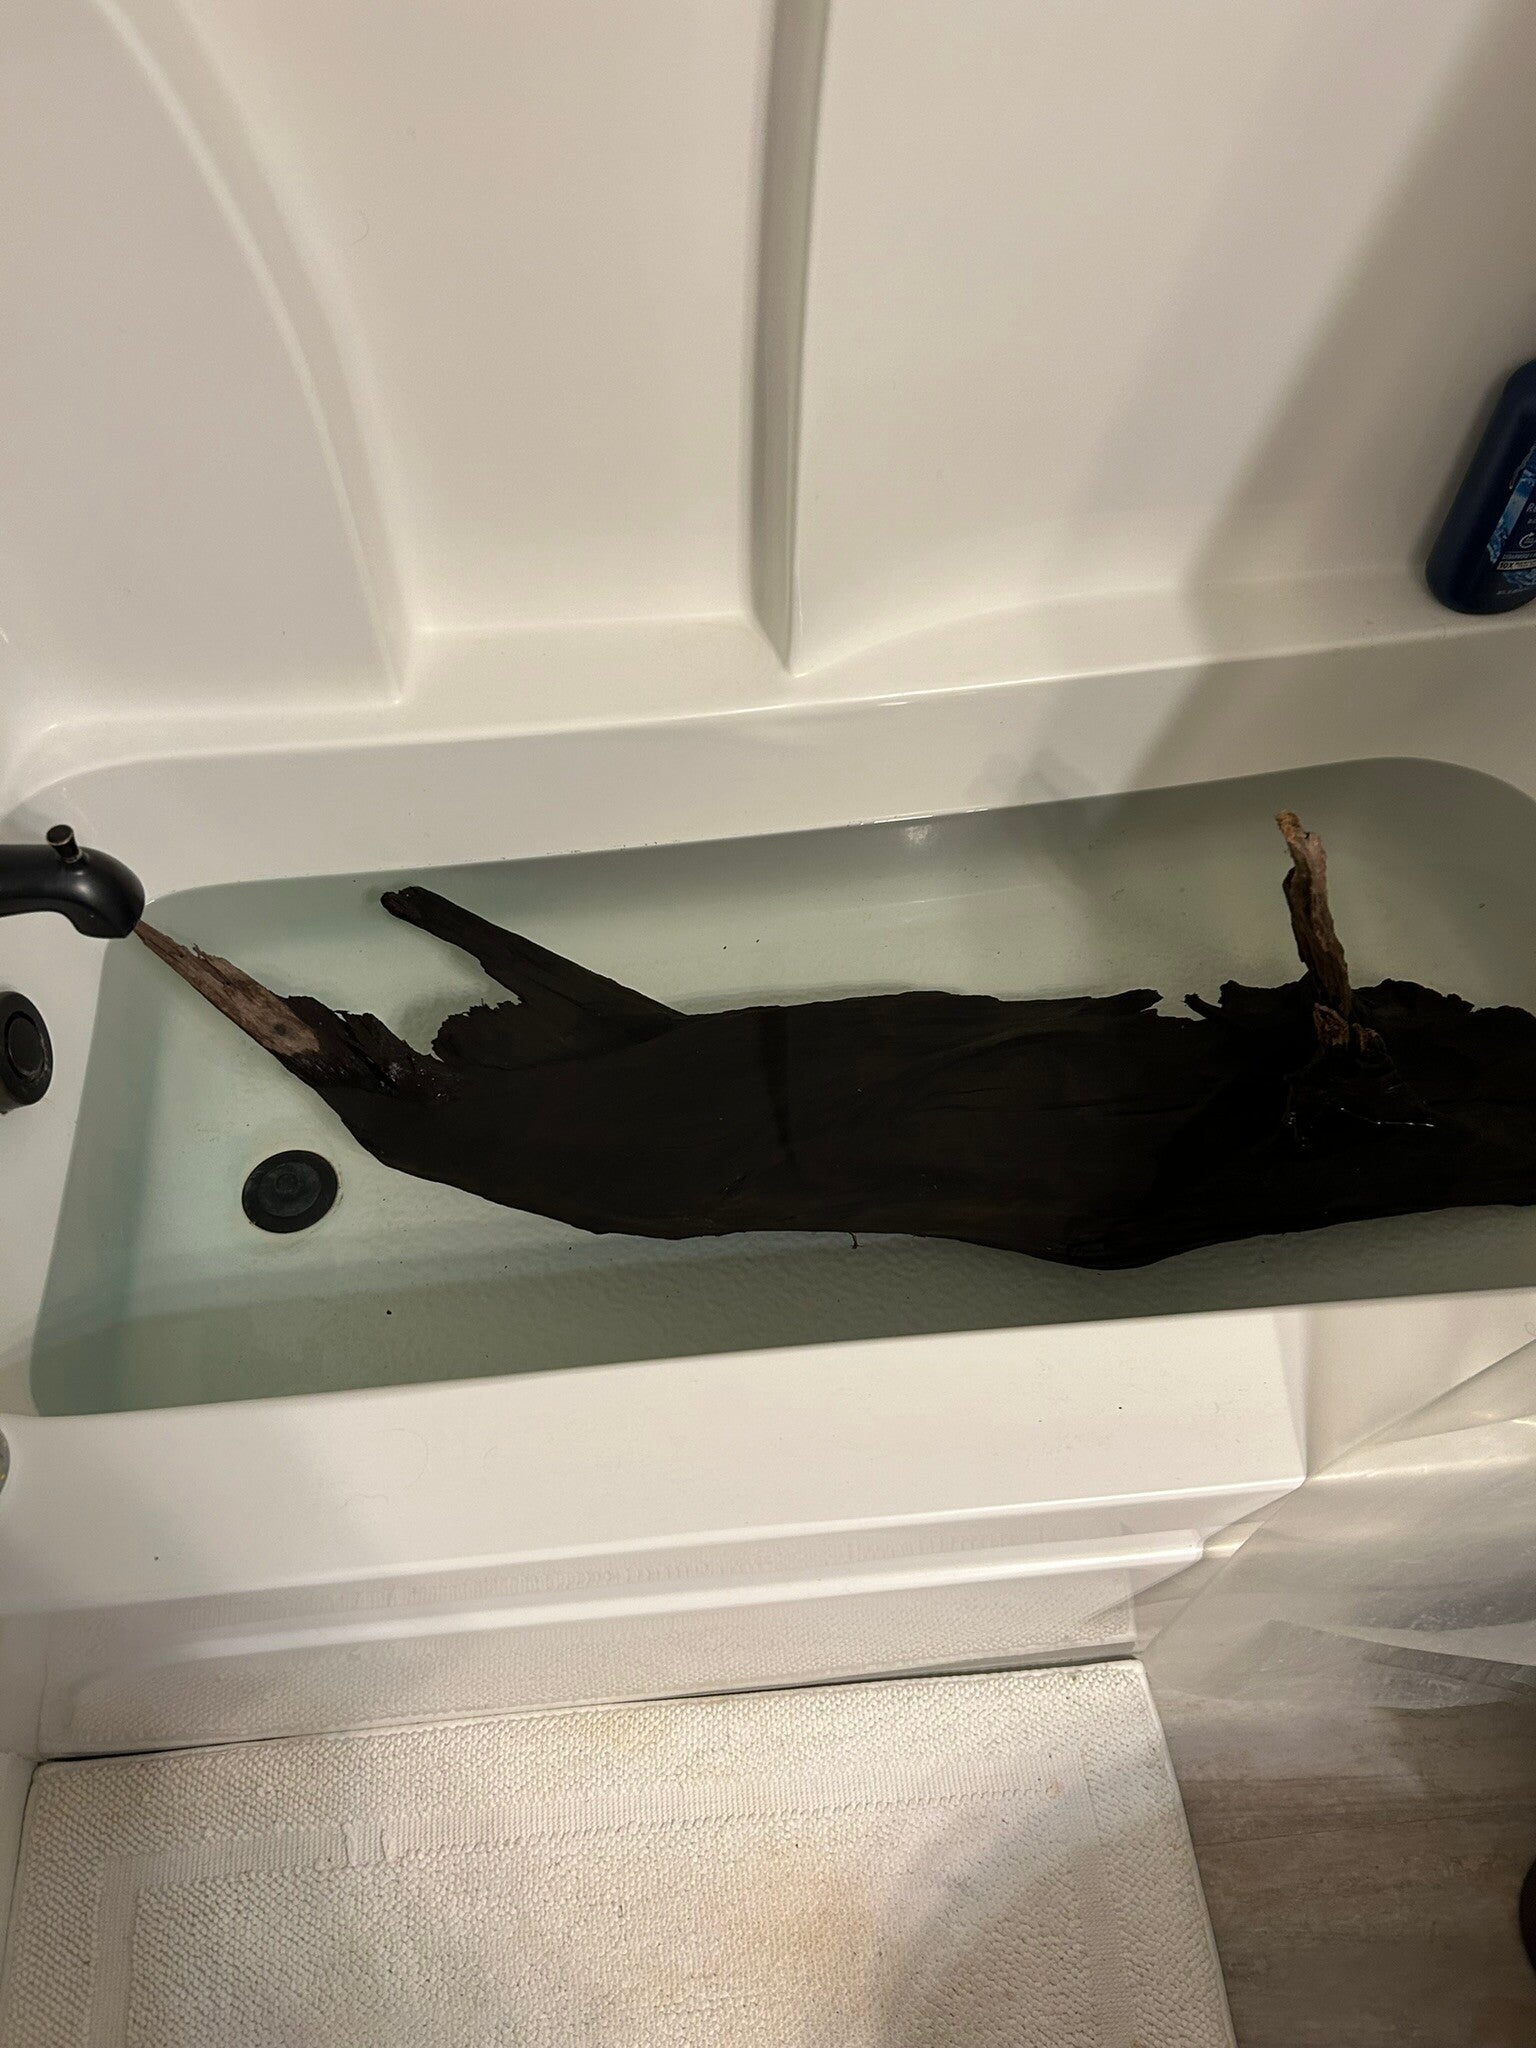
You are supposed to boil any wood that goes in the aquarium to get rid of any critters or bacteria. I don't have a pot that big, so I just used really hot water in the bathtub
19 Sep 24
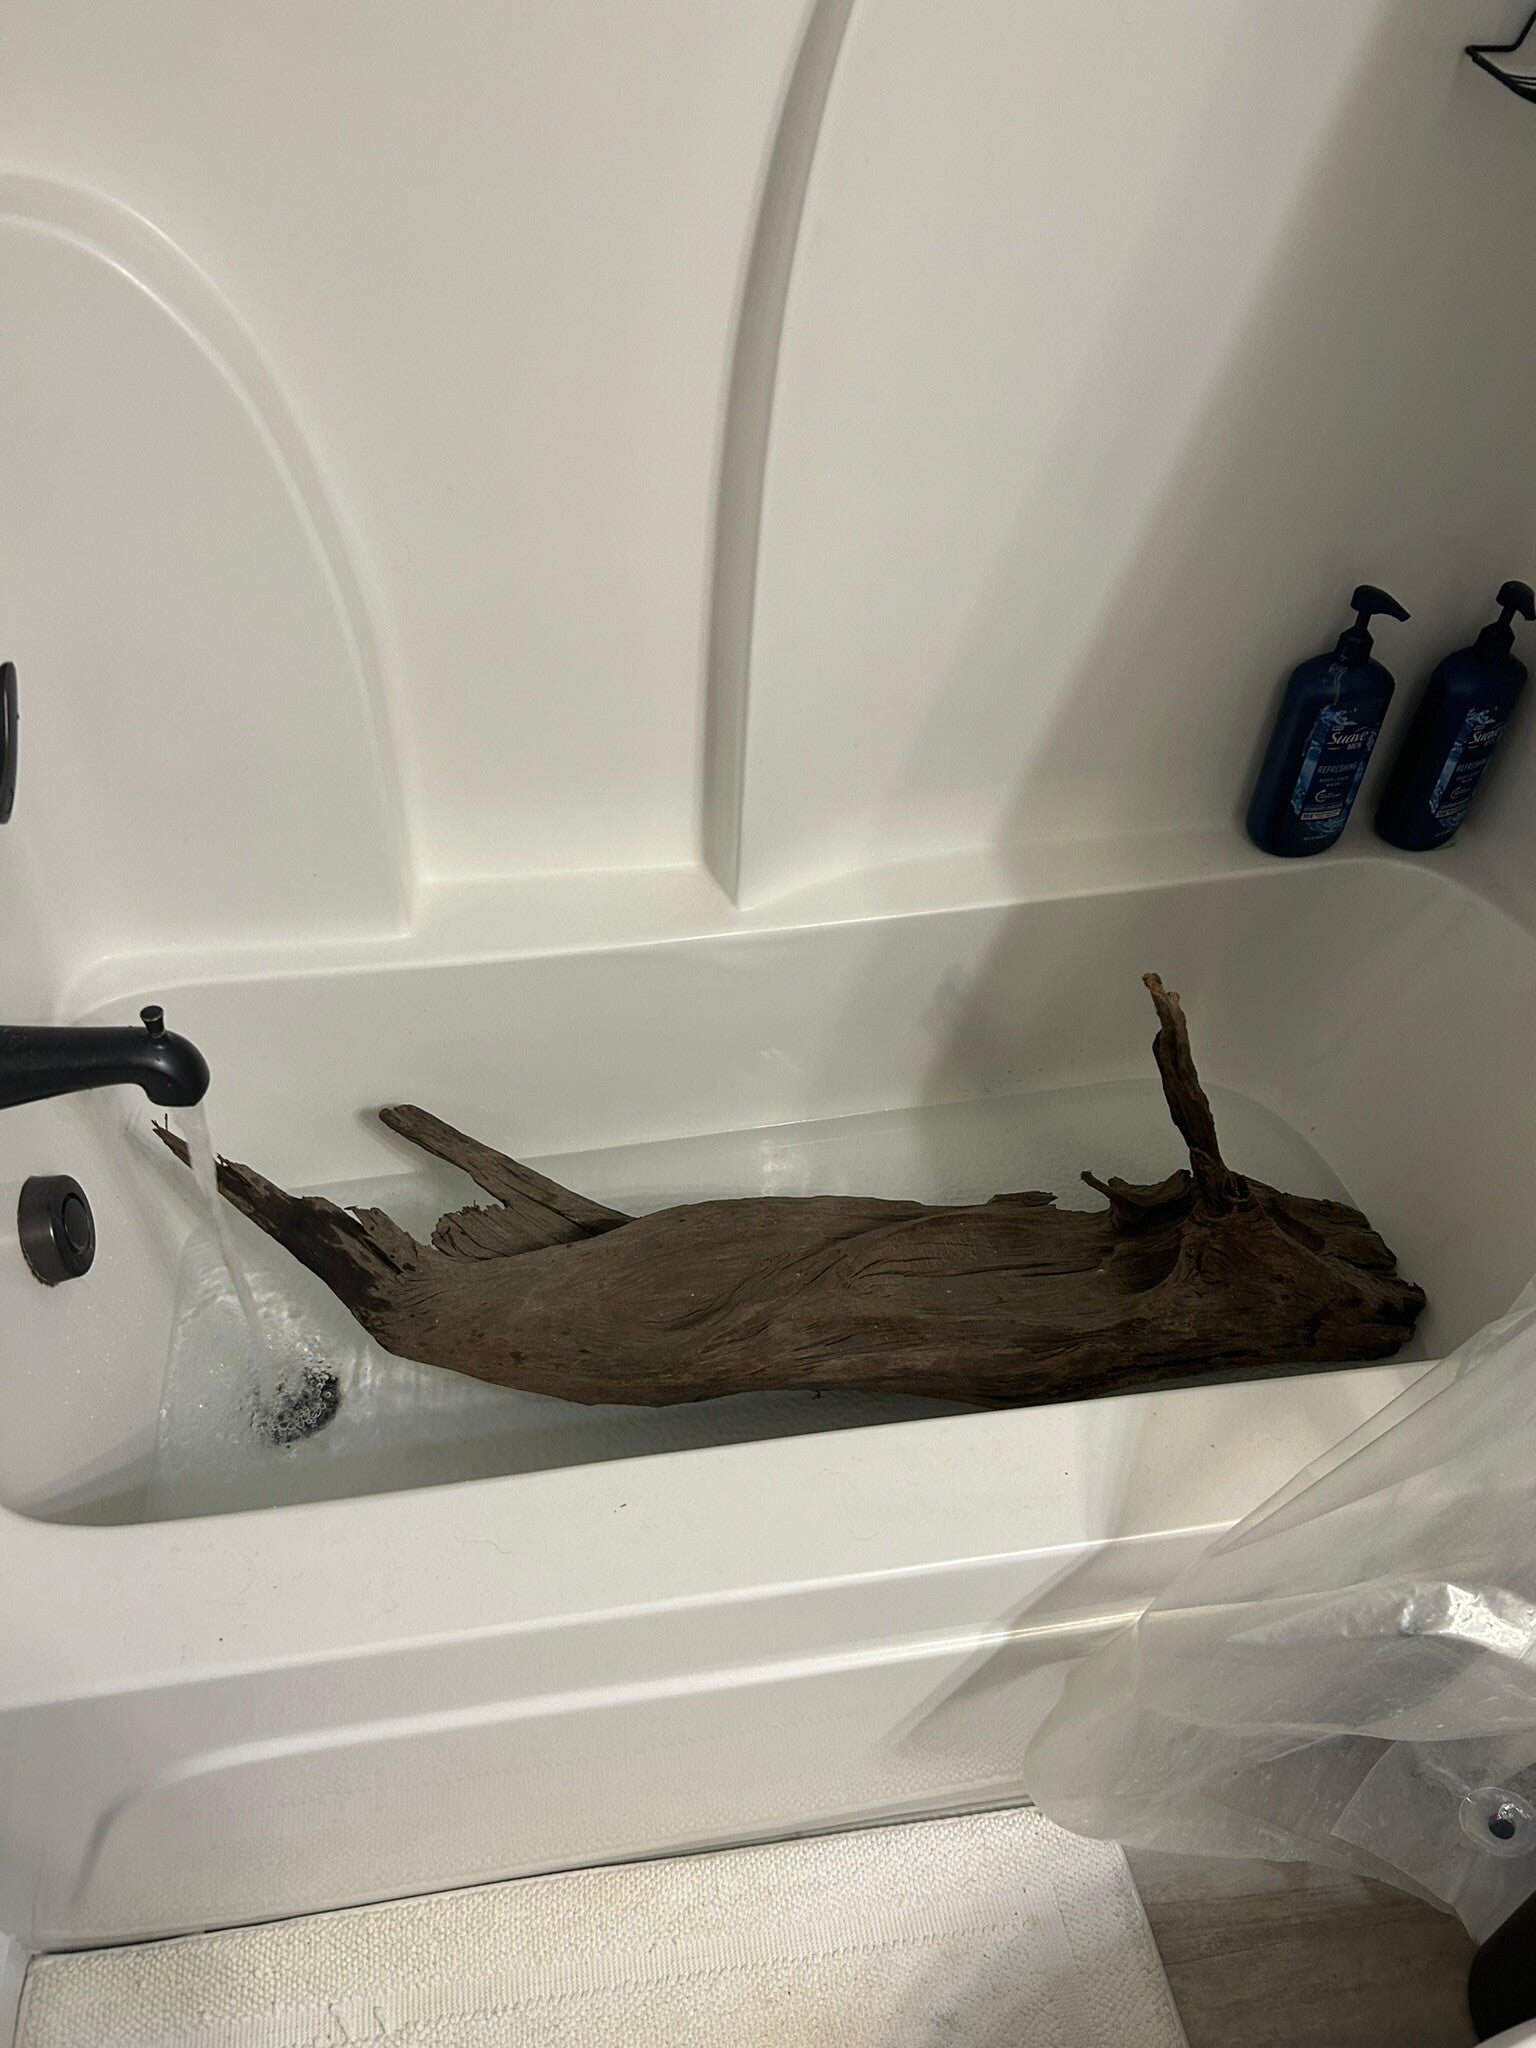
19 Sep 24
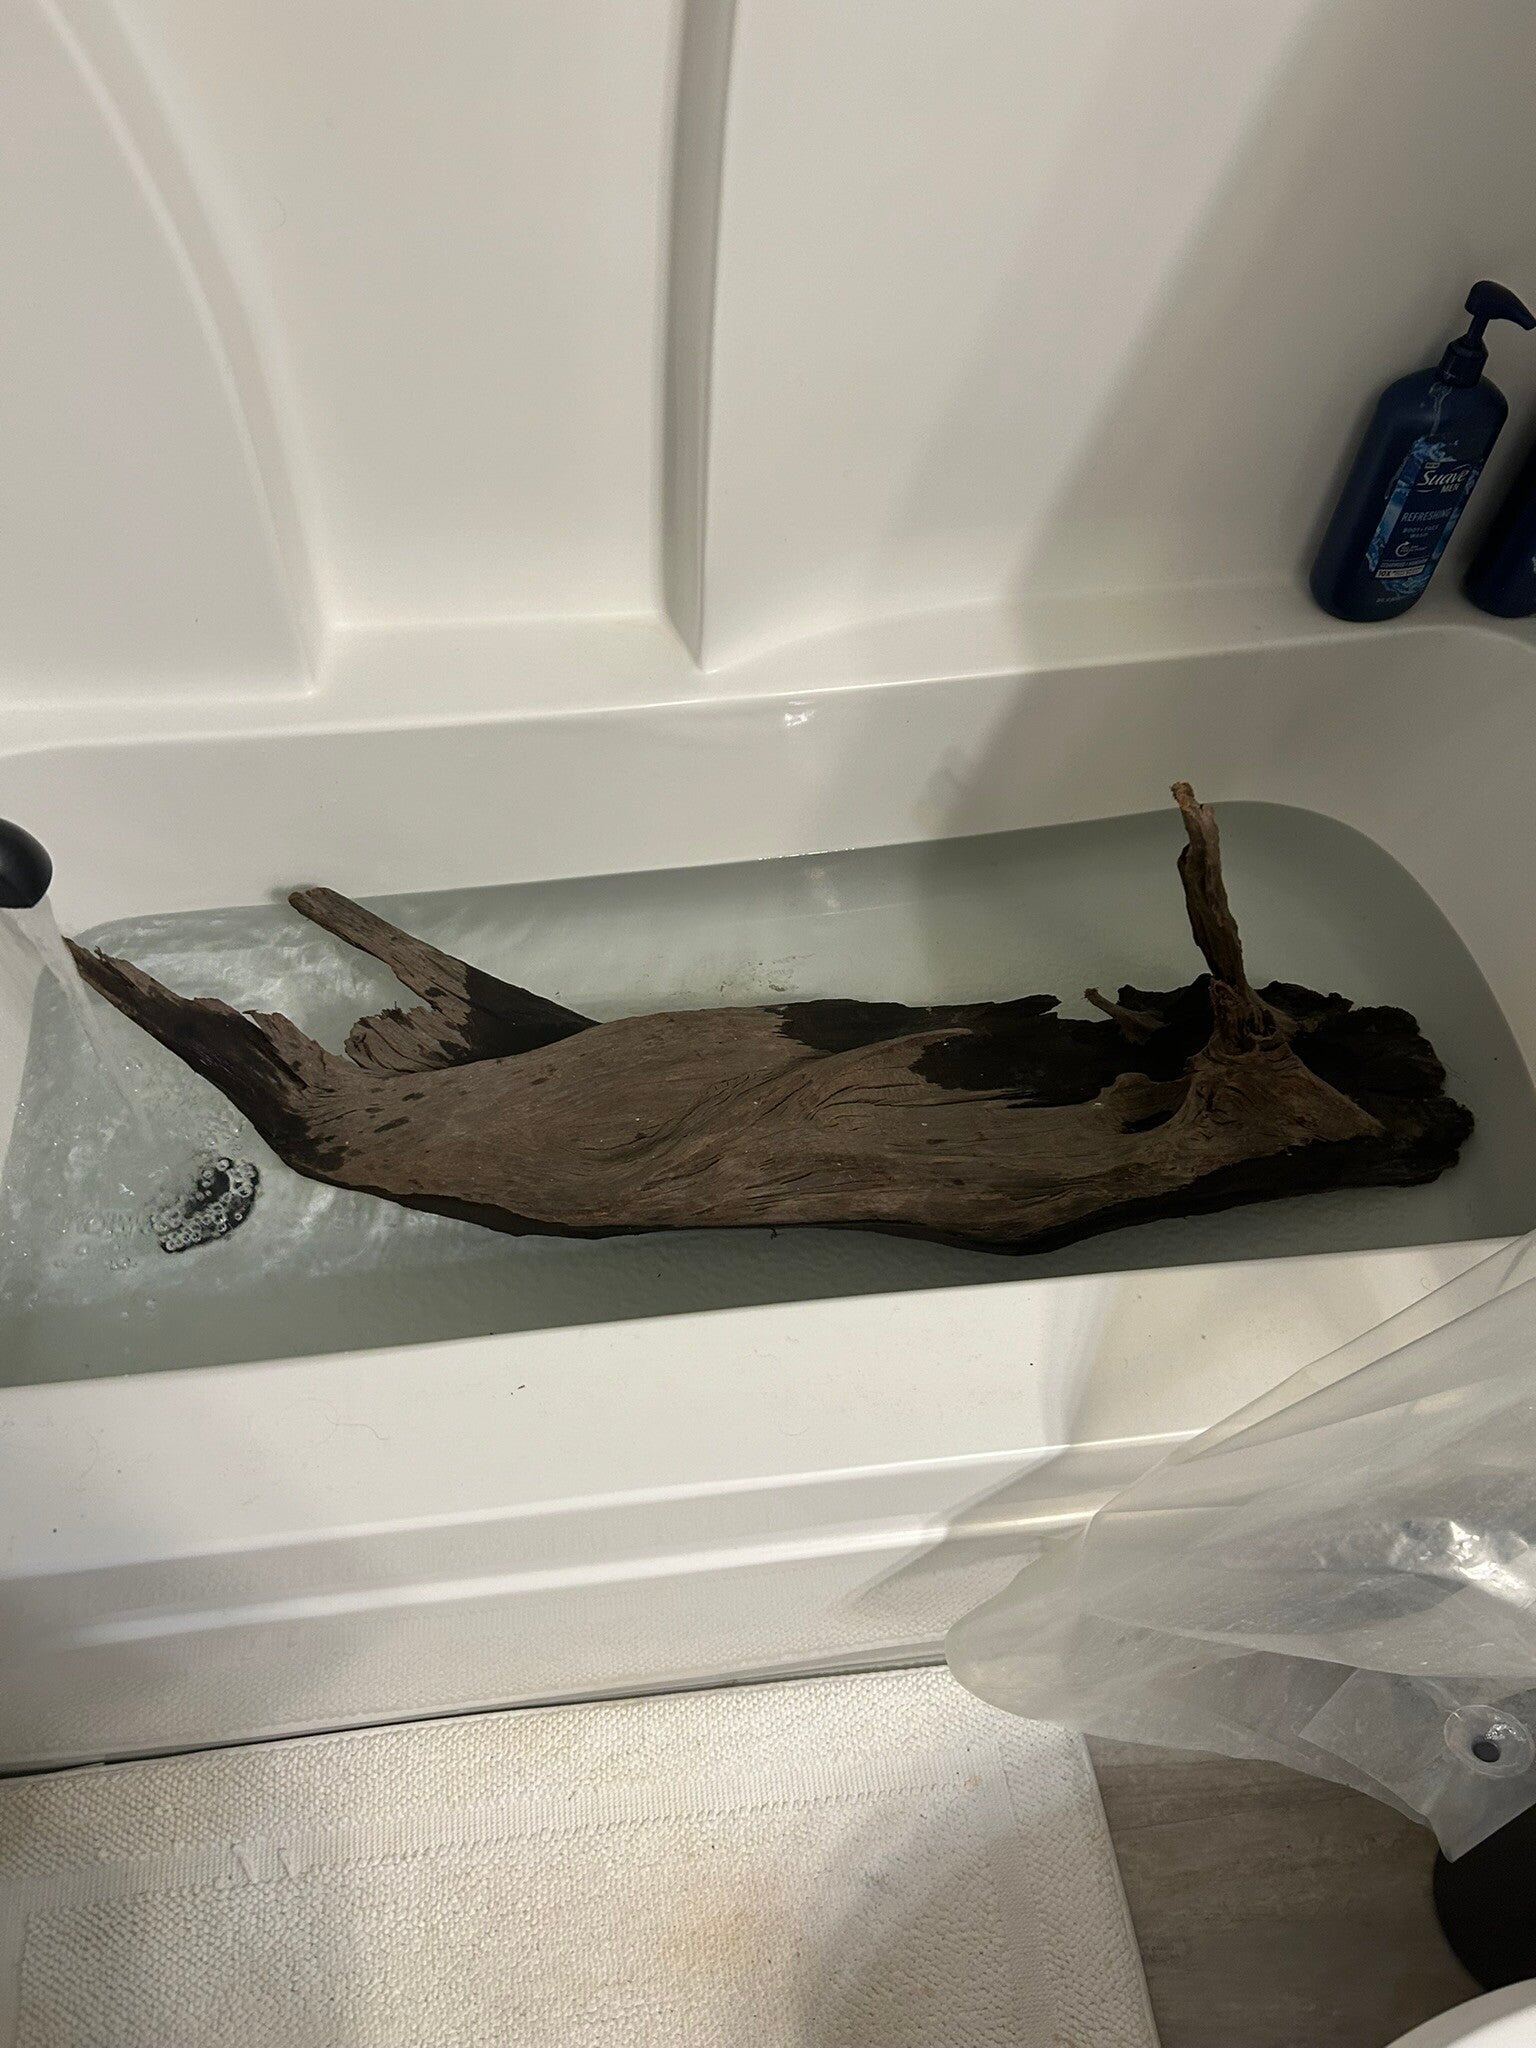
19 Sep 24
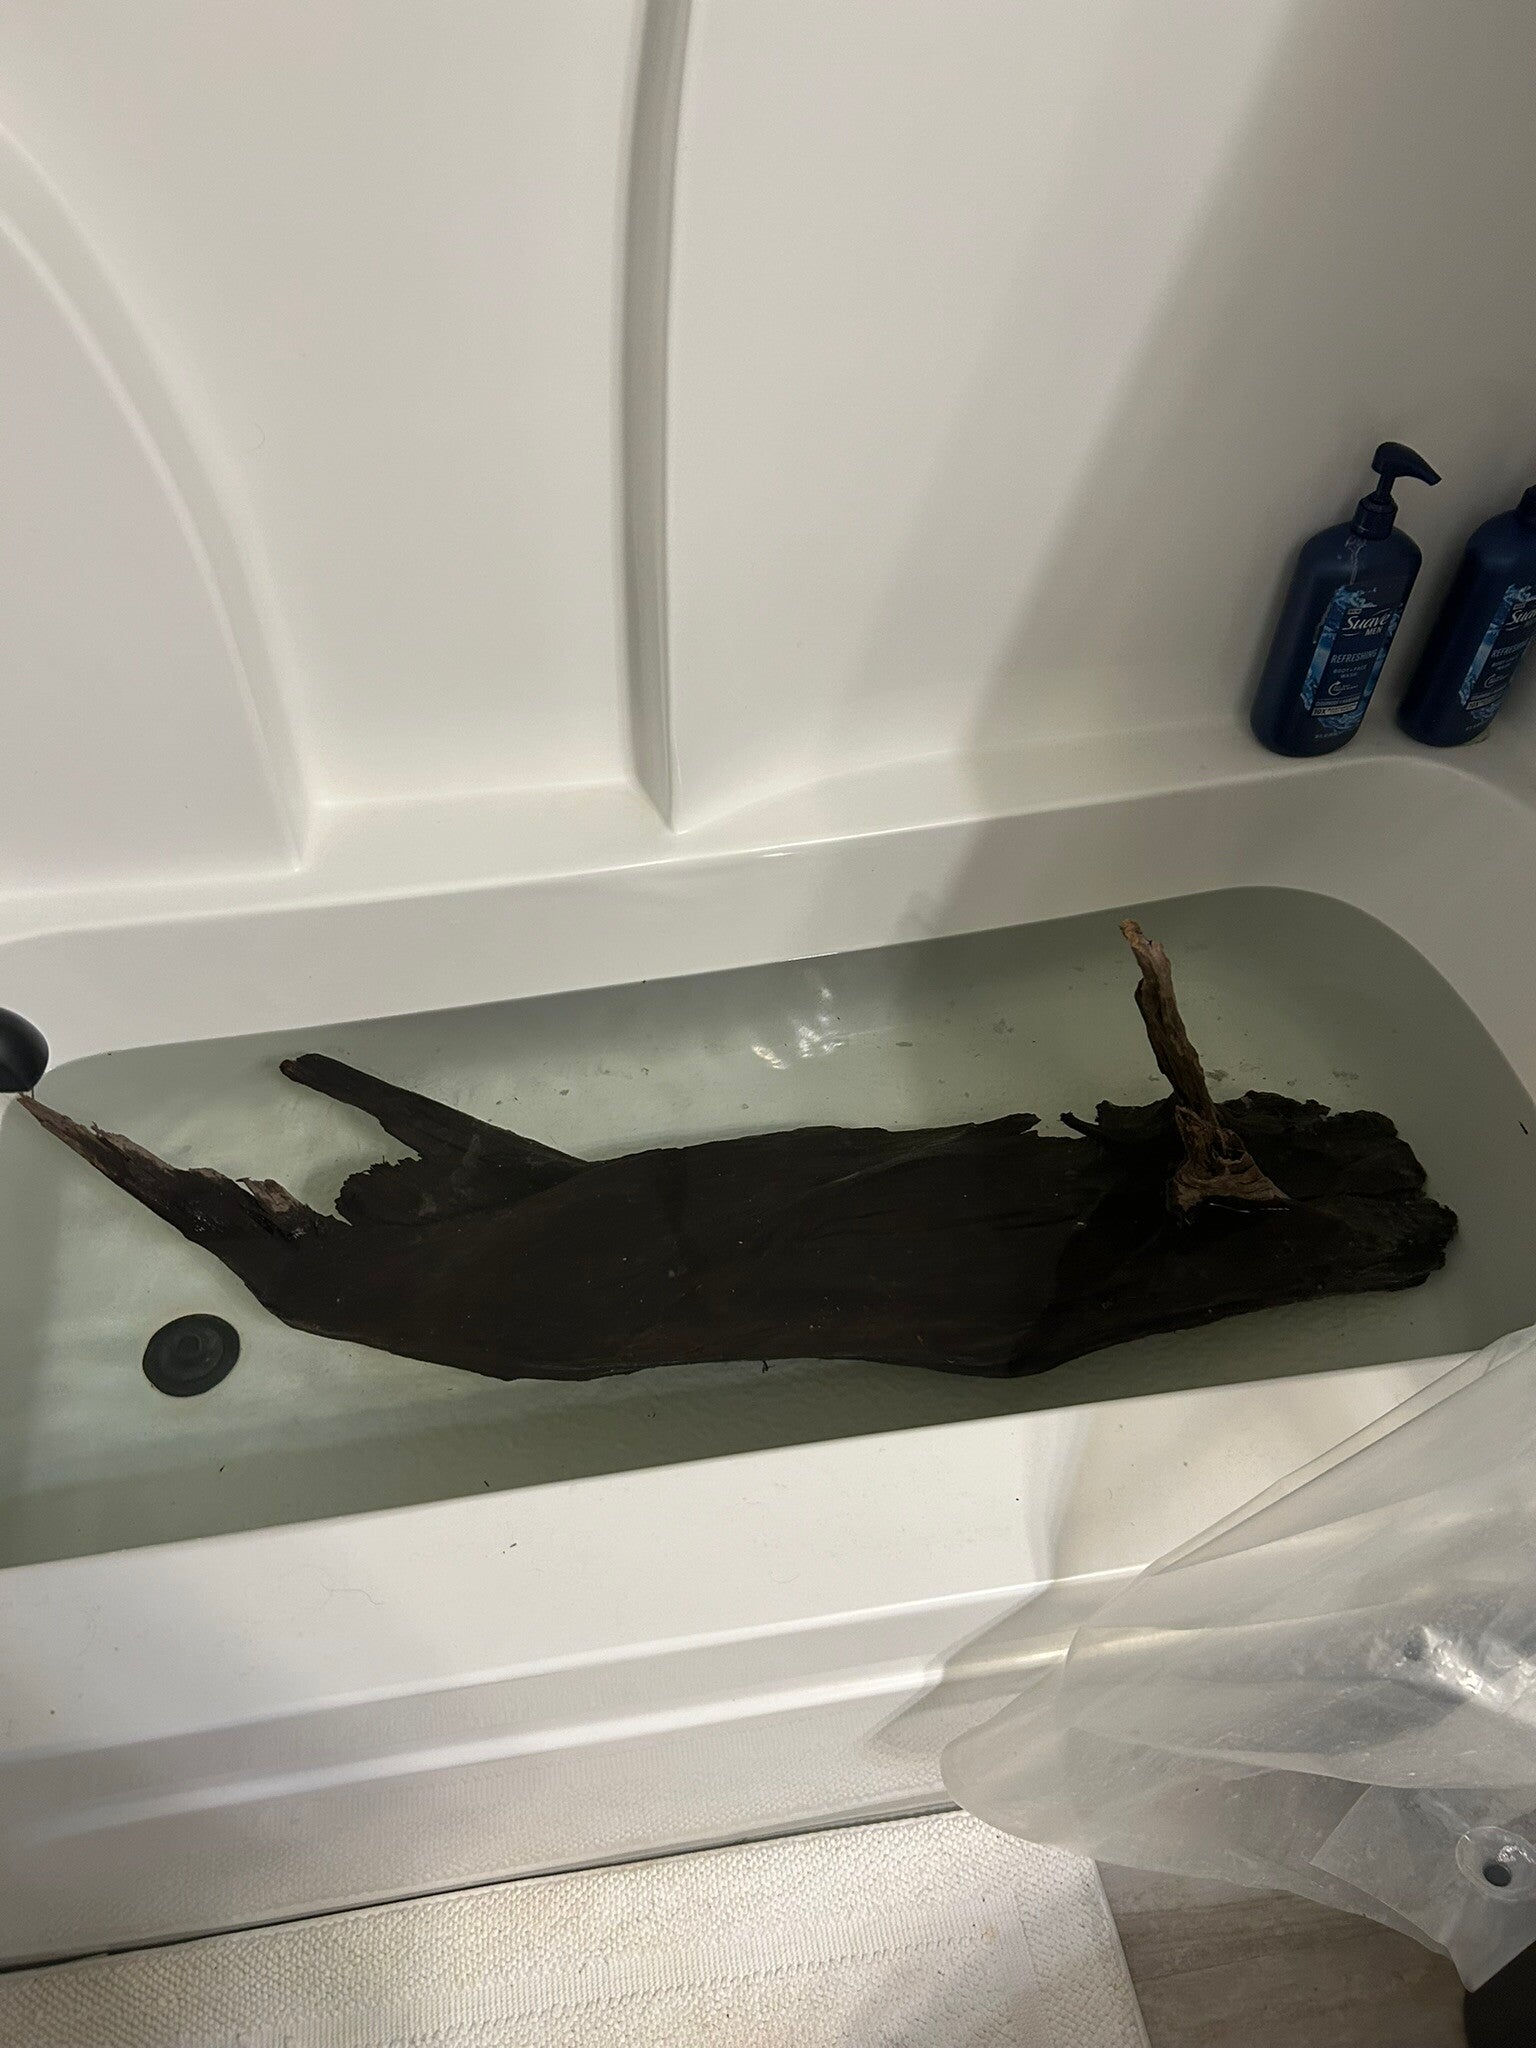
You can see the tannins in the water. Better here than in the aquarium.
19 Sep 24
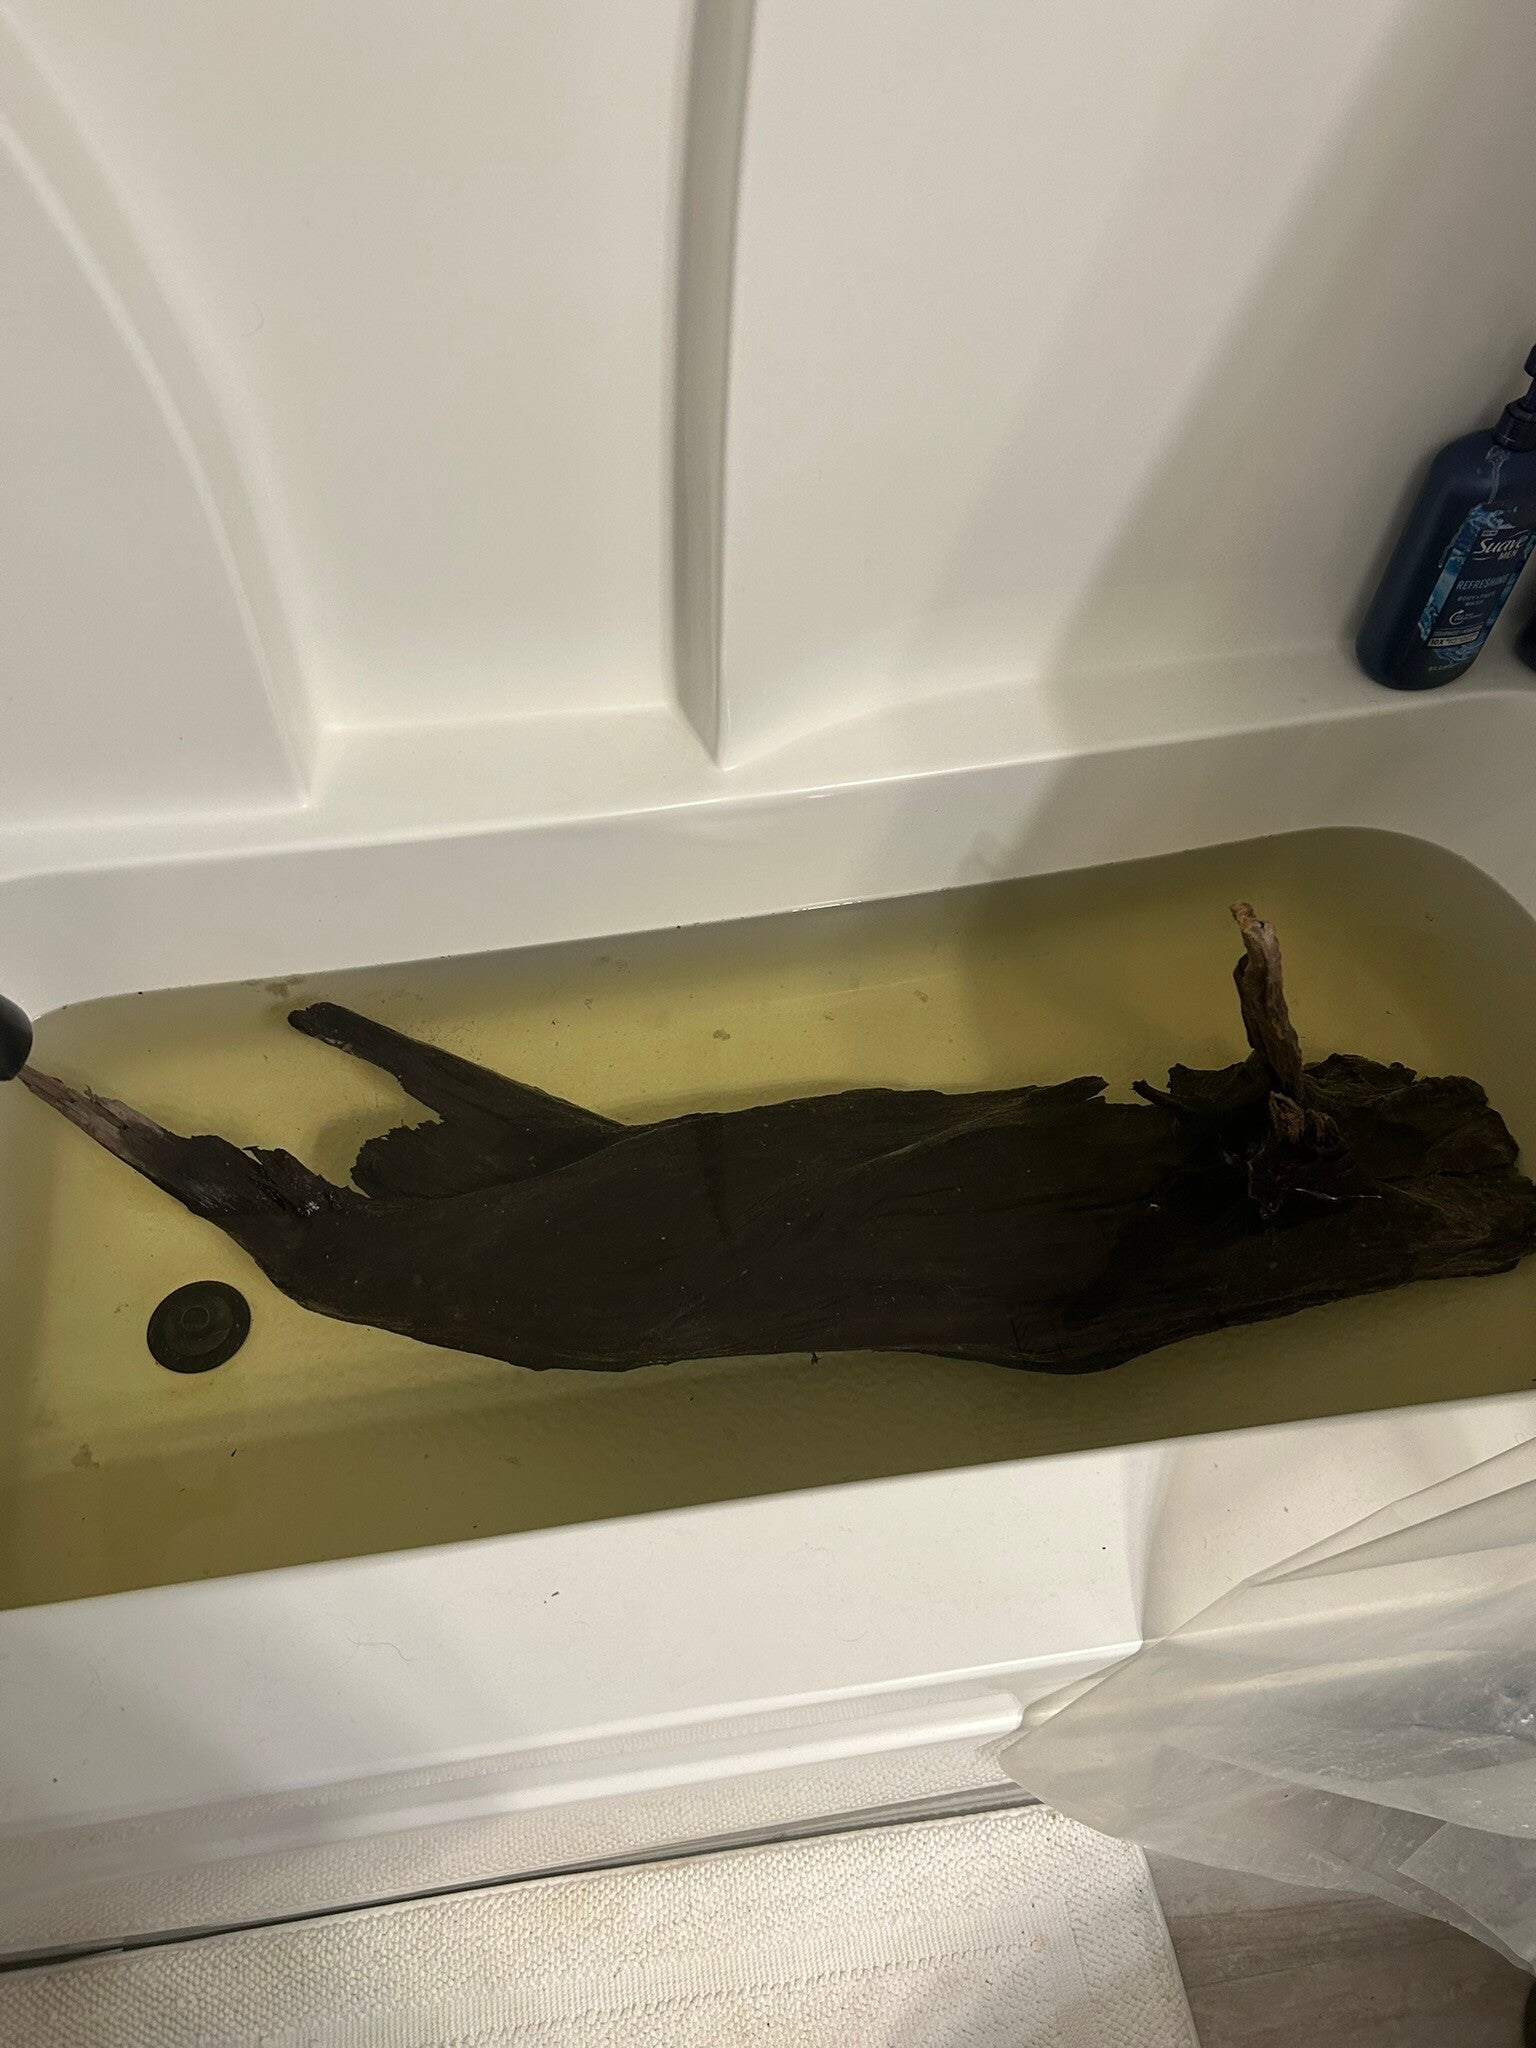
I drained and refilled this sever times throughout the day.
19 Sep 24
Filters in place.
20 Sep 24
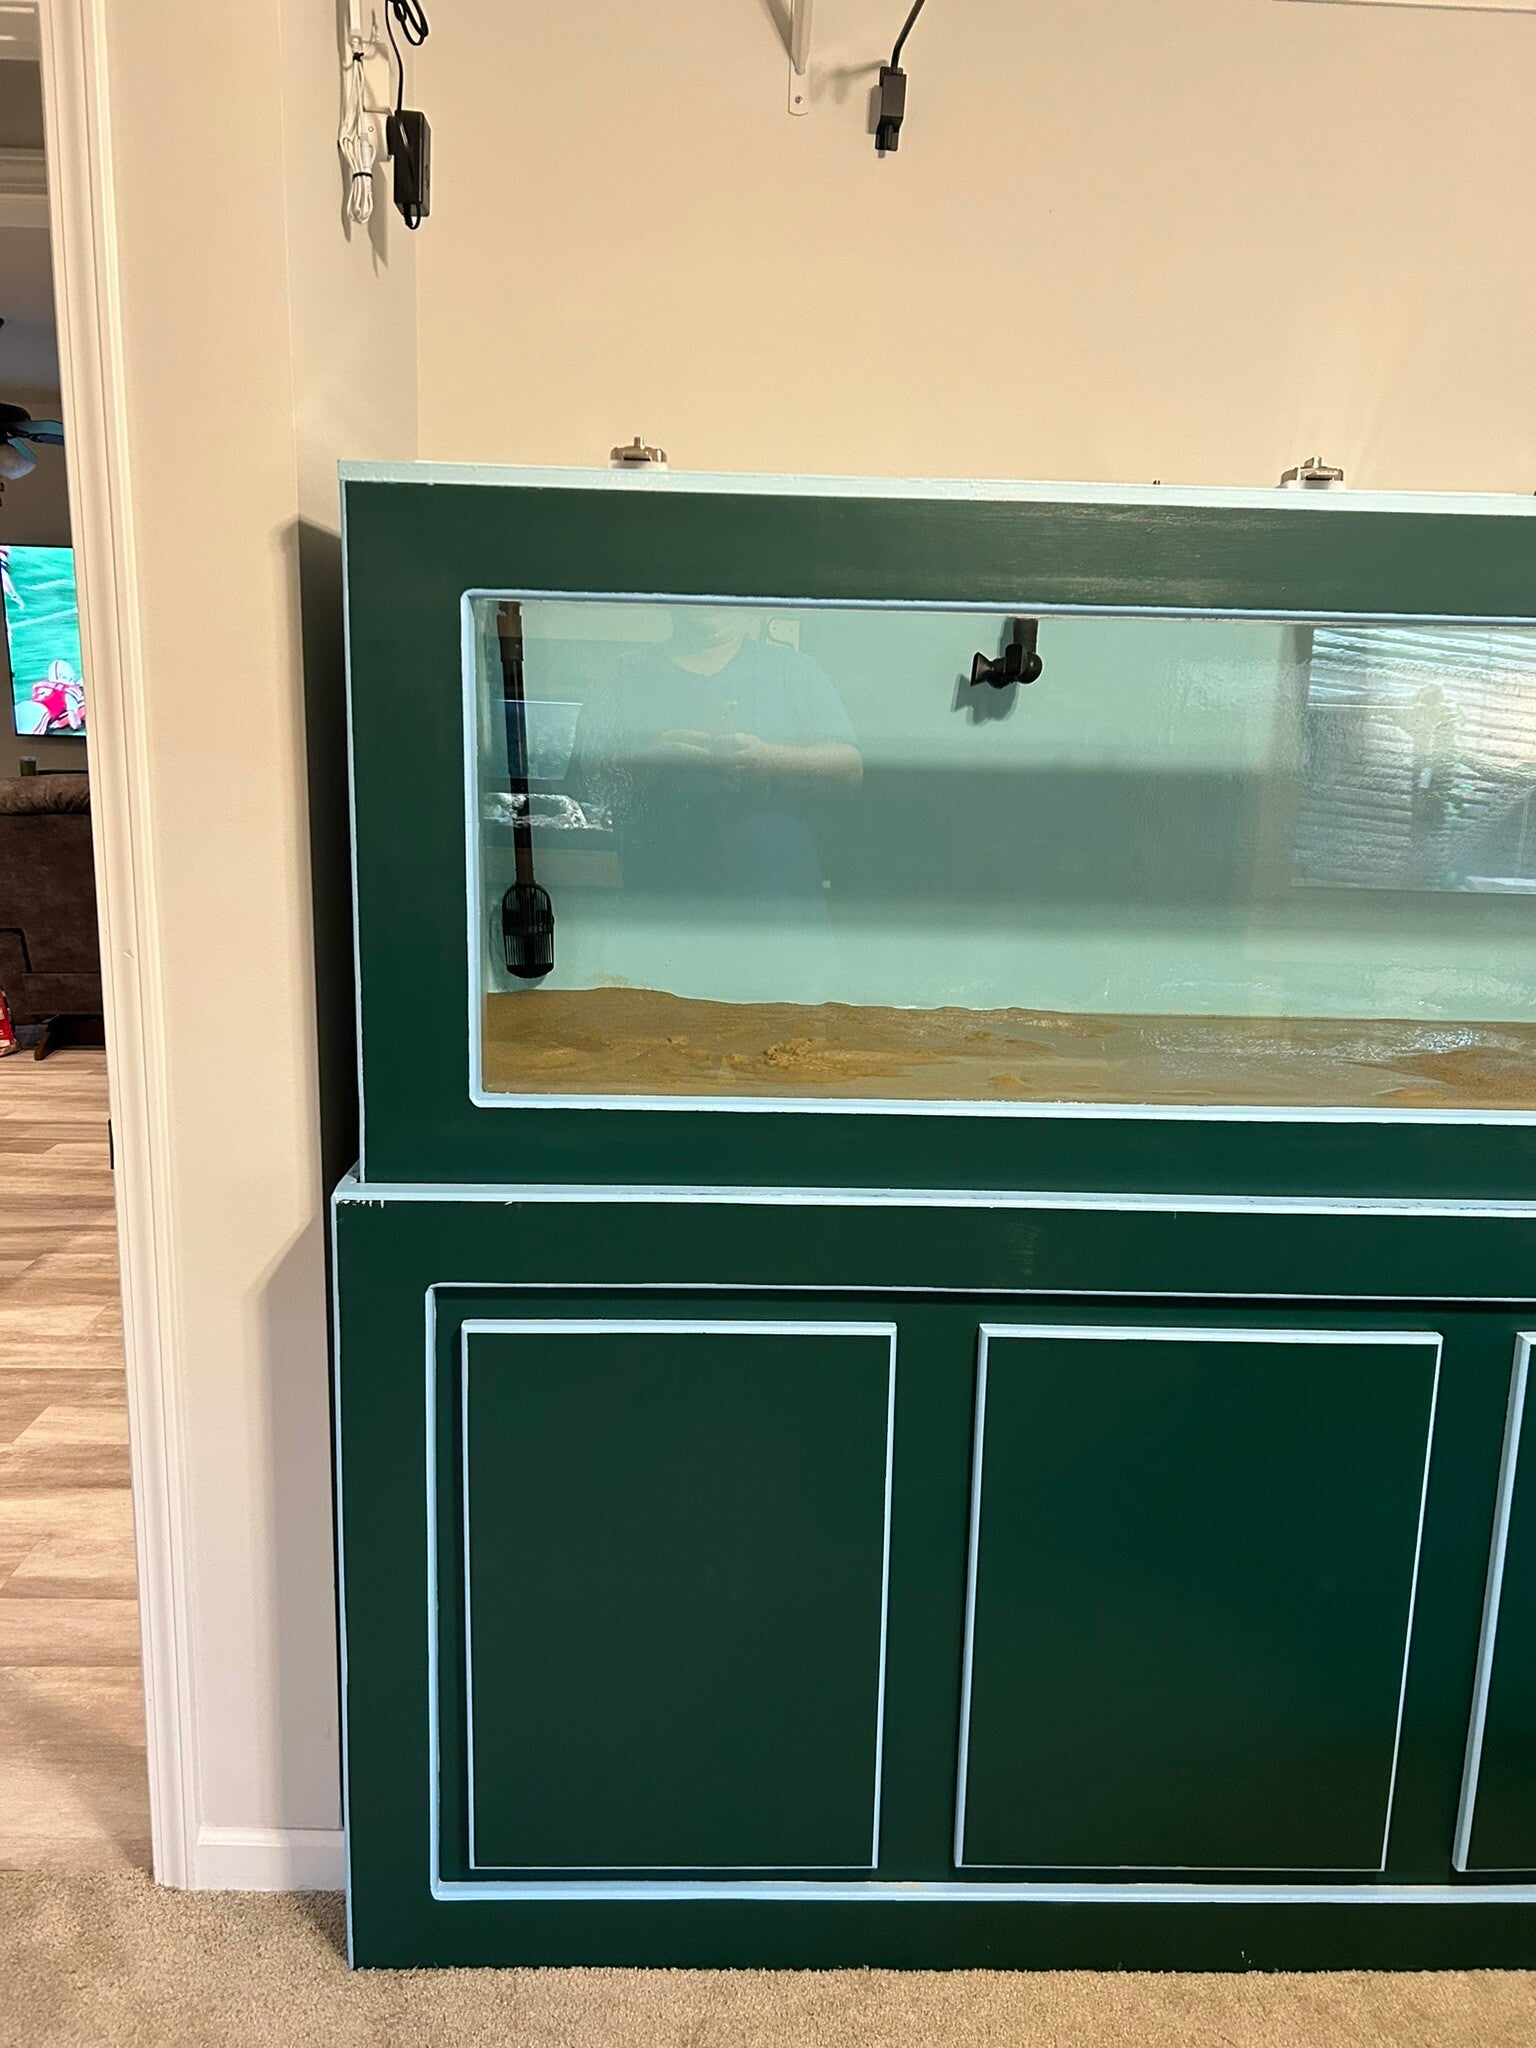
Filling it up to test it one more time.
20 Sep 24
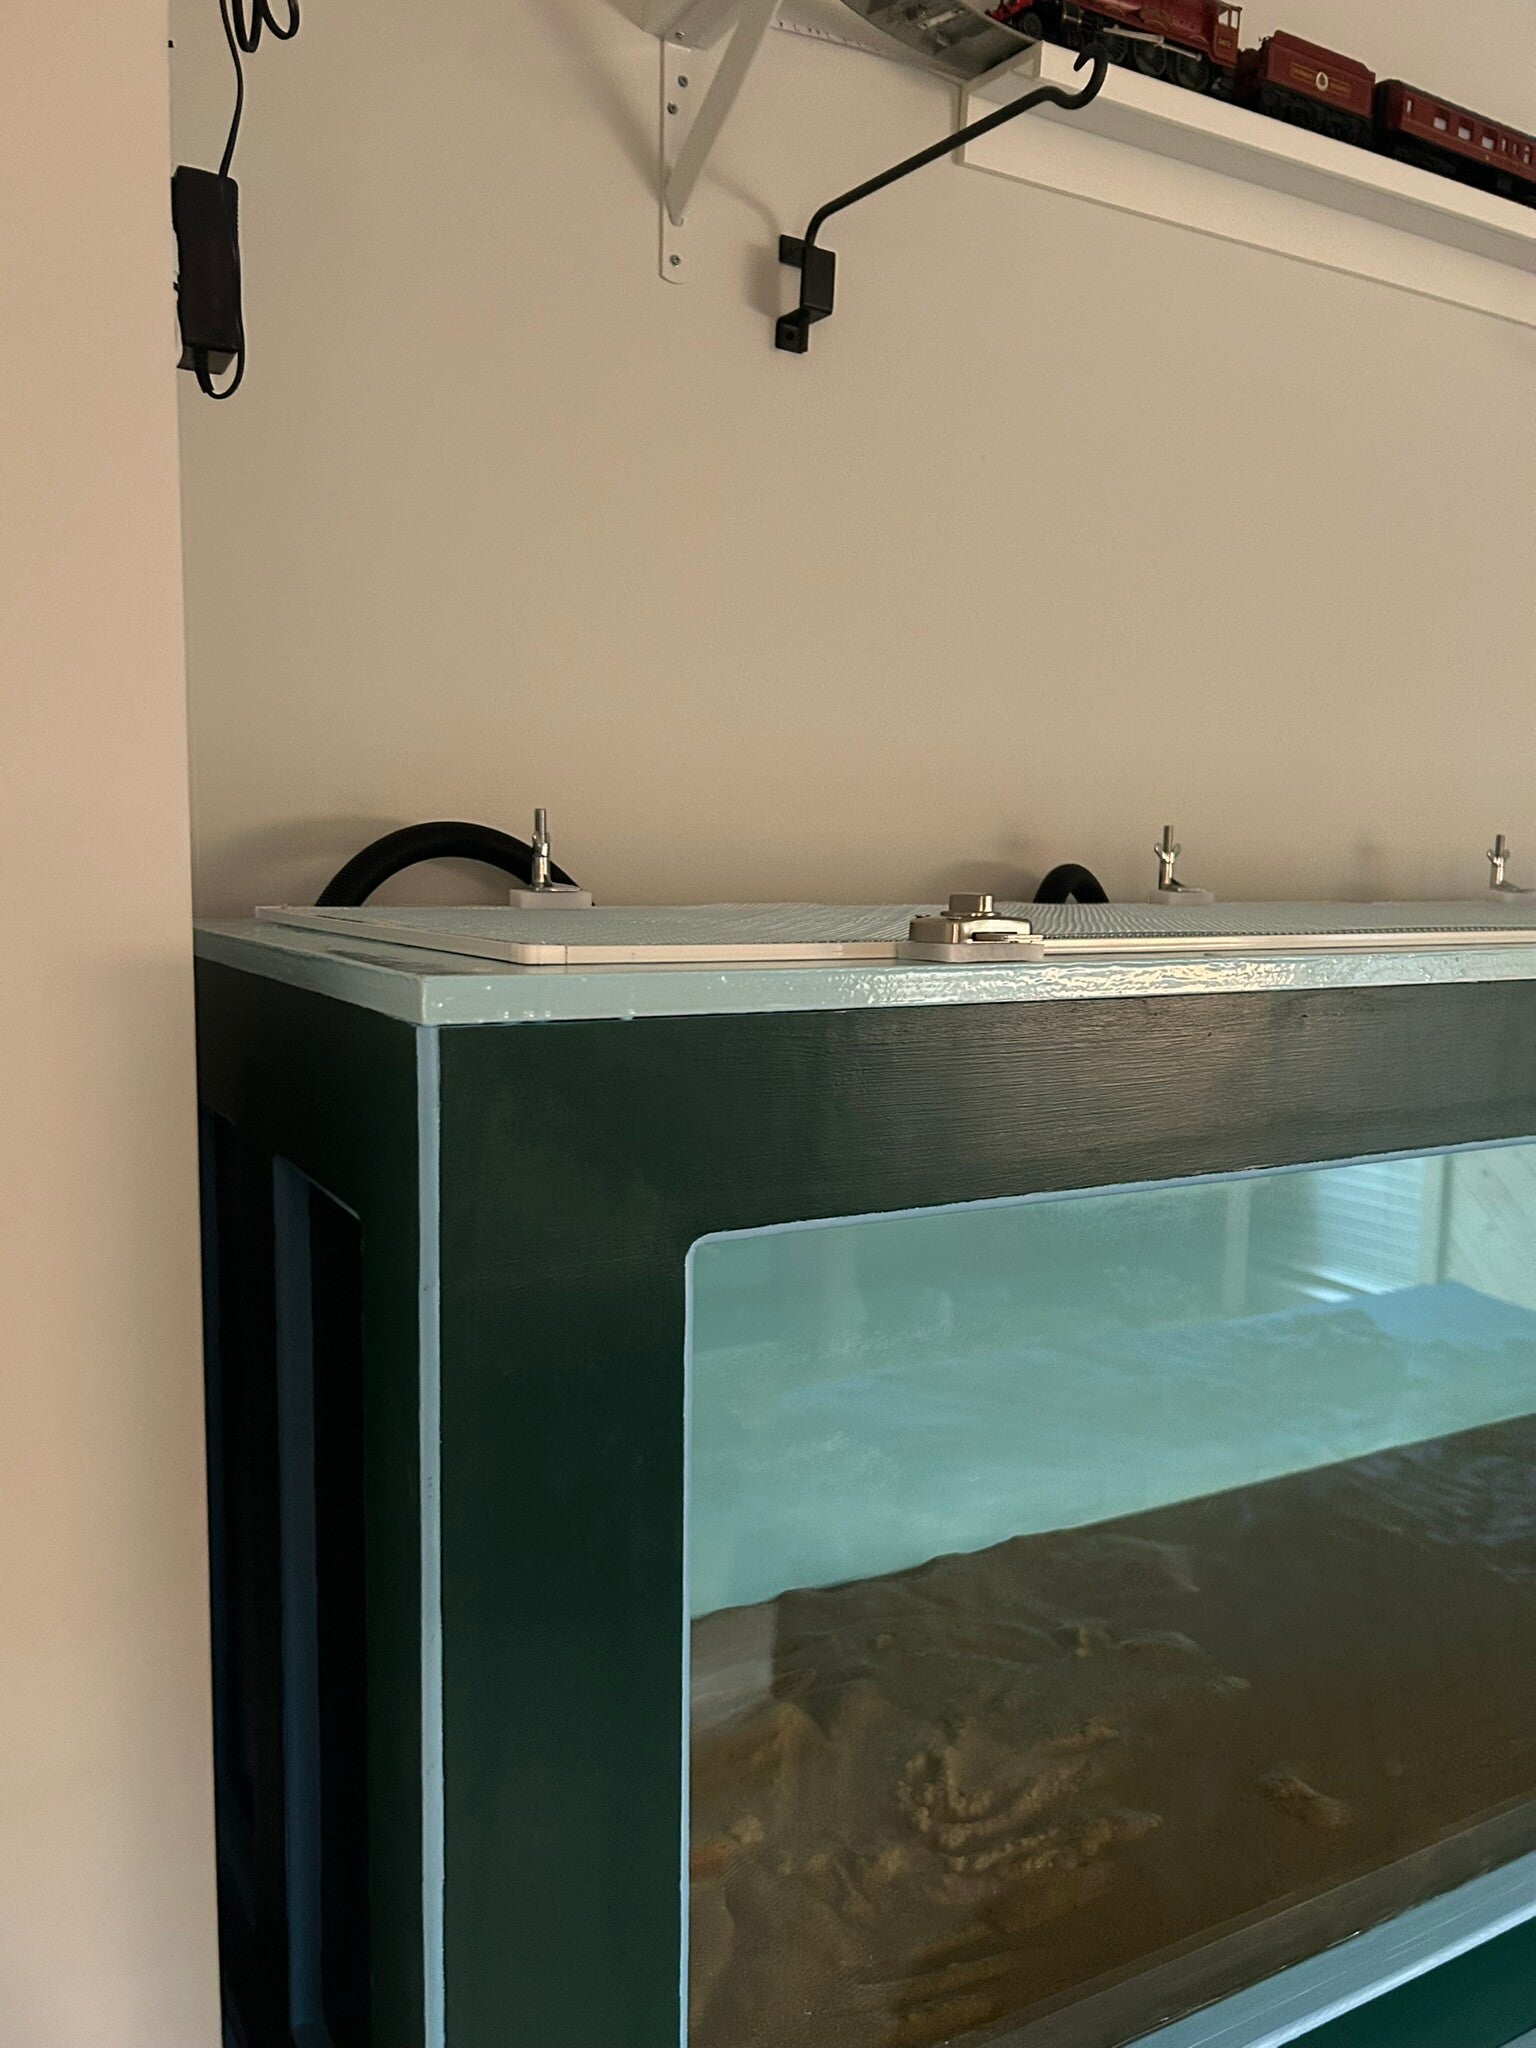
Closeup of the screen-printing hinge. I had to use a plastic spacer to make it snug.
24 Sep 24
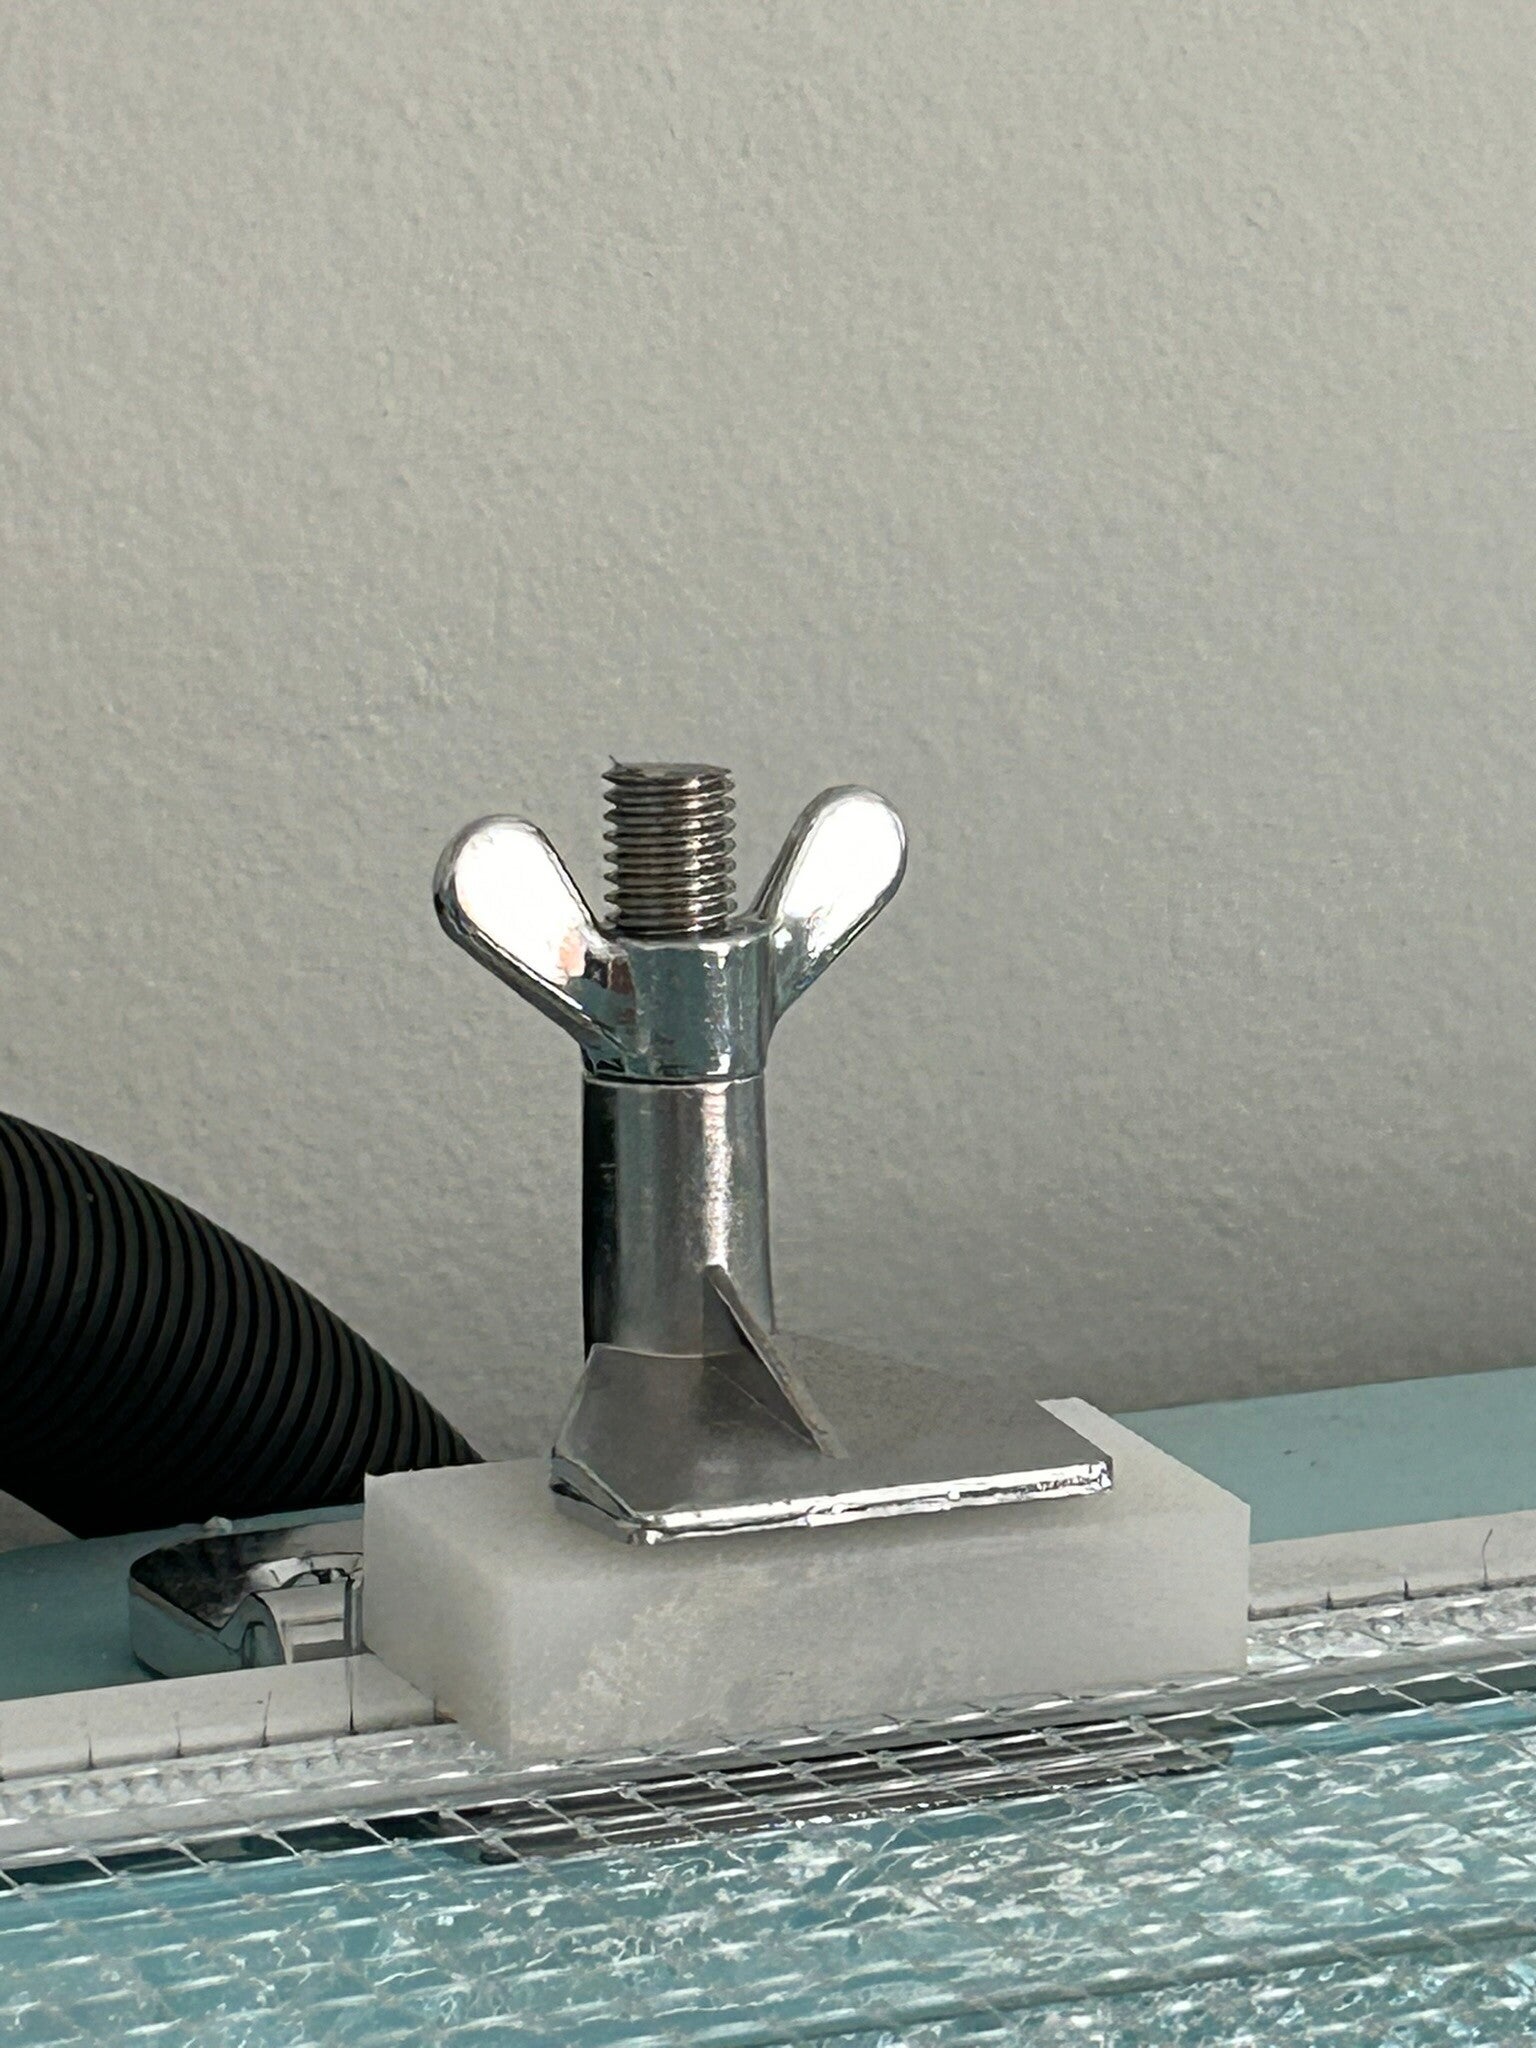
5 days later and it looks done.
24 Sep 24
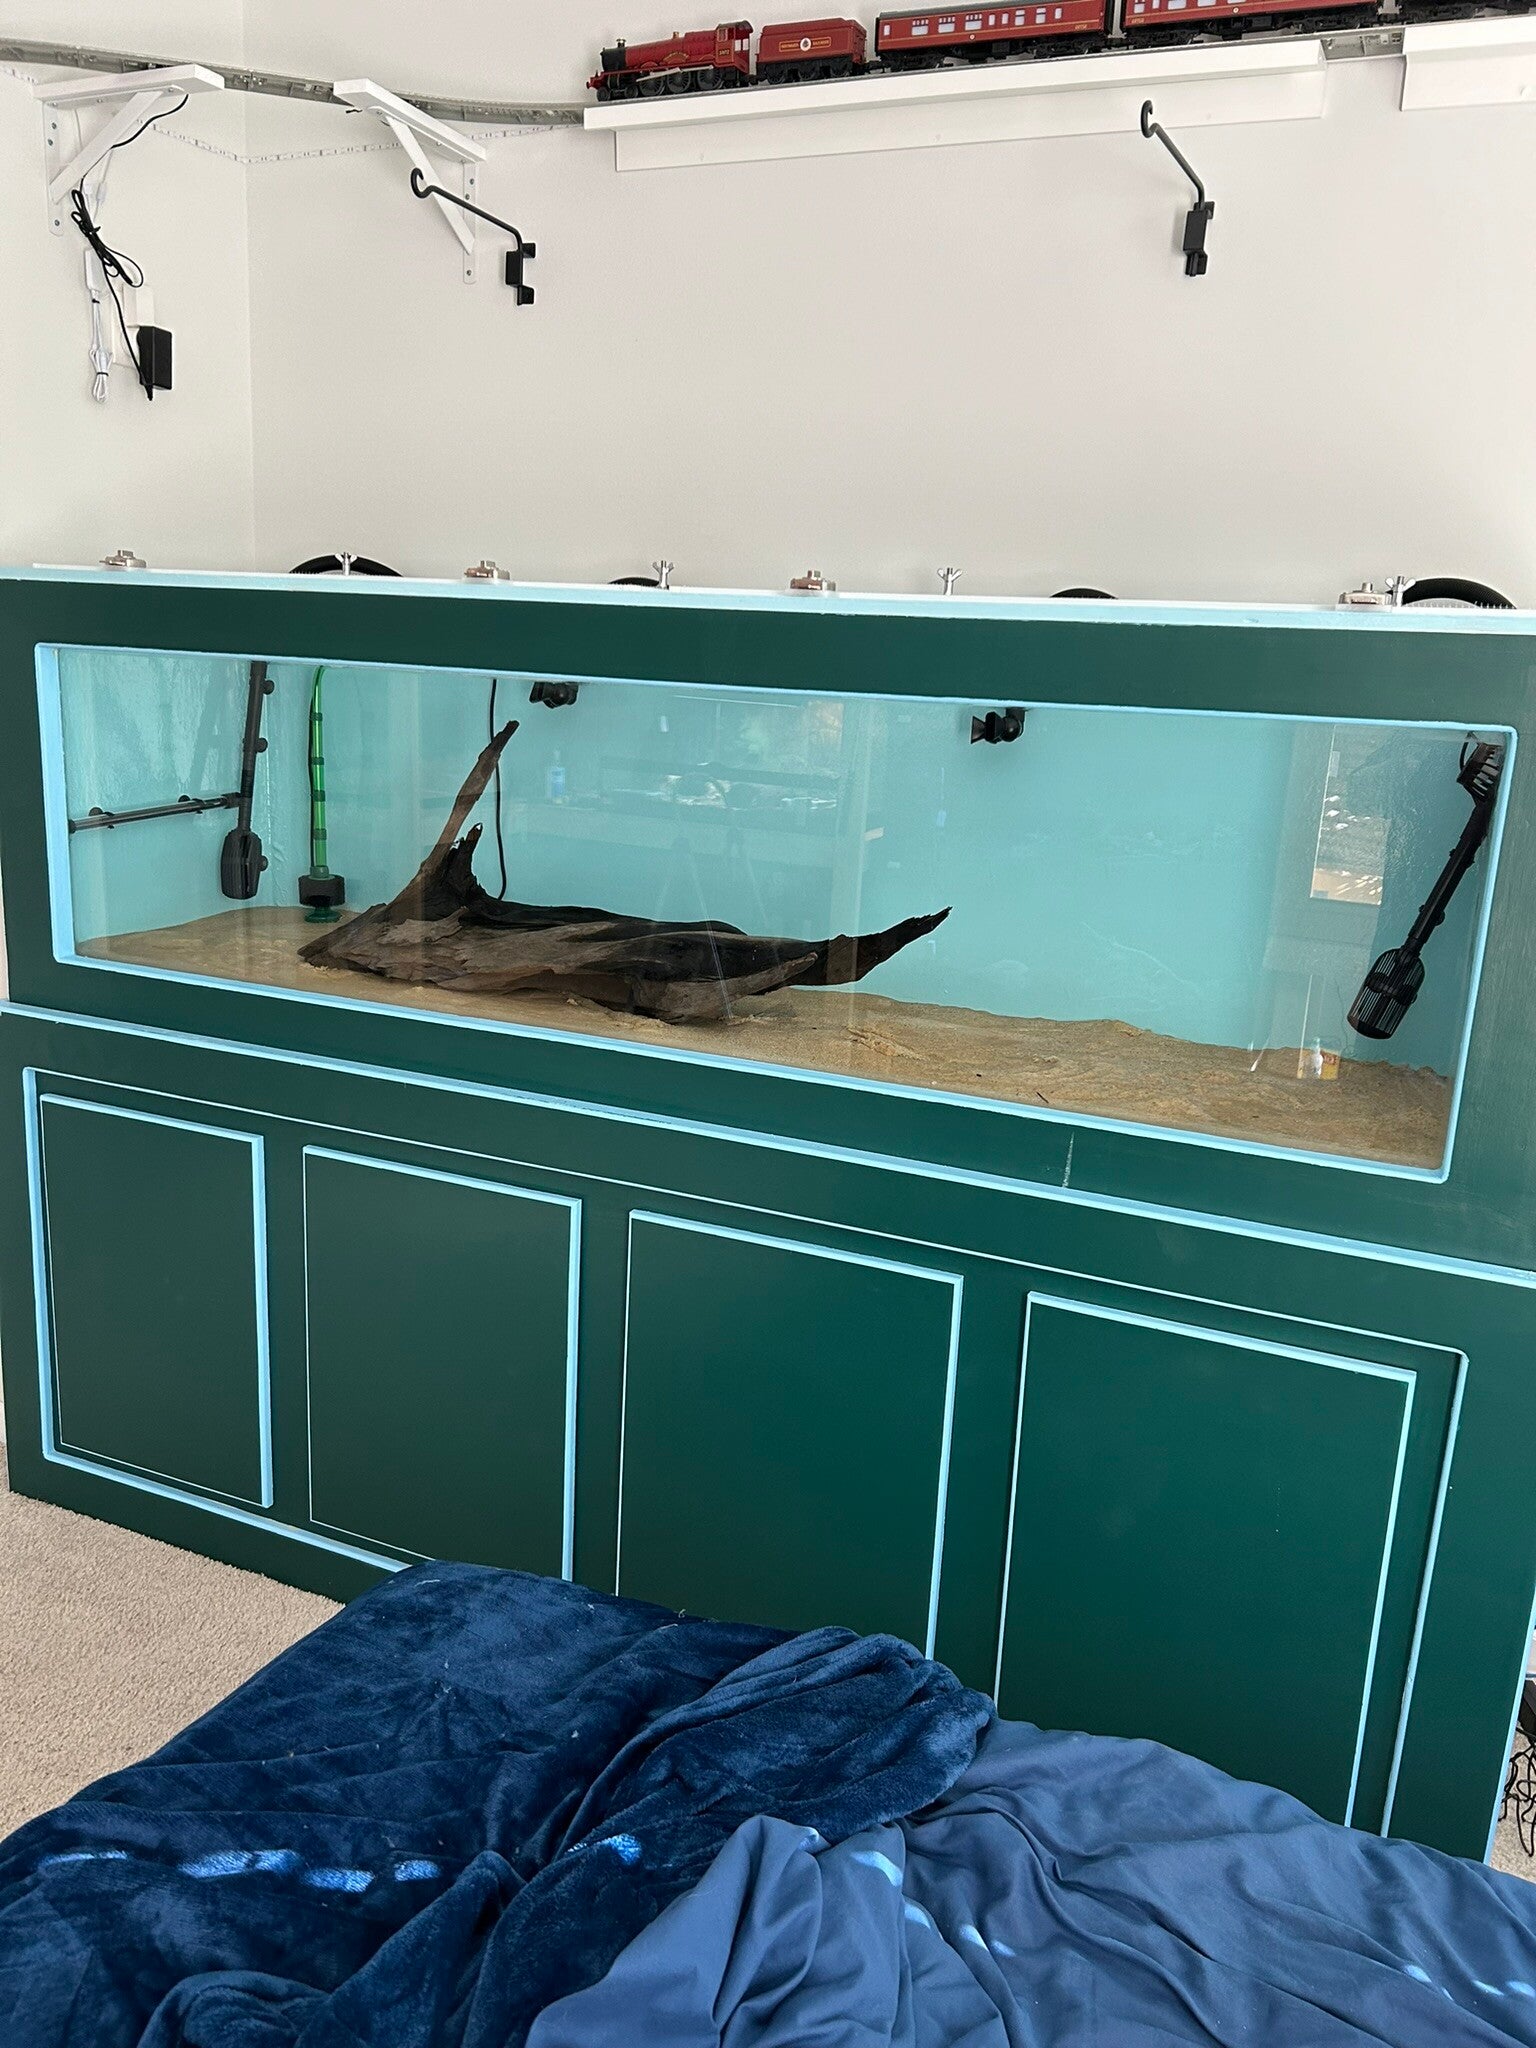
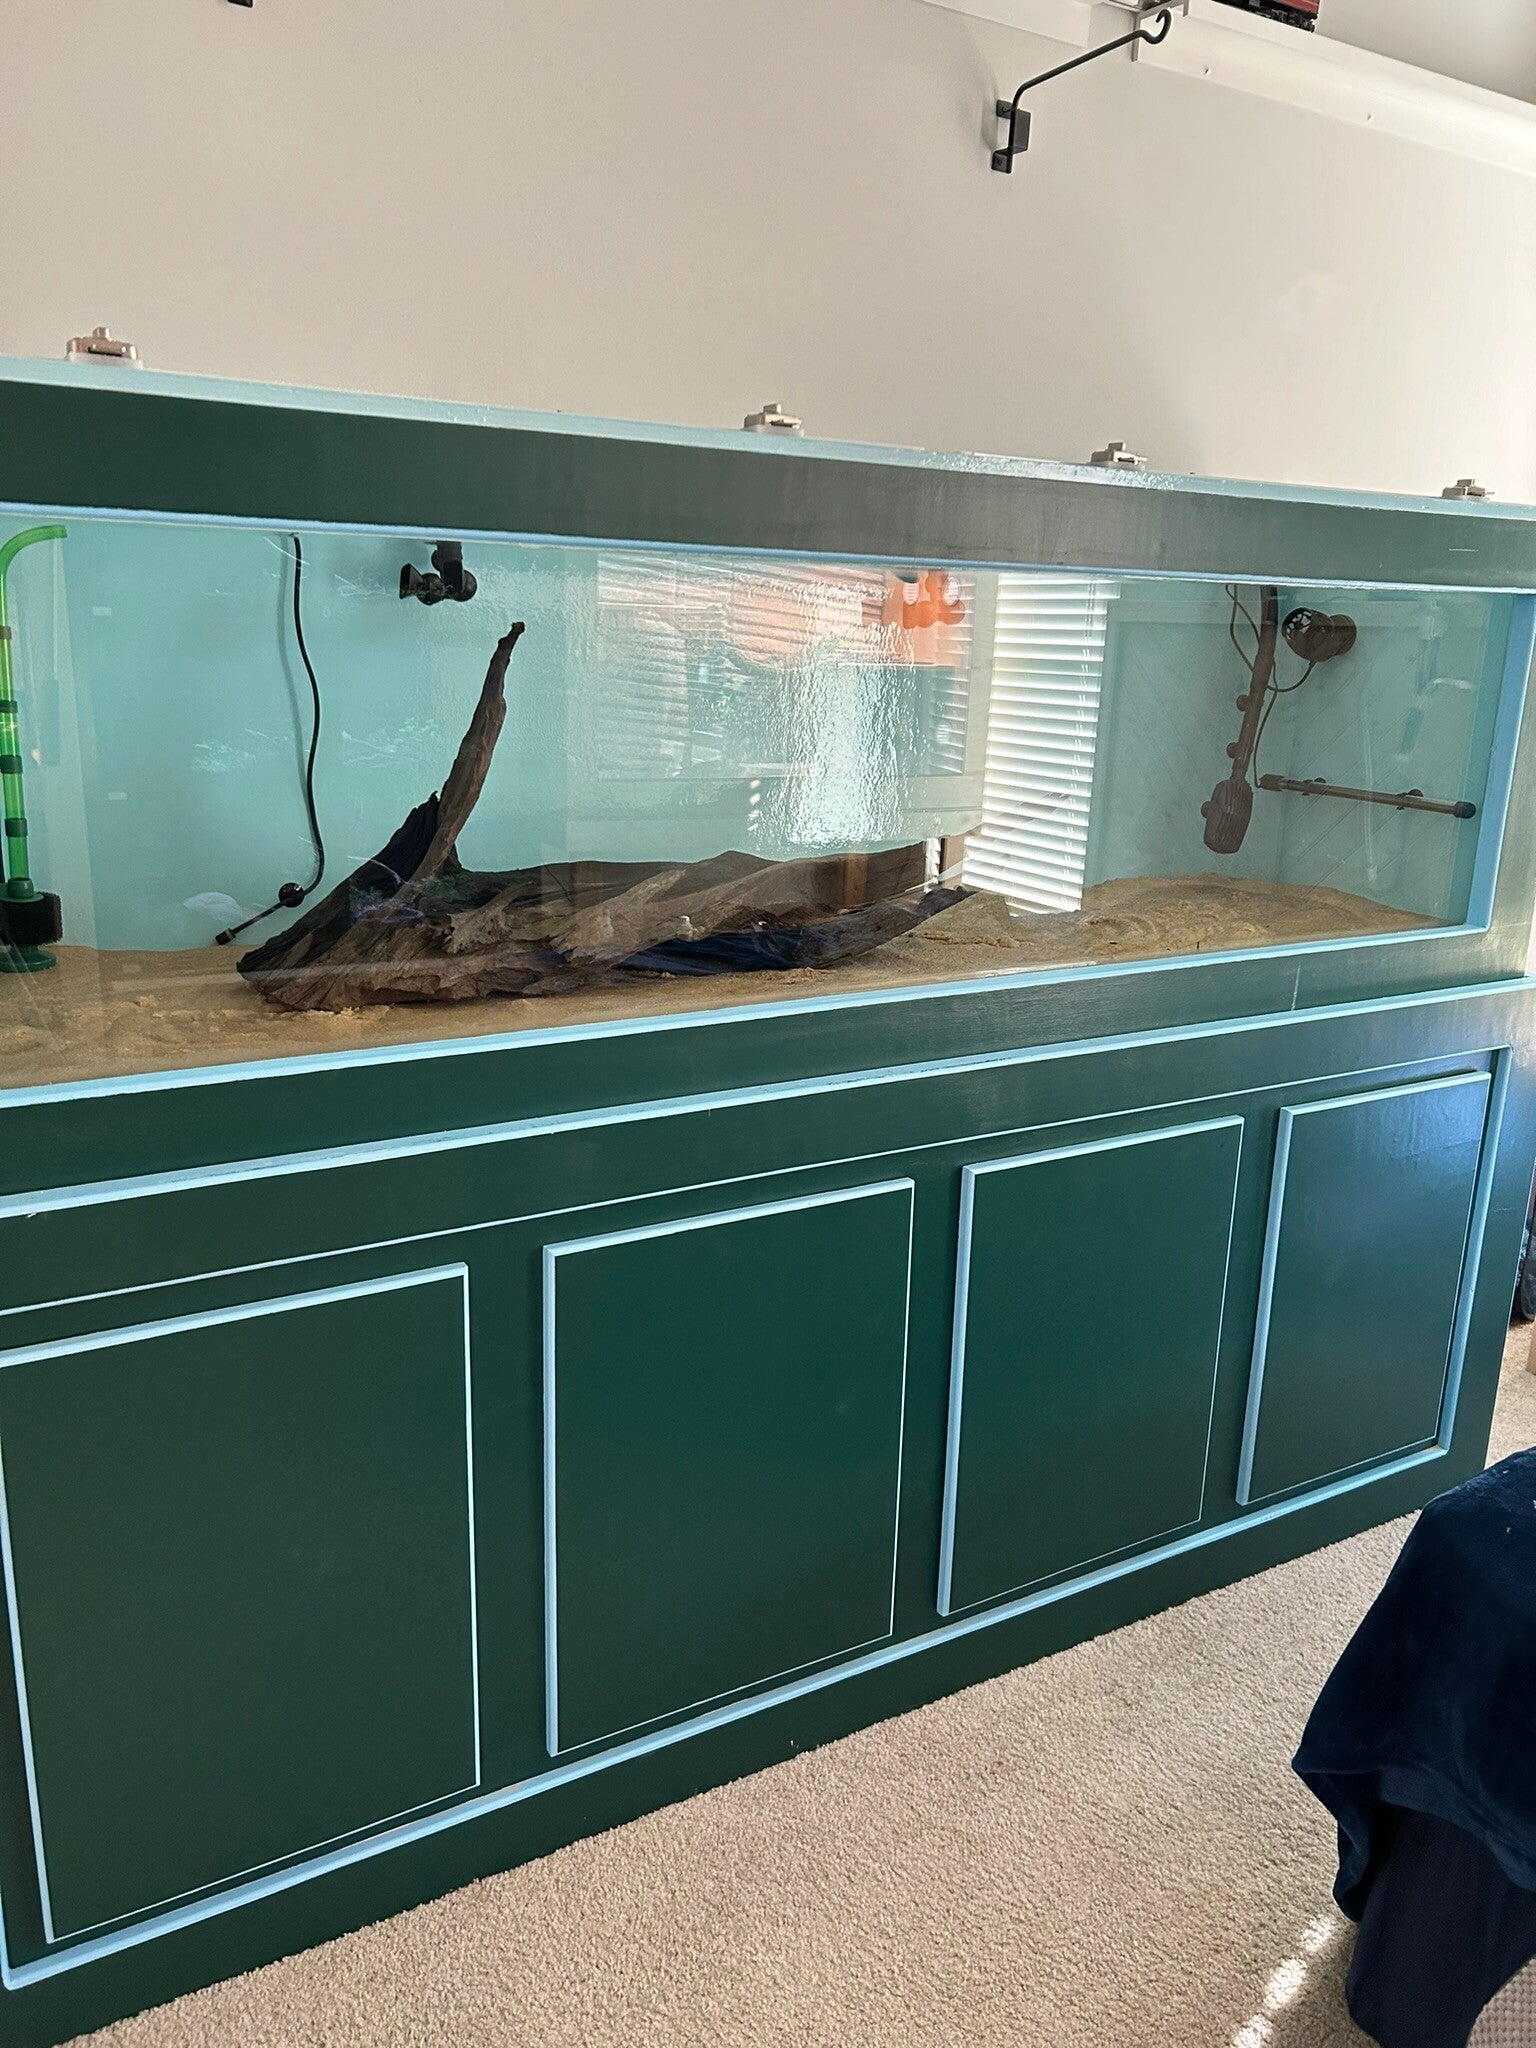
It looks tiny in the tank.
27 Sep 24
27 Sep 24
27 Sep 24
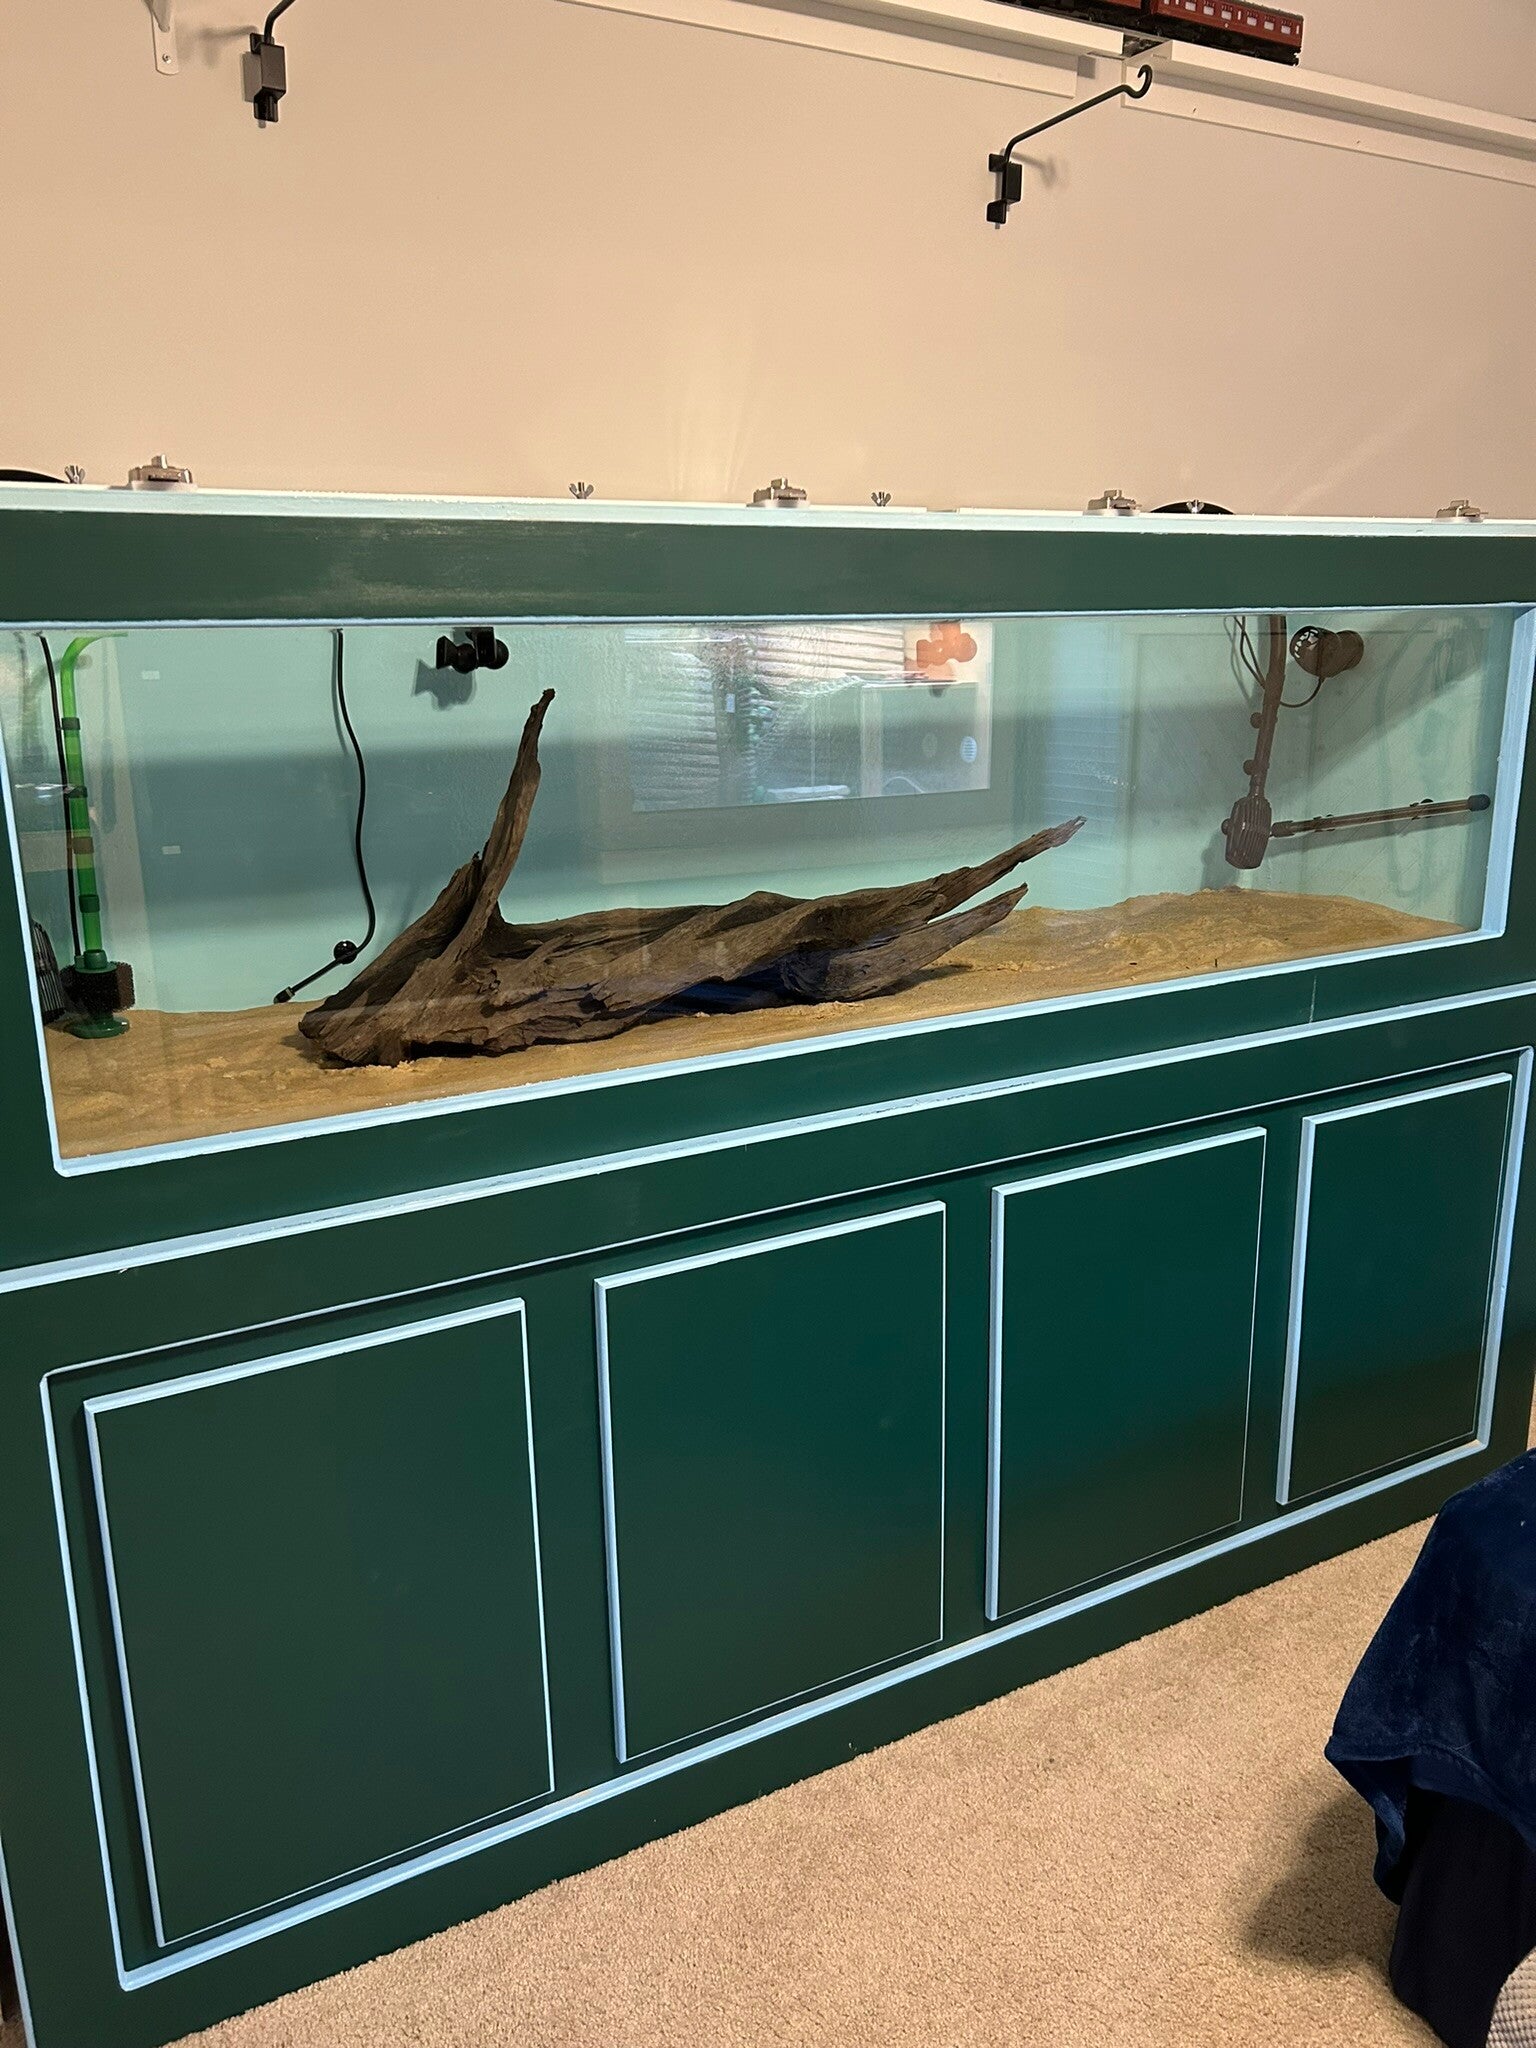
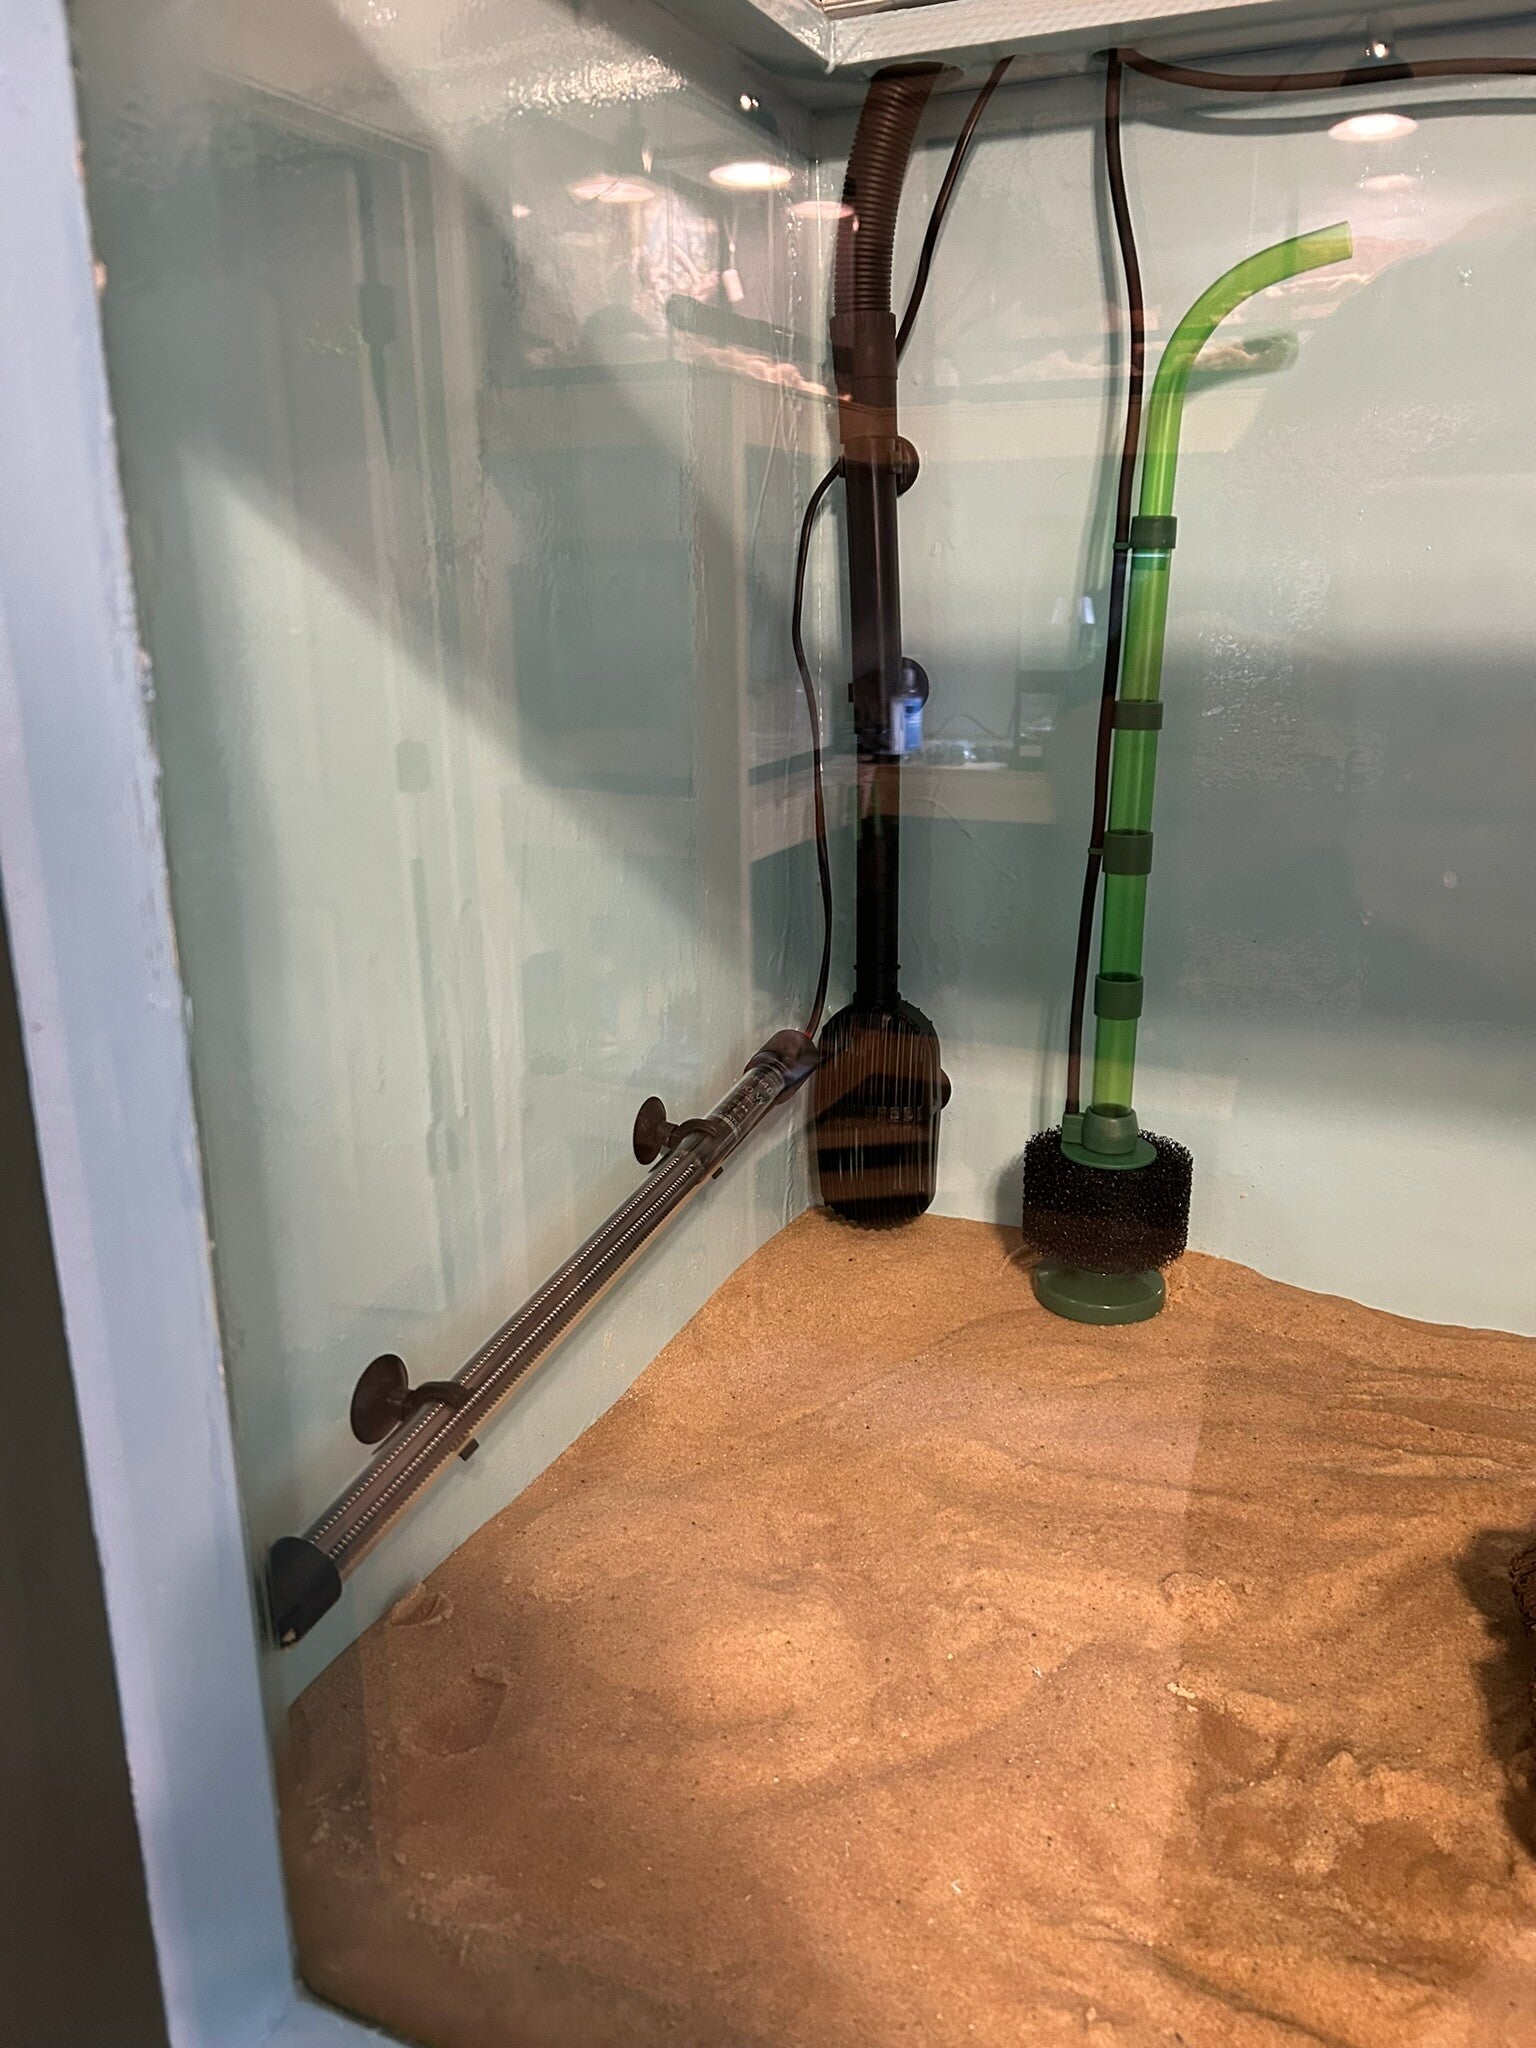
Heater, filter intake, and spare sponge filter (that I have since removed).
3 Oct 24
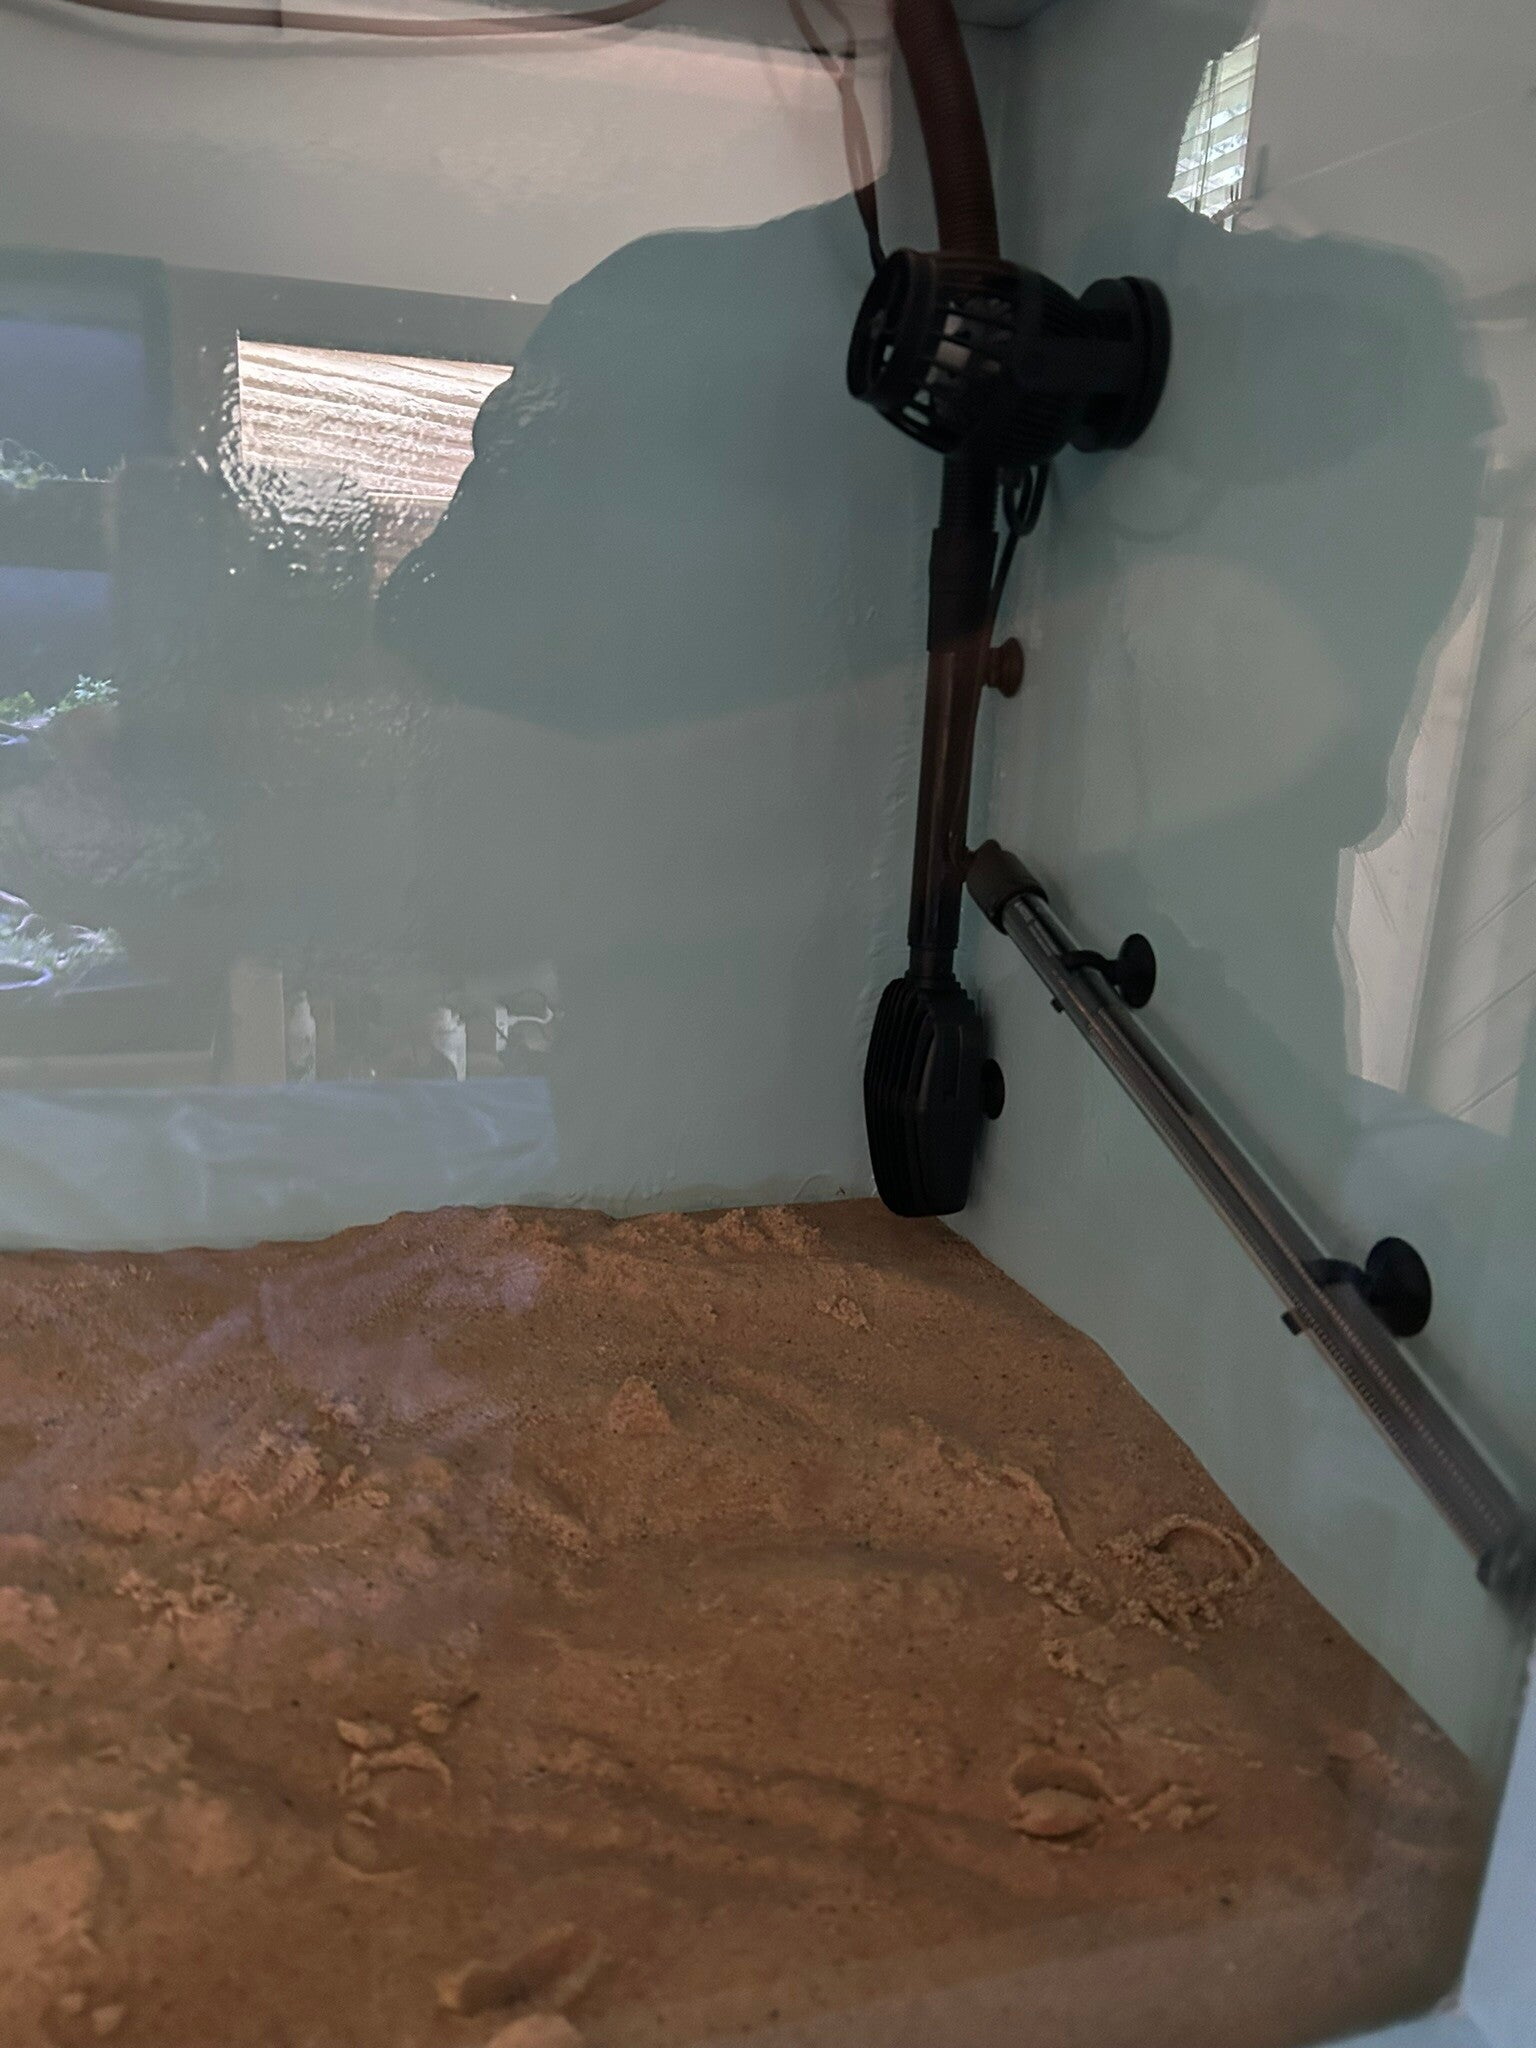
Heater and intake on other side.
3 Oct 24
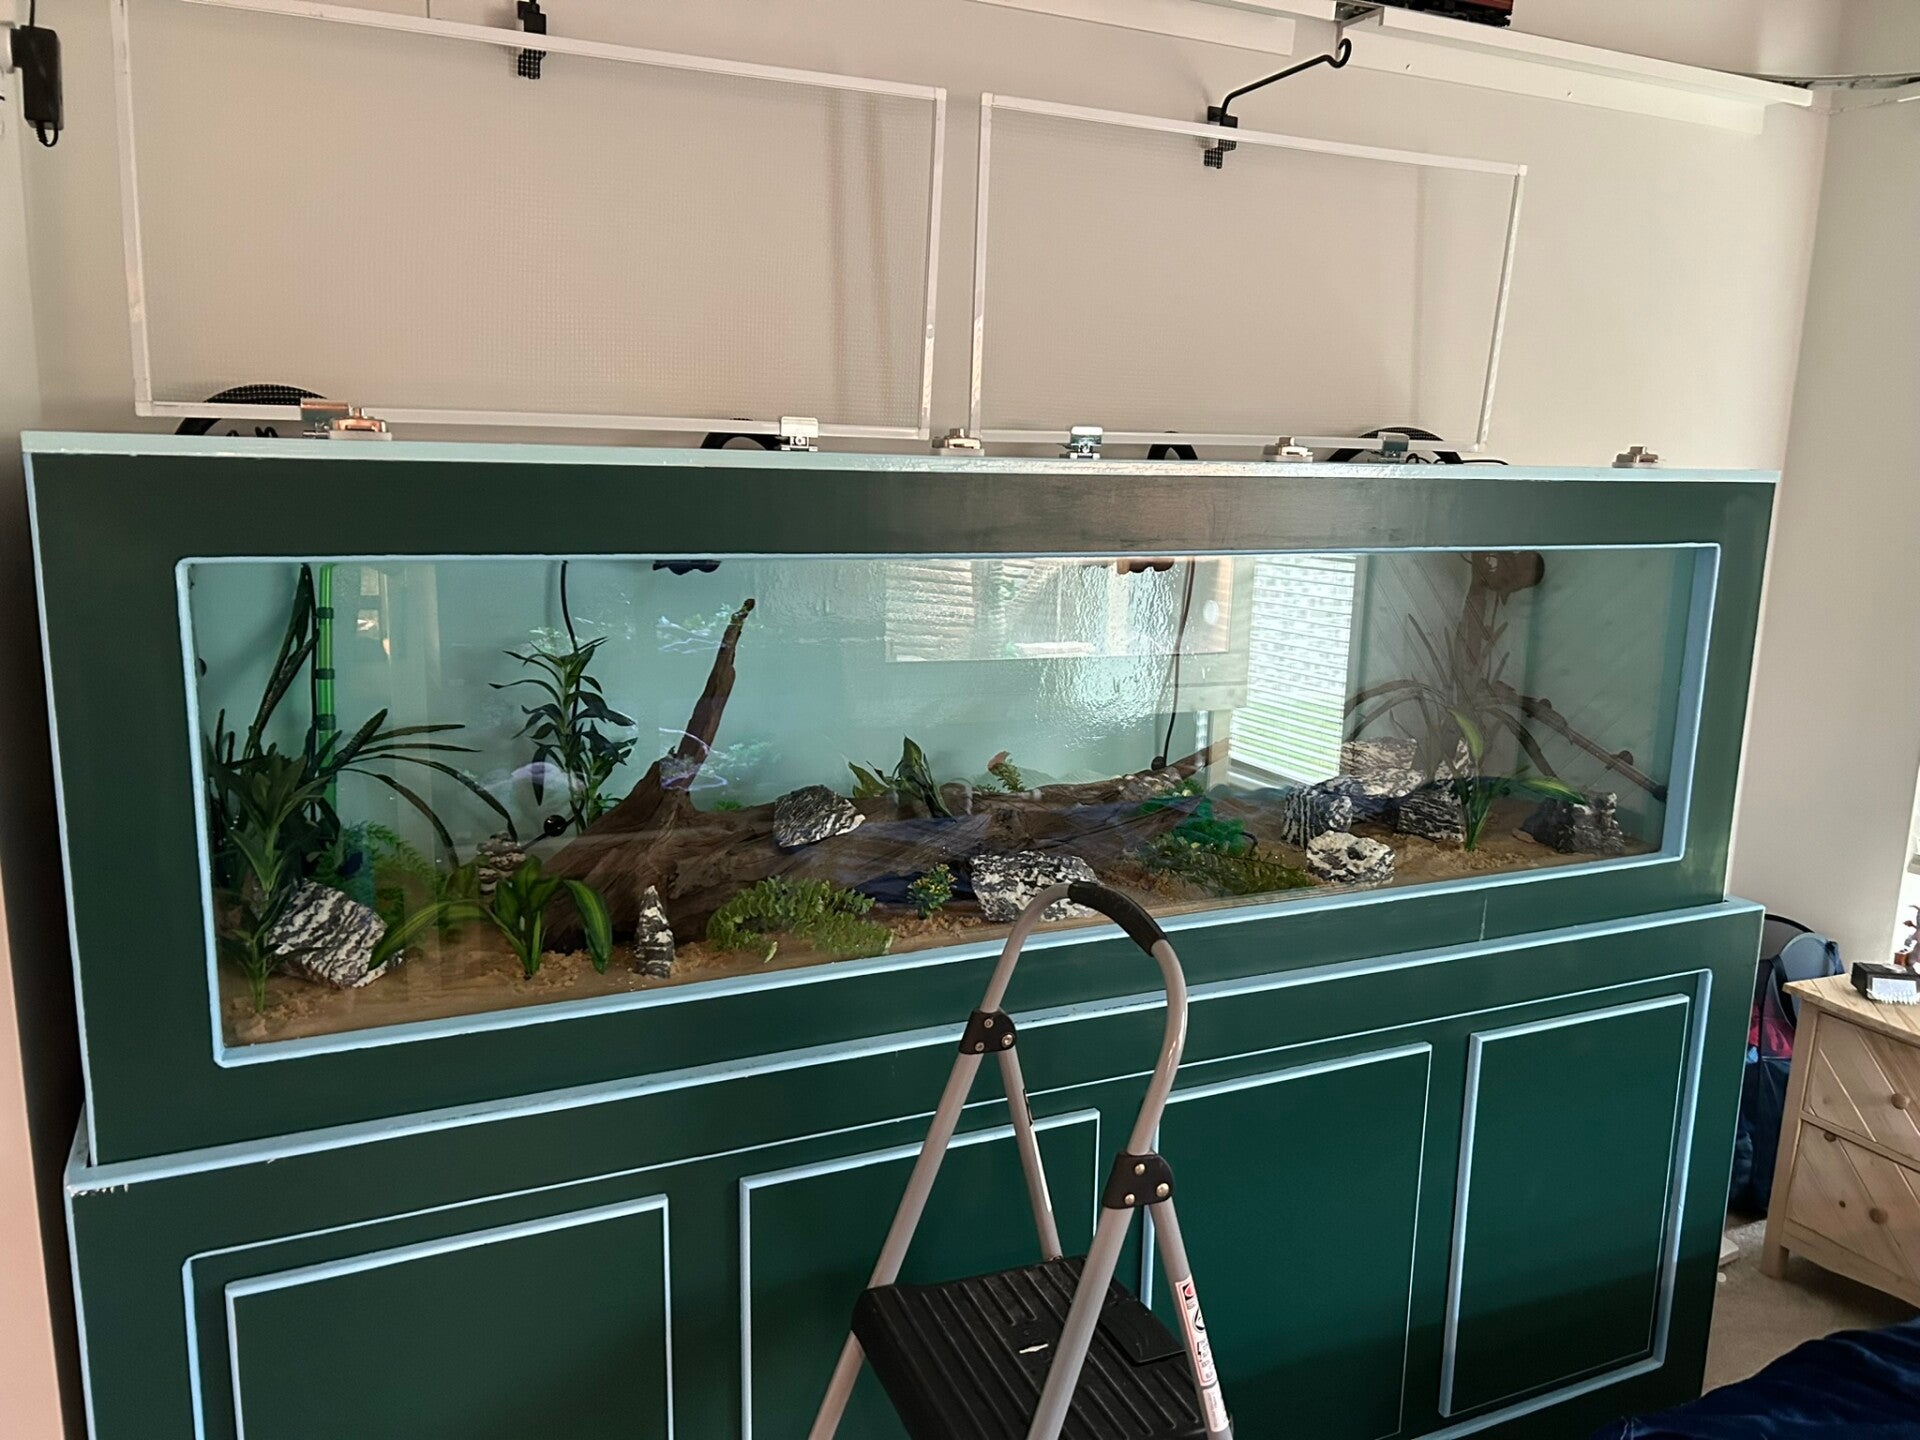
Plants and rocks added.
5 Oct 24
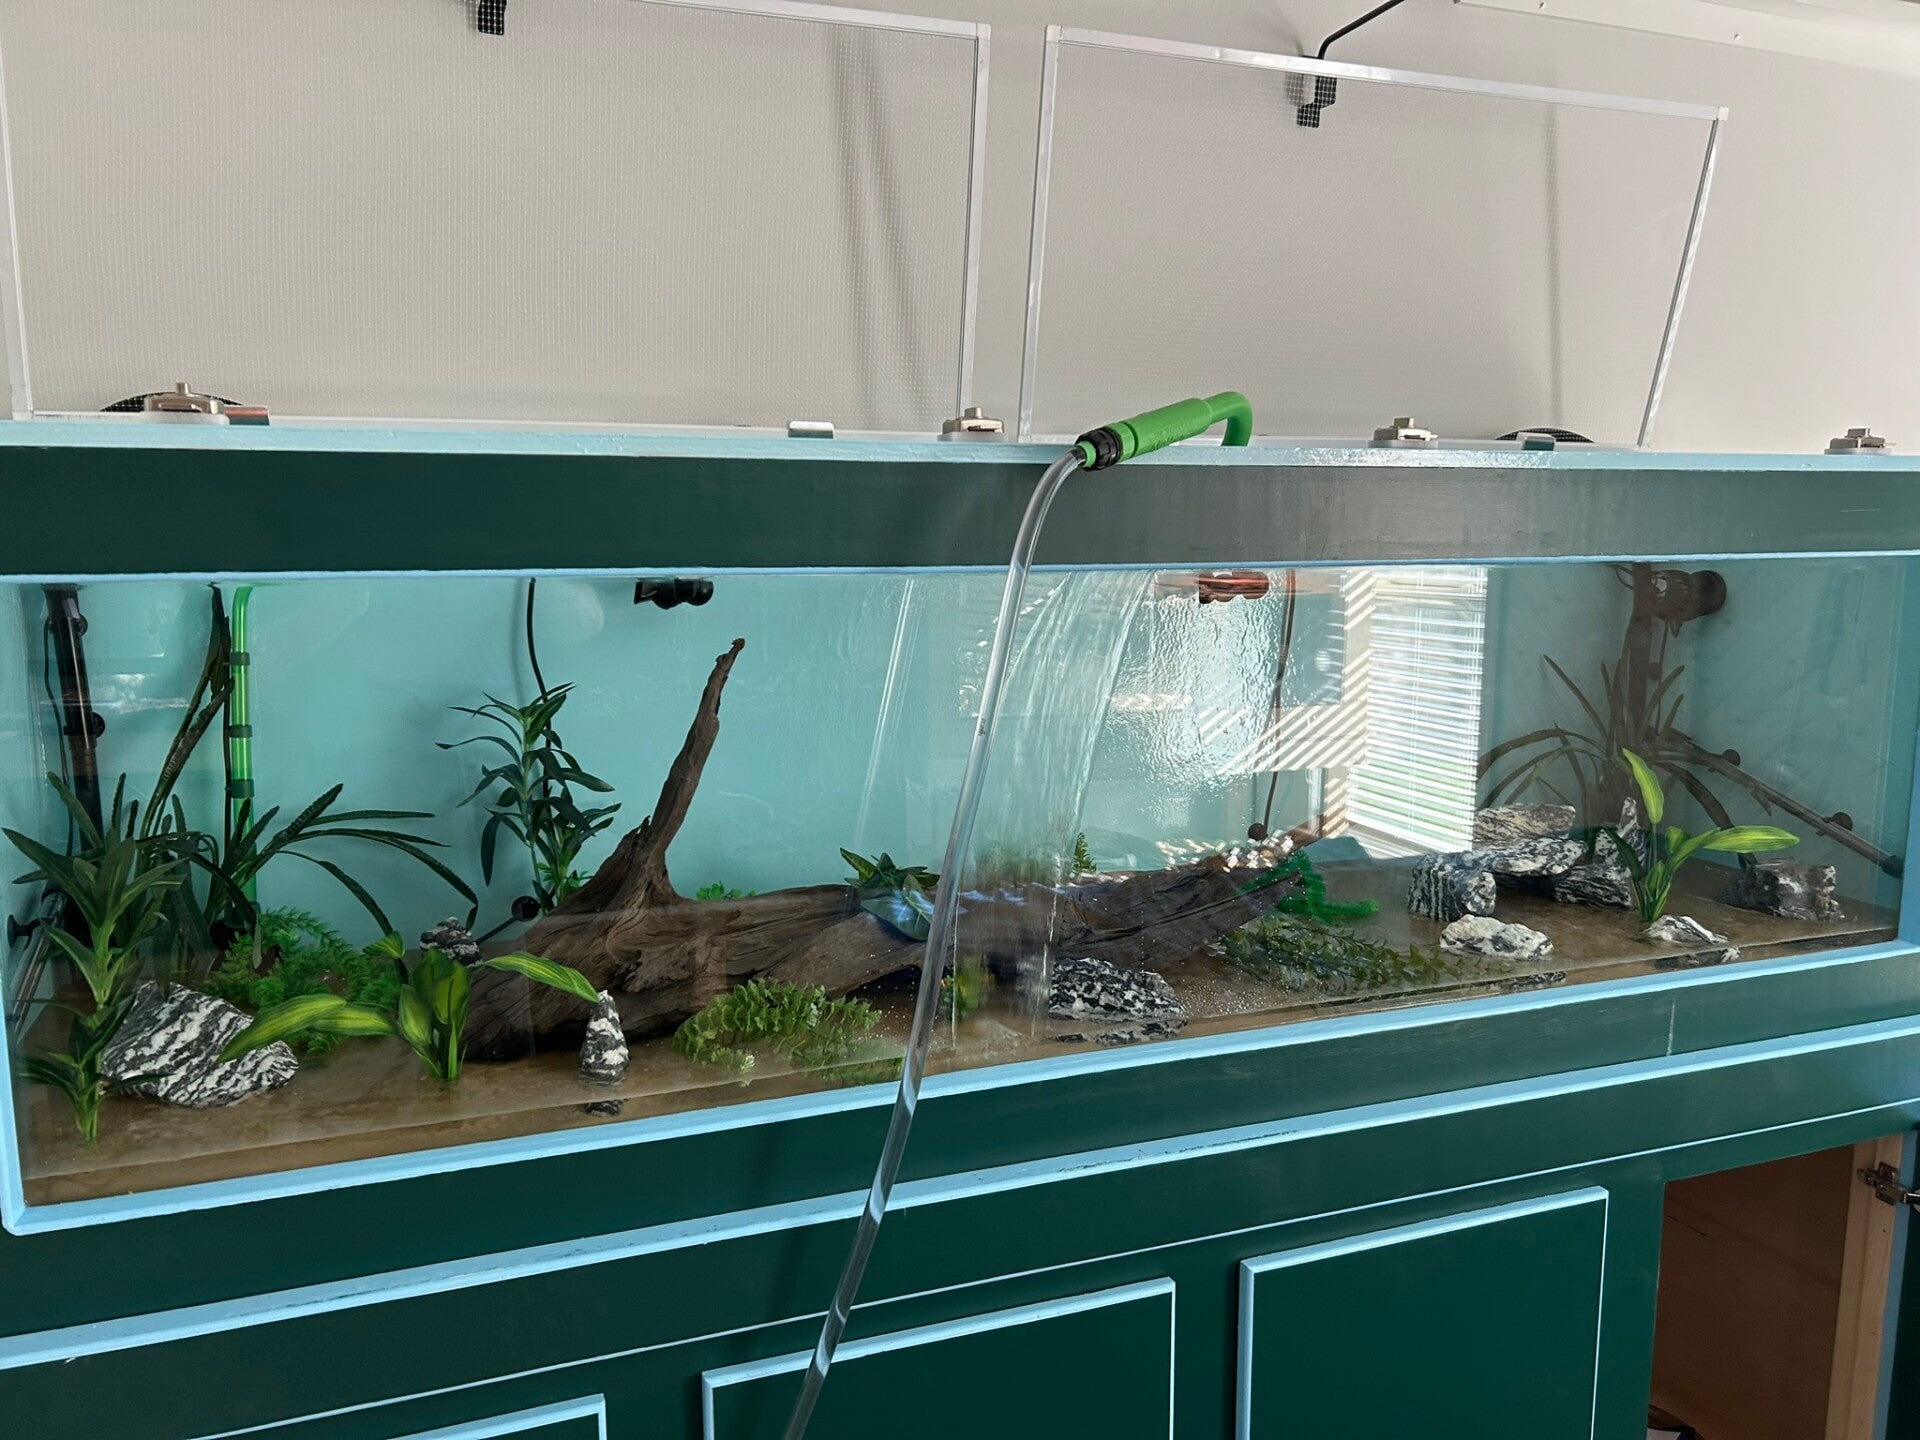
Filling it up for real (with water treatment).
6 Oct 24
You can see the big filter in the cabinet underneath. I have 2 of them in operation so if 1 breaks down or I have to clean 1 the other will still be working.
6 Oct 24
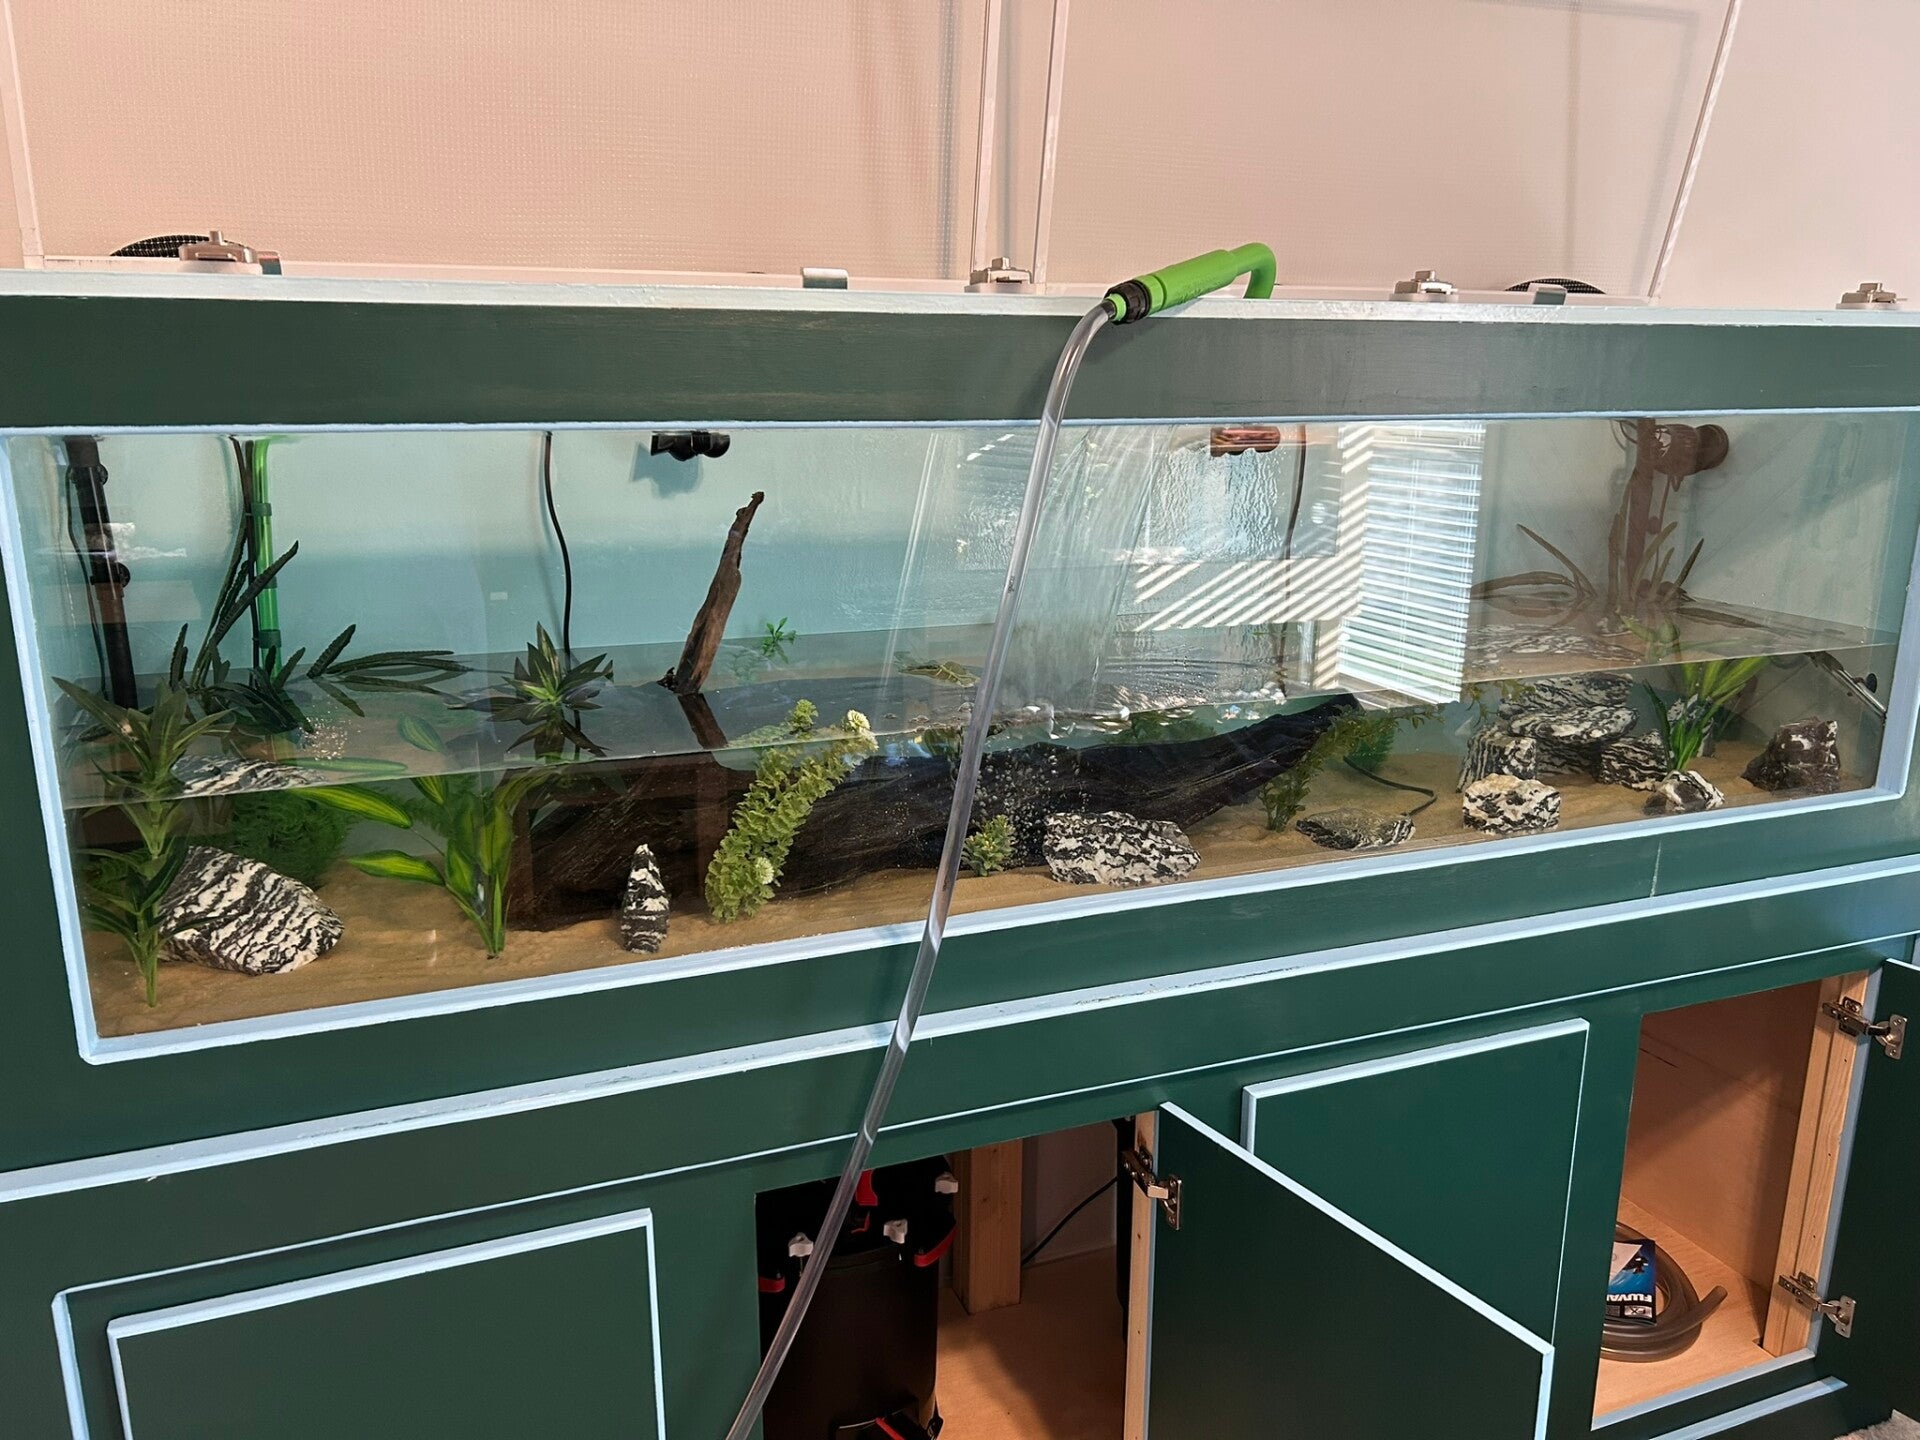
Not filled all the way yet, as it's easier to place and move decorations without it being full.
6 Oct 24
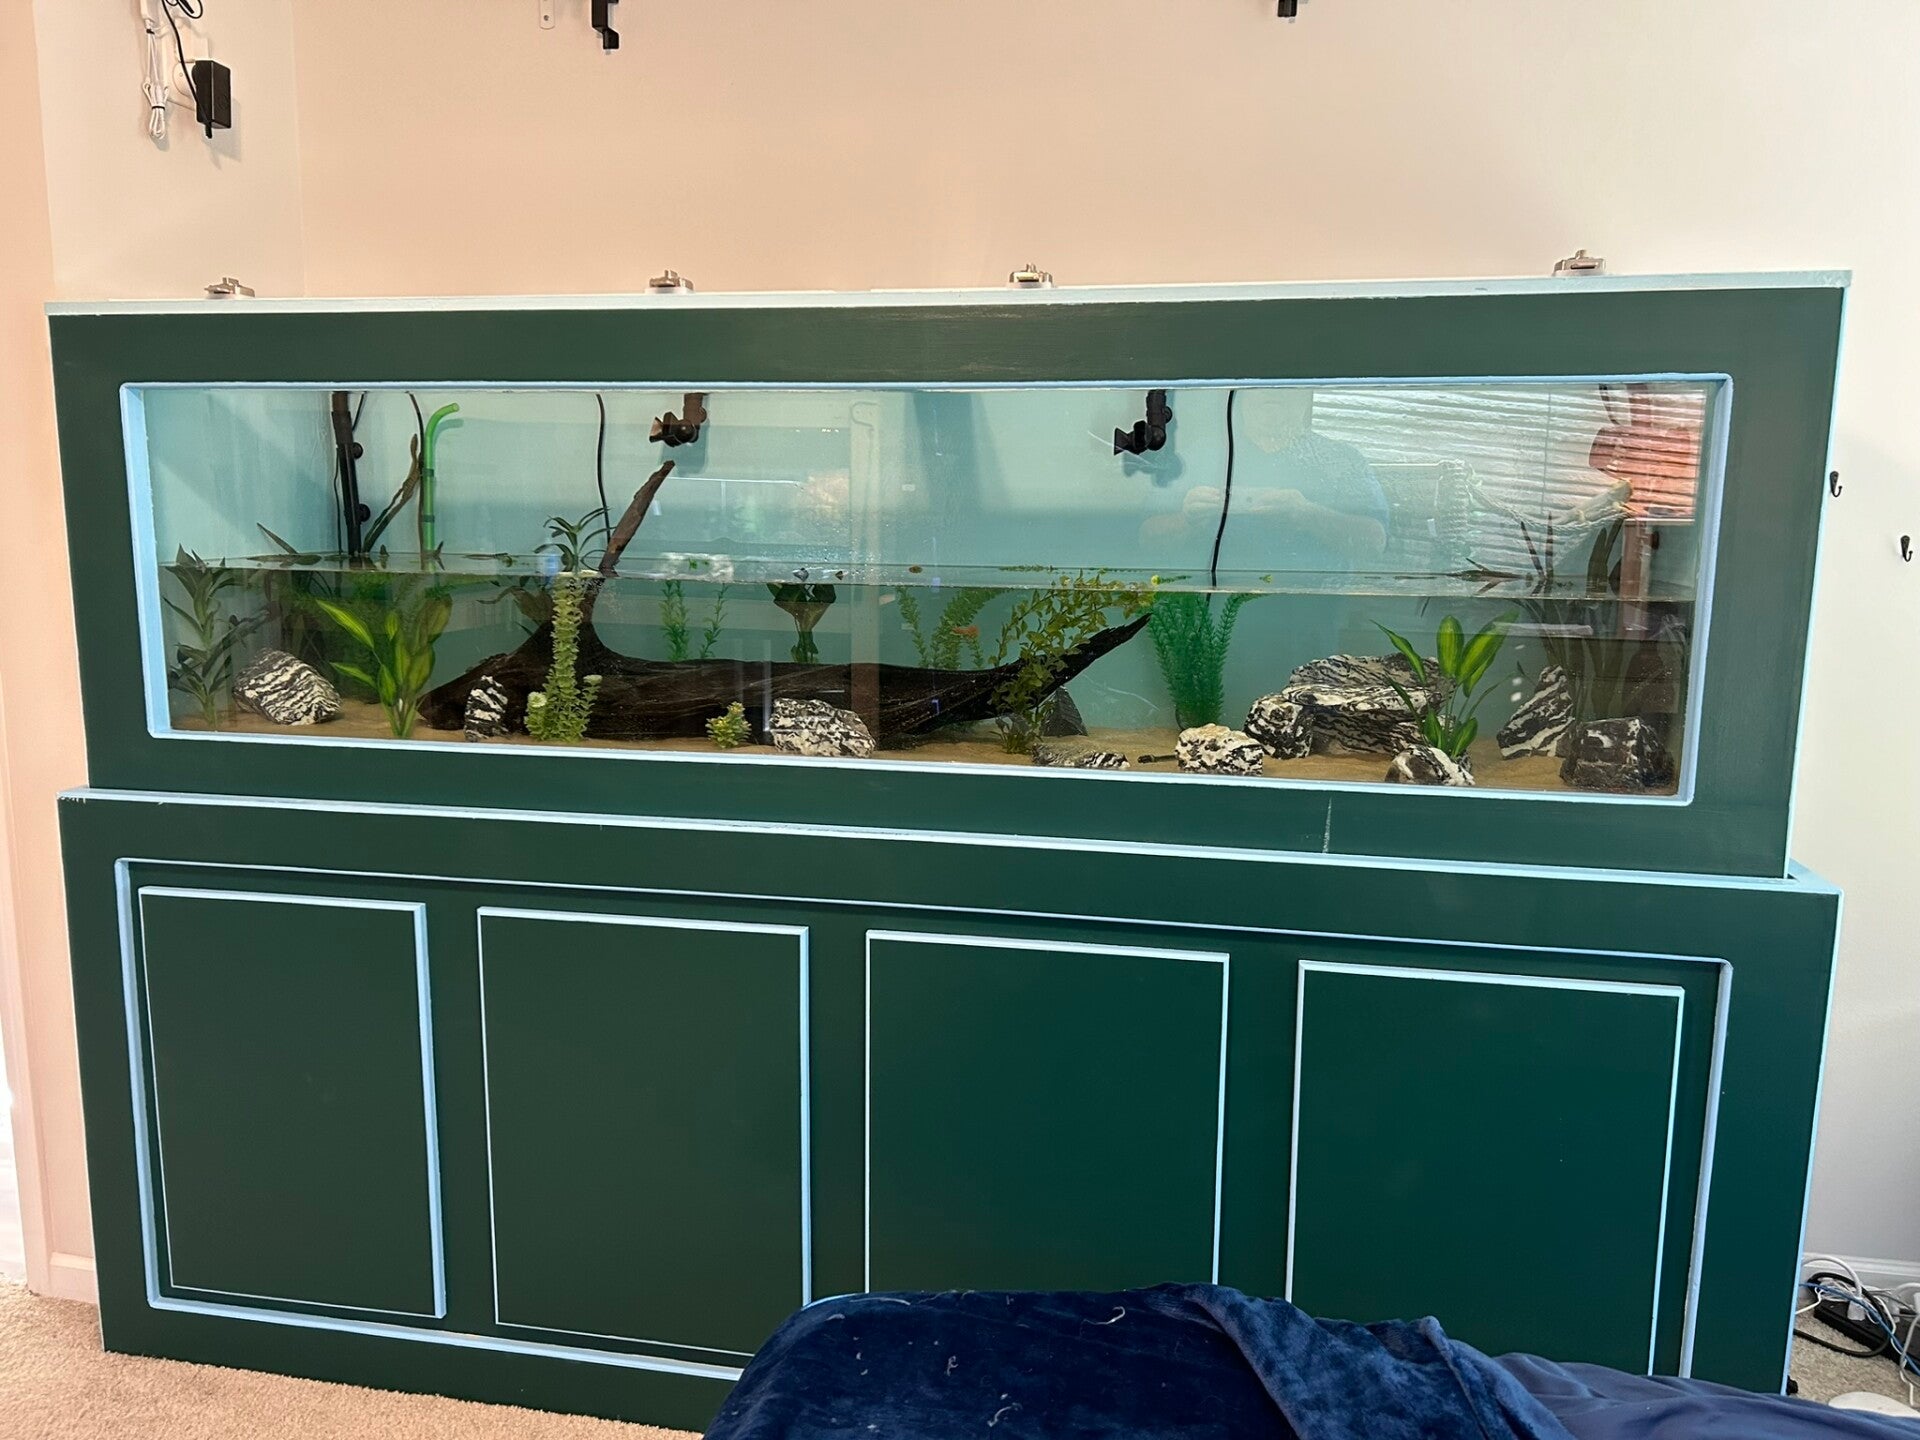
Installing the lights.
13 Oct 24
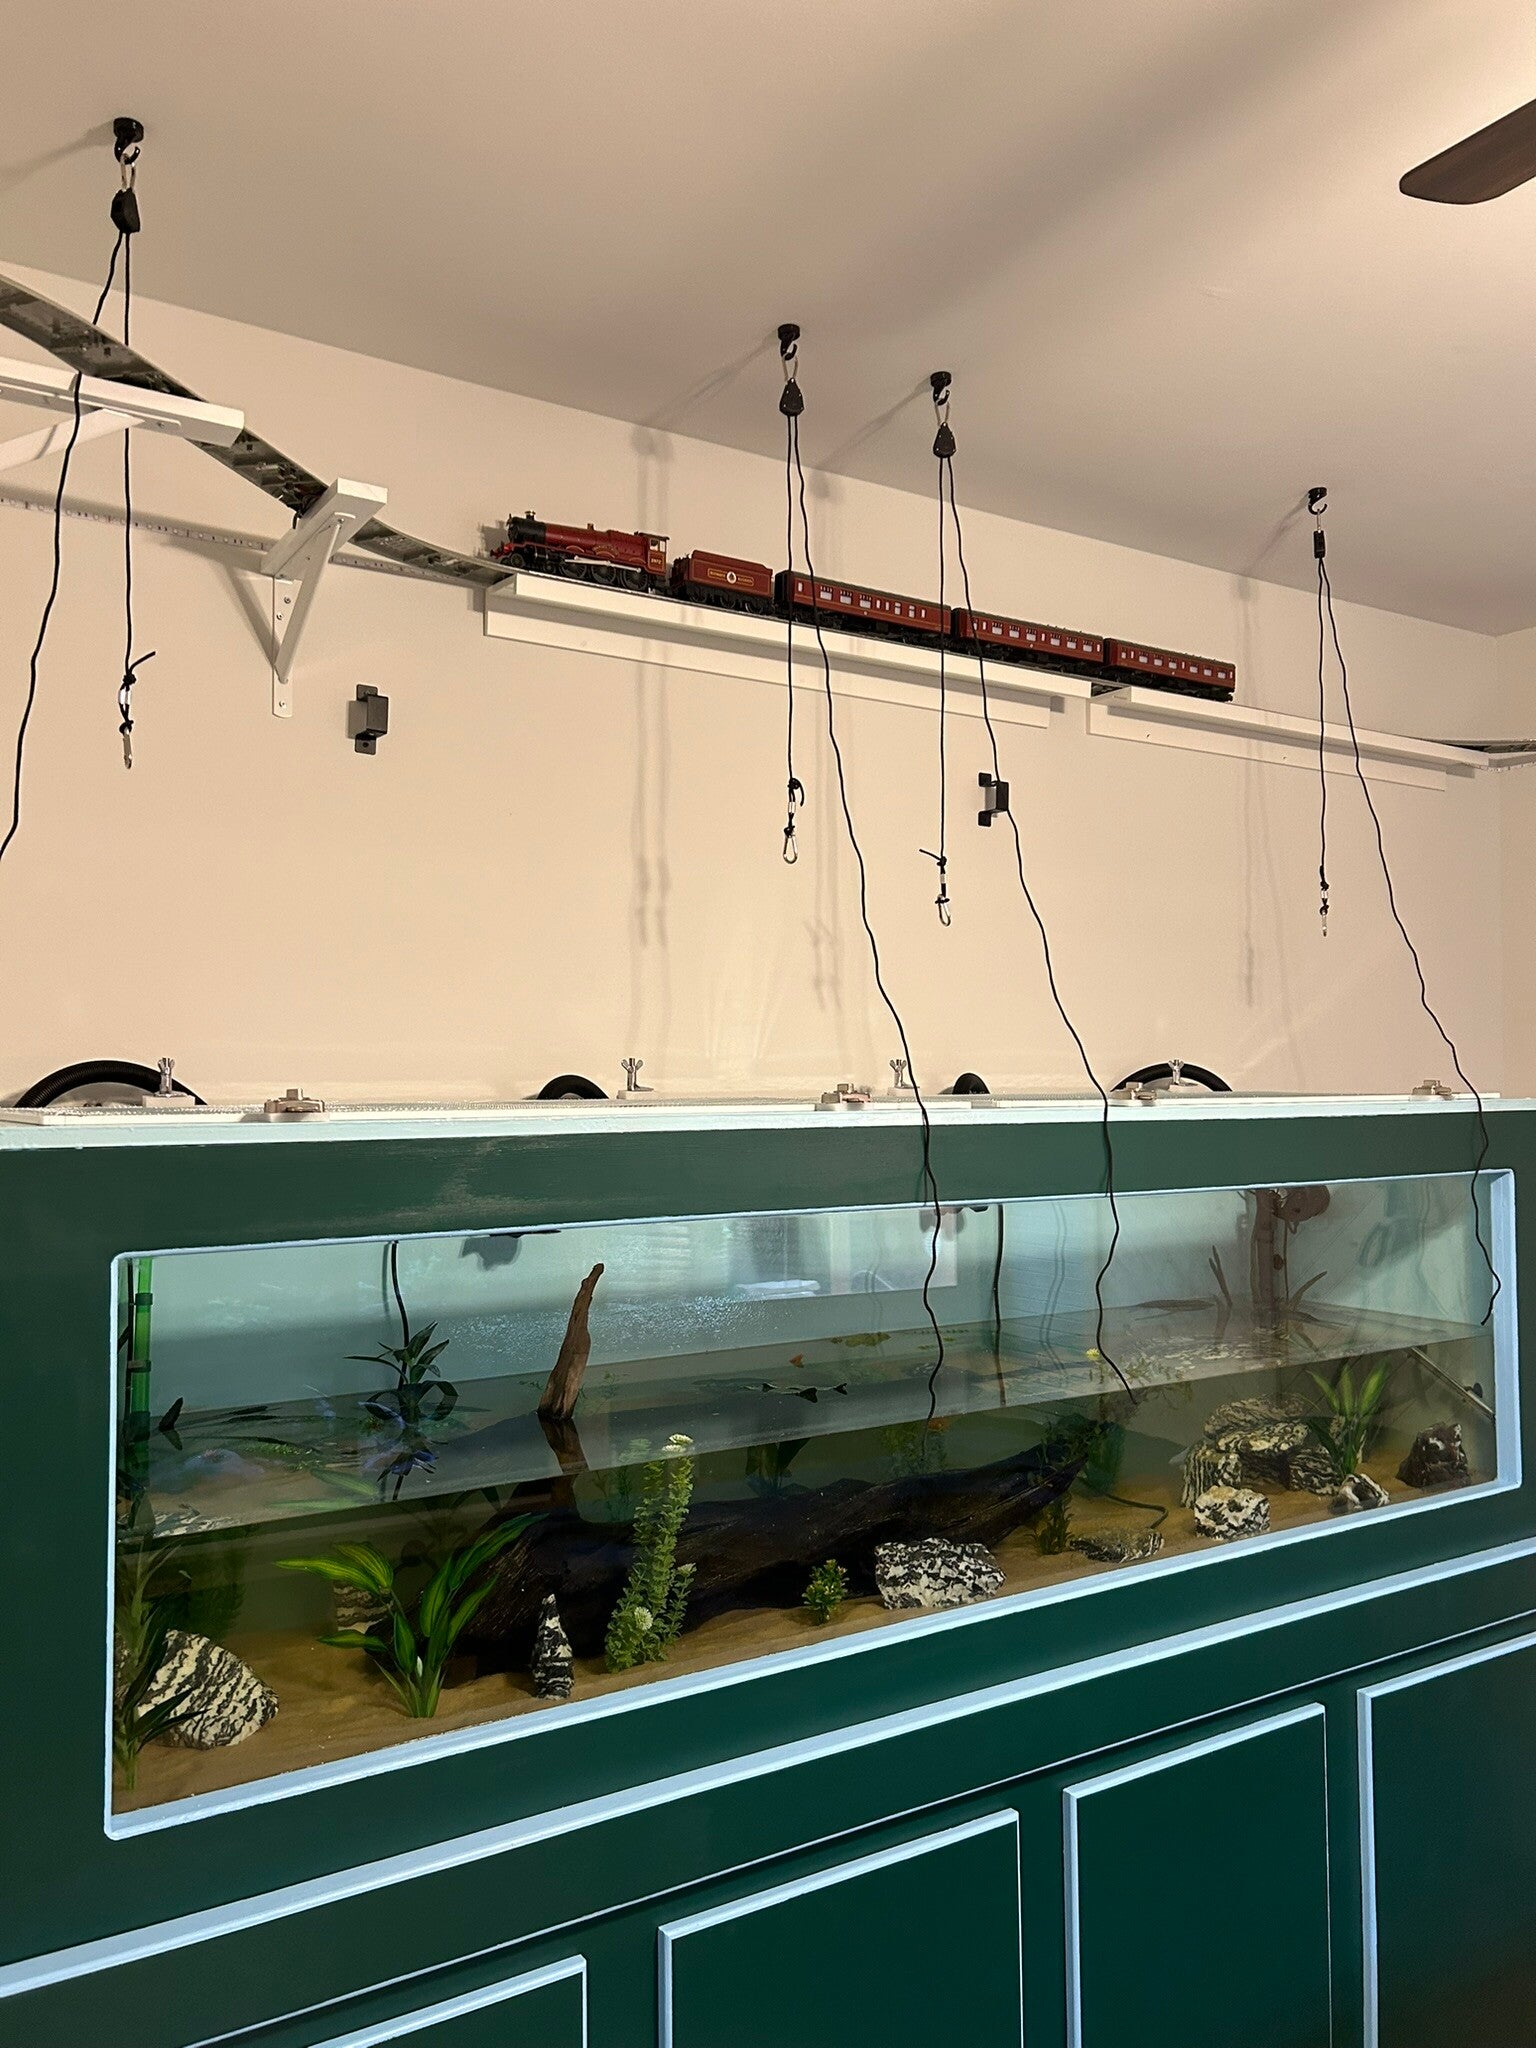
Lights in place.
14 Oct 24
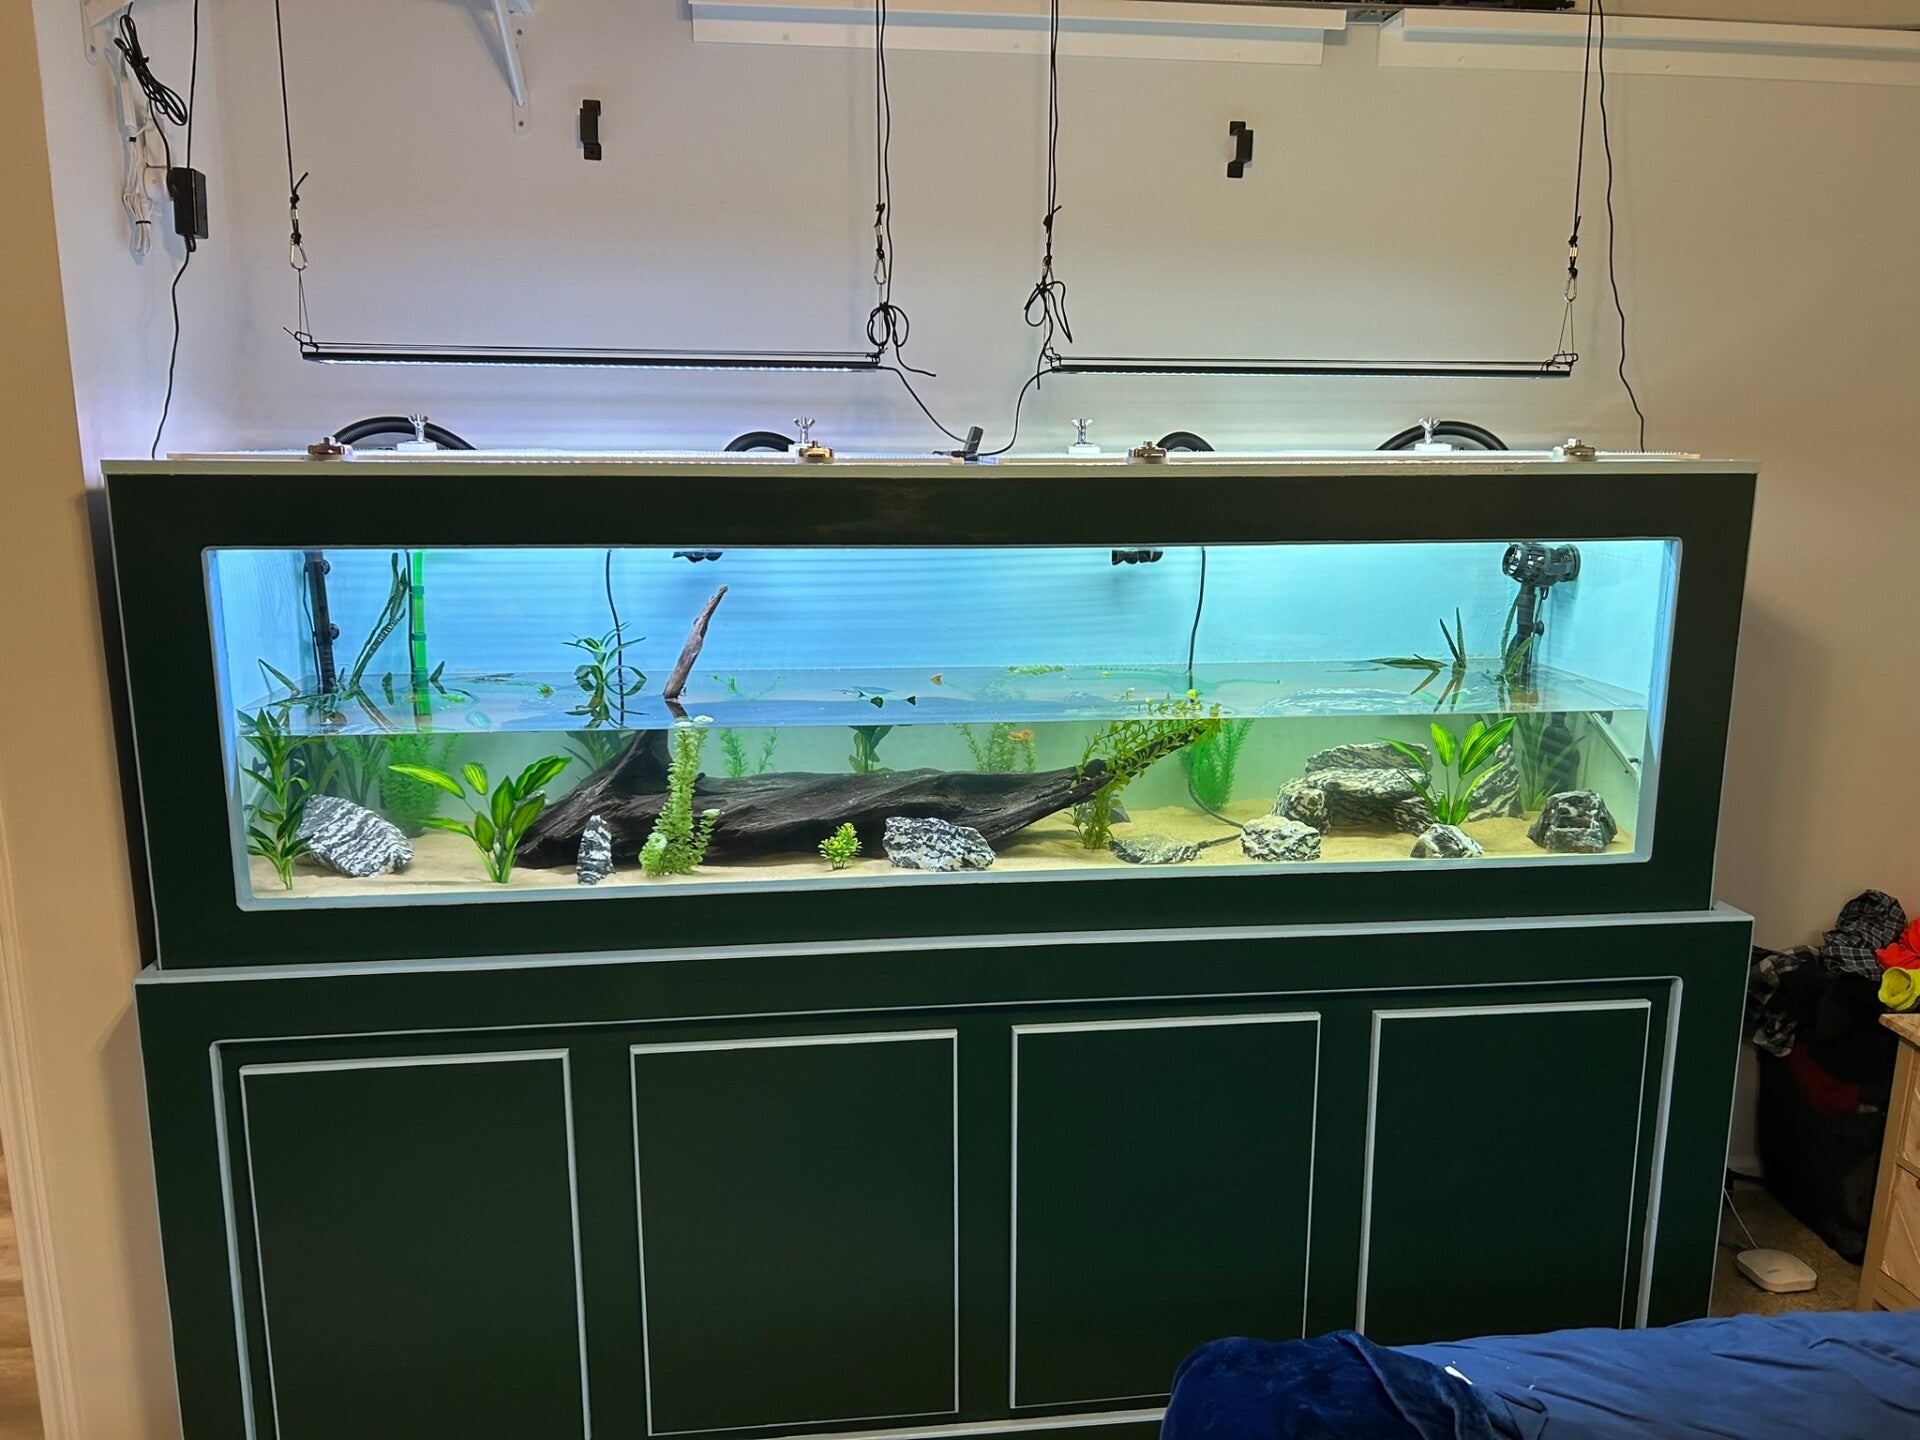
15 Oct 24
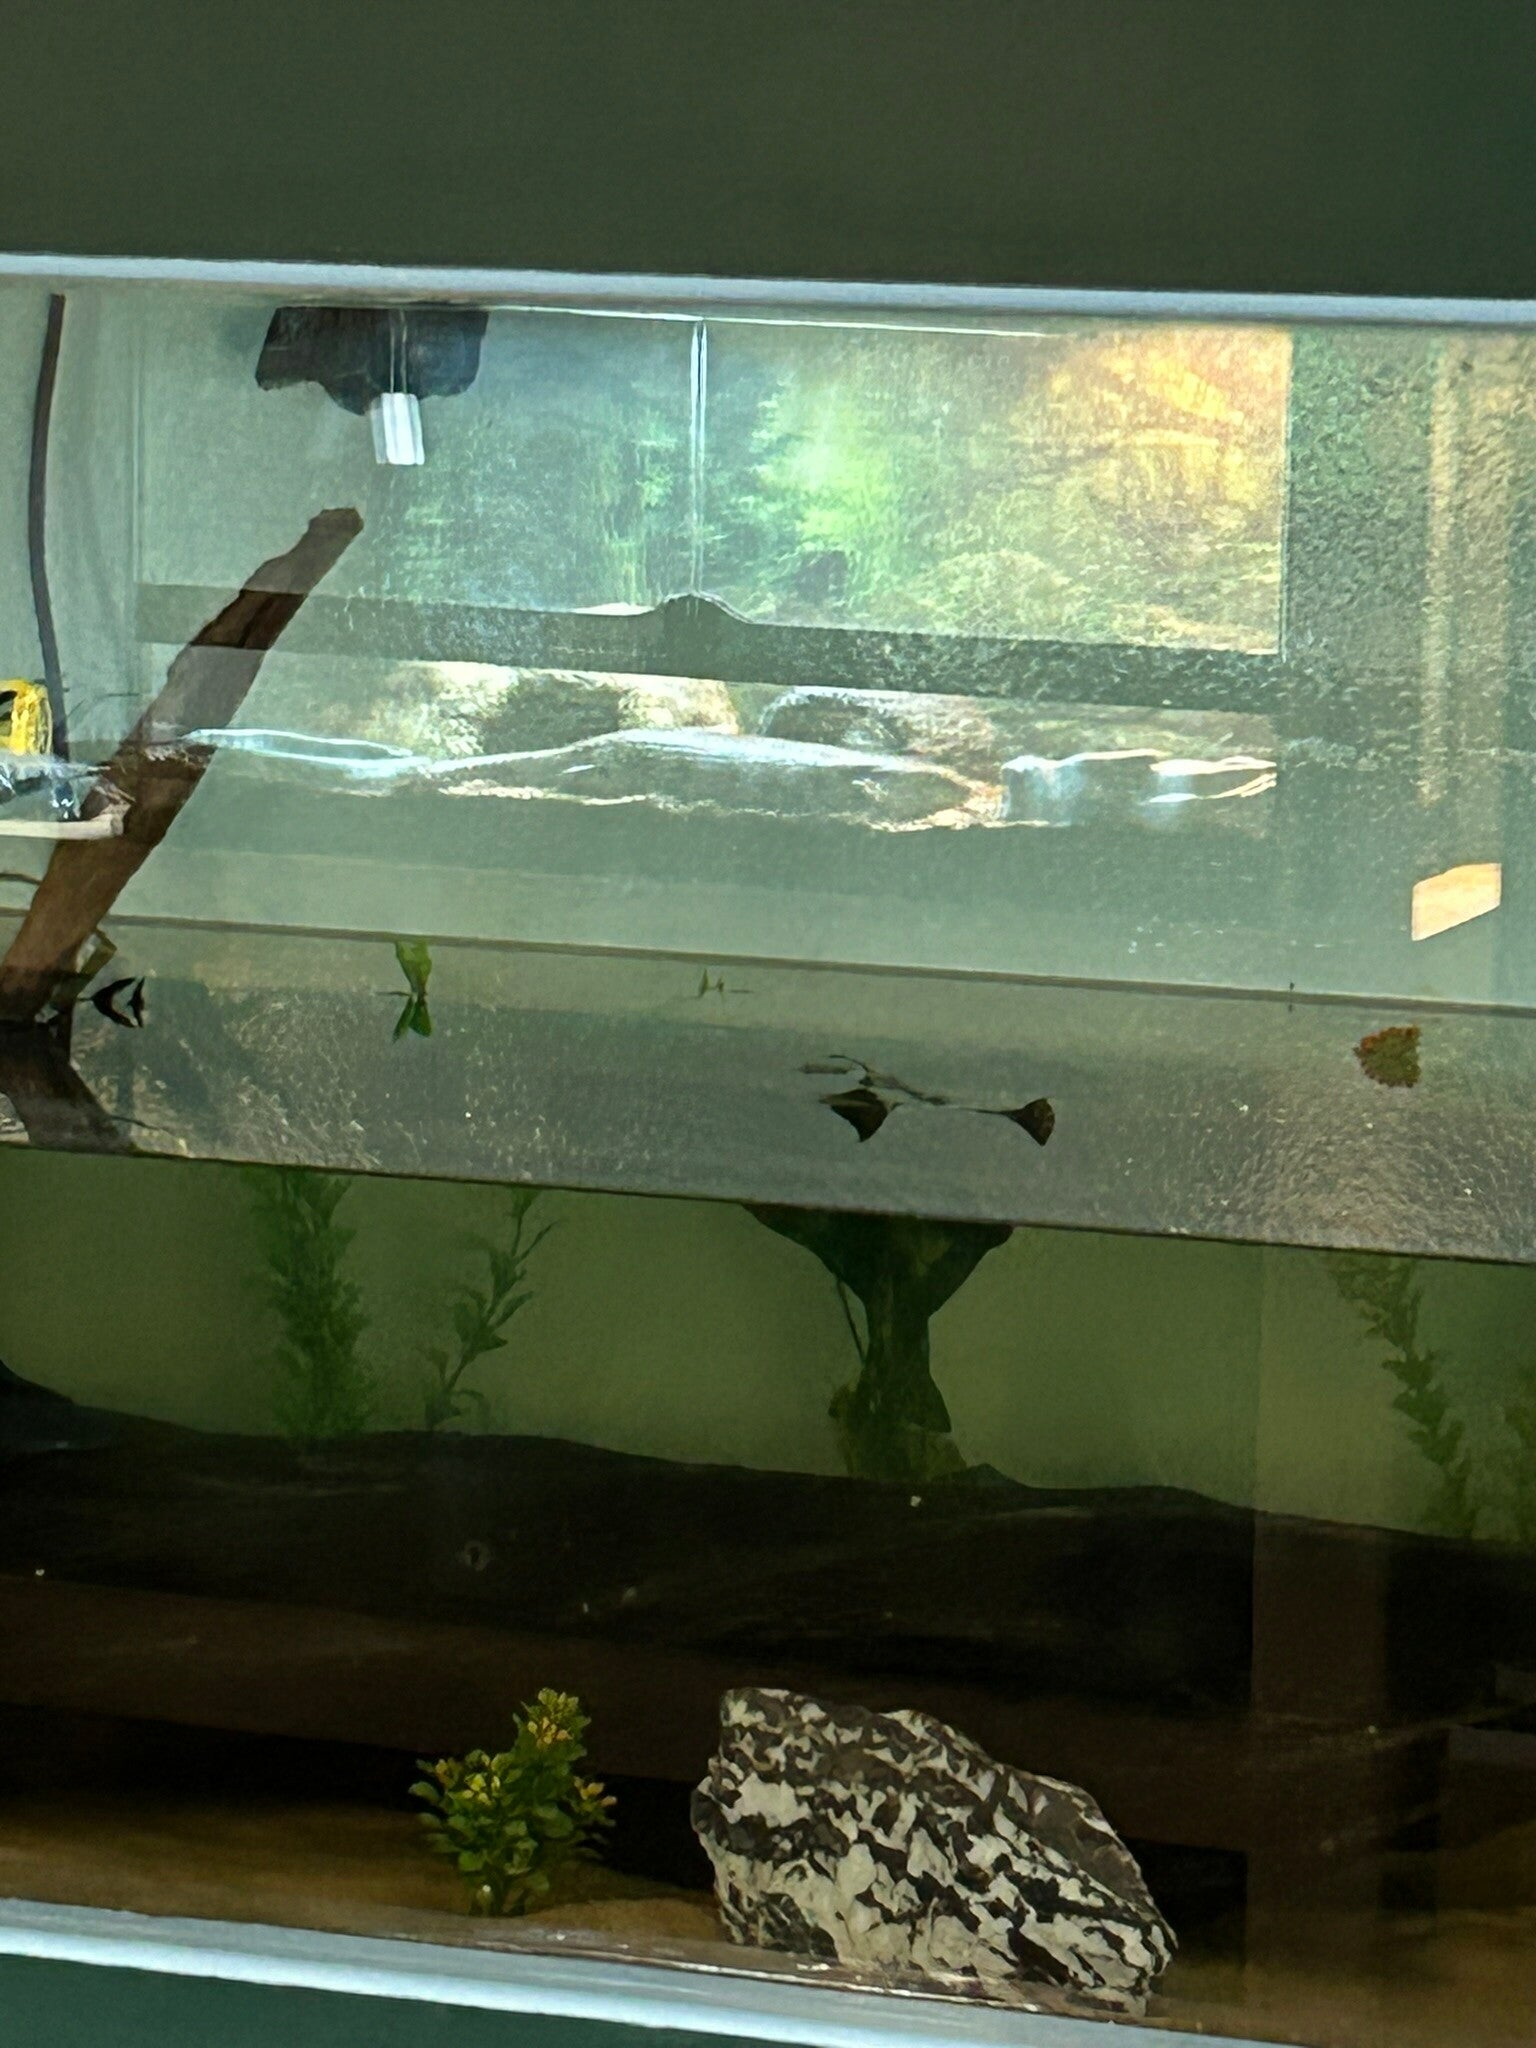
Filled!
16 Oct 24
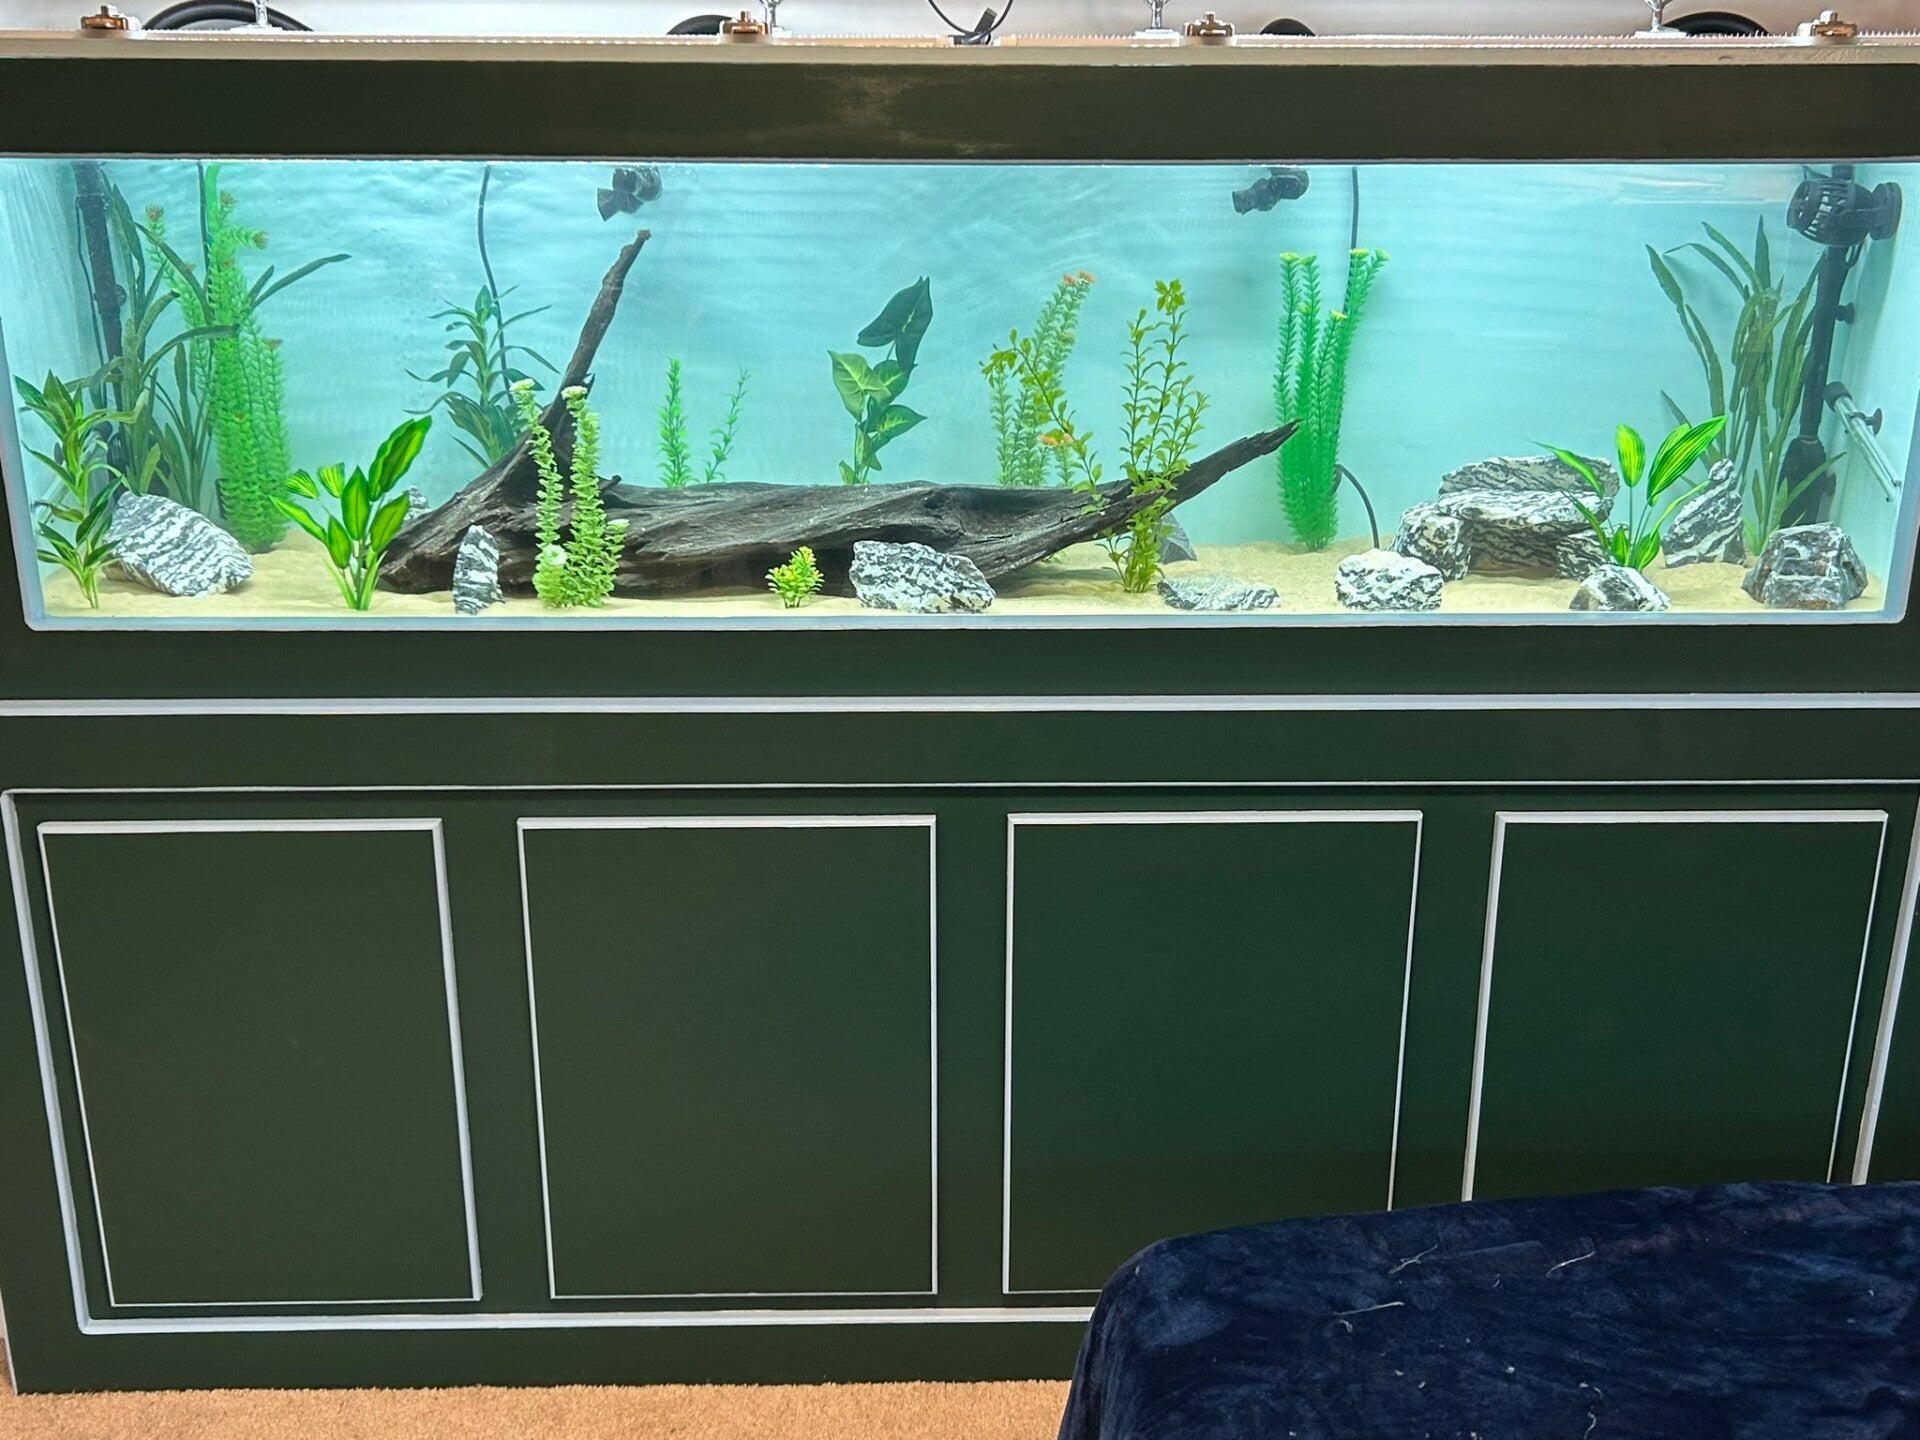
Almost ready for fish.
16 Oct 24
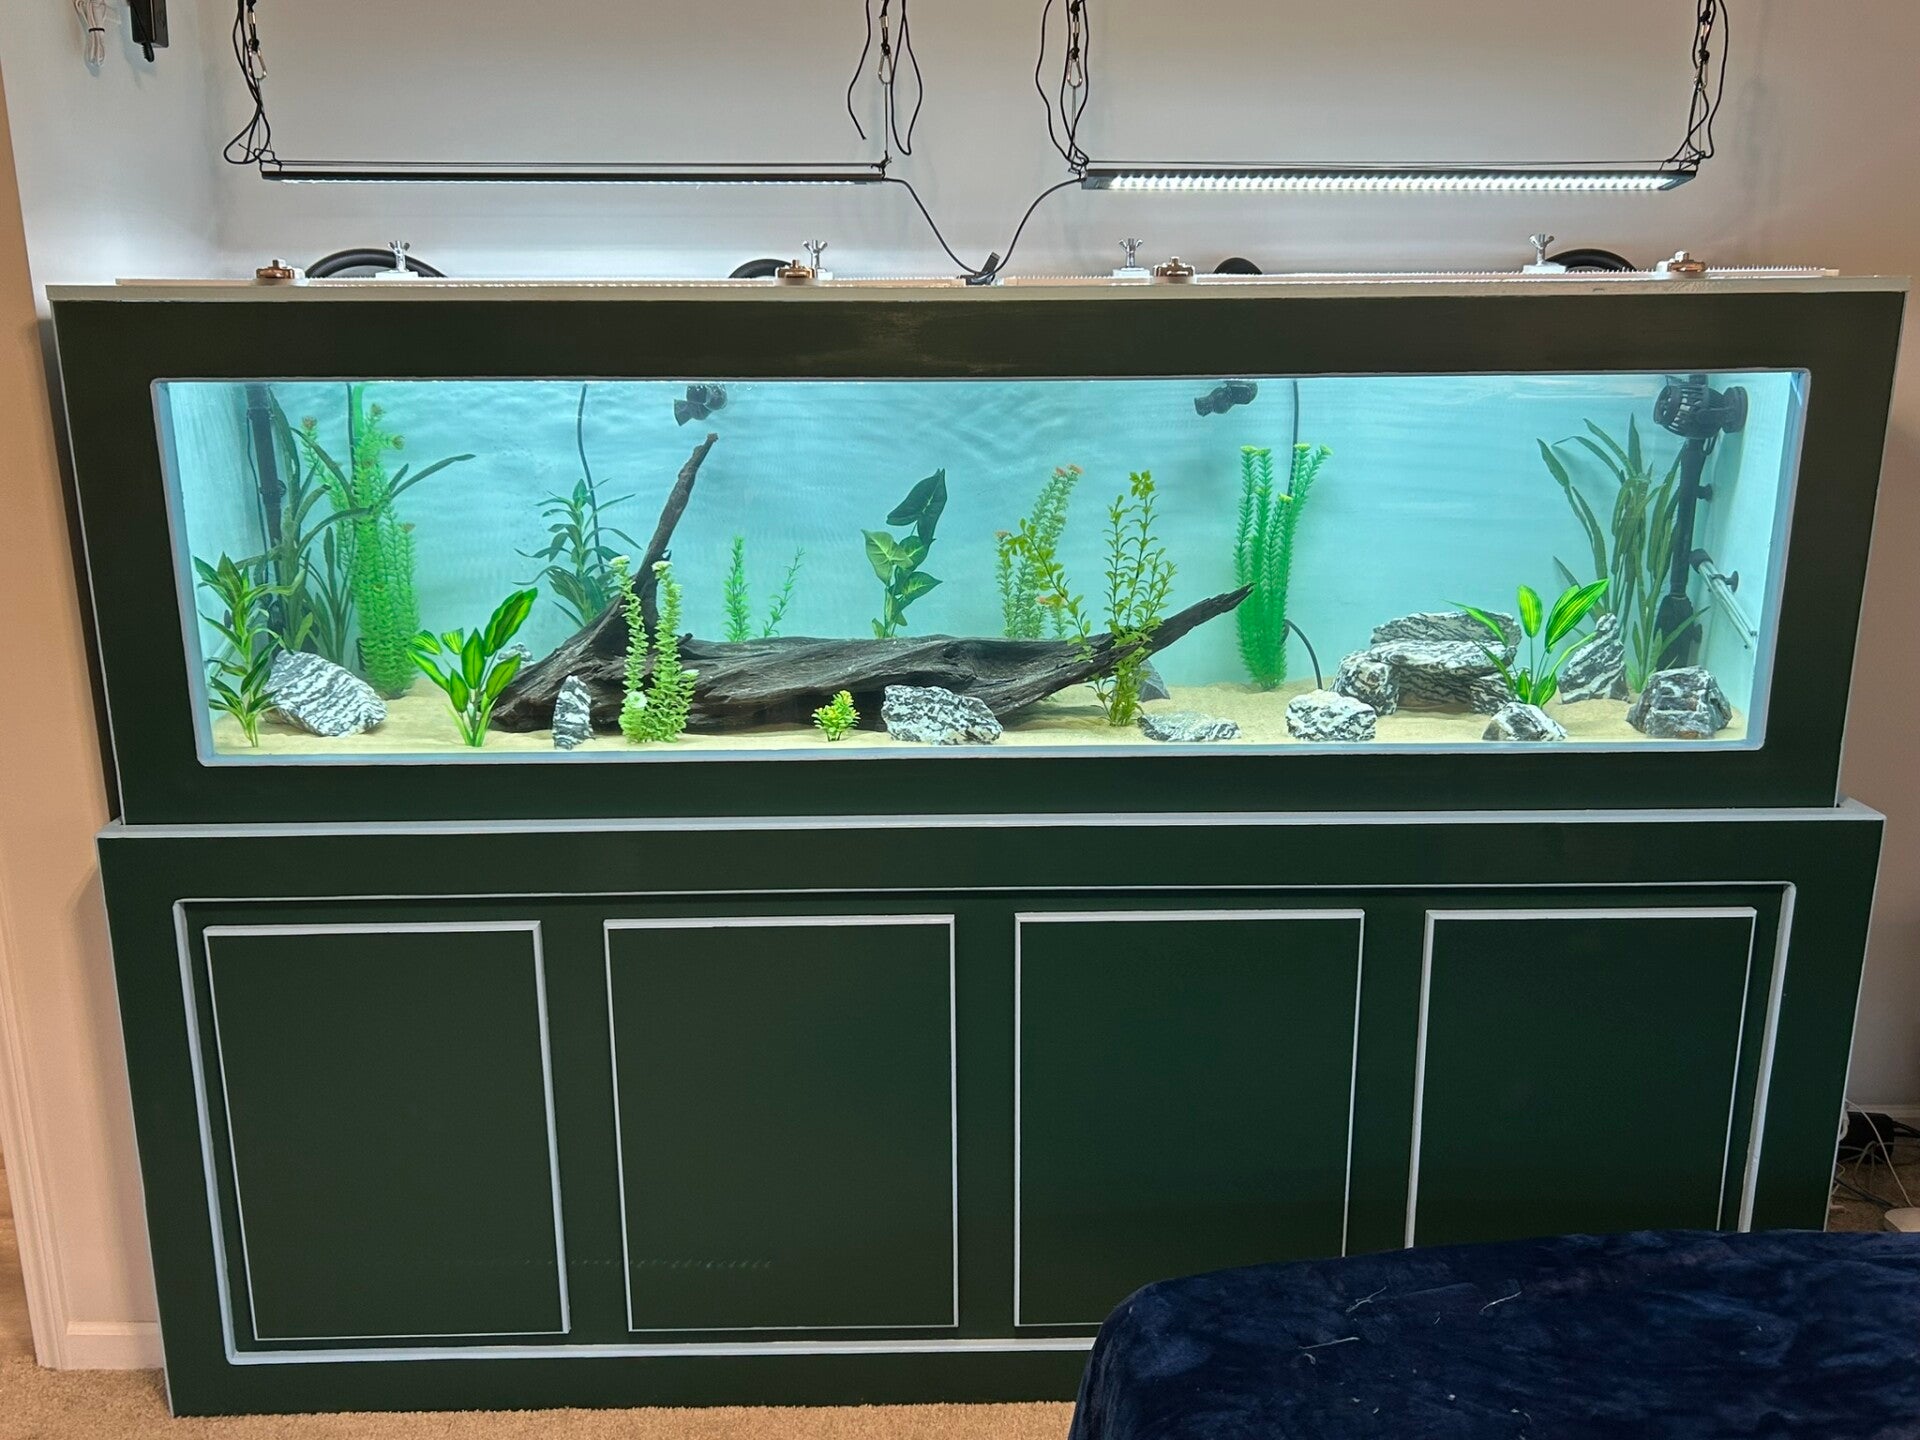
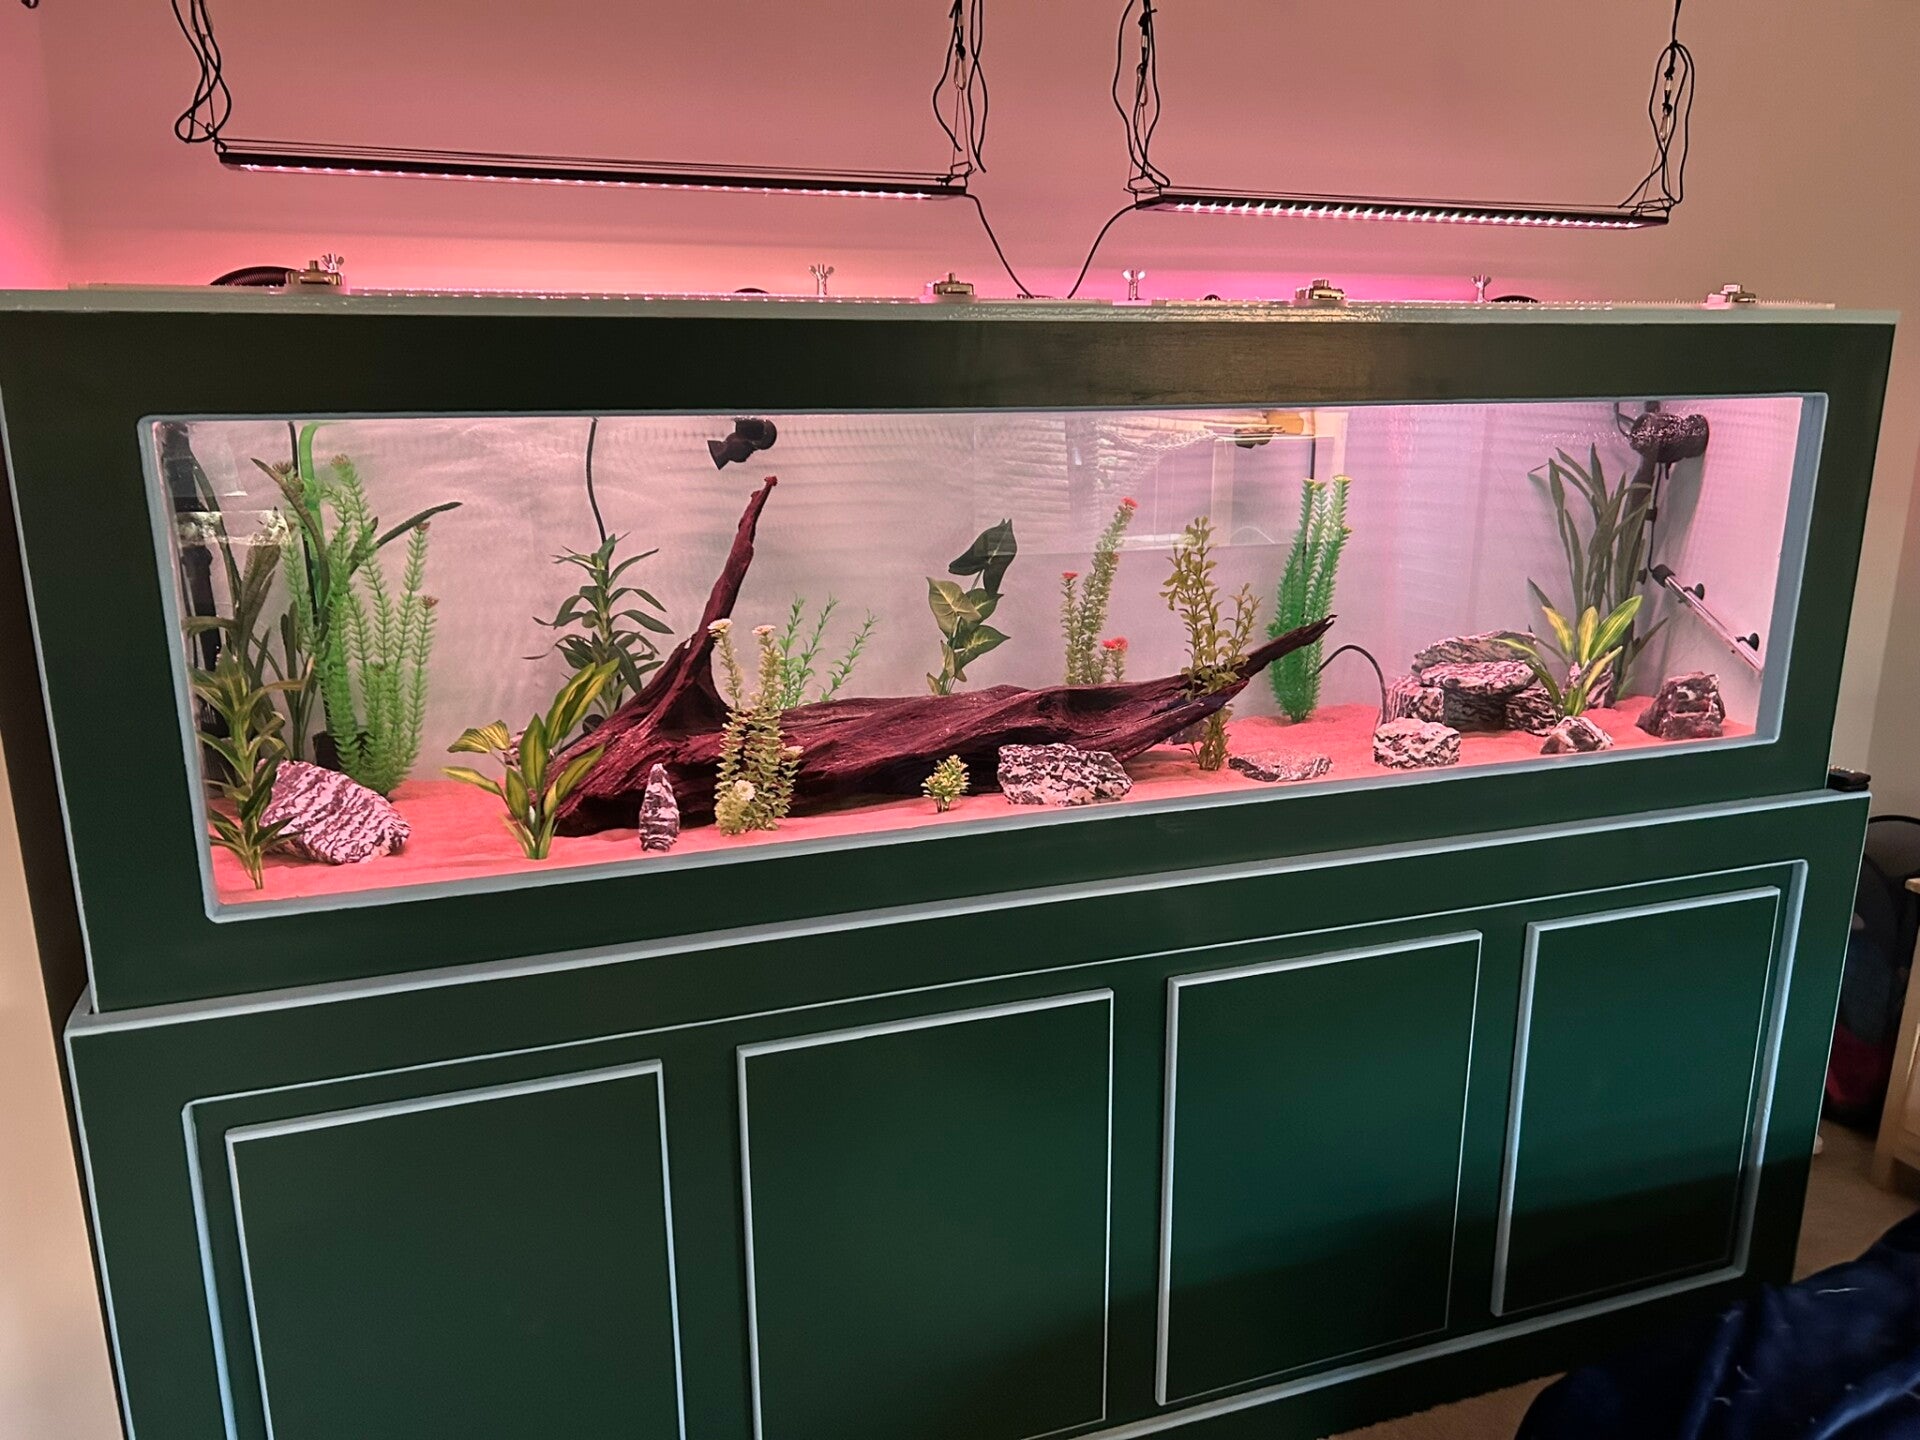
These lights are very programmable. I have them come on very dim at 4pm, bright at 5pm, dimmer at 8pm, this blue at 9pm, and off at 10pm. Too much light causes algae blooms.
16 Oct 24
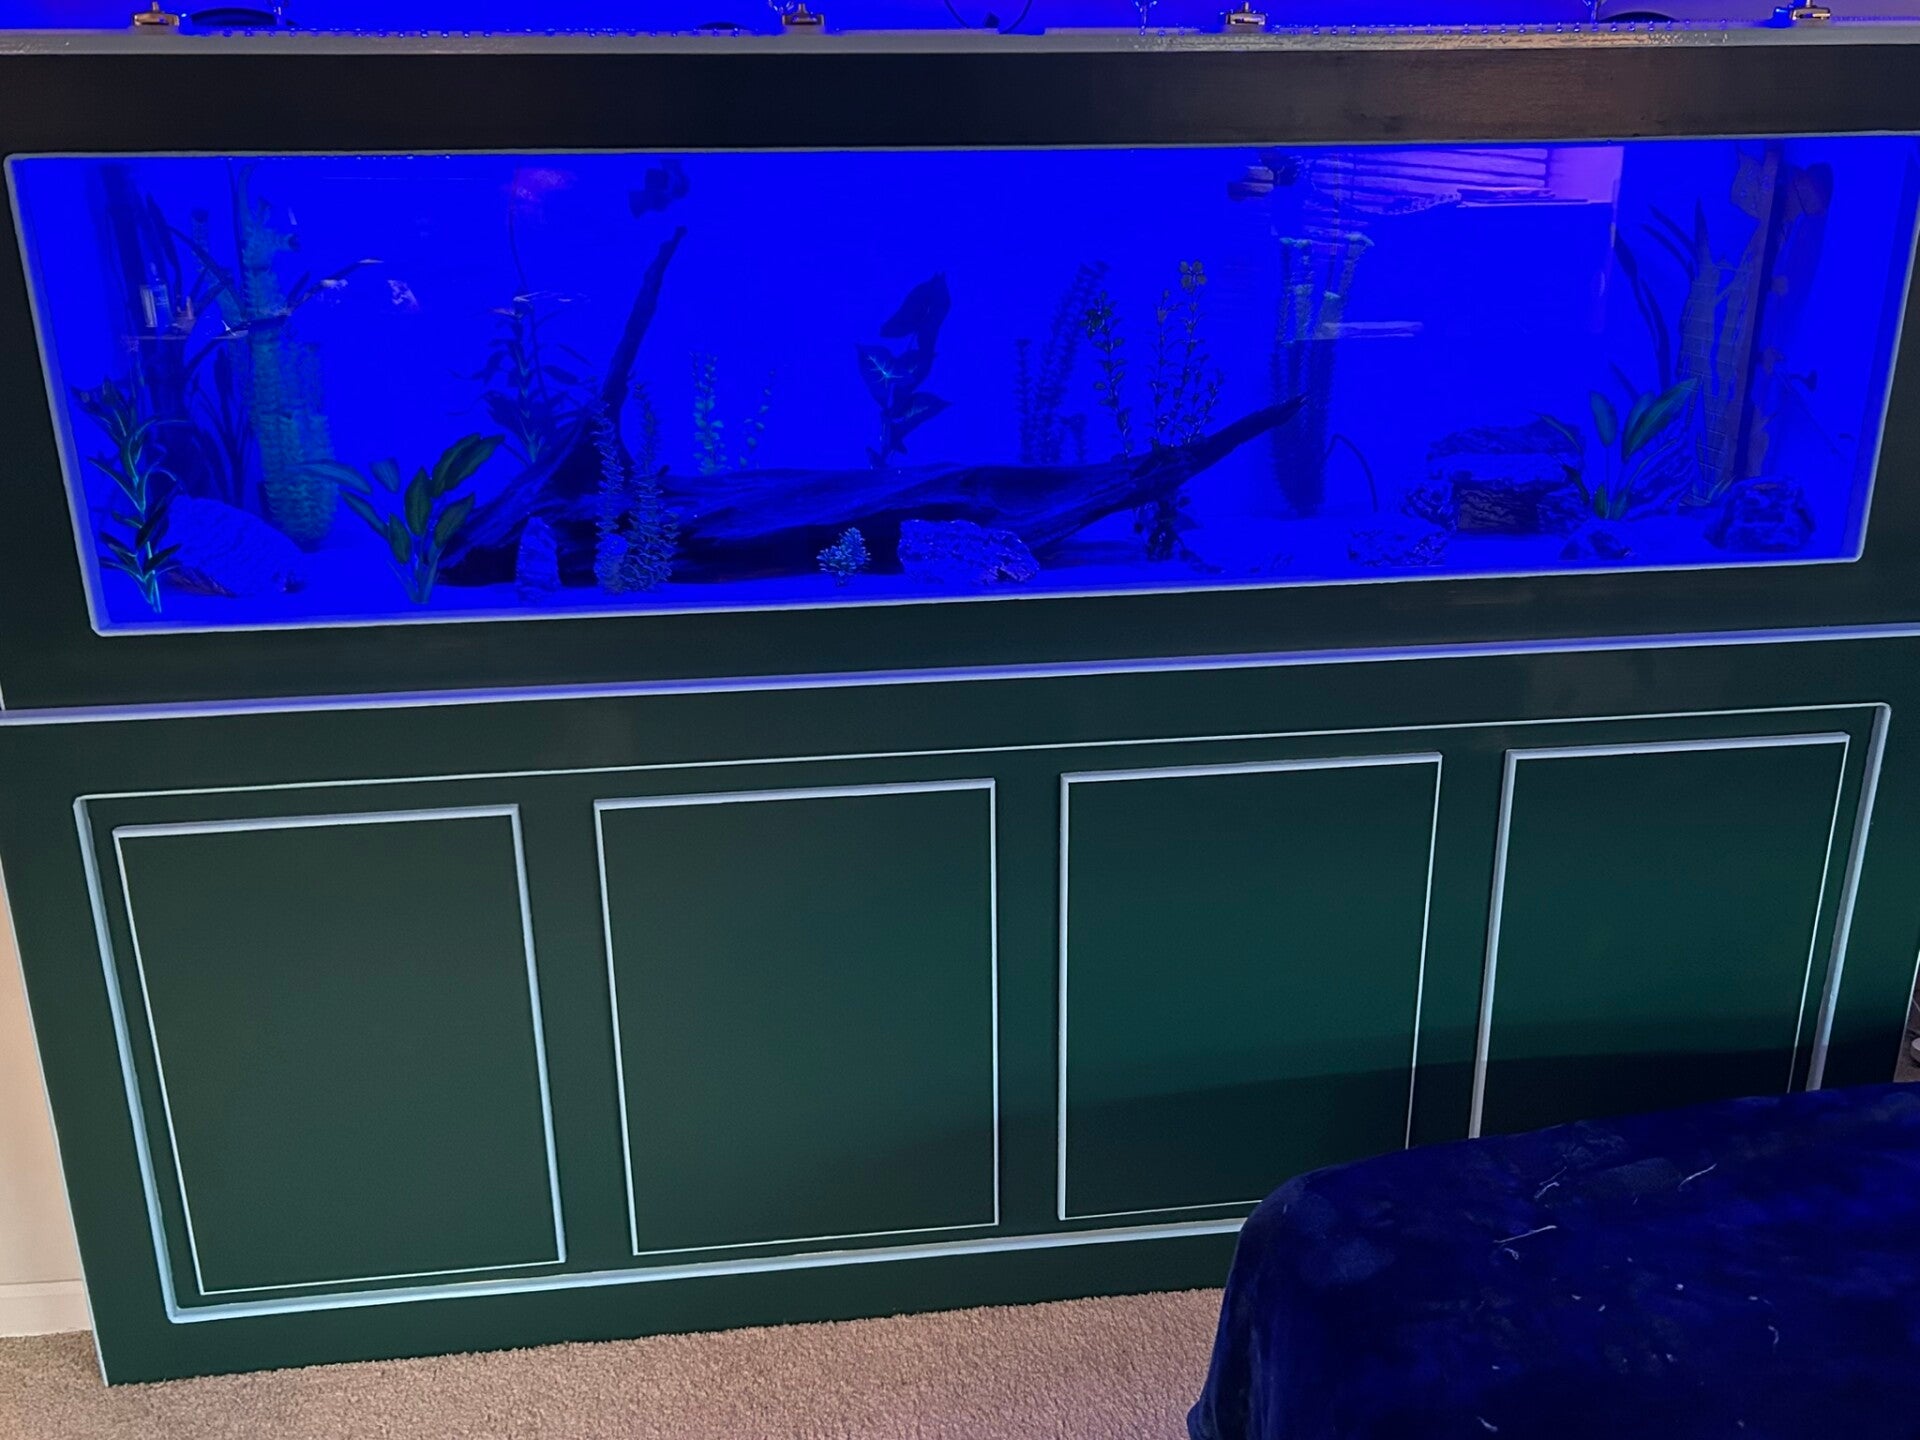
This the 4pm light color. She's all done. Just 11.5 short months after I started!
19 Oct 24
Create Your Own Website With Webador